
You like Minecraft, but you don’t want to play with people you don’t know. It’s understandable: you can tell your friends to “eff off” a lot more comfortably than a stranger. The easiest way to do so is to host your own server on your own PC. Here’s how.
First you need to know if you can host it. It looks lo-fi, but needs a decent PC and a pile of bandwidth. The Can I host Minecraft site will let you know if it’s possible. If your needs aren’t met, head over to Multiplay and see if they have a package that suits you. That said, even a Raspberry Pi can run a modest Minecraft server, albeit with various features turned off. It’s all about the demands you want to place on your machine.
If you’re determined to run a server on your PC, for the most basic set-up you’ll need the server software and Hamaachi. Head to the Minecraft downloads page and grab the windows .exe file. Drop it into its own folder on a hard-drive with a lot of free space. Grab Hamachi from the site and leave it to one side for now.
When you run the exe file you’ll see the GUI, and while that’s running it’s creating some files in the folder and starting the server: when it’s done you’re actually running a Minecraft world already, but no-one will be on it. Aside from raising some philosophical questions, like “if a Creeper explodes in the woods and there’s no-one there to hear it, did it make a sound”, it also means you can alter the world without making a difference to anyone playing. The file that has the biggest impact on what sort of world you want to make is “server.properties”, which you’ll need to open in Notepad to fiddle with.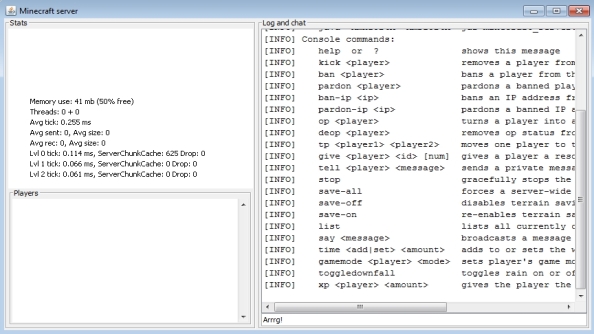
Shut the GUI off and open the ” server.properties” document. There are a lot of lines, mostly self-explanatory with “true” or “false” states. I’d leave most of it alone, as it sets up a server that mirrors the offline game that you’re used to, but you might want to set the “pvp=true” line to read “pvp=false”. Set “online-mode=true” to “false”. With the server running, you now need people to populate it.
This is where Hamachi helps. It creates a Virtual Private Network between you and friend and avoids you having to fiddle with your router’s port-forwarding settings, which can sometimes feel like a dark art. You and whoever you want to connect to your game needs to download the client and create a log-in. In Hamachi, it’ll give you an ip address: right click it and grab the “ip4” address. Now open up server properties and paste it into the “server-ip= xxxx” line.
With that done, if you run your Minecraft server anyone that connects to your Hamachi network will be able to join your Minecraft server. It’s slightly faffy, and if you want people to be able to use it when you’re not about you’ll need to leave the PC and server running whenever you’re not around, but it’s worth doing it to test out if you actually enjoy being the admin of a lot of friends in a Minecraft world. If you do, you’ll probably want to invest in a proper dedicated server.