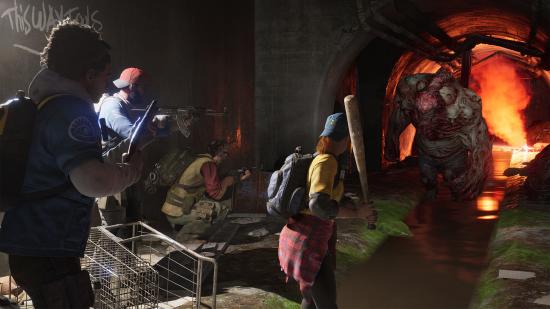
Want to know the best way to farm supply points in Back 4 Blood? Since getting Back 4 Blood cards to add to your decks relies on spending points in supply lines, having a place to farm points quickly is the best way to get new cards. This enables you to make the best decks in the zombie game as soon as possible.
To farm as many supply points in the shortest amount of time, you need to grind one mission with a particular build across your entire team. Not only is your team’s deck build important, but so is your Back 4 Blood character choice. The player who chooses Hoffman has an additional grenade slot by default. Grenades are vital in making this mission take just a couple of minutes to complete.
If you and your team want to farm Back 4 Blood supply points as efficiently as possible, here’s an overview of which mission to farm, the decklist for the best build to farm the mission, and a rundown of what you can expect going into the mission from beginning to end.
How to farm supply points in Back 4 Blood
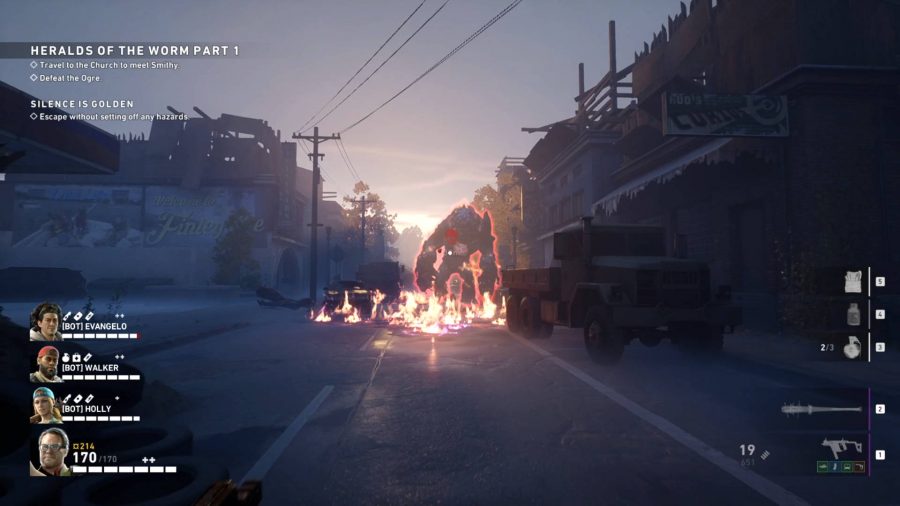
This Back 4 Blood supply points farm method from PNDK&M is absurdly quick, able to amass 52 supply points for about a minute of gameplay once you get the timing down. The idea is to fight against the ogre and special infected in the mission Heralds of the Worm Part 1 on veteran difficulty. This mission is towards the end of Act 2 in the Back 4 Blood campaign.

Your team needs a full set of explosive perk cards to get through this mission as quickly as possible. An entire team of real players running the same build is optimal, but this farming method can be done with one bot with relative ease. The order in which you make the deck matters, as you draw cards in the order shown on the decklist.
Here is the Back 4 Blood farming build for the mission Heralds of the Worm Part 1:
- Demolitions Expert
- Improvised Explosives
- Bomb Squad
- Grenade Training
- Double Grenade Pouch
- Surplus Pouches
- Glass Cannon
- Evasive Action
- Olympic Sprinter
- Superior Cardio
- Fleet of Foot
- Cross Trainers
- Energy Drink
- Dash
As you can see, there are two main ideas in this build. The first is that you want as many frag grenades as you can carry, and those grenades should deal the maximum amount of damage to the ogre, who is surprisingly weak to explosives. Second, you also want to be able to sprint to the safe room once the coast is clear, so increasing your stamina bar is required to do so without getting mobbed by regular enemies.
Upon loading the mission, you’ll automatically receive some cards for your deck as this mission is several levels into the second act. You’ll also get to pick an additional five cards. Use the five cards to fill in any gaps in your active build. You’re aiming to bolster your uses and damage output for your grenades and improve your max stamina.
As the mission starts, go into the shop. You’ll see that you have roughly 2,350 copper to spend on upgrades. Buy the maximum amount of frag grenades that you can carry. This is key to the build working. After that, you can spend the rest on a bottle of pills for healing and improve your gun and attachments.
Open the gate at the bottom of the slope and edge forward until the ogre spawns. When it gets to around 40 metres away, start throwing grenades at it. It should perish after just a handful of grenades. Once it’s down, take out the rest of the special infected, and if a teammate has room, you can use a pipe bomb to lure the regular enemies away, clearing a path.
After defeating the ogre, and the special infected that appear with it, you should dash to the end, turn right at the corner, and make for the safe room. Along the way, there will be at least two Sleepers on the walls, so make sure you shoot them from a safe distance. One will be on the corner, and one will be close to the safe room.
Once everyone’s in the safe room, close it and get yourself 52 supply points per run. You can then quit the run, spend your supply points, and set up another run in the same mission. If you’re just starting the game, you’ll want to know how to unlock Jim, Karlee, Doc, and Hoffman in Back 4 Blood. Alternatively, you may wish to know all of the Back 4 Blood golden skull locations.

