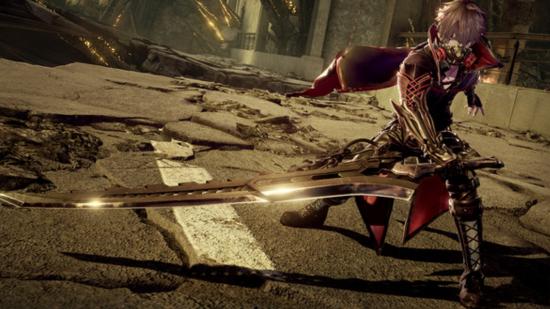
Code Vein bosses come in all shapes, sizes, and species. Some will pepper you with poison damage while others just swing around large swords. Bosses can be taken down solo or with one of Code Vein’s NPC companion characters at the end of each exploration zone. Remember to bring the right tools to the fight by choosing the right Code Vein build.
We’ve got the specifics below on how to handle the first six bosses in Code Vein, but there are a few general tips to keep in mind as well. Remember that dodging is almost always your friend during a boss fight. You’re immune to damage while dodging, which is useful for avoiding some of the nastiest attacks. You’ll see us referencing when and where to dodge during several fights against Code Vein bosses.
You can also manage to over level yourself for a boss fight if you’re really struggling with it. Spend your Haze (experience points) on increasing your own level and the power of your weapons. If in doubt, go back through the area you’re in to collect more Haze to invest before continuing to beat your head against the wall of a boss who has you outmatched. So, here’s how to defeat all six Code Vein bosses.
Oliver Collins
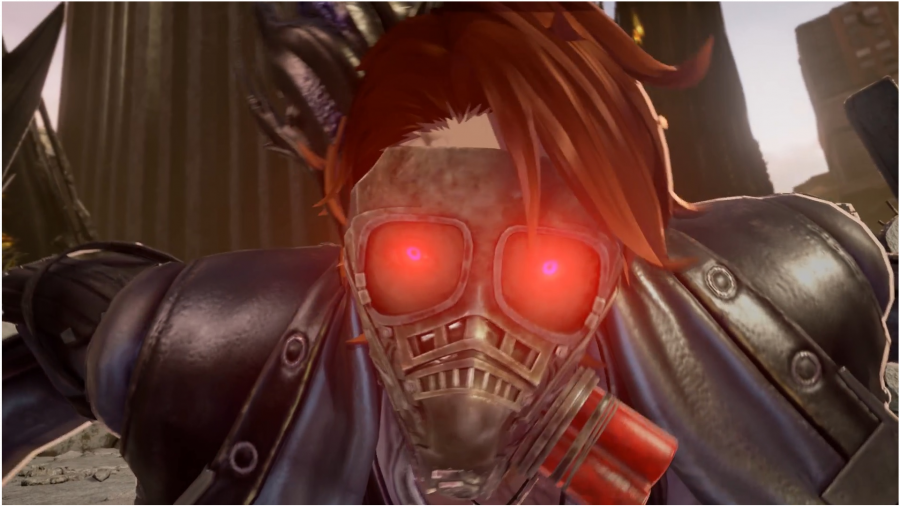
Oliver Collins is, tragically, both the first partner and first boss you’ll see in Code Vein. He turns into a full Lost and goes on a frenzy after your encounter together in the Ruined City Underground. Oliver Collins has the Berserker type Blood Code, meaning that he’s a heavily melee-focused boss. Since you’ll be taking on Oliver alongside your new partner Louis, choosing the Fighter Blood Code for yourself is a safe choice. You’ll be better able to draw Oliver’s aggro while Louis does a combination of melee and casting damage.
Oliver Collins has just two phases. During the first, he has two attacks that leave easy openings for counter damage: a leaping hammer attack and a single swing, followed by an overhead hammer strike. Move in close to deal some damage after either of these attacks. When moving to his second phase, Oliver Collins goes through a transformation that causes AOE damage so be sure to stand back. He’ll also use an AOE damage skill a few times during the second phase. He’ll hold up his left hand glowing red just before it strikes. Although Oliver is much larger after his transformation, he’s also slower. You can likely keep behind his back and continue dealing damage while watching out for his three-hit attack.
Butterfly of Delirium
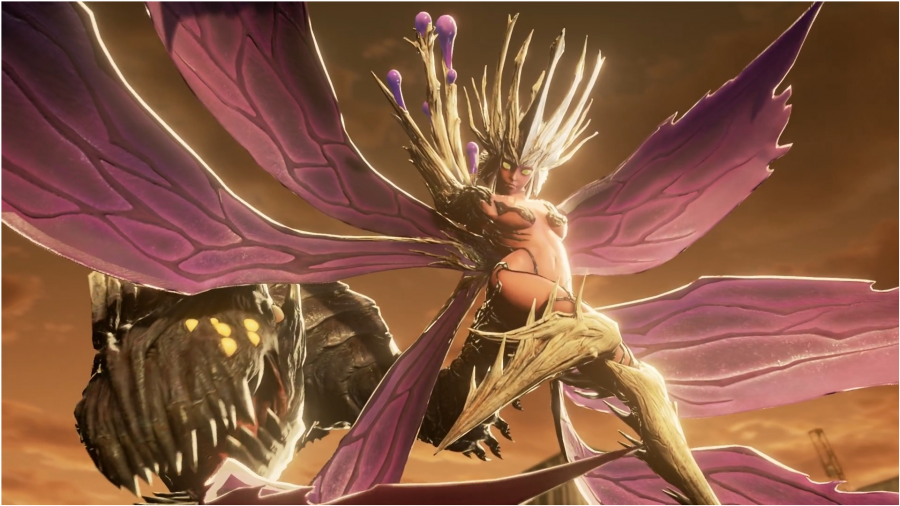
You’ll encounter Butterfly of Delirium just after the Ruined Park in the Ruined City Center. Louis is a good partner for this fight as well because his deep pool of Ichor means he’ll be able to revive you several times during the fight, if needed. The Butterfly’s use of venom damage may get to you quicker than you think and run you out of healing options without Louis’s backup. A Ranger or Caster Blood Code makes a good choice here for keeping your distance when needed.
The Butterfly relies heavily on venom damage that you’ll need to do your best to avoid as it saps your health quickly. When she curls up and begins to glow purple, stand back as her AOE attack is coming. When she shoots several purple projectiles forward at you, dodge directly into them instead of backwards. Your dodge should bring you much closer to her and this is one of the best times to score some damage and regenerate Ichor by doing so. When she eventually uses the single purple homing missile of venom, you can use a ranged shot from a bayonet weapon to disperse it.
Insatiable Despot
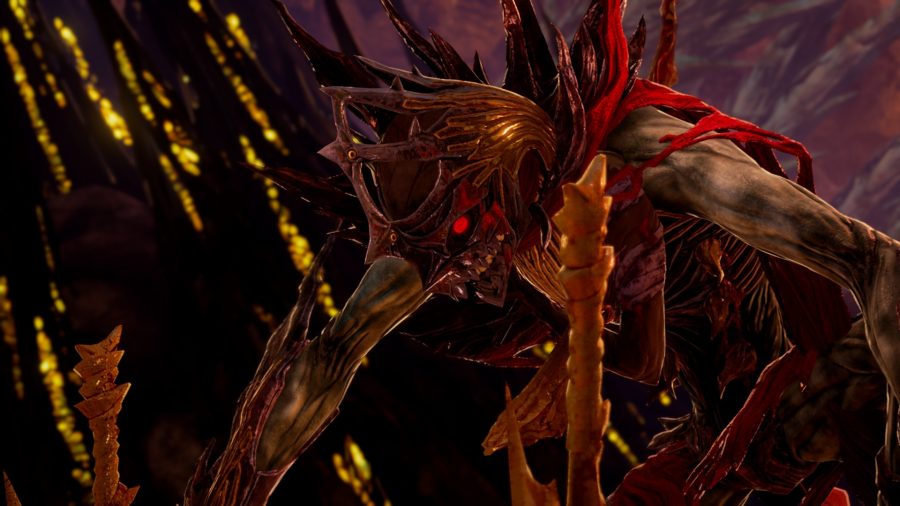
The Insatiable Despot is a surprisingly manageable fight if you stay aware of your surroundings. Either Louis or Yakumo make good partners for this fight. For yourself, either the Berserker or Fighter Blood Code is a safe choice.
During its first phase, the Despot will summon pillars from the pools of liquid around the area. Make sure to deal with these immediately. If left unattended, they’ll turn into two quick-moving grunt enemies that will distract you from the Despot. During its second phase, the Despot will begin using a giant trident. During both phases, you should be able to stay underfoot of the Despot, dodging attacks as you see them and remaining close enough to deal damage in between.
Invading Executioner
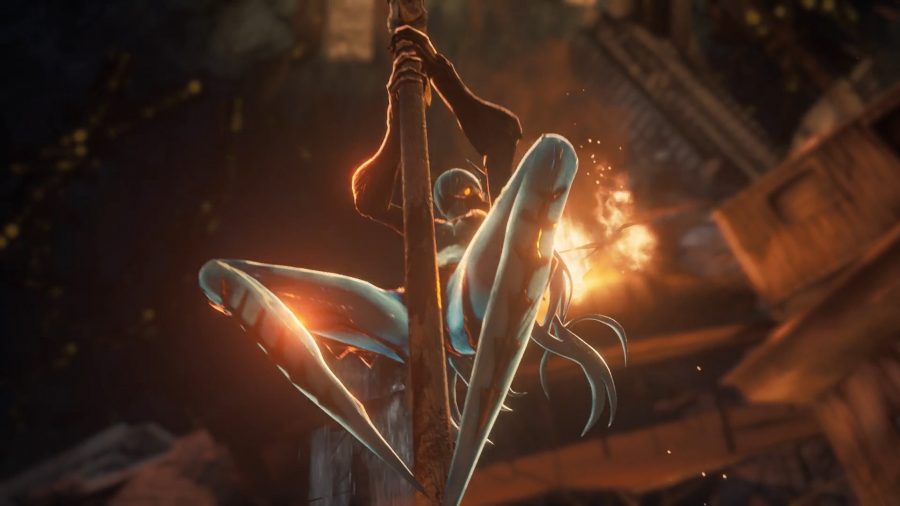
The Invading Executioner at the end of the Howling Pit can be a real pain. She moves quickly, has a lot of reach with her sickle, and can apply the slow debuff later in the fight. She’s immune to slow but can be damaged with venom, fire, and ice. Despite attempting a lot of magic gifts and bringing along Louis for extra casting, we found the Executioner easiest to take down with a lot of pure damage and health by equipping the Berserker Blood Code and bringing Yakumo as a partner. Yakumo was also particularly good at staggering the Executioner, leaving big windows for extra damage.
Early on in the fight, you’ll be able to guard against the Executioner’s sickle attacks to mitigate damage if you’re using a melee-focused Blood Code. If you have a partner with you, specifically Yakumo, you’ll be able to trade off which of you is holding aggro and which is dealing heavy strikes from behind. The Executioner’s most dangerous attack in her second phase is the one when she slides forward low to the ground on her sickle. The attack hits like a truck and applies the slow debuff. Even as a Berserker, you’re best off dodging forward into this attack to evade it. She often chains two or three slides together – so save your stamina. Deal damage when you can and use damage-enhancing Gifts like Blow of Madness or Adrenaline.
Argent Wolf Berserker
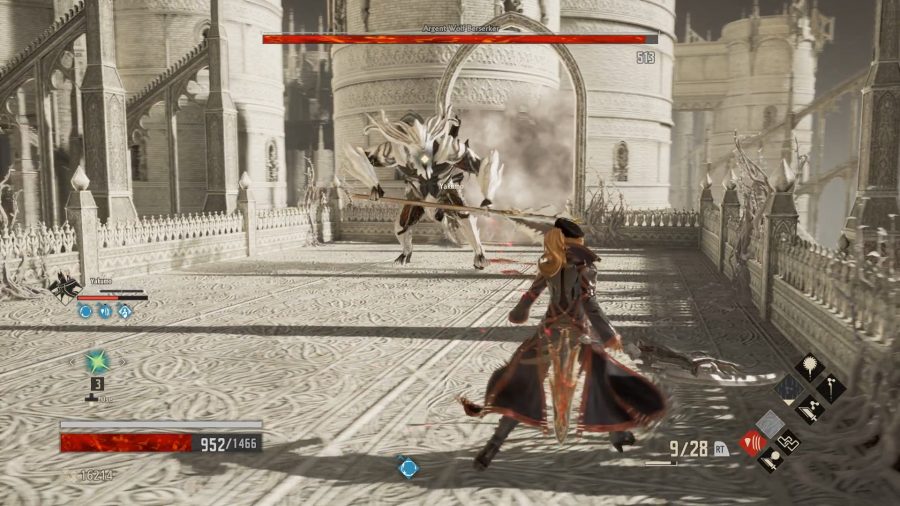
The Argent Wolf Berserker is a relatively quick Code Vein boss fight coming midway through the Cathedral of the Sacred Blood. Just about any build will work fine here, as will any of your three companions so far: Louis, Yakumo, or Mia. The Argent Wolf has a few combos with its giant mace and an AOE ground attack that you’ll want to dodge away from.
One of the easiest ways to take down the Argent Wolf is through liberal use of backstabs. The Wolf is susceptible to them and can be particularly abused if you’re using a companion character or co-op partner to hold aggro for you. If you’re alone, you can still dodge through his single-handed mace attacks to get behind him for those needed backstabs.
The Queen’s Knight
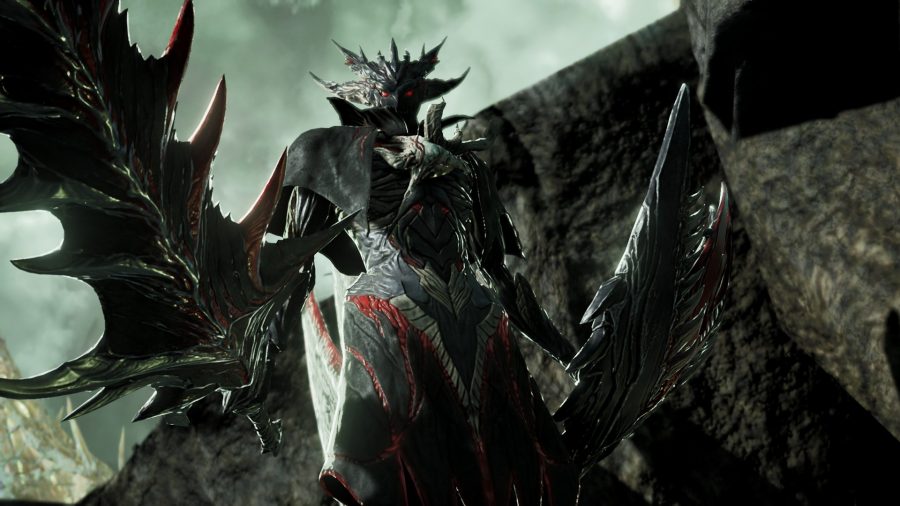
The Queen’s Knight can be a challenging boss fight as it’s the first where you’ll be partnered with Jack Rutherford instead of whichever companion you preferred previously. You encounter the Knight near the end of your own memories, the area you’re transported to shortly after the Argent Wolf fight. Jack’s Blood Code called Heimdal makes him a bit of a glass-cannon melee character. We found the best success in using the Berserker or Atlas Blood Codes to absorb damage from the Knight while Jack deals damage from behind.
During his first phase, the Queen’s Knight uses a variety of sword swings and shield bashes. The sword swings have quite a bit of range, making them difficult to dodge. With enough health and damage resistance from gifts like Foulblood Barrier or Iron Will, you can stand your ground and guard against attacks instead of dodging them. In his second phase, the Knight will begin teleporting into the air and slam back to the ground at your location. These attacks are easier to dodge than the first phase sword swings. These attacks land slightly later than you may expect, so wait to dodge until the very last second. The Knight will also use an AOE style attack where he slams to the ground and four lines appear on the ground radiating from him. Dodge out of these zones immediately when he lands.
