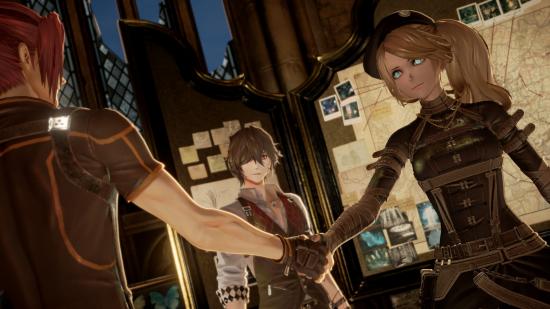
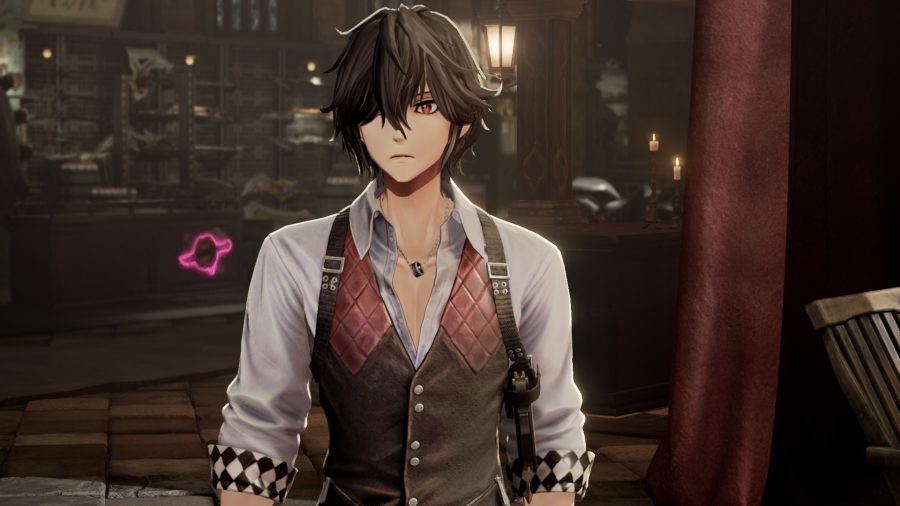
Thanks to Code Vein companions, the vampire apocalypse doesn’t have to be such a lonely place. You’ll almost always have a fellow blood-drinking friend at your side. Put away any assumptions you have about AI teammates because Code Vein’s companions come in with clutch saves both in and out of combat. Here are the quick facts you’ll want to know about how companion NPCs work generally, followed by combat tips for each.
When you’re out exploring, companions will often call out useful hints. They may spot enemies waiting to ambush you around a corner, loot that you haven’t picked up, or just remind you that you’re getting low on regenerative healing items. They don’t typically spot hidden pathways that you haven’t noticed, though – that part is on you. But they will give a verbal callout when you hop down onto an unassuming ledge, confirming that you’re headed in the right direction.
When it comes to combat, each companion has their own Blood Code, meaning they have different strengths in a fight. Check out our Code Vein builds guide to learn more about them. Aside from knowing their Blood Code, you won’t be able to micromanage your companions. They have preset Gifts (skills) and Blood Veils (armour) that you can’t swap out for other options. You’ll just need to trust their judgement and adjust your own build accordingly.
Swapping companions is easy and you’ll be able to trade out your supporting cast almost as often as you trade your Blood Codes. Travel back to your home base from any Mistle (the save points) on the map while exploring. Talking to any of the available combat companions will give you the option to ‘Switch Companion’ and take them along with you next time you venture out.
How does each companion stack up and how do you know which one to take to a fight? We’ve got the basics on your first three main companions below:
Louis
Blood Code: Prometheus
Louis is the first main companion you’ll travel with in the Ruined City. He’s the perfect (and only) companion for the earliest area of the game. Louis is initially able to deal out more damage than the player character. He also has a healthy pool of Ichor available so he’s able to revive you using the neutral Gift called Restorative Offering several times before he runs out of health and Ichor himself. This makes him a great choice for early in the game while you’re still learning the ropes and more likely to make fatal mistakes. He can’t save you from falling off the map though, so do try to avoid that, won’t you?
Louis makes heavy use of his Blade Dance and Fire Storm abilities for dealing damage both while exploring and during boss fights. If you need a breather, focus on dodging enemy attacks and Louis will often deal enough damage to keep enemies occupied. During boss fights, you’ll have to pull your own weight though as Louis is a glass cannon and will struggle to stay alive in more prolonged fights.
Louis does well with the Butterfly of Delirium boss who deals a lot of potential venom damage. You may run out of consumables that prevent against venom damage while taking this boss on so Louis’s ability to consistently resurrect a party member is invaluable when the venom saps all of your available health.
Yakumo Shinonome
Blood Code: Atlas
Yakumo is your second available companion. He’s a heavy-hitting tank character capable of absorbing quite a bit of damage. He doesn’t have a large stock of Ichor so you can’t rely on him to resurrect you with Restorative Offering. He typically chugs through the Ichor available to him and won’t have any left over to save your posterior.
Yakumo is a great companion for a player character using a ranged build like the Ranger or Caster. His ability to guard against heavy enemy attacks means that he often retains enemy focus, giving you the opening to go for backstabs or take ranged shots from further away.
Yakumo leans heavily on one of his active Gifts called Foulblood Barrier which reduces incoming damage for both you and him for a period of time. He also makes good use of a Gift called Guard Reversal which allows him to stagger enemies after guarding against them.
Yakumo came particularly in handy against the Invading Executioner boss. The Executioner moves quickly and deals out a lot of raw damage without too many status effects. Yakumo is great at absorbing those hits and parrying when possible so that you can both land some extra damage.
Mia Karnstein
Blood Code: Artemis
Mia is the third available party member after you meet her in the Howling Pit. She’s a ranged fighter who uses a bayonet weapon to keep her distance. If you’re planning to bring Mia along, you’ll most likely want to equip a more melee focused Blood Code for yourself so that you can aggro enemies while she lays on damage from afar.
Mia is partial to her active Gift called Fusillade Rondo that fires a barrage of purple homing projectiles. She will also usually use Bloodsucking Blades at the beginning of a fight which temporarily increases the drain rating of your weapon attacks. Weapon drain comes into play when you backstab, parry, or charge a weapon attack. Be sure to make good use of these combos while adventuring with Mia, especially when you spot the Bloodsucking Blades status effect that looks like a serrated blade.
You may want to bring Mia along for the Agent Wolf Berserker fight in the Cathedral of the Sacred Blood. With your own melee focused Blood Code equipped, you can handle the Wolf Berserker’s heavy-hitting attacks while Mia provides support from further away. The fight takes place in a small space and can go pretty quickly so long as you keep the boss’s attention on yourself.


