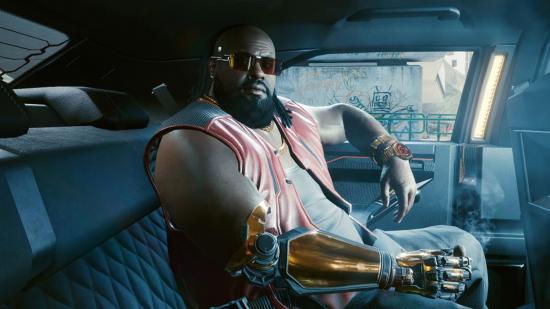
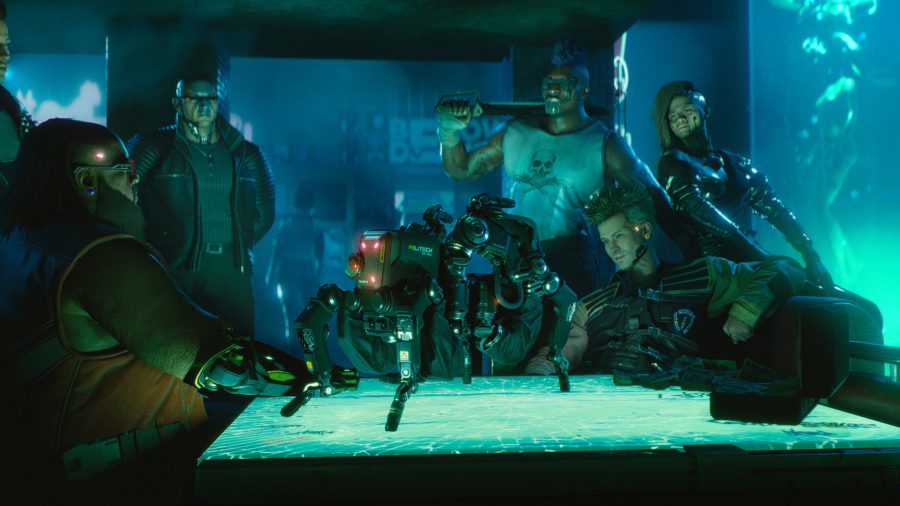
Looking for a guide to The Pickup job in Cyberpunk 2077? The Pickup is a main job that arrives early in the game; after Dexter DeShawn tasks you with retrieving the Flathead from the Maelstrom gang – which has been stolen from a Militech convoy. Dex has already paid for the Flathead, but following a ‘change in leadership’, it’s uncertain whether the new Maelstrom boss – Royce – will honour this payment. Meredith Stout, a Militech corpo, is eager to get her hands on the stolen goods, too.
It’s the first job you’ll encounter with branching outcomes depending on the choices you make throughout the mission. There are also a few unique opportunities that depend on your chosen Cyberpunk 2077 life path, and some unique items that are only obtainable following certain decisions – so if you’re curious about the possibilities available to you, we’ve compiled a guide to help you navigate the possible outcomes.
There will – naturally – be spoilers ahead; so be warned – we’ll walk you through all the options for the quest itself, plus reveal how your decisions impact a side job later in the game, for the extra-curious. We’ll mark this clearly, so you can leave the side quest as a surprise if you wish.
Ignore Meredith and go straight to the warehouse
Let’s start with the simplest option. You charge straight in, guns blazing – initiating combat without even speaking to anyone. This will make every Maelstrom member hostile to you; you have to get to the Flathead, steal it, and then win the battle with Royce and escape. Since you didn’t involve Meredith whatsoever, her rival Gilchrist won’t be promoted over her, but it seems like he prevails eventually anyway.
Alternatively, you enter the warehouse intending to speak with Royce and sort out a deal to obtain the Flathead. You can purchase the Flathead with your own money – a hefty sum of 10,000 eddies – and then walk out peacefully. If you can’t afford it, though, you have no choice but to shoot Royce during the conversation, and fight your way out through Maelstrom goons. Back at Militech, the same story plays out as above.
Meet with Meredith and reject the Militech credit chip
If you decide not to take Meredith up on her offer and instead head to the warehouse without the Militech credit chip, a similar scenario takes place; you can either purchase the Flathead with your own money and walk out peacefully, after which you’ll meet Gilchrist on your way out, and Meredith meets a brutal end – or, shoot Royce and fight your way back through the warehouse with the Flathead. Meredith will meet you outside, seemingly happy with the way things have shaken out.
Accept Meredith’s credit chip
After accepting the credchip, a Corpo V will immediately recognise that it’s infected – unlocking the objective to clean it before handing it over. Even if you’re not a Corpo, you can still clean the chip. When you meet Royce, you can use the clean credit chip, use the infected chip but warn Royce about it, or use your own money – all of these options will result in Militech storming the building, and you’ll have to fight your way through them with the Maelstrom gang on your side. Instead of fighting Royce, you’ll fight two Minotaurs instead. With Meredith betrayed, Gilchrist receives a promotion and Meredith gets eliminated.
You can also choose to pay with the infected credchip without warning Royce – or just shoot him during the conversation; the Maelstrom gang won’t be happy about either of these things and will fight you as you try to escape. After you make it out, you’ll see Meredith, who will thank you for your cooperation.
Extras
These are additional elements to the mission that you might miss – if you didn’t have us, that is.
Gathering Information
There’s a computer in a room in the west corner of the warehouse after you go through the maintenance shaft, containing information you can sell to Meredith or blackmail Gilchrist with.
Bike Tuning
If you have enough Technical Ability, you can recommend Jackie tunes his motorcycle – he does, and the bike remains tuned when you encounter it later.
Free Drugs
Street Kid Vs can comment on the Black Lace drug when Dum Dum shows you his inhaler – if you resolve things peacefully with Maelstrom, he’ll give it to you on your way out.
Free Brick
The previous Maelstrom leader, Brick, isn’t dead – he’s actually locked up in a room in the warehouse. You can save him by hacking the panel or entering the code from the nearby computer; 9691. The cell is armed with explosives – there’s a detonator in the same room as the PC, which you can activate remotely to blow Brick to smithereens, or defuse, if you want him to live.
Meredith follow-up quest
End things favourably with Meredith, and she’ll send you a text message later on in the game. If you take her up on her offer, you can follow the subsequent quest and eventually receive the Cyberpunk 2077 dildo weapon.
Second Conflict
This is the side job that arises later in the story – if you don’t want to know the consequences of your choices in The Pickup, look away now (we suggest sneaking over to our Cyberpunk 2077 stealth guide).
It’s time for a reunion with the Maelstrom gang – but the members you’ll meet depend on who survived The Pickup. If you fight Maelstrom and rescue Brick, he’ll greet you, and the quest will resolve peacefully. If you fight Maelstrom and leave Brick to die, you’ll deal with Patricia – who will take you to a back room and then attack you. However, if Royce and Dum Dum are still in charge, you can avoid combat by sneaking Nancy’s data out without being detected.
Those are all the paths you can take – and outcomes you can achieve – from Cyberpunk 2077 The Pickup mission. If you’re tempted to reroll and choose a different path in your next playthrough, consider trying out a new Cyberpunk 2077 build or switching up your Cyberpunk 2077 cyberware.

