Wondering how to beat the Final Fantasy XIV Endwalker trials? Throughout the main story of Endwalker, the new Final Fantasy XIV expansion, players face multiple challenges – including trials, tricky boss fights that require careful coordination and observation.
The Endwalker expansion wraps up FFXIV’s epic story, as the Warrior of Light stands against the threat of a looming catastrophe called the ‘Final Days’. As they battle to stave off this threat, players go toe-to-toe with several key figures from the game’s legendary saga – so if you’re still making your way through the expansion, beware of spoilers for the main story below. Once you’ve made your way through the story, you’ll be able to unlock extreme trials for Endwalker, in which you face the same bosses but with more complex fights and even better rewards.
The FFXIV expansion also introduces two new jobs – if you’re interested in wielding a giant scythe or protecting your teammates using powerful barriers, take a look at our FFXIV Reaper guide and FFXIV Sage guide. To help you get around, we’ve also got a guide to the FFXIV Endwalker Aether Currents locations. If you’re ready to test your skill, here’s how to defeat every boss and complete the FFXIV Endwalker trials.
The Dark Inside
Phase One
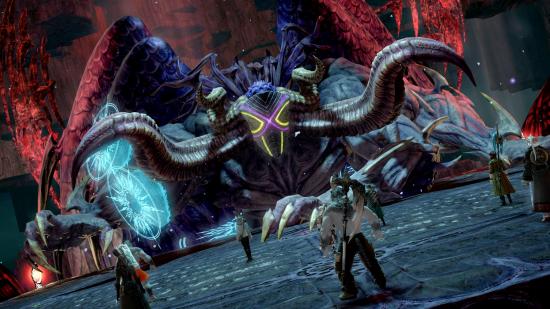
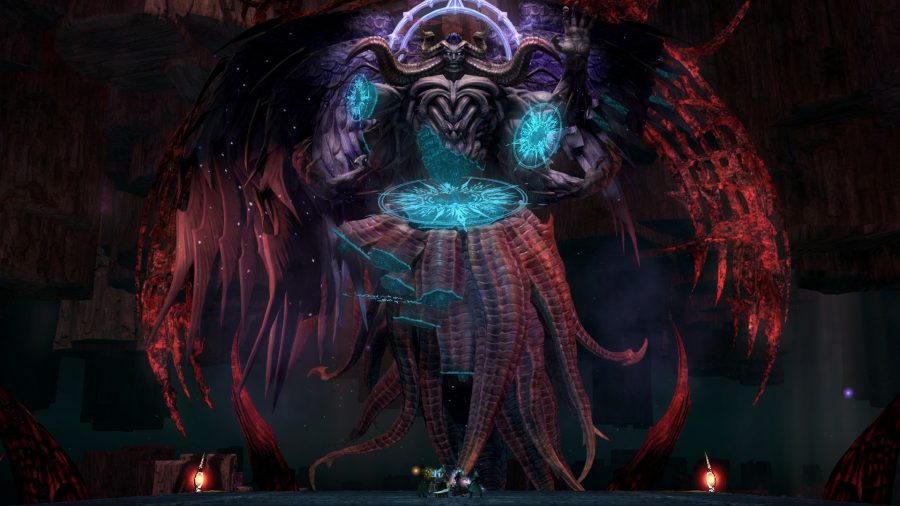
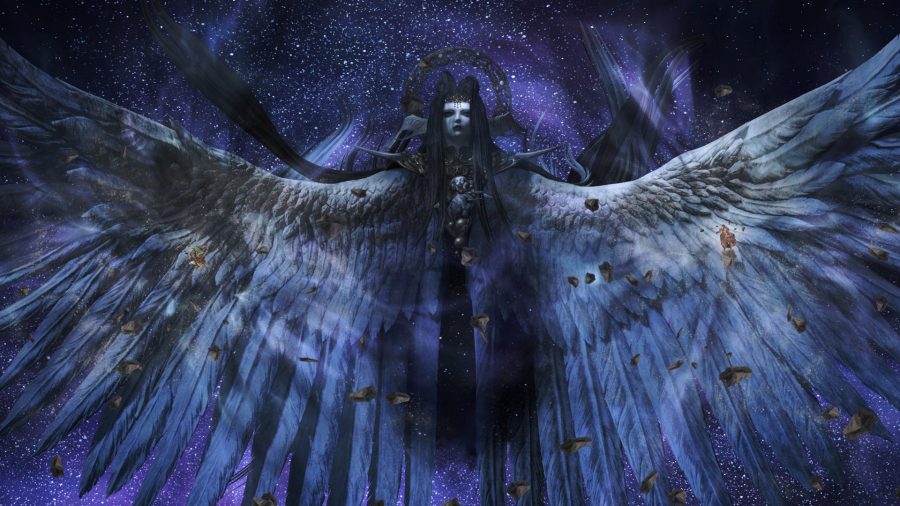
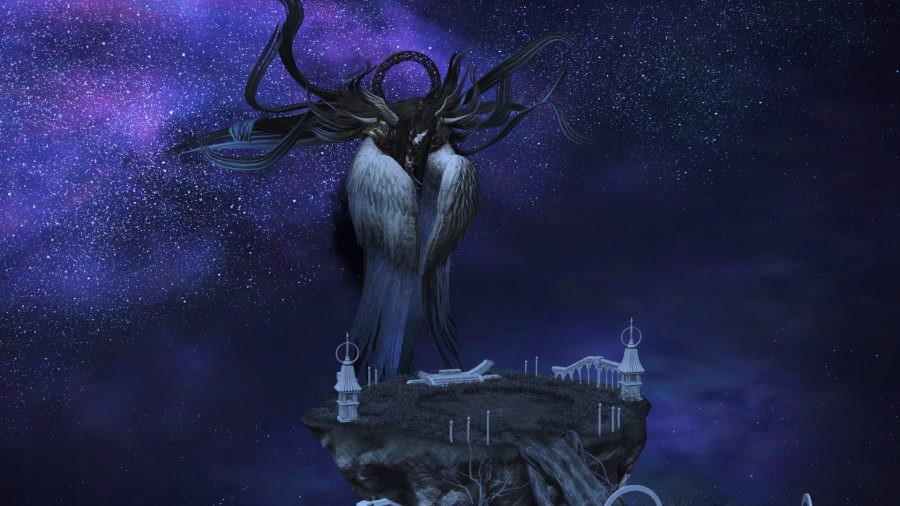
The fight against the notorious Zodiark has two phases. The boss’ initial rotation is composed of a few relatively straightforward skills, like Kokytos, an area-of-effect skill that leaves all the party with a single health point, and Ania, a tank buster.
Zodiark also uses Exoterikos to create portals with either a triangle or a square sign. When a triangle appears, a giant cone attack fires across the arena – a square, however, indicates half the arena will be hit by the attack.
Zodiark’s Paradeigma skill summons two types of creatures: either two behemoths that cast a double area attack, or two snakes with frontal attacks.
Additionally, he will use Phlegethon, a multitarget attack, and Styx, a very strong sequence of attacks that the party must stack to split the damage. After using each of these skills once, Zodiark will combine them until this stage ends.
Phase Two
In the second phase, Zodiark casts Paradeigma together with Astral Flow, which moves the arena to the direction indicated by the arrows. Since you can’t move after the skill animation starts, you must position yourself in a place that will remain safe after the arena moves.
Zodiark continues to cast Phlegeton, and also has a new double area-of-effect skill called Adikia. Players can avoid this attack by staying north or south of the arena.
Zodiark also uses Triple Esoteric Ray, a triple frontal attack. The lasers fire in the order they appear – either the central laser fires first followed by the two lasers either side, or the inverse. After this, Zodiark also casts Algedon, a diagonal attack that pushes the players out of the platform.
The final additional skills in the second phase are Astral Eclipse and Trimorphos Exoterikos. During Astral Eclipse, Zodiark strikes sections of the arena with stars; a constellation in the sky indicates where they will hit, so you can find a safe place to stand. Trimorphos Exoterikos is a more complicated version of Exoterikos that is cast three times, one on each side of the arena. The signs are the same, so all you need to do is pay attention to the order they are cast in order to escape the attack. From then on, these skills repeat, and combine with skills from the first phase until the end of the fight.
The Mothercrystal
Hydaelyn’s fight is less complicated than Zodiark’s, but it’s still important to pay attention to her skills. The most crucial mechanic is Hydaelyn’s Dawn Mantle, which swaps between three different modes – red, green, and blue. While it’s red, all the party must stay in the center, right below her. Green indicates she will perform an attack in an AoE around her, so keep some distance. Blue is a cross-shaped attack; to avoid it, stay in the corners of the arena, ensuring you’re not in melee range.
In the first phase, watch for Heroes’ Radiance and Magos’ Radiance, which both damage the whole party, and Mousa’s Scorn, a tank buster that needs to be shared between the two tanks. There’s also Heroes’ Sundering, a solo tank buster.
After this phase concludes, you enter a transition phase where you must destroy six crystals before Hydaelyn finishes casting Conviction. Be prepared to deal with a lot of multitarget attacks and AoEs.
Once the phases shift, Hydaelyn will continue to use Dawn Mantle, but may also cast Crystallize beforehand, which places AOE circles or stack markers on each player. Evade Dawn Mantle before resolving Crystallize by stacking or dispersing.
Hydaelyn also uses Parhelion, three sets of five frontal attacks using chakrams that explode in order of appearance, and Subparhelion, which creates additional AoE attacks after Parhelion ends. To escape from Subparhelion, run to the last one that appears in the arena and wait until the first set is triggered.
Hydaelyn also uses Parhelic Circle, leaving yellow lines that denote where some small AoEs will appear. To evade it, stand next to the ends of the shorter lines, or between the long ones.
The last set of new skills Hydaelyn uses includes Radiant Halo, which does damage to all party members, Lightwave, which invokes giant waves which cross the arena, and Echoes, a sequence of attacks that players have to stack sharing the damage with the marked player. From there, Hydaelyn keeps using these last skills until the fight ends.
The Final Day
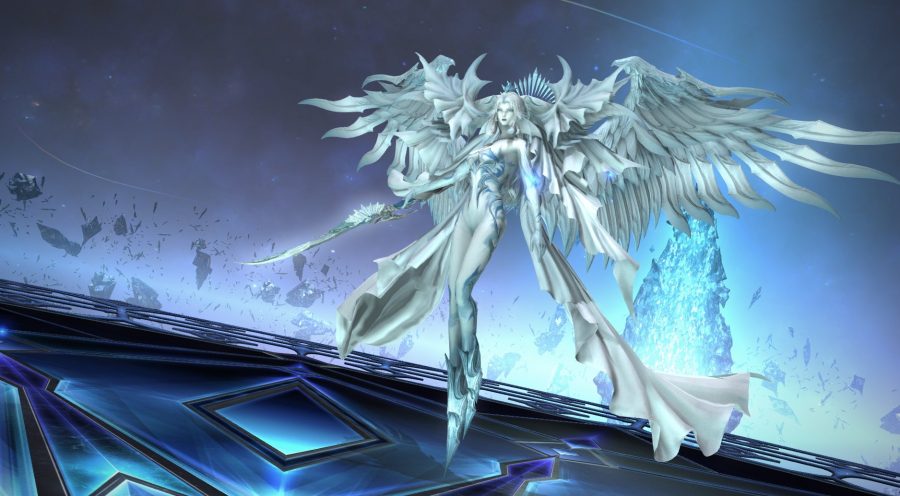
To beat this last trial, players must use everything they’ve learned during the last two fights. Endsinger’s most important skill is Elegeia, which will be used in both phases of the fight. While she deals damage to all players, two planets also appear and rotate around the arena. Stand on the opposite side to the slowest planet in order to avoid the massive explosion that appears once both planets collide.
When Endsinger uses Galaxias, players must go to the middle of the arena, as it pushes everyone towards the edge.
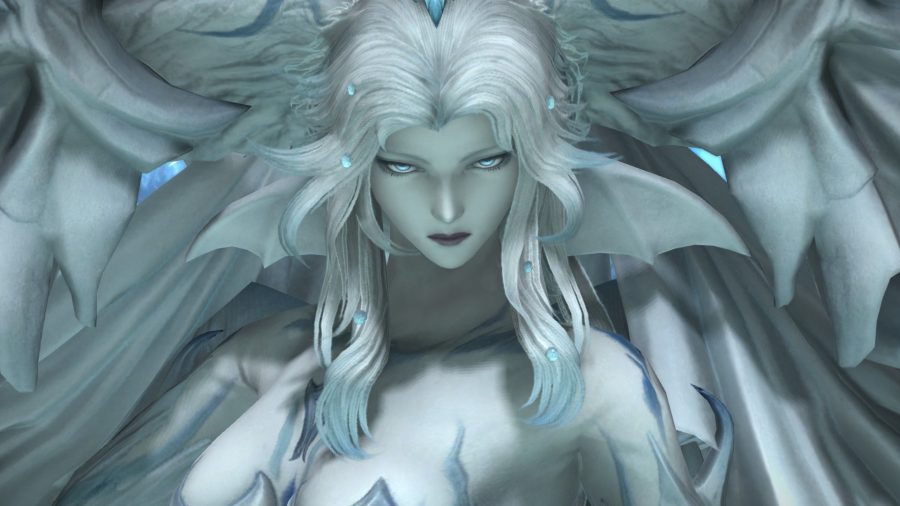
Elenchos is a skill Endsinger will continually use during the fight, and it has two versions. The first is a frontal attack in the centre of the arena, and the second attack hits both sides of the arena. To know which is going to be used, pay attention to her face; if she’s crying, the safe spot is in the centre, but if her mouth is open and glowing, the safe spots are on the sides.
Endsinger also casts Death’s Embrace, a multitarget attack, placing feathers on the arena that damage anyone near them. Next, players face Aporrhoia, four frontal attacks, and Hubris, a tank buster that affects both tanks.
At a certain point in the fight, Endsinger will use Elegeia Unforgotten; this is the same as Elegeia but is followed by Fatalism, which recreates the collision between the planets. Stay out of the area until the second explosion.
After this, she will use new abilities, including Ekstasis, which drops big AoEs on the arena, and Nemesis, which targets players with area-damage marks. Usually, when the latter happens, she also uses Interstellar, a massive frontal attack, requiring players to gather in small safe spots. If you were picked by Nemesis, take care not to overlap your mark with others.
During the transition to Endsinger’s second phase, players must kill Kakodaimon before Despair is charged. After this, tanks must cast Limit Break level 3 otherwise the party will die. Endsinger also throws planets at the arena, which can be avoided by staying away from the indicated regions. Endsinger’s second phase is composed of a lot of area damage, some of which must be split among the party by stacking. Conversely, some multitarget attacks can be baited away from the party by the marked players. She repeats this pattern until the fight ends.
