Cleaning a keyboard can give your clicky clacky companion a new lease of life, as hidden filth could hamper its gaming PC performance and abilities. Even if you regularly take time to clean your computer and tidy your gaming desk, there’s a good chance your board is still harbouring a revolting secret, one that’s easily revealed with a smartphone flashlight.
Go on, have a look. See? That’s why you should learn how to clean a keyboard. It’s arguably easy to ignore what you can’t immediately see, but all that grot can affect keystroke accuracy. This in turn might disrupt your performance in the best FPS games, as reduced responsiveness could send you to spectator mode early.
Functionality aside, dirty keyboards are also a genuine health risk, as studies suggest they retain three times more bacteria than a toilet seat (via Forbes). So, whether you regularly use the best gaming keyboard at home or share a desk at work, it’s worth taking some time to cleanse your peripheral pal.
Here’s what you’ll need to clean a keyboard:
- Compressed air.
- Microfiber cloth.
- Cotton swabs.
- Cleaning brush.
- Isopropyl alcohol.
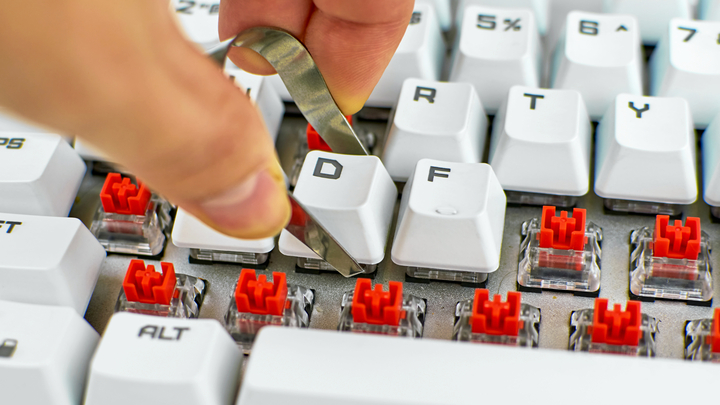
If you’re rocking a keyboard with removable keycaps, you’ll want to grab hold of a keycap puller. This will enable you to properly clean the board’s innards and eradicate hidden dust. We’d advise either cleaning your keyboard outside or on top of an old sheet, as you’ll unleash all sorts of nastiness once you pop those caps.
Here’s how to clean a keyboard:
- Unplug your keyboard from your PC.
- Take a photo of your keyboard, then carefully remove its keycaps using a puller.
- Turn your keyboard upside down and let loose debris fall out.
- Use short bursts of compressed air to dislodge dust and dirt.
- Gently sweep the keyboard’s innards with a soft brush.
- Once visible dust is removed, use isopropyl alcohol and a cotton swab to clean any grooves and crevices.
Isopropyl alcohol dissipates quickly, but you’ll want to still leave it to dry for a bit before reassembling. You could spend this time giving your keycaps a clean, as dust can build up on the sides and underneath. To freshen up your caps, gently clean around the surface with a cotton swab and use a soft brush to remove dirt from underneath.
It’s time to pop your caps back onto your keyboard. Remember that photo we said to take earlier? That’s going to help you put every keycap back in its proper place.
Clean a keyboard without removing keycaps
Removing keycaps isn’t always an option, but it’s still possible to give your keyboard a good clean. Sure, you won’t be able to completely evict any dirt dwelling within, but there are a few ways to give it the boot from the outside.
Here’s what you’ll need:
- Compressed air.
- Keyboard cleaning gel.
- A vacuum cleaner.
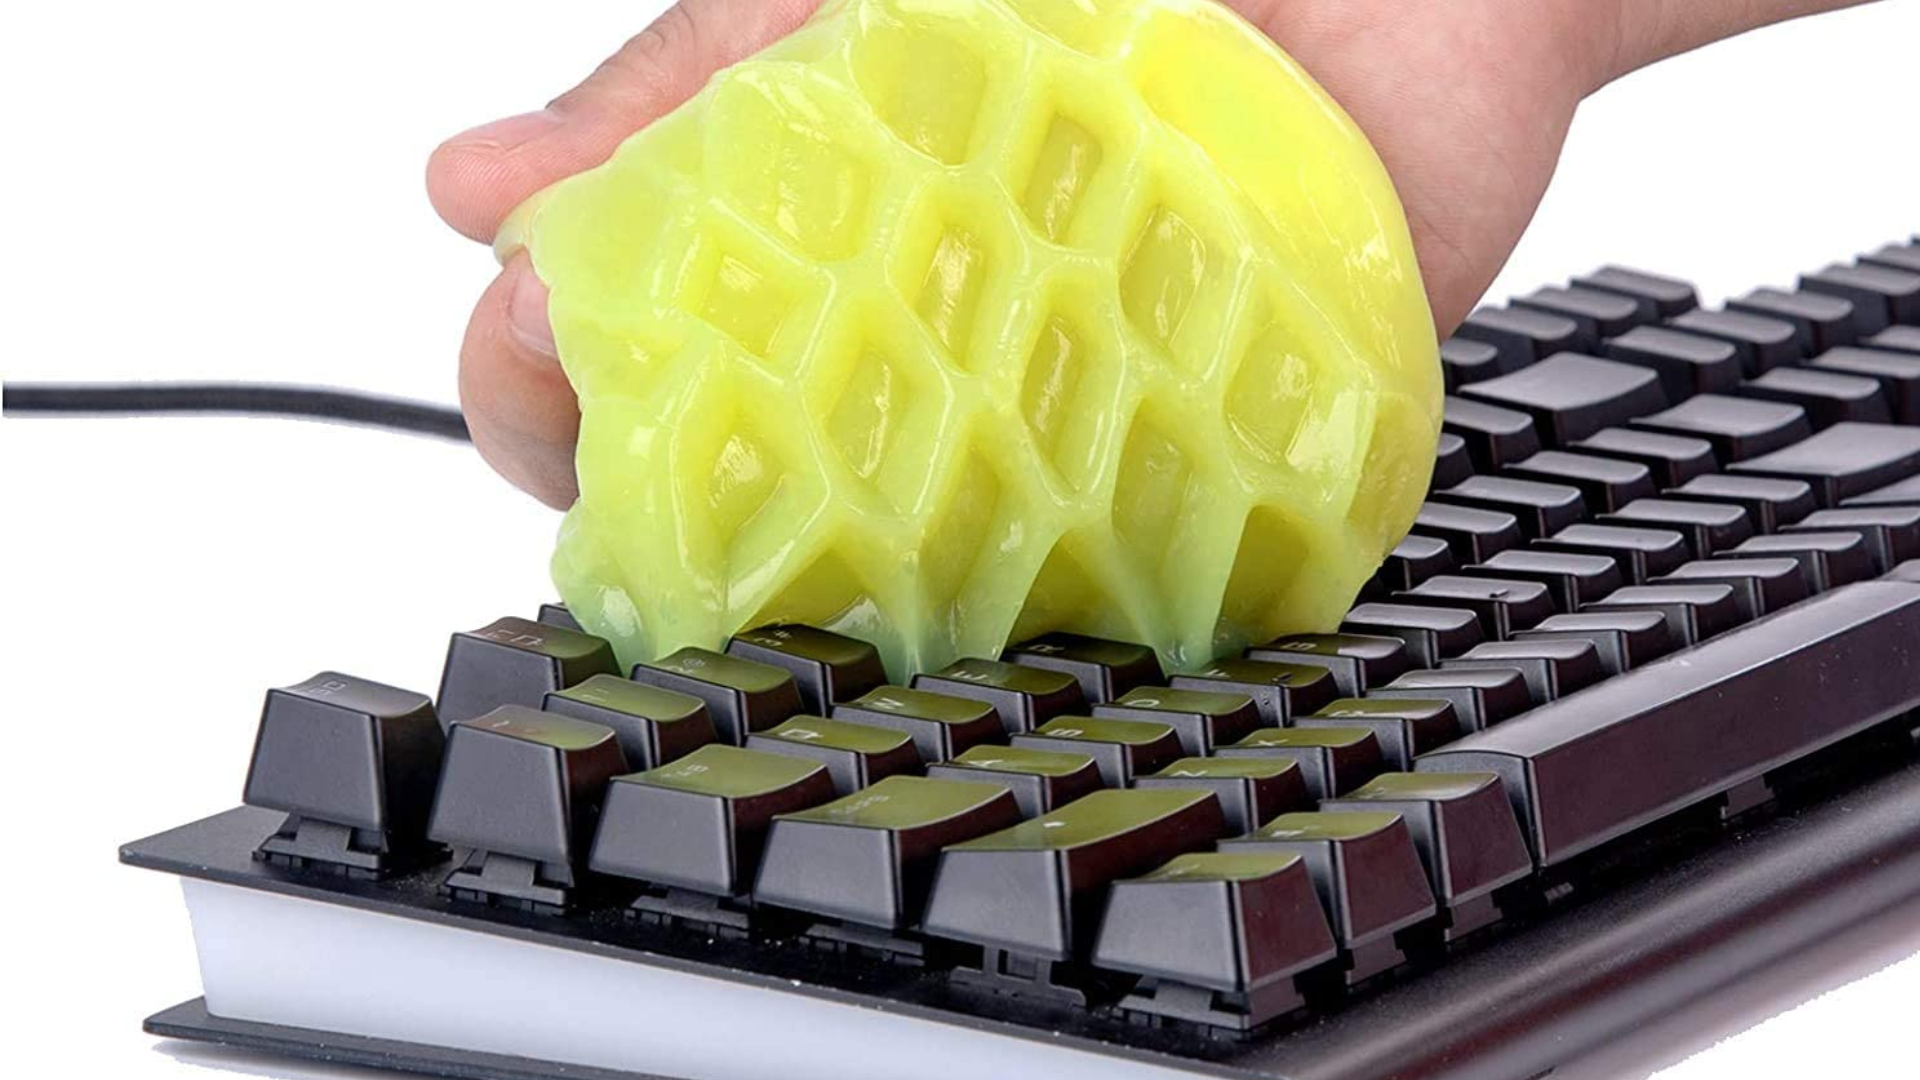
Cleaning gel is like a practical version of silly putty, as it’s designed to capture dust and debris. Most options on the market are also reusable, so they’ll help clean your gaming keyboard for at least a few months.
Using a vacuum cleaner is another great way to oust dirt and grime from within your keyboard. It’s safer to use a device that’s made with gaming PCs and peripherals in mind, as conventional household appliances can generate harmful static electricity.
Here’s how to clean a keyboard without removing keycaps:
- Unplug your keyboard/power it off.
- Hold the keyboard face down at an angle.
- Use short bursts of compressed air between your keycaps.
- Press cleaning gel into your keyboard keys to pick up loose debris.
- Trace each row of keys with a vacuum cleaner nozzle.
Your keyboard should now be a lot cleaner, especially if you use it daily for work and play. If you get a kick out of looking at gross things, you can now look at your cleaning gel and the horrors that are now stuck to it.
To finish, give the surface of your keyboard a wipe down with a microfiber cloth and some isopropyl alcohol, as this will help eradicate any nasty germs. However, try to avoid using household cleaners and chemicals, as these could damage your keyboard’s plastic and keycap lettering.


