Overwatch’s maps are as vital to the whole as the heroes you play as or the basic mechanics themselves. They structure the game, direct the flow of play and make sure different heroes have their moments of dominance. So it’s your job to know them better than anyone else, be aware of every hidden passage, every side route, and every dead-end where you might trap an unsuspecting enemy. We’re here to help with that, with rundowns on Overwatch’s modes to get you up to speed, then tips and tricks for every single map.
Not sure who to play? We can help with that too – here’s the best Overwatch characters.
Overwatch game modes
Overwatch has four different modes: capture, payload, hybrid and control. Each comes with three maps of its own, but here’s how they break down in general:
Capture
Capture maps involve a pair of points that must be attacked in sequence, while the defending team tries to keep them protected. In general the first is a more open, easier to capture area quite near to the attacker’s spawnpoint, while the second is enclosed, has less routes in and is right next to where the defenders pop up. It’s expected that an attacking team will manage to grab the first point fairly quickly, while the second will prove tougher to crack. Teamwork is more important than mobility, as you need to have time to sit about on the assigned square long enough for it to flip allegiances. Once a point is taken, the defenders can’t take it back and have to withdraw defend the second.
Payload
Identical to Team Fortress 2’s cart-pushing mode, Payload is about getting a large device – usually big enough for several characters to stand on, though each is different – from the start of the map to the end. It gets harder and harder to protect it as the map goes on, usually moving through open areas into enclosed spaces where defenders can shoot from all angles and are harder to flank. There are various checkpoints along the route that give the attackers more time, as well as functioning as spawn-point transitions, stoppage points and natural defensive locations. As attackers are more naturally grouped on the cart more often, AoE abilities on either side are of high value.
Hybrid
These maps combine control and payload. A capture point will be the first battleground, in a very open area that is fairly easy to take. Once it’s grabbed, a payload appears and must be pushed to the end of the map. This usually starts hard and gets harder, rather than having an easy beginning, and will have serious chokepoints early on that lead to only tighter fighting environments.
Control
These are maps with three variations chosen randomly. Each is a single control point that both teams are attempting to capture and hold in a King of the Hill style situation. This means you can be switching from attack to defense very quickly, and teams spend a lot of time engaging as six-mans rather than skirmishing as individuals. This really alters how heroes play, particularly those that normally take defensive roles. Equally, managing to cause a nuisance on your own through flanking or skillful play, particularly if your team has already taken the point, is even more effective. Each time a team wins a point by holding it for long enough, another variation on the map is chosen.
Now, onto the maps themselves. When discussing left or right hand locations, it’s always in the context of whatever side is being discussed – attackers pushing towards the end of the map, defenders pushing away. Wherever possible, we’ve got annotated images to help out.
Overwatch capture maps
How to play onTemple of Anubis
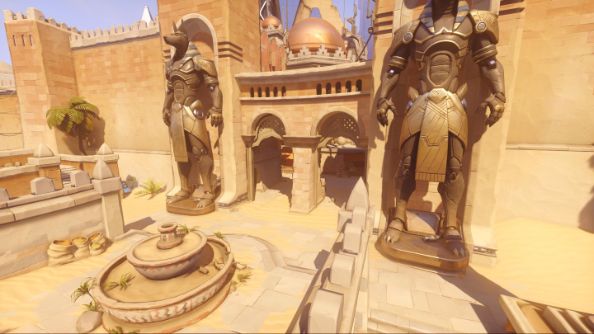
A desert tileset and fairly simple layout combine to create Temple of Anubis. The map is easily thought of as four sections that get slowly more enclosed, from the wide open first area that is quickly taken by attackers, through the first point’s many entry routes, the joining buildings heading towards the temple itself and finally the utter chaos that is trying to assault the second point.
While attacking either point, the key thing to remember is that there are flanking routes everywhere. When playing without much team coordination, flanking vertically using the right hand stairway on the first point or the darker left hand tunnels on the second is vital. Anubis is all chokepoints, so you need to be fast and diverse to breakthrough.
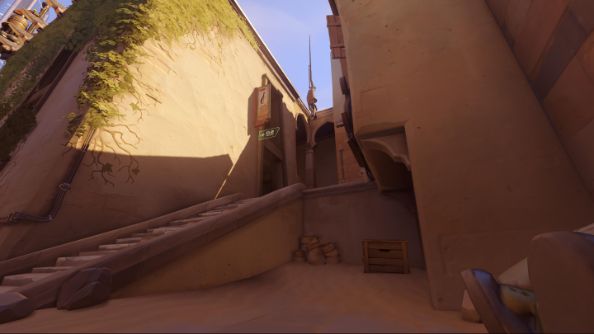
While defending, do make sure your whole team isn’t just covering side passages. One member, particularly a tank, holding the middleground by simply standing on the point is useful in both locations – covering under the bridge and the rear on one and basically everywhere on two.
It’s worth noting this is a fairly poor sniping map. If you’re a magic aim demon you’ll probably get on okay, but the angles – even with some of the high spots early in the map – are fairly poor. Point two has almost no good standing spots for a defensive Widowmaker, and a lot of the time you’re better off as someone able to handle themselves in the various tight corridors.
How to play onHanamura
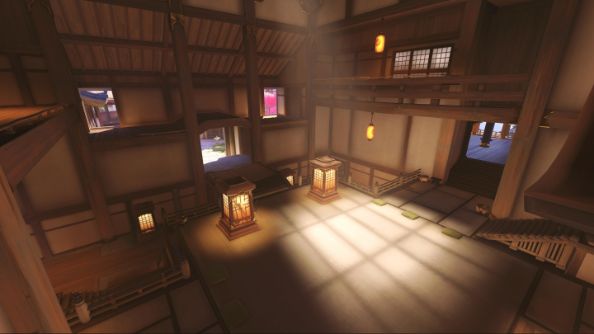
Hanzo and Genji’s sakura-petal-drenched home, Hanamura has a lot of similarities to Temple of Anubis, but has more open flanking paths, denser middle routes filled with corridors and easier traversal around the outside. Controlling areas and flanking is important, including letting attackers get behind the first point easily.
Of all maps, Hanamura might be the one with the most options available to attackers despite a pair of serious chokepoints. Don’t get trapped at the large double-doors before the courtyard – you can fly over through the window on the left, dash into the building on the right and or just go up the stairs. Obviously this relies on having movement/defensive tools – so switch to a character that does.
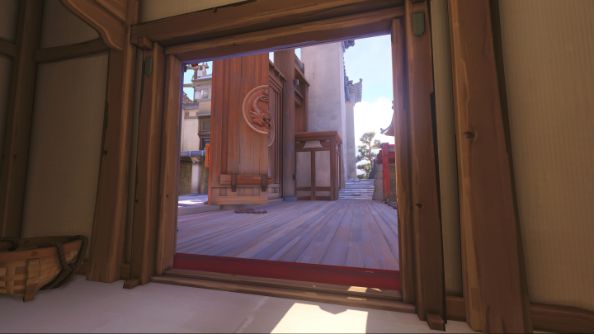
There’s so much open space around both points that defending is a matter of making sure you’re covering more than one angle. On two particularly, just standing on the point and covering the right hand doors, the subway and the bridge is good. It will let your team spread out across the various other areas, so long as you react quickly when assaults are made.
A lot of death-falls are available across the attacker’s lefthand side of the map – ‘booping’ enemies off with Lucio or D.Va, especially on defense, is a real threat. This is especially true as attackers love hanging out on the balcony next to point two.
Like sniping? Unlike Anubis, not only is Hanamura a pretty great map for it on defense, it’s one of few where attacking as a Widowmaker – or other aim-heavy, long-range hero – can be effective. Particularly when heading into the final building, it’s so wide open with so many routes in you can usually find a way to help out. Remember that you’re doing very little if people aren’t dying, so target enemy snipers and then supports as quick as possible.
How to play onVolskaya Industries
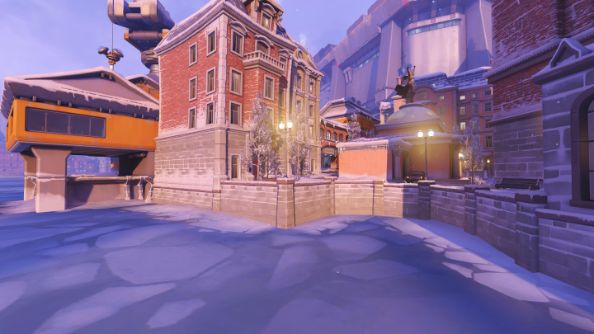
One of Overwatch’s most open maps to begin with, Volskaya immediately condenses as you approach the final point. Defenders and attacks alike regularly reconvene in the same places, the outside areas being abandoned quickly. However, this leaves a lot of room for flanking movement by defenders in areas attackers believe they’re safe.
For the love of god, go left on attack. Volskaya’s chokepoint is the least chokepointy of them all, and the biggest reason for this is the open river area out to the left. Any character with decent mobility tools can fly, blink, rocket or det pack themselves over to the outcropping there and go behind defenders. There is absolutely no reason to throw yourself into a meatgrinder on this map.
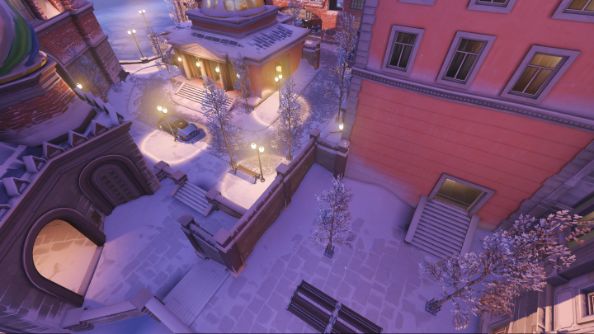
On defense, this means just holding that first chokepoint isn’t enough. Push up a bit. Hide in the mansion or near the lower attacker entryway. Attack from odd angles, rather than letting them come to you, and you’ll nail a lot more kills. It’s a long way from these spots to the point if someone gets past you, so make sure other players are defending there, or be ready to relocate quickly. Staying central here, at least on point one, just isn’t the way.
Point two is arguably one of the hardest to attack in the game, but there are at least multiple routes in. Remember that firing up is hard, so get on the walkways and elevators for an advantage. More health is better here, and it’s an enclosed space so AoE damage works well – we’re talking Pharah over 76, Zarya over Roadhog, for example. Watch you don’t get knocked off the right hand side.
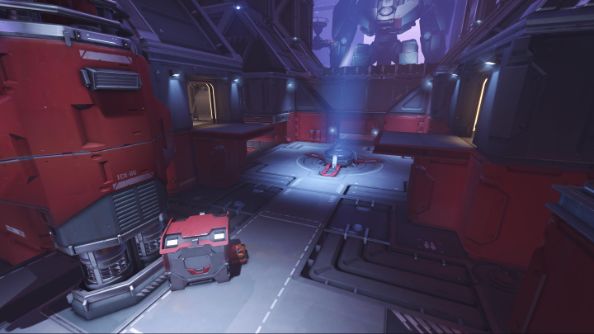
In general, the various floating platforms are a trap. Standing on them isn’t much faster than running in most cases. However, if your team is holding sensible positions or attacking from logical angles, they can be surprising for your opponents. The Bastion drive-by is a particular favourite.
Overwatch payload maps
How to play onDorado
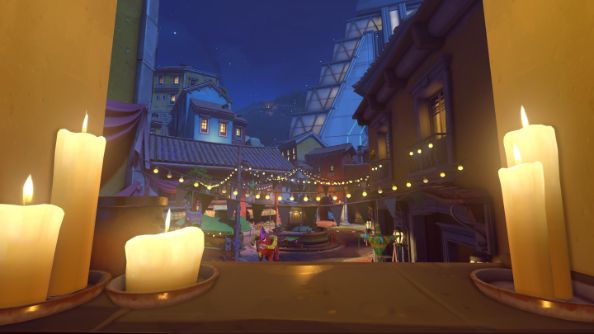
Dorado’s side balance is sort’ve all over the place. It begins relatively easy for the attackers, though being a payload map it’s harder to get through its chokepoints than would be true elsewhere. Once you hit the first doors, it’s pretty simple to get from there to near the win point. However, that final building is hell for attackers, and on public servers it will be impressive to finish it a significant amount of the time.
This holds true for all payload maps, but make sure someone is sitting on the cart as it’s real easy to get distracted by Dorado’s nigh-endless side-routes, particularly while trying to get past the bridge near the start. It’s hard enough to power through there normally, everyone deciding to flank at once won’t do it. A support like Zenyatta is good for managing to do his job and make sure things keep moving, but obviously your tank is who should be taking most of the burden.
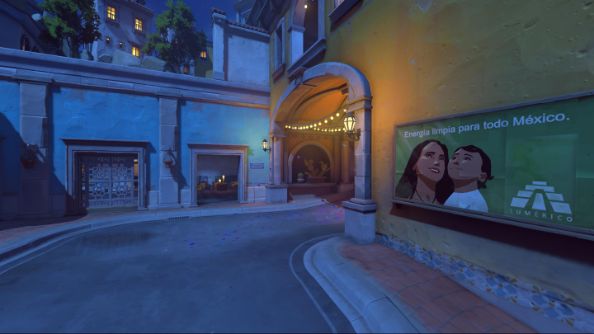
Defense has a few key moments through the map – also fairly common on payloads – but the uphill-battle about half-way to the first point and the final push are particularly brutally efficient. While defending, remember that falling back to these areas is more valuable than dying and letting enemies push through them for free.
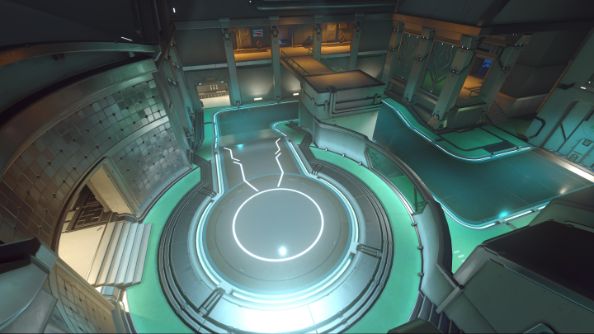
So – that final point. It’s going to be impossible without some form of coordination. Get on mic, hit that ult timer button and let your team know what your status is. One of the underused routes is hanging a left once you’ve taken the first half of the room and going up through the enclosed area there with some mobility usage. It’s one of the few unpredictable flanks that can’t be controlled so easily. While pushing onto the final dias, do remember that the cart makes as good cover as anything – put it between you and the defenders spawn door for some much-needed additional seconds of survival.
How to play onRoute 66
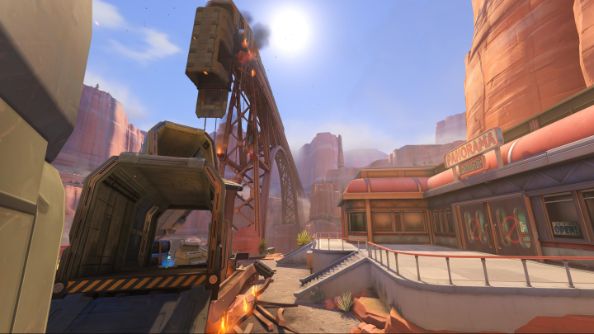
One of Overwatch’s newest maps and its final payload to be added, Route 66 is an odd affair. Defending constantly feels like the back foot, while respawn routes are so long that once attackers are disrupted, taking hold of the cart and keeping them that way can be easy. Long sight lines but plenty of buildings to sneak through make playstyles difficult to adopt and the internal areas leading to the final gate are just a nightmare of close-combat.
On defense, finding a place to stand that’s safe and effective when the attackers initially leave spawn is a nightmare. The health pack nearest them in the destroyed train car is exposed, sightlines are blocked from nearly everywhere and the cart is immediately healing folks up. Not defending at all is a recipe for disaster, natch, but just remember that retreat is better than death and lets you hold for longer.
Take advantage of this on attacking and get right up in people’s faces immediately. Defenders are already taking poor positions, you want to be killing them off fast with Tracers, Reapers and other close-combat specialists.
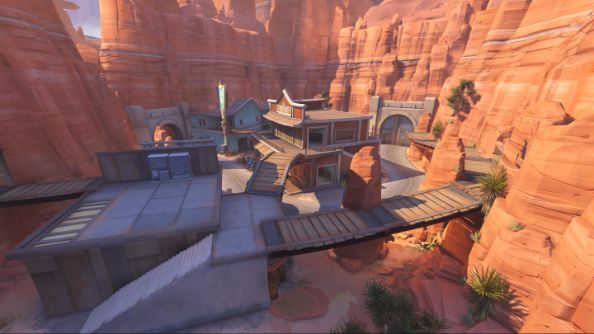
That’s good advice for the whole map, no matter your side. Once you know which buildings will keep you protected from sniping spots, it’s a great place to go roaming solo. It’s just very easy to pick people off solo, get behind healers and generally make a nuisance of yourself.
The final passage is an inevitable mess. Stick together. Don’t try to be smart. Engage enemies that aren’t following these rules. I’ve seen Winstons in rage mode here decimate whole teams because of the tight quarters, fear or use that as you will.
How to play onWatchpoint: Gibraltar
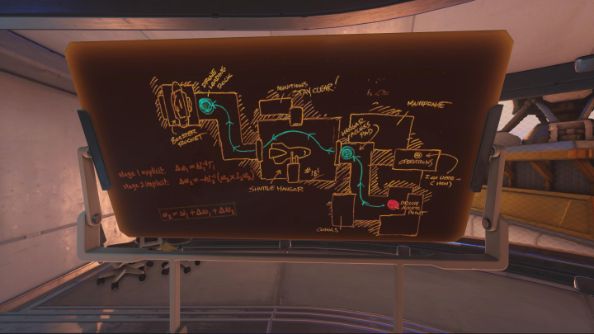
The home of Overwatch, lore-wise, and a lovely, massive peninsula to drive your hovercar along with deadly intentions. Unlike previous, this alternates between internal and external areas regularly, requiring switches in play-style and rethinks, and can lead to some seriously difficult situations if you’re not fast to react. It’s also, arguably, one of the game’s best maps.
Good news, attackers, this is one of the maps with the least difficulty spikes. It’s consistently open, has side routes and verticality everywhere and will support basically anyone you want to play, if you can do it well. There is one thing to look out for, and that’s letting the cart get ahead of you – if it makes it through the first large set of double doors and then you’re pushed back, getting through to it again will be a nightmare. Stick by the cart and keep opponents in their half of the hangar.
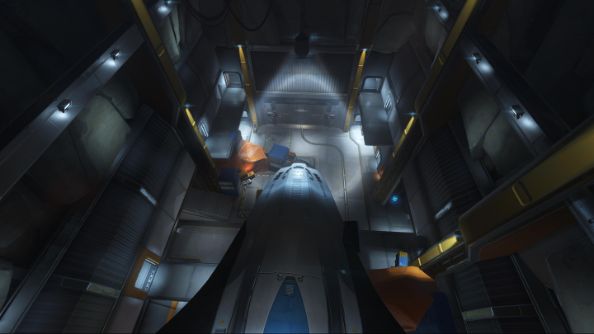
Defenders, that’s not as bad for you as it sounds. The underpass is a great place for a defensive hold, with teleporters and turrets in the small area to the attacker’s right. You need a bit to set up, and a Symmetra helps a lot, but the awkward cart placement once it’s locked into the point down there, as well as tight angles to nuke people down, can make it a real stickler.
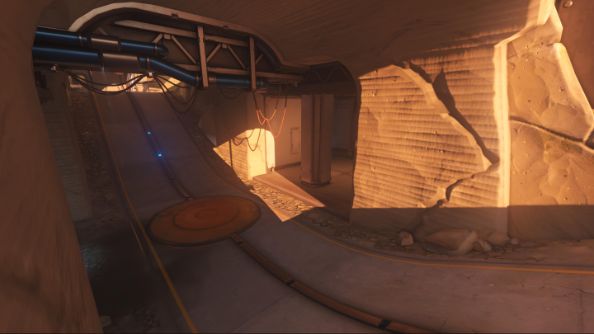
It’s definitely a map where whoever has control of the most routes will be victorious, and there’s a lot to cover. Every point has inroads from at least three angles, and you need to know all of them, their health packs and angles. Sending six up the middle is rarely a bad strat on either side, if you’re coordinated, but you’ll need to keep your head on a swivel.
The varied architecture mean hero switching is even more relevant than usual. As always, Widowmaker proves a good example, going from a perfect ten to a stone zero based on which part of the map you’re defending. Equally, sometimes you just want to hide behind a wealth of hitpoints, other times being able to take to the skies will be seriously beneficial. Experiment.
Overwatch hybrid maps
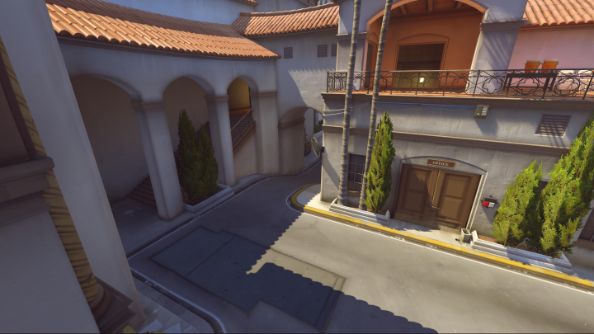
How to play onHollywood
Definitely the best cart in the game, escorting an angry robot director to his destination while he threatens to fire you makes for a change from large gloves and otherwise inanimate objects. The map itself has one of the longest pre-payload hybrid sections, at least in time-to-take if not actual distance.
Attackers are gonna spend a lot of time on this map, so you want to take that point ASAP. A lot of defenders point themselves at the archway and stop thinking, so if you can move left from it quickly, you might get a sneak attack. The small corridor on the right looks tantalising, and is, but remember that it is covered by all the same fire the main area is and total death with AoE pointed at it.
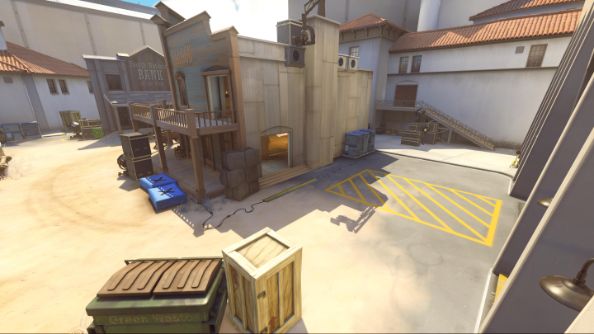
Guess what defenders? That means you should use it. Holding the control point for a significant amount of time gives you a huge advantage as the map moves on, particularly with how challenging the final cart run is. A backstab on a healer because they stopped watching the corridor for a moment is going to delay, and against a less coordinated team can totally break their back. Equally, the longer you can hold the opening areas – which, with their mass of alternate routes, is a toughie – the better for you.
Once the cart’s active, getting flanked in the outside area can be very easy, and forgetting to leave folks on the cart to keep it moving makes big plays meaningless. Creating a serious defensive position rather than spreading out works well for the first half, but you’ll need to diversify to breach into the movie set. Once you’re attacking or defending in there, a lot of tactics go out the window – you’re so close to the spawn point and the sight-lines are so long from the defensive locus, it’s just a death march. Good luck.
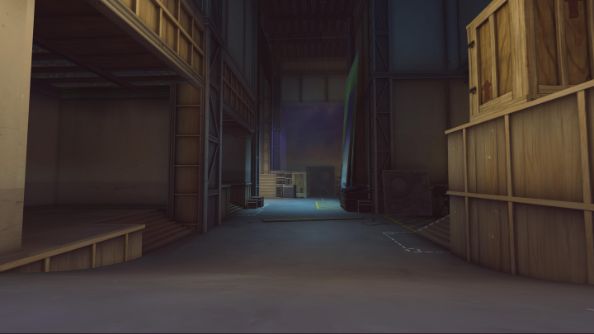
On that topic, basically every part of Hollywood has large, open areas that can be sniped down or turreted into. Bastion proves particularly effective at surprising the particularly aggressive. Soldier: 76 is simarly talented at dealing with the quick switches from medium to short range combat that can happen.
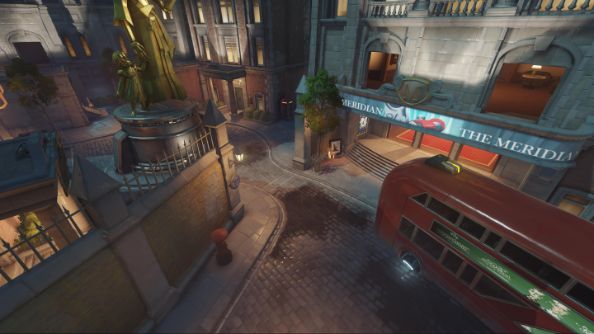
How to play on King’s Row
Site of the Alive cinematic and the only map based in PCGN homeland of England, King’s Row speedily switches forms. Not only does it have the quickest mode change of the hybrid maps, but it goes from a single open area into endless corridors immediately, with even the side routes equally claustrophobic.
On attack, just don’t get stuck on the opener. Pushing past the bus is fairly easy, but that chokepoint is intimidating. Of those that appear early in maps it’s one of the least passable, but that’s partly because the routes off it are so long. Go right and up the stairs and now you have access to a health pack to harass, the ability to drop onto the point or with some movement tools head into the buildings behind the cap. This is much easier going through the hotel and dropping down rather than trying to dodge bullets at the gate. If you can go left from the choke you’re probably not having as bad a day anyway, but it’s a great spot to cut off reinforcements from or attack from an unexpected angle.
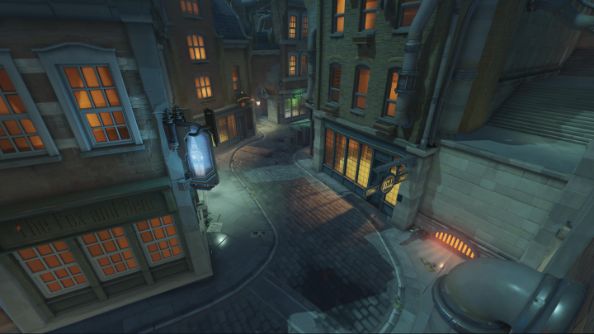
On defense, there’s a lot of ways behind the attackers on this map once they’re playing payload. You can go through house back to the capture point for the first part, there’s the mega-health room once they’ve pushed up a bit further, right round the third spawn-point before attackers take it and left once they have – even once they’re making that final push there’s the walkway and the metal room for making million-dollar moves.
You’re going to be under a lot of fire, a lot of the time here. You need to be good at close range, because that’s the only range there is. There are some great sniping spots but they’re exactly that – spots where it’s effective to have power at range, not whole areas where you can be murderous. Get in there with Roadhog and Reaper and enjoy the red splats.
How to play on Numbani
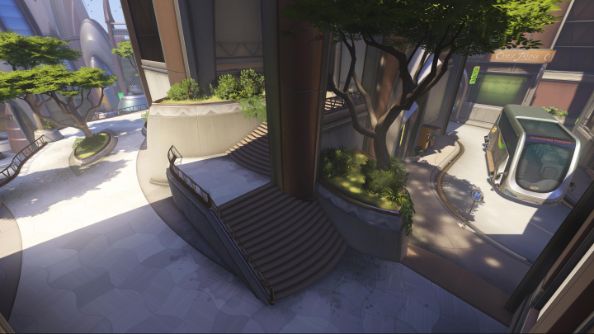
A lot of Numbani’s action feels like it ends up being focused around the last third, pushing the payload along the final approach around the large building and through the gateway. However, plenty of attacks also fail before taking the initial point, and this has a lot to do with poor choice of hero, and poor routes – it’s a very vertical map with good sniping points, plenty of options and fast movers are often more valuable than heavy hitters.
Attackers, first point is not a difficult take, no matter how some make it seem. There’s a mass of routes that don’t involve suiciding up the hill. The building route is powerful, but you are trapped in if spotted. Use it as a quick way to get behind and take out any snipers on the balcony. You can also go up and left from the first down-hill part, giving you a far more open approach and better angles when you do. Unlike most maps, if everyone flanks on Numbani, it’s still a good strat.
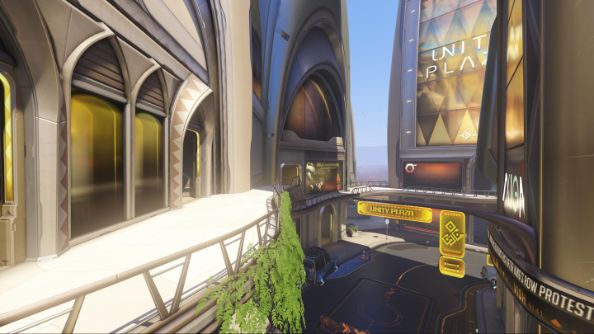
Teleporters are just bonkers on Numbani. There are a great many places to put them, and it really shows off why Symmetra had such a high winrate for so long. My favourite is inside the hut near the capture point, where attackers basically can’t shoot it unless they go hunting, and will always be right in your sightlines. It’s so very easy to get behind the enemy team that you can do some really tricksy things too.
In general, that’s the theme of defense here – flanking and rear attacks. You can set up in an easily defendable position behind attackers quite easily as Soldier: 76 or Roadhog or another self-healer and take pot-shots. Alternatively you can make darting runs through one of the many, many, many side passages before returning to relative safety.
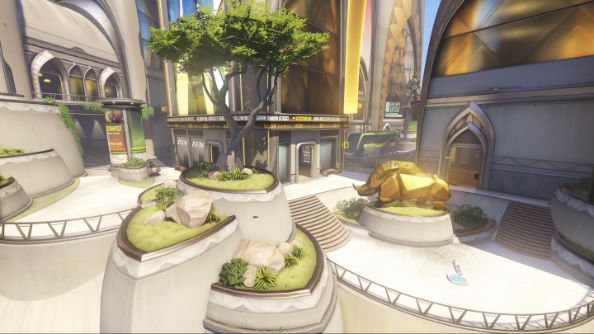
There’s as many high-routes as there are side-routes here – but most aren’t accessible with Genji/Hanzo wall climbs. Get your jet-packs, det packs and grappling hooks out to exploit them properly and always be looking for it – they’re still a good surprise against most.
Overwatch control maps
Control maps are a bit different in how they play, given both sides are trying to achieve the same goal simultaneously. Therefore, we’ve got some general advice for all the maps rather than individual tips.
- Note that the point doesn’t activate until long after even the slowest characters could have ambled there, no matter the map. Don’t just sprint willy-nilly in the hope of a quick cap or taking people off guard – plan where you want to be, choose a good spot and know where enemies will come from.
- That said, of all of Overwatch’s various modes, Control most forces you to play as a team. Nobody splits up naturally, everyone’s converging on one location. In those initial stages, the team who stays together will take that crucial first capture.
- Equally, the team with the best composition is going to do well. There are heroes that are just better at teamwork, do more AoE damage or have other synergistic effects when everyone’s charging in. Lucio is an obvious pick. Reinhardt is definitively better than his compatriots. Soldier: 76’s additional healing is helpful, and his damage is decent. If you want to win on these maps, get good at these heroes and you’ll be a hell of a boon.
- Point’s yours? Sweet, don’t defend on it, push up. Most maps have a chokepoint you can trap the other team in, or at least an open area outside the point that’s more defensible. Not only are these parts pretty much custom designed to be defended in, but the extra push time to the point for your enemy should they wipe you out will give you a second chance.
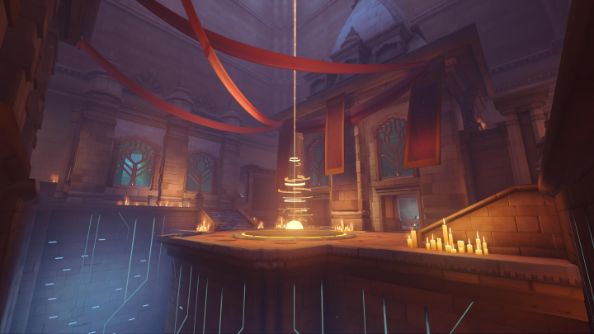
- This also lets you find some flanking spots. Spreading out once you own the point is very powerful, letting you receive the inevitable charge better with fire from all angles – especially with the inevitable Reinhardt on the opposing team. A well placed S:76, Reaper or other “Surprise! You’re dead!” character can delay caps by minutes.
- Recovering from a wipe? Don’t run ahead, group up. Unless opposing flankers are poorly positioned, incredibly bad or it was a very close fight, you’re not going to be able to do much alone, especially versus a team that’s moved up to your choke. Give your team a second to respawn with you, pick a direction and go.
- Just do not play snipers unless you are the best in the world. Some of you will take this as a challenge, and I’m okay with that.
That’s our advice! Got your own? Share it in the comments.
