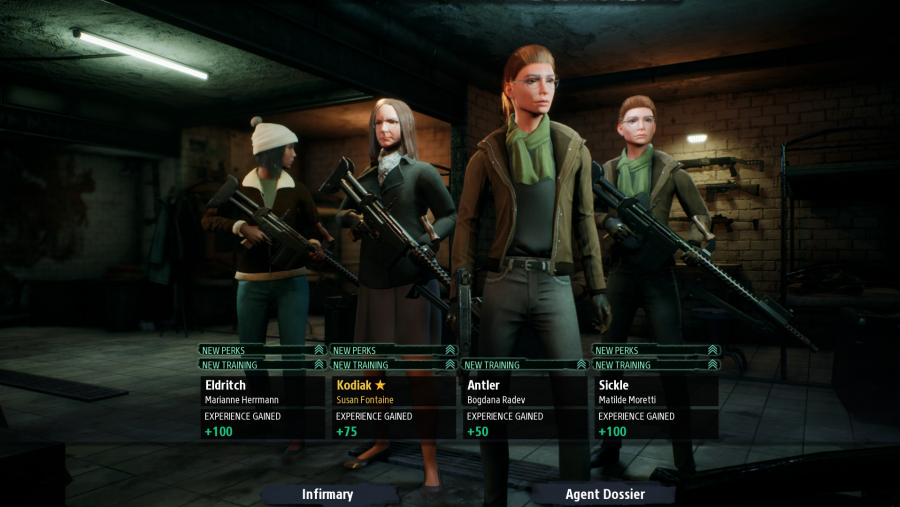
Phantom Doctrine is an ‘80s espionage strategy thriller that emulates XCOM 2 – and does a pretty good job of it, too. Beware of making too many assumptions about the underlying mechanics, though, as CreativeForge Games has focused its creative energies on the nuances, and some of those nuances can get you killed.
This is partly down to inconsistencies when explaining the many interconnected parts of this turn-based tactics game. But it’s also because, despite its obvious debt to Firaxis, Phantom Doctrine does away with some of the harsher elements of the studio’s formula, and outright replaces others.
Ever since the original X-Com, the series has been about the gamble – the many dice rolls that help determine the outcome of encounters, force you to adapt, and keep you from falling into safe strategic patterns. By contrast, Phantom Doctrine is built on a deterministic set of systems where the outcomes are far more predictable – so long as you know what to look for.
That’s where we come in. Here are the three pieces of advice we wish our shadowy informers at The Cabal had let us know about early in the campaign. Could this article save lives? We wouldn’t like to speculate. Besides, spooks don’t get to be celebrated.
Be self-aware
No one will miss you in Phantom Doctrine. That’s not meant to be a chilling spy thriller tagline: it’s literally true of the game’s combat system. While XCOM’s best stories are often derived from disastrous point blank misfires, CreativeForge forgoes the possibility altogether. So long as you and an enemy can see each other, you /will/ hit each other.
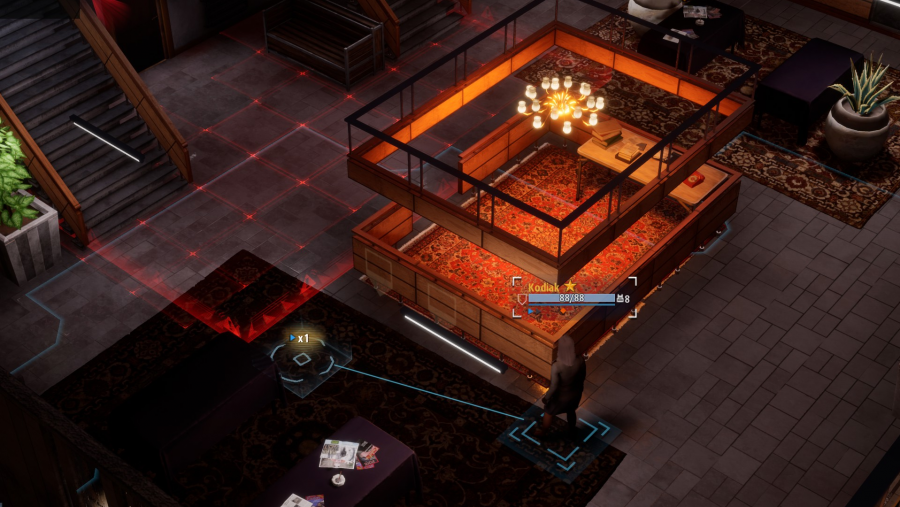
The trick to survival, then, is reducing damage – and the factors involved in that might seem a bit arcane initially. Cover is one, armour another, but the third crucial consideration is a stat named awareness. Awareness is meant to represent your ability to dodge in any given turn, but it’s best to think of it as an extra health bar that depletes as you take certain actions.
Your awareness bar will take a portion of the punch of each shot – but if it’s already been used up by abilities like takedowns, you’ll feel every attack more keenly. Awareness recharges over time, but often not quickly enough to save you from an unpleasant run-in with a Soviet police officer or six. The best way to stay alive, frustratingly, is to do less – spending more turns using abilities that boost your awareness and enjoying the benefits of high cover.
Don’t risk it all for evac
Phantom Doctrine structures its missions in the same fashion as its beloved inspiration. While some task you with clearing the map, many simply require you to reach an objective and escape with the goods – whether that’s a classified document, informant, or the knowledge that an enemy agent won’t be troubling you anymore.
Although you often have a choice of evac point, getting there can be a fraught process. Winning the objective commonly involves breaking cover and alerting every enemy in the level to your presence. It can be tempting to spend all of your actions on legging it to the safety of that neon blue square – especially when a looming piece of the UI threatens you with a compromised evac if you’re not gone within three turns.
Here’s what you need to know: a compromised evac isn’t so bad. Hopping into the van a turn or two late will incrementally increase your danger level on the world map which, granted, is less than ideal. Let your danger level hit the maximum and your base will be wide open to raids. But it’s fixable by upping sticks and moving the team to a different location – a costly decision, but not one you’ll have to make too often. And certainly less costly than having an entire team gunned down as they sprint across a rainy car park.
Keep your agents moving
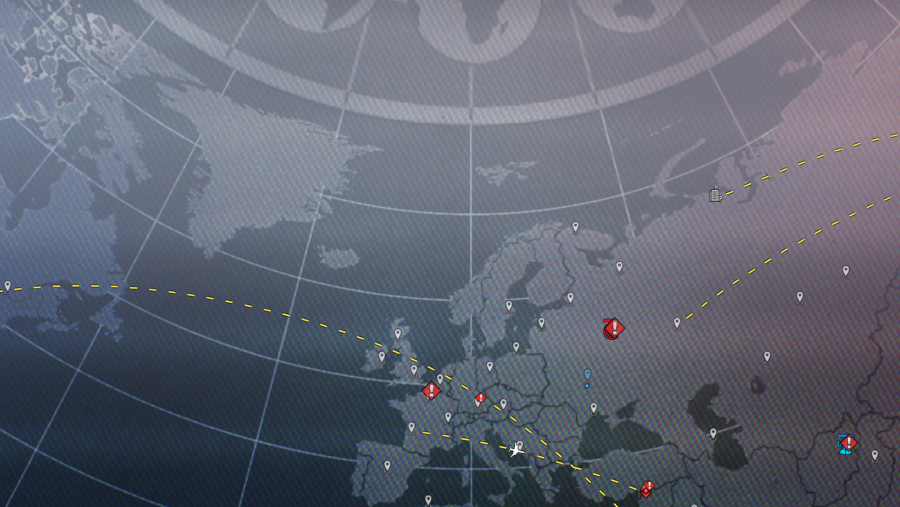
Wherever there are spies, there are counter-spies. The bulk of your time on Phantom Doctrine’s world map is spent investigating reports of suspicious activity – which in practical terms means sending individual agents out in little white planes to take a look. If you’re lucky, you’ll happen upon an unfolding operation to sabotage your outfit and begin planning a tactical mission to halt it. Otherwise, the rumours might turn out to be unsubstantiated, and you’ll send that agent somewhere else.
More ambiguous is the eventuality where your agent turns up an informant. In that case, a new informer icon appears in that location, and a bar begins to build to completion. You might assume that you need to keep your agent in that spot until the bar is done, but that’s not the case – you’re actually wasting valuable time. Although the game doesn’t prompt you to do it, you’re better off flying that agent to the site of another investigation, or back to base – where they can at the very least make themselves useful forging cash. There’s no more direct way to make money.


