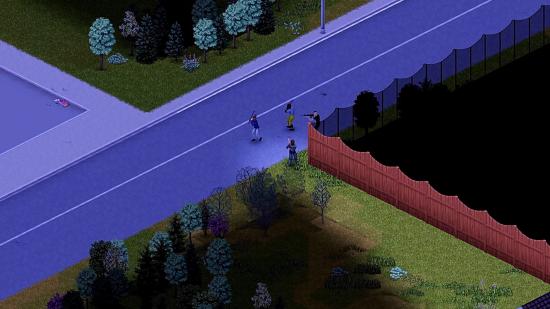
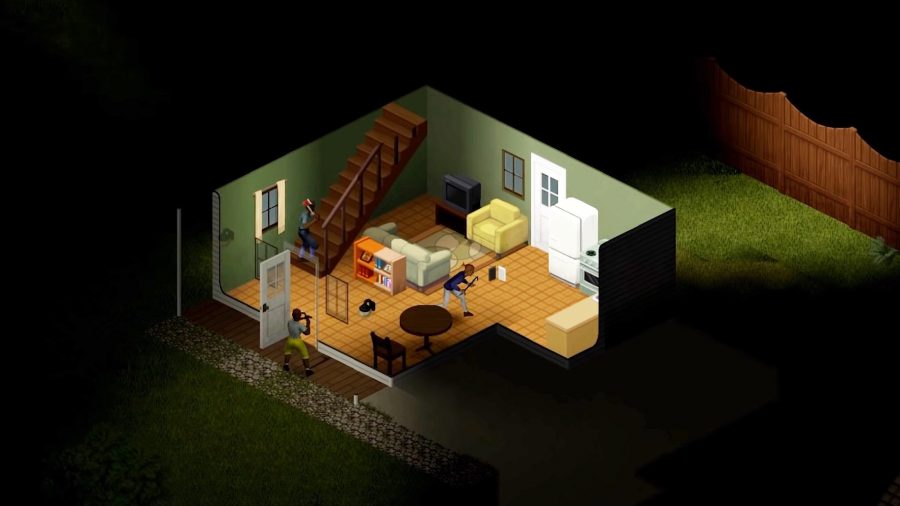
So, you want to play Project Zomboid multiplayer? The recently released build 41 of the indie zombie survival game overhauled multiplayer and made it easier than ever to try (and eventually fail) to survive the zombie apocalypse with your friends.
Whether it’s local split-screen with up to four, or online with a veritable hoard of 126 players, you’ll never have to die alone ever again if you don’t want to. Joining a game is easy, but you can also host servers if you want; which like most games without a dedicated multiplayer backend, this will require some setup on your part first.
Note that if you’re using the Steam client, you can only join other Steam-based servers. Assuming that’s not an issue though, all you need to do to join a Project Zomboid multiplayer server is go to the main menu and click the ‘Join’ option. This will open a new window with a list of available servers. If you find one you like, don’t forget to add it to your favourites lists so you can come back to it later.
One final note on joining a Project Zomboid server: you will need to input a username and password to join and add a server to your favourites. This is just to ensure no-one else tries to join using the same username as you.
This is separate to a general password you may need to access a server, which can be input in a different field.
Project Zomboid multiplayer- hosting a server
Of course, if everyone wants to join a multiplayer server, then there are going to be issues because no-one’s actually hosting a multiplayer server. If you want to be that hero, thankffully it’s not as tricky as it sounds.
Your first port of call will once again be the main menu where there will be an option to host. You can choose a name for the server, as well as the four server files that will be created on your PC. By default, the location of these files should be: C:\Users\[your PC username here]\Zomboid\Server
The files created should look like this:
- [servername].ini
- [servername]_SandboxVars.lua
- [servername]_spawnpoints.lua
- [servername]_spawnregions.lua
There are a myriad of settings you can change when creating your server, including how much RAM you want to devote to the cause. Other options include choosing which (if any) Project Zomboid mods you want to use, how many players, whether you want to enable PvP, and so on.
You can do all this from within the game – you don’t need to exit the client and go editing any files. Once you’re ready, you can go ahead and reveal your glorious new creation to the world/your friends.
Related: How to barricade a window in Project Zomboid
Just because a stable multiplayer framework exists for Project Zomboid, doesn’t mean that’s the end of the story. As the developers outlined in a recent 2022 roadmap post, there’s still plenty of work to be done, although this is already an incredible zombie game.

