Rainbow Six Siege’s latest season, Operation Wind Bastion, is nearly upon us. It promises to bring a new map, gadgets, and weapons to the tactical shooter’s increasingly complex meta. The new season adds a new map in the form of Fortress, as well as a Moroccan duo from the GIGR CTU: Kaid and Nomad.
Kaid is a stoic defender who will fulfil the recently lacking role of anchoring the objective room, thanks to his high armour rating and Rtila Electroclaw gadget that can electrify reinforced hatches among other metal objects. Nomad, meanwhile, is the attacking team’s best bet when it comes to securing flanks from roaming defenders – her Airjab traps will knock enemies onto their backs, leaving them vulnerable for a few precious seconds.
We’ve been busy messing around with the new gadgets and racking up kills with Kaid and Nomad in the TTS, and have collected plenty of tips to help you get off to the best possible start when Operation Wind Bastion launches. From what weapons to pick for the new ops, to how you can counter them, here’s our guide to the latest Rainbow Six Siege season.
How to play kaid
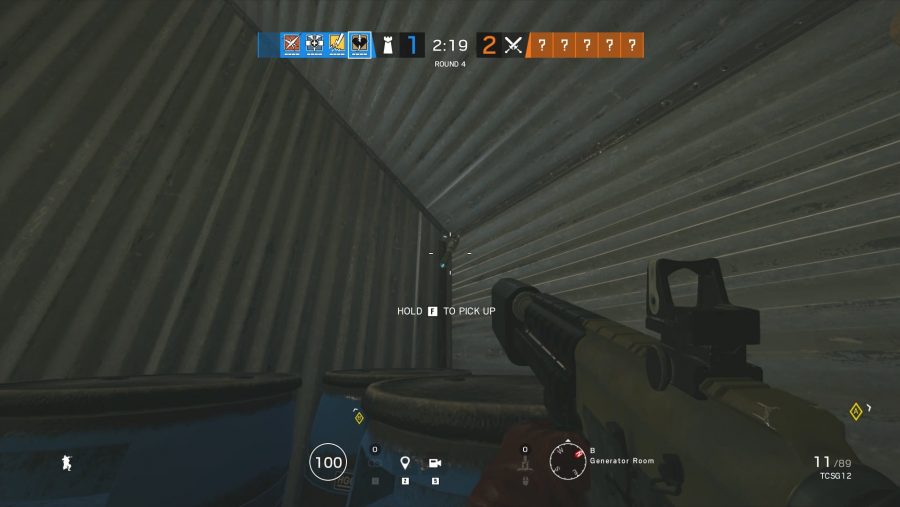
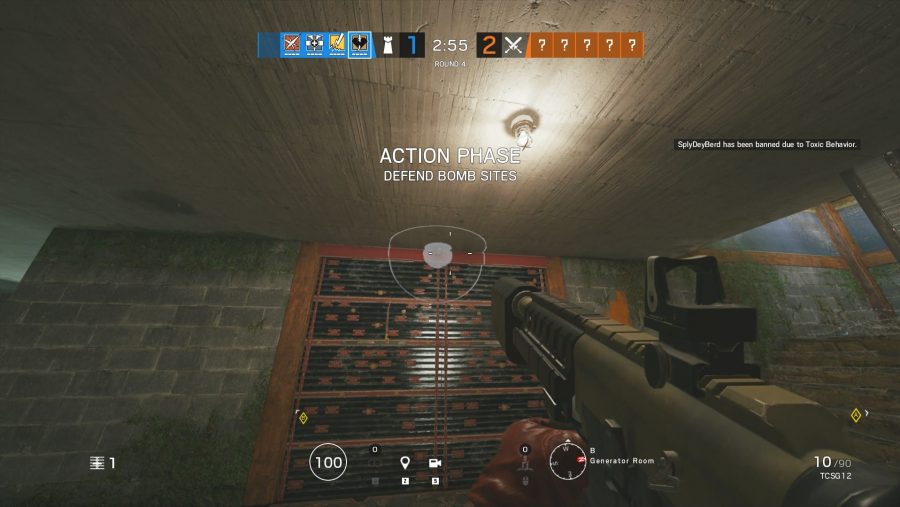
Kaid is something of a throwback defender. He’s got an armour rating of three, which means he’s best placed near or in the objective room, and his gadget fulfils one of the oldest roles in the game: breach denial. Kaid’s Rtila Electroclaws are thrown devices that electrify any metallic objects within a few feet of it. As these claws stick to any surface, Kaid is the only operator who can defend against hatch breaches, while the proximity function means you can hide Electroclaws behind cover, making it much more difficult for attackers to shoot out these gadgets.
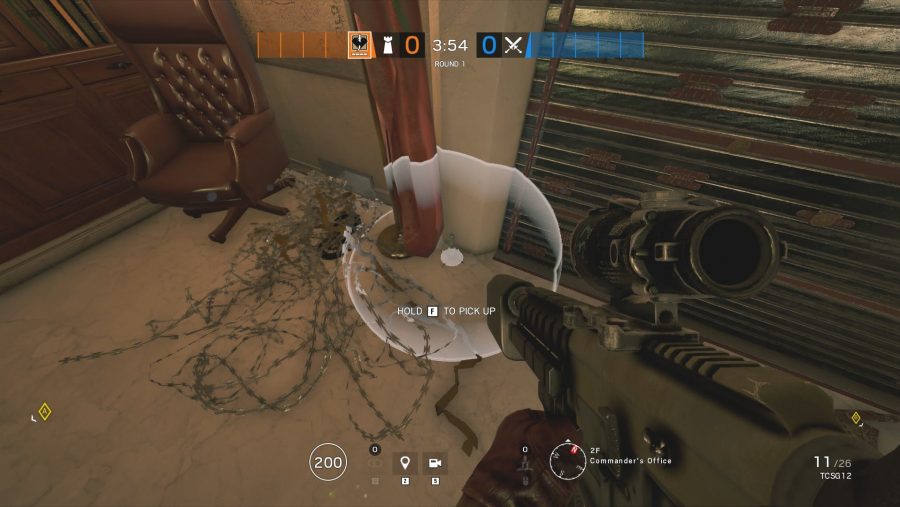
You’ll want to place Electroclaws so they cover as many metal objects as possibly and can’t be easily destroyed by attackers – in the middle and at the top of two reinforced wall panels works best. Kaid’s gadgets are also great for electrifying secondary gadgets like Deployable Shields and Barbed Wire, and smart placement of one Electroclaw can affect three or four objects, rendering a doorway impassable.
The most important thing for you do as Kaid is to organise your team’s reinforcements and secondary gadgets as efficiently as possible and then deploy all of your Electroclaws. Don’t go trying to spawn-peek attackers with his slug-firing shotgun or hand cannon if you haven’t managed to use all of your utility.
Kaid’s shotgun is terrifyingly lethal within 20 metres of a target, so considering how poor his mobility is, you’re best bet after using all of your Electroclaws is to find tight, mid-range angles that are likely to have a lot of foot traffic and hold them. For example, if you’re holding the basement bomb sites in Bank, you can secure all the key hatches with your Electroclaws then hold the angle from Secure Corridor to Sever Room, or even Garage.
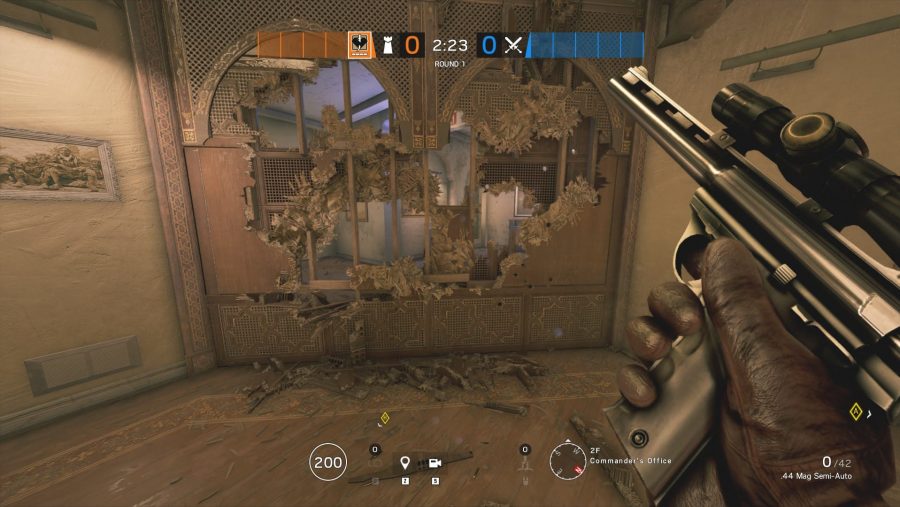
Despite Kaid’s slow movement speed, you can roam quite effectively with him. Again, you’ll want use all of your gadgets before going anywhere, but once you’ve deployed everything your use to the team is limited, so why not go frag hunting? Swap to Kaid’s .44 Mag Semi-Auto pistol if you want to do any long-range peeking as the TCSG12 slugs have some severe damage fall-off over 20 metres, plus you’ll get a small movement speed buff when using the pistol. If you know you’re expect a fight, swap back to the shotgun as its two-shot kill potential and ten-slug magazine will beat any weapon in a mid-range duel.
Which of Kaid’s primary weapons is best
Kaid can take either the Aug A3 SMG or the TCSG12 slug-firing shotgun as his primary weapons.
We’ll start with the Aug A3, which is arguably the weakest new weapon in several seasons, with below average damage per shot, and very low fire rate. The combination of those two weak stats effectively means you’re going to lose most of your close-range gun battles using the Aug A3 SMG. Weirdly, this SMG has a lot of characteristics you’d expect from assault rifles, including its sluggish reload time and a very poor ADS time. The only benefit of this gun is its handling – you will laser enemies playing on PC. You can always take this as your suppressing option and use the .44 Mag Semi-Auto pistol for your fragging needs.
The TCSG12 is a curious primary weapon as it’s able to carry an ACOG scope, fires slugs, and has a magazine capacity of ten. Its damage is on par with any DMR in the game, but has some fall-off over 20 metres, which means you won’t be able to beat Glaz in a sniping duel. Below that distance, however, and you’ll kill with two shots to the upper body and one shot to the head regardless on what armour rating you’re up against – the average kill distance in Siege is well below 20 metres, so don’t worry about that fall-off too much. Recoil on PC is manageable, but console players will struggle to land consecutive hits with this monstrosity. The TCSG12 can also be used to breach hatches and pop holes in walls, offering some additional utility to your team.
Verdict: take the shottie.
How to counter Kaid
The most obvious and effective counter to Kaid is Thatcher, as his EMP grenades destroy any Electroclaws within a fairly large radius, making it possible to eliminate two of Kaid’s gadgets with just one grenade. Electroclaws take a while to activate as well, so a Thatcher and Thermite working together will be able to breach and reinforced surface.
Attackers like Twitch will still be able to clear out Electroclaws, but will be less effective as you’ll have to pinpoint where the Electroclaw is before you can destroy it. Not to mention that electrified secondary gadgets may make some routes tough to access with a Shock Drone – IQ may be able to assist with this. It’s also worth noting that Maverick can still melt away Reinforced surfaces, so he can easily take down a hatch without destroying the Electroclaw.
Kaid tips and tricks
Kaid Tricking
One of the most effective ways of countering attackers like Hibana and Thermite when defending key areas like Chalet or Consulate Garage is known as Bandit Tricking. This is done by placing a Shock Battery as soon as you hear a breaching gadget being deployed so you not only deny the breach, but also destroy the gadget itself. Kaid is less effective for this role as his Rtila Electroclaws take a few seconds to activate. However, if playing against less coordinated teams, you should still be able to employ this tactic effectively as Kaid, provided your timing is impeccable.
Kaid and Bandit are a dream team
Ubisoft has been keen to point out that Kaid isn’t going to to replace Bandit. Instead, the best way to use Kaid is to team up with a Bandit for total breach denial. As touched upon earlier, Bandit’s Shock Battery is excellent when trying to deny breaches along key walls, and with a Kaid on your team to cover any remaining walls Bandit is free to concentrate on key areas.
Use with good intel
One way to maximise Kaid’s breach denial capacity is to partner with either of the intel-gathering operators like Valkyrie, Maestro, Mira, so that you deploy your Rtila Electroclaws to effectively counter breaches as they take place. With a teammate on cameras telling you where a key breacher is you can easily throw an Electroclaw that covers two surfaces just before an Exothermic Charge is placed.
Extreme hide and seek
Hiding Electroclaws around corners is one thing, but thanks to their proximity effect, you can get very creative with Kaid’s gadgets. For example, you can electrocute Barbed Wire by placing the Rtila Electroclaw on the ceiling of the room beneath your Barbed Wire, which is certain to baffle players. Alternatively, you can shoot out floorboards and place the Electroclaw in the newly created crawlspace – Pro League is sure to reveal some neat tricks in the coming weeks.
How to play Nomad
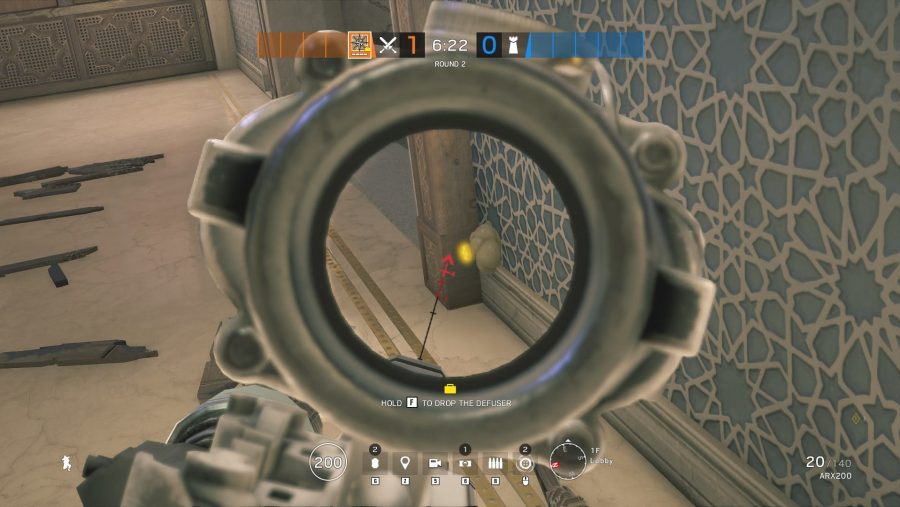
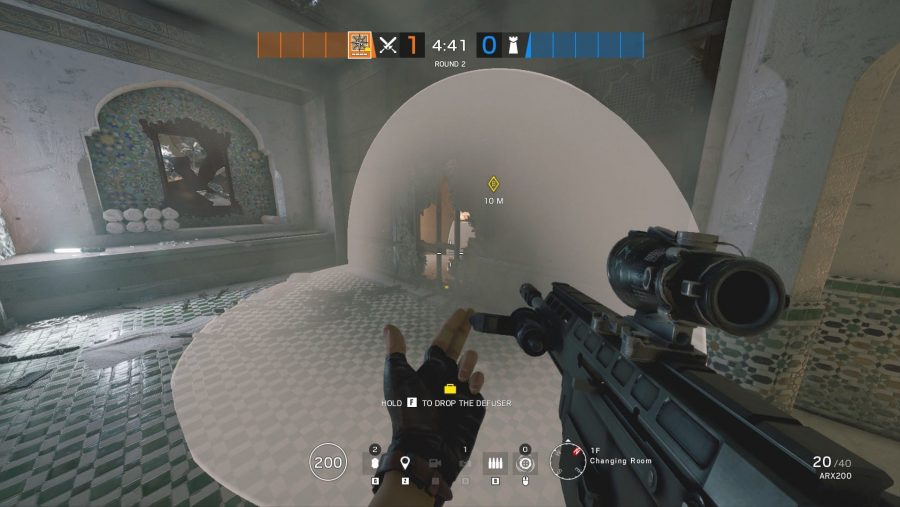
Nomad is the first attacker with any sort of trapping ability, if you discount the rather easily spotted Claymore secondary gadget. Her Airjab mines stick to surface, are very difficult to spot, and are triggered by proximity, so if you’ve long since given up scouting for Ela’s Grzmot mines then you’ll have a good idea of how tough these Airjab mines are to spot. Once triggered, the Airjab will send any operators within its radius flying backwards and onto the ground, temporarily disarming them, but dealing no damage. This is excellent for gathering intel on roamers as who might be flanking your team or knocking entrenched defenders out from behind cover.
The propulsion on the Airjab is so powerful that it will send operators through soft walls, Deployable Shields, and even Tachanka’s turret. However, each mine takes a short while to activate, so you can’t use them instead of a primary weapon.
The best way to use Nomad is to support a breach, placing her Airjab mines smartly to alert your team of a flanking roamer. It’s ill-advised to try entry-fragging as Nomad as her primary weapons are mediocre and her utility is best saved for the closing stages of a round.
Which of Nomad’s primary weapons is best
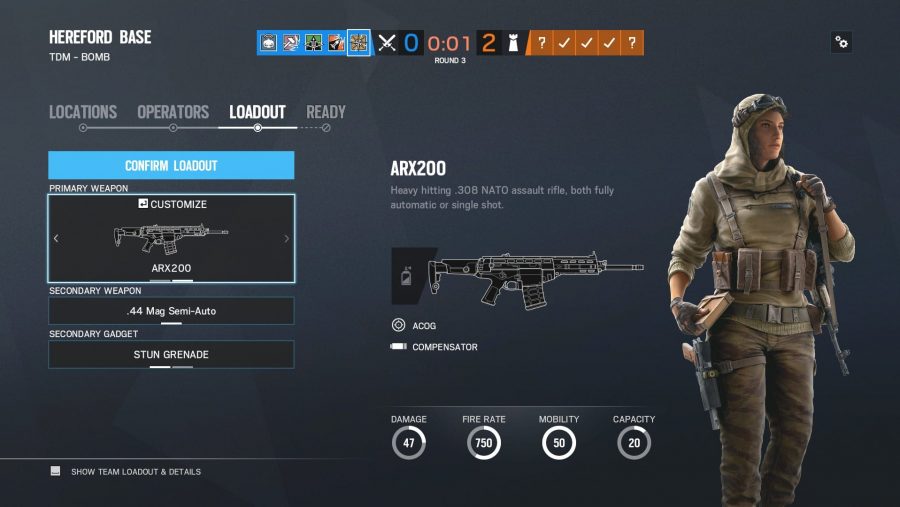
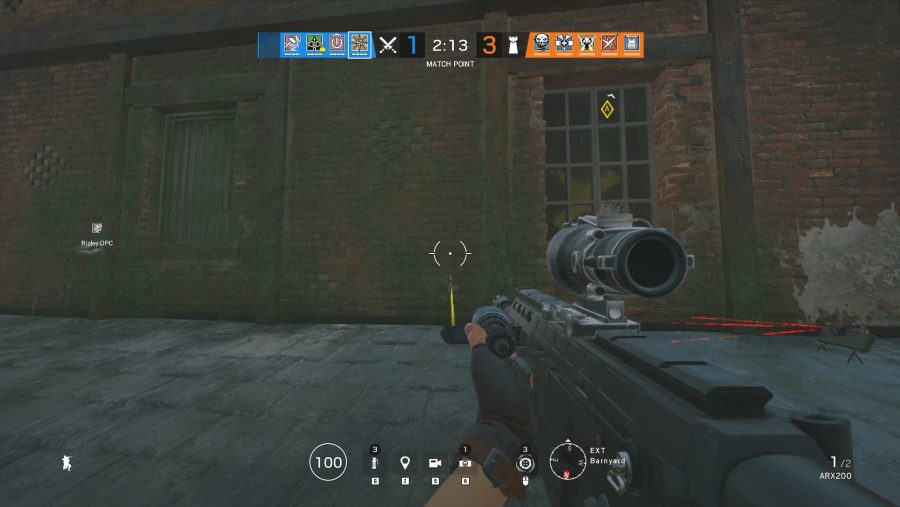
Nomad’s primary weapon choices are the ARX200 and AK-74M, two solid assault rifles with some caveats to bear in mind.
The AK-74M is a mediocre assault rifle, with a solid damage per shot rating that’s undermined by a sluggish rate of fire. Recoil can be a little tricky on this antique AR, too. So, while it looks and feels great to shoot, this is an unremarkable attacker primary.
The ARX200, on the other hand, out performs the AK on nearly every front, with higher damage per shot, a faster rate of fire, but a smaller magazine. Its damage rating is only slightly lower than some of the best assault rifles in the game, but this doesn’t actually affect time to kill all that much. Rate of fire is the most important stat here, and the ARX200 may be stronger than the AK on this front, but it’s thoroughly average when compared to other assault rifles.
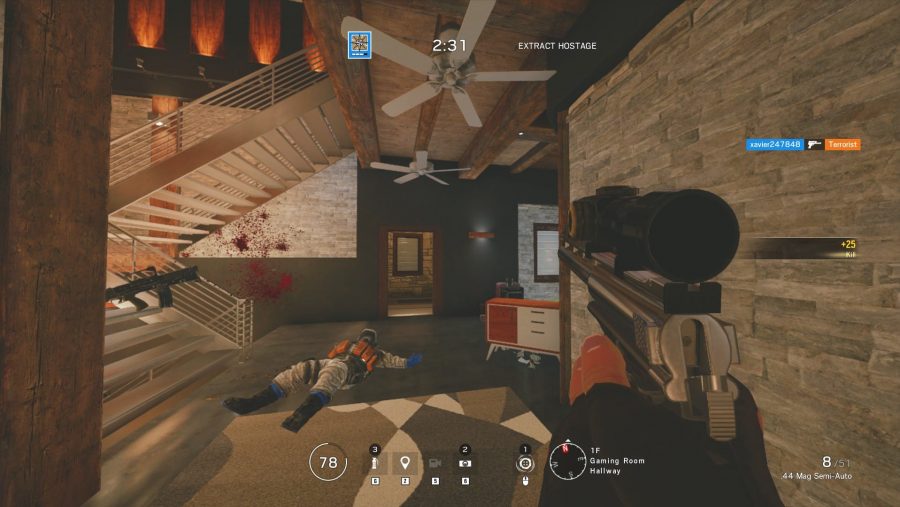
There’s another option if you’re confident. The .44 Mag Semi-Auto is effectively the best semi-automatic weapon in the game, with a two-shot potential against most opponents at all ranges, a scope offering best-in-class peripheral vision, and pistol-exclusive benefits such as a high reload time and a movement speed boost. The only real downside is its high recoil and small magazine capacity, but these won’t stop you from annihilating foes at all ranges.
Verdict: take the ARX200, but main the pistol.
How to counter Nomad
Jäger is your best and only bet for countering Nomad and her Airjab mines, but your Active Defense System will need line of sight on projectiles as they’re fired, which is only effective in specific circumstances. There is no direct counter against these mines as traps, because defenders don’t have operators like IQ to hunt down traps.
Nomad tips and tricks
Goodbye Mira
Mira is one of the toughest anchors in the game as she’s able to pre-fire enemies by strafing across her Black Mirror. Until now the only way to eliminate her was with well placed grenades, smokes, and Hibana’s breaching pellets, however, if you can manage to fire an Airjab mine close to Mira it will propel her out of cover and temporarily down her, allowing you to move in and finish her off. The same goes for any defender who is lurking behind cover.
Clash counter
Grim Sky gave defenders their first shield operator in Clash, so it makes sense that Wind Bastion is giving us the ideal counter for her in the form of Nomad. If Clash detonates an Airjab mine, not only will she be sent flying onto her back, she will also swap weapons, leaving her front totally vulnerable for a couple of seconds.
Claymore tricks
This is getting a bit technical, but you can actually make the Airjab blast lethal by combining it with a Claymore from one of your teammates. Simply have a friend tuck their Claymore out of sight, then set your Airjab mine up opposite it for a lethal chain reaction. This trick won’t come off often, but when it does you can expect plenty of question marks in chat.
Post-plant scenarios
Defending the defuser after you’ve planted it can be tricky – you’ve got to keep an eye on it to make sure a defender hasn’t sneaked in to try and destroy it, but defenders can easily figure out where you. Place an Airjab nearby and you can buy yourself a valuable couple of seconds to get line of sight on the defuser again.
Punishing runouts
A runout is an aggressive defender tactic where high speed operators wait until the attackers are mid-rappel then run outside to pick them off with ease. If you place an Airjab in the windows and doors often used for this tactic you can give those defenders a nasty surprise, and sometimes even fling them off a roof for a cheap kill.
