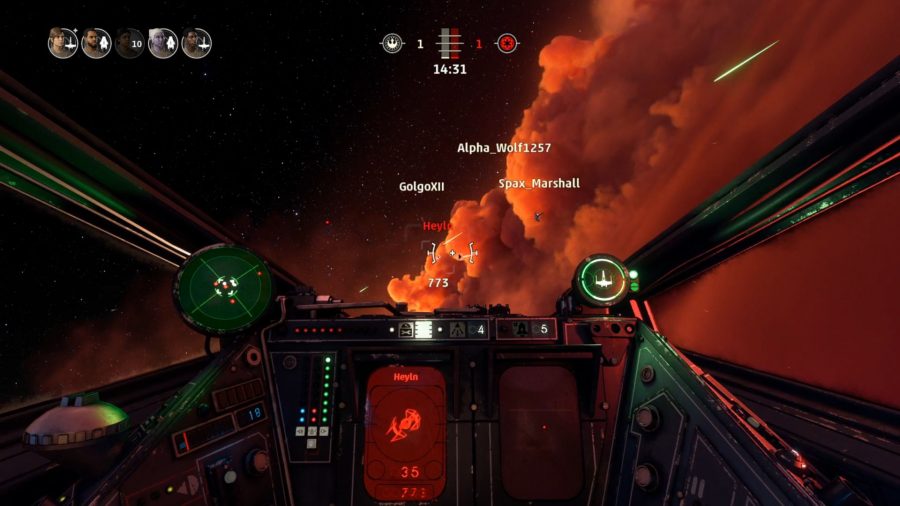
So you think you’re a hot shot that’s going to be a natural at Star Wars Squadrons? Of course you do. You’ve spent many years dreaming of flying around in an X-Wing or a TIE Fighter. Heck, you may be old enough to remember some of the best Star Wars games where you fly around, blasting away at the rebel alliance or the empire’s ‘finest’ – oh who are we kidding, Storm Troopers can’t hit standing targets.
Squadrons is probably the best Star Wars dogfighting game in quite some time – so says our review – and a huge part of the draw is with the multiplayer action.
Five of the best ships and pilots the New Republic can muster, against five of the Empire’s elite. But then the crushing reality sets in during your first game. You fly towards the enemy, weapons primed, only to be destroyed within seconds. No matter, a lucky hit. You suit back up and fly at them once again, firing your lasers. Alas, you’re not hitting anything, the enemy is just too quick for you.
So what are you doing wrong? Well it’s not entirely your fault that you kept exploding. The enemy has a few tricks up their sleeves that makes them formidable opponents. Here are just some of the tips we found while playing Star Wars Squadrons that will help you catch up to the best in the galaxy far, far away.
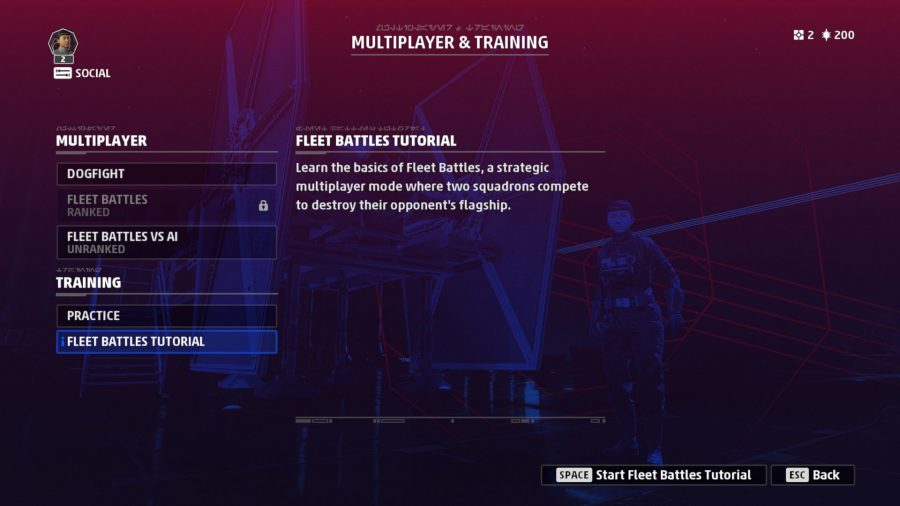
Complete all the tutorials
Yes, you read that right. If you’ve not gone and done all the tutorials then you shouldn’t be playing online just yet. Since the aim is to not die, then you need to be confident in not dying needlessly.
These are the tutorials that you should complete before heading online:
- First story mission: this loads when you first boot up the game. Make sure you complete both sides of the mission.
- Fleet Battles tutorial: found in the multiplayer menu, this tutorial teaches you about morale and fighting against heavier ships like Star Destroyers.
- Practice mode: also found in the multiplayer menu, this one is helpful for learning how to fly around and shoot down enemies, not to mention getting used to the four different ships.
Learn about power management early
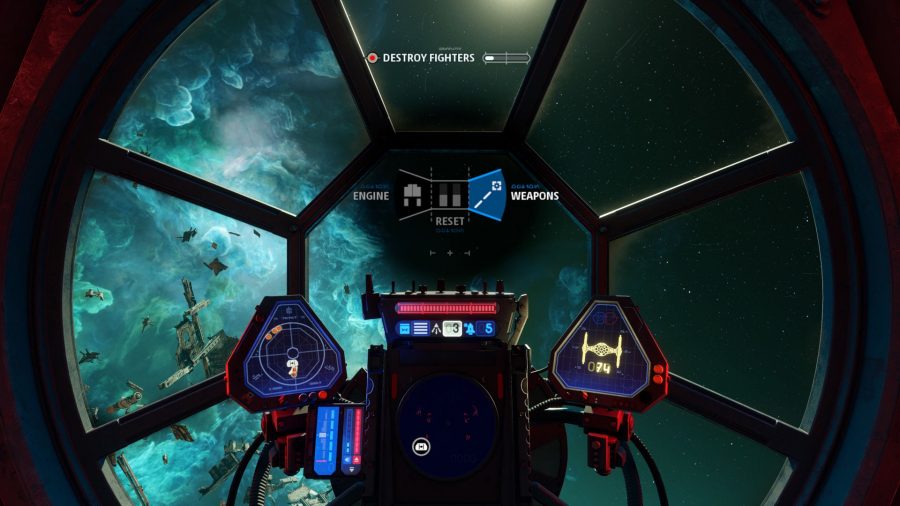
One of the fundamental things that you should get used to quickly is how power management works. The idea is that your ship has a finite amount of power that is directed to certain ship systems, with three modes specialising in maximising power to one of those systems. Each ship by default has four different power modes:
- Balanced: All the power is split equally between the weapons, manoeuvres, and shields (New Republic only). Nothing is getting buffed or weakened in this state.
- Weapons: Maximises the power output to weapons. If this is active, weapon charge can climb to 200% of the maximum output. Manoeuvres and shields (New Republic only) get the rest of the ship’s power.
- Manoeuvres: Maximises the power output to your ships manoeuvrability. When active, you can charge boost charges (activated and deactivated by pressing the left analogue stick in), with each ship getting five charges. Weapons and shields (New Republic only) get the rest of the ship’s power split equally.
- Shields (New Republic only): Maximises the shields for your ship. If active, your shields can charge up to 200%. The rest of the power is split evenly between weapons and manoeuvrability.
If you are making your way towards an enemy fleet, either because you respawned, or just destroyed an enemy and are looking for your next target, use this opportunity to charge your weapons. Bonuses to weapon damage stay temporarily when you change to one of the other power management modes. The same goes for switching power to maximum manoeuvrability while in combat to charge up boosts.
Additionally, if you are fighting on the side of the New Republic, charging your shields to 200% is worth doing before charging weapons. As long as you’re not being shot at, your shields drain at a very slow rate, much slower than weapons drain from 200%.
More like this: Here are the best space games
Finally, we do not recommend that you mess too much with the Advanced Power Management setting in the options menu unless you’re a particularly advanced pilot. This option increases power to weapons, manoeuvrability, and shields by one stage with a single button press, or maximises them by holding down the button. It’s a bit too fiddly and in a game filled with other complicated movement tech to master, this is very much optional.
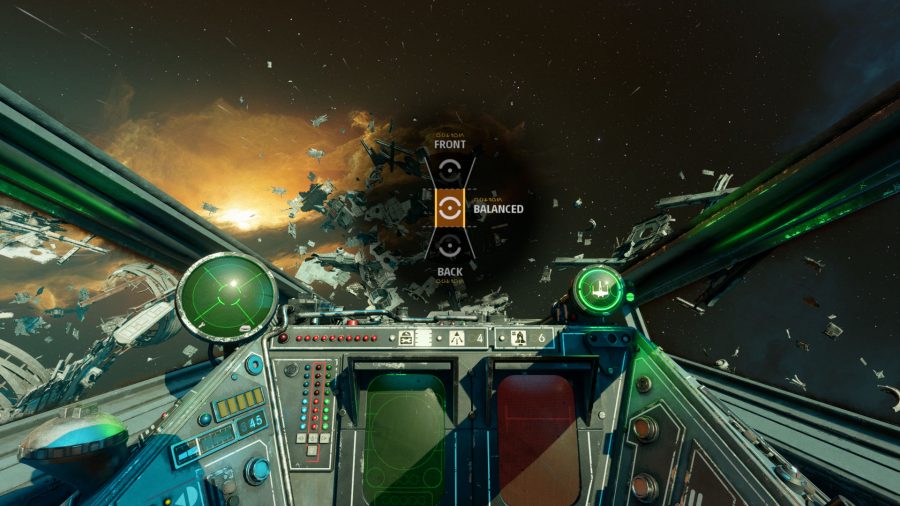
Remember to position your shields
If you are a New Republic pilot, there’s an additional shield button (mapped to either X or Square on your Xbox or PlayStation pads). If you hold down the button and push the left stick up or down before releasing the shield button, you’ll redirect shields to the front or back.
This is good if you’re being shot from either direction and can give your defences a bit more juice. There is a limit to how much you can stack the front or rear shields by, 200% to be precise, so you can’t overcharge them beyond this threshold with the previously mentioned tip for preemptively charging shields.
Instantly recharge Empire weapons and movement in a pinch
While the Empire’s TIE fleet doesn’t have shields, they have a different type of flexibility when it comes to power management. By holding down the relevant button (mapped to either X or Square on your Xbox or PlayStation pads), then pressing left or right on the left stick before releasing the button can instantly convert stored boost charges from your engines or weapon charge lasers.
Knowing when to convert boost charges to weapon charge, and vice versa, is key to getting the most oomph out of your vessel. If you’ve nearly taken down an enemy but are running out of charges for your lasers, then that extra power from your engines may be all you need to wipe them out. If you need to make a quick getaway, sacrificing weapons charge will give your engines more boosts.
The downside is that when you pump power to engines or weapons, you take power from the opposite source. So if you are about to finish an enemy off, make sure you’re not being shot from behind when you pump up the weapons, otherwise your ship will be the one that explodes.
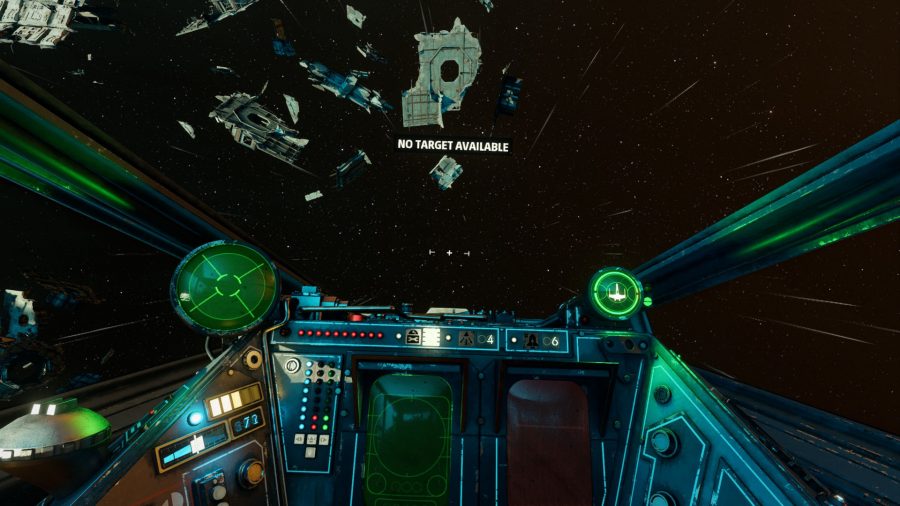
Master drifting in practice mode first
This is particularly important if you are playing as the Empire, but any pilot worth their salt should learn how to drift. It could mean the difference between life and death. Regular drifting is somewhat straightforward to execute, but if you want to be an ace pilot, you’ll want to master what is known as ‘micro drifting’.
Because we’re nice and want you to do well, we’ve created a Star Wars Squadrons drifting guide to show you exactly how to perform both techniques. However, it’s important to stress that you should definitely practice for yourself first. Thankfully, the practice mode has plenty of broken bits of ship that you can use to weave around.
Running the timed obstacle course option in the pause menu can be a good test of your newfound drifting abilities. Once you feel comfortable with drifting and micro drifting, deploy an enemy squadron and see how fast you can wreck them.
Use countermeasures only when locked on weapons are about to hit you
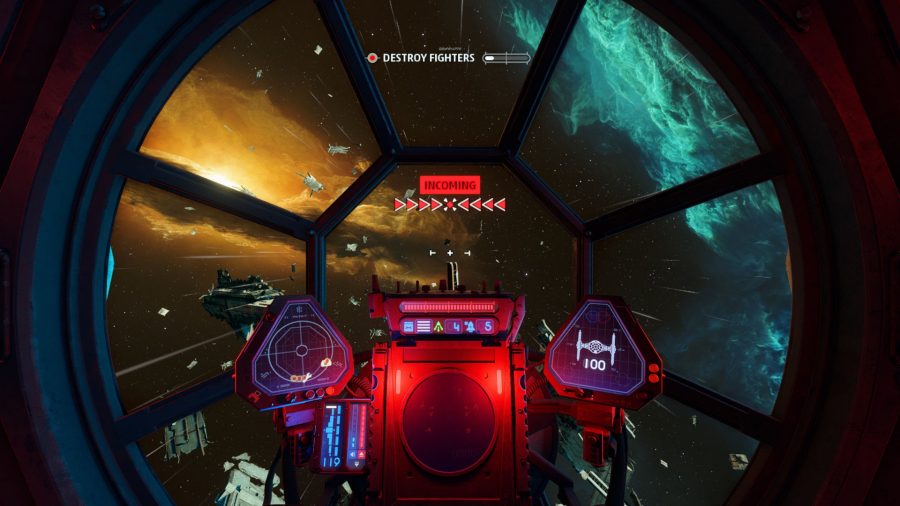
This one may be a simple tip, but don’t use your countermeasures too early. It may be tempting to push the countermeasures button (B on Xbox and Circle on PS4 pads) as soon as you see the notification that your ship has been locked on. Save yourself the hassle and don’t do this.
Instead, wait a bit and pilot your ship towards debris to try and deal with it that way. There is an ‘Incoming’ bar that slowly fills up as the homed in projectile gets closer. Only when it’s about to hit should you press the countermeasure button.
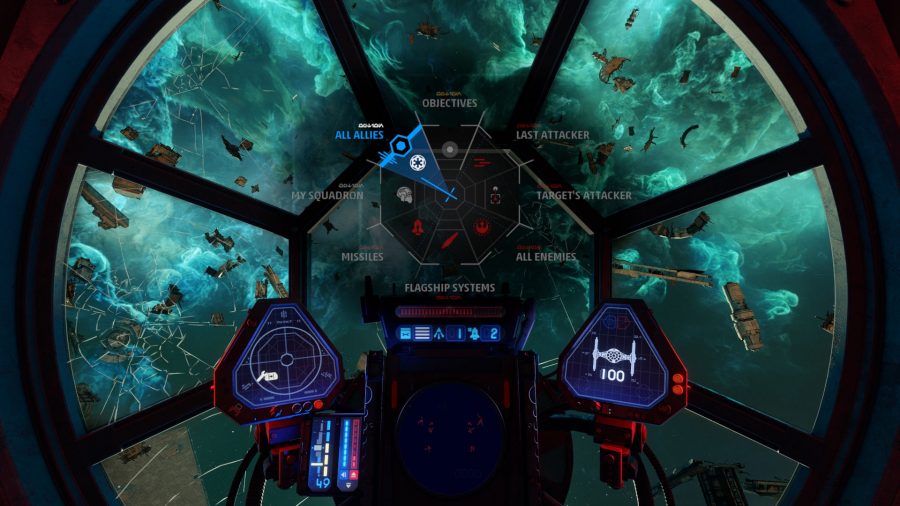
Customise your auto-targeting to your own objectives
You may know that the left trigger on the gamepad targets the enemy in front of you, while the A or X button cycles through targets. Those are basics that are taught to you in the opening mission. But you can customise the target cycles by holding down the left trigger, then selecting one of the options with the left thumbstick.
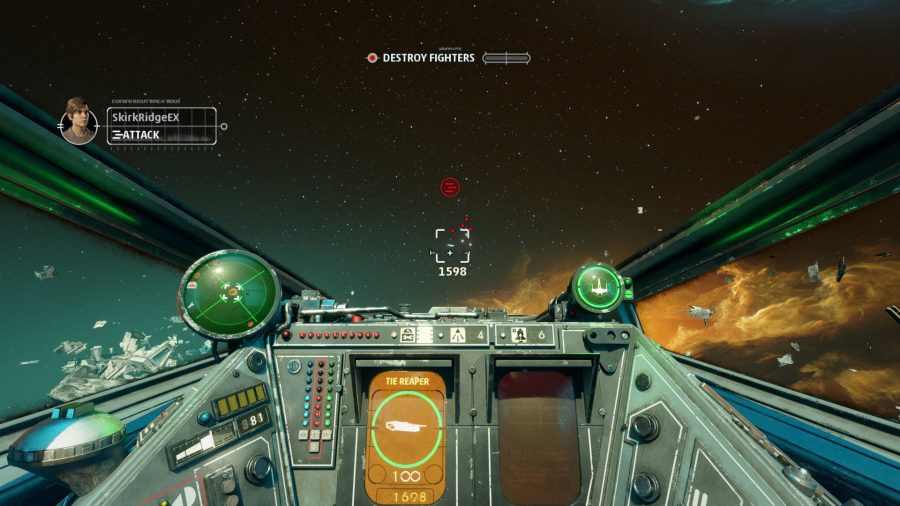
This is particularly helpful for when you are a support ship class – either the U-Wing or TIE Reaper. Instead of targeting enemy ships or objective markers, the ideal tactic would be to target your squadron or allies instead so that you can provide them with support items and supply drops.
Your target will have their stats shown on the central computer in your ship’s display, so you’ll know when they are running low on health and need your assistance.
Our final tip is another relatively easy one, but it can make all the difference in ranked matches. The ping button (Y or Triangle on pads) can be used to communicate with your teammates of a target you think everyone should be attacking. If you tap the ping button twice, you can confirm another teammate’s ping and bring it up onto your HUD.
This is particularly useful for Fleet Battles, so you can direct your friendly pilots to either press on the advantage when the enemy morale is low, or fall back to defend if your side is losing.
And those are our main Star Wars Squadrons tips and tricks. These should help you get started with multiplayer matches and earning those valuable Requisition points to unlock all the Star Wars Squadrons loadouts. As pilots get used to the game’s mechanics, there will likely be more tips down the line, so do check back soon.
