Kitting yourself out with a full arsenal of The Callisto Protocol weapons gives you some welcome variety during combat as you fight through Black Iron prison. While some are handed to you during the story, others take the form of weapon schematics, and their locations can be easily overlooked.
Thankfully, we’ve tracked the location of all The Callisto Protocol weapons so you can reach the Callisto Protocol final boss with all the firepower you need in one of the best horror games in 2022. Unfortunately, like health injectors and battery packs, weapon schematics take up an inventory slot – at least until you get to a reforger that can print it. At this point, the receiver appears in your arsenal rather than your items. It’s also worth mentioning that the reforger won’t do it for free, so remember to save up enough credits to print them.
All Callisto Protocol weapons and schematic locations
You can also gradually soup up your weapons by trading in credits for upgrades at the reforger, which is vital as you encounter deadlier biophage mutations. If you’re unsure what to prioritise, our best Callisto Protocol upgrades list can give you a solid foundation as you settle on your preferred playstyle.
Stun baton
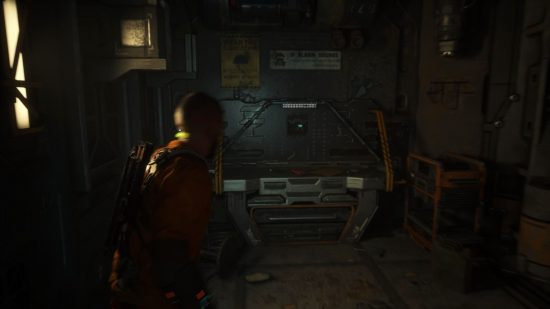
The stun baton is your first real weapon in The Callisto Protocol, unless you’re counting the inefficient crowbar. Once you crawl through the vent and reach the security lock-up, you’ll transition to a cutscene where Jacob retrieves the stun baton from the corpse of a prison officer.
Hand cannon
The B-155 pistol, or hand cannon, is small but surprisingly mighty. With the right upgrades, it can see you comfortably through a large portion of the game. Thankfully, there’s no possible way to miss it – as soon as you rendezvous with Elias at the watchtower in ‘Outbreak’, he’ll toss the schematic and indicate for you to print it at the Reforge.
GRP
The GRP crops up in ‘Aftermath’, and it’s another essential weapon that can’t be missed. This kinetic glove crops up as you make your way through the medical facility. A deceased prison guard is laid on a gurney as you enter an examination room, and Jacob will remove his GRP as part of a cutscene.
Skunk gun
The skunk gun schematic is also located in the ‘Aftermath’ chapter while you’re trying to find a way out of the basement once you’ve retrieved the gate fuse at the entrance to Workshop 0302. The workshop is locked, and there’s no fuse box, but don’t progress straight through to SHU Access 0303. Instead, return to the first area in the basement and insert the fuse into the fuse box beside the locked gate. Proceed through the vent to the left, and you’ll pop out into Workshop 0302. The skunk gun schematic is located on the workbench immediately to your left.
Riot gun
The Riot Gun, a two-handed shotgun designed for riot suppression, is given to you by Dani after you assist her in fighting off the biophage in the garage at the beginning of ‘Lost’. Thankfully, this means you don’t have to worry about toting around a weapon schematic to a reforger, and it’ll certainly come in handy while you’re trying to work out how to save the trapped worker in The Callisto Protocol just moments after this cutscene.
Tactical pistol
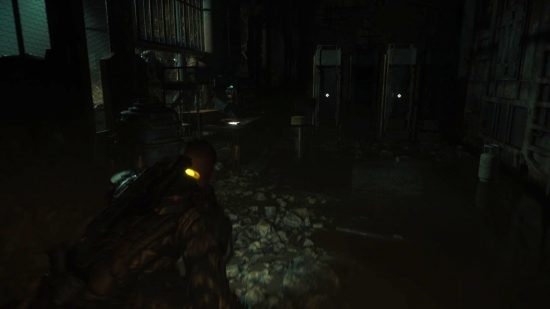
The tactical pistol dishes out less damage than the hand cannon but sports a much higher rate of fire since it’s an automatic weapon, and it has a larger magazine. You can come across it during ‘Below’, not long after falling down into the lower levels. As you pick your way through service tunnels and avoid the Blind roaming around, you’ll reach a long corridor lined with iron bars. The cell on the right contains a series of lockers running across the wall, and the tactical pistol schematic is on a workbench immediately opposite.
Assault rifle
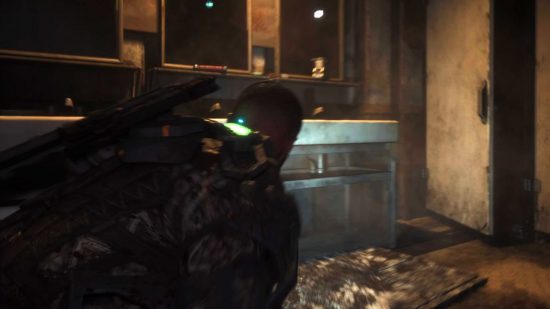
Finally, the assault rifle is a powerful weapon that marries both speed and damage. It’s located during ‘Colony’ while you’re trying to find a security key for the elevator to Hightown. Take the ladder to the upper level of Midtown and cross the walkway directly behind you to the bathroom. The assault rifle schematic, as well as a health injector, is resting on the sink. Be warned: the second you pick either item up, a Blind will jump out at you from the toilet stall – bet you didn’t see that one coming.
And voila, that’s the full monty of The Callisto Protocol weapons and their locations. If the schematics take up too much room, here’s how to increase inventory space in The Callisto Protocol. We’ve also got the secret to discovering The Callisto Protocol Kallipolis, as well as some information on Callisto Protocol new game plus. Finally, check out our Callisto Protocol review to find out if we enjoyed our stay at Black Iron prison.


