
It's hard to be too cynical about the climactic battles that conclude many of Total War: Warhammer II's campaigns. If a line of rotten shipwreck-automata blasting arm-cannons at spiky Dark Elves while a giant fish swims around your underwater battlefield doesn't make you smile, then you're as heartless as they are.
But these battles are also a mechanical fudge. 20 units with fixed health and vigour have a natural lifespan, and while the healing superpowers you often get to wield go some way to extending it, they're an inelegant, partial solution. Playing one of Total War: Warhammer III's new survival battles has made this clear to me. Pitched by CA as the game's 'boss fights', survival battles crib from tower defence games to create 40-minute spectacles that, on this evidence at least, fully deliver on what the devs intend.
I play as Tzarina Katarin of Kislev as she leads an expedition into the Realm of Chaos. Specifically, she's crashing Khorne's balmy summer retreat, the Brass Citadel. I need to take and hold three capture points to progress through the map to a final showdown, where an Exalted Bloodthirster (the biggest, angriest of Khorne's daemons) awaits.
It starts easily enough. Enemy forces are deliberately tuned down at the start of these battles, which creates the odd spectacle of Khornate Chaos Warriors being capably dispatched by my Tzar Guard, who appear to be mid-tier infantry. This is one of very few things that bugs me, but it’s necessary to give this battle the scale it needs.

I take the first capture point – it’s called the Icon of Ruin and I can’t stop thinking of Doom for the rest of the battle – and there’s a brief respite while I prepare for the counterattack. Here comes the tower defence stuff: killing enemies and holding capture points generates ‘supplies’, which can be spent in three ways. I can build fortifications, heal or buff my units, or summon new ones through a handy portal.
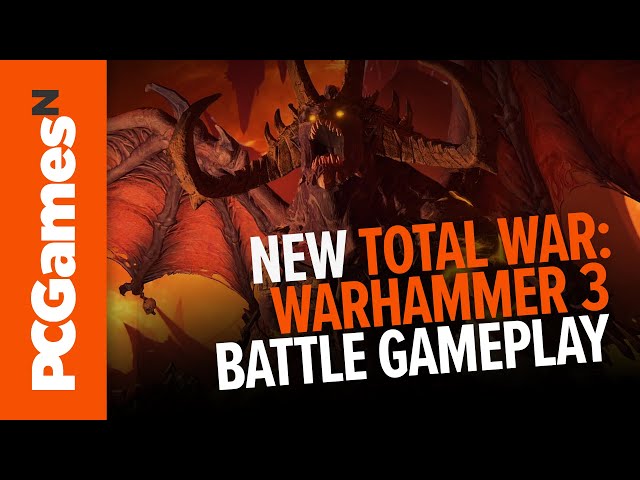
Related: Everything we know about Total War: Warhammer 3
There’s a touch of dissonance through all of this. Why would killing daemons in Khorne’s realm generate a useful currency? Why would it enable me to build fortifications or summon friendly units right onto his doorstep? To reference Doom again, these questions have the same answer as ‘why would demons drop ammo when cut in half with a chainsaw?’ And that answer is: ‘shut up, I’m having fun.’
The first icon is easy to defend. There are only six routes up the hill to me, the front two of which don’t have building slots, so I summon three Streltsi (badass hybrid infantry whose greataxes are also guns) and use them in tandem with the Tzar Guard to hold position. I stop the side channels with two kinds of barricade: beefy blockers at the rear pair, and traps at the front two. Finally, I splurge on a couple of magic towers, whose projectiles deal huge damage and have a very long range.

My traps slow the first cluster of Chaos Warriors to a crawl, before my Streltsi shred their ranks with a volley of armour-piercing gunfire. A tide of Bloodletters piles up behind one of the blockers, and I can almost imagine their frenzied braying as they try to tear it down. It’s a perfect opportunity for Katarin to drop Heart of Winter, the big nuke spell from the new Lore of Ice magic. It’s probably because of the tuning, but it’s theatrically effective – multiple health bars wither into nothingness beneath a giant snowflake.
The first gate opens. Fast daemons such as Flesh Hounds will pour into the map from this starting area throughout the battle, so I leave the Tzar Guard behind to hold the gate. The rest of my army marches around a ridiculous giant skull with flaming eyes – it’s like something out of a Hieronymus Bosch painting – to take the Icon of Blood.
This area is more open than the first, and poses trickier questions about where to invest my supplies. I could try using blockers to funnel daemons into kill zones, but they’re the most expensive form of barricade. I could embrace the openness and build monuments, which grant melee attack and leadership buffs to nearby friendlies, lending an edge in the impending scrum. I half-ass it with a mix of blockers and traps, but the build slots are much further away from the icon here, stretching my army to its limits.

This would be fine if the daemons descended on each half equally, but they don’t, and while my left flank sits around with nothing to fight, I lose some Streltsi and Kossars as my right flank drowns in a red tide. I send in my reserves – Katarin and Winged Lancers – and summon some Ice Guard and a Little Grom (a mortar on a sled towed by bears; badass). They do the job, and as the second gate drops I hastily rearrange my troops to meet a wave of much more serious-looking demons.
A Bloodthirster makes a beeline for Katarin and badly wounds her until I charge some Gryphon Legion (Lancers, but better) into its back. We climb the hill, take the final icon (of Torment), and I salivate as I survey my latest menu of summonable units. These include War Bear Riders and the amazing Elemental Bear – a towering magical manifestation of Kislev’s spiritual patron, which obviously I summon immediately.
Read more: All the confirmed Total War: Warhammer 3 races
I spend some supplies healing Katarin and some other ragged troops, and restoring their vigour. I could upgrade their melee attack and defence with three tiers of buffs, but it’s very expensive, and I still have more forms of bear to purchase.

For the final icon, the daemons stop kidding around. There are two waves, each far larger than any before, and their ranks now include Skullcannons and Bloodcrushers. The splendidly named Skaraargh Fleshmaul, an Exalted Bloodthirster with 21,000 health, arrives on the second wave, flies into the core of my army, and mixes it like a blender. My lines lose cohesion. Katarin breaks. I send my Elemental Bear at Fleshmaul, hoping it’ll keep him busy, and am reduced to classic Total War short-termism: scanning for unoccupied units and throwing them at whichever enemy they seem best matched for.
It’s literal chaos. But I must be killing something, because the supplies keep rolling in. I buy a second Elemental Bear, then some War Bear Riders, more Gryphon Legion, and a hero called a Patriarch who provides buffs via his battle prayers. I’ve got well over 20 units by now, though many are in tatters and only a handful are bears. There’s something appropriately Khornate in buying troops with the blood of one’s slain enemies, of slaughter begetting slaughter and all that – it even neatly complements the implication in the latest trailer that we might be tempted to fall to Chaos ourselves during the campaign.
The reinforcements keep me in the game. Katarin rallies, so I heal her and start spamming Heart of Winter. It’s just about enough: Fleshmaul finally falls, and I let out a breath that I didn’t realise I’d been holding for most of the last 40 minutes. In the post-battle screen, Katarin has scored almost 2,000 kills.

Once I get the footage I analyse the battle, dozens of exciting questions bubbling up that could never have been prompted by previous Total Wars. I see all kinds of optimisations in all the new systems: next time I try this, I’m going to buy four blockers for the third icon, put my hardiest defensive infantry in the gaps between them, and buff their melee defence like crazy. I think that’ll work better than my strategy of ‘more bears’ (though some bears will of course be required).
As I speed through the footage, an amusing story plays out on the minimap: red blobs pour in from the starting area, hit a wall of friendly yellow units, then turn white and bounce off as they rout. These are those light daemons hitting my Tzar Guard, who’ve been covering my rear throughout the battle without me needing to give them another order.
Get it here: Pre-order Total War: Warhammer III here
Judging from the sheer volume of daemons that hit them – the blobs on the minimap are like balls bouncing in a lottery machine – this was a wise decision. But considering how few losses they took and how badly I missed them on the second icon, Tzar Guard were an overcommitment. Next time I’ll try it with Kossars.
It feels like CA has done a great job of making all your options feel relevant: healing and buffing your troops is one strategy, as is prioritising towers and barricades, as is buying 30 or even 40 stacks if your micro is solid.
It’ll take more hands-on time to be sure, and to see what the other survival battles are like, but I know I can’t wait. As someone who usually prefers the campaign side of Total War, I haven’t been this excited for the battles in years. If this all sounds like your cup of the proverbial then you can pre-order Total War: Warhammer III here.