World of Warcraft’s Shadowlands expansion features eight new dungeons, which are one of the best ways to gear up your characters. Here’s the ultimate TL;DR guide – with everything you need to know for each boss in each dungeon. Read it as you run to the next fight!
Four dungeons are available in WoW Shadowlands as you level up your character; they also offer level-60 gear when you reach max level. The other four become available once you cap. You can use our WoW Shadowlands leveling guide to reach level 60, at 60, each of these dungeons offers Conduits for almost all classes, the upgrade items that plug into your Soulbind talent tree back at your Covenant headquarters, giving you extra power and/or abilities. Memories of the Runecarver can also drop in dungeons, giving you recipes for your WoW Shadowlands legendary items, and they drop up to item level 184 loot on Mythic difficulty.
Covenant members have special abilities and buffs they can trigger in the dungeons located in their “home” zone. In addition, there are items scattered in each zone that give individual players short-term buffs. Here’s the rundown of each dungeon, WoW Shadowlands Covenant abilities, and superfast strategies for each boss.
The Necrotic Wake
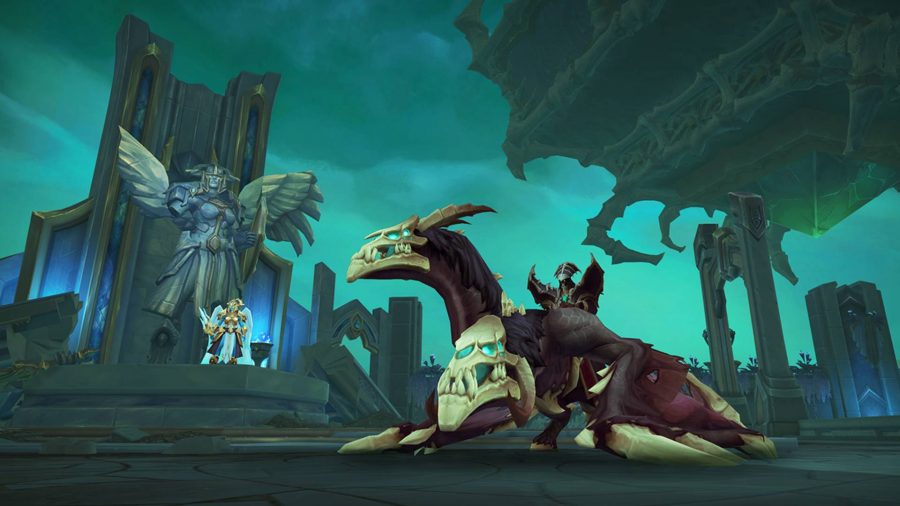
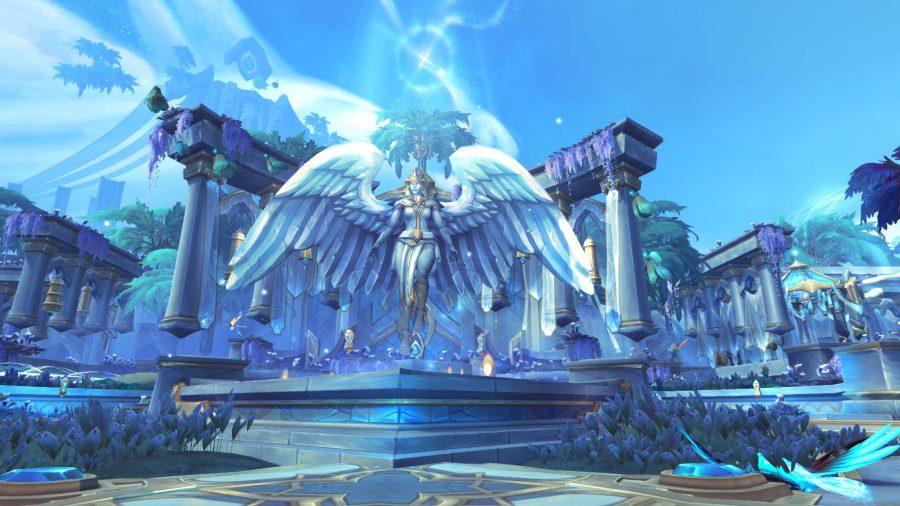
Available at level 51, Necrotic Wake is located in the zone of Bastion, and chronicles the invasion of that angelic zone by an evil undead faction from Maldraxxus.
Covenant ability: Kyrian players can summon their steward next to large defunct Malfunctioning Goliath robots and ask the steward to reactivate them. The robots summon five anima orbs that, when walked through, buff each member of your party for a minute with movement speed and periodic damage and healing.
Blightbone is an abomination in the first area where you zone in. Short strats: Kill all the trash around him, don’t move if you get Heavy Retch, and kill Carrion Worms immediately when they spawn. Avoid letting them touch you. Don’t stand in Fetid Gas and move the boss periodically to keep him out of those puddles.
Amarth is a mounted boss. Stay out of the chimaera’s Necrotic Breath. Kill all adds immediately when they spawn – if you don’t, Amarth will make them explode. Interrupt Necrotic Bolt as often as you can.
Surgeon Stitchflesh is an easy fight if you follow the mechanics. You’ll go through waves of trash until his final abominations begin to spawn. They will come one at a time, and they will target a player for Meat Hook (look for the red arrow). That player should stand between the abomination and the stage where the Surgeon stands, with the arrow pointing at the boss, until the cast is almost complete and the arrow extends. Then get out of the way. The hook will grab the Surgeon, pulling him into combat and making him attackable. Rinse and repeat.
Nalthor the Rimebinder is an undead frost lich. Get out of big white circles, which are the Frozen Binds debuff. The healer can dispel the affected player after everyone else is out. Little white swirls will chase you during Comet Storm – avoid those too. A player will be teleported down to the walkway below, where they will have to dodge storms, kill an add and talk to a Kyrian angel to be ported back.
Plaguefall
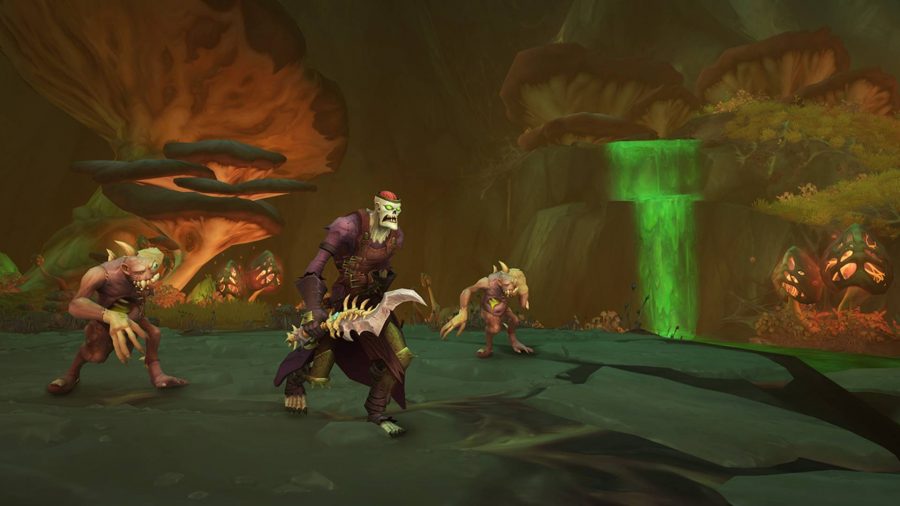
Available at level 53, Plaguefall is in Maldraxxus, and features the fight to reclaim the deadly plague left behind by the defunct House of Plagues.
Covenant ability: Necrolord players can use Fleshcraft on any dead slime to obtain a three-minute haste, damage reduction or damaging aura to benefit party members within eight yards of them.
Globgrog is a slime boss with a strong knockback and a cone you need to avoid. He’ll periodically summon four slimes, which need to be killed before they reach him (or he’ll heal). If you want to control one, use long-duration control like hunter traps or monk paralysis on the Slimy Smorgasbord, which spawns closer and has more health, and kill the others.
Doctor Ickus loves to jump around, so your best bet is to pull the trash packs up onto the platform at the front of the room (where he doesn’t jump) and kill them one by one until the four other platforms are clear. This can be tough, since some mobs are ranged. Once you engage him, Ickus will leap to another platform at 2/3 and 1/3 health and summon three adds. Kill the Plague Bomb before it explodes, then kill the other two, then back to the boss.
Domina Venomblade is a big spider with stealth adds. You must stack up or you will be permanently incapacitated. One person will get the Shadow Ambush debuff, and should run out, take the stun and damage, then run back in before they are feared. She’ll cast webs on the ground with assassins inside, which cause group-wide damage. You can flush them out and kill them by running through the webs, having a hunter flare, or using another stealth-sight ability.
Margrave Stradama is a fun fight mostly consisting of avoiding tentacles. Do not stand in the center and do not stand in front of the Malignant Spawn as it does its frontal cone; do move there when he’s dead. DO figure out which tentacles are going to crash next and get out of their way. If there’s not an obvious hole, one tentacle will be first and light up; you can then go to that spot and be safe from the others. Kill Plaguebound Devoted adds.
Mists of Tirna Scithe
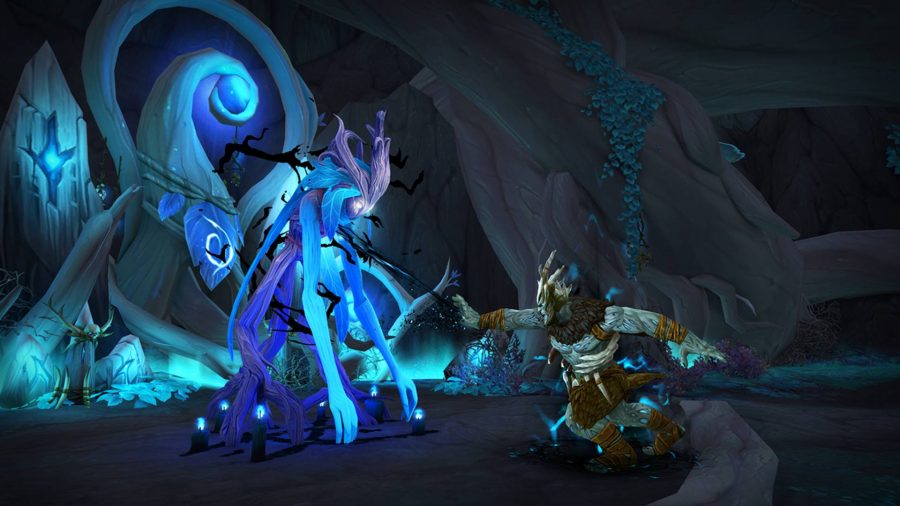
Available at level 55, Mists is a forested grove with shadow creatures in Ardenweald, and requires some basic puzzle-solving to navigate.
Covenant ability: Night Fae players can open roots to the left side of the path at the start and before Ingra Maloch, skipping a little trash and opening up a field of player-buffing mushrooms. After each boss, you can click the Depleted Anima Seed to provide a checkpoint where players will resurrect if they die.
Ingra Maloch is a two-boss fight. Kill Droman Oulfarran (the tree) until he regains his senses and gives you a 300% damage, 12 second buff against Ingra. Kill Ingra until Droman is re-enslaved, then start over. Avoid Droman’s frontal cone and ground swirlies, and be prepared for Ingra’s three-second fears.
Mistcaller makes it challenging to get to her. At each trash pack, there are stumps in front of each doorway, which light up with a symbol when players come near them. Your job is to pick the one that is different from the others – typically, it’ll be the only one to have/not have a ring, the only one to be full/transparent, or the only one of its shape. That is the correct door. In the boss fight, she’ll sometimes disappear, forcing you to play this game to figure out which copy to kill. Tanks must interrupt Patty Cake, or she’ll attack other players. Avoid the Dodge Ball arrows and kill the Illusionary Vulpin before it touches anyone.
Tred’ova is a giant bug that fires off green swirlies. As you dodge them, it remembers the way you went and how far you traveled, and throws swirlies there too in subsequent attacks. Interrupt all of his Parasitic casts or he will summon Parasitic adds that need to be killed. He’ll also connect players together, so spread out to break those bonds. When he goes immune, just concentrate on avoiding ground swirlies.
Halls of Atonement
Available at level 57, Halls is located in Revendreth, featuring the anima-hoarding minions of Sire Denathrius.
Covenant Ability: Venthyr players can approach Loyal Stoneborn mobs and use their extra action buttons to cause them to fight for the party.
Halkias is a giant anima-fueled mech. You fight him after killing three Shards of Halkias in the opening area. Stay inside the circle he casts when fighting him, or you’ll be perma-feared. He’ll drop glass shards on the ground; stay out of those and move him once he’s dropped three, so that you have room to run. After he casts the fourth, he’ll rotate with beams you should avoid, which can change direction.
Echelon is a stone gargoyle mob. Kill his Undying Stonefiend adds, preferably clumping them as much as possible. He’ll cast a stun on the party, then target one member for a leap. If you’re targeted, before you’re stunned, move on top of the little adds. Stay out of his blood pools.
High Adjudicator Aleez is an evil Venthyr. Interrupt Bolt and Volley of Power. Stay out of ground swirls. If you are targeted by a Ghastly Parishioner ghost, stand behind one of the lantern-like anima collectors on the ground so it passes over it, becoming trapped.
Lord Chamberlain is one of the mobs you met while questing. Avoid his frontal cone attack. He’ll throw a statue in the direction it’s facing, then pull all statues into himself, then spit them all back out again. Avoid all of them. He’ll channel on a statue – or all four in mythic difficulty – and that beam must be interrupted by players standing in it.
The other four dungeons become available when you cap out at level 60, and are typically a bit more challenging.
De Other Side
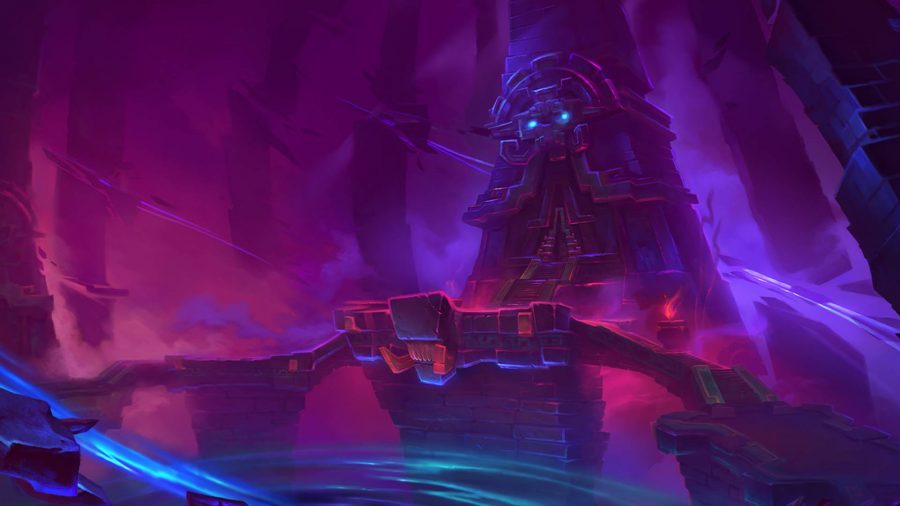
De Other Side is located in Ardenweald, and features your old pal from the Battle for Azeroth expansion, the loa of death Bwonsamdi. He’s battling against Mueh’zala for control of the souls of his servants, and you help by recollecting his mojo from people he’s made deals with.
Covenant ability: Night Fae players can channel on pots located around the dungeon, which stun everything in 30 yards when triggered.
Hakkar the Soulflayer is a serpent boss. Kill the Sons of Hakkar as they spawn; they’ll rise again. Spread out to avoid transmitting Corrupted Blood. Avoid ground swirlies, break through his shield when he casts it, and interrupt Blood Barrage.
Millhouse and Millie Manastorm are everyone’s favourite troublemaking gnomes. Prevent the pink beam from hitting Millhouse by standing in it. When two players are marked, make sure the line between you passes over the boss (but not other players). Click on Experimental Squirrel Bombs to disarm them. If you’re targeted by Shadowfury, make sure the circle around you overlaps with the boss, but not other players.
Dealer Xy’exa will cast Displacement Traps on the ground, which you should avoid until you need them. If you’re targeted, wait until there is a tick or two left and stand in a trap to be shot into the air. When the boss casts Explosive Contrivance, all players should wait until there is a tick or two left and then step into traps.
Mueh’zala is a giant, unhappy troll loa. You are mostly helping Bwonsamdi kill him. His Master of Death ability causes waves of death on the platform; to see where to run, watch his hands. If he pulls the left one back, that’s where he’s going to shoot fire or shadow. Same for the right. Two hands up means he’s hitting the front edge. He’ll do all three each time, in a random order. The Cosmic Artifice debuff on a player will drop an AOE orb when dispelled or it expires, so be near the edge when that happens. When he casts Shatter Reality, split up the group and each half should walk through one of the two portals in front. Kill the add, click the totem, and wait to be ported back to him. Rinse and repeat.
Theater of Pain
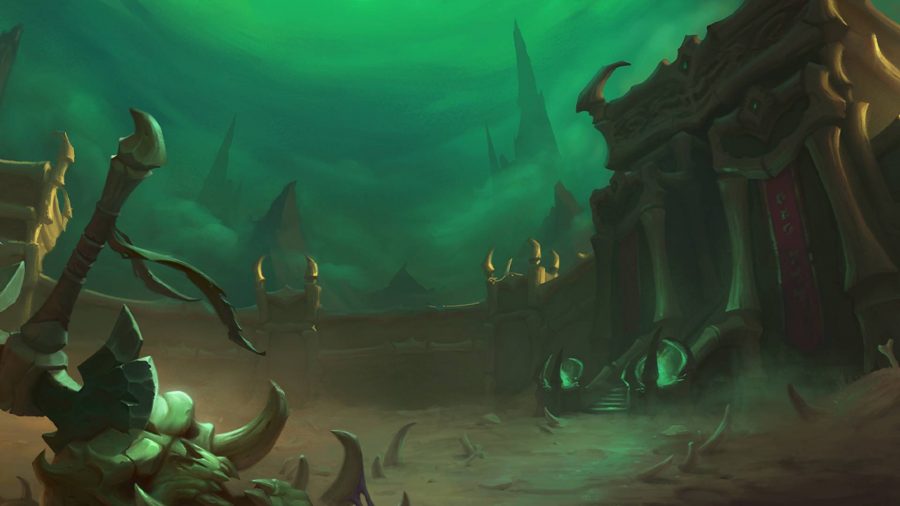
Located in Maldraxxus, Theater of Pain is an arena challenge with some fun twists.
Covenant ability: Necrolord players can click banners in the dungeon to buff themselves and nearby players.
Affront of Challengers is a three-boss fight. Kill them one at a time, as they gain an additional ability when they drop below 40% health. Soothe or Tranquilizing Shot Dessia the Decapitator when she casts her health shield, as she’ll target random players. Kill Paceran last to avoid dropping spores under your feet for the rest of the fight. The three fights after this one can be done in any order.
Xav the Unfallen hits the tank very hard. Kill banners as they spawn, and avoid ground effects and cones. Two players will be tossed into an arena and forced to duel. It’s fastest to have one person agree to be beaten, but… for some reason, that’s not how it’s played out in my groups. You’ll be ported back when one player is defeated.
Gorechop hits the tank very hard (this is a theme). He’ll drop hooks from the ceiling and move them across the floor; stand in the openings to avoid them. Kill adds. Gorechop will summon players to him; run away to avoid his short-range AOE.
Kul’tharok will summon the souls from two players. Run over your soul to reclaim it, or chase it into grasping hands to hold it, so you can get it. Don’t hit the hands yourself. Healers, dispel Phantasmal Parasite.
Mordretha hits the tank very hard… surprise. Group up (but don’t overlap the swirls) during the Manifest Death ability, and run away from her rotating Dark Devastation ability and Grasping Rift. When her health drops below half, avoid swirlies on the ground and do not stand in front of spectral fighters, who charge across the platform.
Sanguine Depths
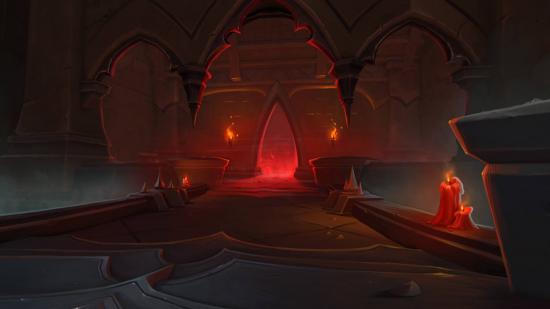
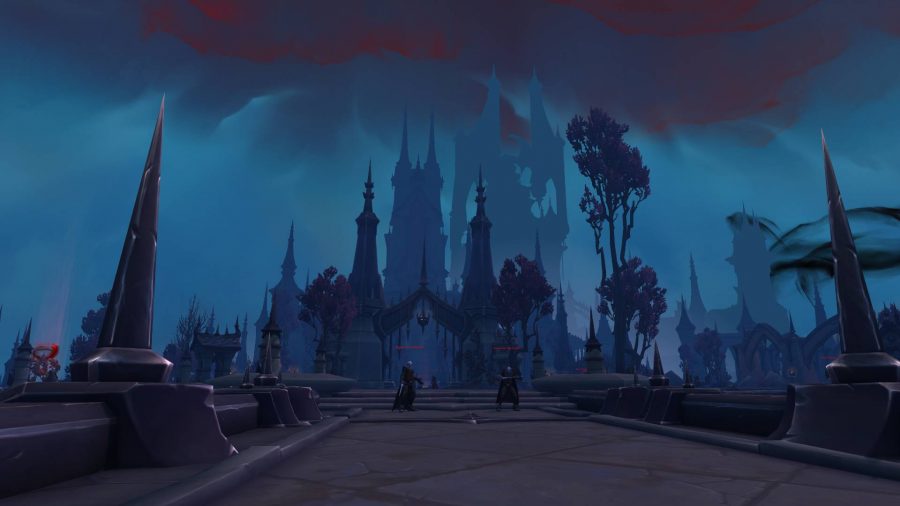
Sanguine Depths, in Revendreth, is the prison underneath Castle Nathria.
Covenant ability: Venthyr can channel on lantern-like anima containers, causing a stacking buff for players for every creature killed in the circle they cast on the ground.
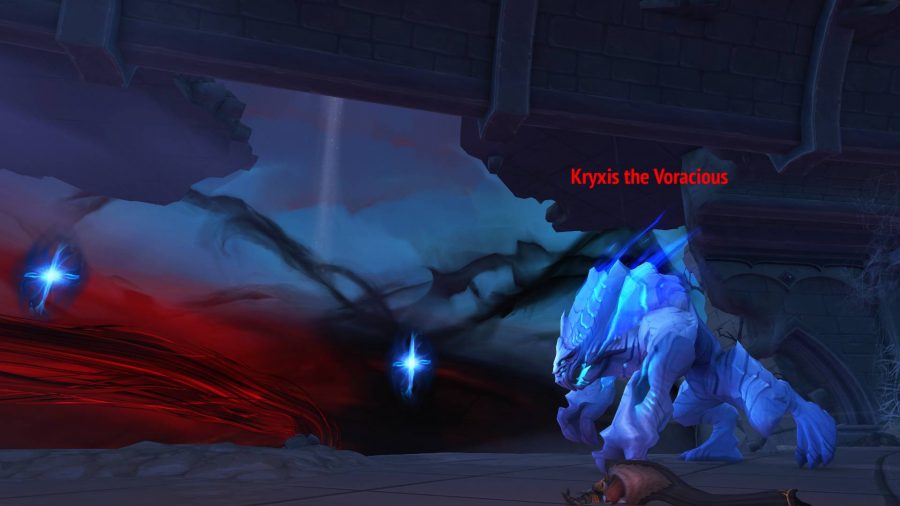
Kryxis is a giant rock beast-like aberration. Interrupt Hungering Drain. His Severing Smash ability at 100 energy and the Headbutt ability he casts on tanks knock back, so stay away from the edge. Stack up between the Juggernaut Rush target and the boss, and run over the orbs before the Severing Smash ability spawns and before they reach him.
Executor Tarvold should be pulled away from his spawn point. He summons two balls of anima that move in opposite directions around the ring you’re standing on, and they cross where he spawns, making it really difficult to avoid them at that precise location. Kill his Fleeting Manifestation adds immediately; they’ll drop a pool, which he should be pulled away from.
If you’re not at his spawn point, you’ll have one ball rolling by on the outside or inside, then the other; avoid them. It’s helpful to have a player call when they’re coming. Get away from other players if you’re targeted with Castigate.
Grand Proctor Beryllia will cast golden orbs on the ground. Each player should pick up three to survive her deadly Rite of Supremacy, which also leaves behind ticking damage on players. Avoid yellow swirlies.
General Kaal engages with you as you fight through the trash towards her. The only notable ability in that time is Gloom Squall – the tank should have picked up the golden Naaru core and should activate it to create a shield for players to avoid the Squall. If you accidentally picked it up, you can drop it again by right-clicking the buff. She will eventually run to a balcony where you will engage her alone.
Kaal will mark two players with Wicked Rush. If the first player uses an immunity at the right time – mage ice block, hunter feign death or turtle, etc. – she will only leap once or not at all. The leap leaves behind ticking damage. She’ll also summon ghostly images that will send a torrent of anima between them on the platform – avoid them by stepping out of that area when they light up. She will cast Gloom Squall here as well, which can knock you off the platform or kill you with ticking damage.
Spires of Ascension
Spires is in Bastion, and enlists you to help in the battle of the Archon versus the dark Kyrian Devos.
Covenant ability: Kyrian players can click on the dead NPC Kyrians on the ground to get the Spear of Destiny, which hits enemies within eight yards of the target, stunning them and making them take extra damage for 20 seconds.
Kin-Tara is a two-boss fight. The two NPCs share a health pool, so you can attack who you like. Ranged should target the etherwyrm, Azules, who moves but is always available. The tank should face Kin-Tara away from the group. Azules will spawn dark orbs that move away from him; stand behind him to avoid them or just step aside. Get away from the group if you’re targeted by Charged Spear.
Vetunax zips around the platform, rushing players and giving them a bleed, and dropping Shadowhirls that spit out orbs similar to Azunas. These add up over time, particularly when he hits full energy and causes them all to spit out piles of orbs at once. Avoid his frontal cone and kill him as soon as possible.
Oryphrion is a mechanical boss. Group up when you have an arrow on your head, run out when the swirlies start on the ground, move the boss away from those swirls, and absorb the anima orbs moving towards him before they hit him. Move out if you’re targeted for Purifying Blast, and healers should dispel Charged Stomp.
Devos is a two phase fight, and it can be tricky. In the first phase, players hit with Lost Confidence will drop gunk on the ground when it expires or is dispelled. They should try to drop these at the edges of the platform. Don’t be in front of her when she’s casting Run Through and stand inside the blue bubble when she’s casting Detonation.
In the second phase, she takes to the air, and strong winds emanate from one side of the platform. Dark circles will move over the platform in waves, which you should avoid. Your job is to pick up anima balls one at a time and return them to the console at the center. When it’s charged, a player should click it, which will hoist them in the air with a spear. Target Devos, punch the extra action button, and phase 1 will begin again. Repeat until dead.
