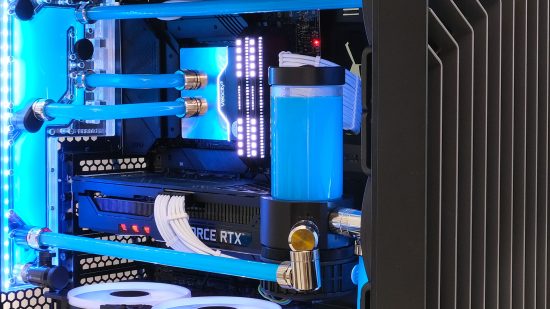
In this guide, we’ll show you how to mount a reservoir in your PC case. While water cooling reservoirs are more flexible than ever in terms of their size, number of ports, and their ability to use various mounting locations in a typical case, sometimes you’ll need to get creative.
If you’re planning to water cool your PC, finding a place for your reservoir is often a challenge, even in some of the best PC case designs. Thankfully, we’re here to save the day and take you through several techniques to install your reservoir. These include using a standard radiator and fan mount, but also some sneaky ways of installing them elsewhere in your case.
First steps
1. Choose size and type of reservoir
Tube reservoirs can be mounted using fan mounts in cases, or on radiators. In some situations, they also have mounting brackets for use on some pre-drilled case motherboard trays, or holes you’ve drilled yourself. Square reservoirs can also use fan mounts, but it can be easier to mount them in smaller spaces.
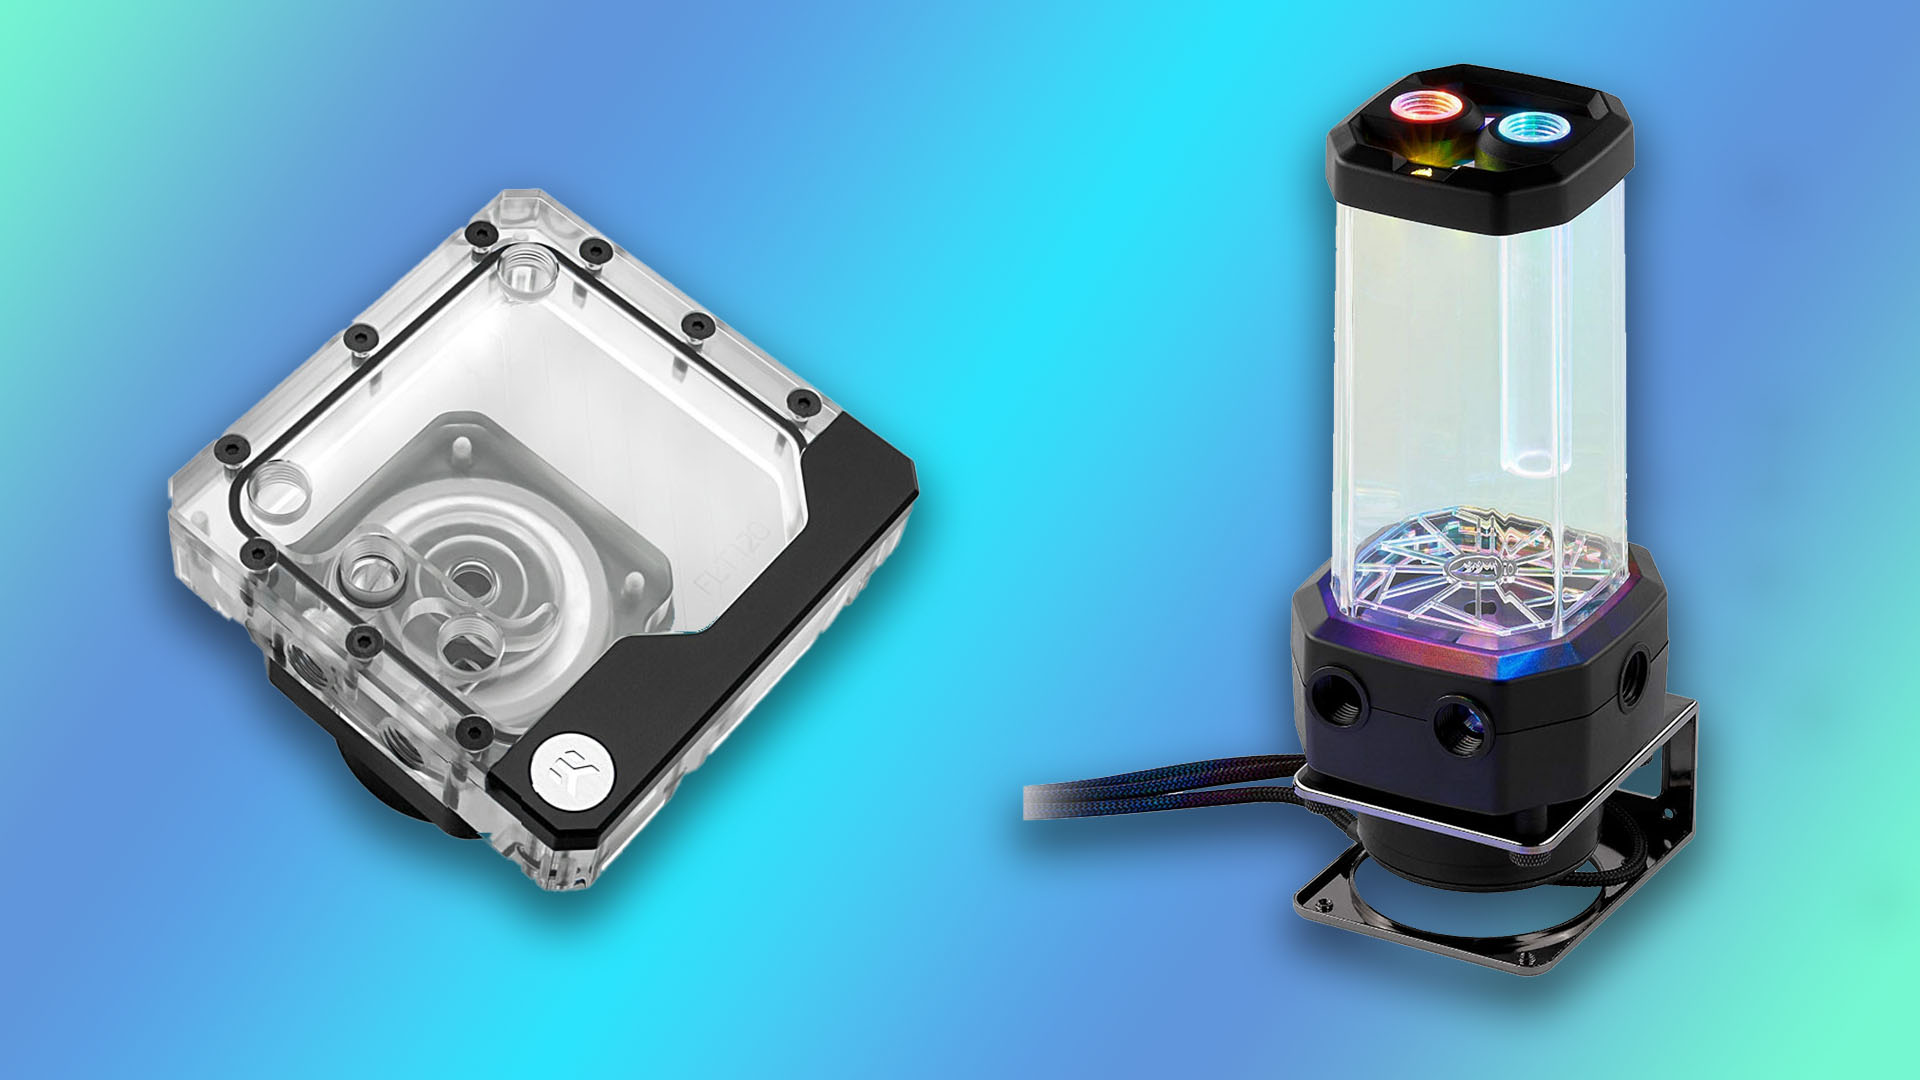
2. Decide on location
It’s likely you have a specific location in mind for your reservoir, but if not, it’s always worth checking to see if mounting it yourself away from fan mounts might free up some space in your case, or make filling and bleeding easier.
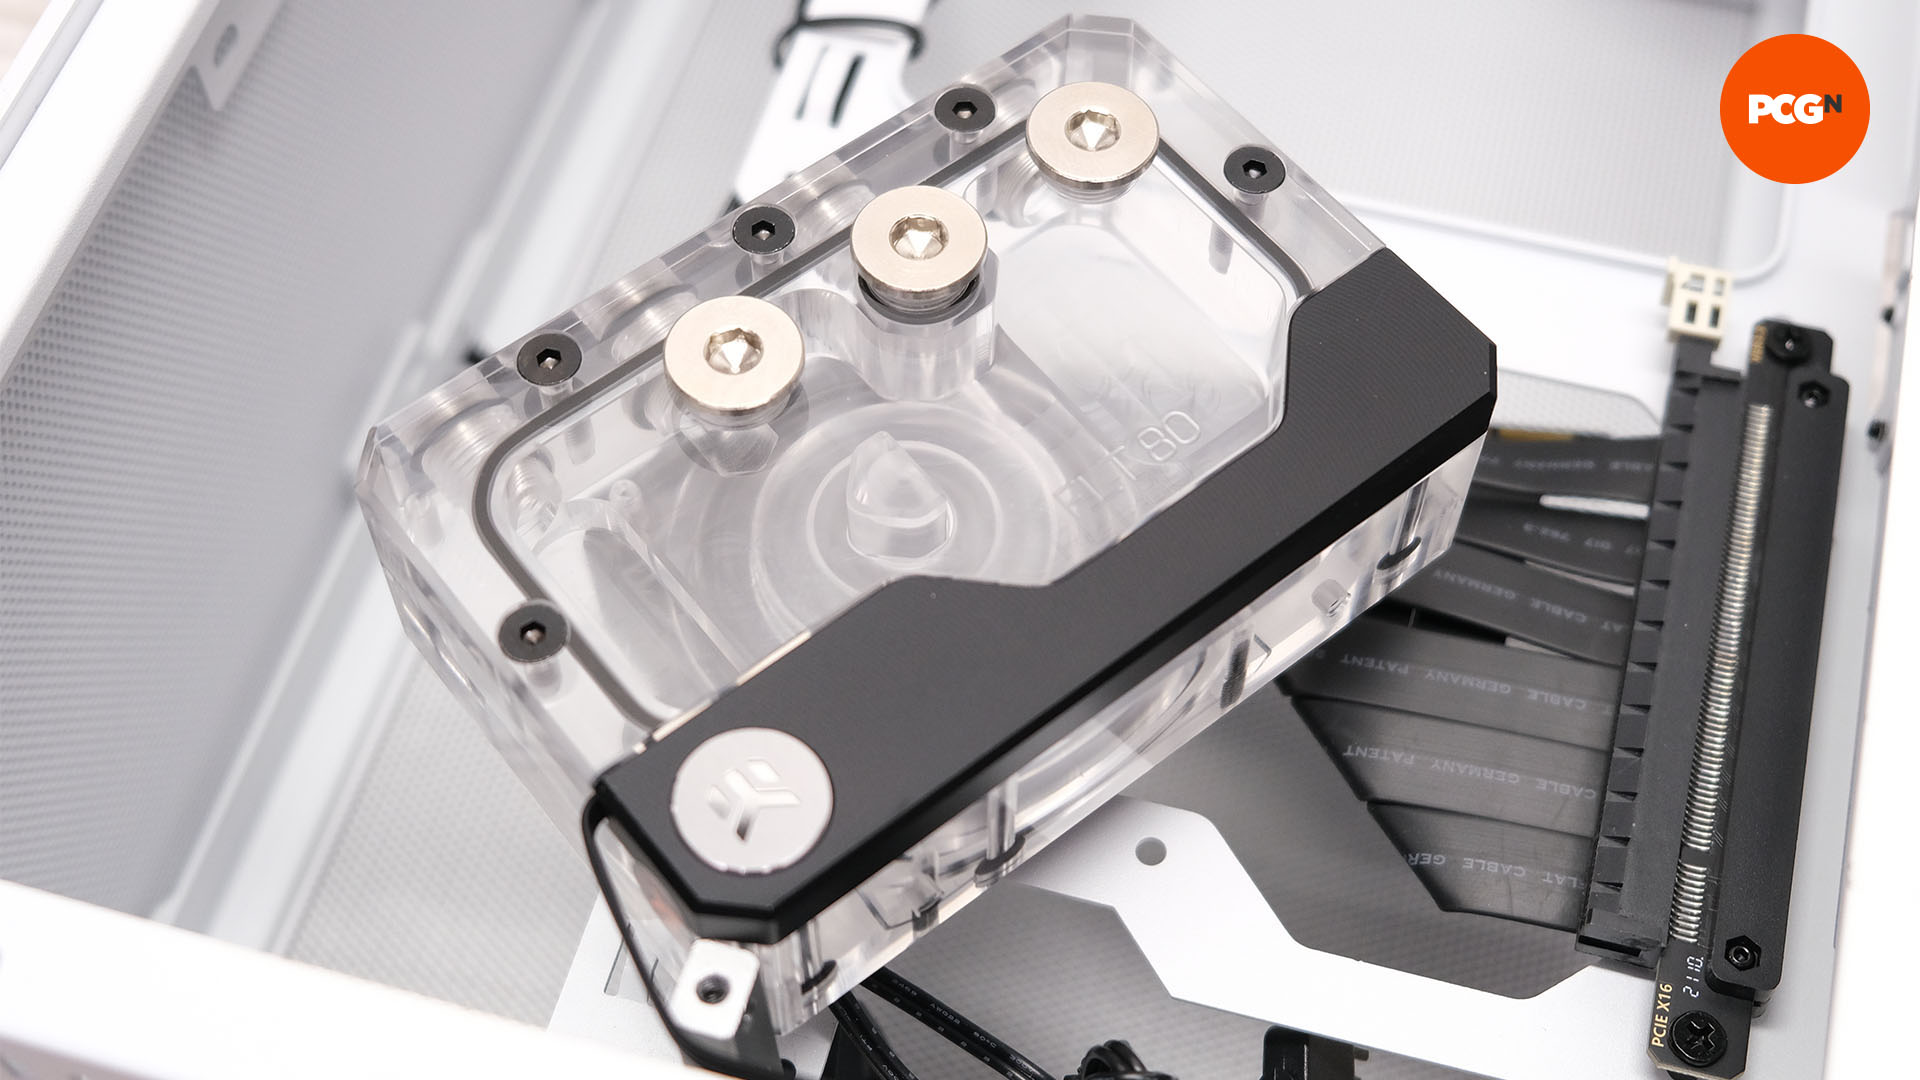
3. Identify tubing routes
Once you’ve worked out roughly where you need to mount the reservoir, you’ll need to work out your tubing routes. You might need to install the rest of the hardware in your PC first to check this accurately, especially in smaller cases, and then you can adjust the position of your reservoir if necessary.
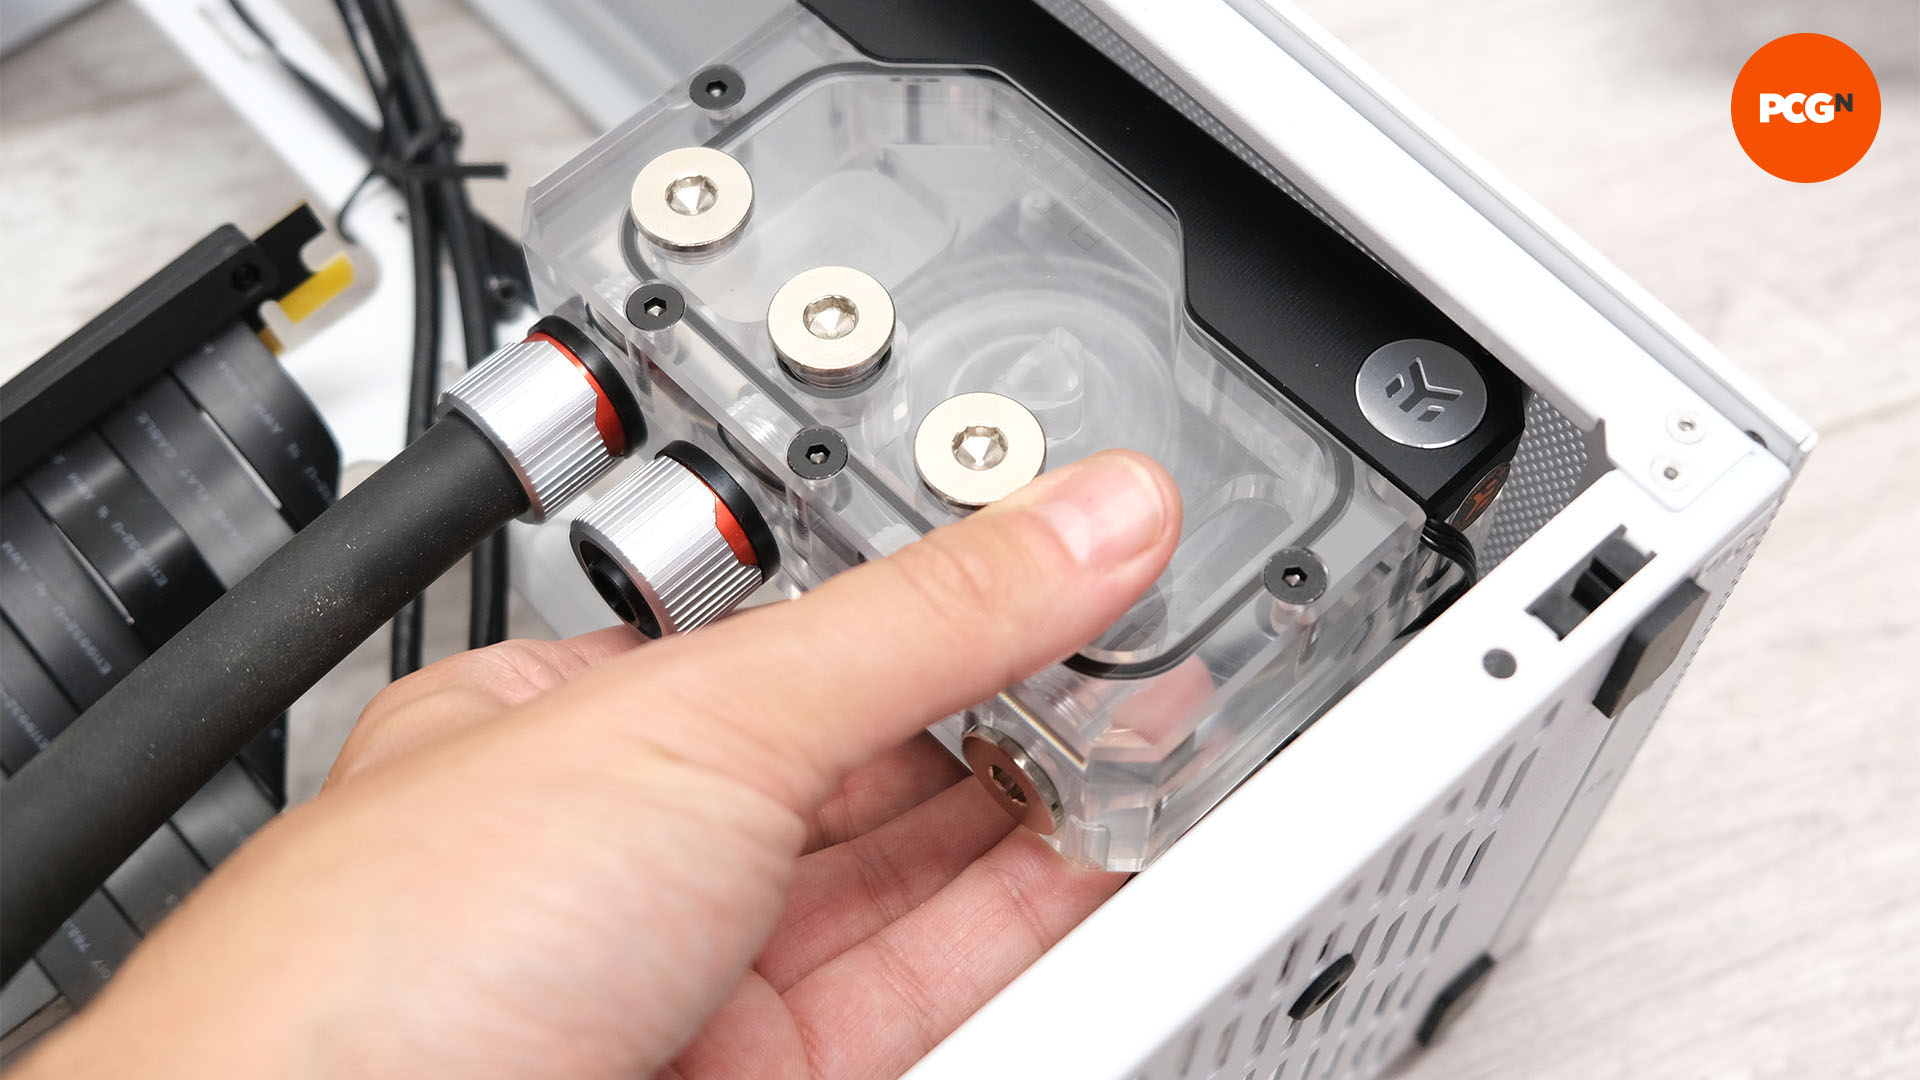
4. Measure up
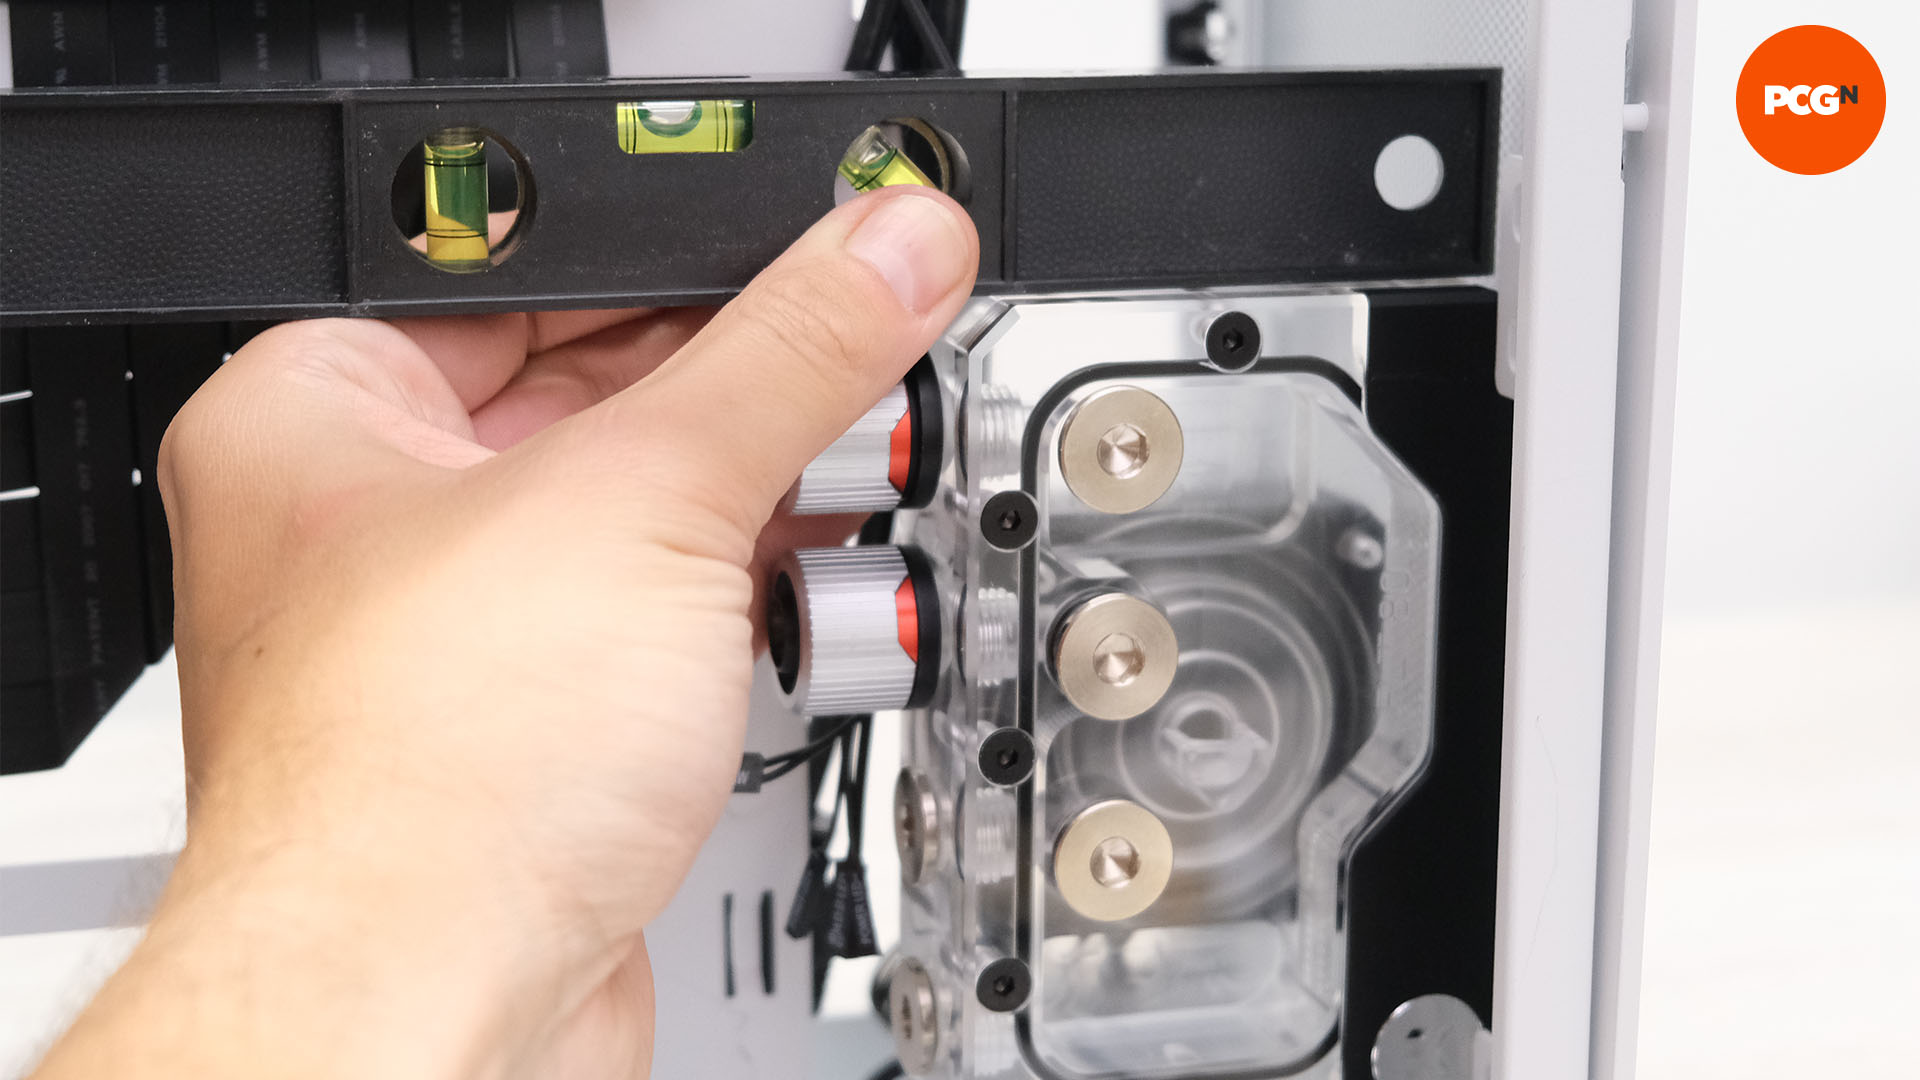
Once you’ve decided on the exact location, check if there’s clearance for the pump if it has one, and make sure you can replace your case’s side panels and other PC components once the reservoir is in place. Ensure it can sit level in this position using a spirit level, or it will look unsightly.
Use a fan or radiator mount
1. Use fan mounting kit
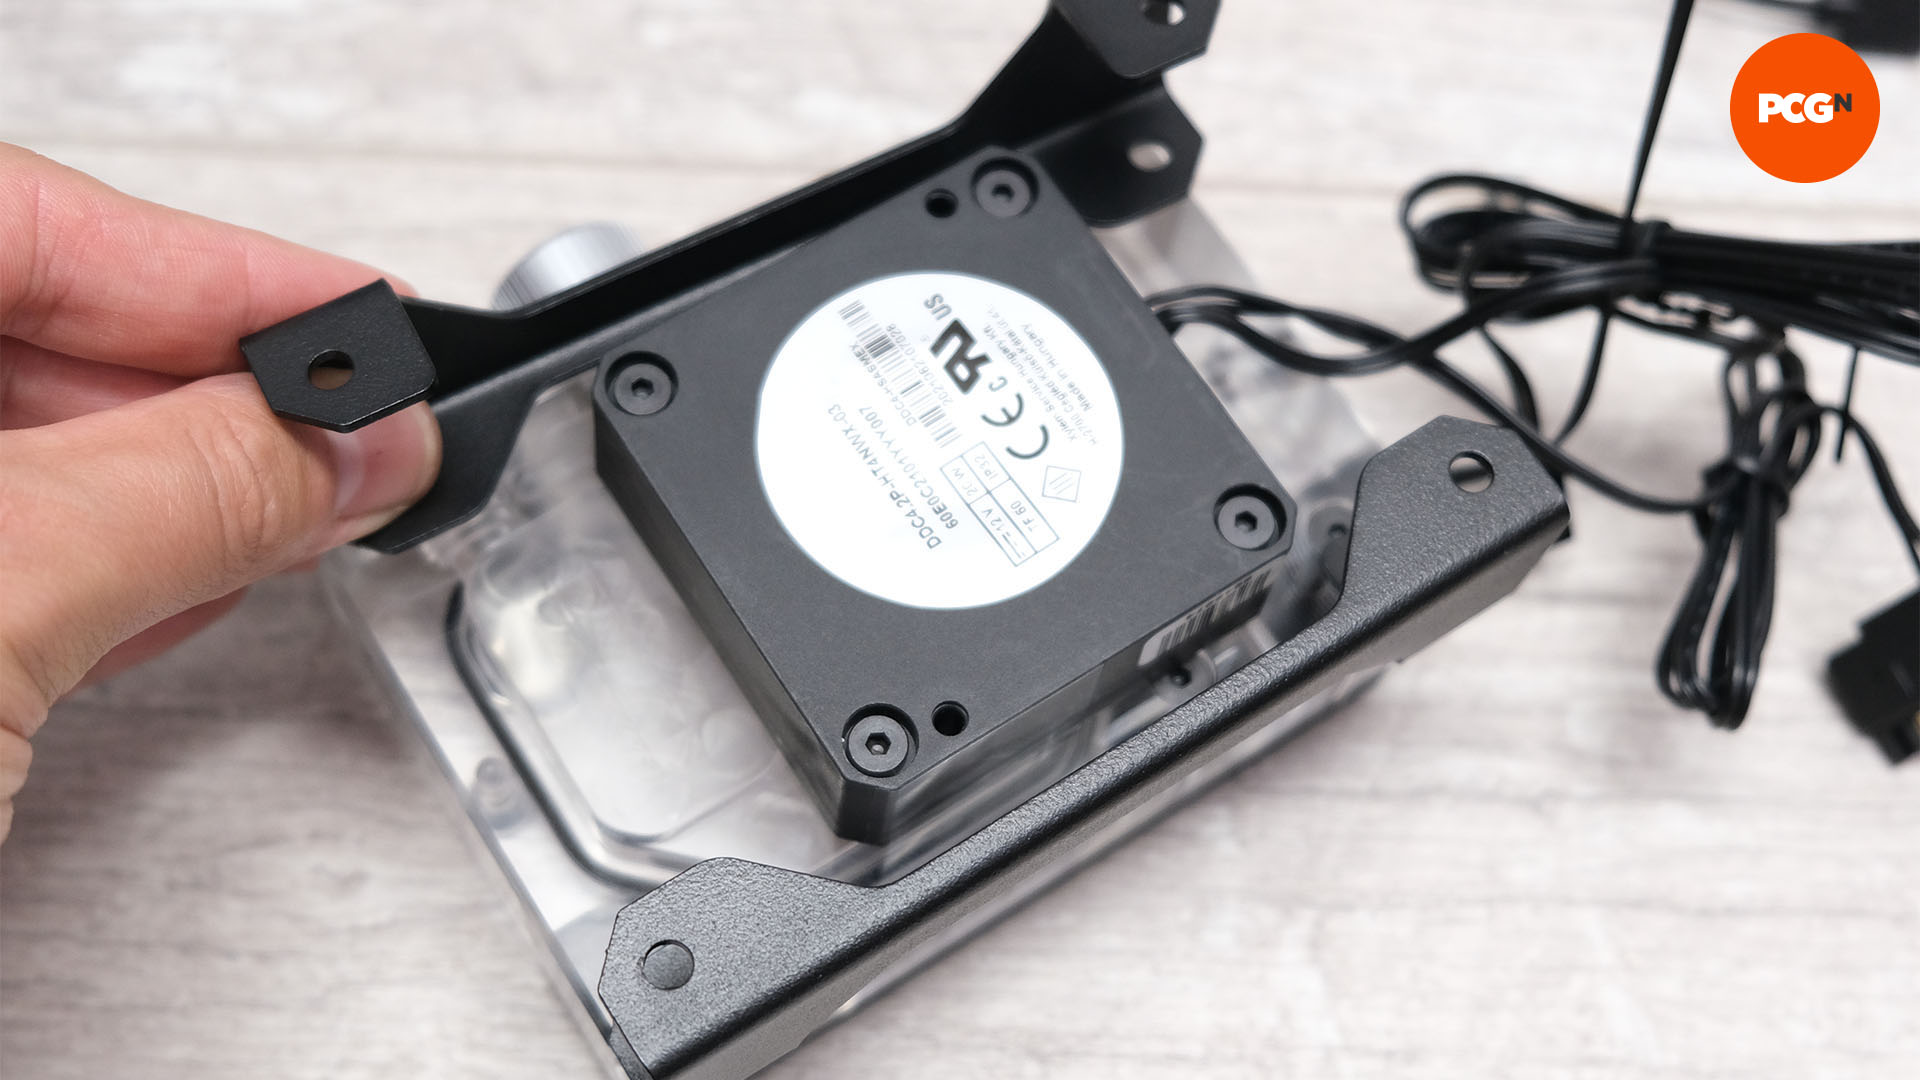
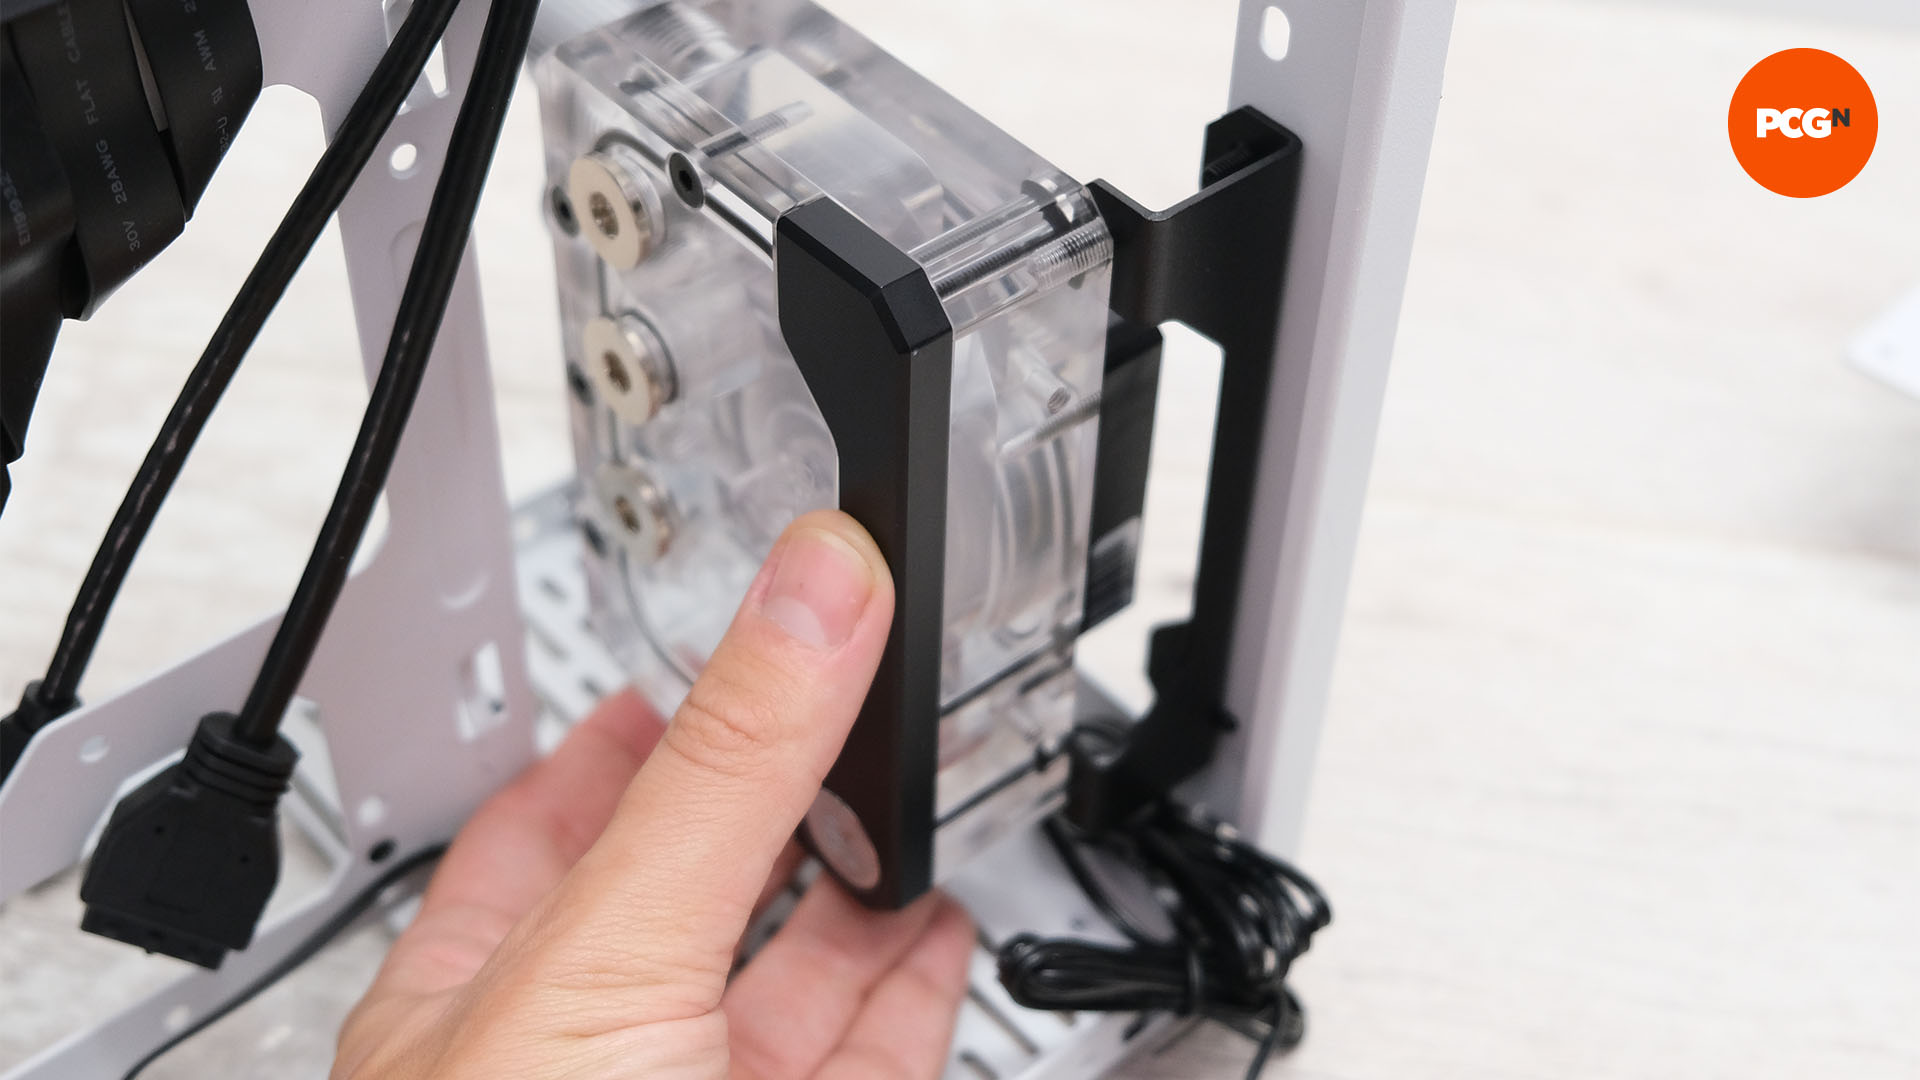
Firstly, you may find that using the standard mounting kit suits your needs, so it’s always worth trying it first. These kits usually secure to fans, fan mounts, or radiators, but sometimes they offer fittings for case pump mounts if your case has them.
2. Install on fan mount or radiator
Reservoirs don’t typically come with screws to secure them to radiators, as they need to be the correct thread size and length. Most reservoirs will come with their own screws to mount directly on fan mounts, though, while standard fan screws will allow you to secure your reservoir to a fan.
Suspend your reservoir
1. Consider a suspended reservoir
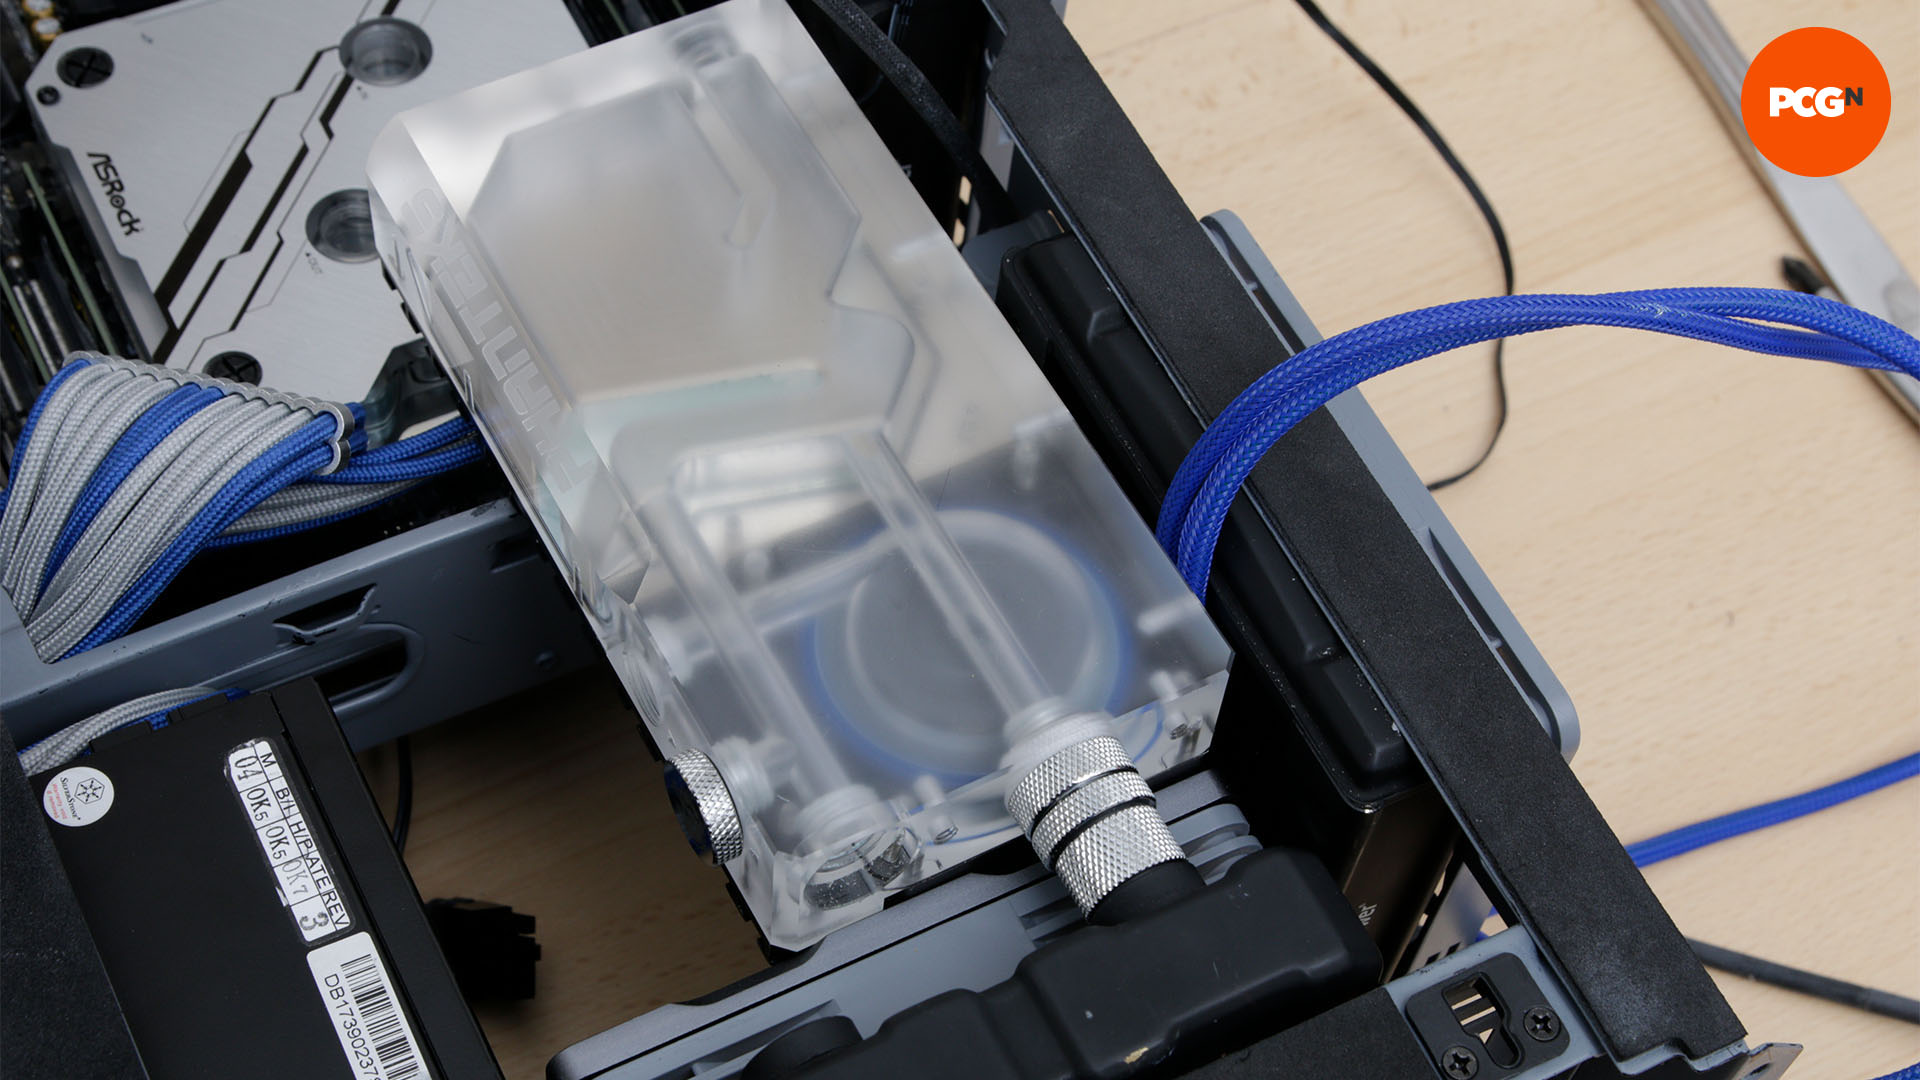
Sometimes there might not be anywhere to mount your reservoir, but all is not lost if that’s the case. As a last resort, you can consider using fittings or rigid tubing to hold a small reservoir in place, as long as you won’t be moving your PC around.
2. Use push-to-seal fittings
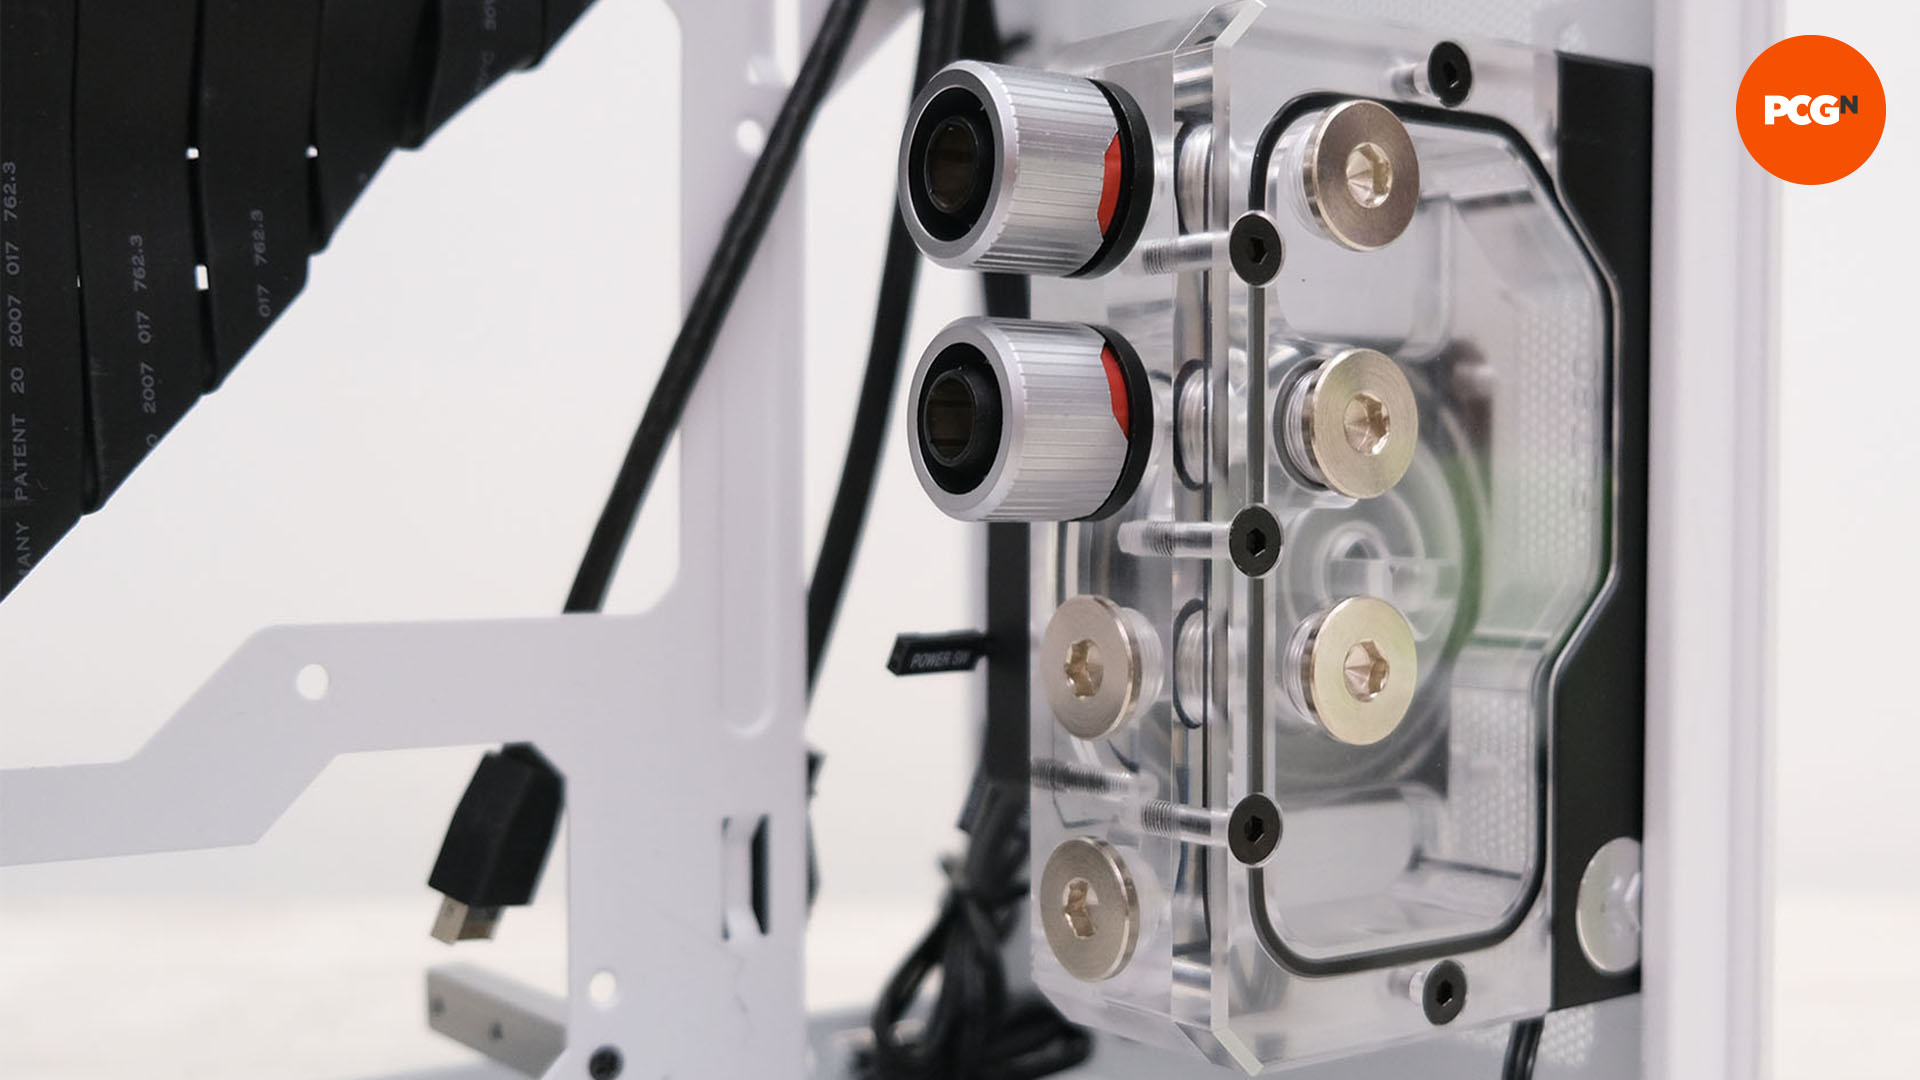
One way to suspend a reservoir is to use push-to-seal fittings. These fittings come in two separate parts, with rubber O-rings in one section, so they create a seal when they’re pushed together. This will allow you to mount the reservoir to a tube port for support, while using rigid tubing can also help to secure it.
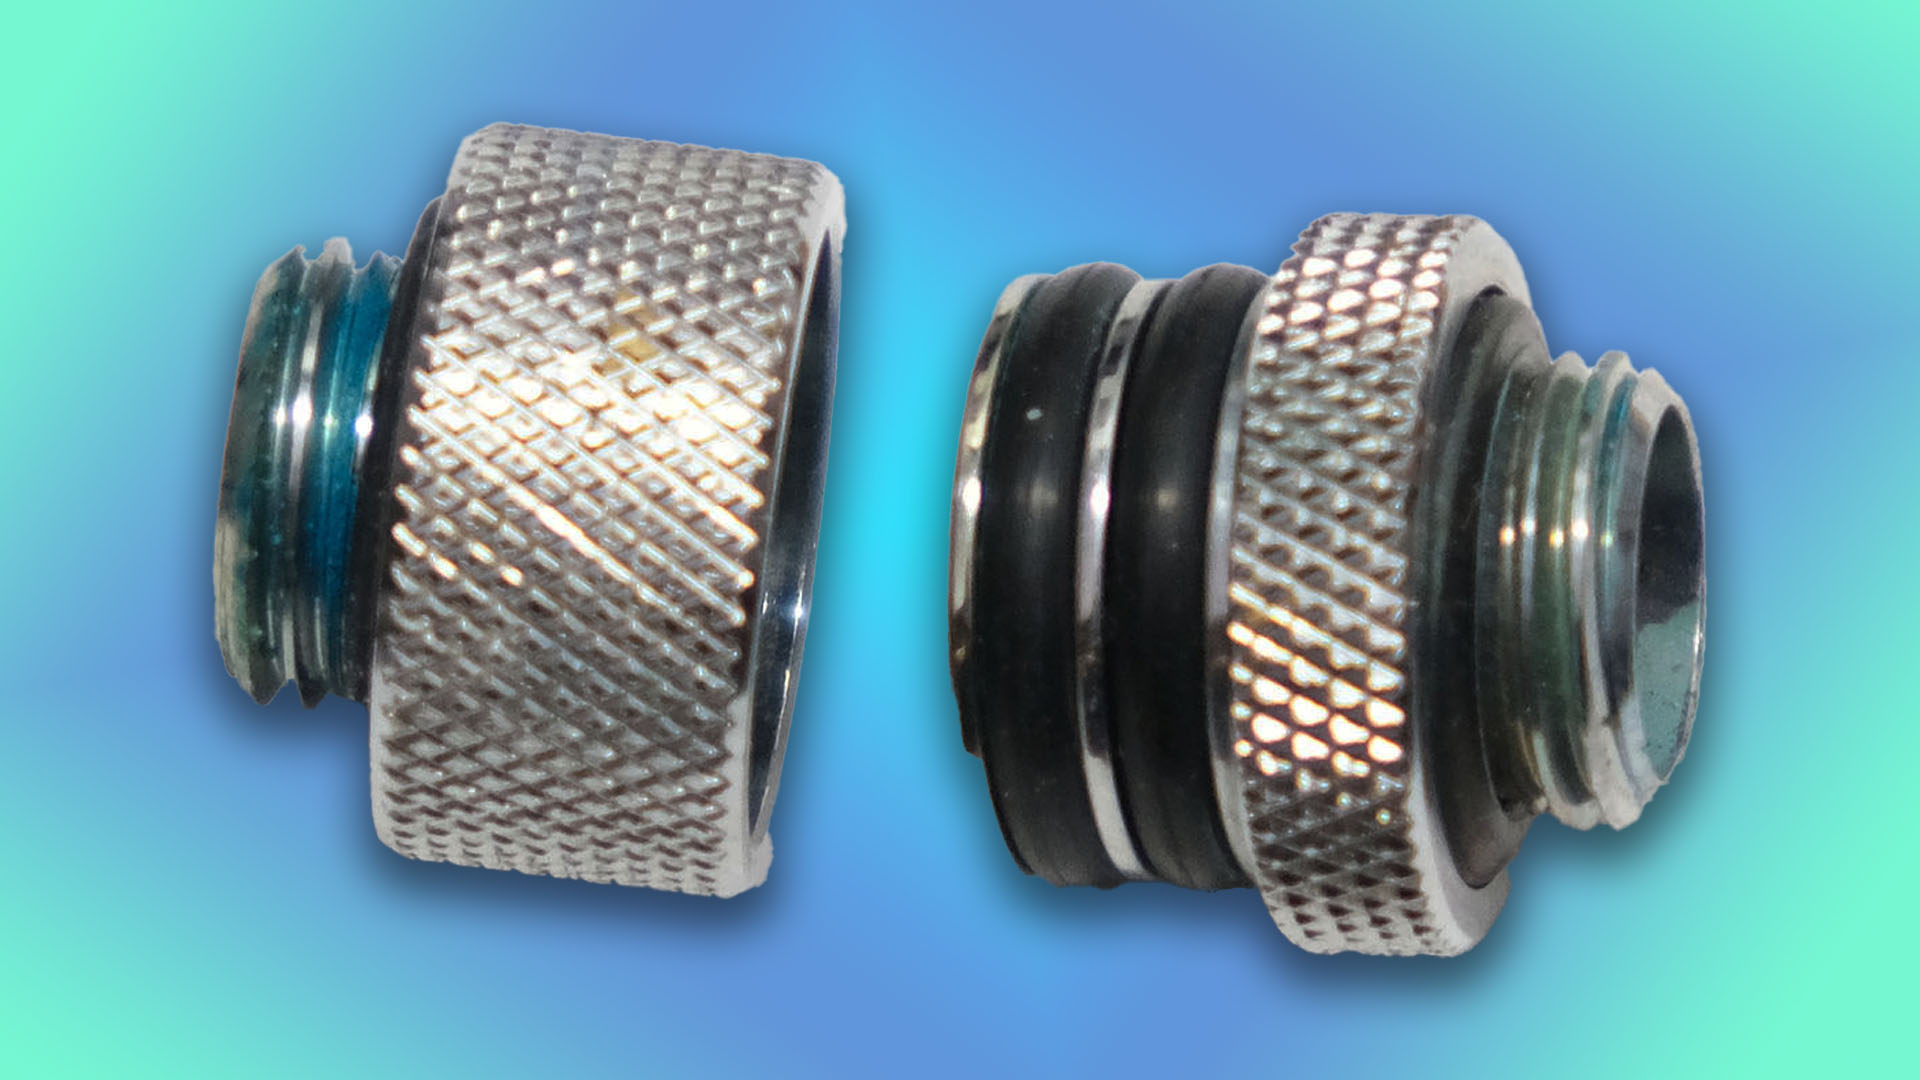
3. Fit reservoir into place
With the reservoir donning the push-to-seal fitting, push it onto the other section of the fitting. Ideally, you want these fittings to be at the base of the reservoir in order to support its weight. You can then use tubing cut to the right length to ensure it sits straight.
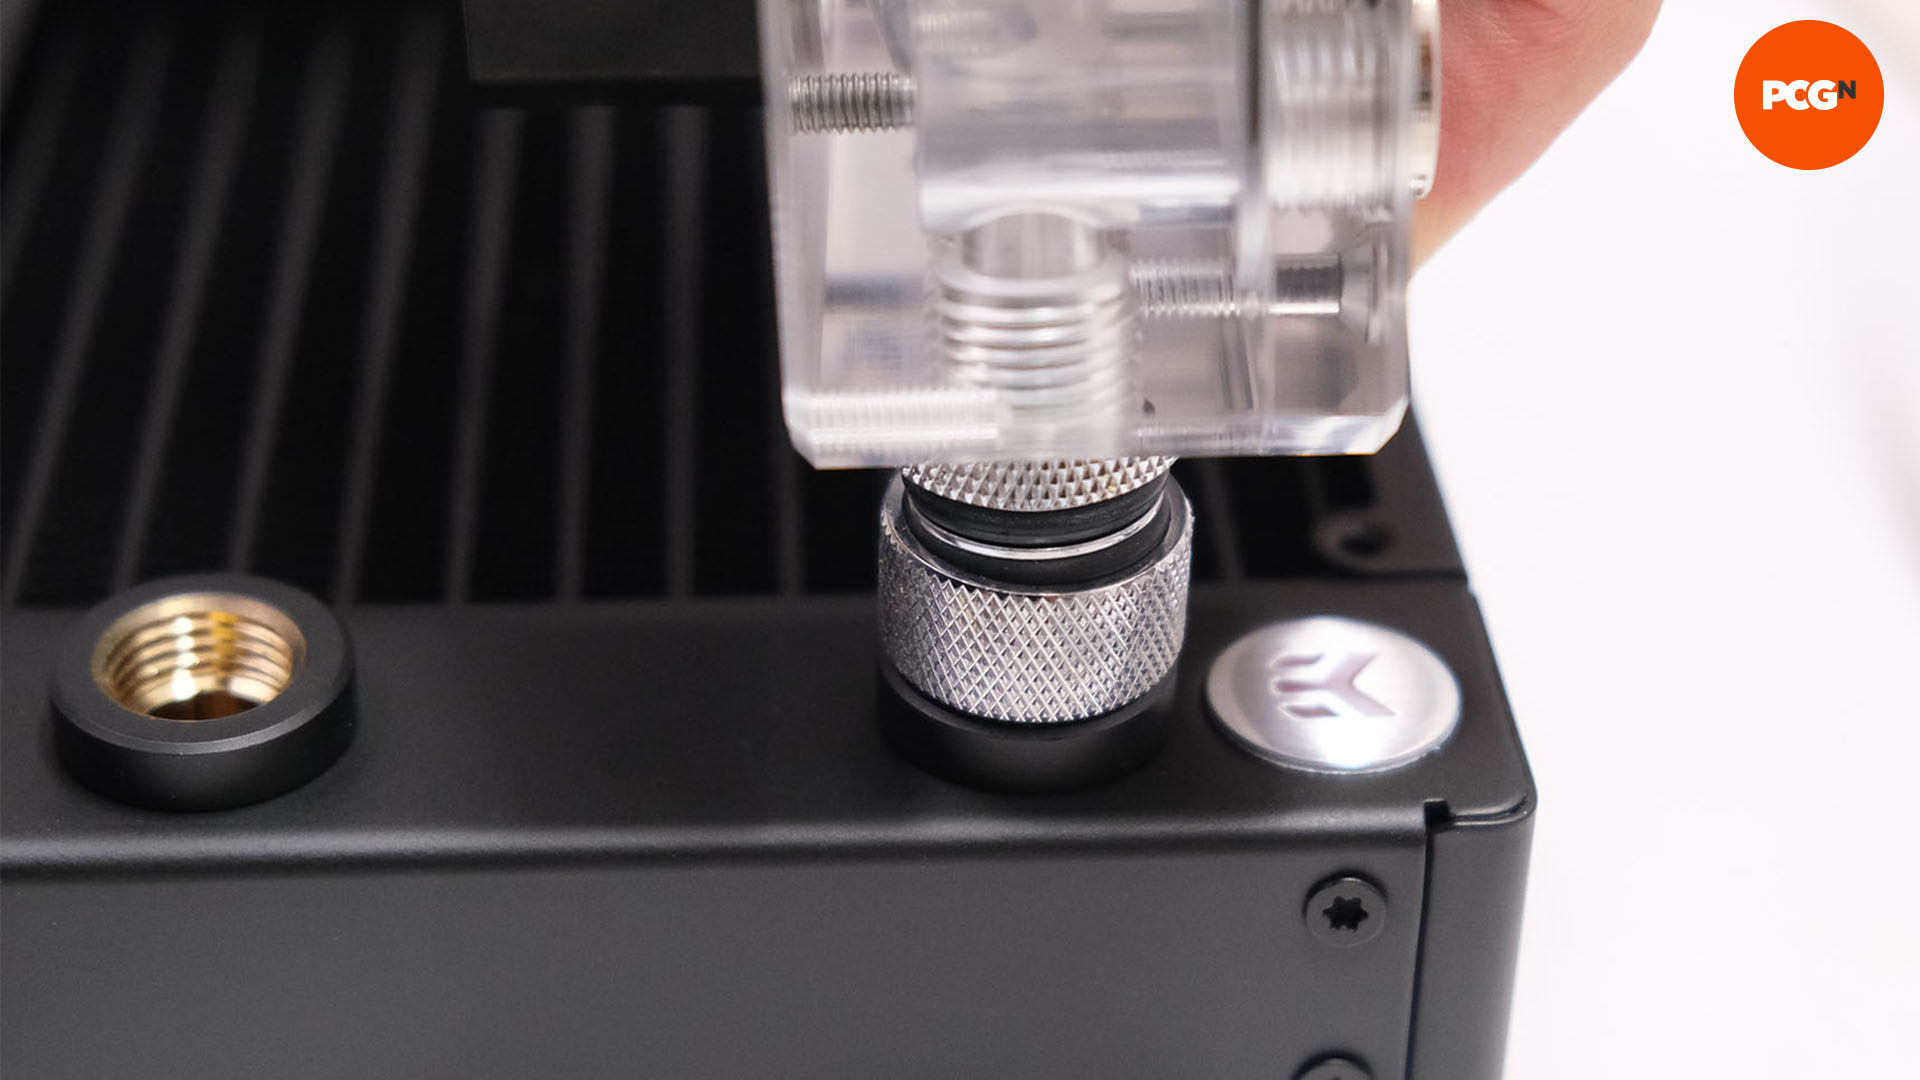
Use mounting tape
1. Use mounting tape
If your reservoir has a large flat edge, then you can use mounting tape, which is made by the likes of 3M, Scotch, and Gorilla, to secure it in place. This is very strong stuff, so be sure of the location. As it’s a rubbery material, it also has vibration-absorbing qualities. However, bear in mind that you can’t use tape to mount your reservoir to sound-absorbent foam on your case panel – it needs to go straight on the plastic or metal.
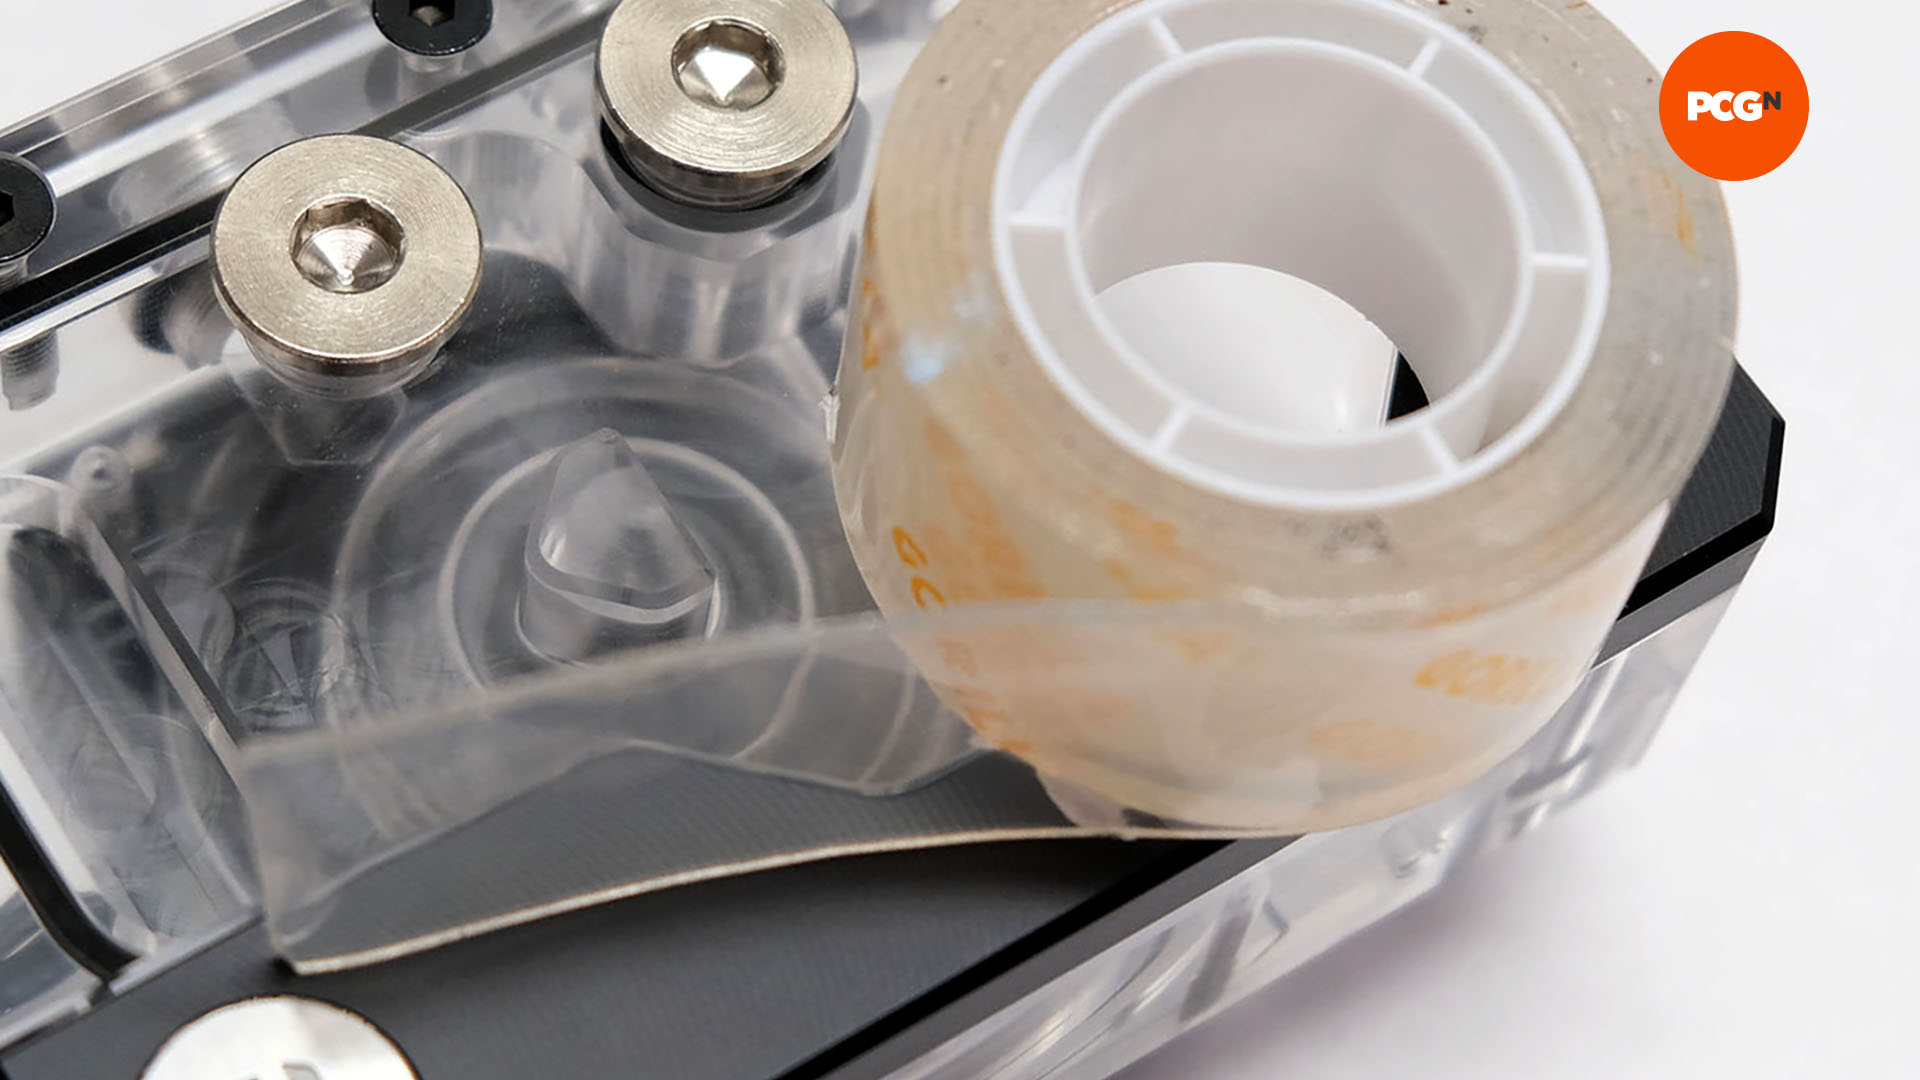
2. Apply tape to reservoir
Cut a strip of mounting tape that’s large enough to cover the edge of the reservoir. Peel off one side of the protective film, then fix it to the edge, before removing the film on the side to stick to your case. This will only work on smooth metal or plastic surfaces – don’t try to stick it to a panel lined with sound-absorbent foam.
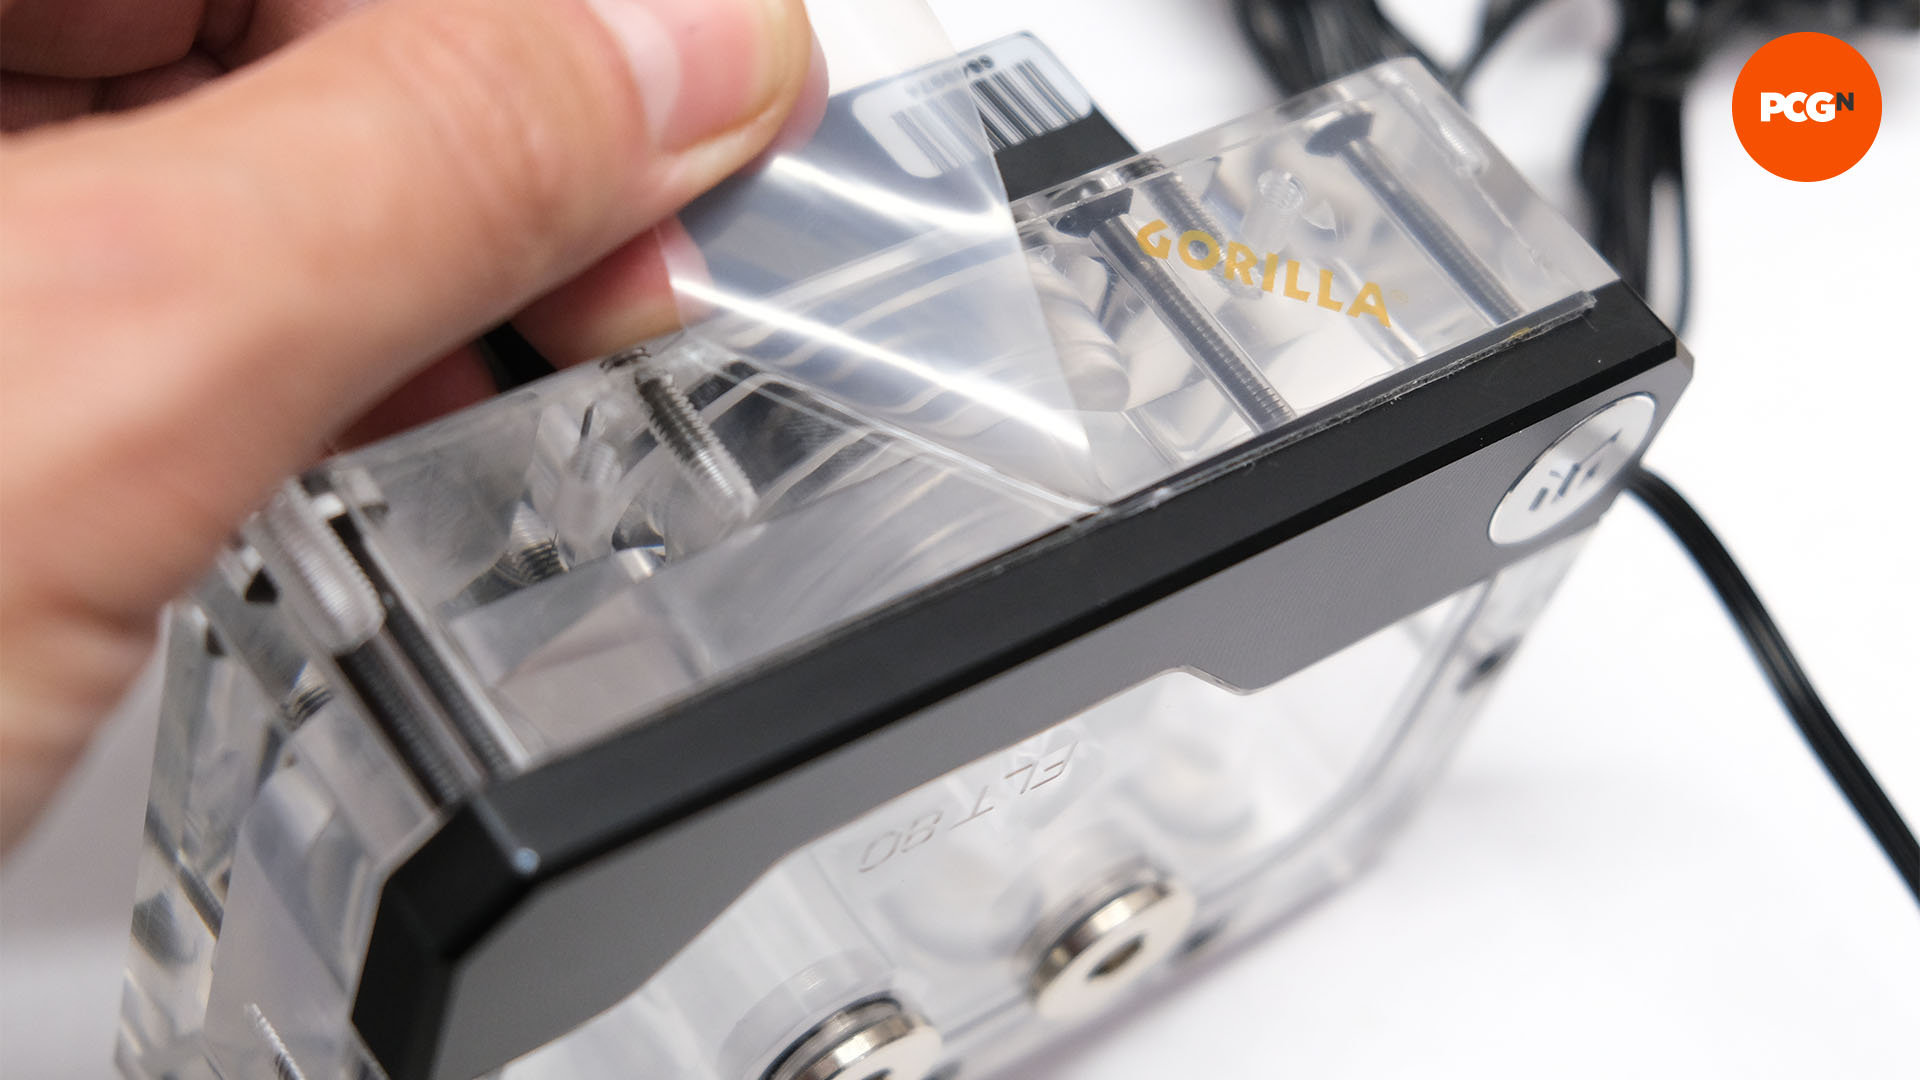
3. Fix reservoir in place
Ensure the reservoir is level, using a spirit level – this is really important, as you won’t be able to adjust it afterward. Press the reservoir firmly into place with a good amount of force to ensure the mounting tape is pressed firmly onto the case.
Use screws and custom holes
1. Mark up custom mounting holes
Reservoirs usually come with a mounting kit, which you’ll need to use in order to mark up your mounting holes. Use the mounting mechanism’s screw holes as templates to mark up the surface, having checked that the screws can pass through the surface and out the other side. We’re using an XSPC Photon reservoir in our example.
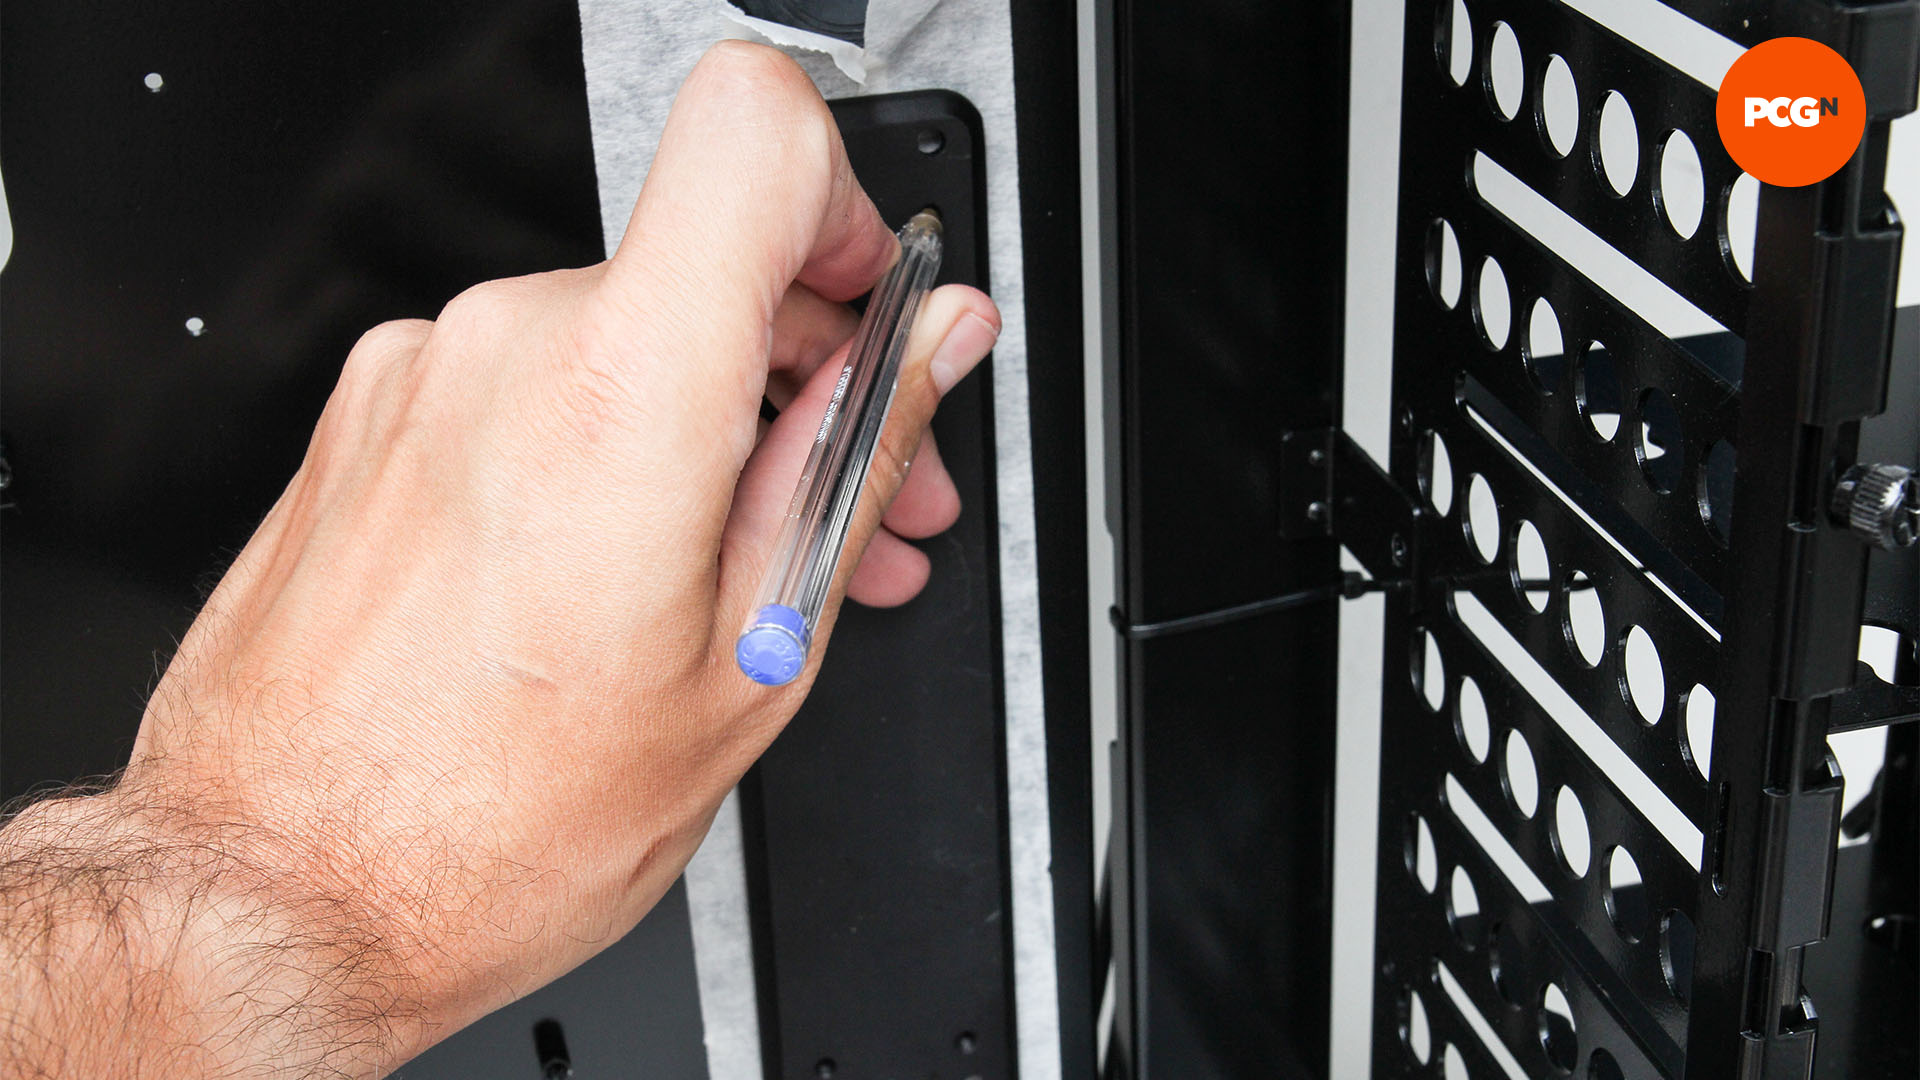
2. Use the appropriate drill bit
Use a spirit level to ensure the holes are straight. Now measure the screw threads to see what size drill bit you need to use, then create the holes. Aim to use all of the screws included with the mount in order to ensure your reservoir is secure.
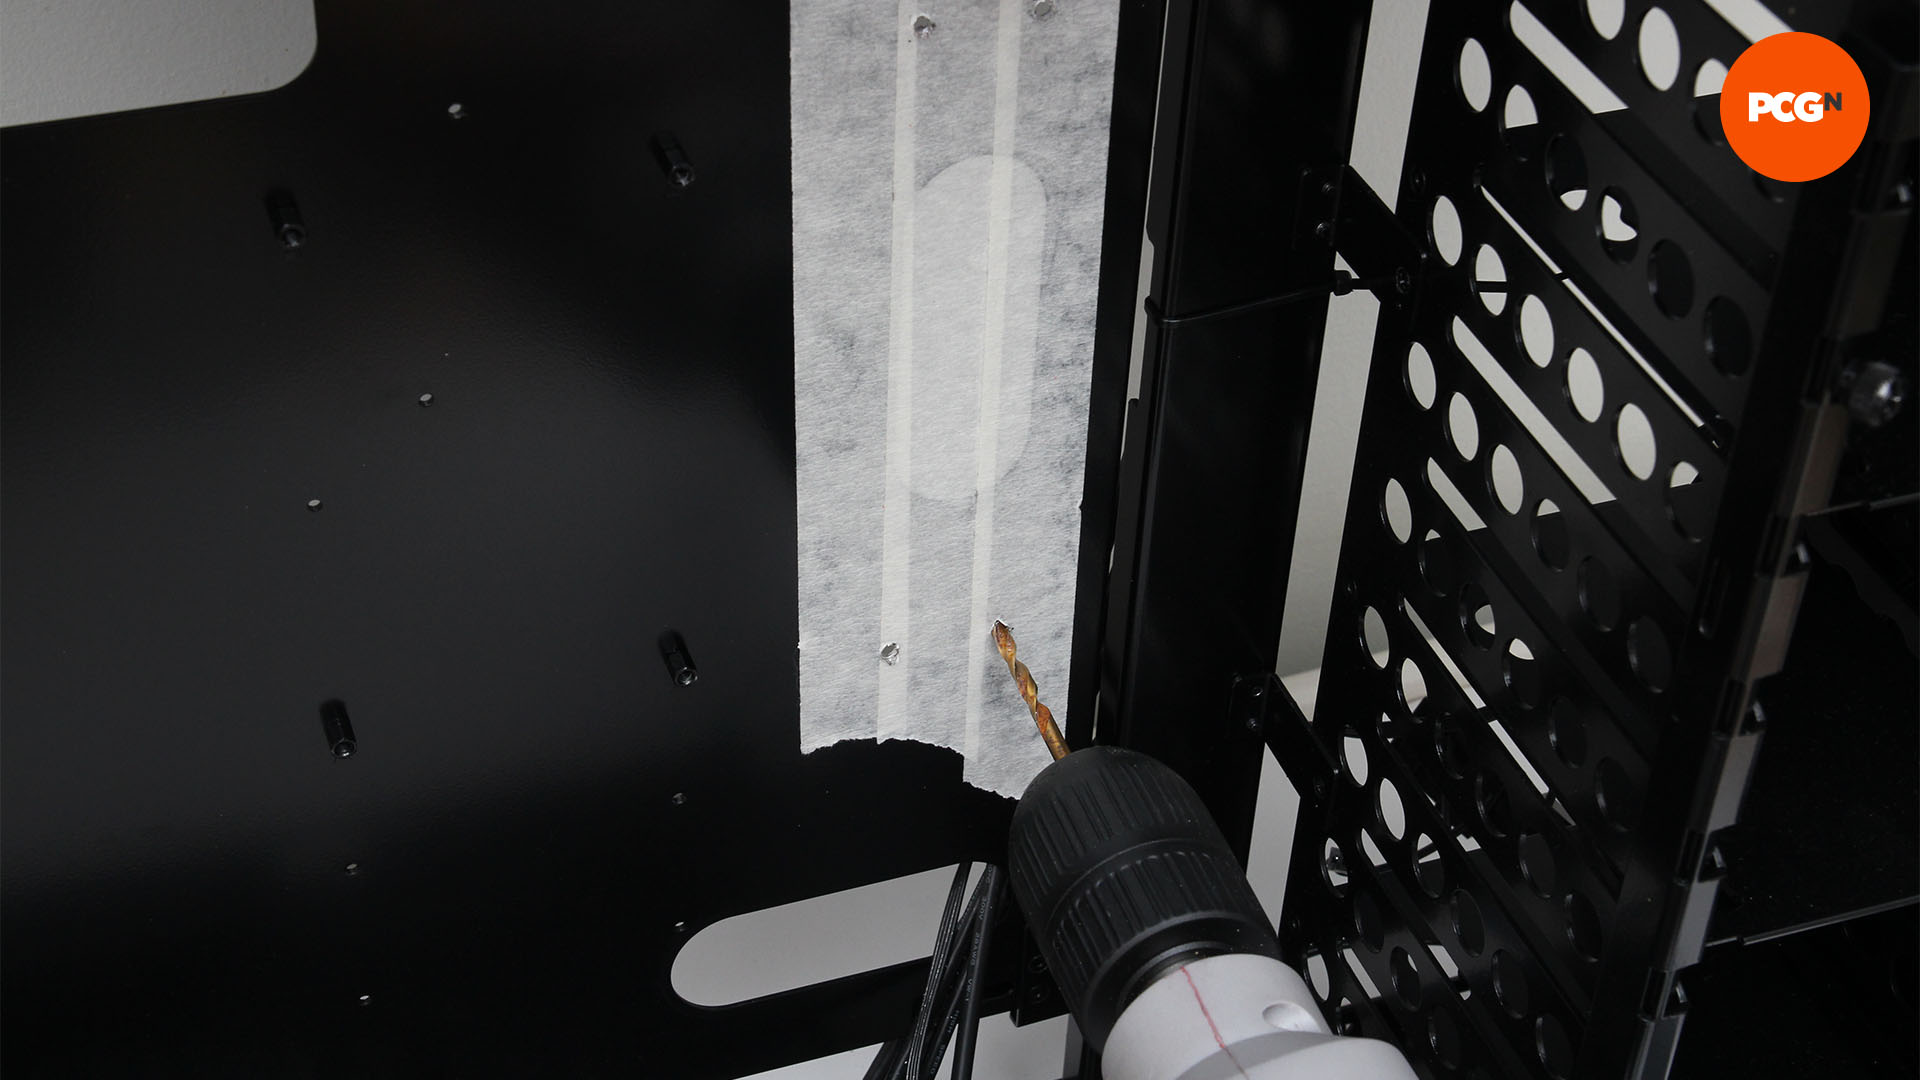
3. Install reservoir
Use the screws and nuts to secure the reservoir. Once it’s filled with coolant, it will become heavier, so give it a little wiggle to make sure it’s held tightly in place.
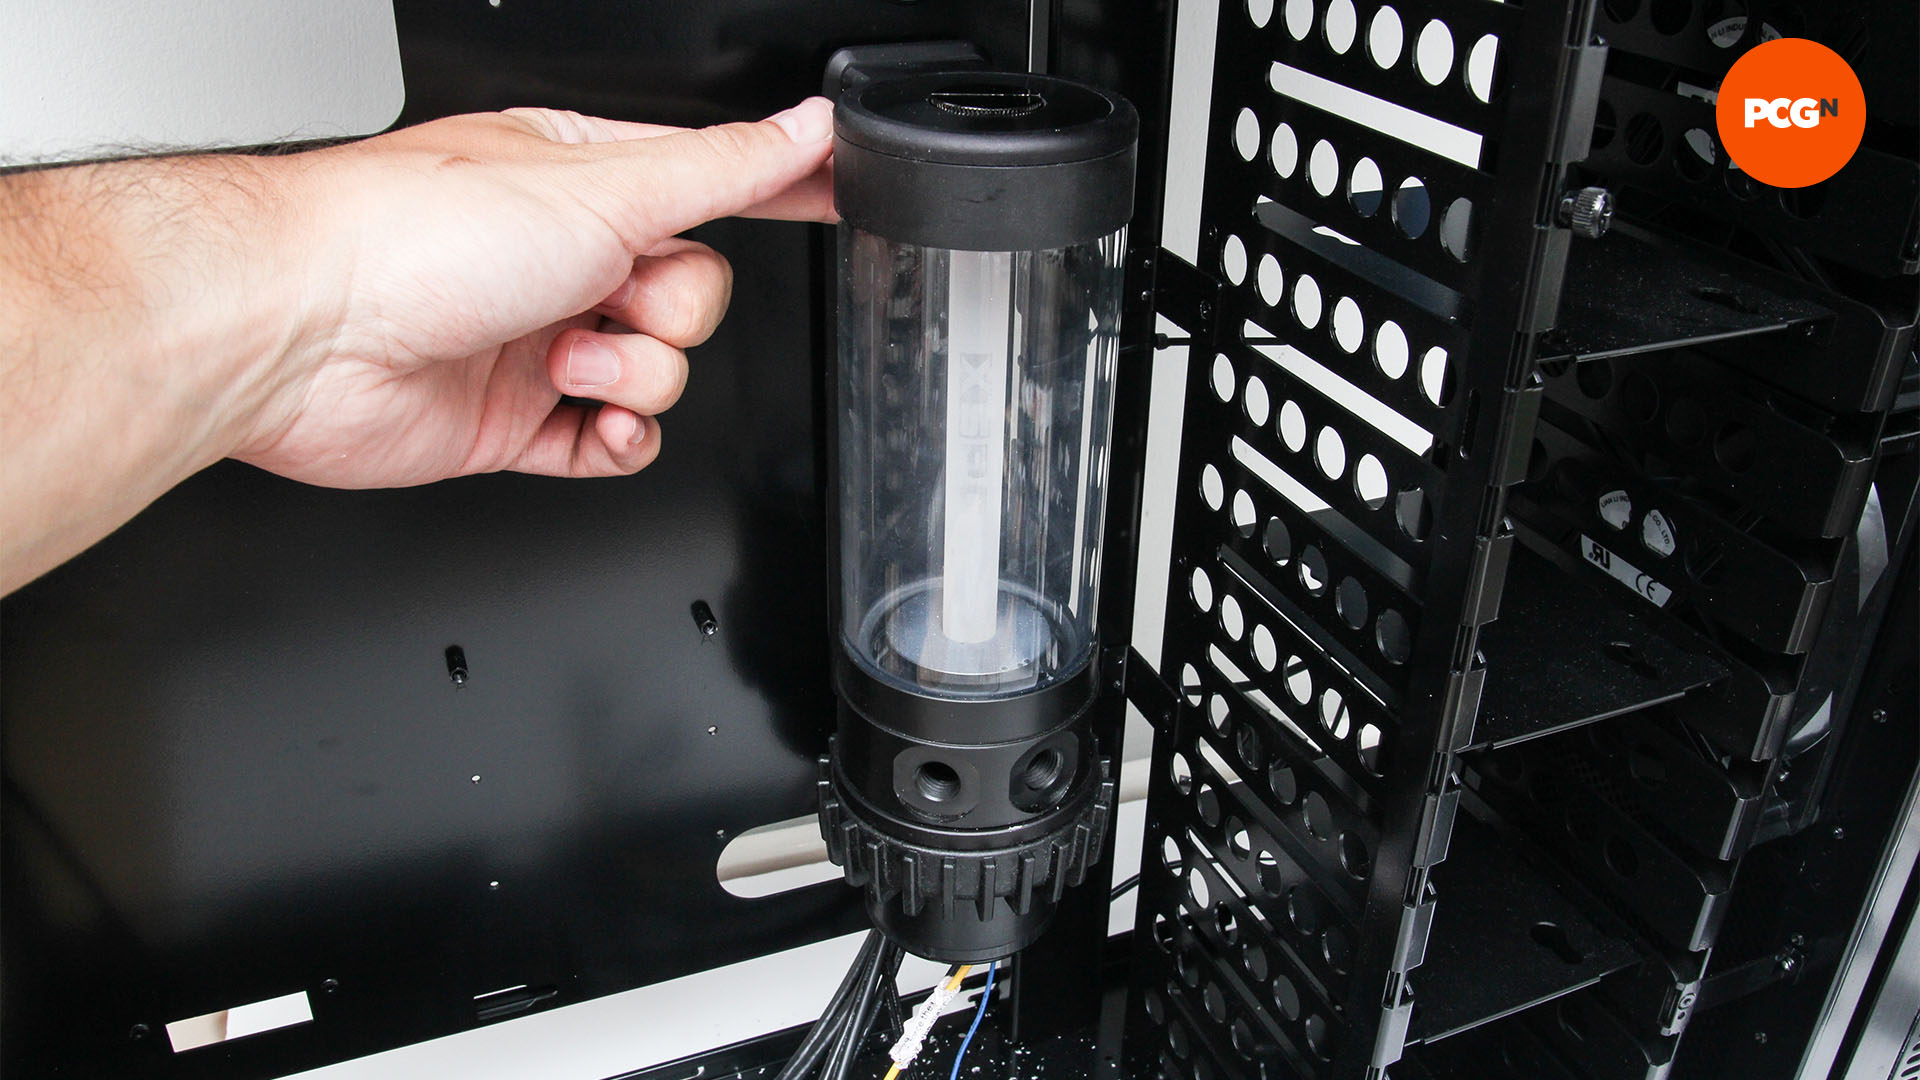
Once you’ve completed the most appropriate step for your case and reservoir above, you should have a reservoir right where you want it in your case, happily feeding your loop with coolant.
If you’re using some old water cooling kit, make sure you also read our guide on how to clean a waterblock. Plus, if you’re planning a new build, then you’ll also want to read our full guide on how to build a gaming PC, which covers every step of the process.
