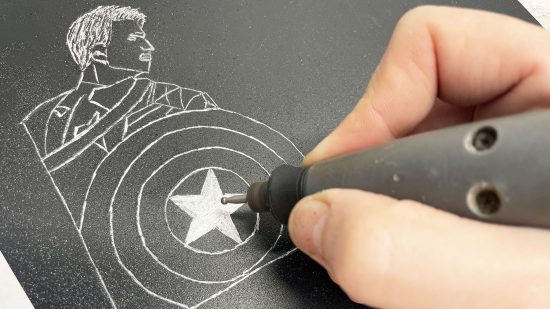
In this guide, we’ll show you how to engrave a PC case, where you cut your own choice of image, logo, or writing into a metal or acrylic side panel. Engraving requires a steady hand, patience, and a good grasp of the design you want to create, but it also offers a relatively easy, cheap, and mess-free way to customize your PC case.
You can engrave several materials found in the best PC cases, including steel, aluminum, and acrylic. However, you’ll want to follow our full guide on how to etch glass panels if you want to deal with glass. To get started, you’ll need a rotary engraving tool with engraving attachments. A Dremel is ideal, especially if you have the Dremel extension shaft tool, but there are cheaper engraving-specific tools out there too.
1. Decide on your design
Nearly any design can be engraved, but it’s best to make your work as easy as possible, so avoid highly intricate patterns, as they can dramatically increase the time and complexity of the engraving process.

2. Download Paint.net
We’ll be sketching over the design using a print-out as a template, and you may find it easier to convert the image to a basic sketch so that the key elements are easier to trace. Start by downloading Paint.net, which is a free image-editing program.

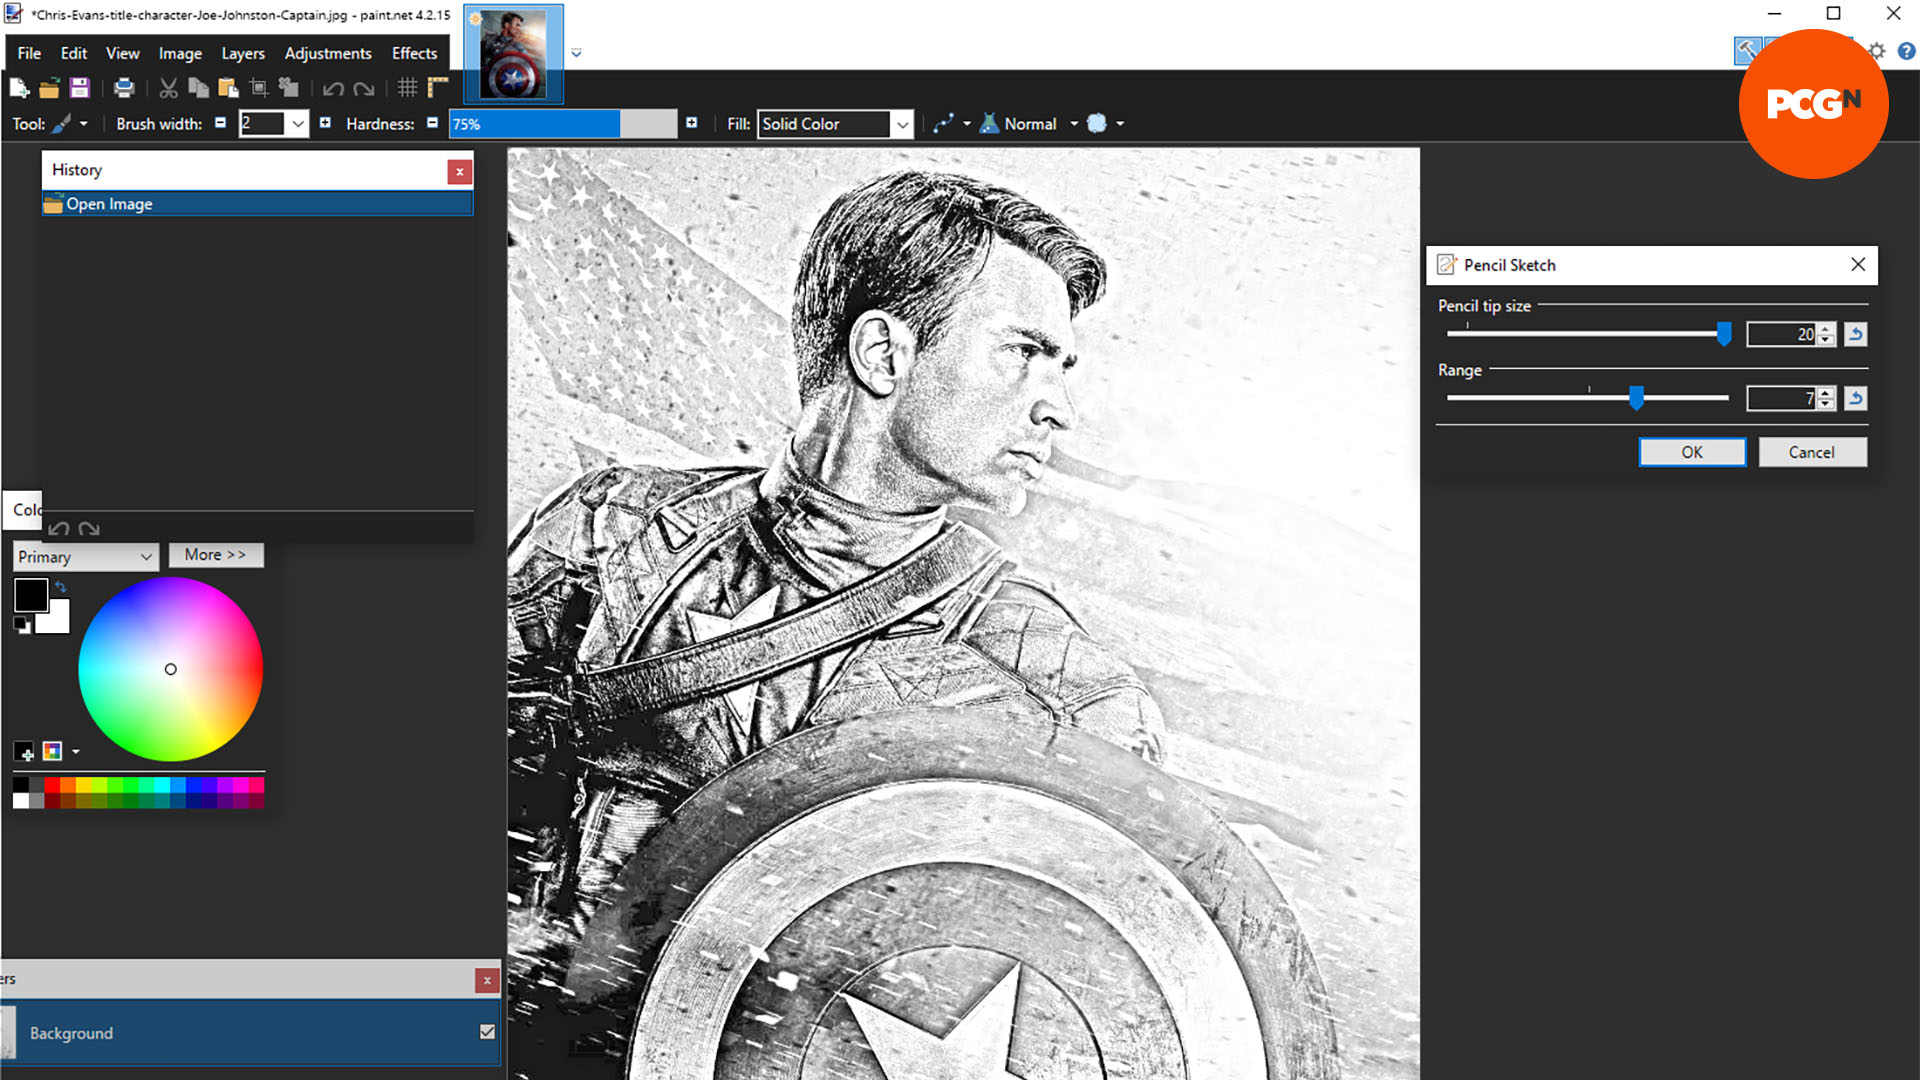
3. Use Pencil Sketch
Once you’ve selected the design you want to engrave, import the image file into Paint.net, head to Effects, then Artistic and select Pencil Sketch. This will highlight the main details of the image, giving you better contrast on the parts you want to engrave.
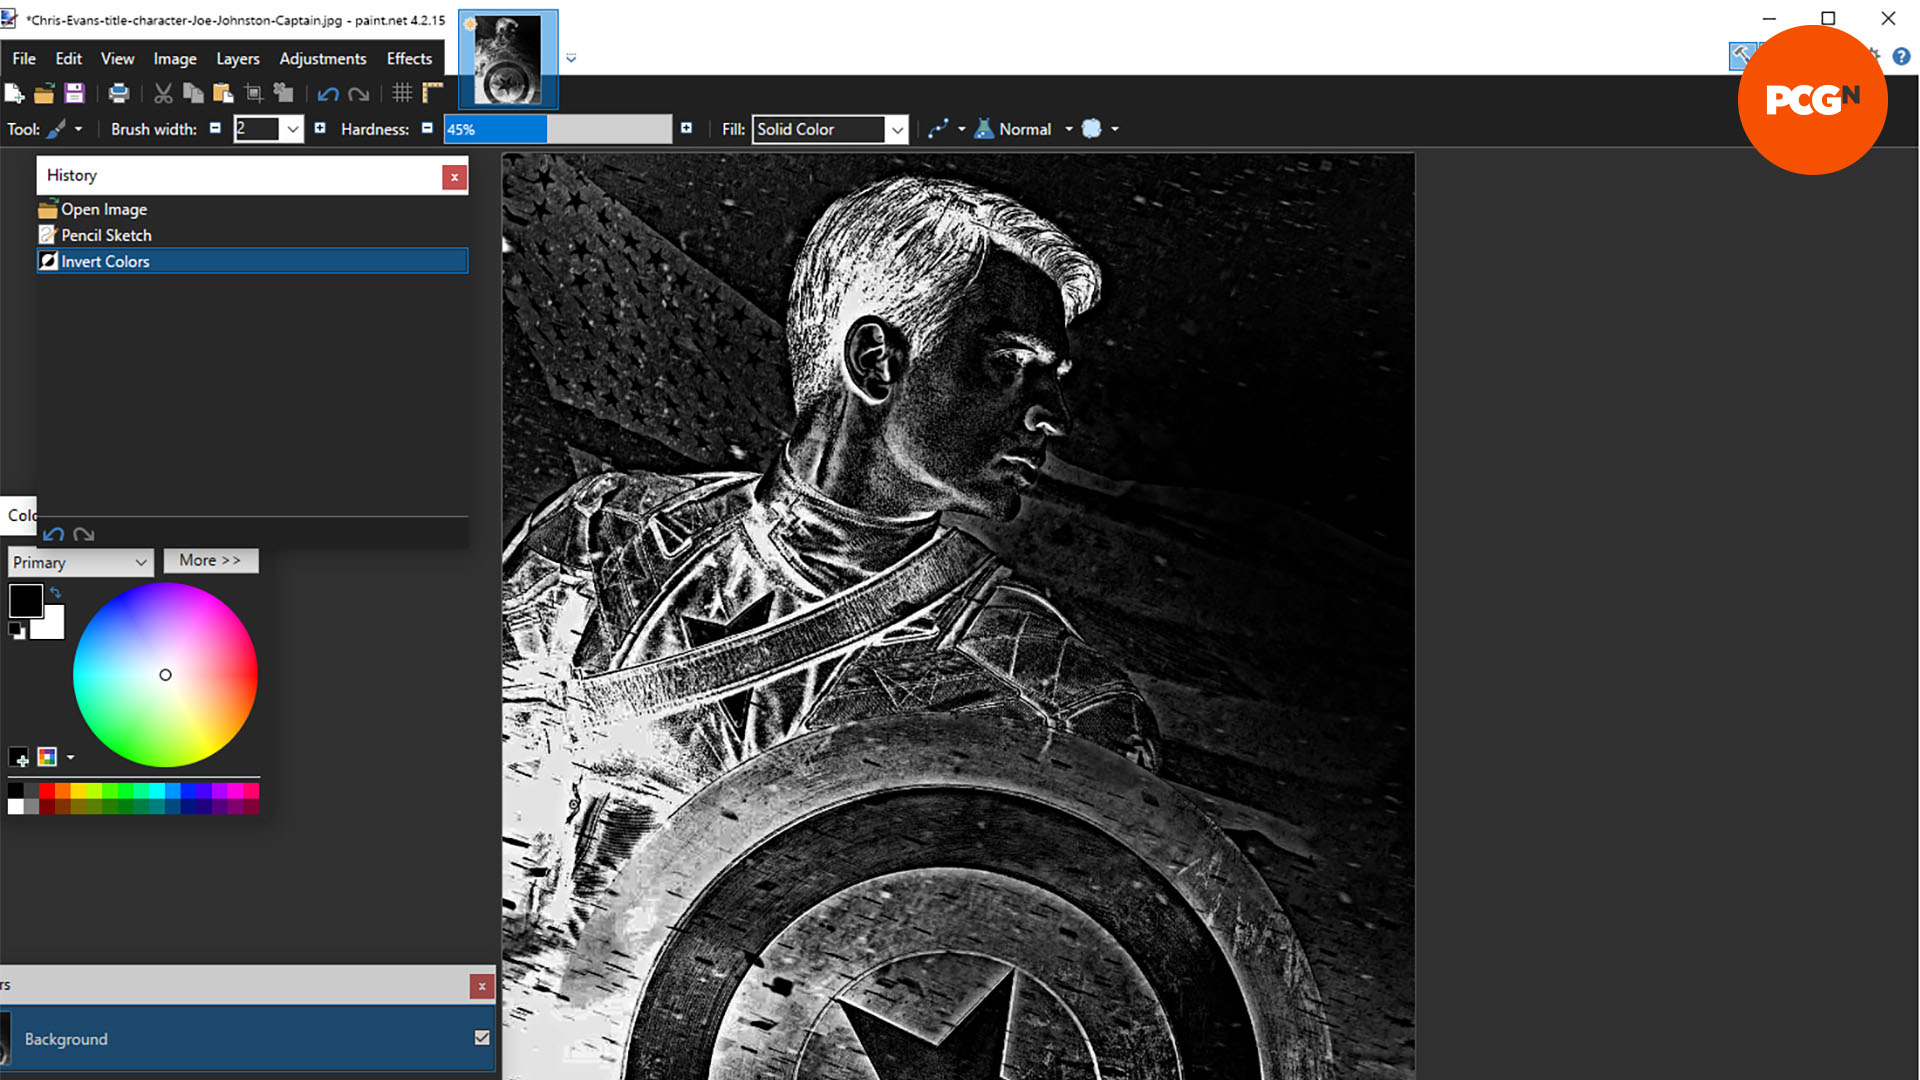
4. Invert the colors
A handy trick to get an idea of which parts of your design will look better engraved is to invert the colors under the Adjustments menu. This will turn the outlines white, which will make your design look similar to an engraved black case panel.
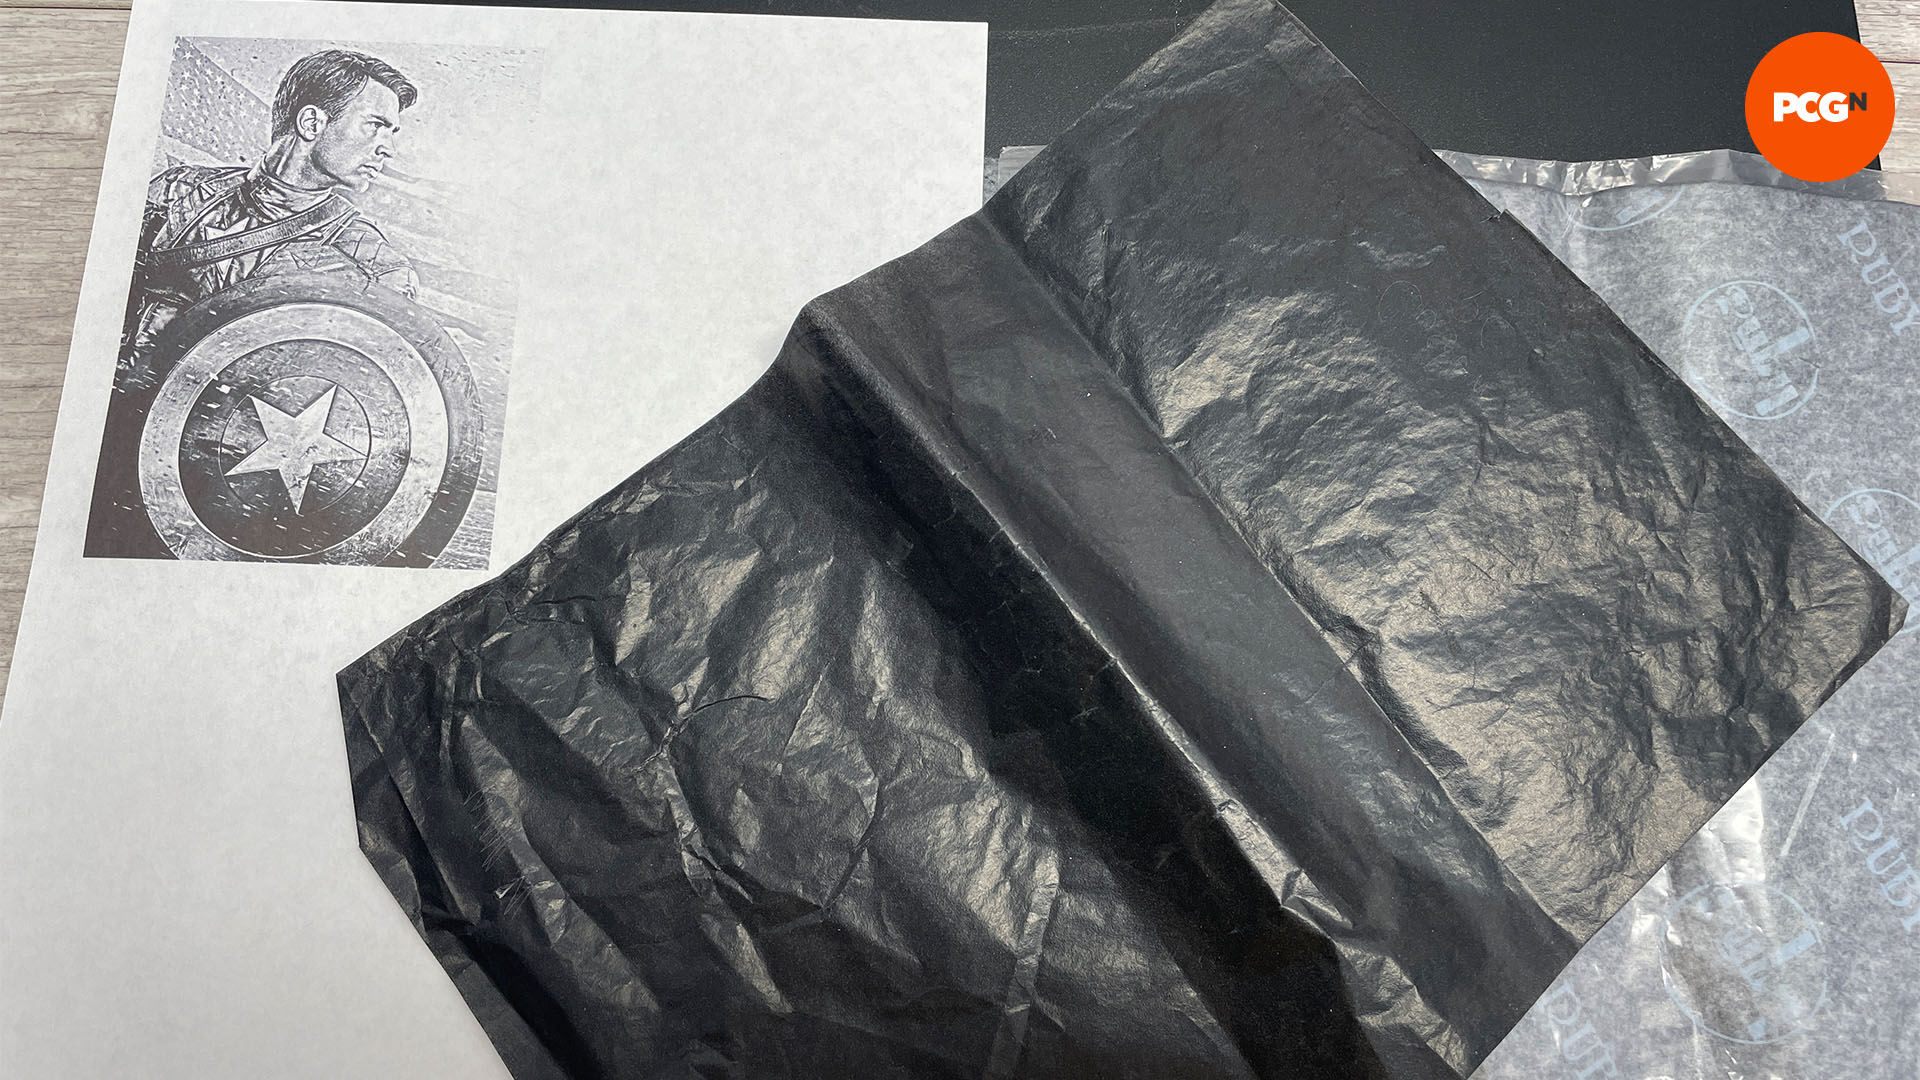
5. Use carbon copy paper
Once you’ve printed out your design, tape it to a sheet of carbon copy paper with the transfer side facing down.
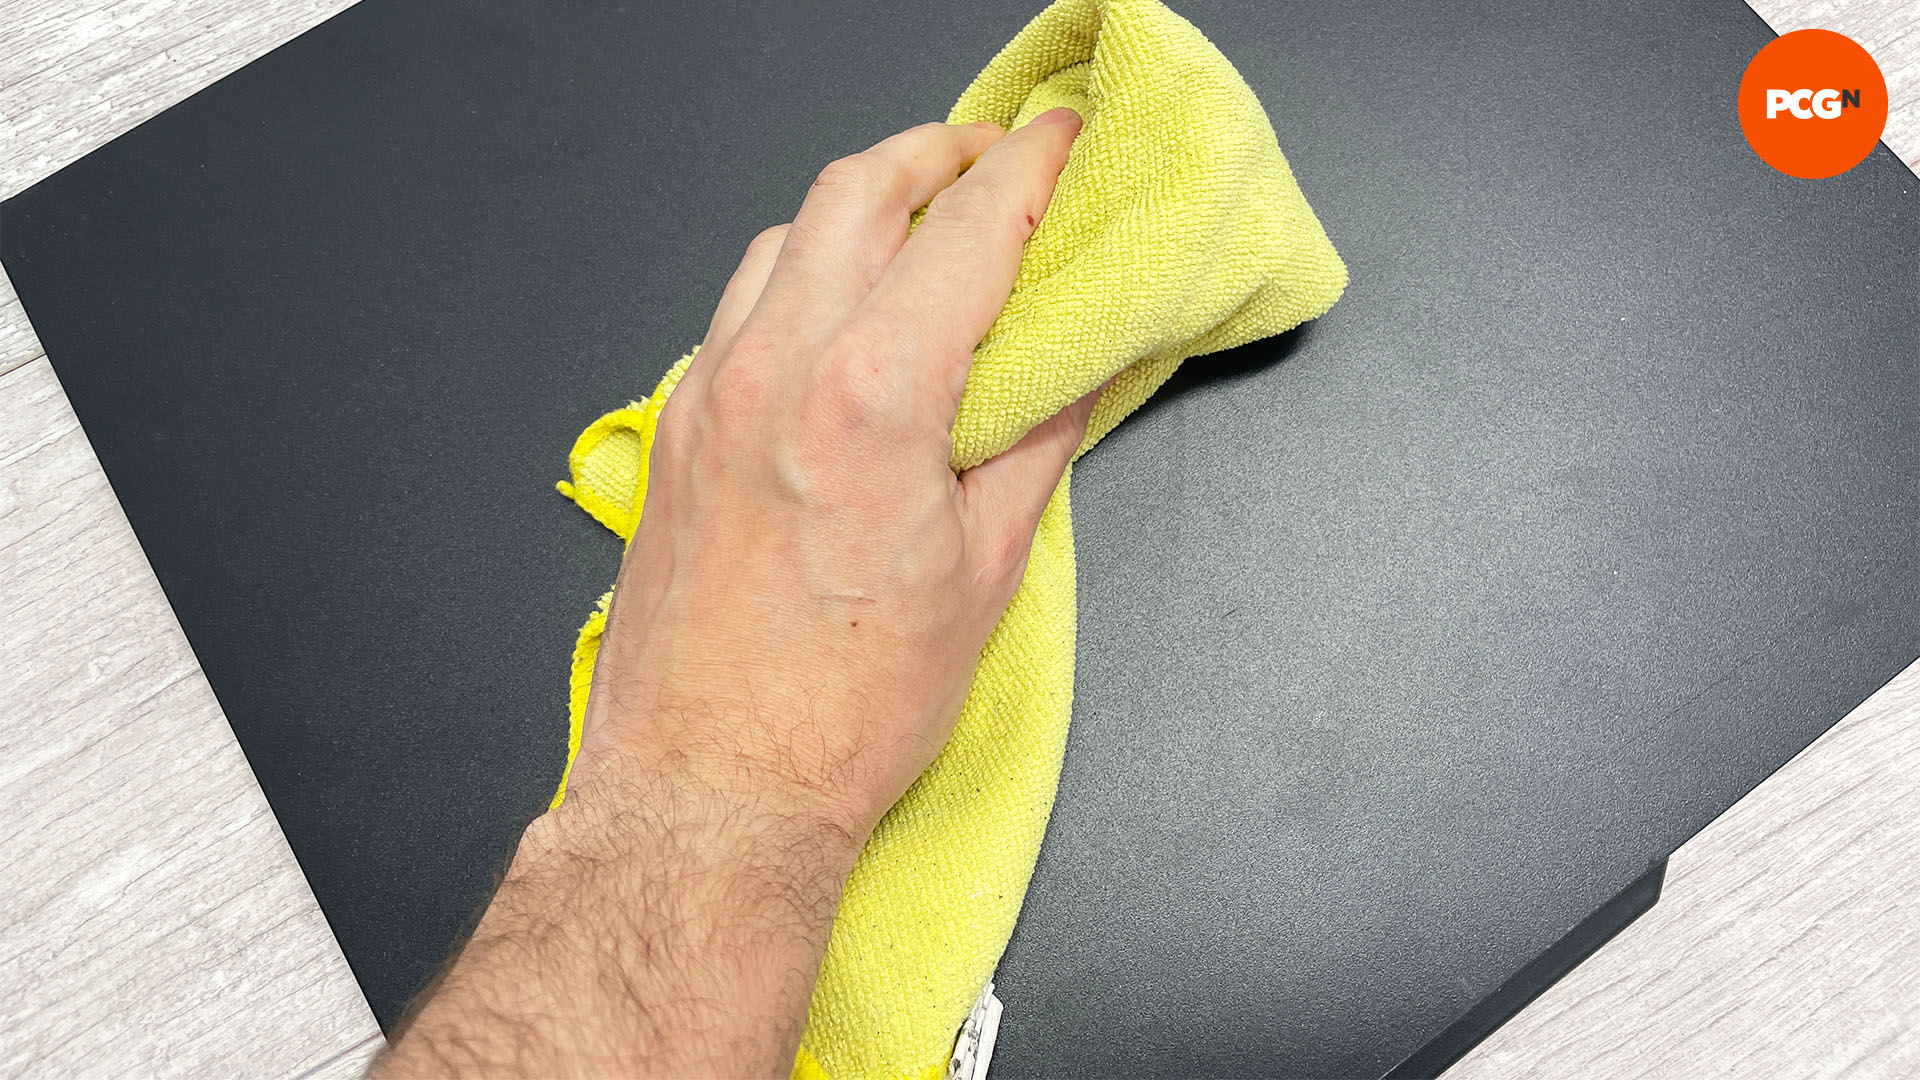
6. Clean the surface
It’s important to clean the side panel that you want to engrave, so the carbon paper residue can adhere to it, allowing you to see all your tracing lines. Use warm soapy water to remove any grime and a clean cloth to dry it.
7. Practice first
Using the right pressure and writing instruments is key to transferring the design with the carbon copy paper – we suggest using a ballpoint pen or a semi-blunt pencil with a large nib. Use a small section of the carbon copy paper along with your printer paper to test your technique and find out how much pressure you need to use.
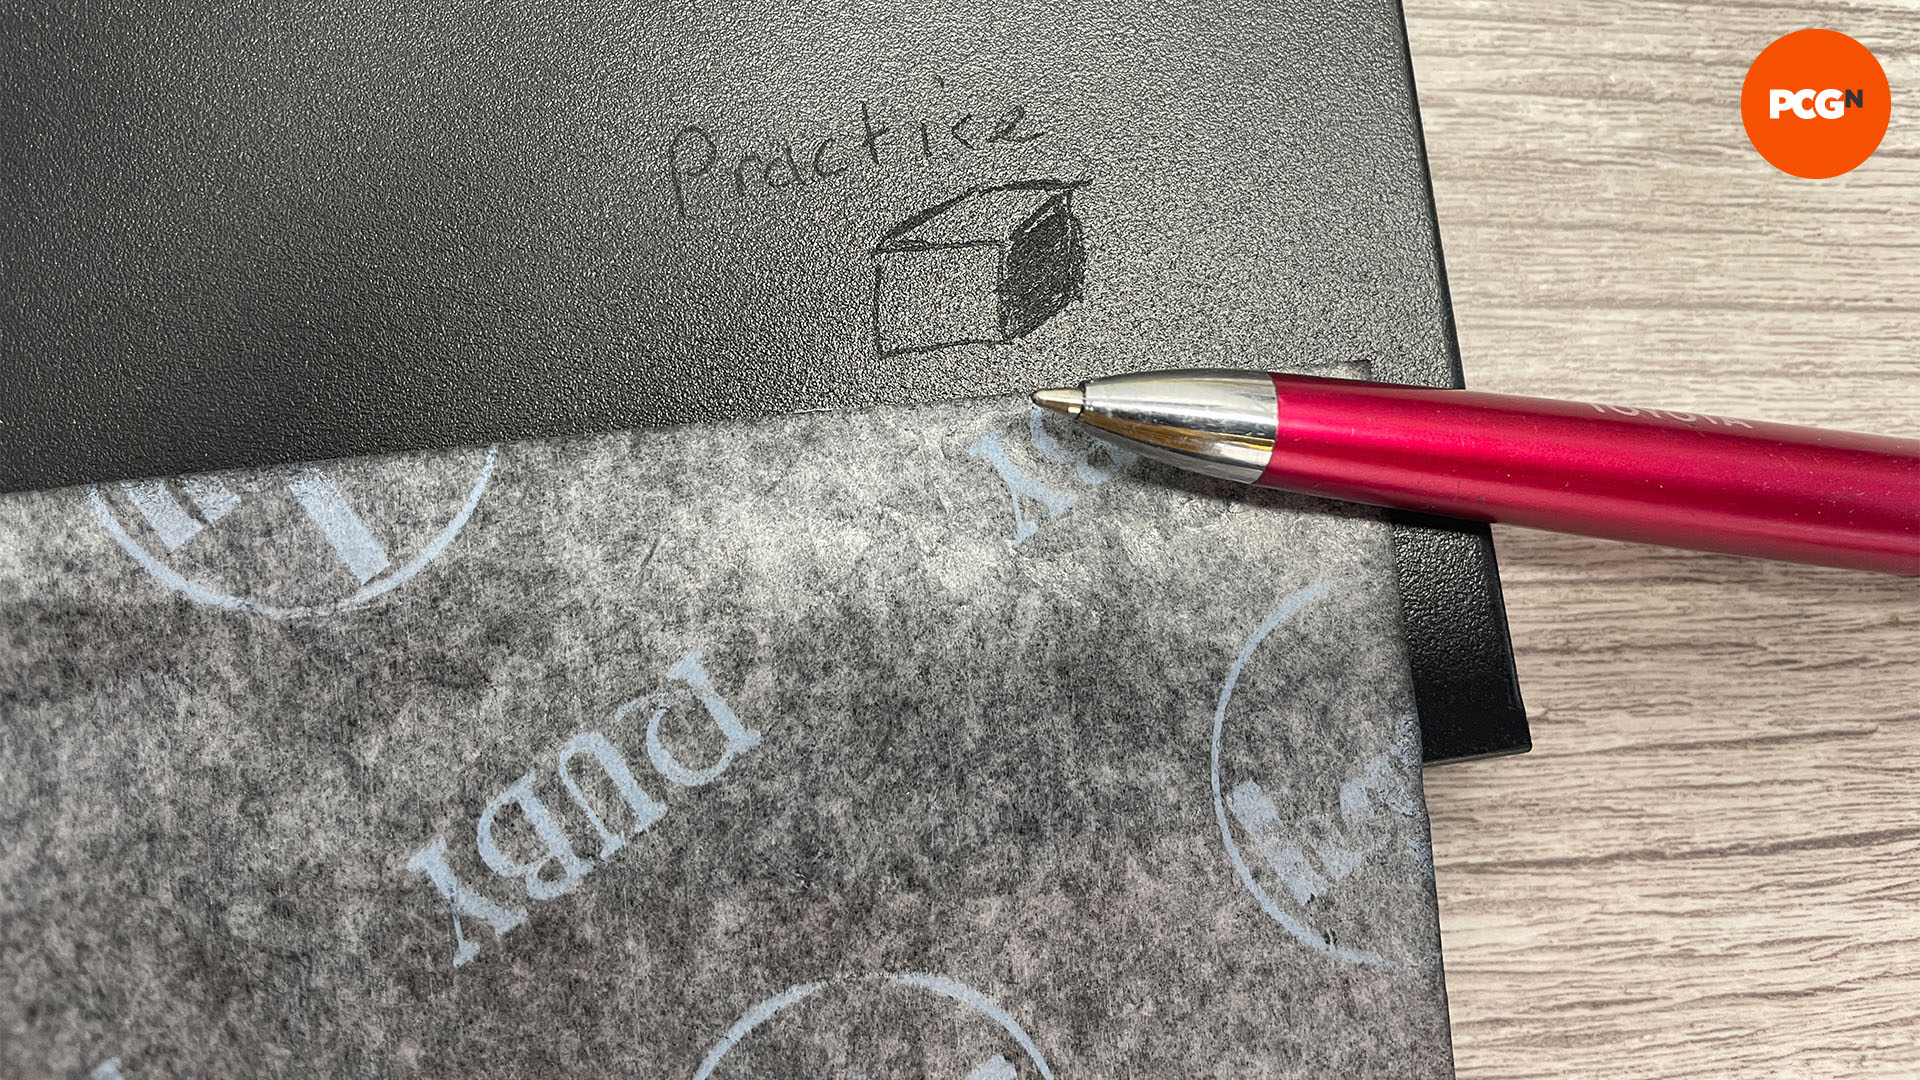
8. Secure paper to engraving surface
Use masking tape or Frog tape to secure the carbon copy paper and design print-out onto your chosen surface. Don’t use Sellotape or duct tape, as they can leave behind sticky residues that you’ll need to clean off afterward.

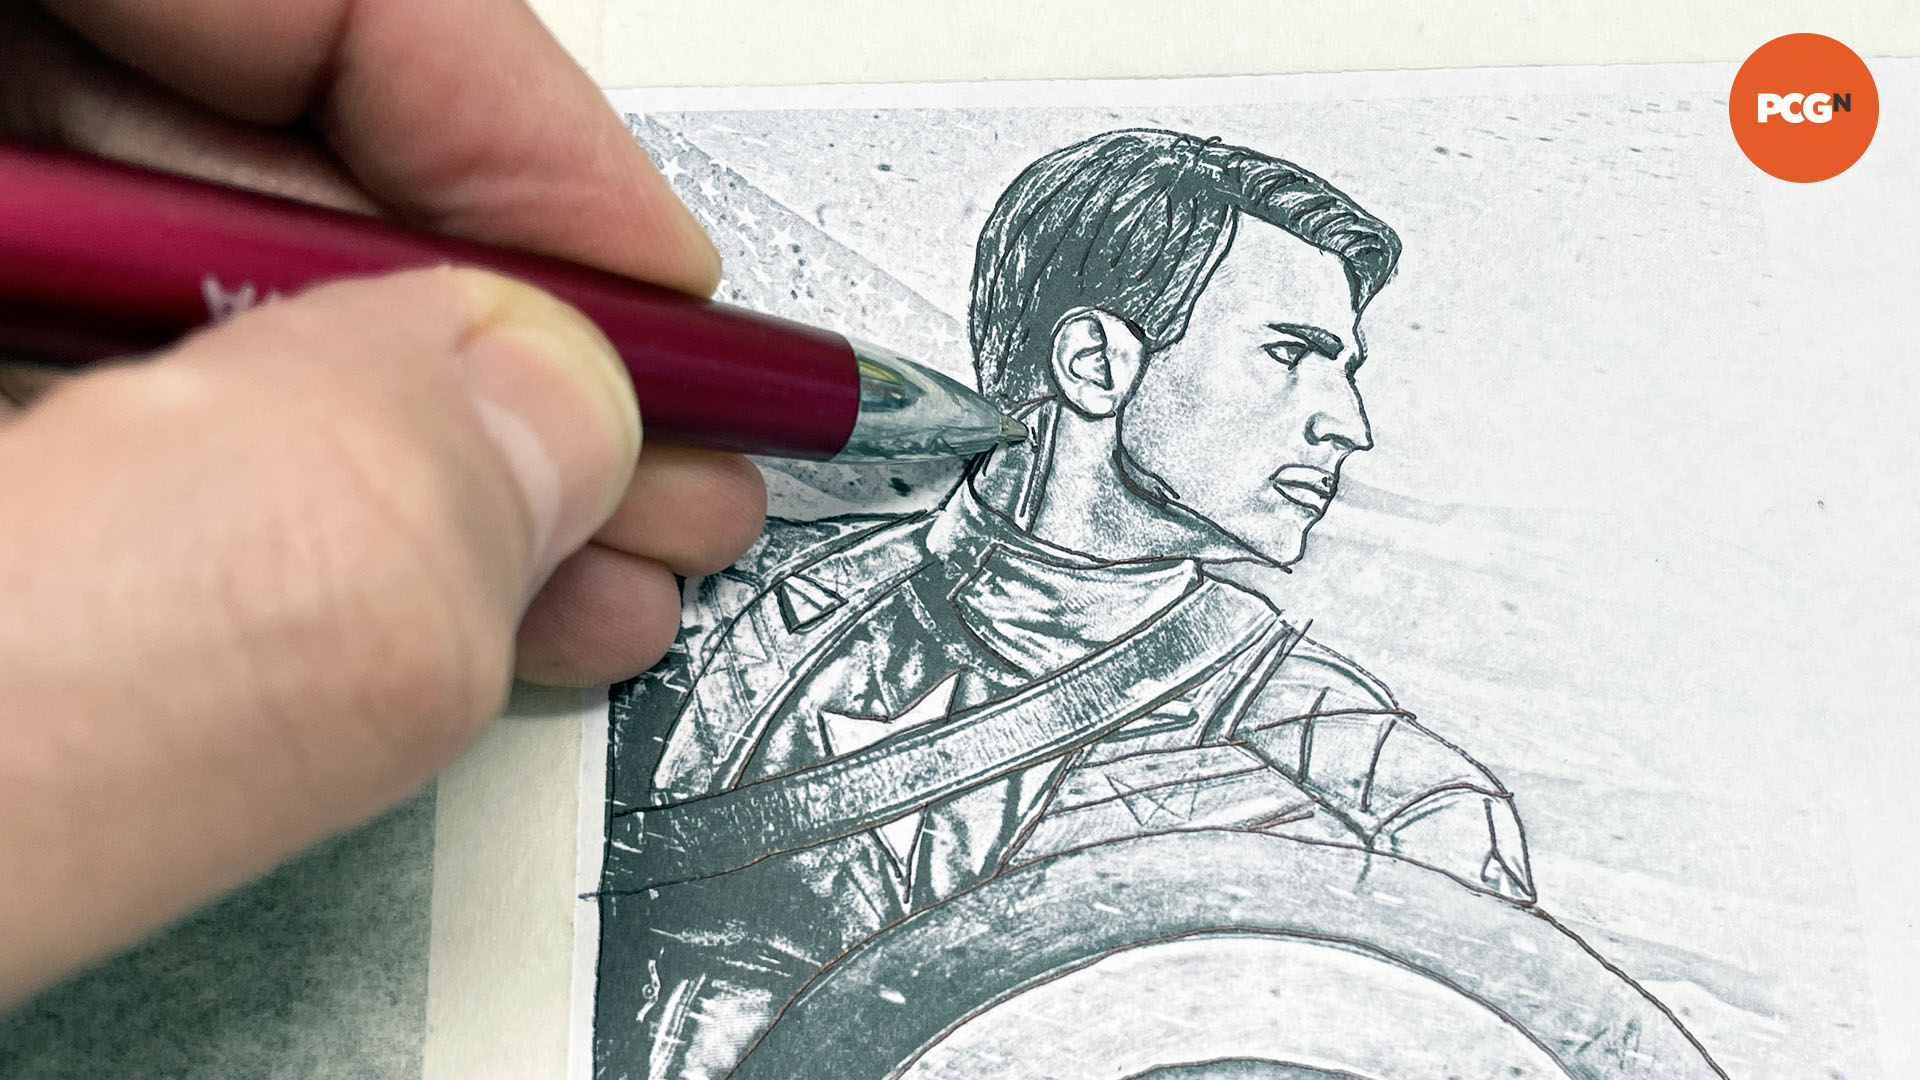
9. Draw on design
Start by drawing over your design with your instrument, pressing as firmly as necessary from the practice session. For larger areas, simply roughly shade in the space to mark them as places that require a full-area engrave.
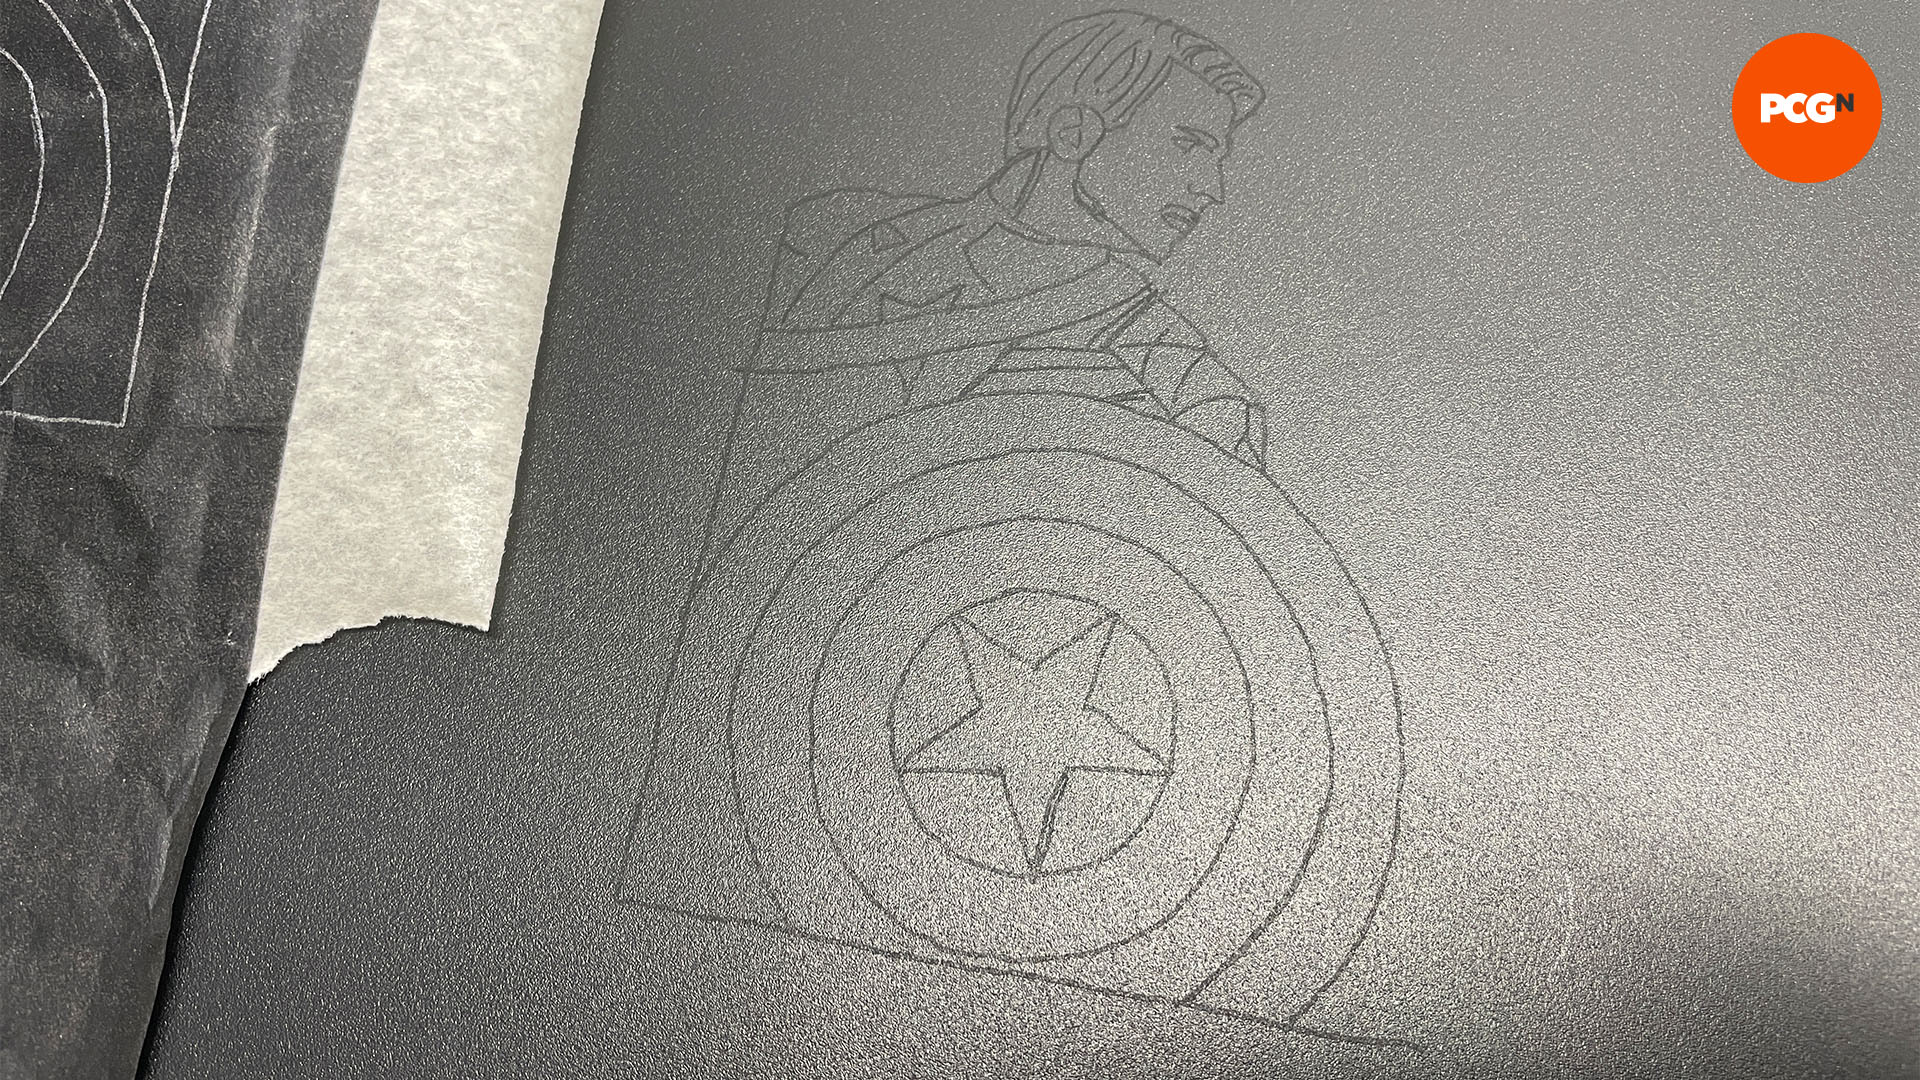
10. Remove carbon copy paper
Carefully lift away the papers once you’re done with the design. The carbon transfer is quite delicate, so be careful not to rub it with your hands. If necessary, you can go over the design with a marker pen, drawing only on areas you’ll engrave.
11. Know your bits
Selections of engraving tips for rotary tools are inexpensive and often available in sets. Point-tip bits should be used for outlines and shading small areas, while round-tip ones should be used for shading larger areas. You may need to alternate tips, depending on the paint thickness on your case’s panels.
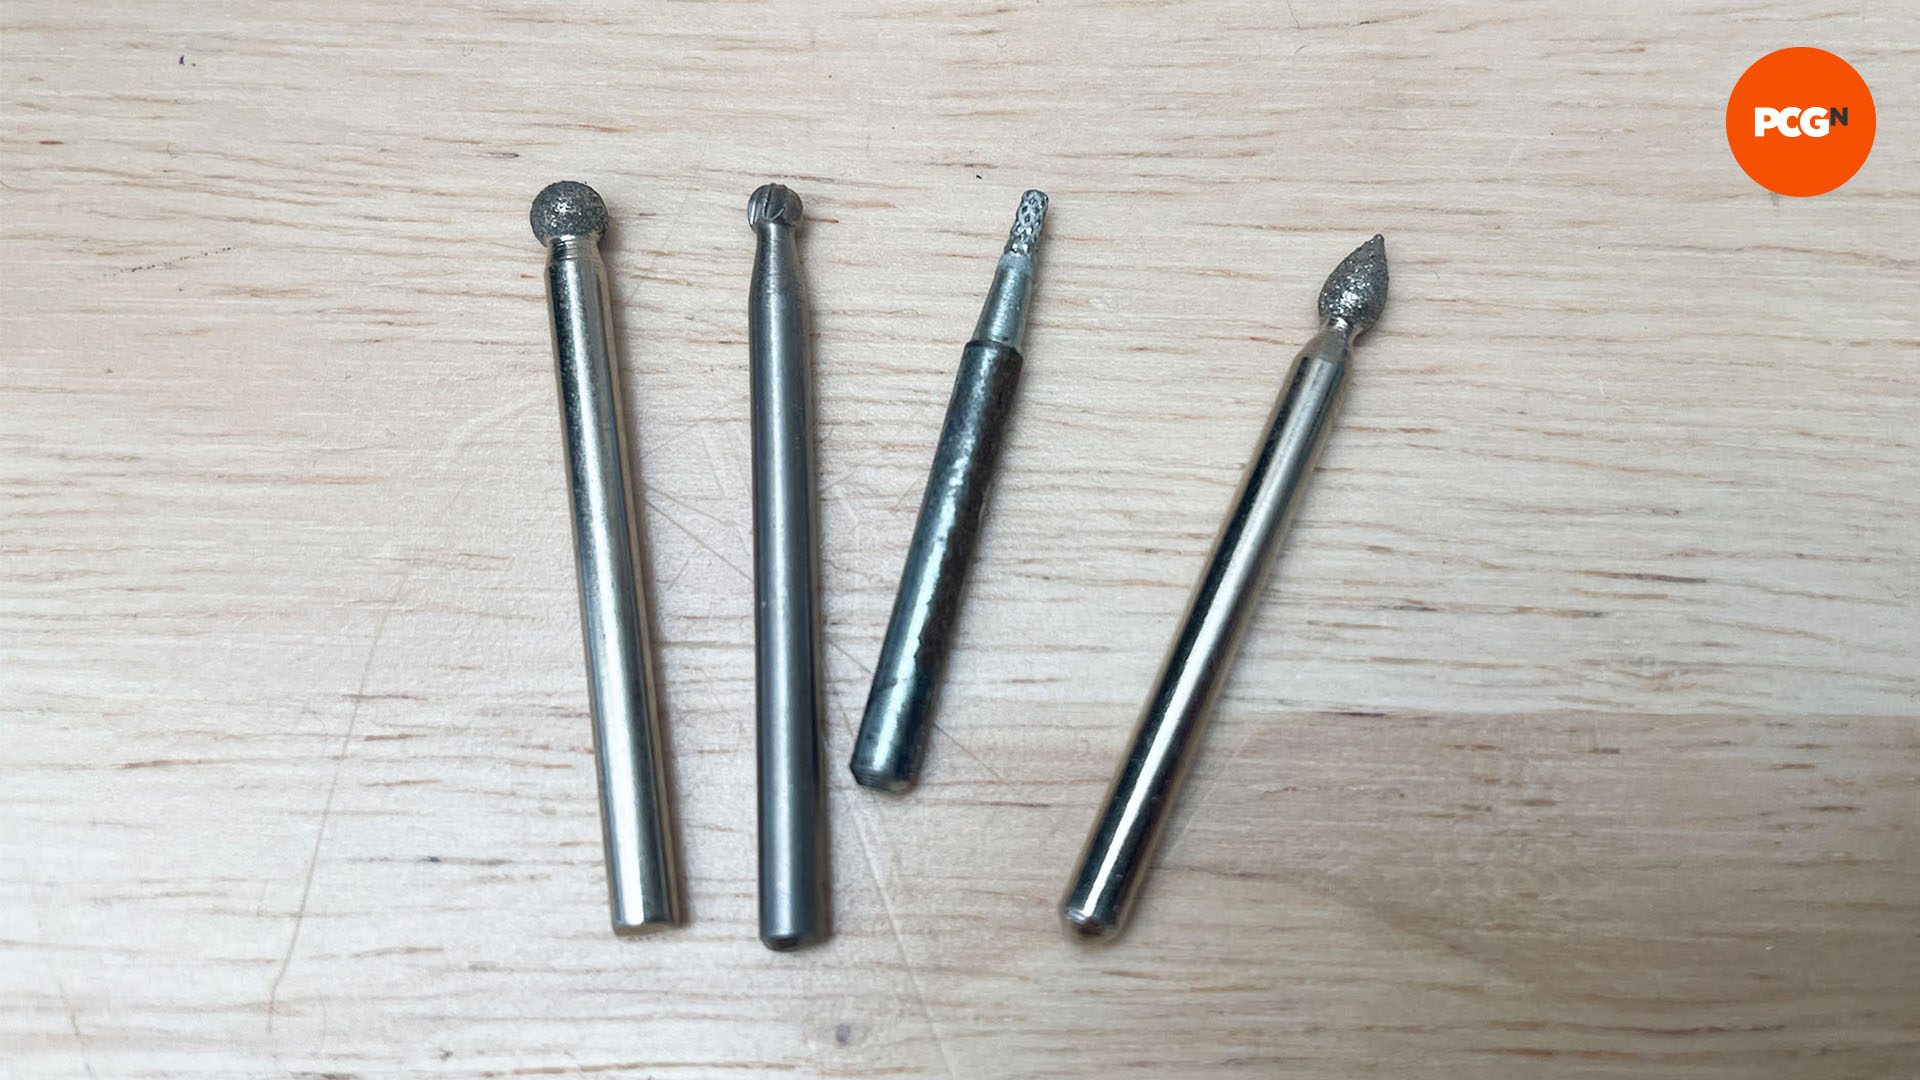
12. Practice on hidden section
Wear a mask and goggles when engraving, and test each tip. Do this on a hidden part of your case, such as the inside of a side panel or a spare drive bay that has the same coating as your target panel. You can then identify the bits that work best with your material and get used to the rotary tool.
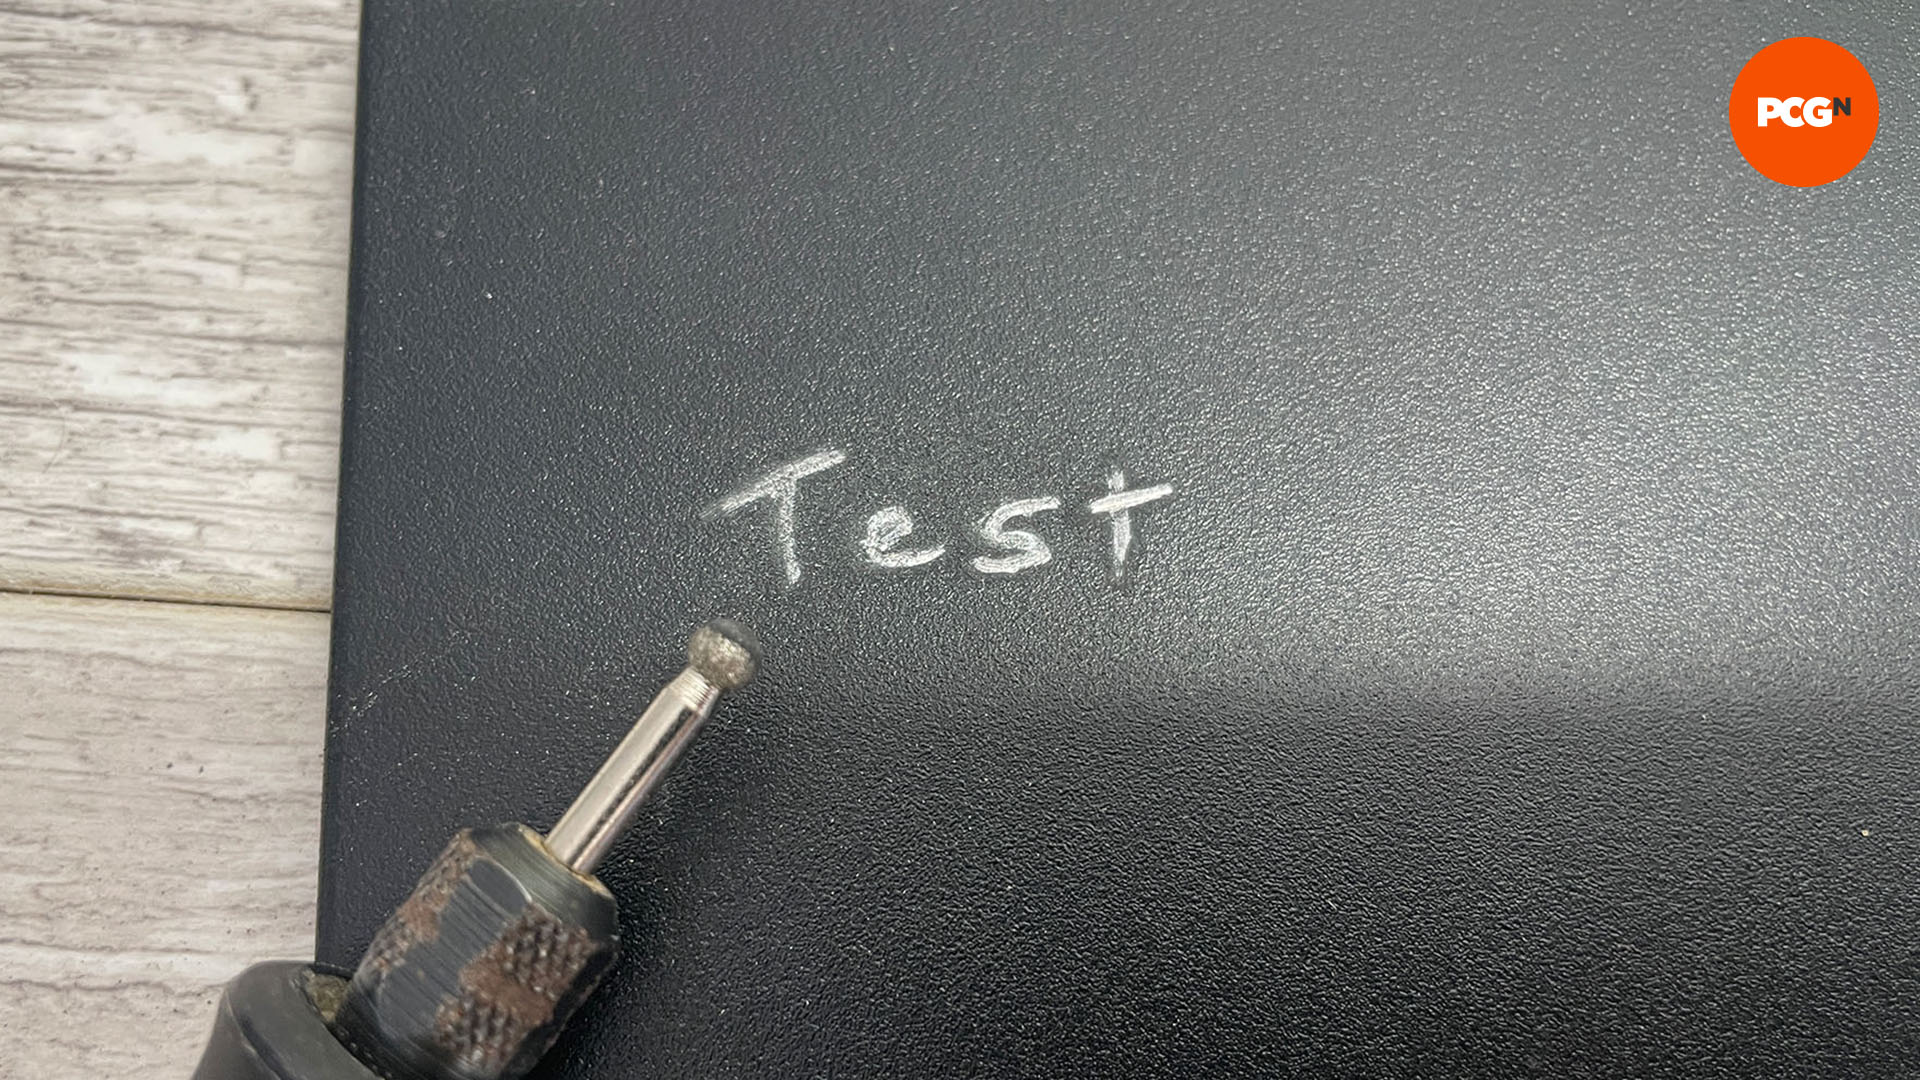
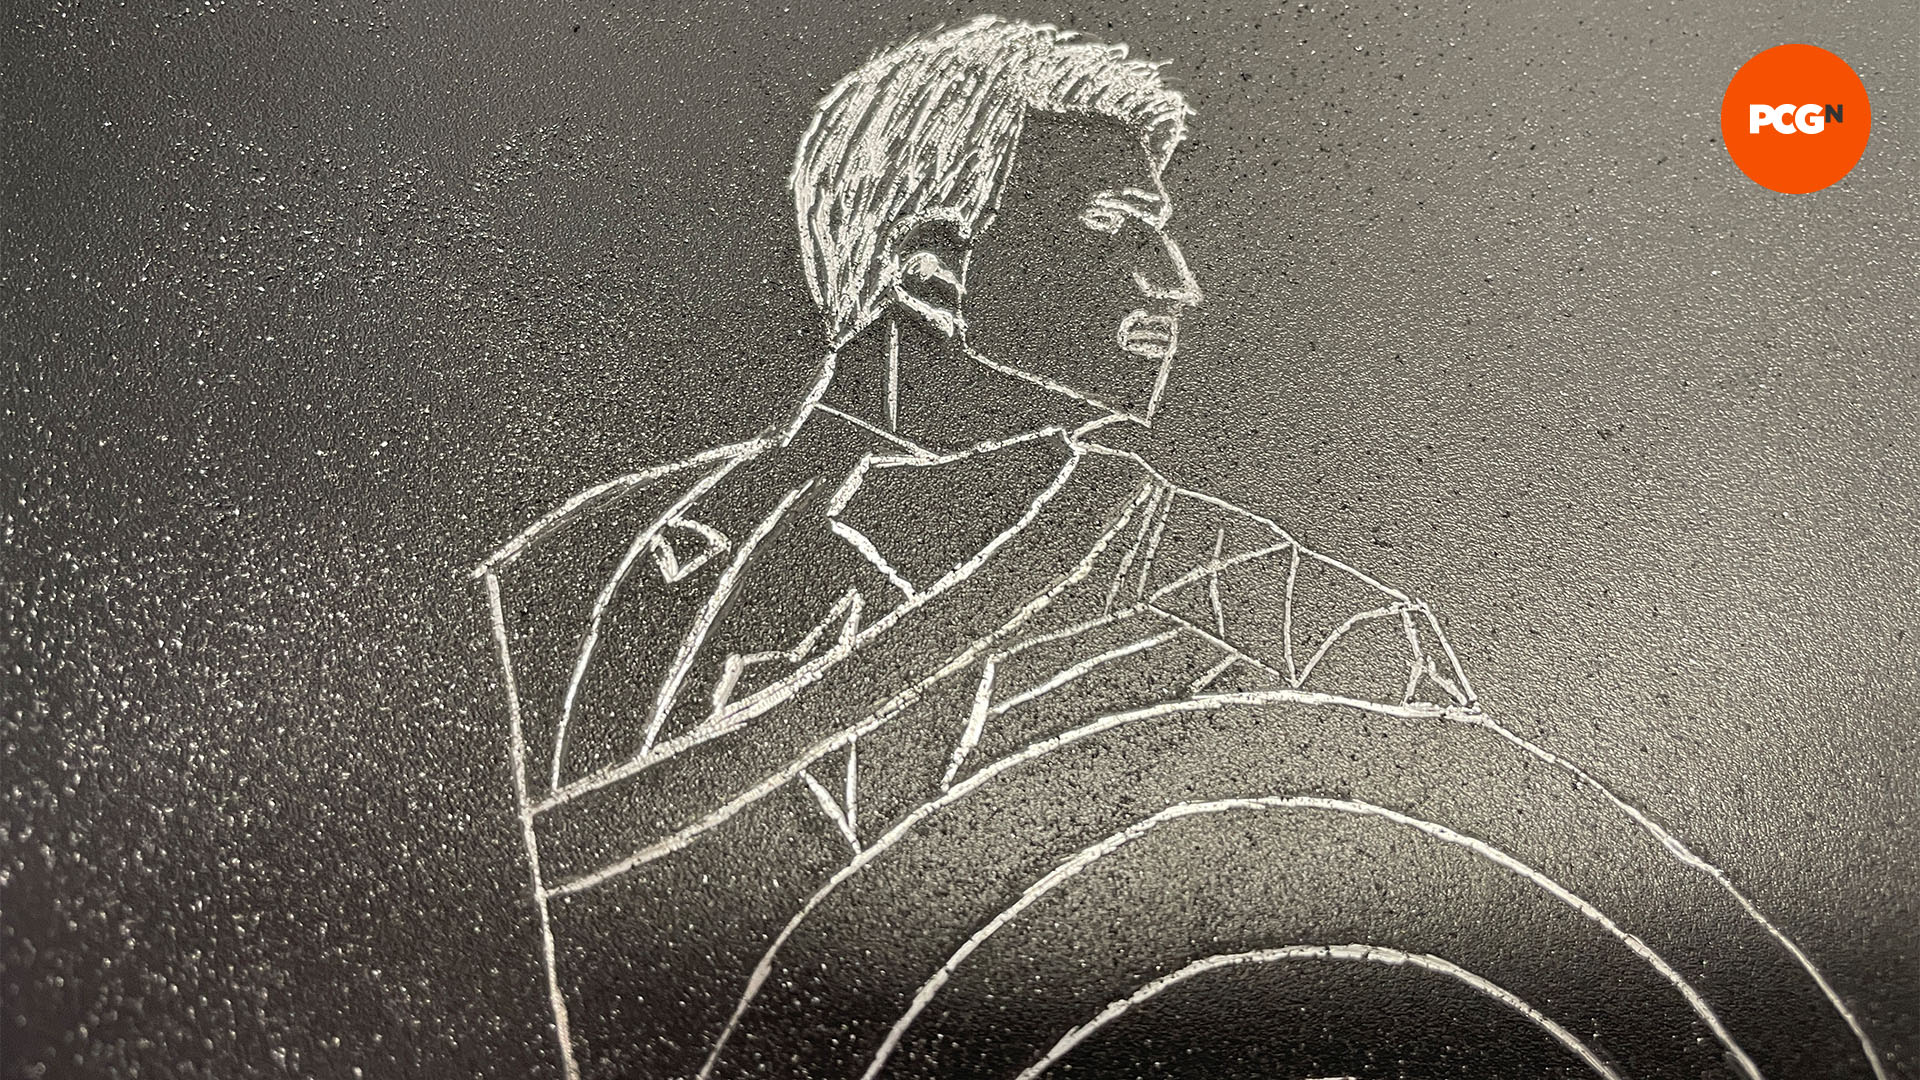
13. Engrave outlines
Using a medium speed setting, trace the outlines of the design, first using sweeping motions and holding the tip at an angle, so it’s not pointing straight down. Go over the areas a second time if necessary.
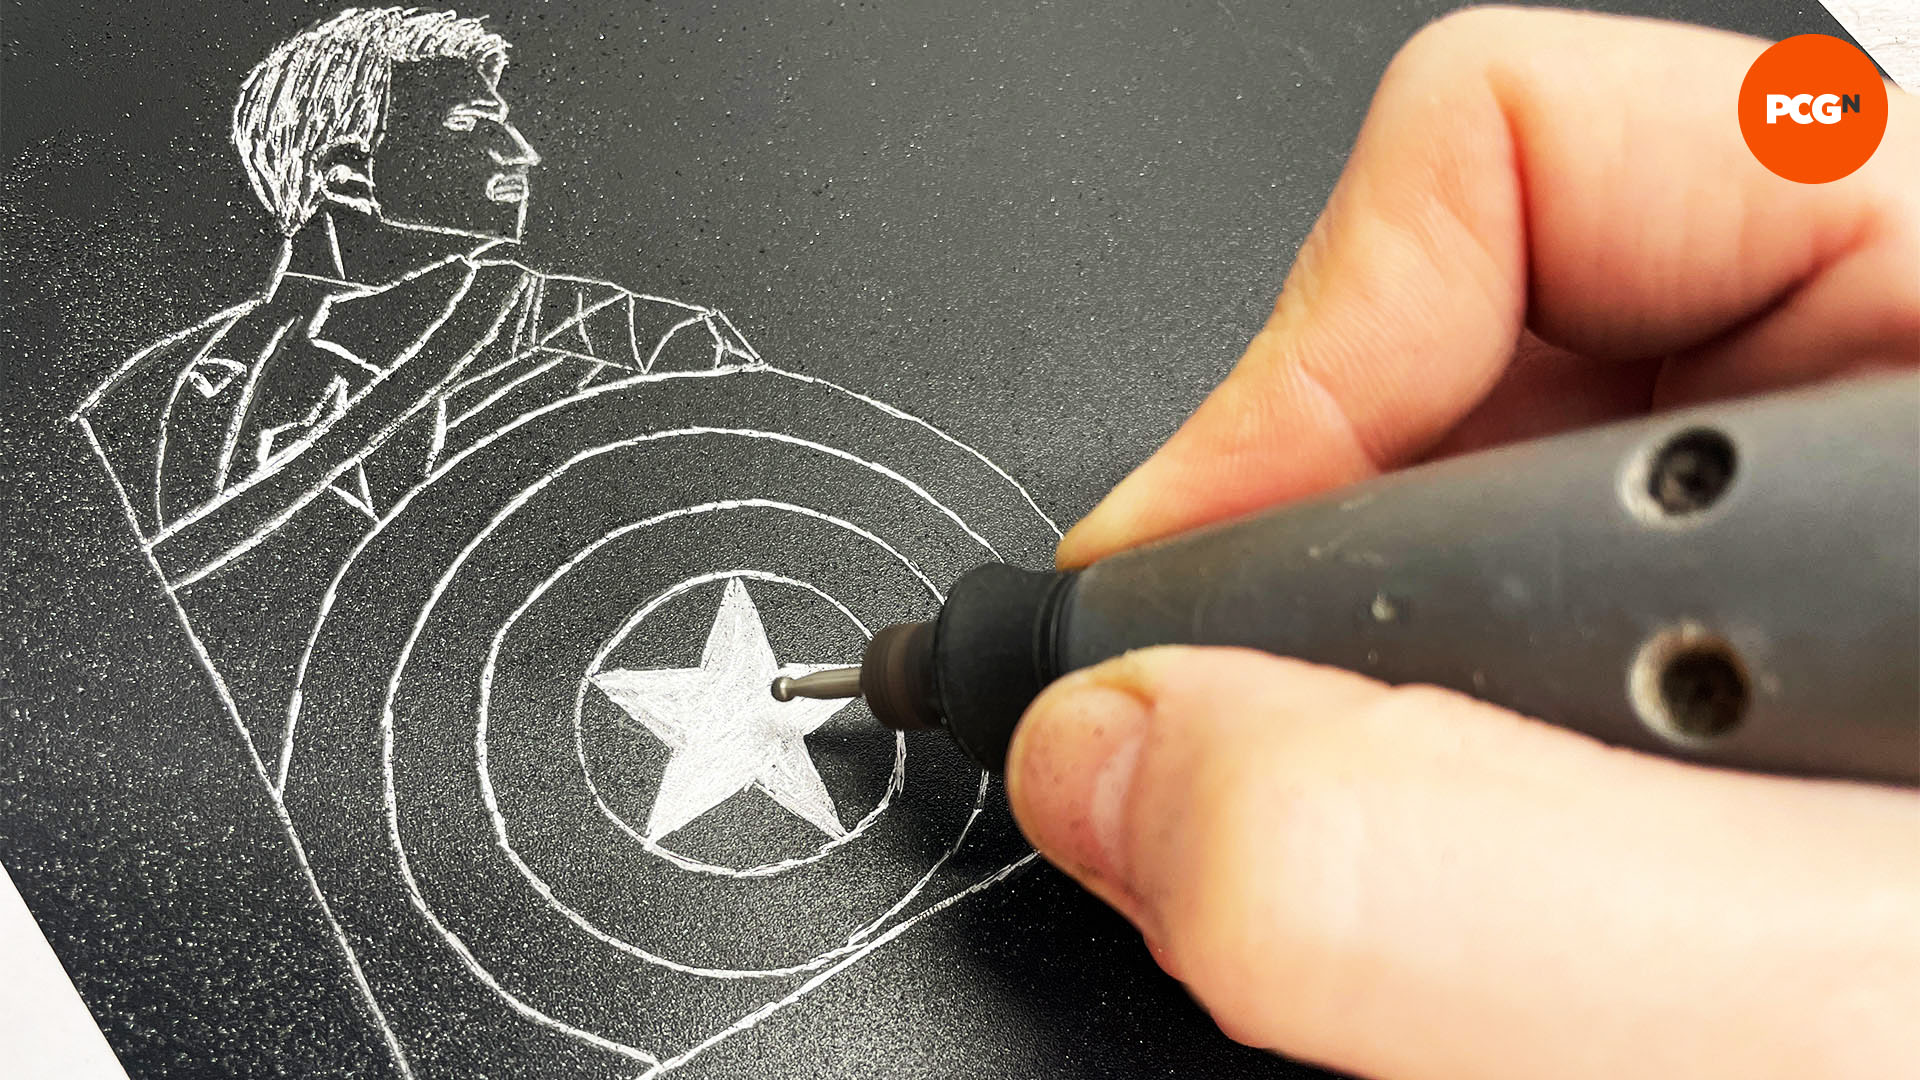
14. Fill in areas
Switch to a rounded tip for larger areas, and take care not to press too hard. It’s better to go over each area two or three times with lighter pressures, as this will result in a more even surface than pressing too hard at the start.
15. Clean panel
The engraving will create dust, but it should settle locally and it’s easy to clean away. Use a damp cloth to clean your engraving area. Removing the dust may reveal parts that need finishing, so don’t be afraid to fire up your rotary tool again.
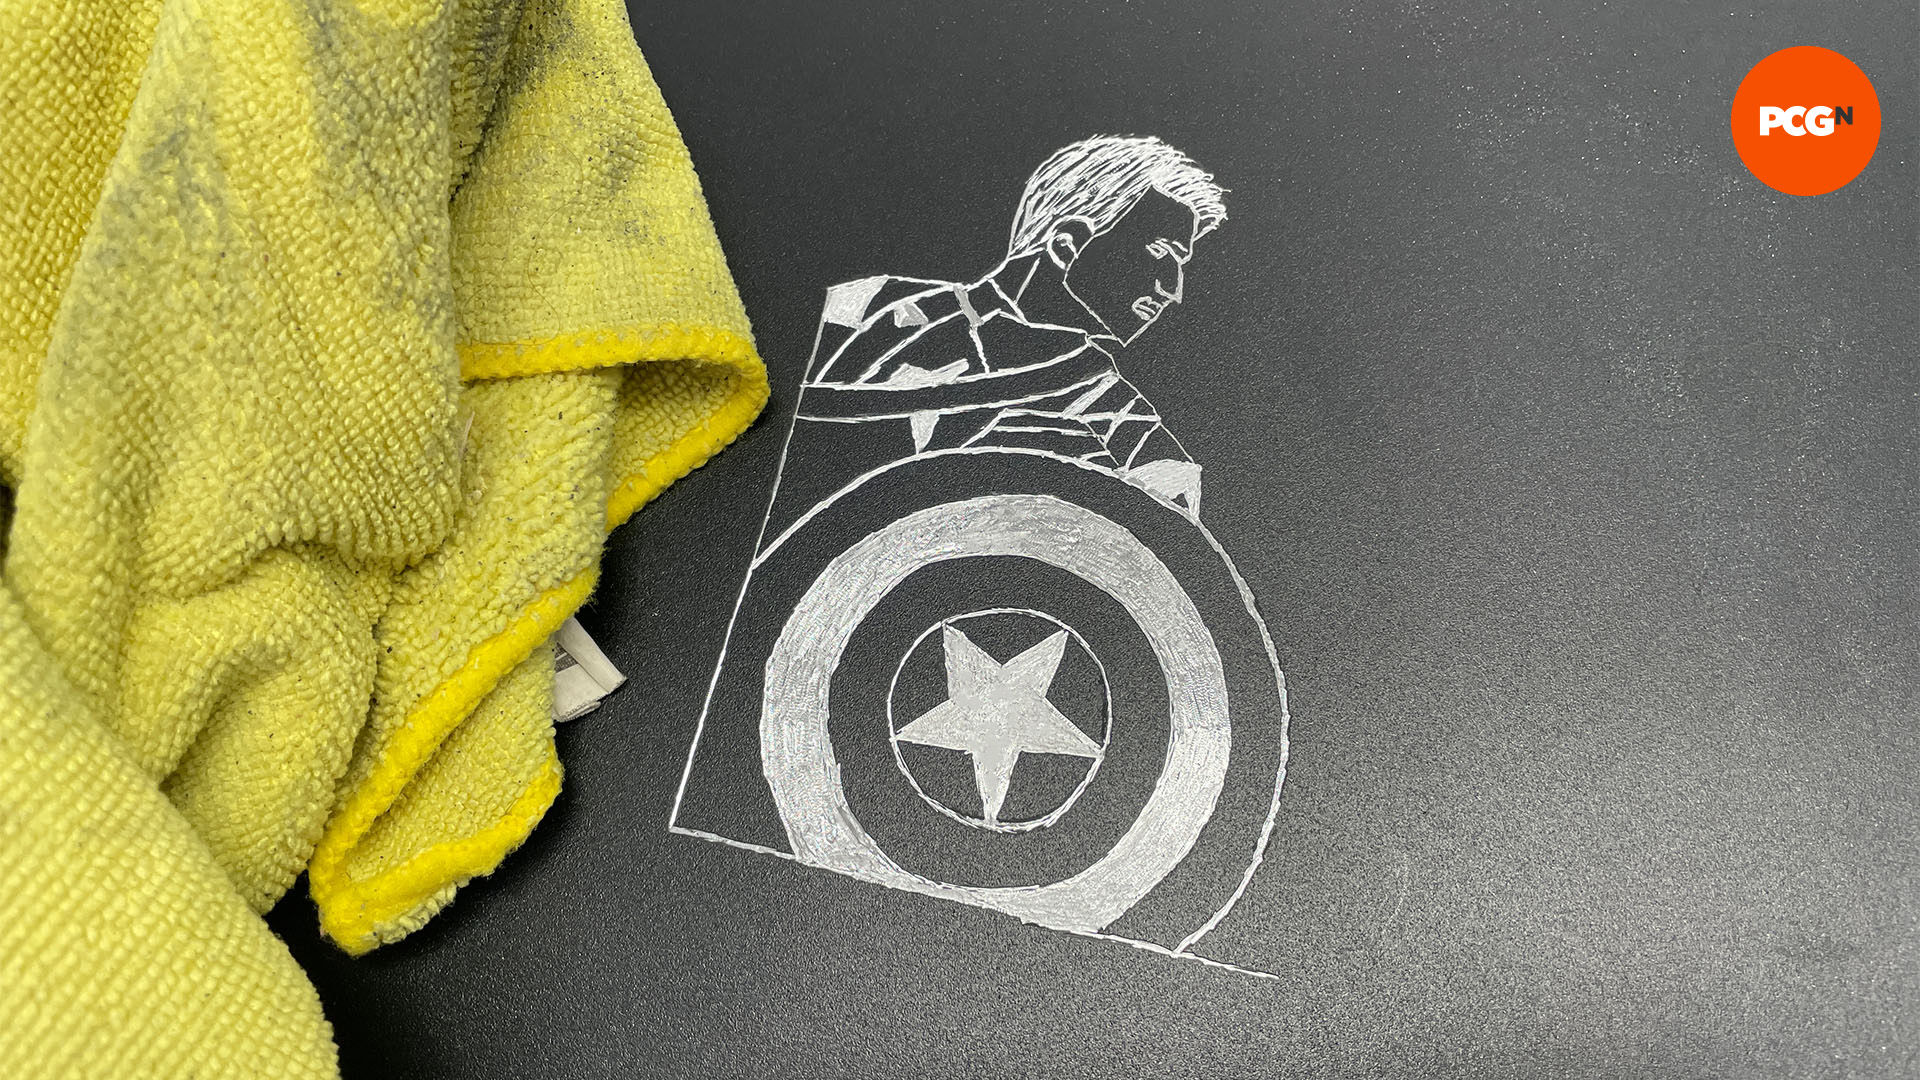
That’s it for our PC case engraving guide – take your time to do it properly, and you’ll be able to create a striking image on your case panel, made from the metal beneath the paint. For more case customization ideas, check out our full guide on how to paint your case, and if you’re thinking of assembling a new rig, make sure you read our full guide on how to build a gaming PC, where we take you through every step of the process in detail.
