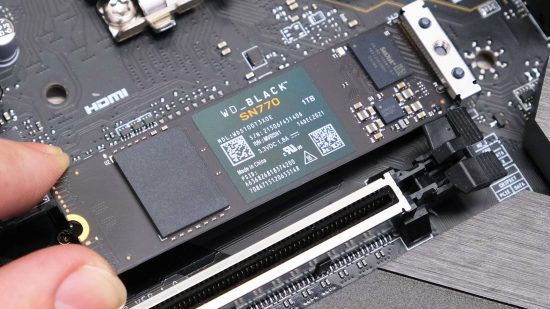
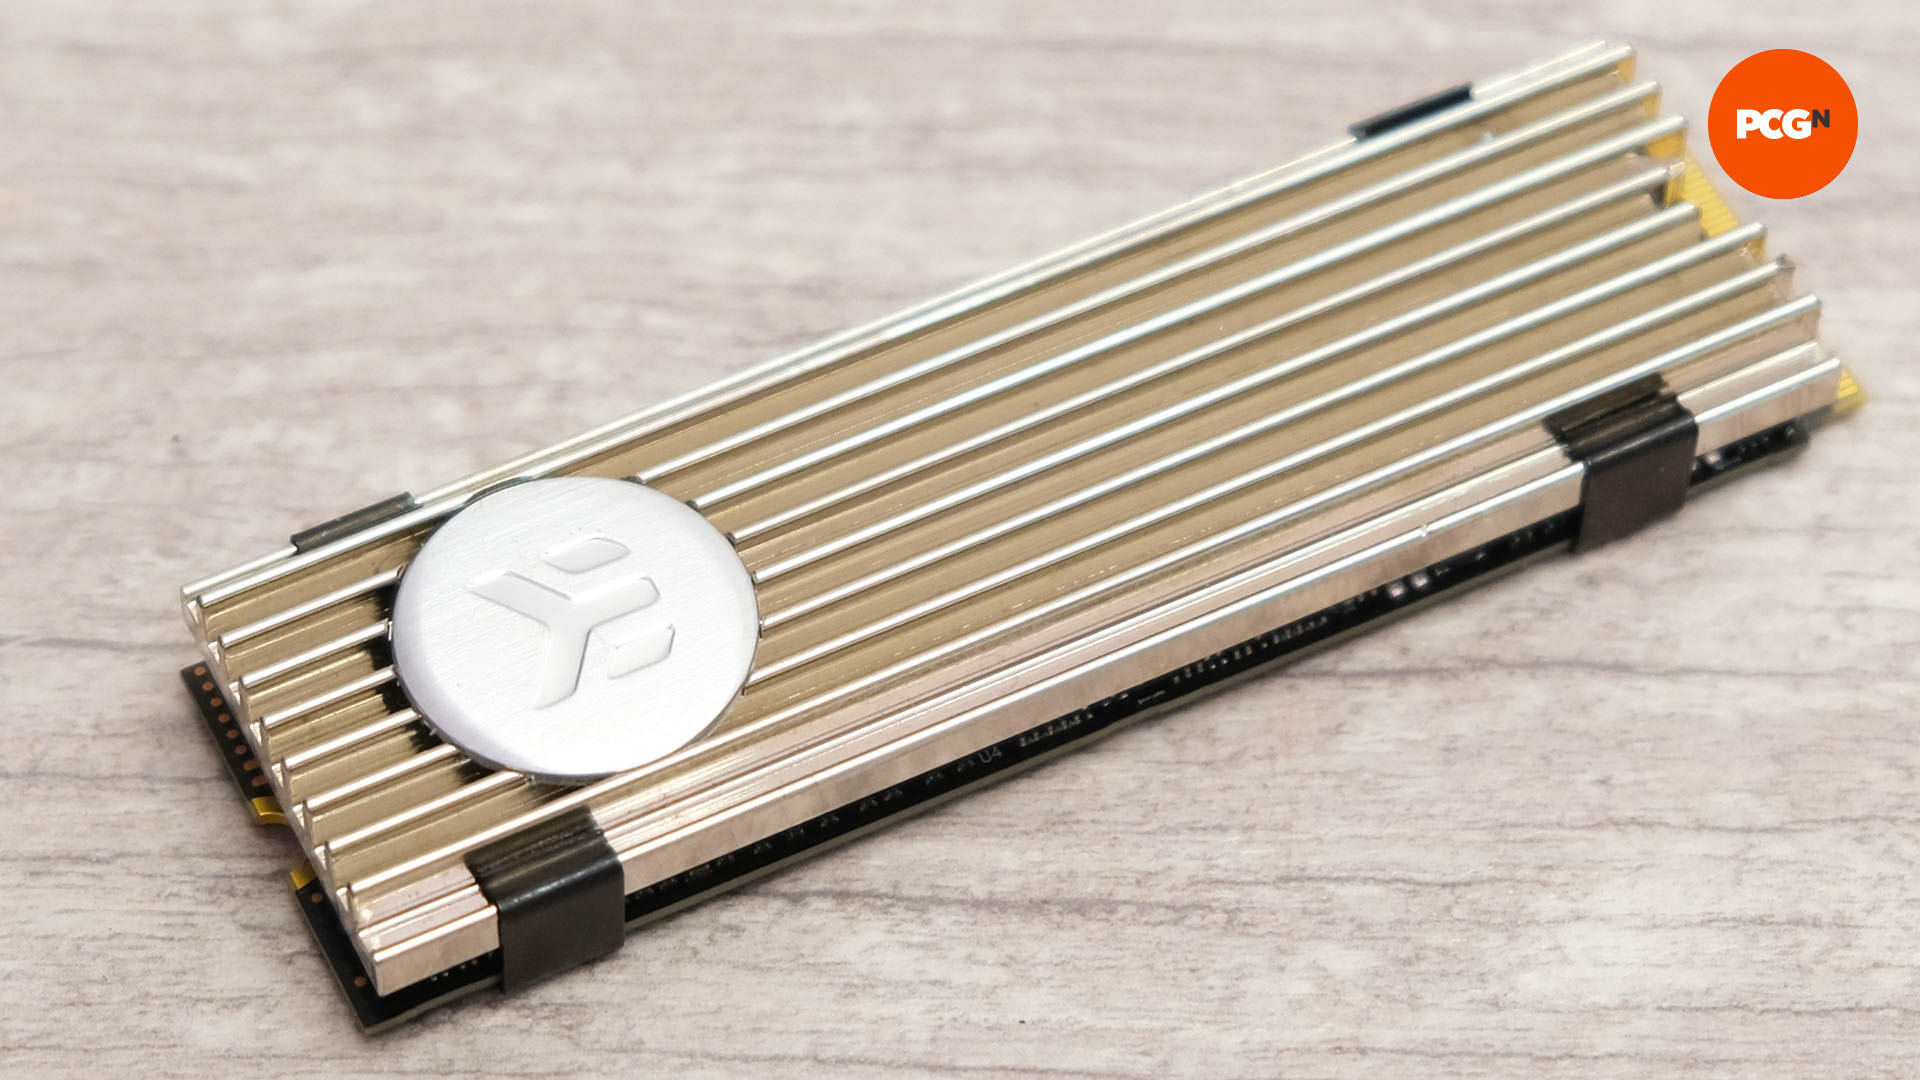
In this guide, we’ll show you how to install an M.2 SSD in your motherboard, as well as how to fit an SSD heatsink. If you’ve never built a PC before, or if it’s been a while since you last assembled a rig, then M.2 SSDs might be completely new to you, but there are numerous benefits to these drives, which come mounted on circuit boards that connect straight to your motherboard.
Most of the drives on our best gaming SSD guide use the M.2 standard, and for good reason. M.2 SSDs don’t require any power or data cables, unlike older 2.5-inch SSDs and hard drives, and the latest PCIe 4 and PCIe 5 models are extremely fast as well.
How to install an M.2 SSD
1. Use the right M.2 slot
Some M.2 SSDs use your motherboard’s SATA controller, while others use PCIe 3, PCIe 4, and even PCIe 5 connections. Not all M.2 ports support all four standards, so check your motherboard’s manual or the manufacturer’s website to see which M.2 ports you need to use for your chosen SSD.
If you’ve only just purchased your M.2 SSD, then it’s likely that it will use the PCIe interface. If it uses the older PCIe 3 standard, like the Samsung 980, then it should work in any M.2 port. If it uses the new PCIe 4 or PCIe 5 standards, though, you’ll need to refer to your motherboard manual in order to see which M.2 ports support PCIe 4 or 5. Bear in mind that a PCIe 4 or 5 drive will still function if you install it in a PCIe 3 M.2 slot, but it will run slower.
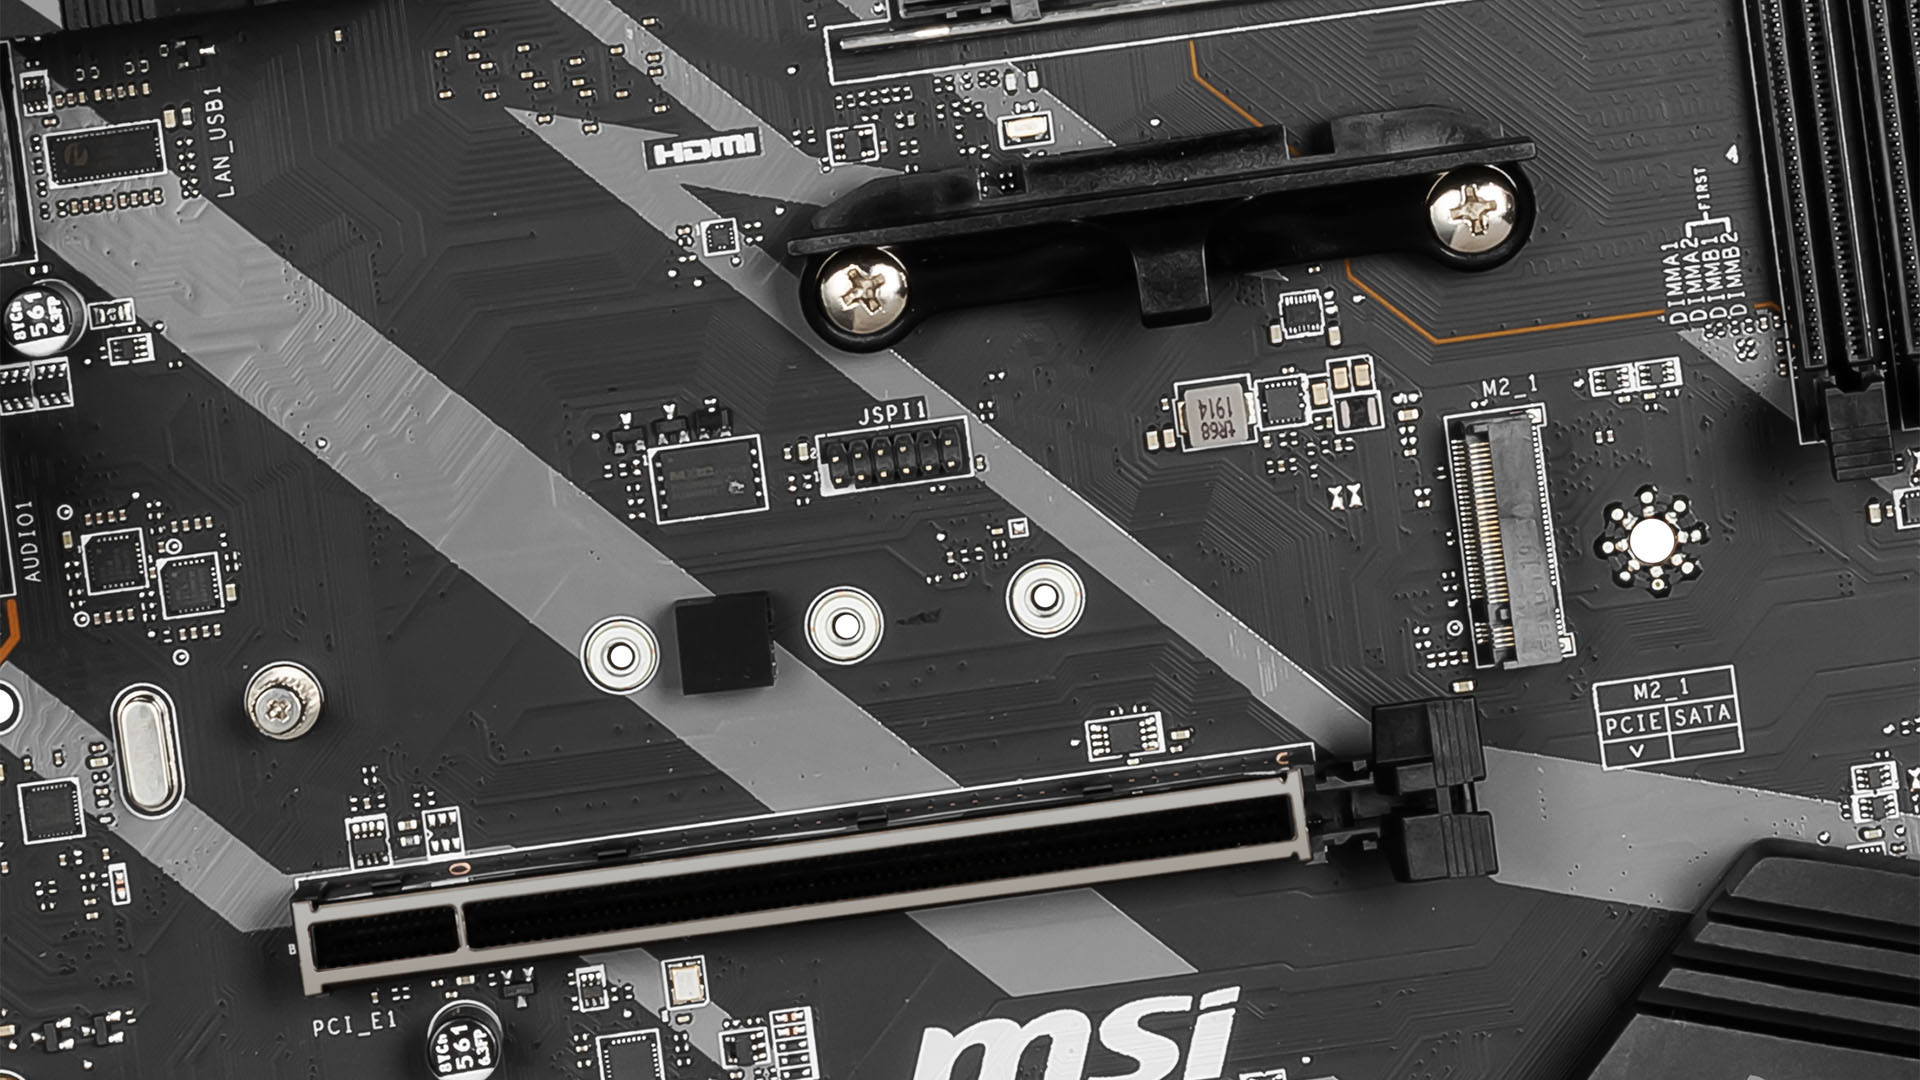
When installing a fast PCIe 4 or PCIe 5 M.2 SSD, we recommend not placing it in an M.2 slot directly under your graphics card. Having it sit directly under your GPU will not only mean you’ll need to remove your graphics card to access it, but it could also be on the receiving end of hot air vented from your card. This could heat the SSD, causing it to throttle under sustained loads.
It’s better to place M.2 SSDs in slots away from other components, as long as the slots themselves fully support your SSD’s protocol. The slot that sits between your 16x PCIe graphics card slot and your CPU socket is usually a good bet, and will often support the fastest standards.
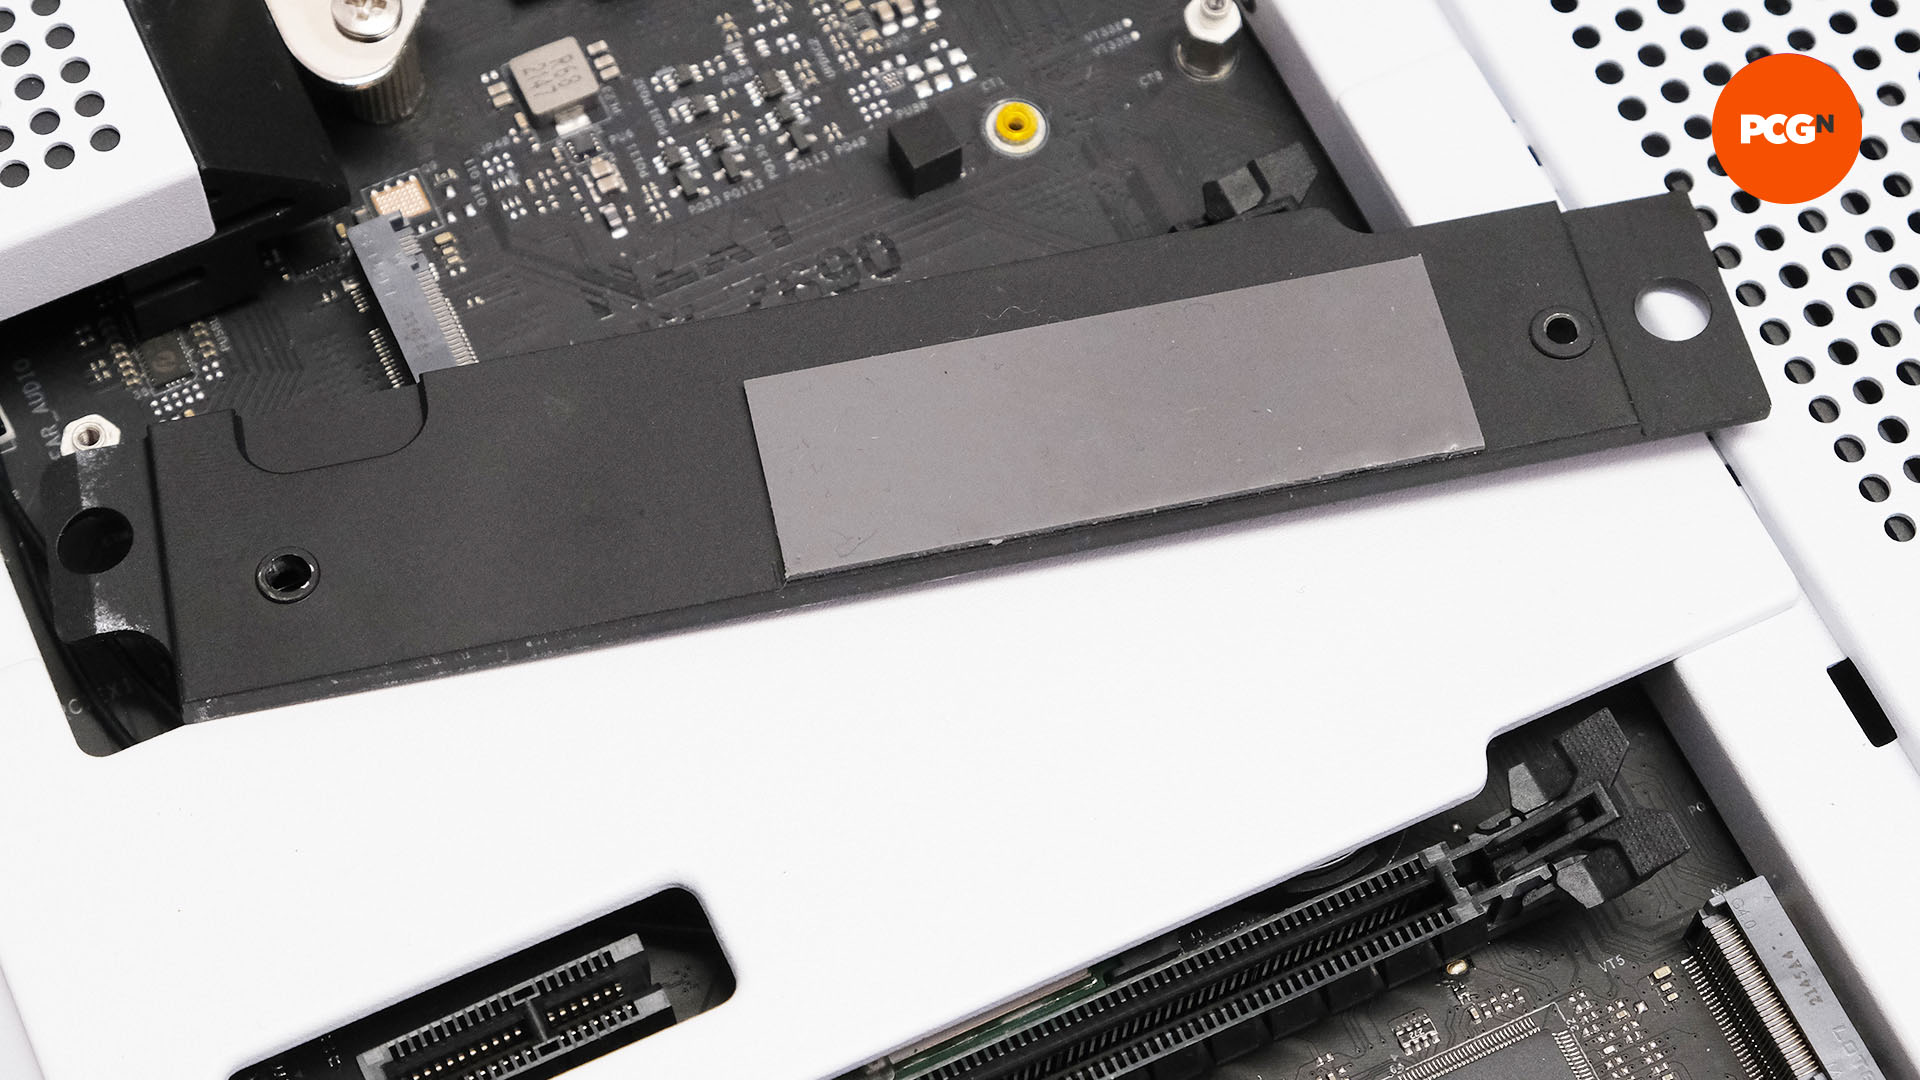
2. Remove M.2 heatsink from your motherboard
It’s highly likely that your motherboard will come with a heatsink for one M.2 SSD, or more of them. A heatsink isn’t a necessary thermal requirement for a PCIe 3 SSD, but it’s definitely essential for fast PCIe 4 SSDs, and you’ll need some seriously hefty cooling power for the latest PCIe 5 SSDs, such as the Corsair MP500.
Using a heatsink is also highly recommended on fast PCIe 4 SSDs, such as the WD SN850X or Samsung 990 Pro, as it will enable them to hit their maximum speeds for long periods without thermally throttling. If you’re using an older motherboard that doesn’t come with an M.2 heatsink, then you can install a PCIe 3 SSD without a heatsink, or consider adding a heatsink to a faster SSD. We’ll show how to do this later in the guide.
If your motherboard does come with an SSD heatsink on your chosen slot, then you’ll need to remove this heatsink first, and peel off any protective plastic that’s on the thermal pad beneath.
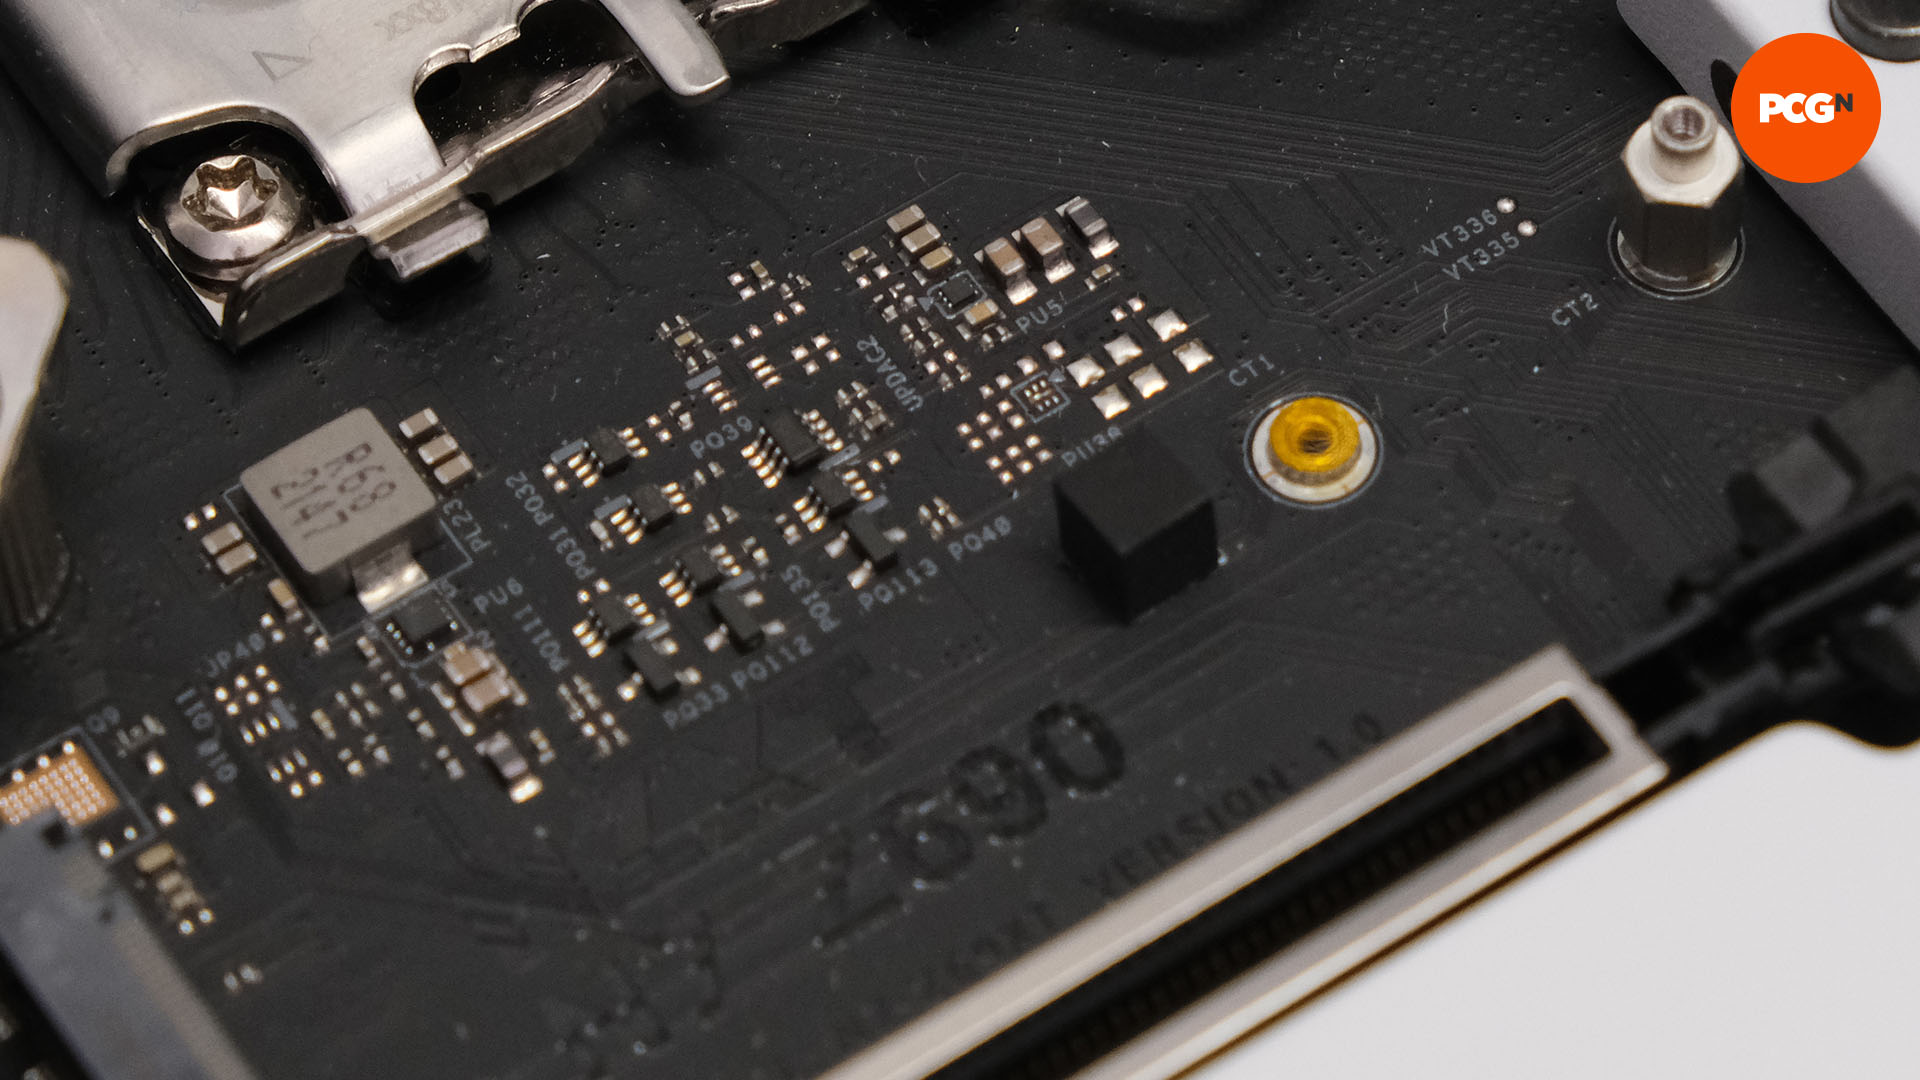
3. Install standoff
M.2 SSDs are secured in place with either a latch or a tiny screw. The latter will screw into a standoff, which may not be already fitted into your motherboard, in which case you’ll find it in a bag in your motherboard box. Most M.2 SSDs have a length of 80 mm, so you’ll need your standoff to be screwed into the hole either marked 80mm or 2280 on your motherboard.
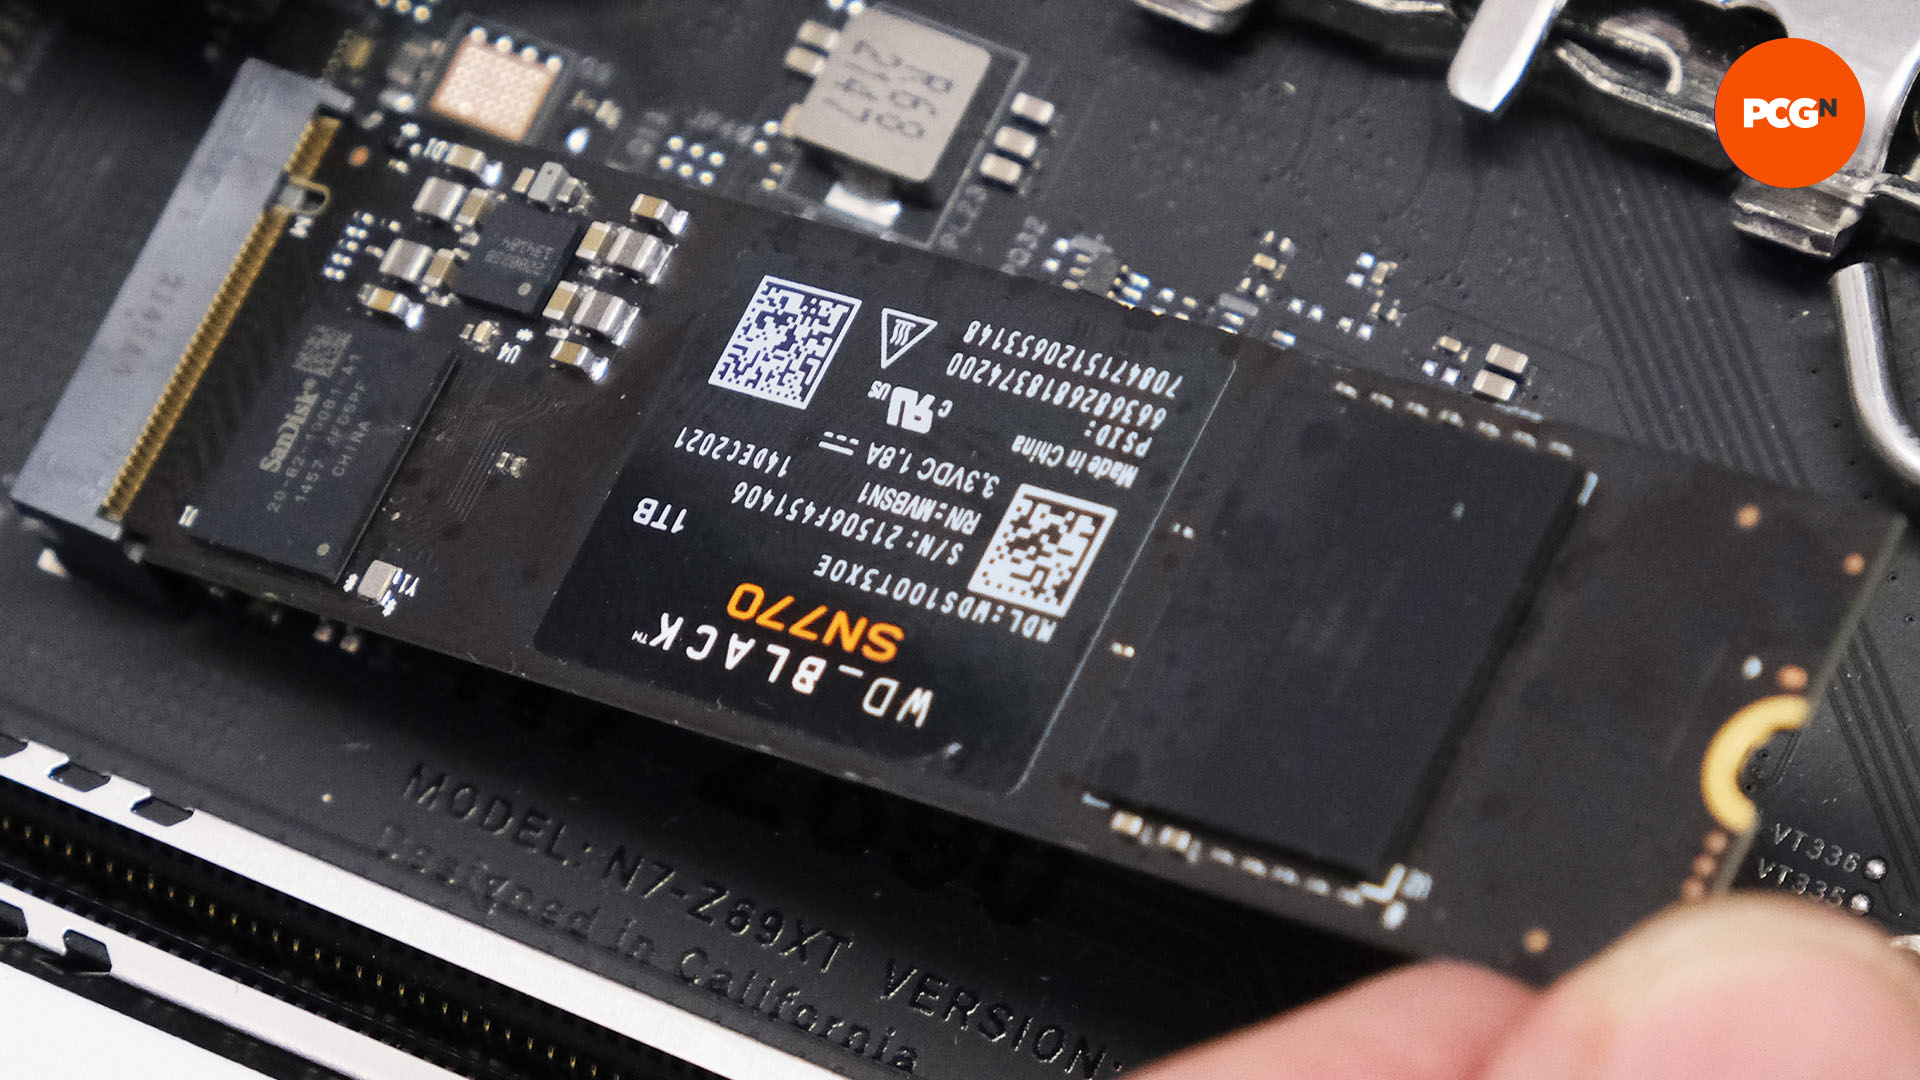
4. Insert SSD into M.2 connector
With your standoff in place, you can now insert your SSD into the appropriate M.2 slot on your motherboard. Its end section will need to marry up with the notches in the M.2 port, and you’ll need to hold up the other end up by a slight angle of around 30 degrees. You can then gently lower it down into place so that it’s resting horizontally, with the connector end firmly nestled into the motherboard socket.
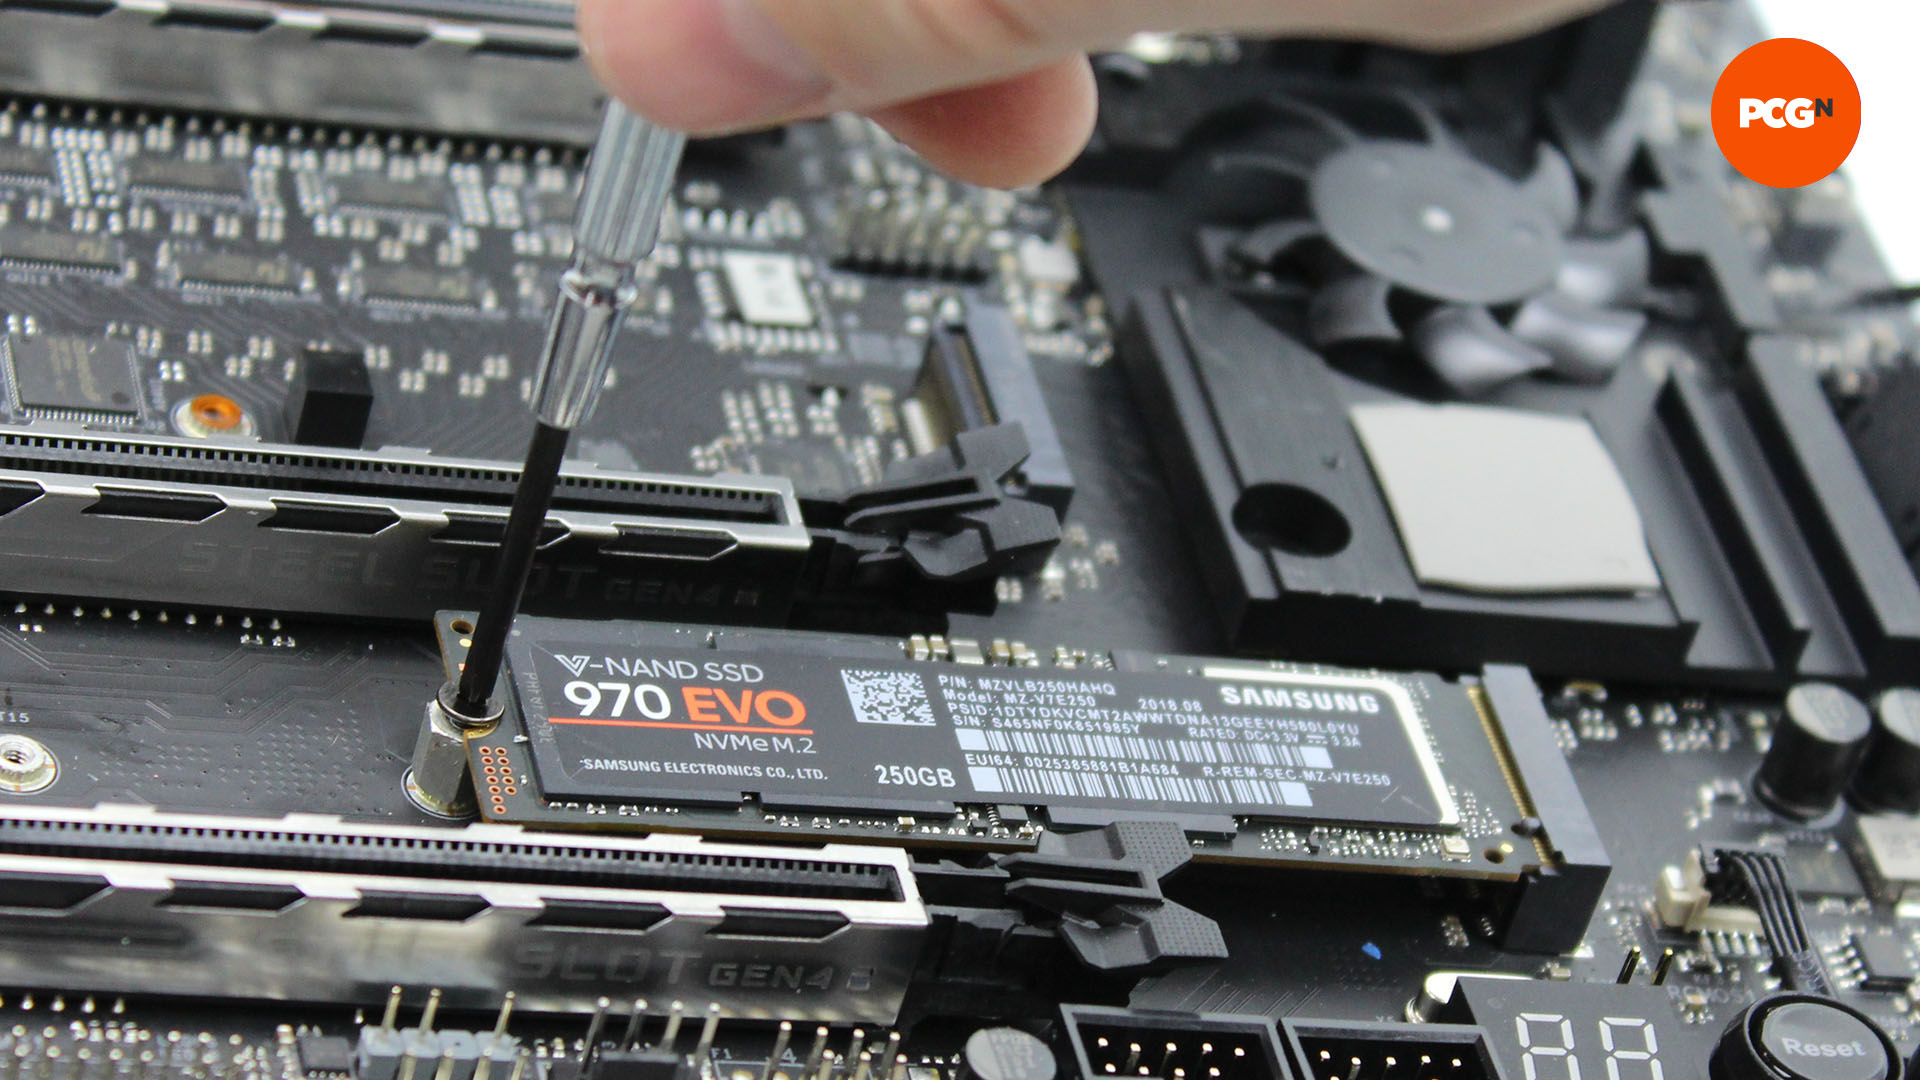
5. Secure SSD in place
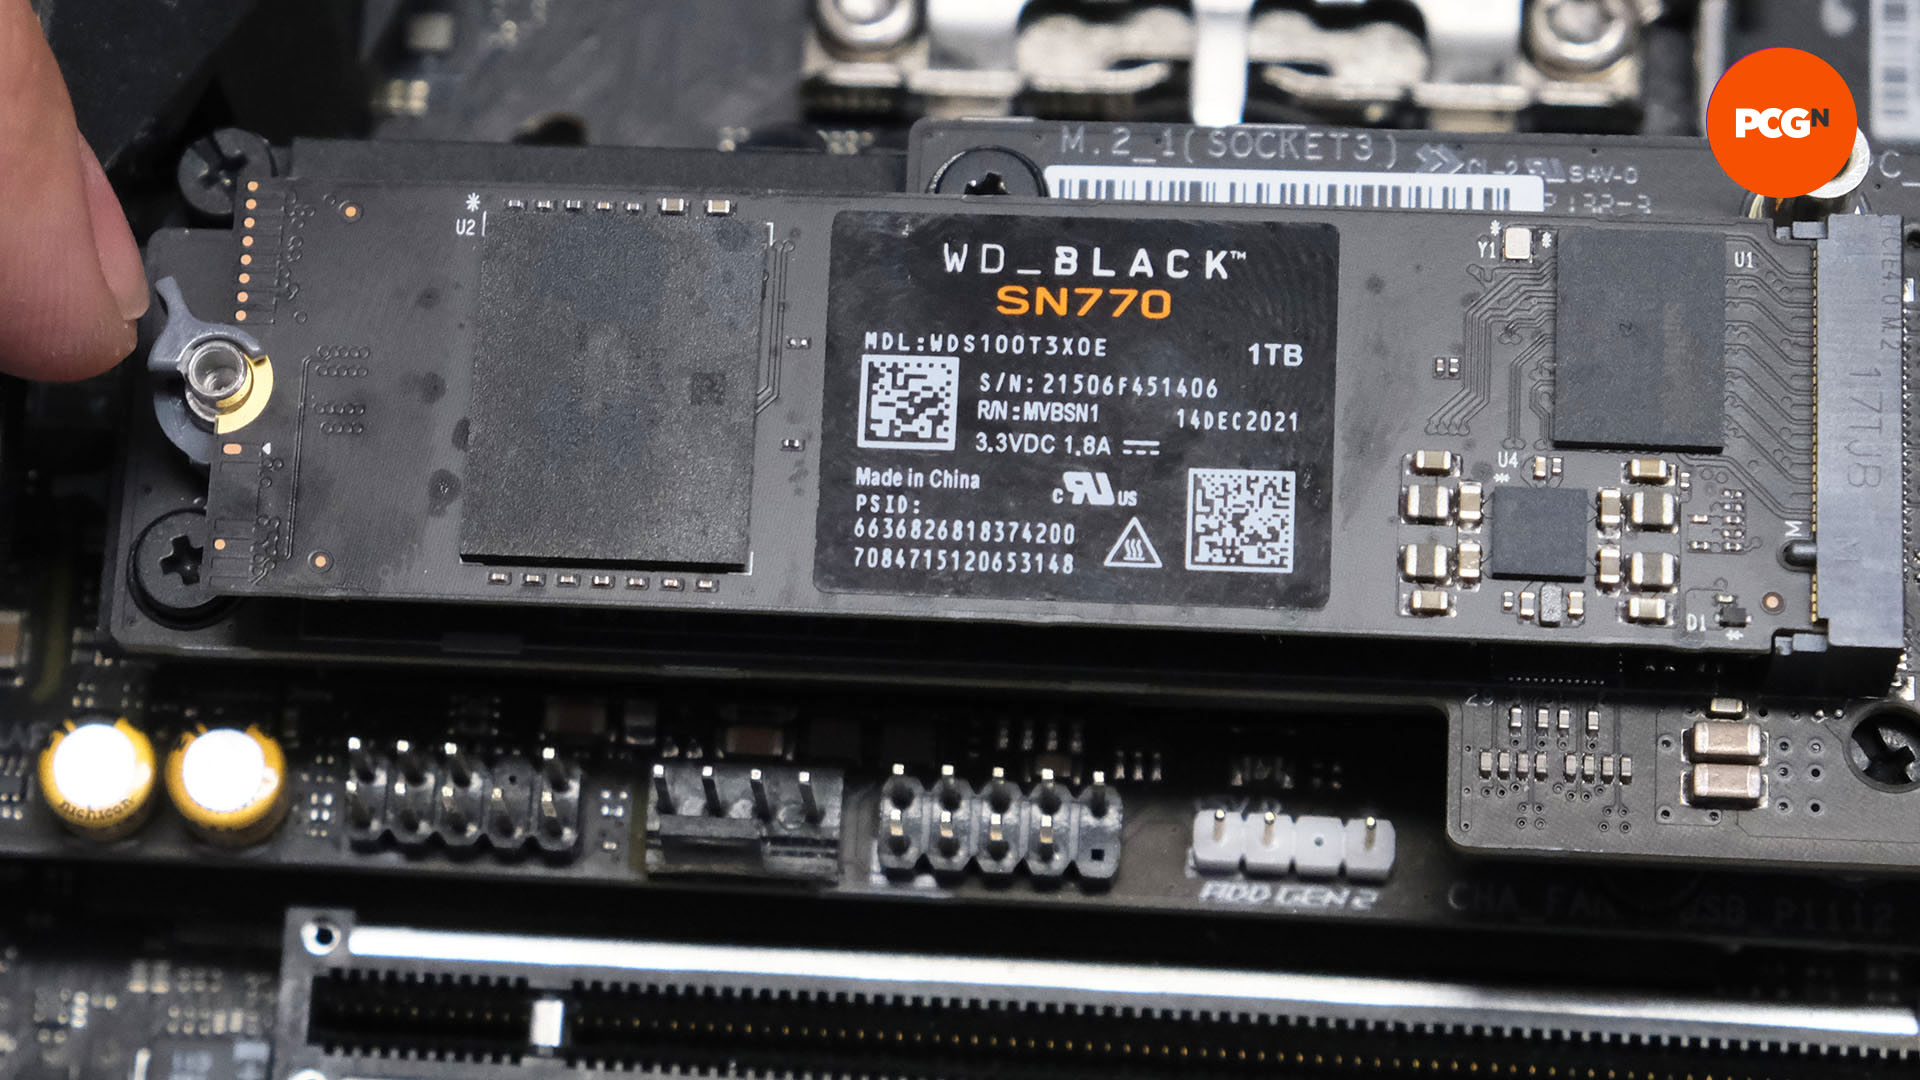
With the SSD in the right place, your next job is to secure it. In many cases, this means you’ll need a mini screwdriver in order to screw the SSD into the standoff. If the screw isn’t already in the standoff, it should again be in a bag in your motherboard box.
Screwing an M.2 SSD into place can be a fiddly job, and we highly recommend magnetizing your screwdriver (rub a strong magnet up and down the end of the screwdriver continuously until it will attract the tiny screw). Hold the SSD in place with one finger, to stop it sliding around, and then use your other hand to screw the tiny screw into the standoff to secure the SSD in place. If your SSD doesn’t need a heatsink, or if it already has one fitted, then you’re now done.
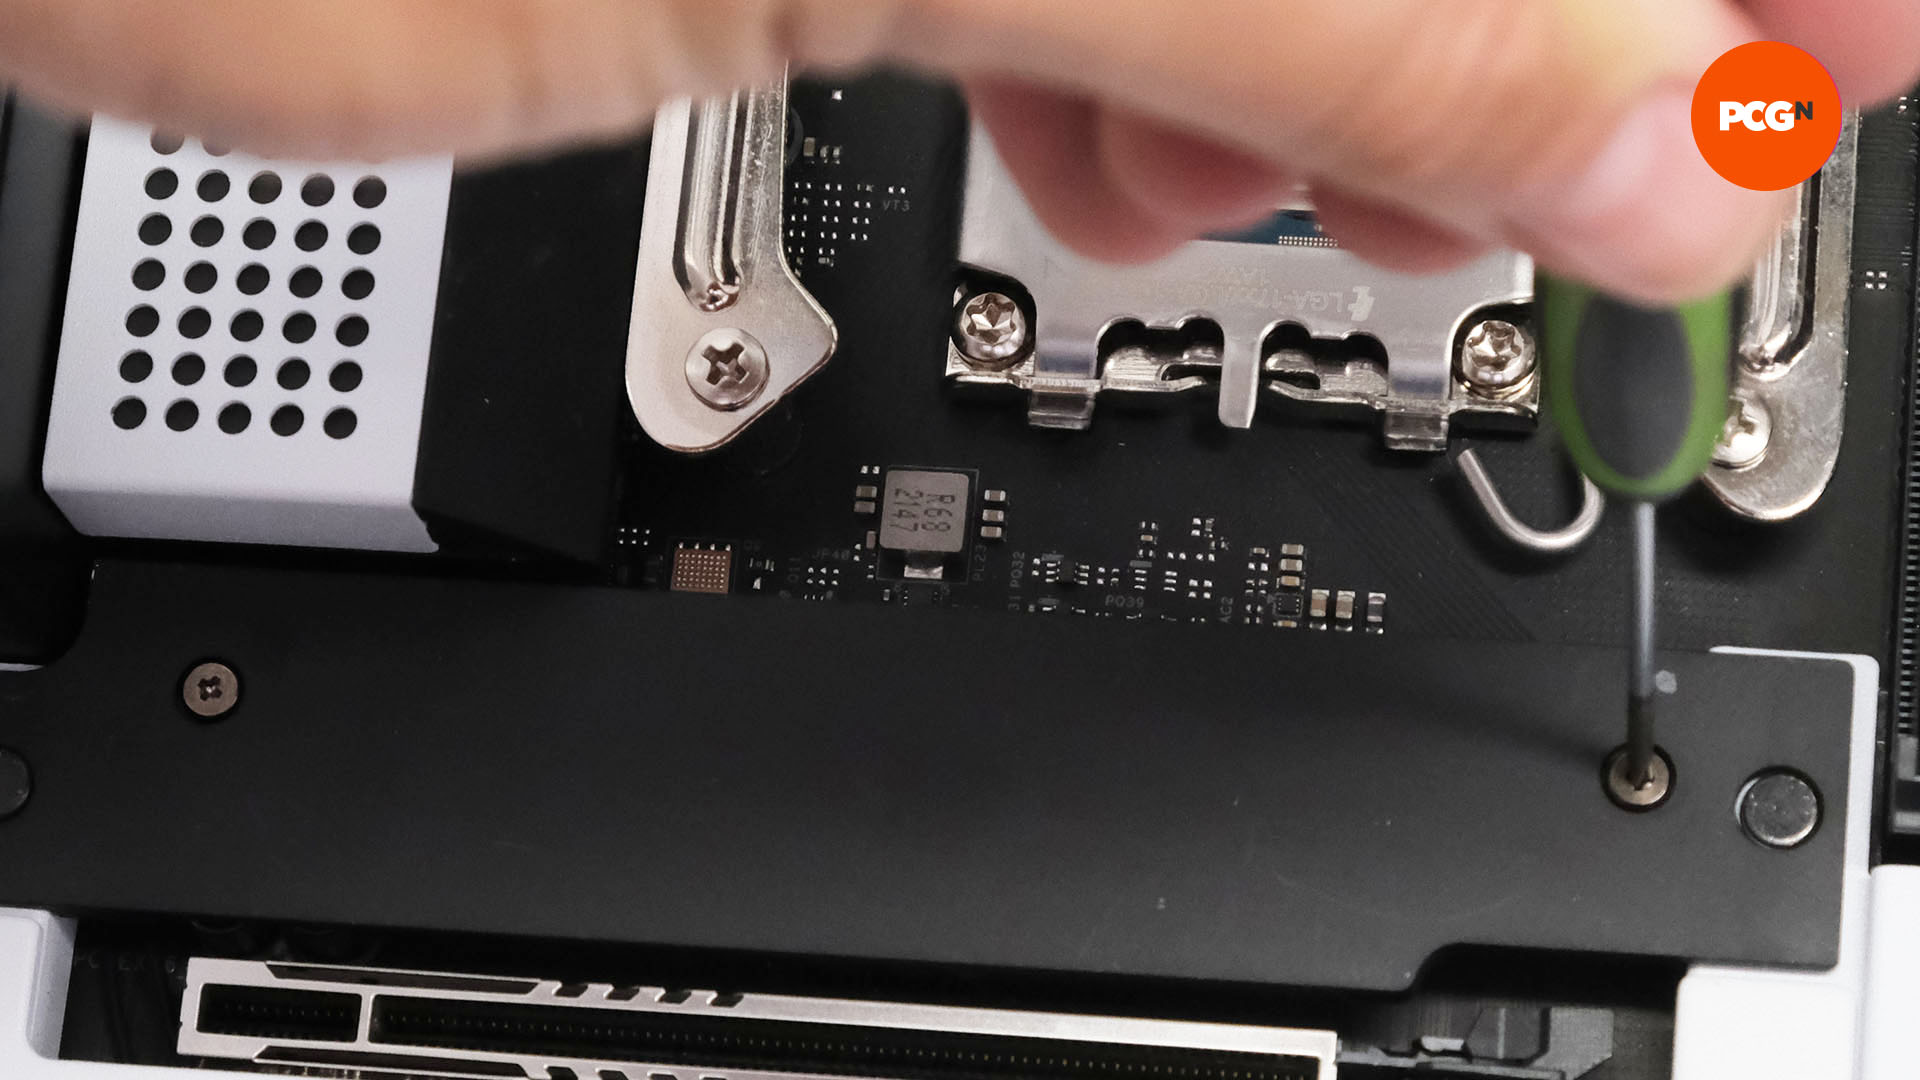
If you’re using one of your motherboard heatsinks, then this screw may also secure the heatsink in one go, in which case you’ll need to place the heatsink on top of the SSD (with the plastic removed from the thermal pads), before screwing the SSD and heatsink into place together. Make sure you leave the sticker on your SSD before you put the heatsink on top of it, as it will have heat-conducting properties. Alternatively, you can also fit your own choice of heatsink, and we’ll show you how to do this in the next section.
Some of the latest motherboards alternatively use a simple latch to secure the SSD in your motherboard socket, which is much less fiddly than dealing with a tiny screw. To use one of these latch systems, you install the SSD in the M.2 socket, then rotate the latch until it locks the SSD into the socket. We recommend rotating the latch a few times to see how it works first.
How to install an M.2 SSD heatsink
While many motherboards include M.2 SSD heatsinks as standard now, you don’t always find heatsinks on budget motherboards, and high-end older boards often don’t have them either.
What’s more, some of the latest PCIe 4 SSDs, such as the Solidigm P44 Pro, don’t come with heatsinks as standard. If you’re using an older motherboard that only supports PCIe 3, then adding a heatsink to your drive will largely be an aesthetic choice. However, a heatsink can still help to prevent your drive from throttling under heavy sustained loads if there’s not much airflow in your system.
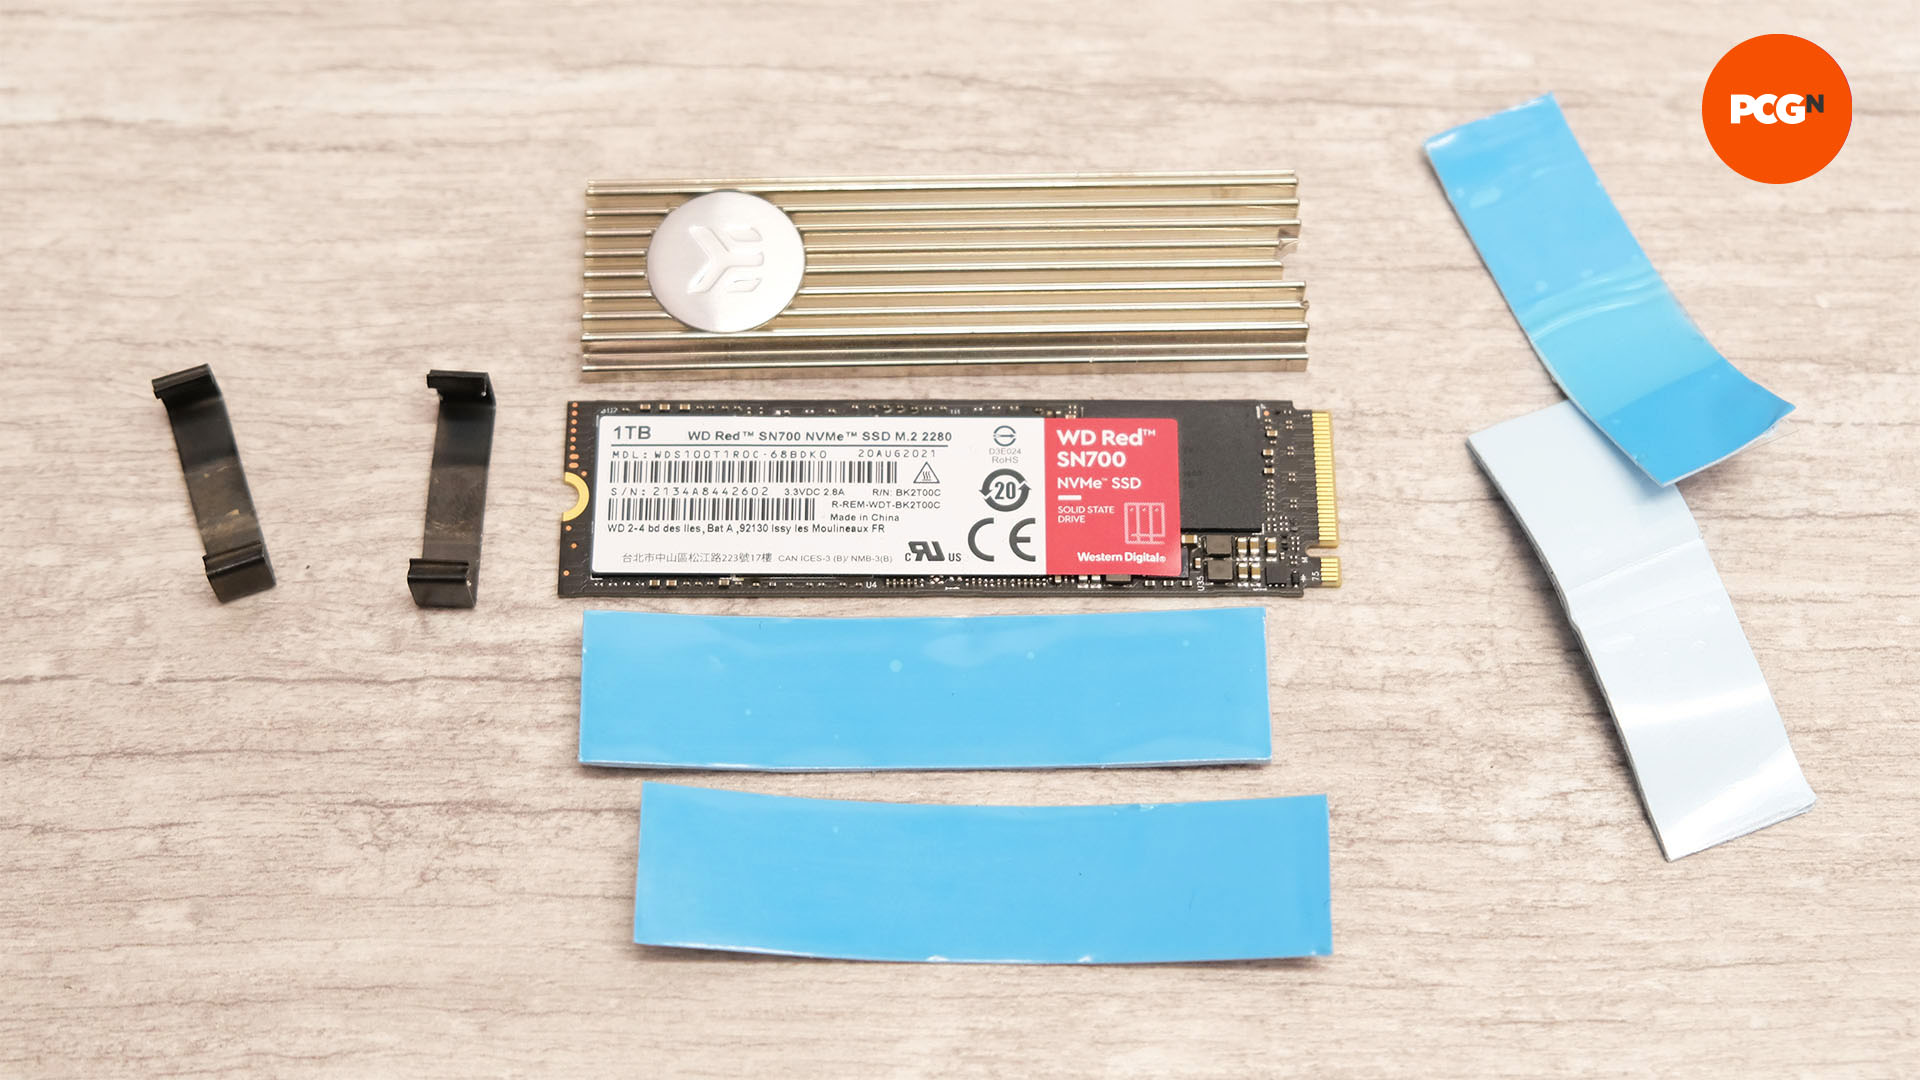
While an M.2 heatsink isn’t technically essential for a lot of SSDs, you’ll want one if you’re using a new super-fast PCIe 4 SSD, and you’ll need one if you’re using one of the latest PCIe 5 SSDs, such as the Corsair MP700 or Crucial T700. In this example, we’re going to fit an EK M.2 heatsink to a WD Red 500 SSD.
1. Leave the sticker on
Leave the sticker on the SSD, so you can sell or return it later – you’ll still see a decent temperature drop with the heatsink, and you’ll be less likely to damage the SSD. In a lot of cases, such as on Samsung SSDs, the sticker also acts as a heatspreader. Before you fit the heatsink, check its maximum temperature using HWMonitor, while running two CrystalDiskMark tests back to back.
2. Test-fit thermal pads
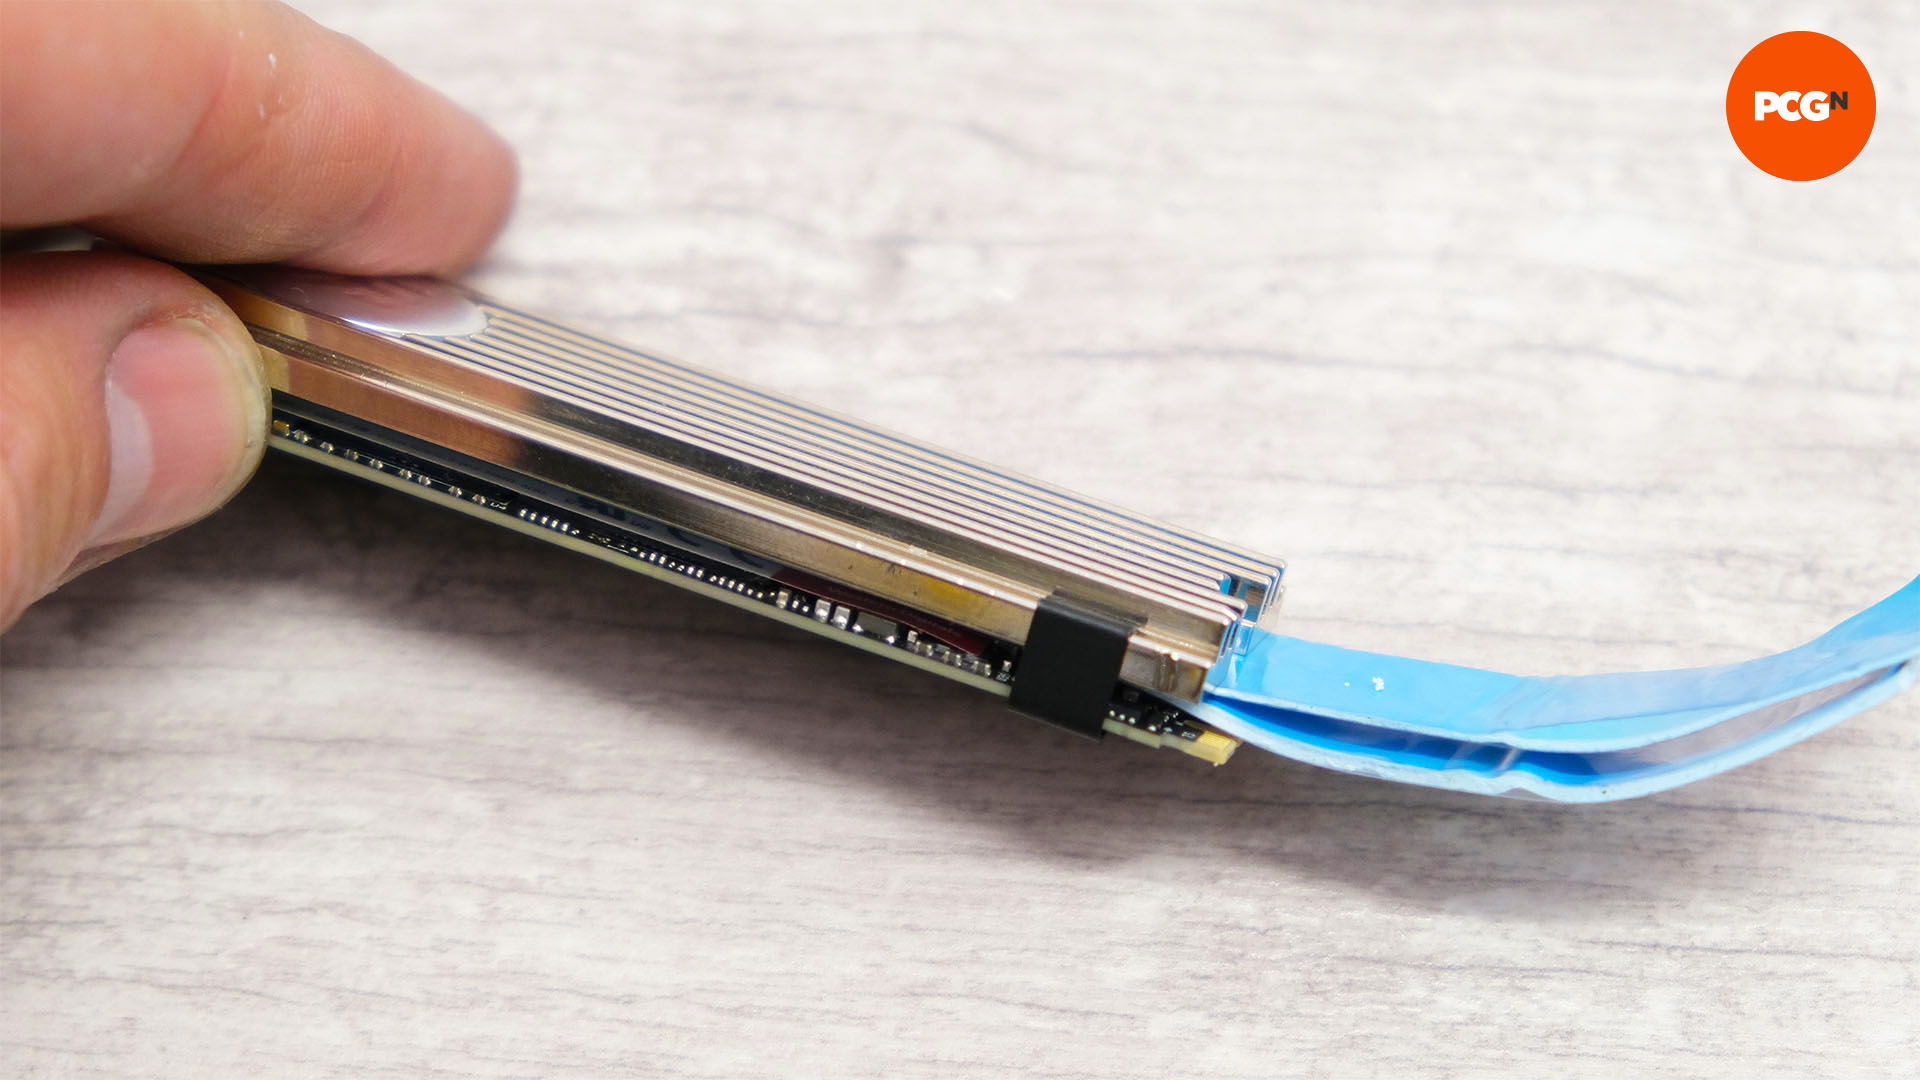
Follow the supplied instructions on how to mount the heatsink. These may involve using clips or bands to hold it in place, as well as trimming the pads. Do a practice installation first, while keeping the thermal pads’ protective layers still in place, so you can get a feel for how the whole assembly clips together.
3. Install heatsink
Remove the protective layers on one side of the pads, apply them to the heatsink, and then remove the protective layers on the other side. Follow the instructions to use the correct thickness for your SSD – it needs to be a tight fit to make good contact. Finally, rerun the tests from Step 1 to see how cool your SSD now runs.
That’s a wrap for our guide on how to install an M.2 SSD, and fit a heatsink. It’s a pretty simple job – the only difficult part is screwing in that fiddly tiny screw. If you’re thinking of buying a new SSD, make sure you check out our full guide to the best gaming SSD, where we take you through all your best options at a range of speeds and prices. One of our favorite high-speed PCIe 4 options is the WD Black SN850X, which comes in options with or without a heatsink, and is often available for under $70 for a 1TB drive.
If you’re thinking of upgrading your SSD, make sure you check out our guide to the best SSD, where we take you through all the best options at a range of prices. You can also read our full guide on how to build a gaming PC, where we run you through every step of the process of building a full PC system.
