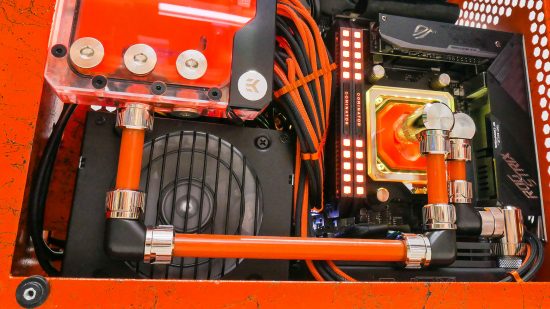
In this guide, we’ll show you how to set your PC to respond to coolant temperature, rather than the CPU temperature. Why would you want to do that, you might ask. It seems logical to set your fans to spin up when your CPU is put under load, doesn’t it?
However, if you’re planning to water cool your PC, the coolant temperature is the most important factor when it comes to controlling your fan and pump speeds. For starters, your coolant temperature doesn’t fluctuate nearly as much as the CPU temperature.
What’s more, as water can absorb a lot of heat for each degree it warms, setting your fans to spin up as soon as your CPU gets warm will often have little to no effect on CPU temperature, at least in the first few minutes. In addition, if your graphics card is under a higher load than the CPU, the coolant temperature may rise significantly, while your CPU may remain at a low temperature, meaning your GPU could end up suffering.
1. Pick probe type
There are two types of thermal probe. Pass-through probes screw into G1/4in ports and have female threads on top, meaning you can screw fittings into them and don’t need an unused port. Others use long, hidden physical probes to delve deeper into components, but require more clearance.
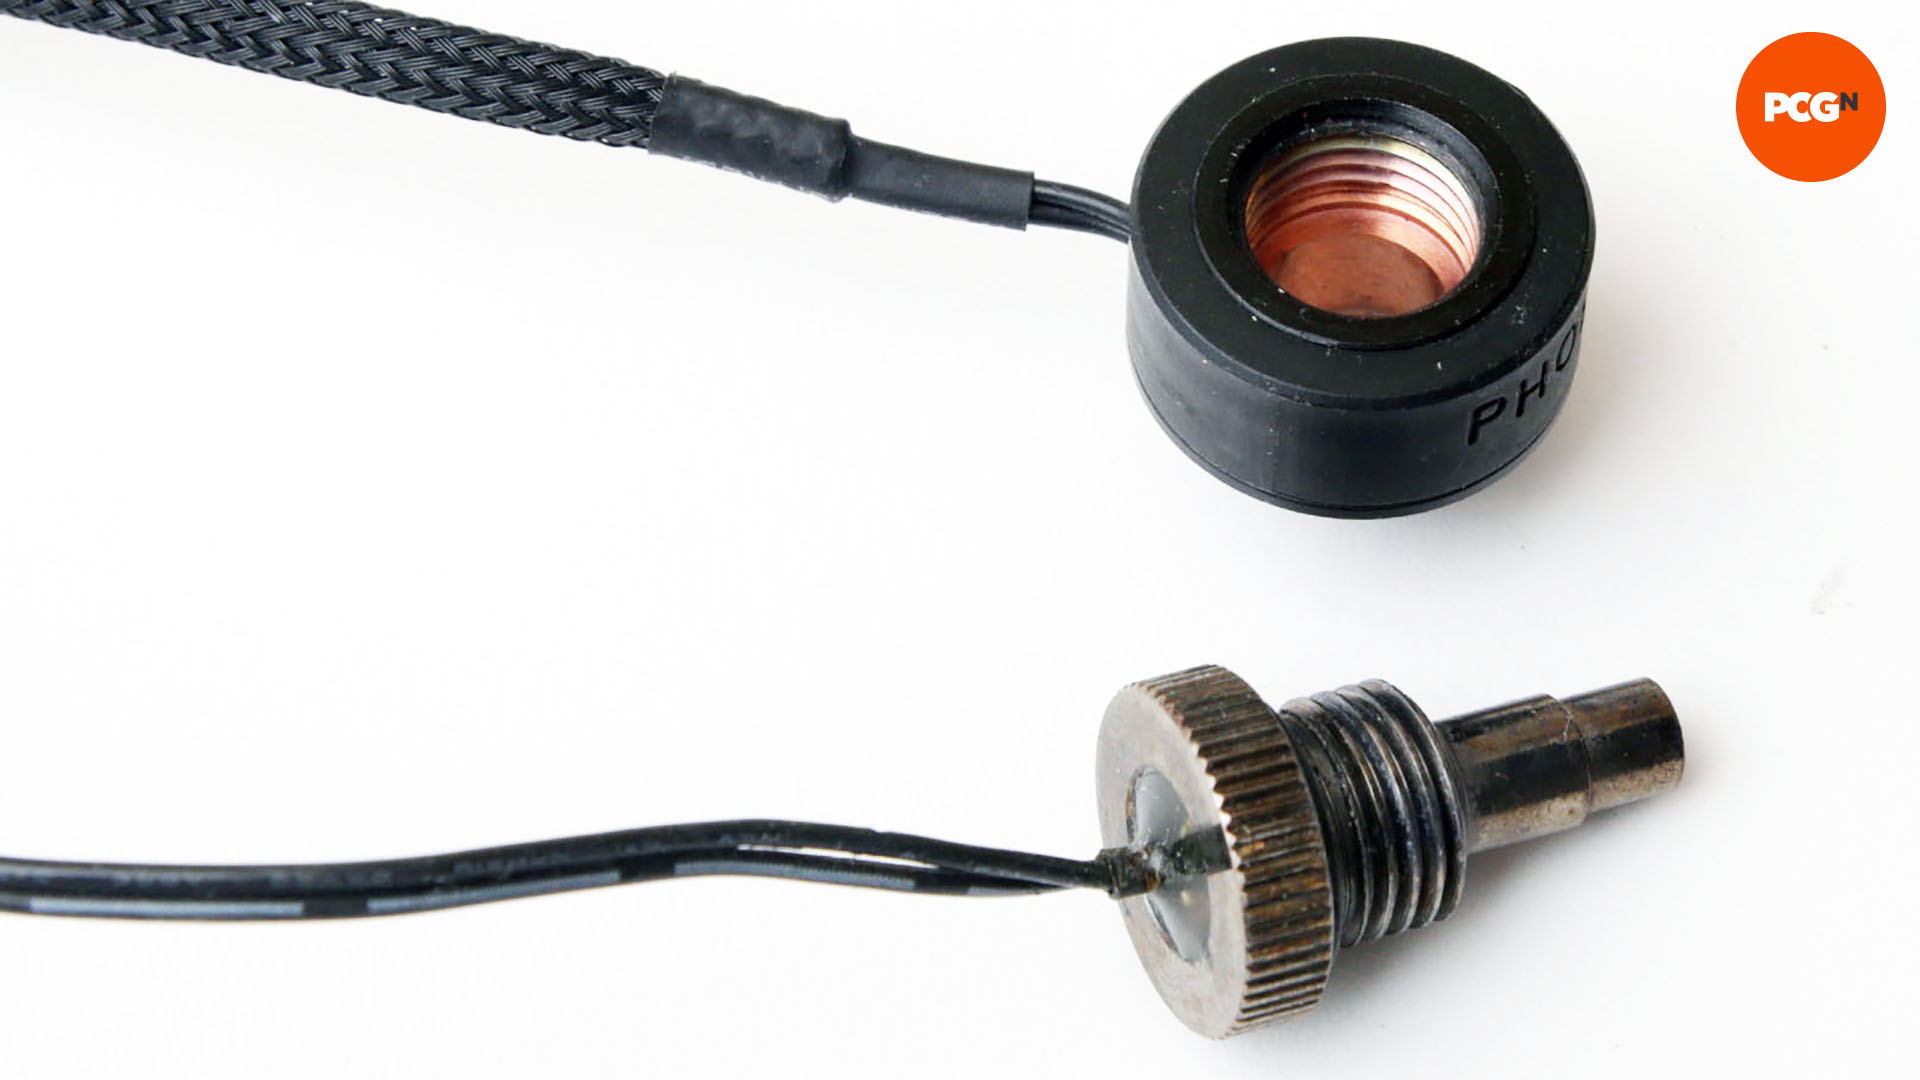
2. Identify spare G1/4-inch port
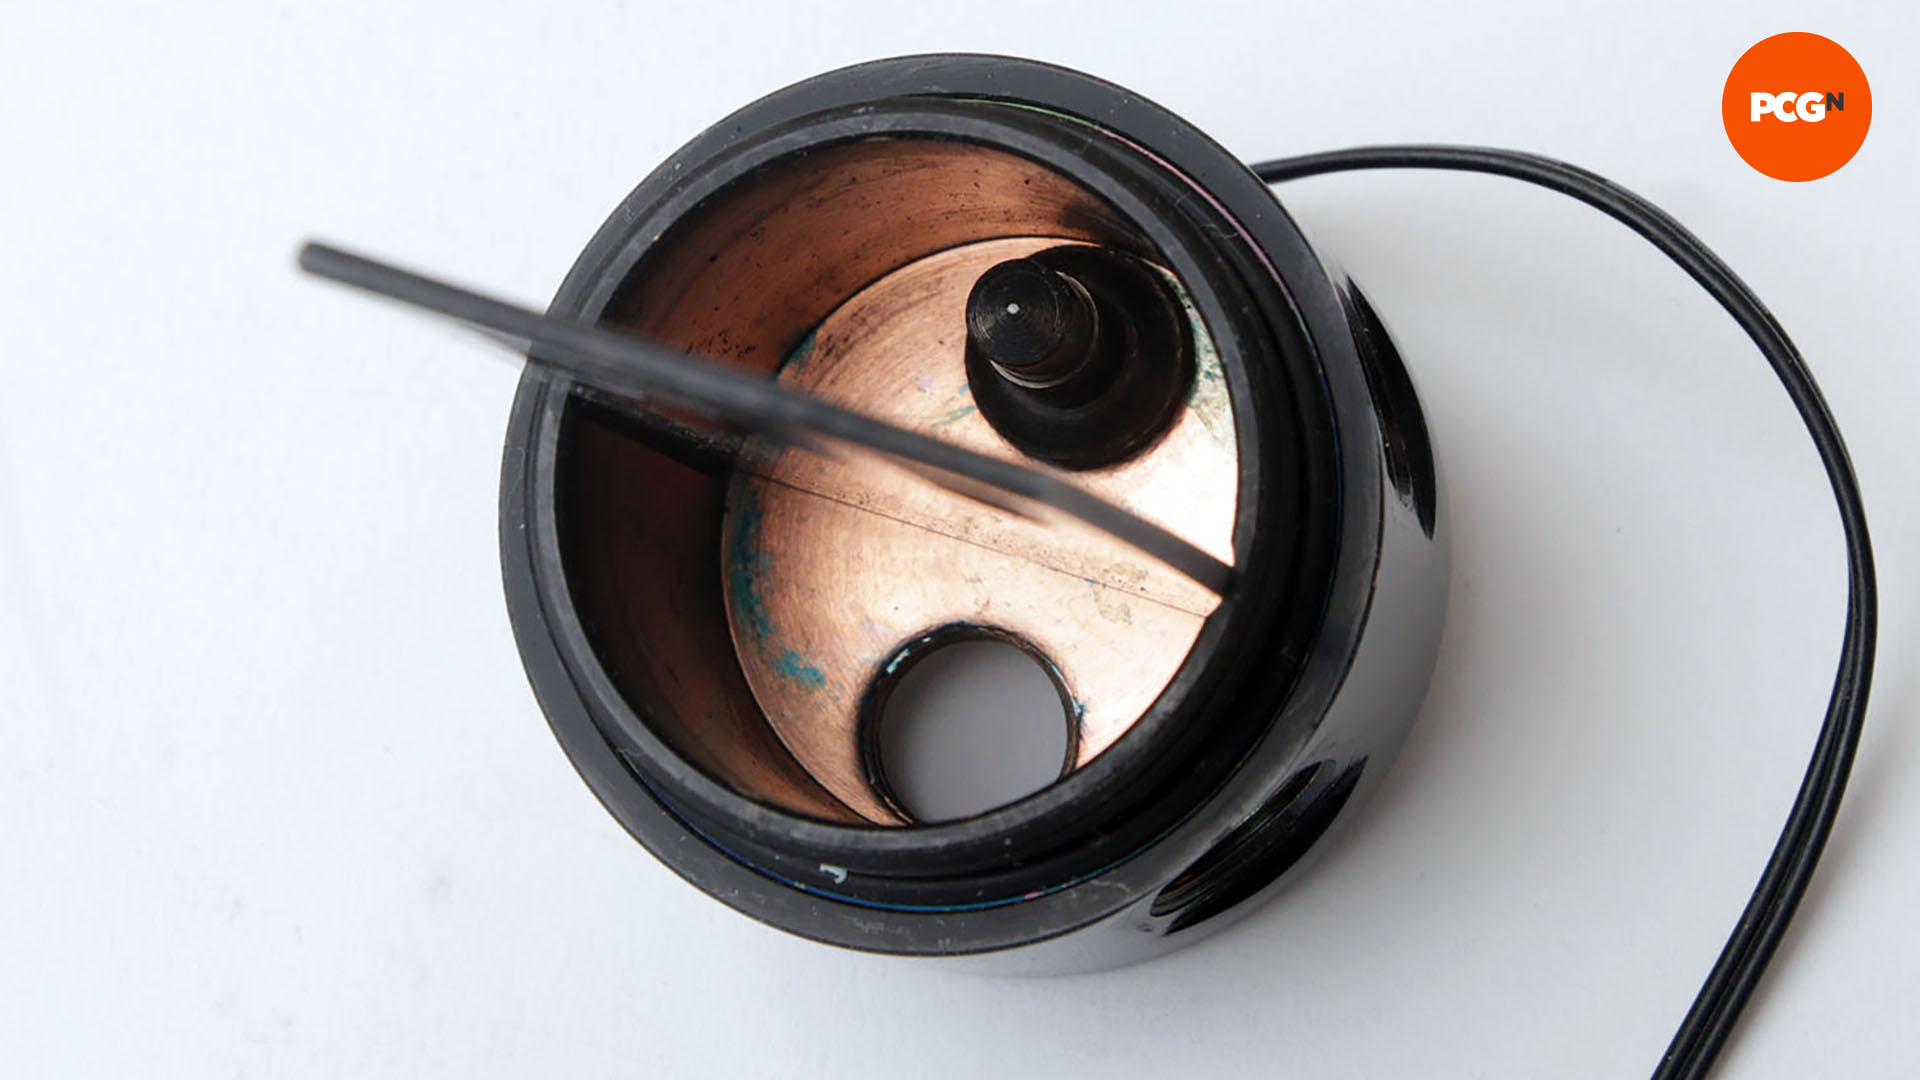
To insert the longer probes, you’ll need to check the clearance behind the port thread first. The required clearance can be up to 2cm, so it’s a much better idea to use a port on a reservoir than one on a waterblock.
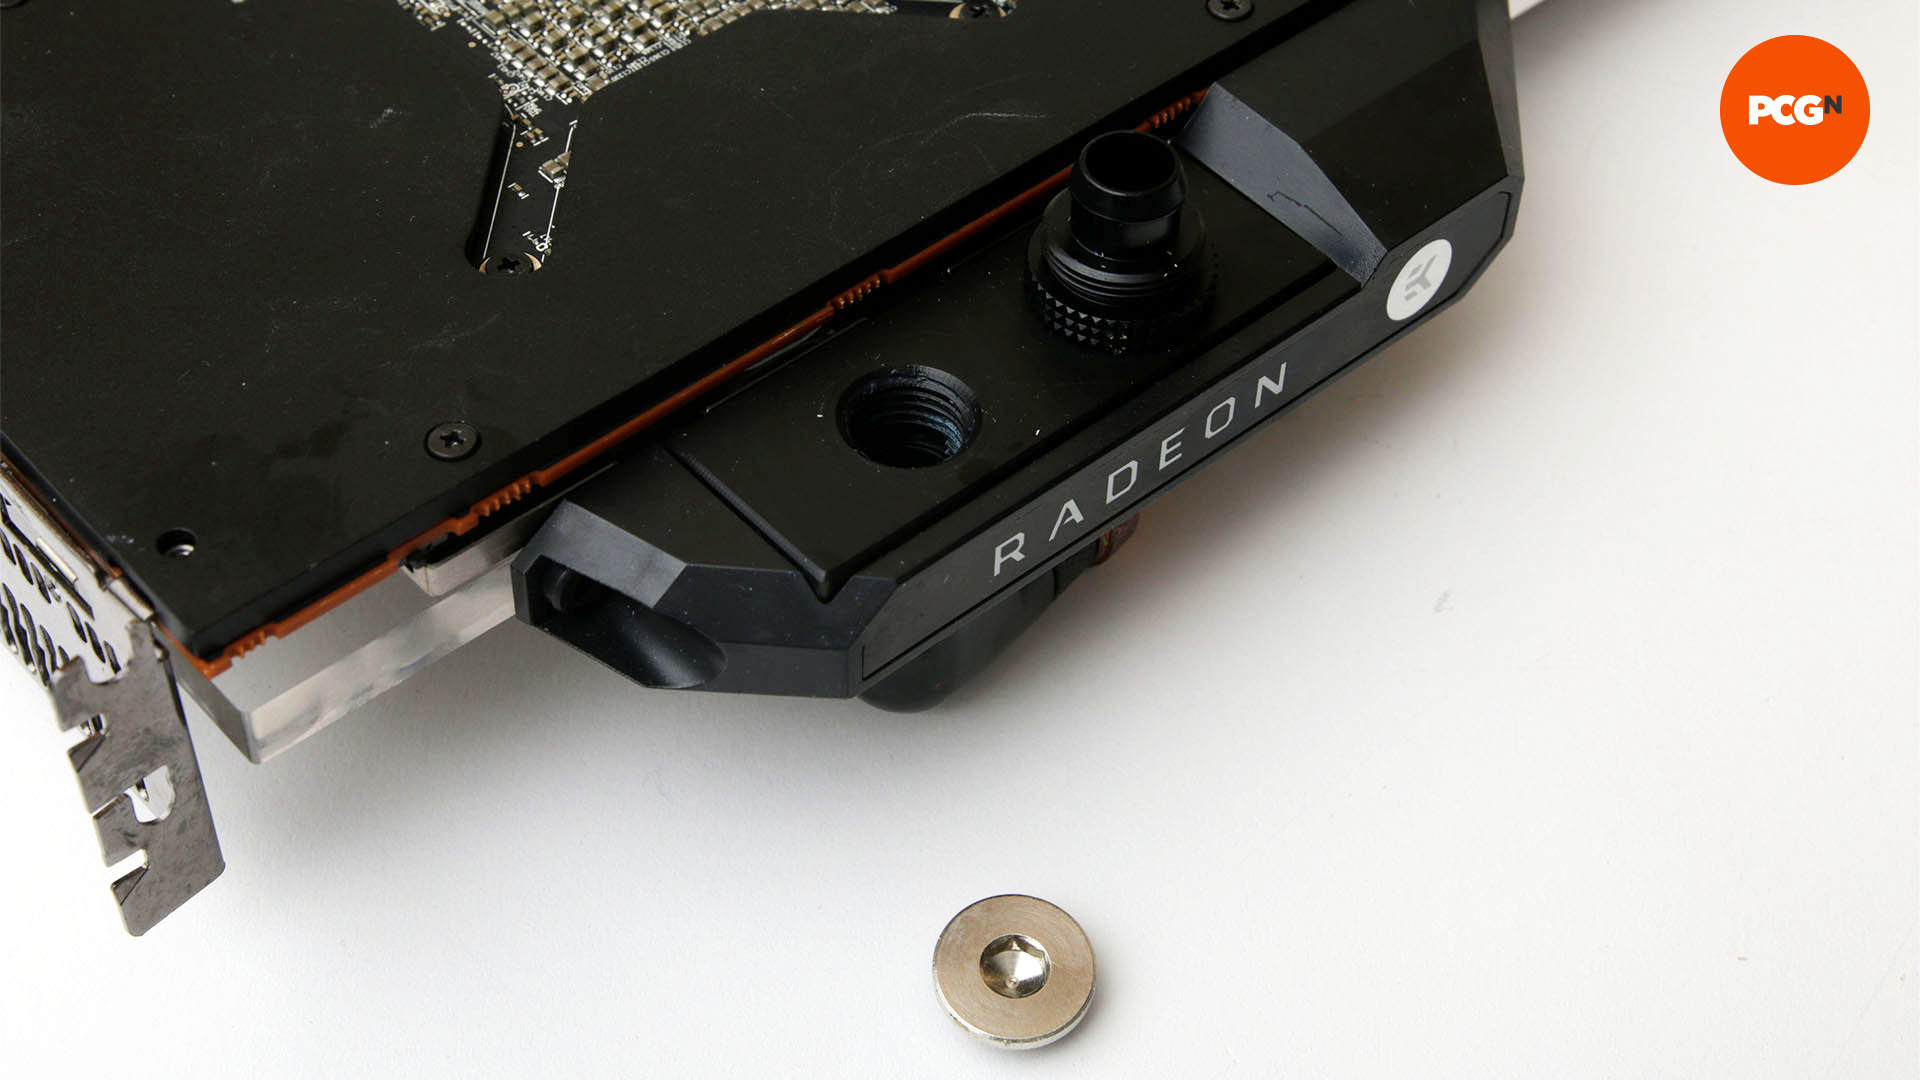
3. Install thermal probe
Once you’ve identified a suitable location for your probe, screw it into the thread and make sure its rubber O-ring makes good contact. Place the probe in a position where it will make contact with moving coolant, rather than a recessed area of a reservoir.
4. Find motherboard probe header
Thermal probe headers are small 2-pin features on motherboards. Your board may have several of them, while some examples are included on daughterboards too. Use your motherboard’s manual to identify them, or check the specifications of the board you intend to buy.
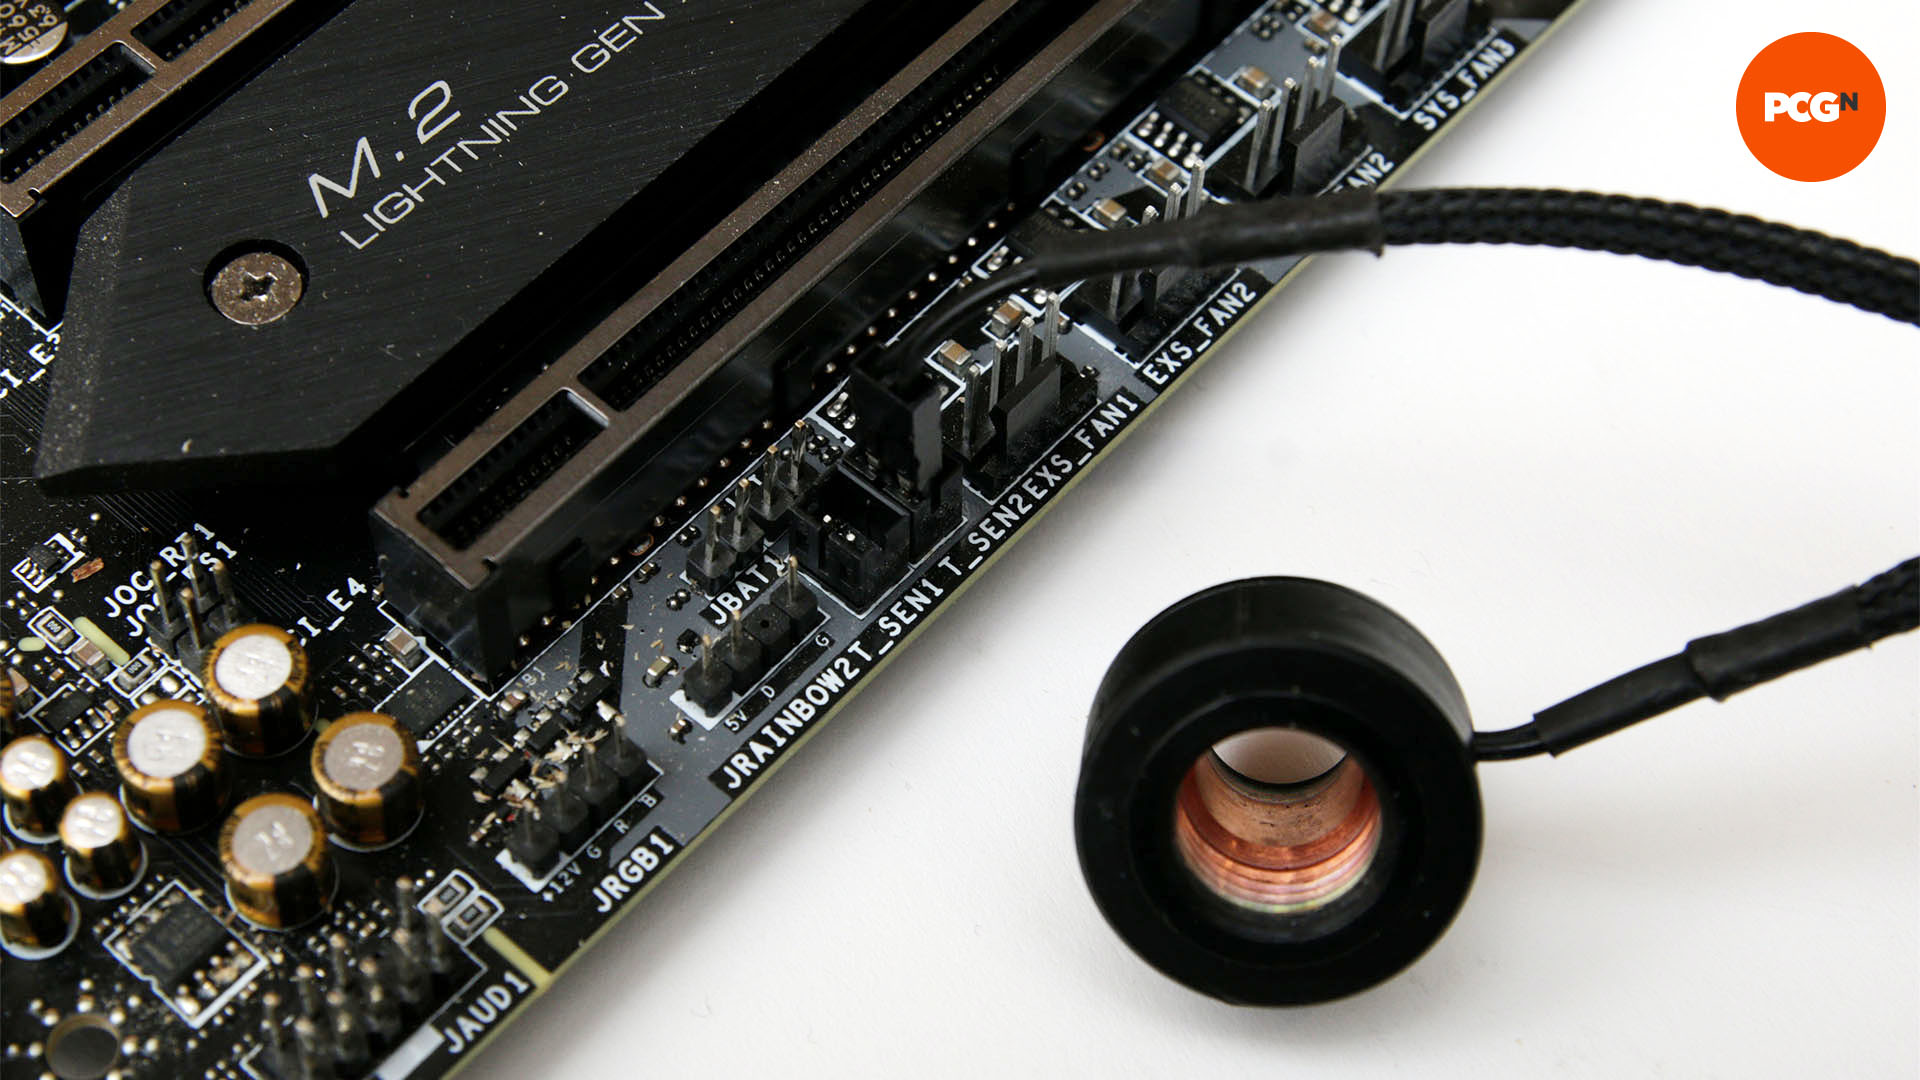
5. Check EFI for probe input
Not all motherboards offer thermal probes and, of those that do, not all of them allow the fan speed to be linked to thermal probe input. Dive into your motherboard’s EFI to see if you can link the control of fan speeds with thermal probe inputs.
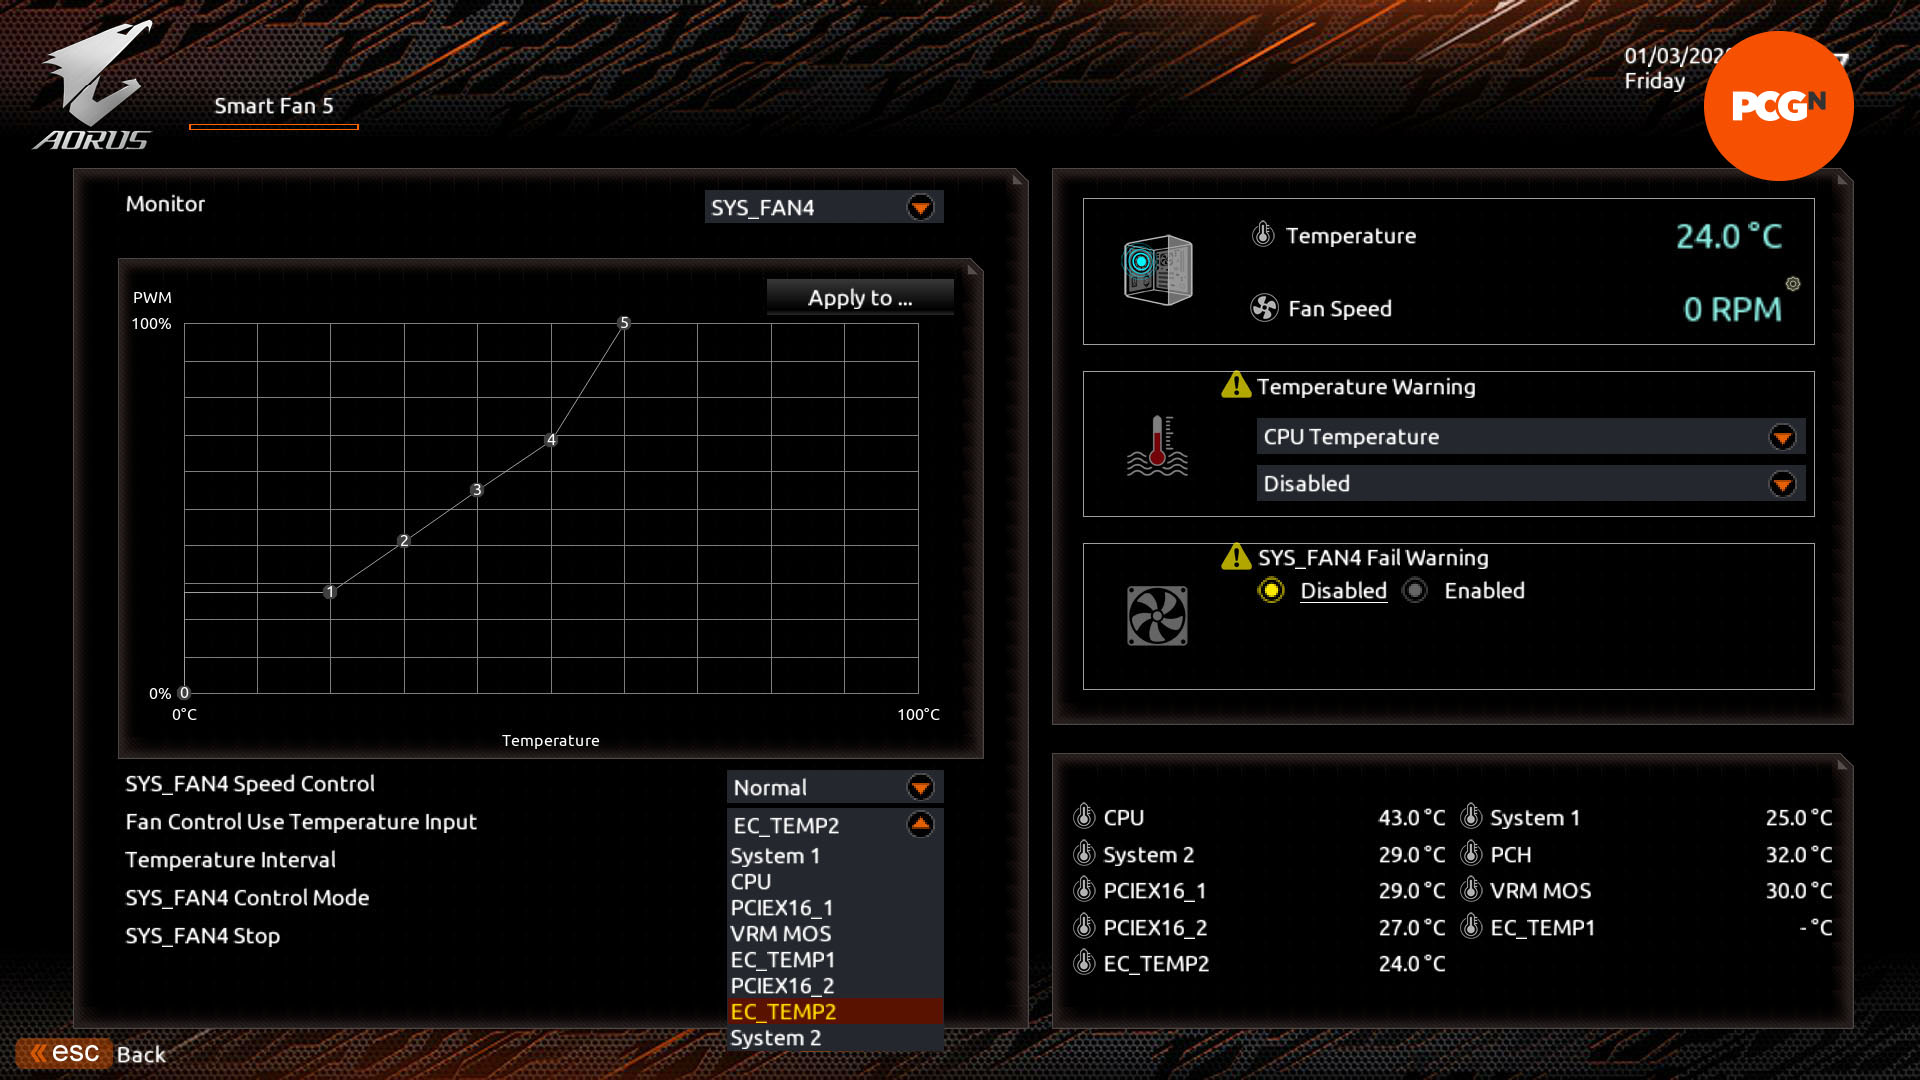
6. Optional: Use third party controller
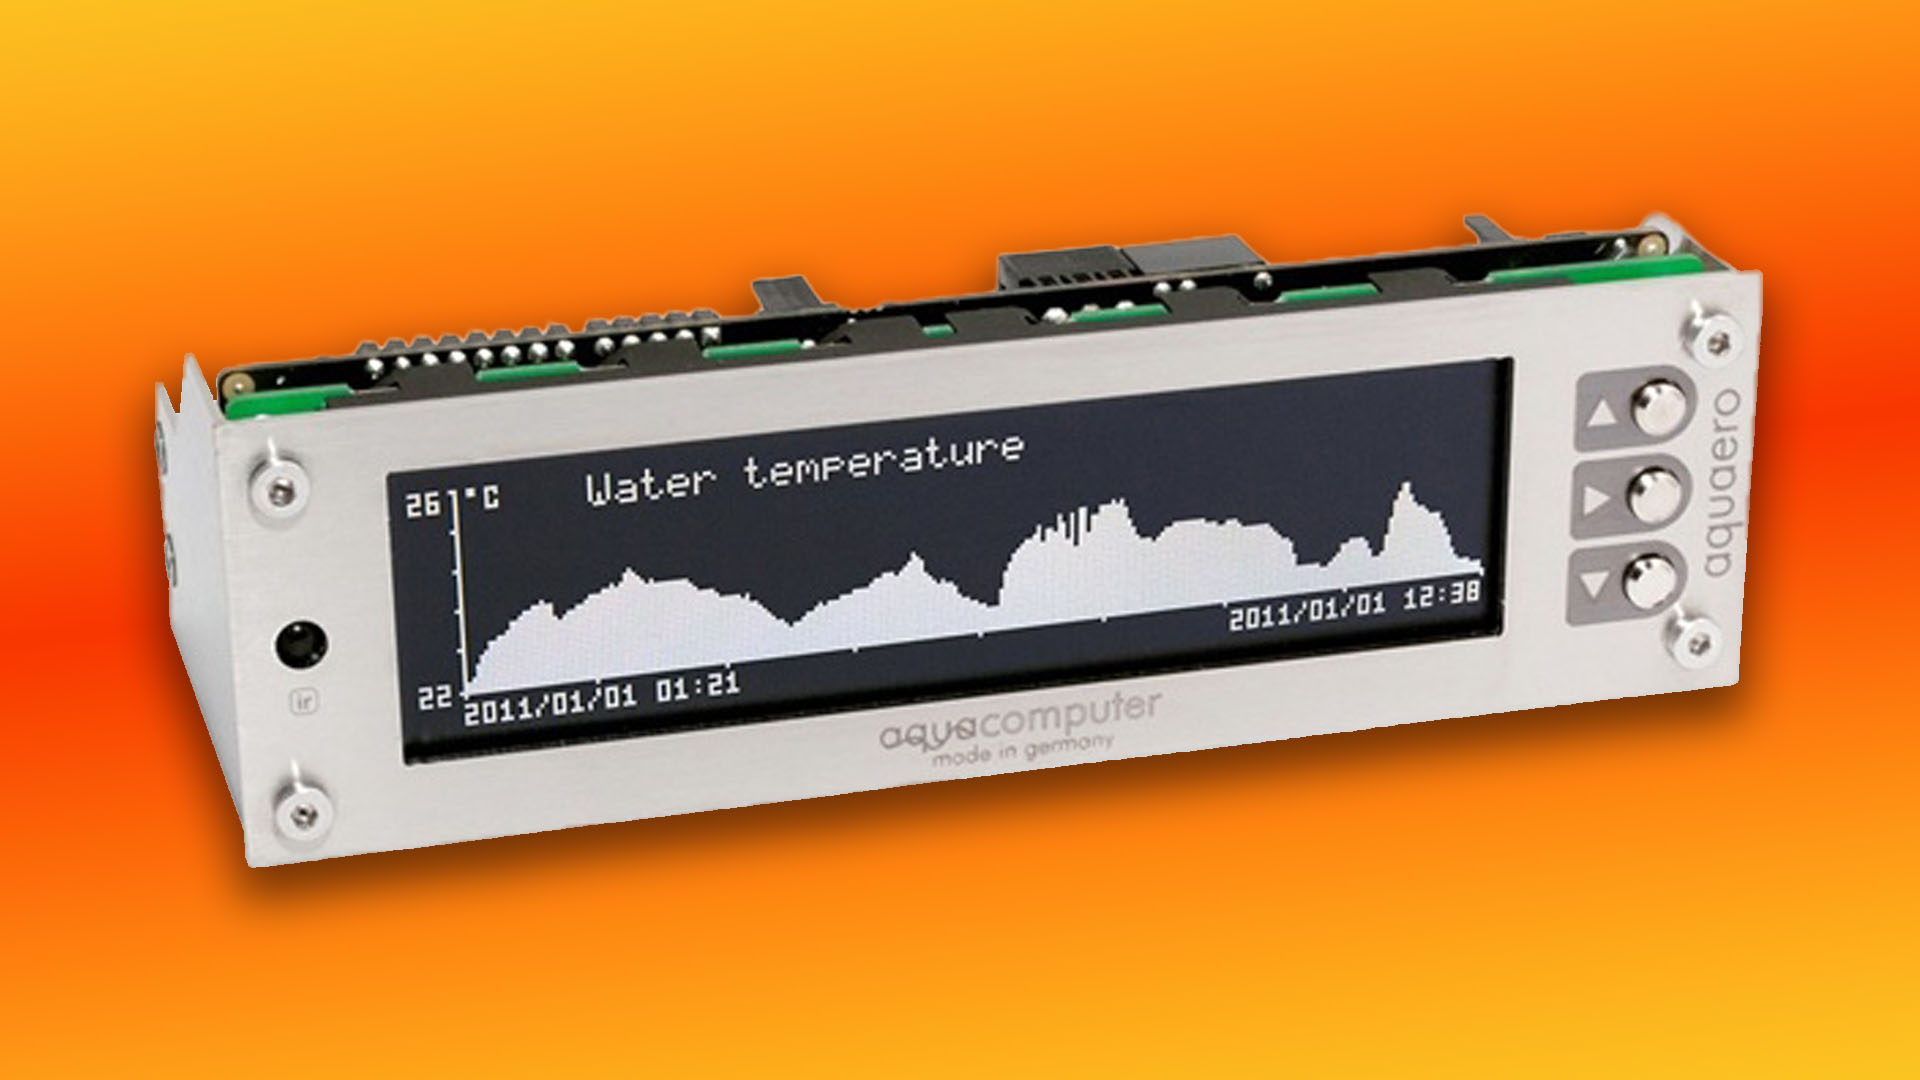
If your board lacks thermal probe headers, or the ability to link probes with fan speeds, all is not lost, as third-party fan controllers can offer a good alternative. Most of them need a 5.25-inch bay, but many of them can be mounted anywhere in your case, such as the Aquacomputer Aquaero.
7. Connect fans to motherboard
With radiator fans, it’s best to use a splitter cable or hub to enable you to connect them all to a single fan header, which you can link to a thermal probe. The CPU fan header often can’t switch to other temperature inputs, in which case you can use the CPU OPT or chassis fan headers instead.
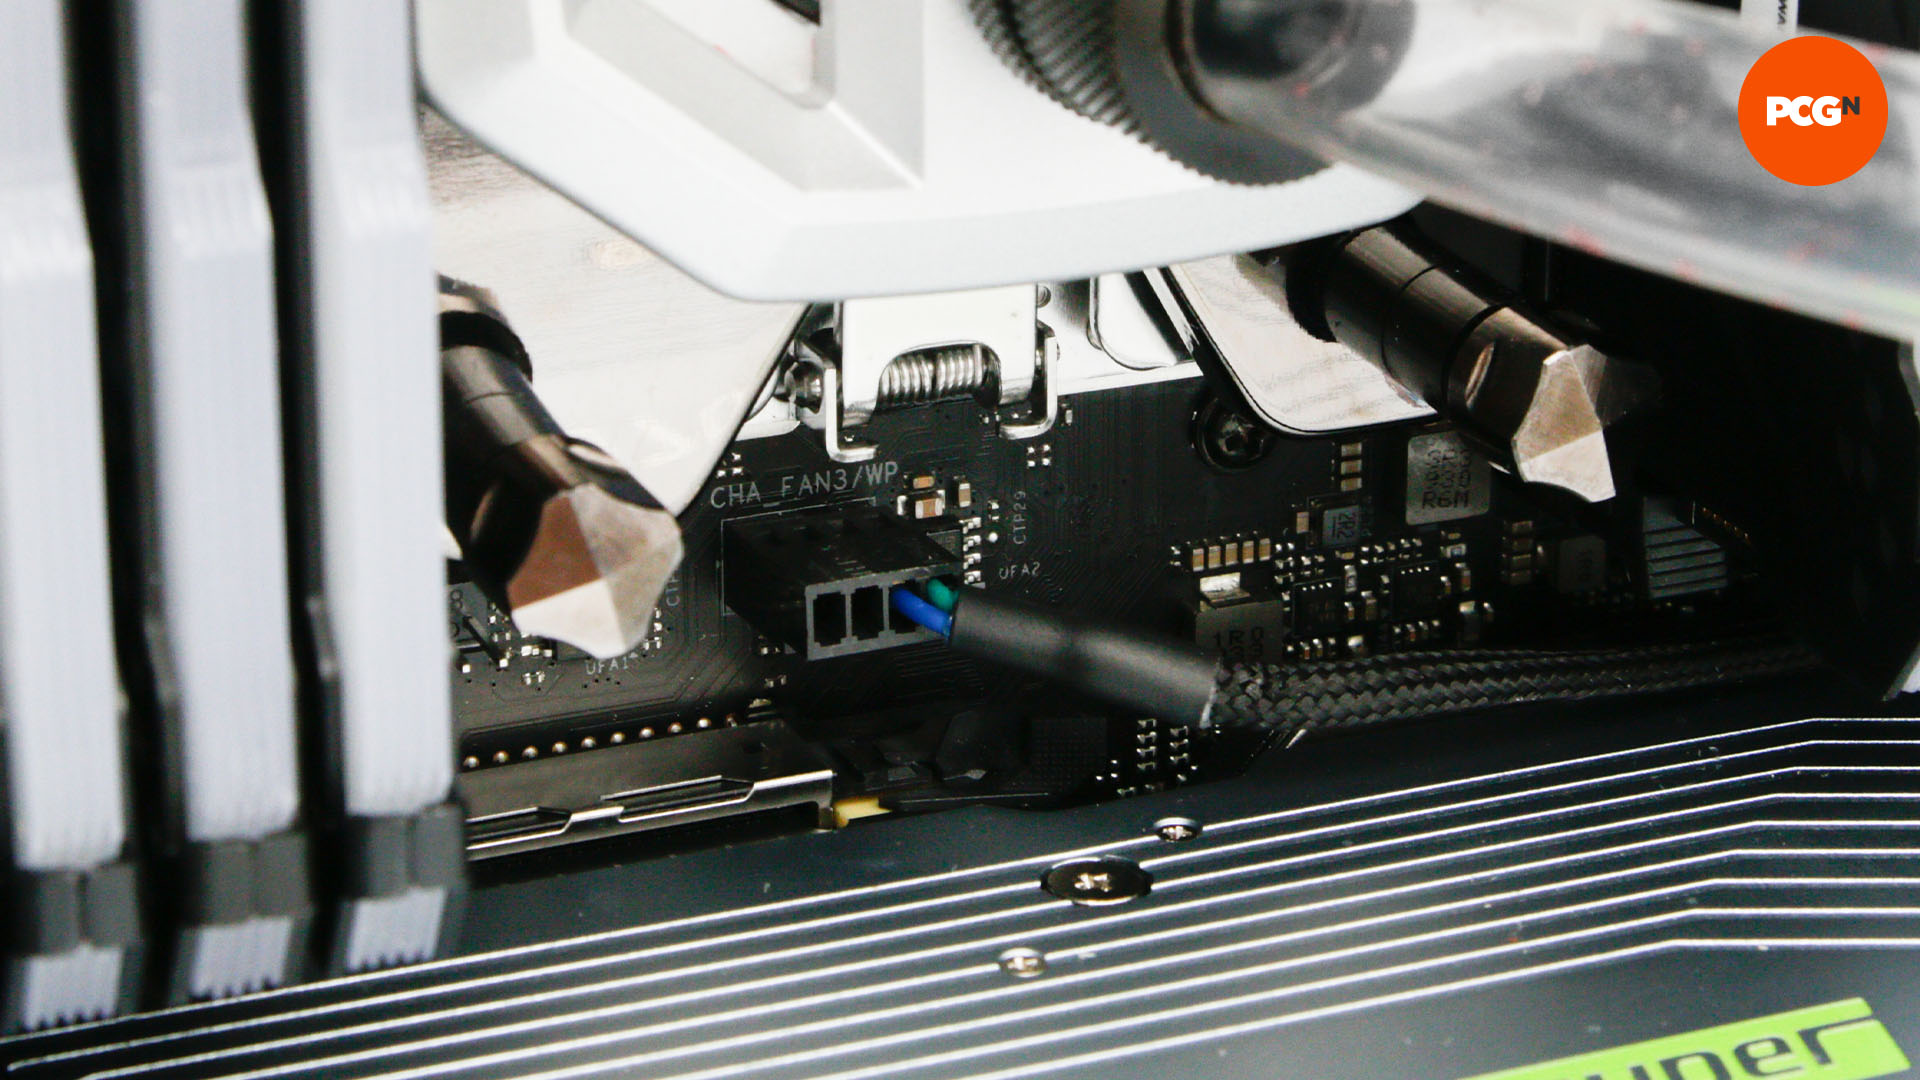
8. Switch input from CPU fan
To switch from the CPU temperature being the input for fan speed, head to your EFI and locate the temperature input option if the board has one. On our board, the CPU OPT and chassis fan header controls could pick from a range of inputs, including our thermal probe.
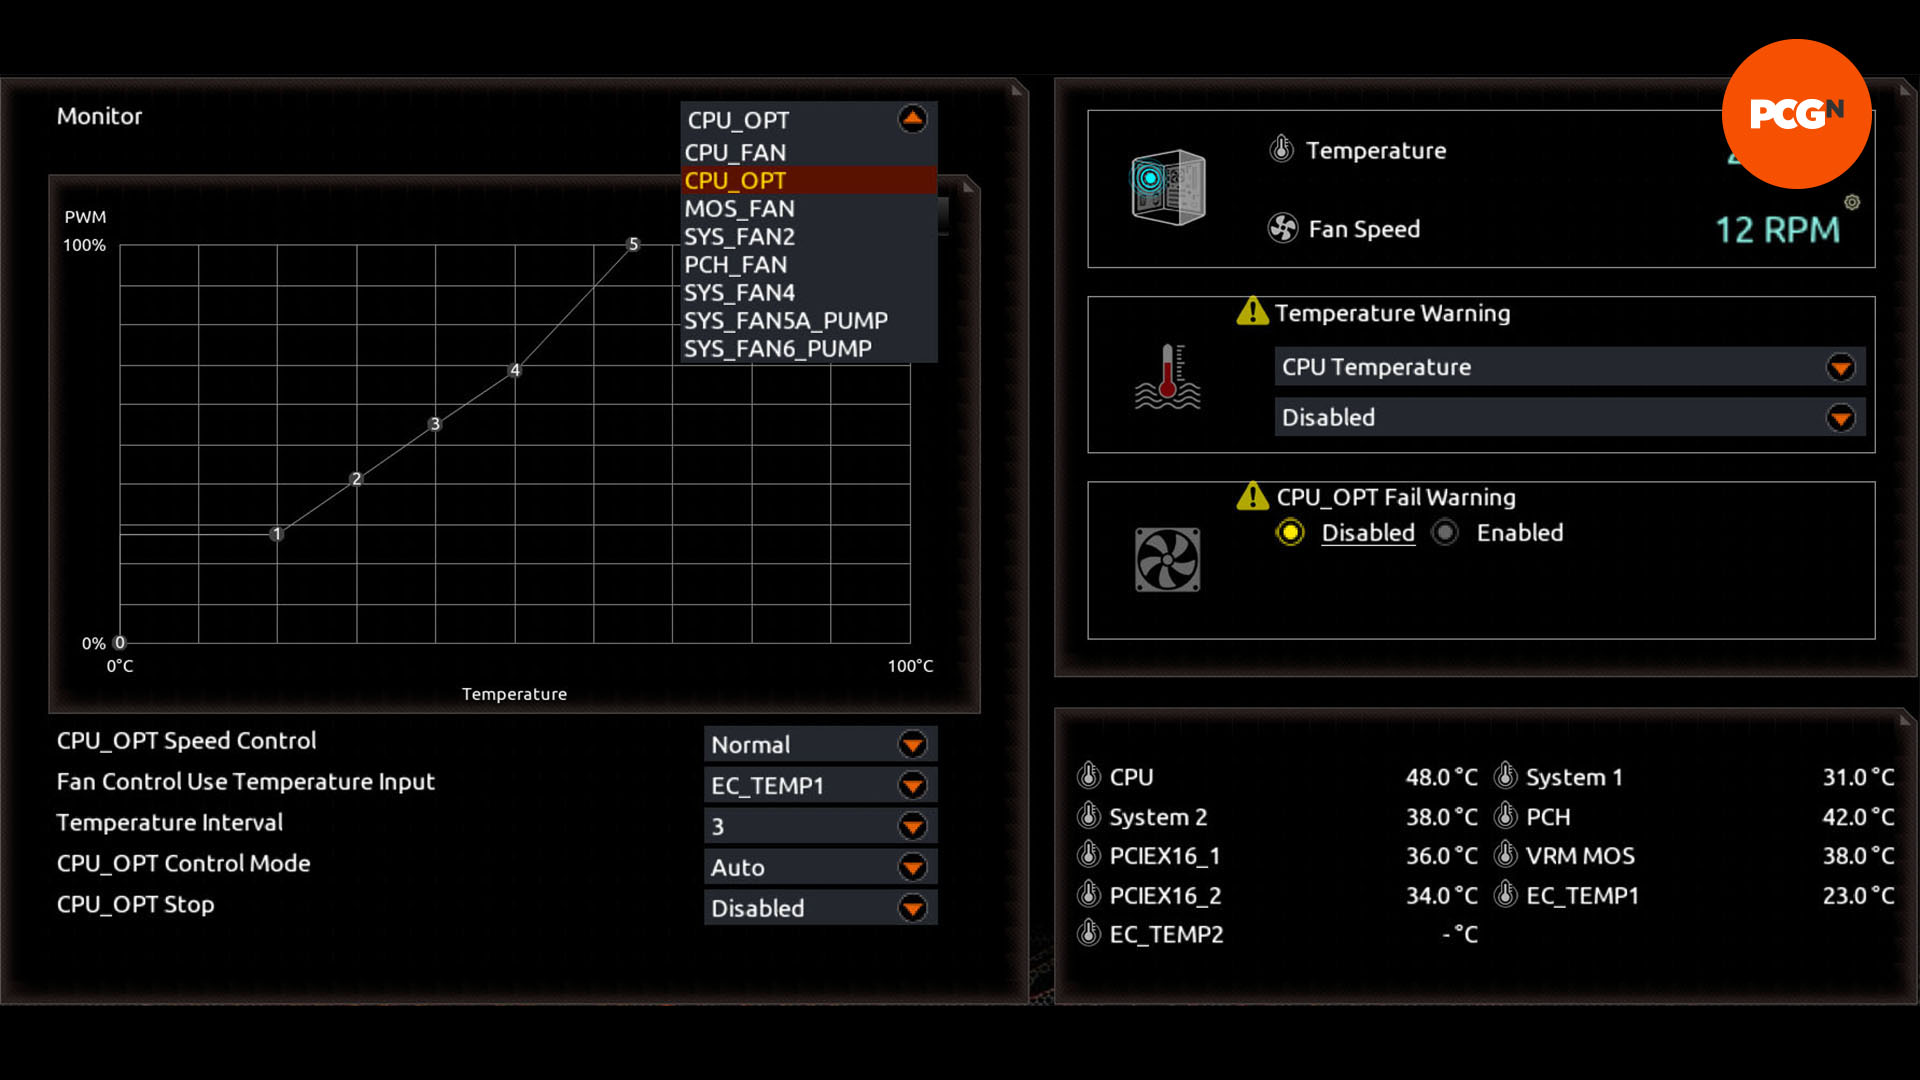
9. Stress test system
Once your system is set up and connected, work out the upper and lower limits of the coolant temperature and when it starts to impact on CPU temperature. Start by running a stress test, such as Prime95, and leave it running for 20 minutes to see how the fans and coolant temperature react.
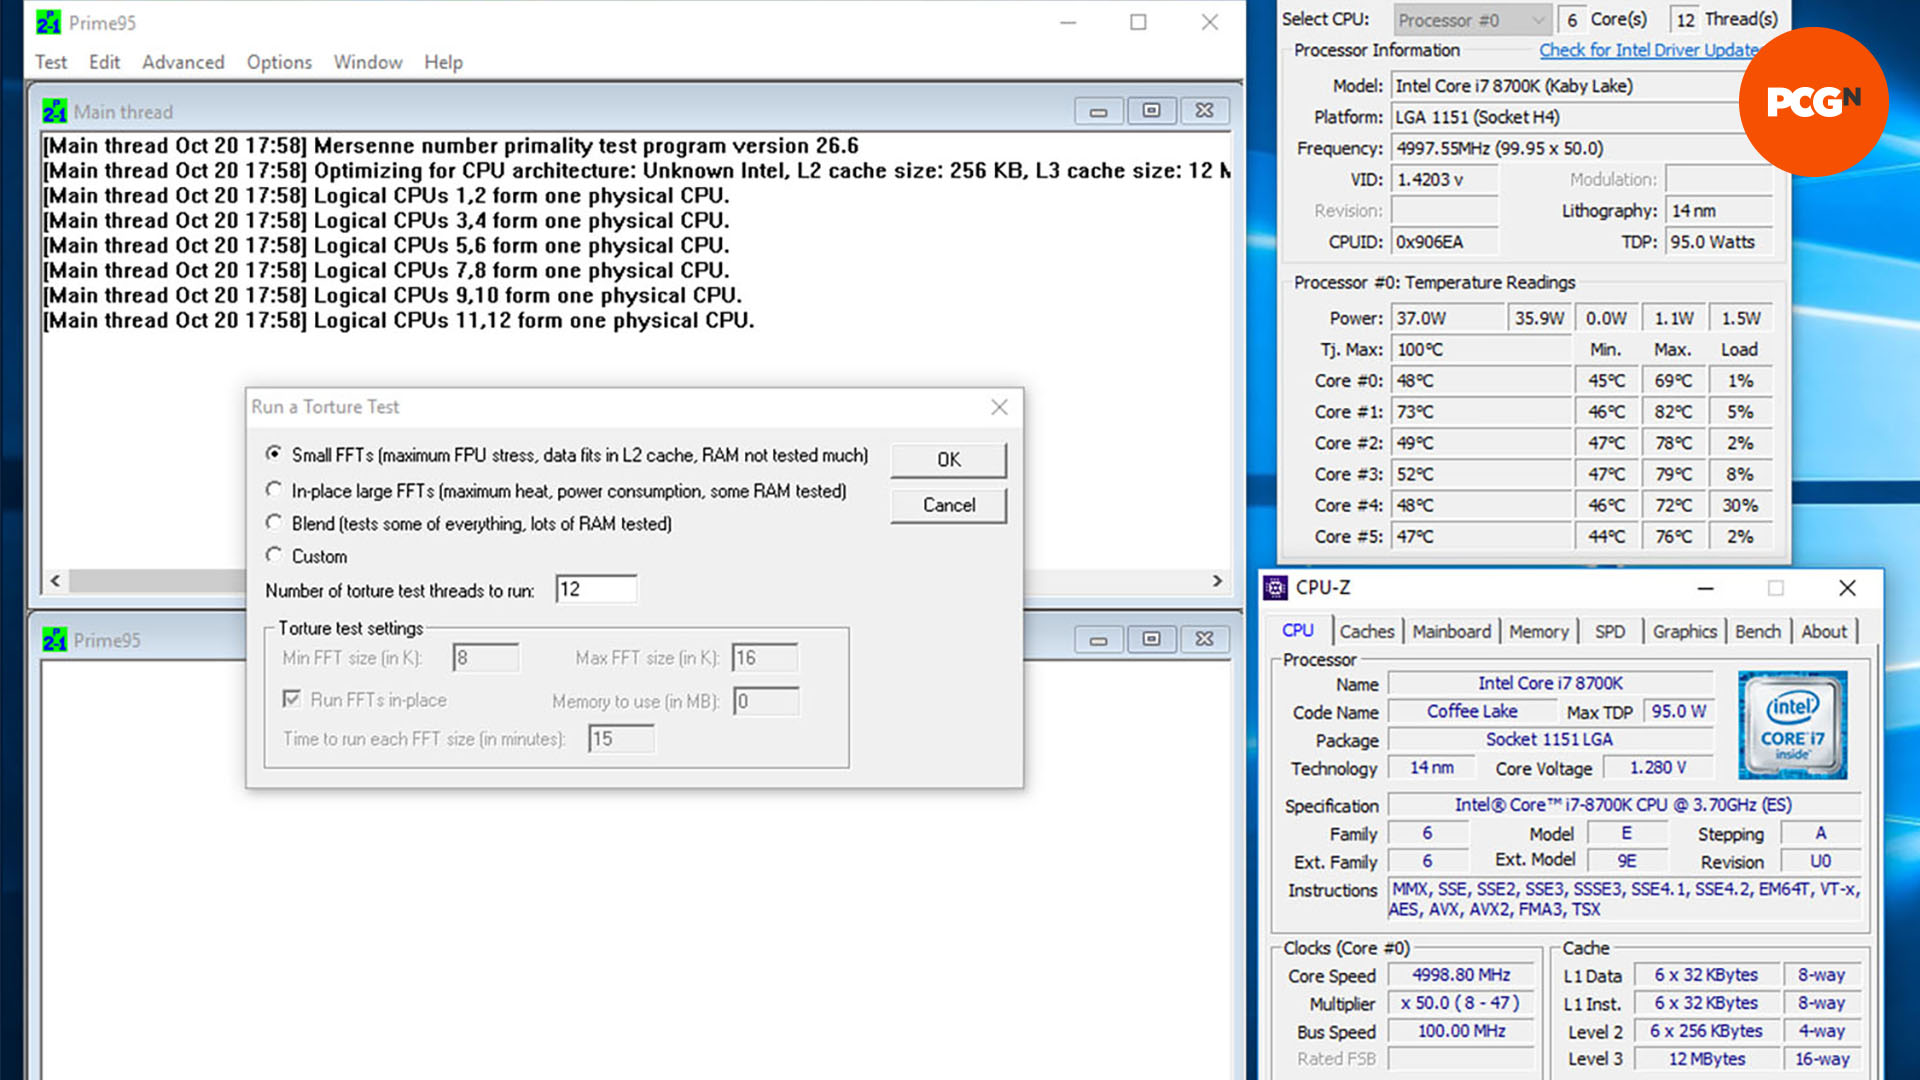
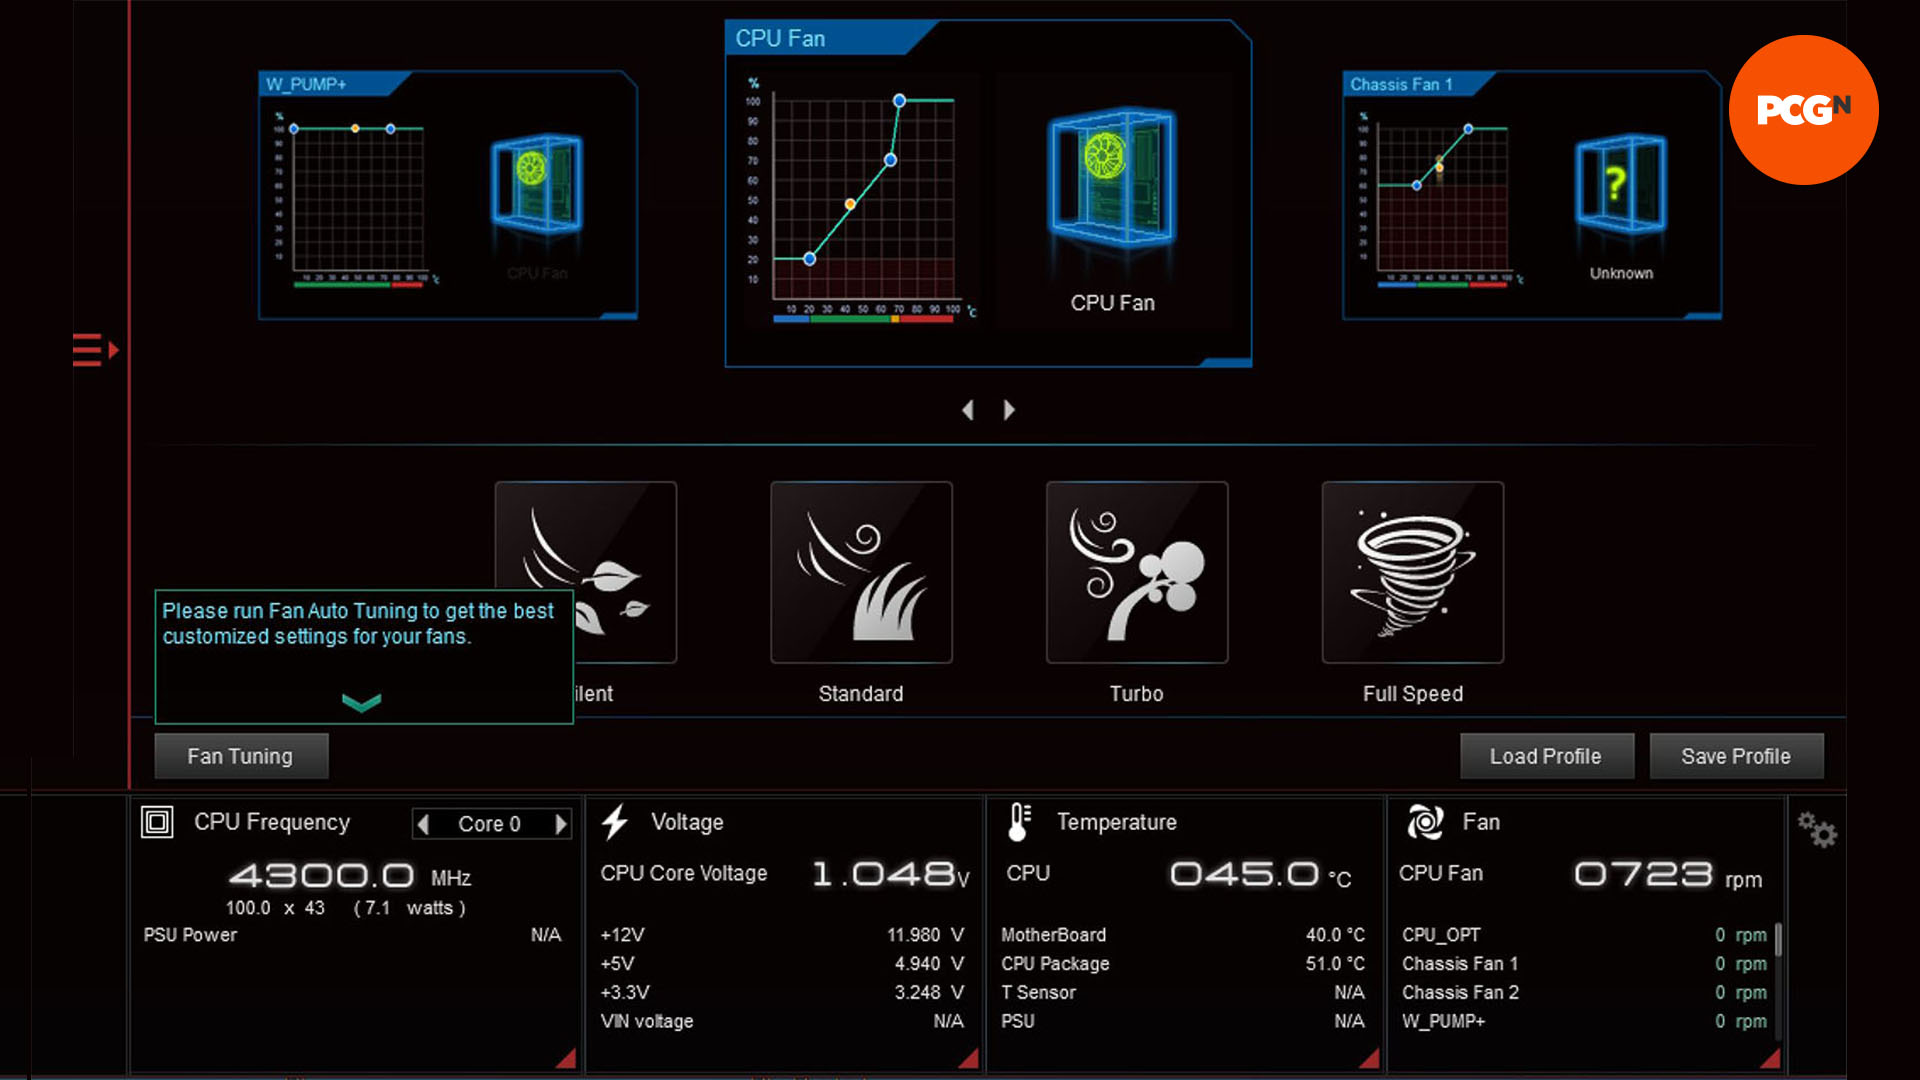
10. Let EFI tune fans
Allow your motherboard to identify and assess your fans to see what settings you can use in the EFI. Most manufacturers have fan-tuning software or EFI features that check what PWM or voltage settings are required to meet certain speeds.
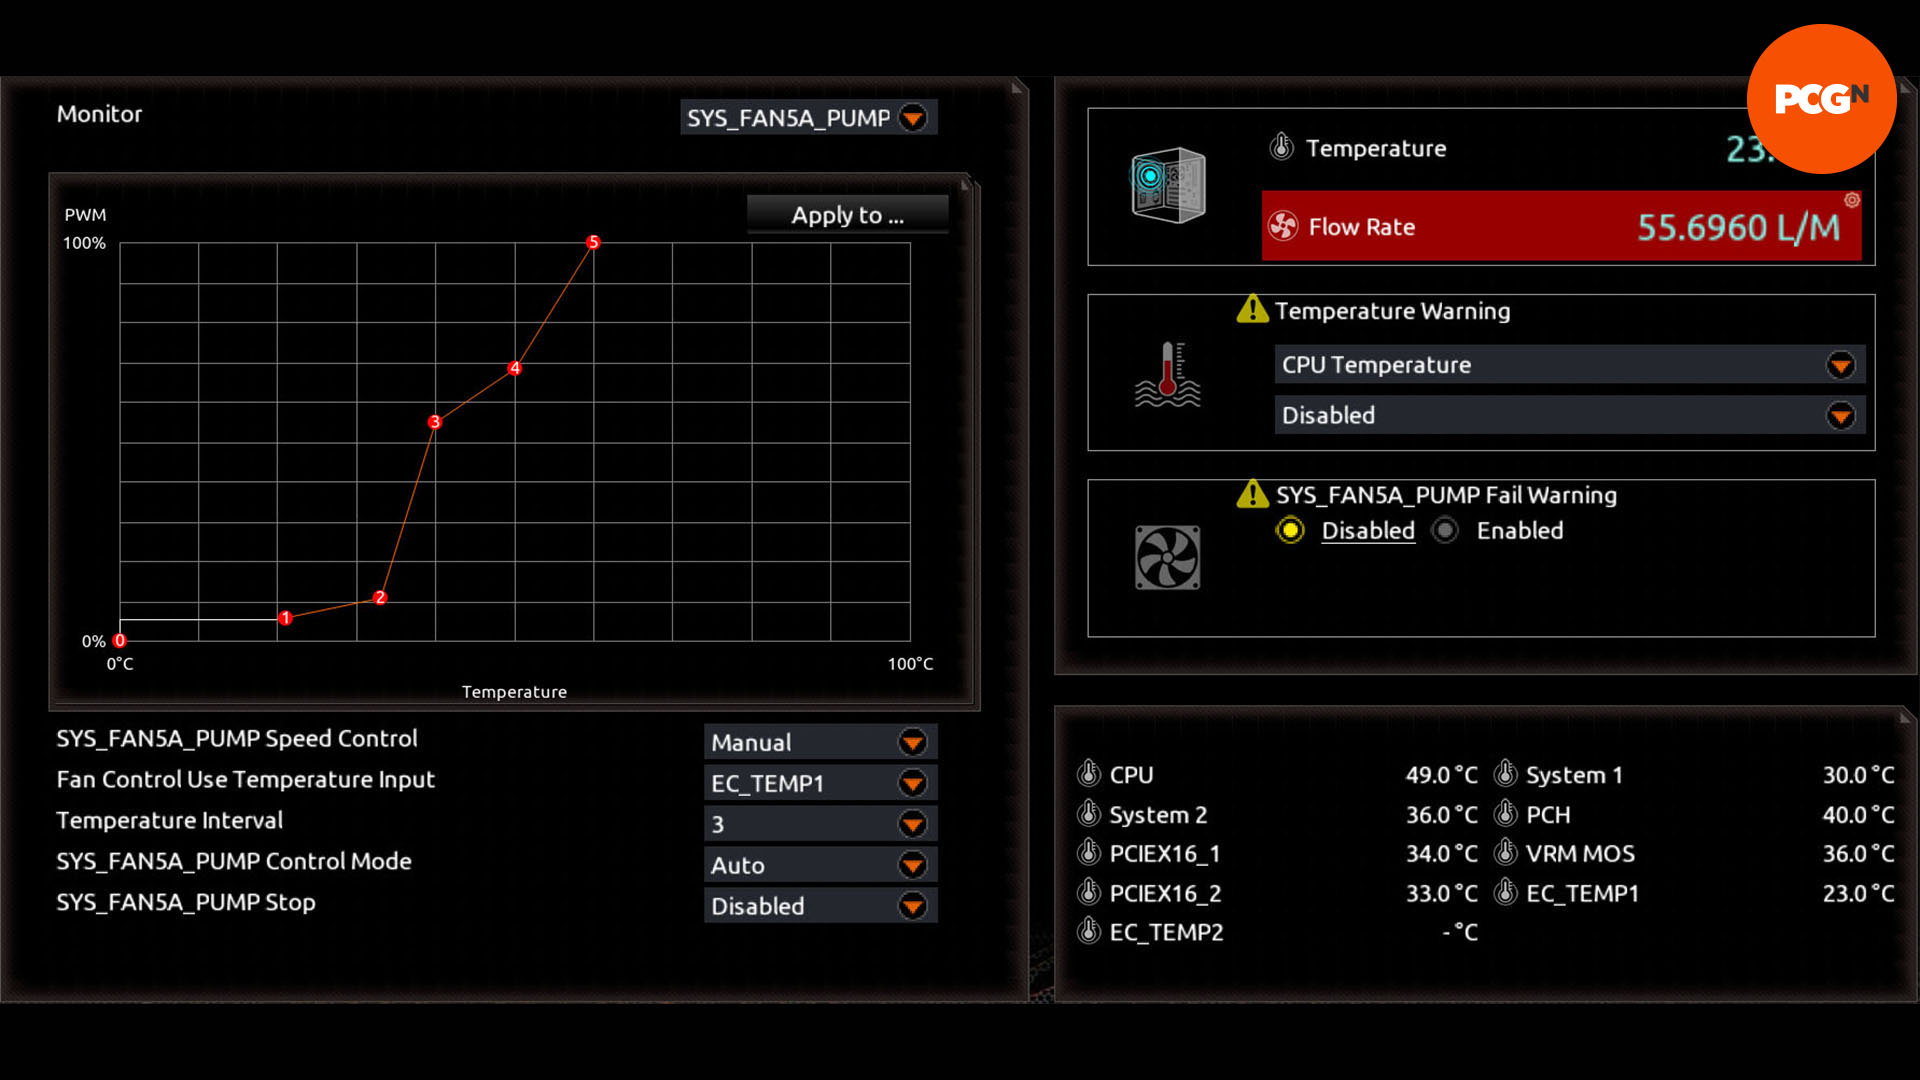
11. Identify pump speeds
Many motherboards allow you to link a PWM-controlled pump to your coolant temperature as well. Our Gigabyte board also had the option to view data in terms of flow rate as well as pump speed.
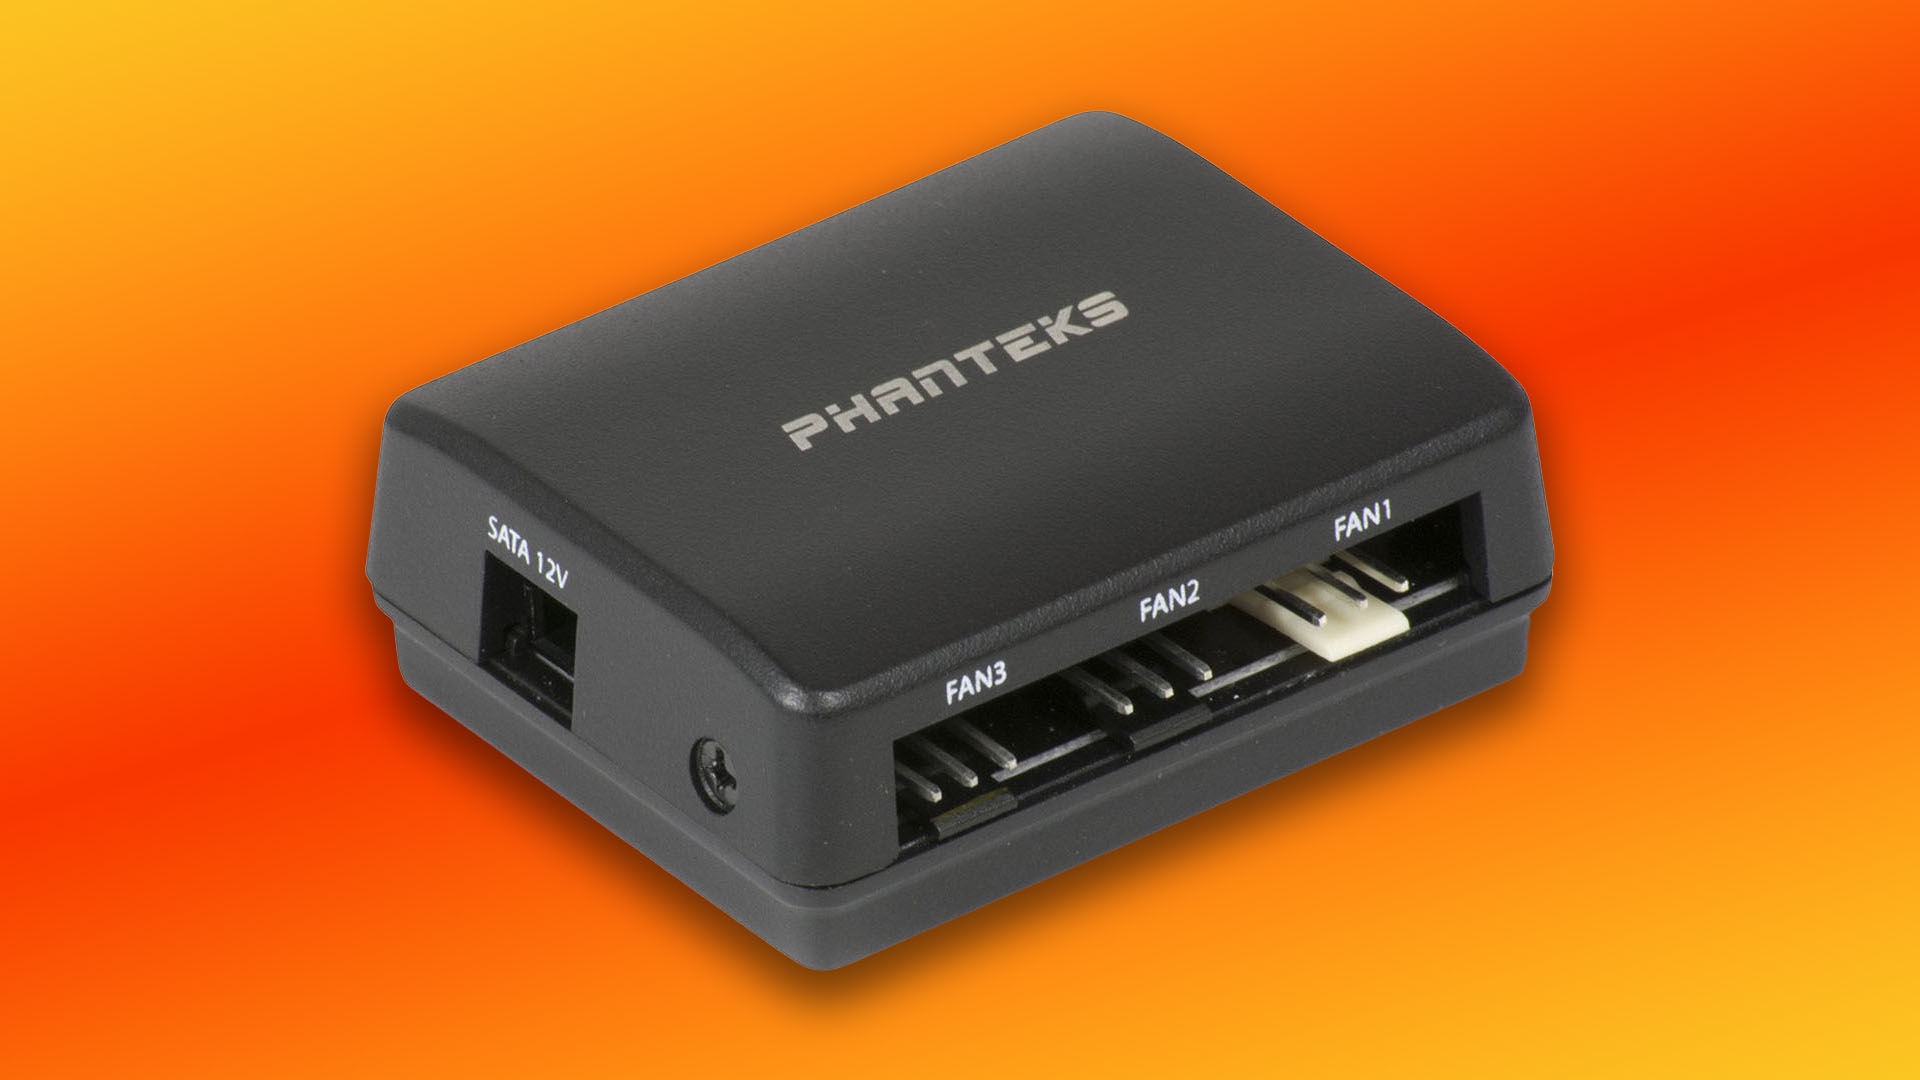
12. Use a PWM hub
You’ll likely have a number of fans you want to control, but linking each one individually via single fan headers will take ages. Instead, use a PWM hub to split a control signal from a single fan header across multiple fans. These splitters are cheap, but you’ll need to use identical models of fans.
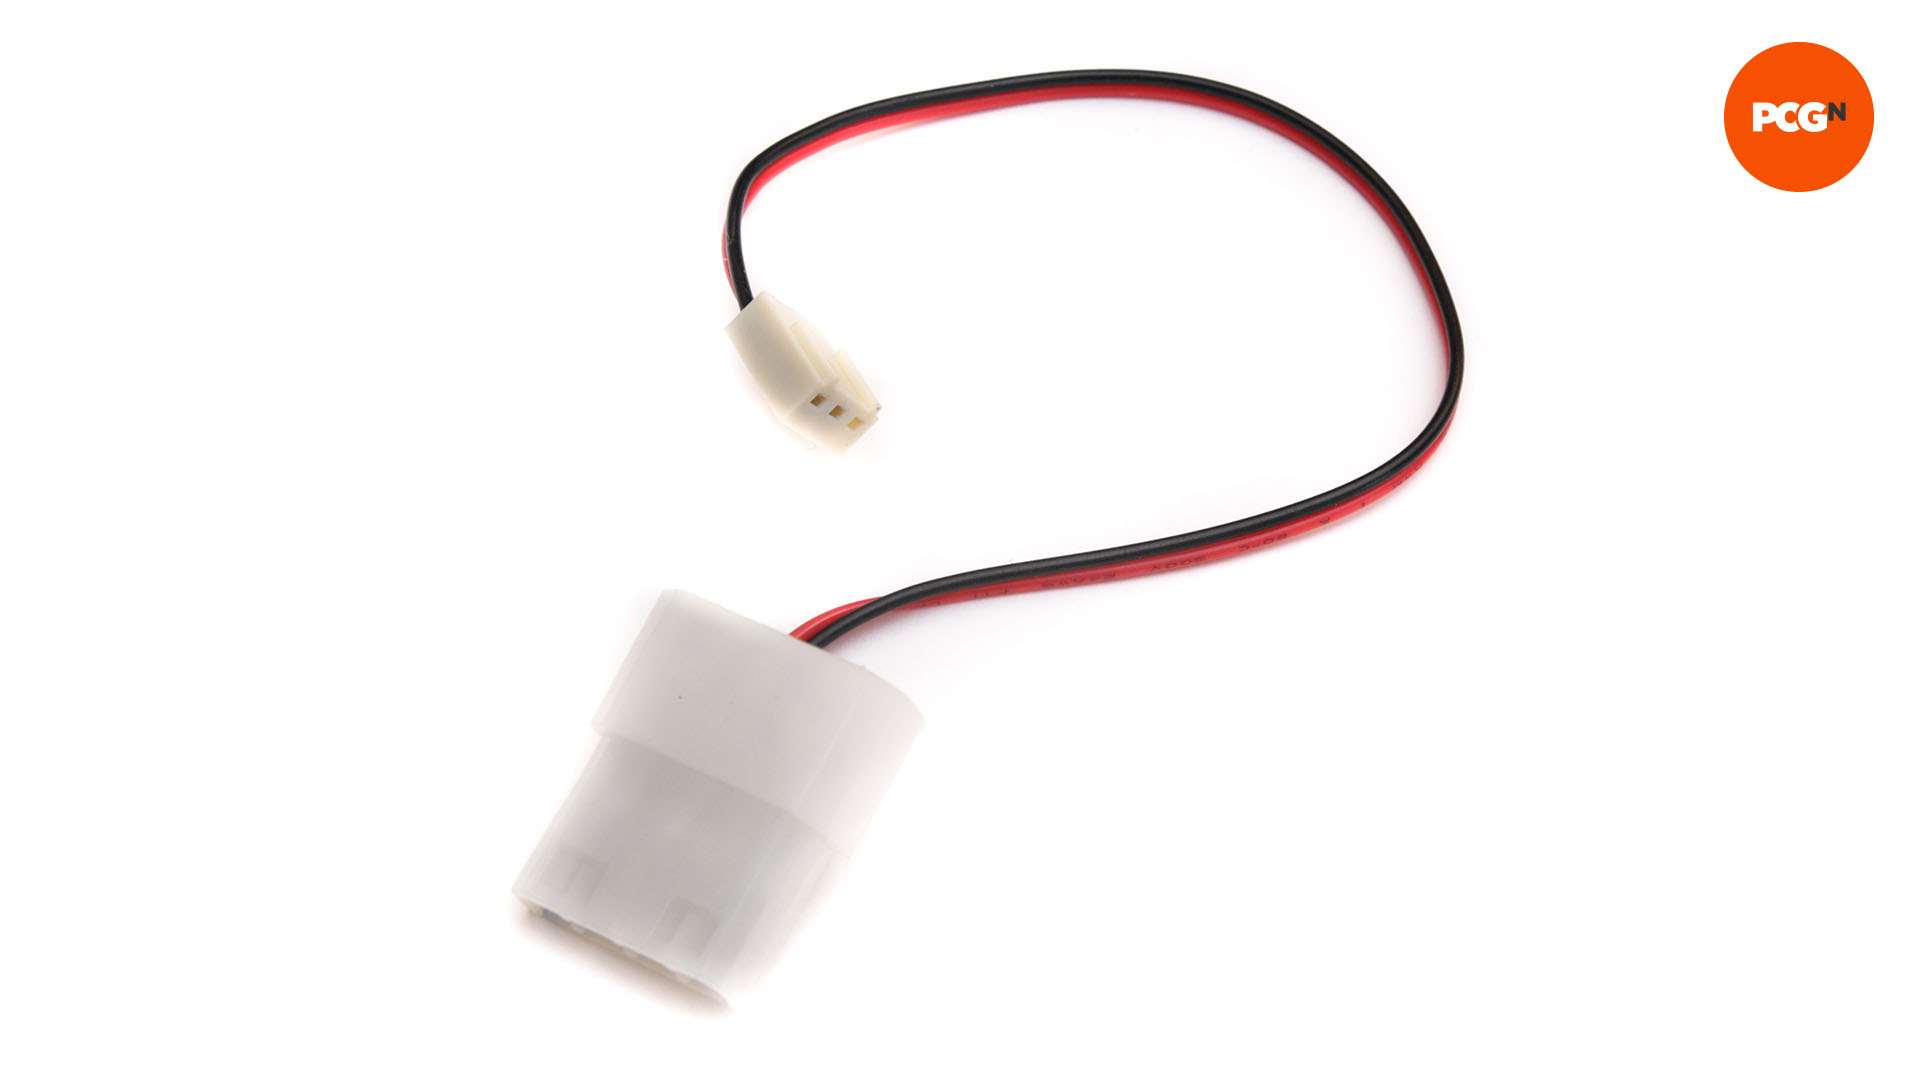
13. Use a Molex or SATA to 3-pin adaptor
If your pump lacks a 3-pin connector or PWM control input, all is not lost. Many motherboards offer a high-Amp header that can dish out 24W or more of power, so you can then use a 4-pin Molex/SATA to 3-pin adaptor to power and control the pump from your motherboard.
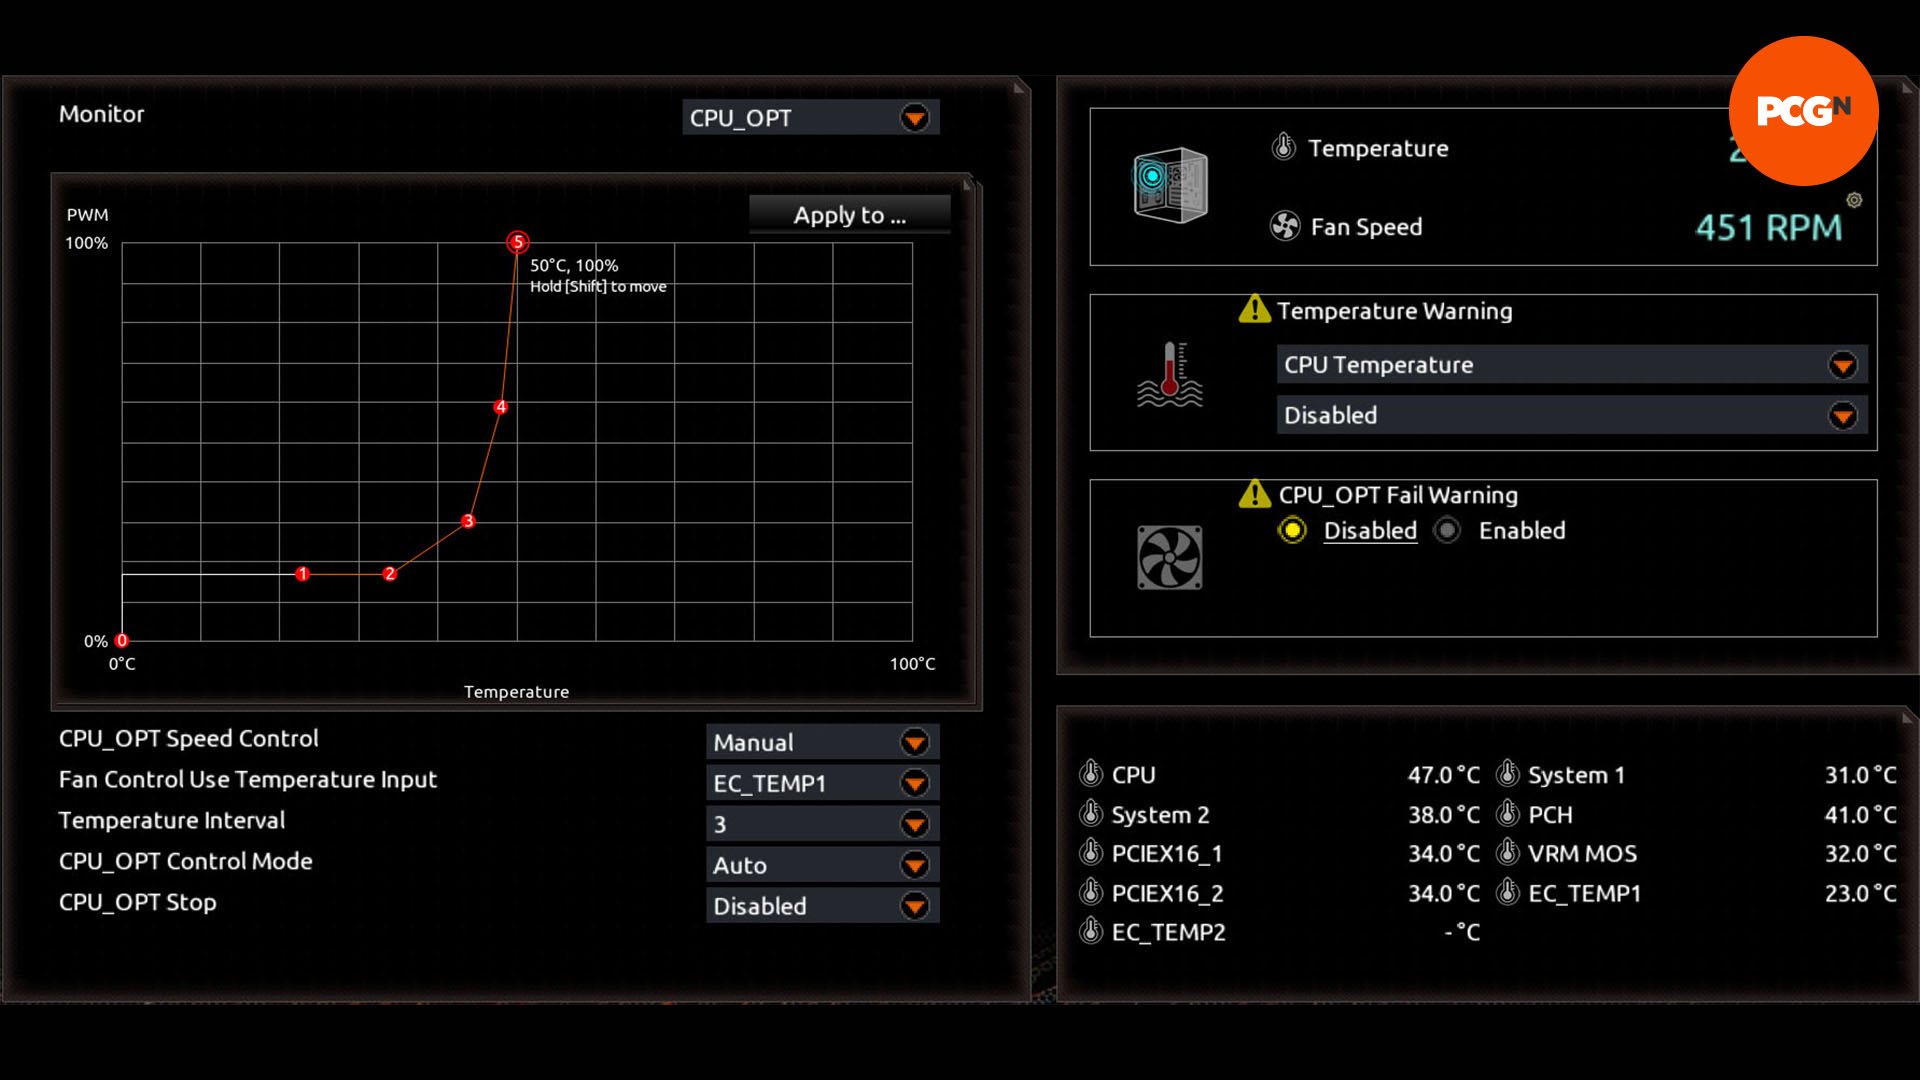
14. Set fan response curves
Set your fans to spin up only when necessary to keep the coolant temperature in check without making too much noise. In addition, if you’re using PETG rigid tubing, make sure the coolant stays well away from the manufacturer’s suggested temperatures, to prevent it from becoming malleable.
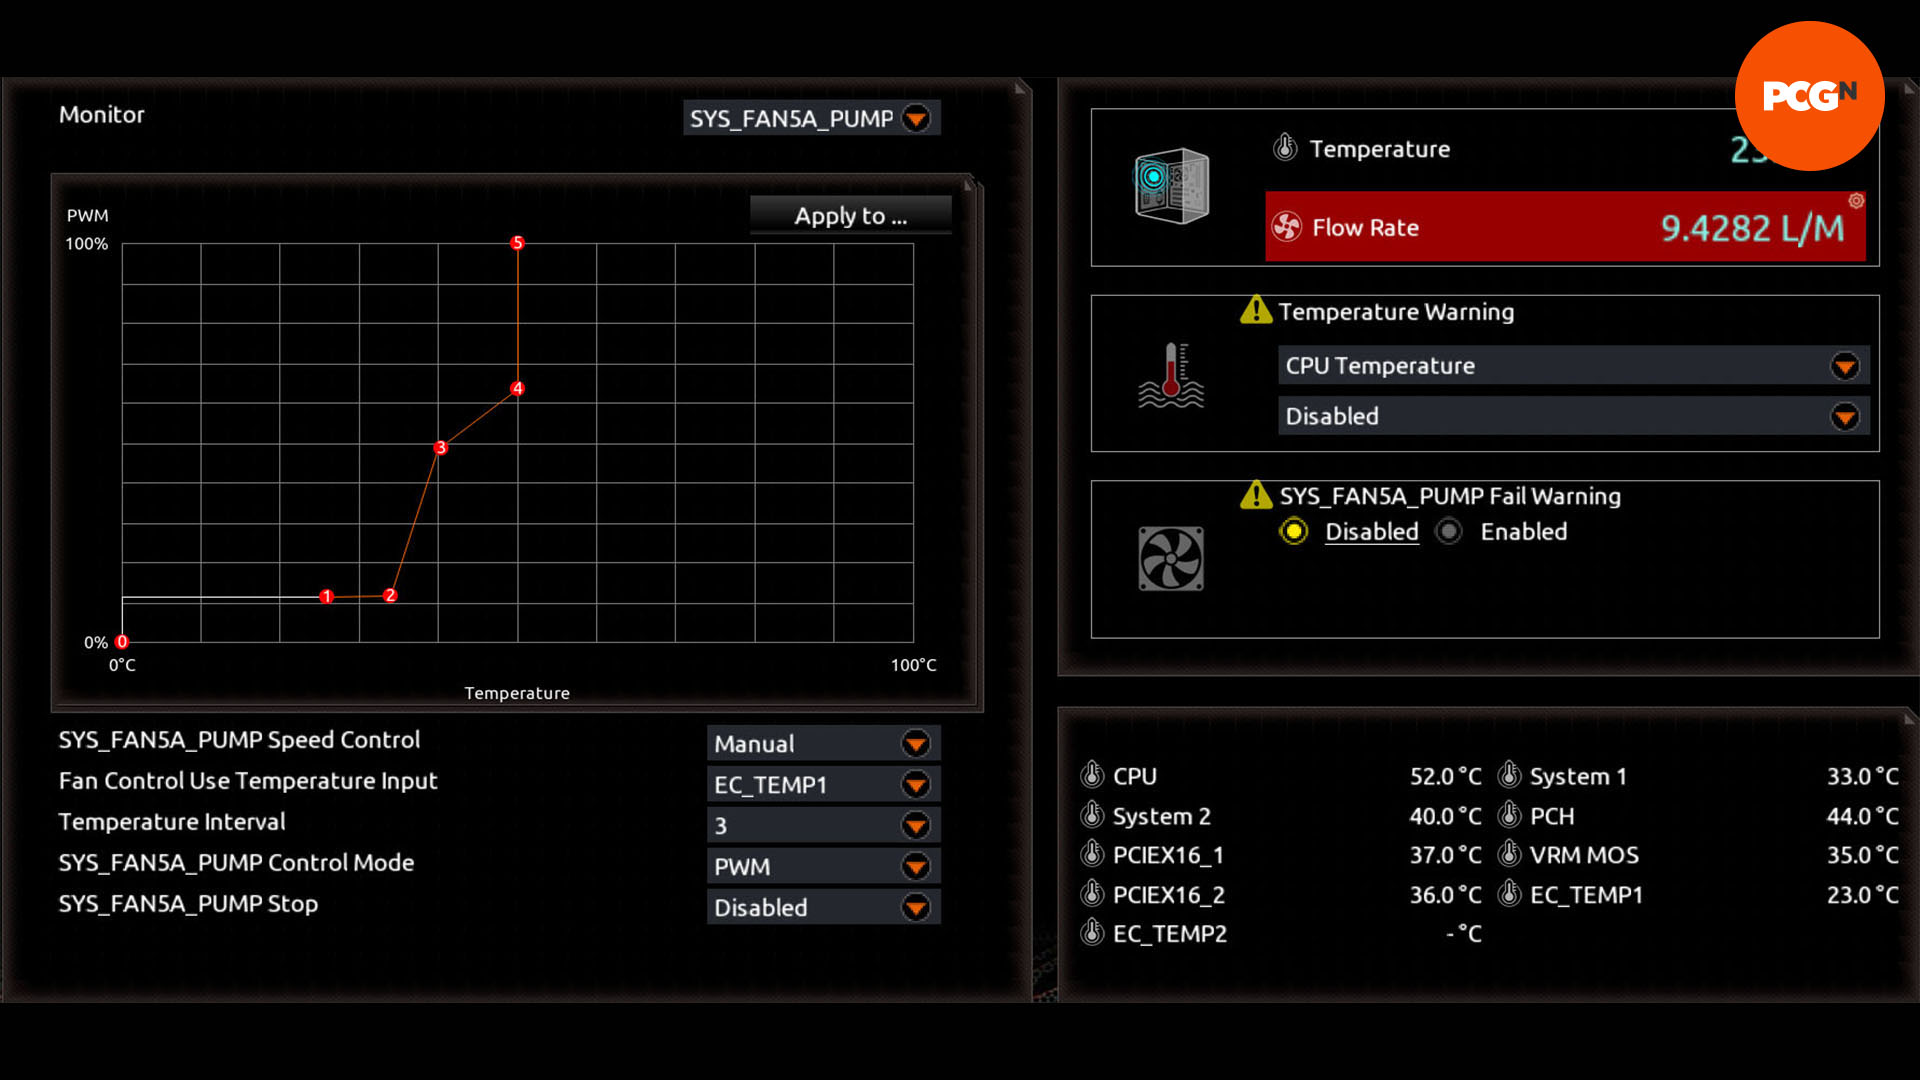
15. Set pump speeds
Modern powerful pumps offer limited benefits above certain speeds, so you can cut noise and vibration by slowing them down. To find the lower limit, put your system under load again and find the point at which the flow rate has an impact on temperature, then raise it to keep the coolant temperature in check.
That’s it for our guide on how to set your pumps and fans to respond to coolant temperature. This is quite an advanced guide, but if you’re new to the world of constructing your own rig, make sure you check out our full guide on how to build a gaming PC first.
