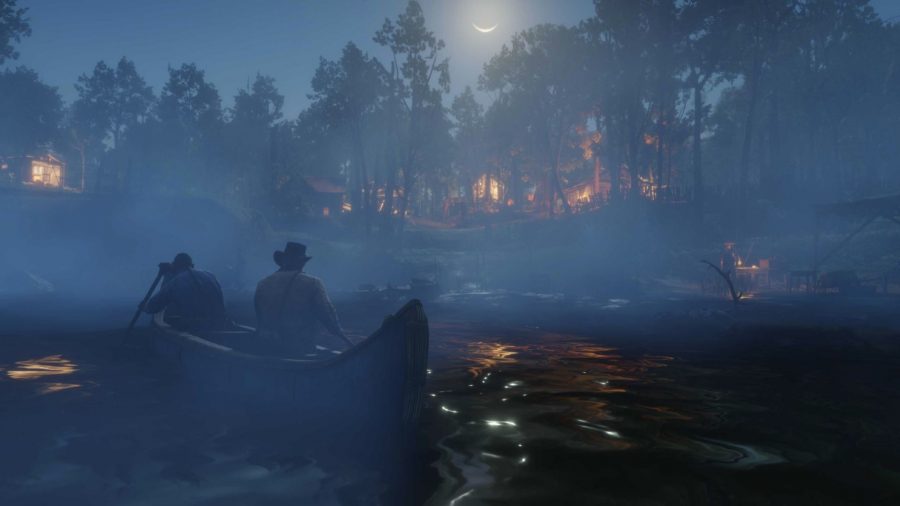
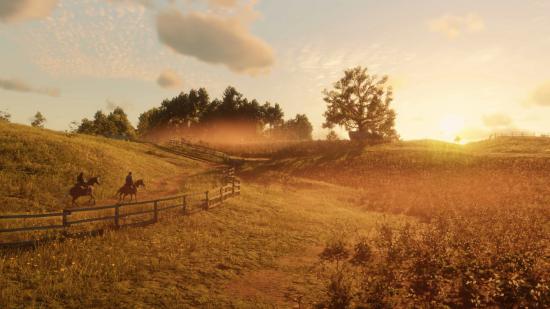
How do you take photos in Red Dead Redemption 2? Along with the PC release of RDR2, players are also getting a brand-new photo mode that allows you take pictures of your all the spectacular wild west scenes, whether that be pulling over in the Grizzlies to take in the view, snapping your legendary animal hunt, or preserving memories in the Van der Linde gang campsite.
There’s so much to admire in Red Dead Redemption 2 and now the PC version arrives with photo mode to help us soak it all up like a good soup-dunking sourdough. Originally, on the console version of the game, the only way to take pictures was by using a tired, if not authentic, in-game polaroid camera that you would have to manually take out of your inventory to capture a moment. This camera was also pretty easy to miss, as you acquire it as part of a side mission in Chapter 1 called ‘The Noblest of Men, and a Woman’. So, if you still want to take pictures the old fashioned way, look out for this side quest.
With faster framerate, widescreen support, multi-monitor support, and 4K resolution coming to PC, it’s fair to say a polaroid camera won’t do the game justice. Now photo mode has arrived in Red Dead Redemption 2, here’s everything you need to know.
How to use photo mode in Red Dead Redemption 2
Photo mode in Red Dead Redemption 2 can be accessed at any point in the story, allowing you to capture any moment you want. Still in keeping with aesthetic, you can add period filters and even experiment with contrast, exposure, blur, and focus.
The camera is easy to use and detaches from Arthur becoming drone-like, so you’re able to zoom in and out, and free-roam, exploring the area around Arthur in search of a more interesting subject – and then you can swivel back round and orbit Arthur to get some manic train robbery shots, some drunken saloon selfies, or a wholesome wagon ride into town.
To access photo mode in Red Dead Redemption 2 press F6 on the keyboard while in the Pause Menu. This can be remapped in the keyboard and mouse settings to press F6 while in game, so you don’t have to keep pressing the Pause Menu. All saved images can be uploaded to the Rockstar Social Club.
Red Dead Redemption 2 photo mode features

Basic Controls
- Orbit: allows the player to move the camera with the focus specifically on the main character
- Free cam: The player can also fully detach the camera from the main character, so can move it freely (limited to a short distance away from the player character) around the environment
- Other Camera options: camera manipulation options includes Zoom, Roll, and different lens apertures to choose from
Advanced Controls
- Focus Distance: determines where the camera view focuses, allowing for the focus to be pulled in very close to blur distant objects, or pushed out to focus on far away objects
- Blur Strength: determines how blurry objects outside the Focus Distance are
- Exposure: artificially raise or lower the exposure, brightening or darkening the scene
- Exposure Lock: lock the exposure to its current level – useful for adjusting the camera angle without changing the lighting conditions
Effects
- Contrast: adjust the brightness (between light and dark elements elements of the image
- Filter/ Filter Intensity: apply a wide range of filters and gels from the traditional period authentic photographic processes such as Tintype and Dageurrotype as well as more modern in game filters and effects with options to adjust the intensity (more or less transparent)
We’re sure to see some amazing photos emerge from Red Dead Redemption 2 photo mode, from riding out with the gang, to sleepy scenes around the campsite.
It’s exactly what Red Dead Redemption 2 needs to compliment the beauty and graphics of the PC launch.
