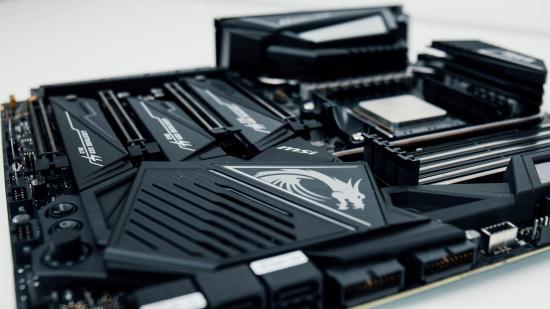
Having trouble updating your X470, X370, B450, or B350 motherboard to the latest BIOS and unlock AMD Ryzen 3000 CPU support? We might have a solution to get you up-and-running with the latest Zen 2 silicon in no time.
AMD Ryzen 3000 processors launched on July 7, bringing up to 12-cores of Zen 2 processing power to the client desktop market. Exciting stuff, no doubt. But what’s making Ryzen rig owners exceptionally giddy is AMD’s backwards compatibility and continued use of the AM4 platform. Whether you’ve a first-gen unit or a Ryzen 2 APU, you can, rather easily for the most part, make the switch to the latest 7nm silicon simply by updating your BIOS.
But if, like us, you’ve found even the latest Ryzen 3000-friendly BIOS installed on your machine wasn’t enough to get it to post with your new 3rd Gen chip, then you might need to follow the simple steps below provided to us by a helpful MSI product manager. We haven’t needed to troubleshoot any other 300- or 400-series boards as of yet, but we are told it could affect other manufacturers, too.
Regardless of motherboard manufacturer, the below nine steps should help fix the issue. If you need a hand going through the BIOS update process step-by-step, you can find everything you need in our how to safely and easily perform a BIOS update guide.
Read more: These are the best CPUs for gaming right now
Quick note: you will require a first- or second-gen Ryzen CPU or APU to install the BIOS files necessary for Ryzen 3000 support.
- Step one: update your 300- or 400-series motherboard’s BIOS with the latest version available from the manufacturer’s website
- Step two: boot your machine to Windows
- Step three: shutdown your machine and switch it off at the wall. Press your PC’s power button a few times to ensure there’s no residual power lurking in your rig
- Step four: unplug the 24-pin motherboard power connector from your motherboard
- Step five: wait one to two minutes
- Step six: reconnect the 24-pin motherboard power connector
- Step seven: swap out your old processor for your new Ryzen 3000 chip
- Step eight: turn your PC’s power back on at the wall
- Step nine: boot the system
If all goes to plan and nothing else is amiss in your system, this should have rectified the BIOS oddity that was previously preventing it from booting with Ryzen 3000. Now you can sit back, relax, and start putting that Zen 2 architectural wizardry to good use with a couple games of Solitaire.
