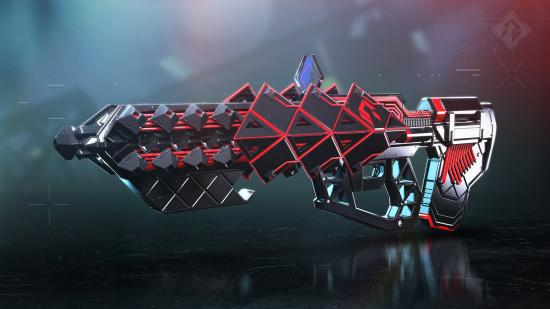
How do you get Destiny 2 Outbreak Perfected? There’s quite a bit to do here, but it’s not nearly as complicated as the quest to get Outbreak Prime in the first Destiny, which involved using binary inside the Wrath of the Machine raid to open several doors, alongside more math-oriented quest steps.
Much like the Destiny 2 Outbreak Prime, the Outbreak Perfected comes with the Corruption Spreads perk in the free PC game, which spawns SIVA nanites that deal damage to nearby enemies on rapid hits and precision kills. There’s a new perk, too, though called Parasitism and it causes Outbreak Perfected to deal bonus damage to the enemies the SIVA nanites have stuck to.
How to get Destiny 2 Outbreak Perfected
To acquire the Outbreak Perfected pulse rifle, simply purchase the exotic from the Monument to Lost Lights terminal in the Tower. The old method for obtaining Outbreak Perfected is still stated below for posterity.
Find the Fallen Transponder
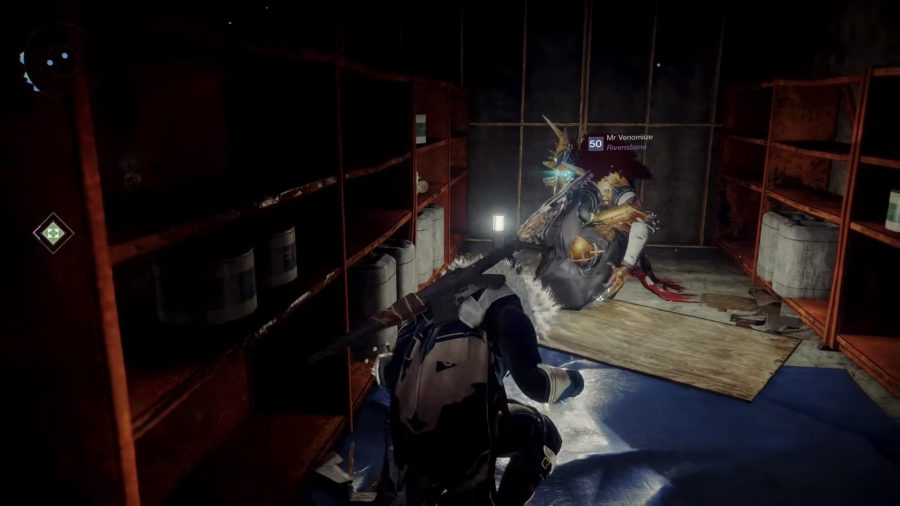
To kick things off, you’ll want to fly over to Titan. Start the Bad Neighbors Heroic Adventure and press on until you come across your first Shrieker, which looks like a giant purple floaty crystal – if you’re unsure. After you kill it, look immediately to your left, and you should see a door that says ‘unlocked’ if you’re standing close enough to it.
If you don’t have access to the quest, don’t fret. You can find this door through Patrol by spawning in at Tidal Anchor and following the path until you get past the control room. Once you find your pathway blocked by Hive, er, goop, head around and through the doorway. You should find yourself in a small, dark room with the previously mentioned door on your left.
As a side note, some people have flagged problems in getting this door to open. The quickest fix is to swap characters, but if that’s not working then make sure you’ve completed the Enemy of my Enemy questline. This mission ends with you witnessing a Hive Knight fighting a Fallen Captain – play it safe and kill the knight and not the captain.
Once that’s done, head through the opened door and investigate the table to find the Fallen Transponder.
Recover the six nodes
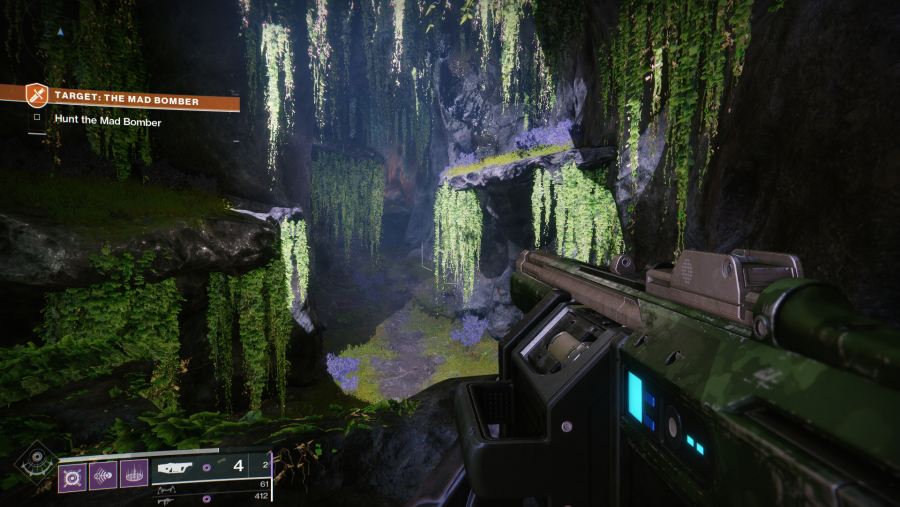
This step involves uncovering nodes in Lost Sectors, which shouldn’t take you too long as we’ll detail their locations here. If you’d like pictures of each location, then check out this Reddit thread from Nyxara.
- Node 1: fly over to the EDZ on earth then head over to the Drain Lost Sector. Make your way to the end, kill the Metal Captain, but walk past the Lost Sector chest. Keep going until you come across a giant cavern with Fallen flags adorning the ceiling. Jump in and noodle around until you find two boxes with purple sheets on them – between them you should see the first node.
- Node 2: head over to the Whispered Falls Lost Sector in the EDZ, jump down into the pit, look to your right, and you’ll see a small nook with a glowing green light. Wonder on in, and you should see Node 2.
- Node 3: still in the EDZ for now, go to the Atrium Lost Sector and walk down the stairs in the church and follow the path. Take out the first room of fallen, walk out the door, and take a hard left. You should see a small alcove which will have Node 3 behind a pillar.
- Node 4: head on over to the Widow’s Walk Lost Sector and clear it of all enemies. After that, head past the chest and up and to the right is a small landing inside a broken building. Jump in, and you’ll find node 4.
- Node 5: we’re done with the EDZ now, so head to Nessus. Complete the Carrion Pit Lost Sector and walk past the chest and look to your right. Jump down as far as you can and then turn back around. Jump back up behind a hidden wall, and you should see Node 5.
- Node 6: we’re still in Nessus for the final node, so make your way to The Rift Lost Sector and find the giant, red light in the middle of the Lost Sector area. From there, look toward the left of the chest, and you should see a storage container hanging off the ledge – that’s where the final node is. To get there, run up to the platform and jump around until you make it into the open side.
Decipher the message
Now that you have all the nodes, you should see a rather long and cryptic message in the Fallen Transponder. No need to worry about it though, head to The Farm. When you land in the social space turn right, and you’ll find a big barn with an open cellar.
Walk down the stairs and follow the path until you find a Fallen Captain called Mithrax, who is the Fallen Captain you should have spared from that mission we told you about previously.
Don’t talk to him just yet though, as it triggers the final mission. Gather your best fire team, make sure you’re all above 690 light, and you should be good to go.
Beat the Zero Hour Mission
You only have 20 minutes to complete this level, but If you have a well-leveled group of players, this should be a doddle. You’ll want to spec your team, so you have Arc, Solar, and Void damage covered – Arc appears the most, but it’s good to have all three. If you’d like a more visual demonstration, you can check out YouTuber Datto’s video above.
The first two areas are relatively straight forward – the first is combat heavy and tasks you with punching your way through goons, and the second is a platforming section. Once you reach an area called ‘The Passage’ hop down and head under the ship that is to your immediate left. In this bit, you’ll travel through a fairly linear ventilation shaft, but after breaking your second vent, you should then take your first right and drop down to the next platform. Make your way outside, and you’ll see a big yellow crate.
Things may look a bit empty here, but there’s a massive skip you can do. Jump and hug the wall and use your jump to push yourself onto a ledge that’ll appear. There’s more platforming ahead, but it’s pretty linear. Eventually, you’ll come to a giant chasm – no tricks here either, jump to the end, and you’ll find the exit on the bottom right. There’s also a switch you can hit at the end to make the platforming easier for your teammates.
Eventually, you’ll get to a puzzle that’s protected by a killer robot called Trevor. Don’t mess with Trevor – he’ll kill you if he touches you. The objective here is to hit four switches, which is found in the top right, top left, bottom right, and bottom left corners of this box-like maze. Beating this is quite simple, send one of your team members to the left of the maze when you hop down, and the other to the right. Keep your wits about you, avoid Trevor, and you’ll be fine.
After that, carry on, and you’ll reach The Vault to encounter the boss. It’s fairly simple, but be wary that his behaviour changes at certain moments. At 90% health, he’ll start teleporting, and a Servitor Shank will spawn – take it out. At 80% two Walker Tanks will generate to the left and right, take these out as it’s not enough to kill the boss to complete the mission, you need to destroy everything. Once everything has been taken out, Outbreak Perfected will be your reward.
HOW TO GET DESTINY 2 OUTBREAK PERFECTED CATALYST
To get the Outbreak Perfected Catalyst, you’ll need to complete the Heroic version of the Zero Hour strike. Changes you can expect to see here are a 700 power level and completely revamped platforming sections.
Start the strike off as usual until you come to the air yard. Instead of taking the vent under the ship to the left, you’ll want to head to the right and go to the back right, where you should see an AC box. Drop down the vent, follow the path through the next vent, and then drop down again.
You’ll find yourself in a small industrial room on a narrow bridge. Getting out is a doddle, pull the levels in all four corners and follow the path out. Next up you’ll be in the aqueduct room – climb up to the top, jump on the raised lid for chute 03, then follow the staggered ledges straight up until you see an air vent.
Now you should see a long and slender hallway dotted with tiny rooms with a lever at the end. Pull the lever and take the left path at the end of the hall to get an outdoor platforming section. There are no cheats here, I’m afraid. Just you and the painstaking platforming that Destiny is known for.
Made it? Lovely. Head through the open panel at the top of the railing, and you’ll come to another slide that you’ll need to go down. Once you’ve made it over, look up and to the right, and you should see an air vent. Once you head through this, you’ll be back on the familiar ground if you’ve already done the Zero Hours strike.
Past this, it’s business as per usual until you get to the vault past the boss fight. The gridded room leading into the ornate chamber will vaporise you unless you take the correct path. The path is; second from the left, up, left, up, up, right, right, down, right, right, up, up, left, and up.
Minus the power spike, the boss is no different here so do as you did before and you’ll snag the Outbreak Perfected Catalyst.
And there you have it, how to get Destiny 2 Outbreak Perfected exotic pulse rifle. The powerful pulse rifle should help you when it comes to taking on the Root of Nightmares, the Lightfall raid, as it’s going to be a tough challenge even for the most seasoned of veterans.


