The next stage of Guild Wars 2’s multi-part Icebrood Saga finale is here, and with it comes a steeper challenge to tackle. Following the MMORPG’s first finale chapter’s introduction of Dragon Response missions, the latest – ‘Power’ – brings a bunch more, and you can expect their bosses to throw a meaner punch at you this time around.
“In Chapter 2’s missions, you’ll see some new foes and, in particular, upgraded bosses,” Episode 5 team lead Joe Kimmes tells us. “We were a little more cautious in the first chapter as we eased into the Response Missions, and now you’ll begin seeing some larger-scale attacks from the bosses, in particular if you turn on challenge mode.” As for what this challenge mode modifier does, the dev explains that it ramps up the big bad beasties’ skills in various ways.
“In addition to stat increases, the Chapter 2 bosses upgrade their skills in challenge mode, from tougher summons and stagger mechanics to varied and more dangerous AoE patterns.” Gulp.
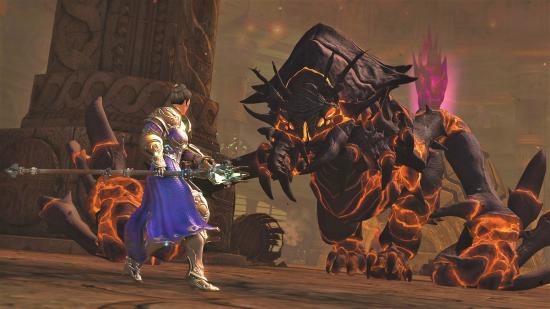
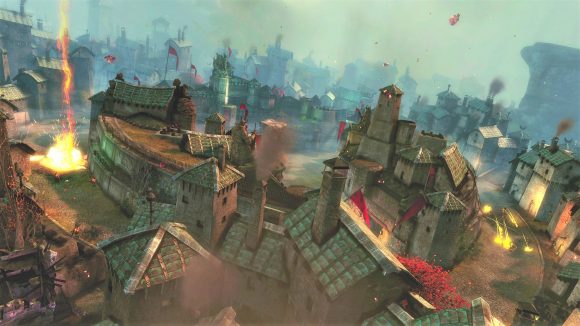
In an early play session of the latest chapter, I got to sample some of what these new Dragon Response bosses had up their sleeves. For example, the mission located in the Fields of Ruin has you tackle waves of fiery Destroyer units either solo or in groups, and with an allied faction at your side (mine were the Ebon Vanguard but you can recruit the newly-added Deldrimor Dwarves). Sure, the missions might scale appropriately based on your party size, and there are plenty of Charrzookas knocking about to give you some added firepower, but the encounter at its end is pretty tough.
The Fields of Ruin boss is the Destroyer of the Third Fortress – a hulking figure wrought of flame and metal, with great gnarly blades for hands. He’s not so mobile, so planting banners of strength and discipline in the ground nearby works well through the battle. The boss relies on plenty of area-of-effect attacks, such as wedge-shaped blasts of fire and an encroaching circle of angry red doom that closes in around the party. The only safe spot is a green circle in the middle which you have to hop into before you get got.
It’s a ferocious battle, even without the extra challenge modifiers thrown in, but – as Kimmes explains – the team has taken the opportunity to retune some aspects across the new chapter’s missions, such as enemy scaling, health, and durability, so players can expect some helpful tweaks. “With the response missions being split into an open version and private version, one area of friction was engine settings that made them work differently between versions – instance ownership, map boundary behaviour, and so on,” he tells me.
“We saw a lot of feedback on issues around that and worked to update our handling of the private instances to help the player experience. One area we retuned in particular was health scaling from the challenge mode buffs. Bosses got a large increase to their base health in challenge mode, but it didn’t scale for group size – so, a health increase that was fine for a full team was a much larger wall to solo or duo players.
“In Chapter 1, some of the bosses also had different base health stats which compounded that issue,” Kimmes explains. “We did a pass on making sure all of the bosses had comparable health and scaling, and made more of their bonuses scale properly to player team size.”
Roleplay all day: The best MMOs and MMORPGs on PC
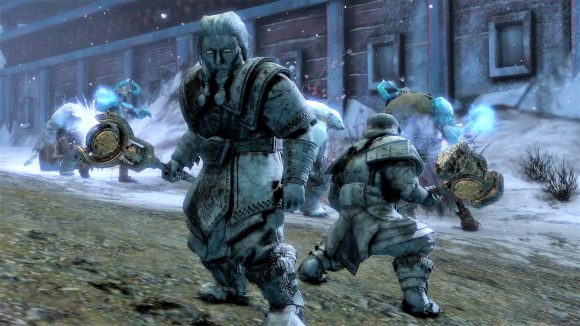
Speaking of all these bosses, the new chapter includes Dragon Response missions which take the fight to three other locations, too: Thunderhead Peaks, Lake Doric, and Snowden Drifts. To help you in the fight, you can recruit a faction from days of Guild Wars past – the Deldrimor Dwarves, which have Alchemical Acid at their disposal. “From the beginning of Episode 5’s development, we knew we wanted to bring back the Deldrimor Dwarves,” Kimmes tells me.
“Since GW1’s Eye of the North campaign, the Dwarves have been the behind-the-scenes enemy of the Destroyers, fighting them in the depths of Tyria – and, with the Destroyers resurgent on the surface, seeing them again felt inevitable. They’ll bring a familiar asset to the field in the response missions – their Alchemical Acid formulated to ravage Destroyer carapaces, which the player character in Guild Wars 1 helped develop.”
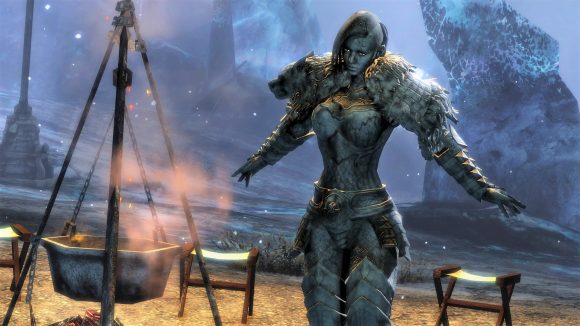
ArenaNet has also announced that another new faction will be joining the fight on February 16, too. Who these might be is a mystery for now, though Kimmes does offer us a hint. “Players will have spotted some otherwise-unmentioned golden allies in the Chapter 2 trailer,” he says. And, “importantly, they’ll bring with them the next stage of crafting the Dragon Slayer weapon set which will let you imbue your weapon with a dragon’s energy to give it a distinctive new look.”
The latest chapter of The Icebrood Saga’s finale is now live, so you can get stuck in right now if you own the Path of Fire content – and, the Guild Wars 2 team wants players to feel encouraged to keep diving back in, as Kimmes explains. “With the Dragon Response Missions we wanted to try a new way of delivering story content,” he tells me. “Typically, the story missions in Guild Wars 2 have been something we invest a lot of time and care in, but that players only play once or twice to complete their story and collect achievements.
“Since Champions has a lot of ground to cover in concluding The Icebrood Saga, it was important that our story segments be something players felt encouraged to do more than once, and out of that need came the premise of the semi-open-world/semi-dungeon/semi-story Response Missions.”
To find out more about what the latest stage of The Icebrood’s huge finale holds, head to the multiplayer RPG game’s website at that link.


