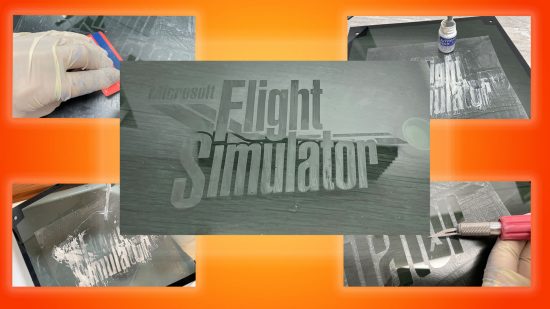
In this guide, we’ll show you how to etch glass on your PC case. PC etching is the easiest and safest way to customize the glass panels on your PC case. Tempered glass will shatter if you mess around with it too much, and it does so by design, leaving you with few options when it comes to customizing glass side panels.
Etching glass is easy and perfectly safe, giving you a great way to add a personal touch to any of the best PC case options with a window. What’s more, it generates next to no mess and you can do it practically anywhere.
However, you must get your etch right the first time. Etching is permanent and can’t be reversed, even with copious amounts of polishing, so you need to be sure before you apply the etching cream. Thankfully, masking off areas is easy enough, especially if you use a cutting machine, and the end result will look fantastic.
1. Pick your etching design
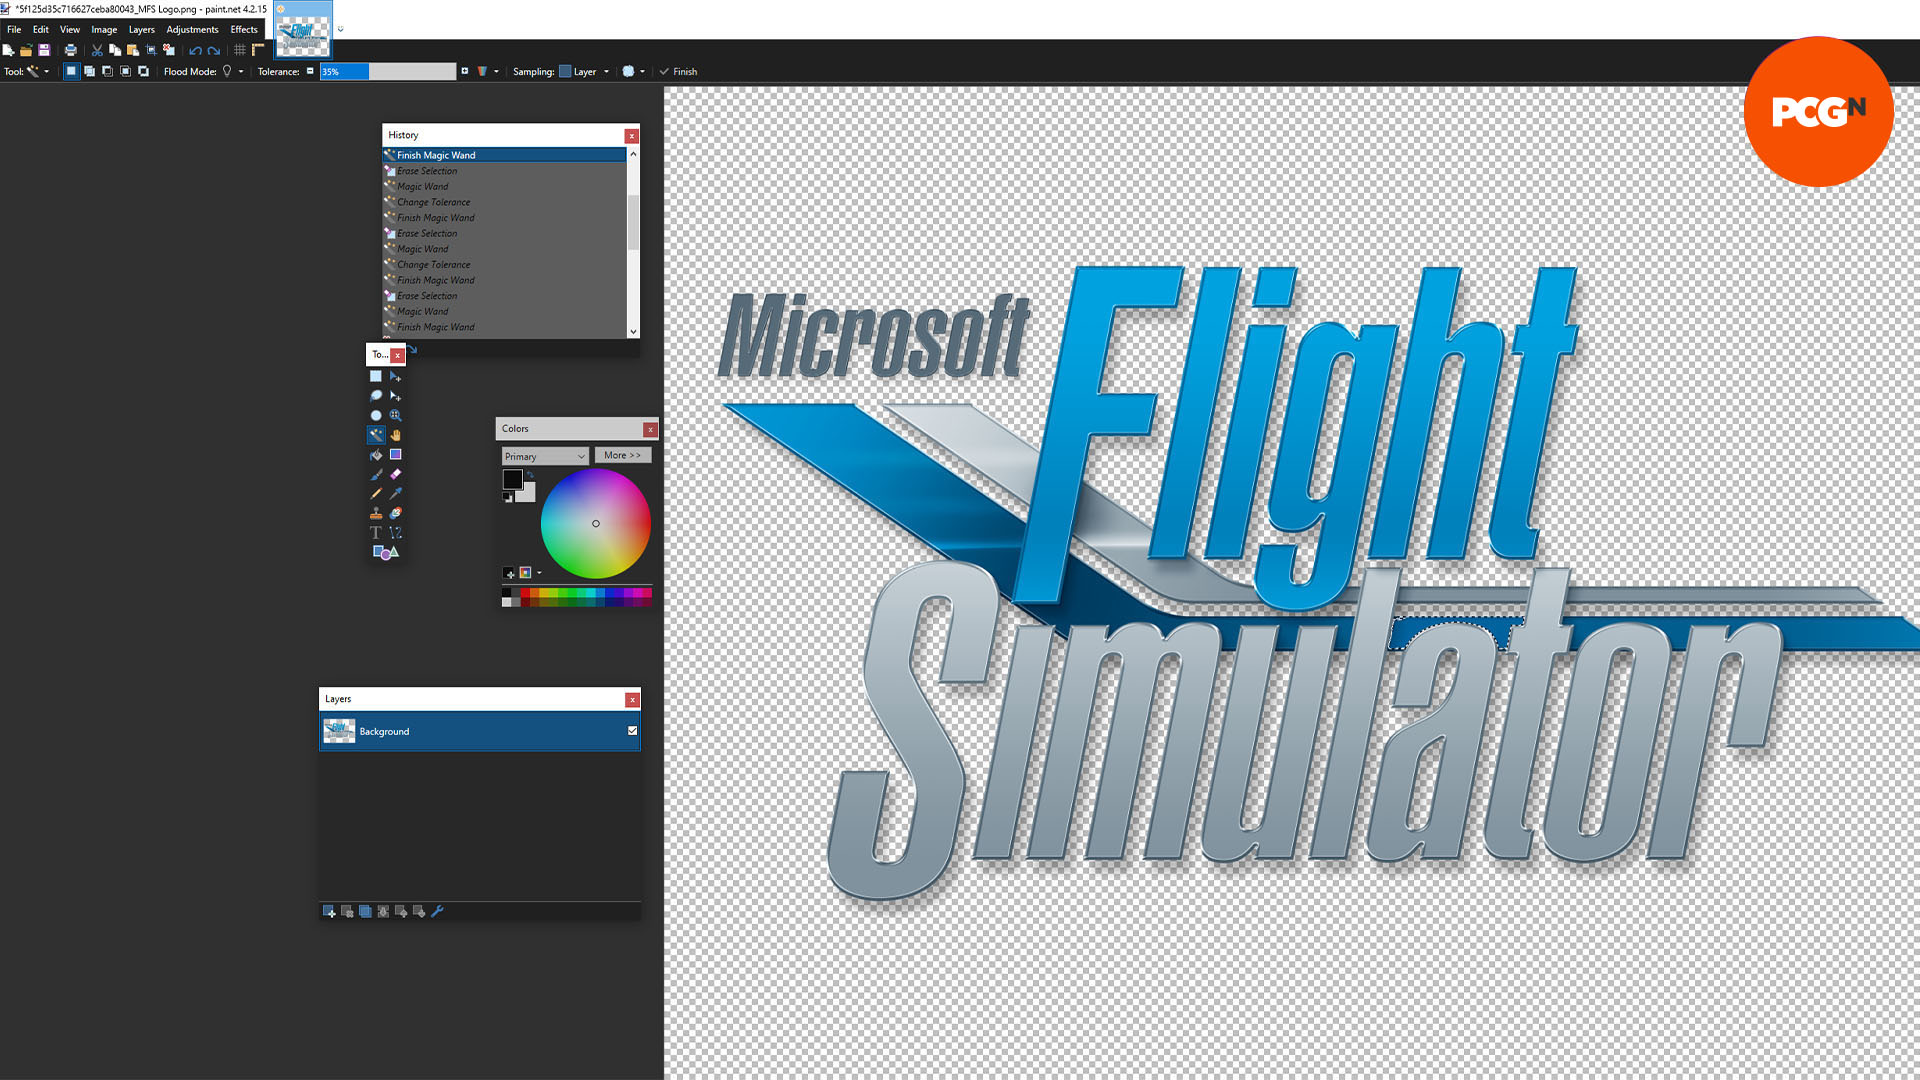
Creating an etching mask is tricky if you’re doing it by hand. If you plan to create your mask by hand, we recommend sticking to a simple design, or it could take you days to cut out the masking. If you have a cutting machine, however, you can create more complex masking. In this case, we’re using the logo for Microsoft Flight Simulator for our custom etch design.
2. Wash the glass panel
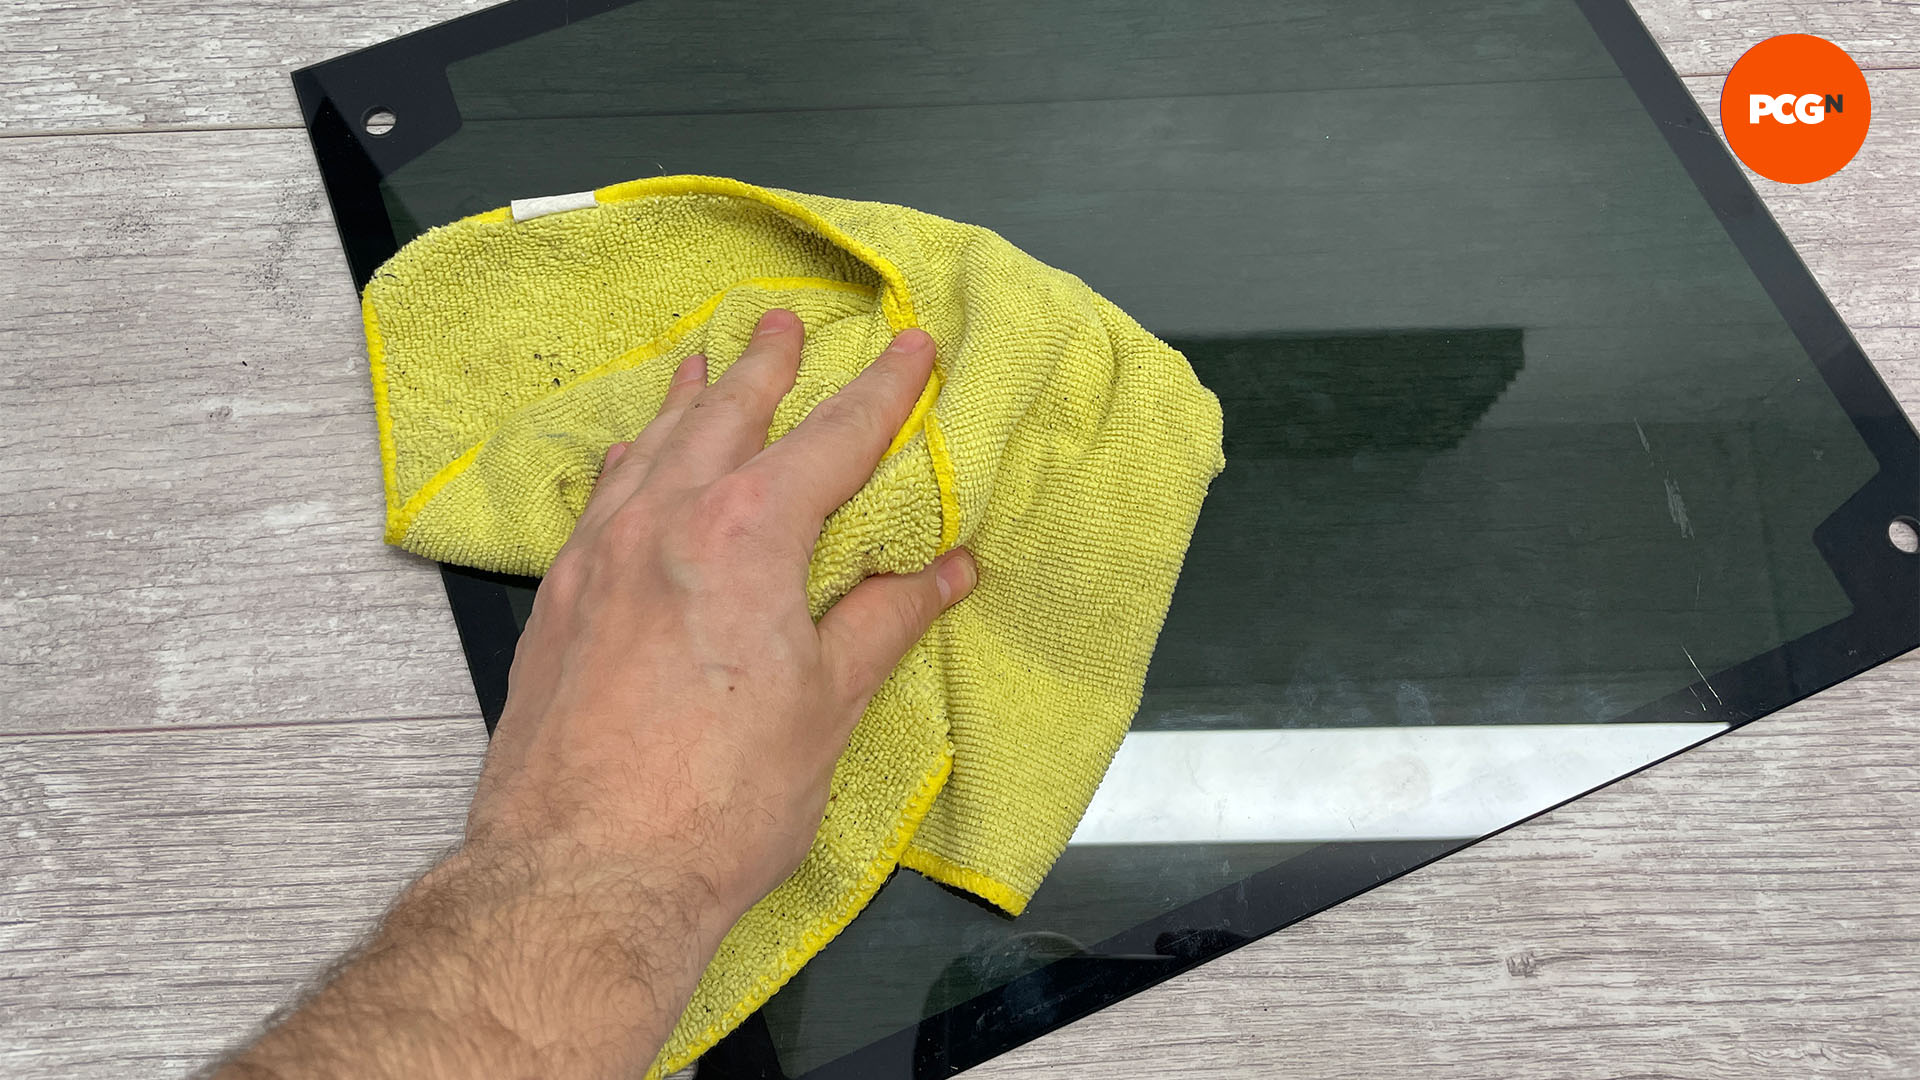
To ensure the etching cream can work on the glass properly, it’s important to wash the panel first. This ensures there’s no grease or grime on the surface that could prevent the cream from making proper contact.
3. Cut out masking
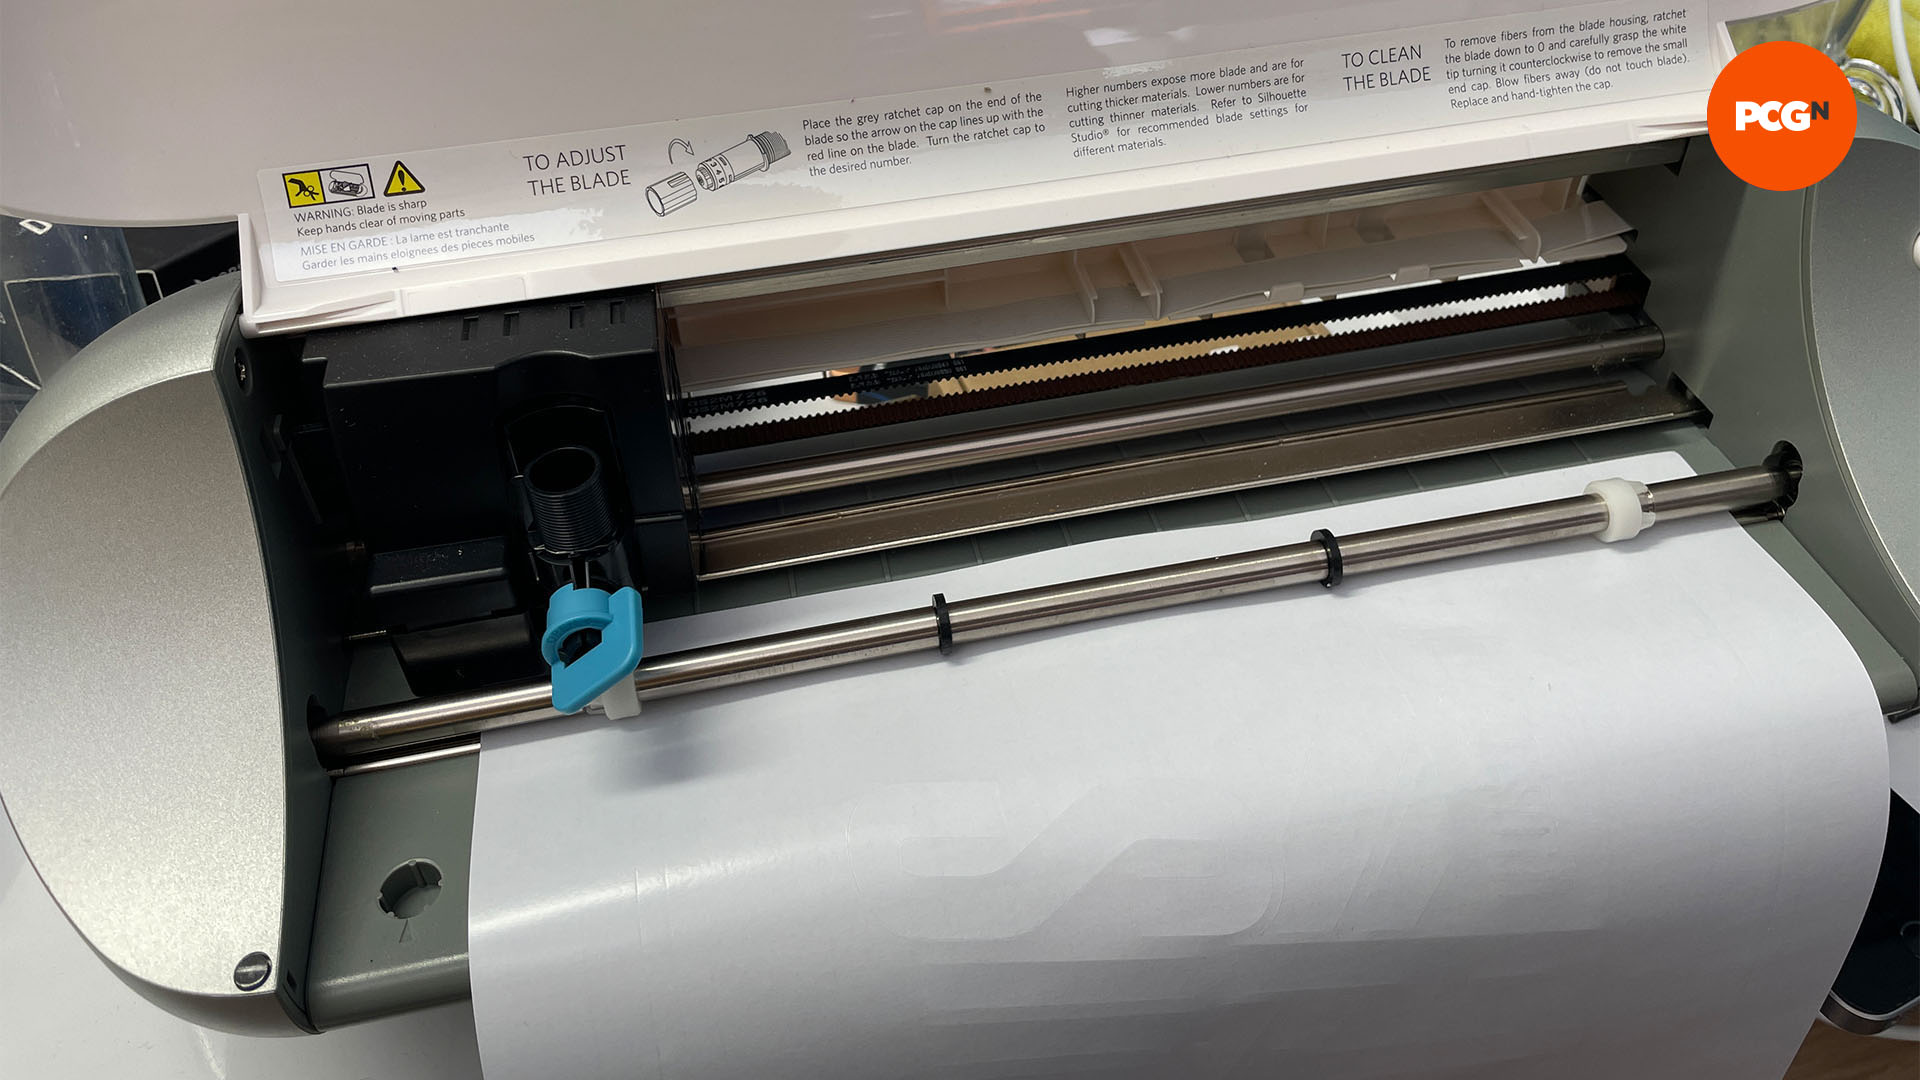
We’ve used a Silhouette Cameo Portrait cutting machine to cut out our masking on an adhesive vinyl film sheet, but you can also use carbon copy paper to trace a design onto adhesive film by hand, and then use a scalpel to cut out your design more accurately.
4. Transfer mask to panel
Once you’ve cut out your design, transfer the adhesive film to the chosen area on your PC, taking care not to damage it. If you have a particularly intricate design, you may want to use transfer paper to lift the masking off the backing sheet in order to transfer it.
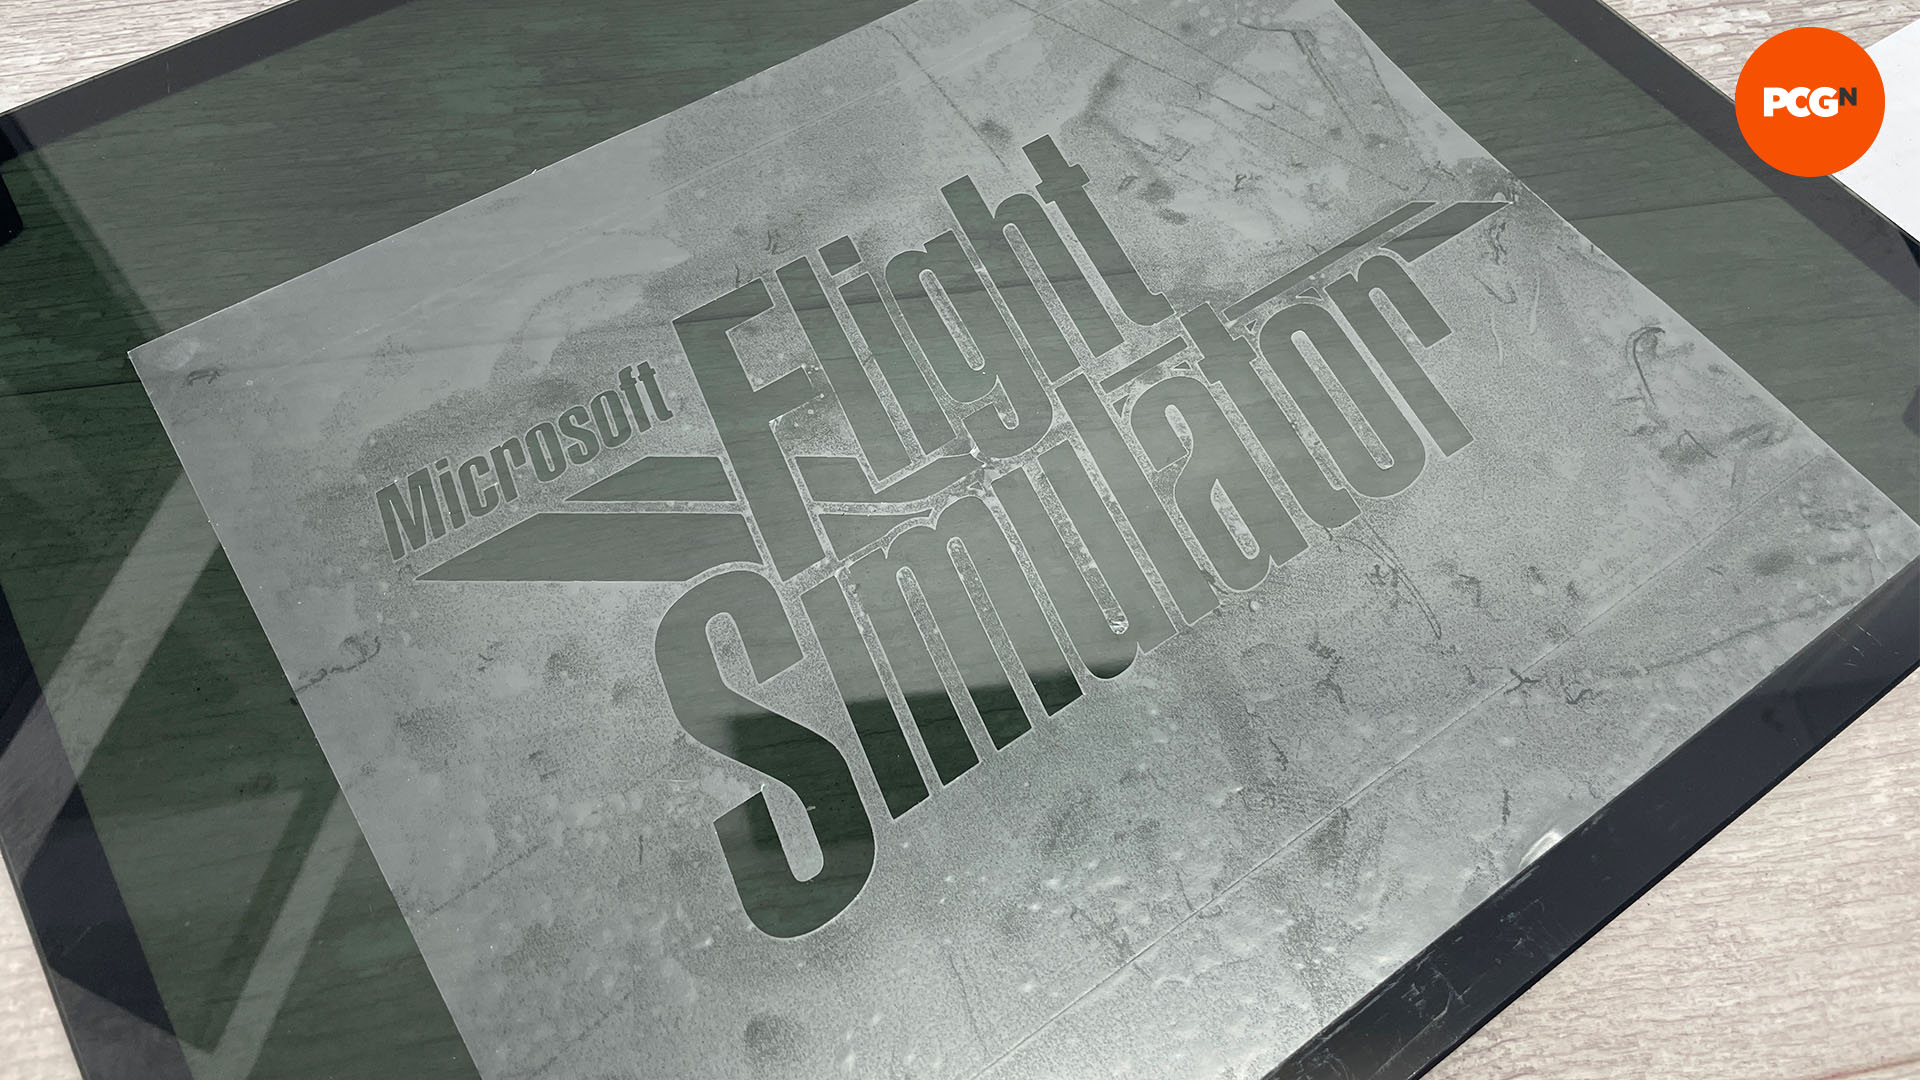
5. Insert details into mask design
Some designs will have sections that end up being separated from the main part as they’ve been cut out, such as holes in the middle of letters. Lift these using a scalpel or plastic pick, then place them into position within your mask. Again, transfer paper could help here, enabling you to lift the whole design in one go.
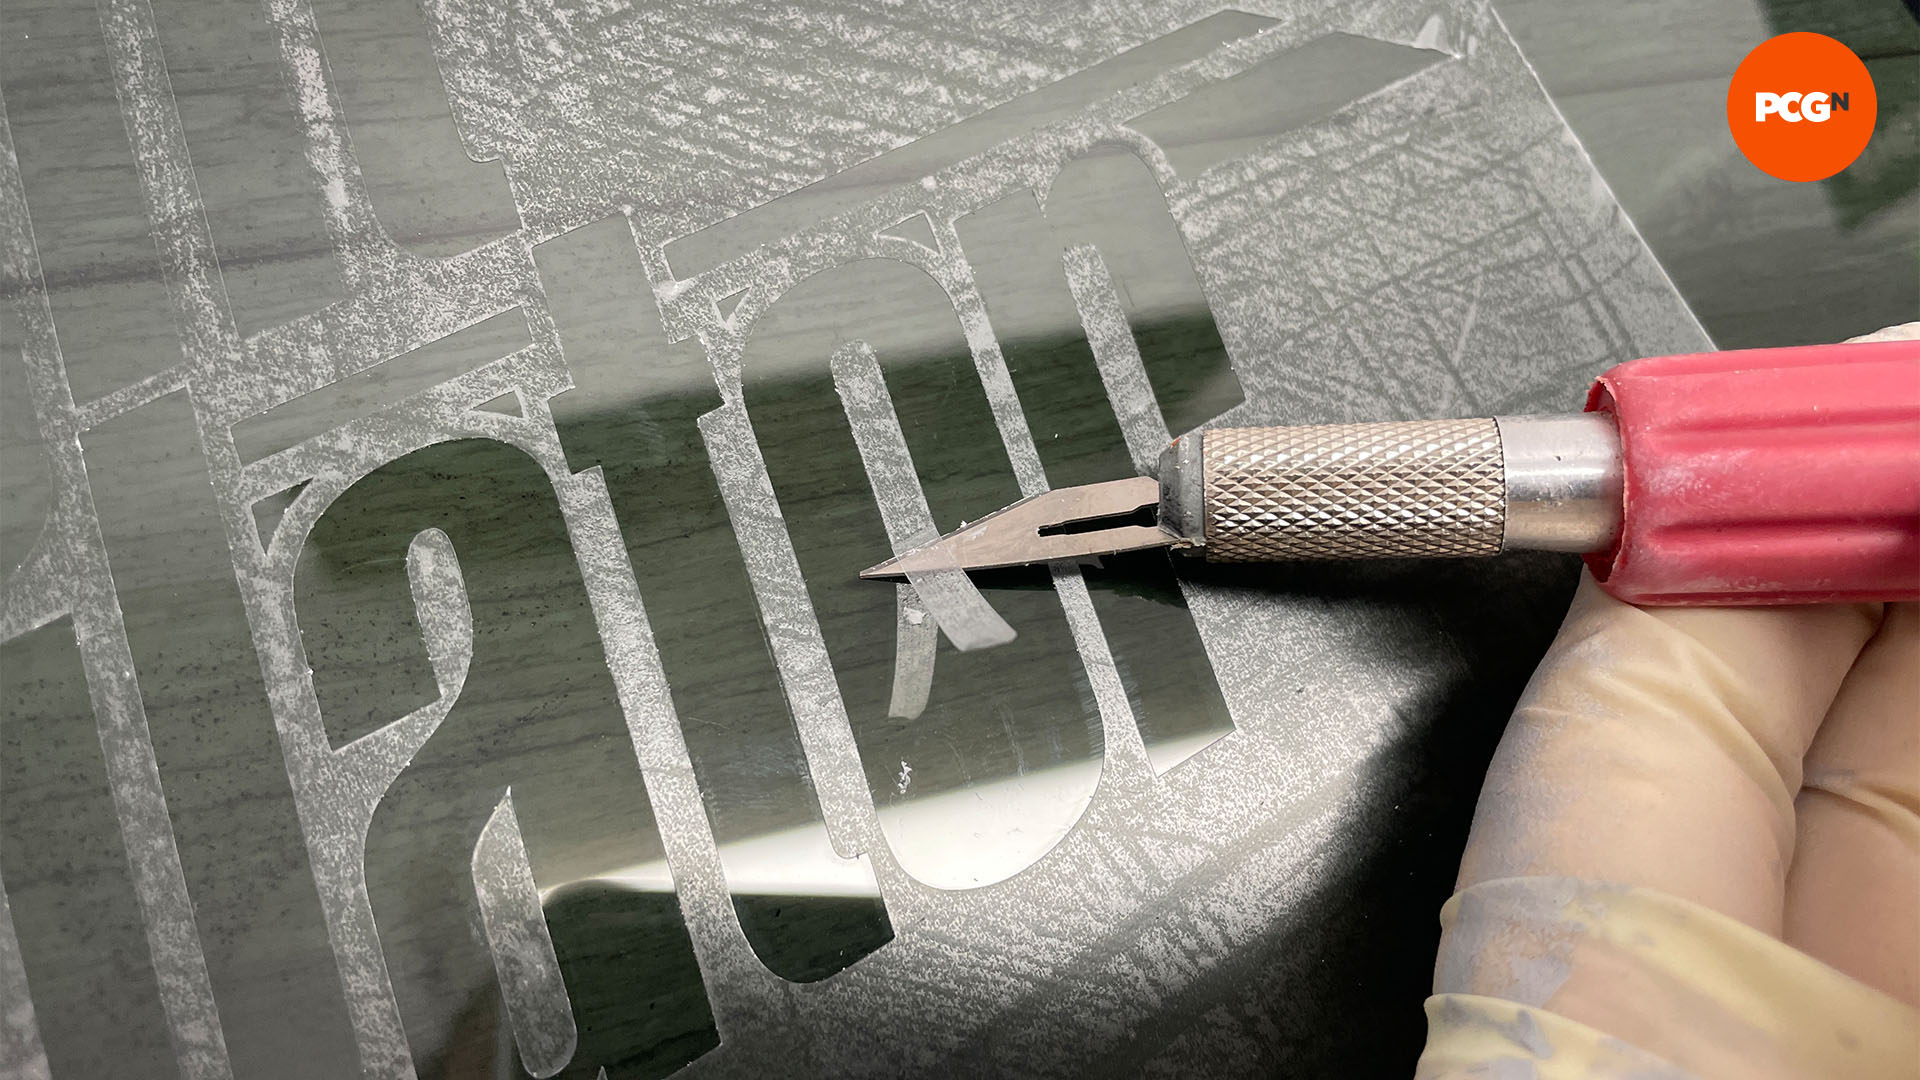
6. Remove air bubbles
Occasionally, placing the masking can result in visible air bubbles being trapped underneath it, especially in larger areas. You can use a bank card or a similar piece of flat, flexible plastic to work out the bubbles, lifting the film if necessary.
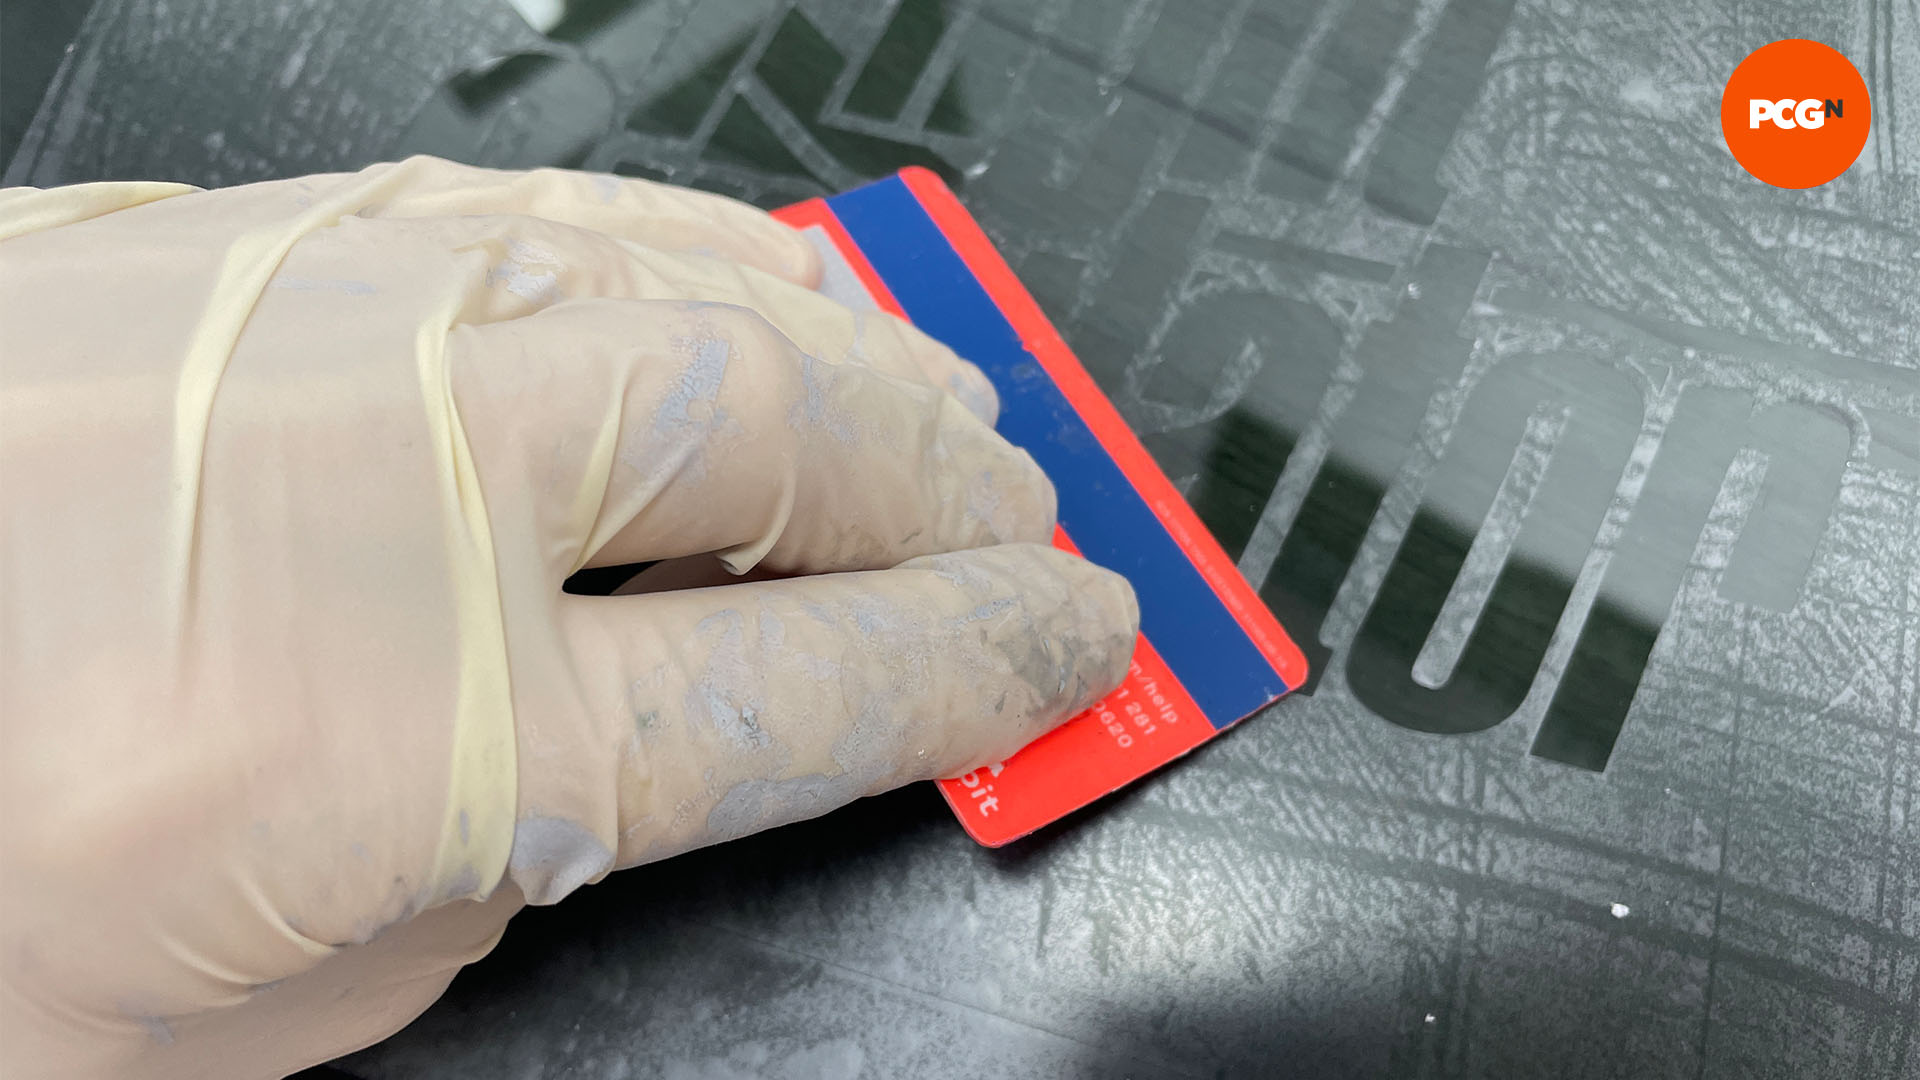
7. Apply etching cream
Once your masking is complete, apply the etching cream (we’ve used Armour Etch) using a brush. Apply it liberally, but don’t press too hard, as there’s no need to work it into the surface. Wipe off any drips and remove any cream that’s been accidentally applied outside the masking area immediately.
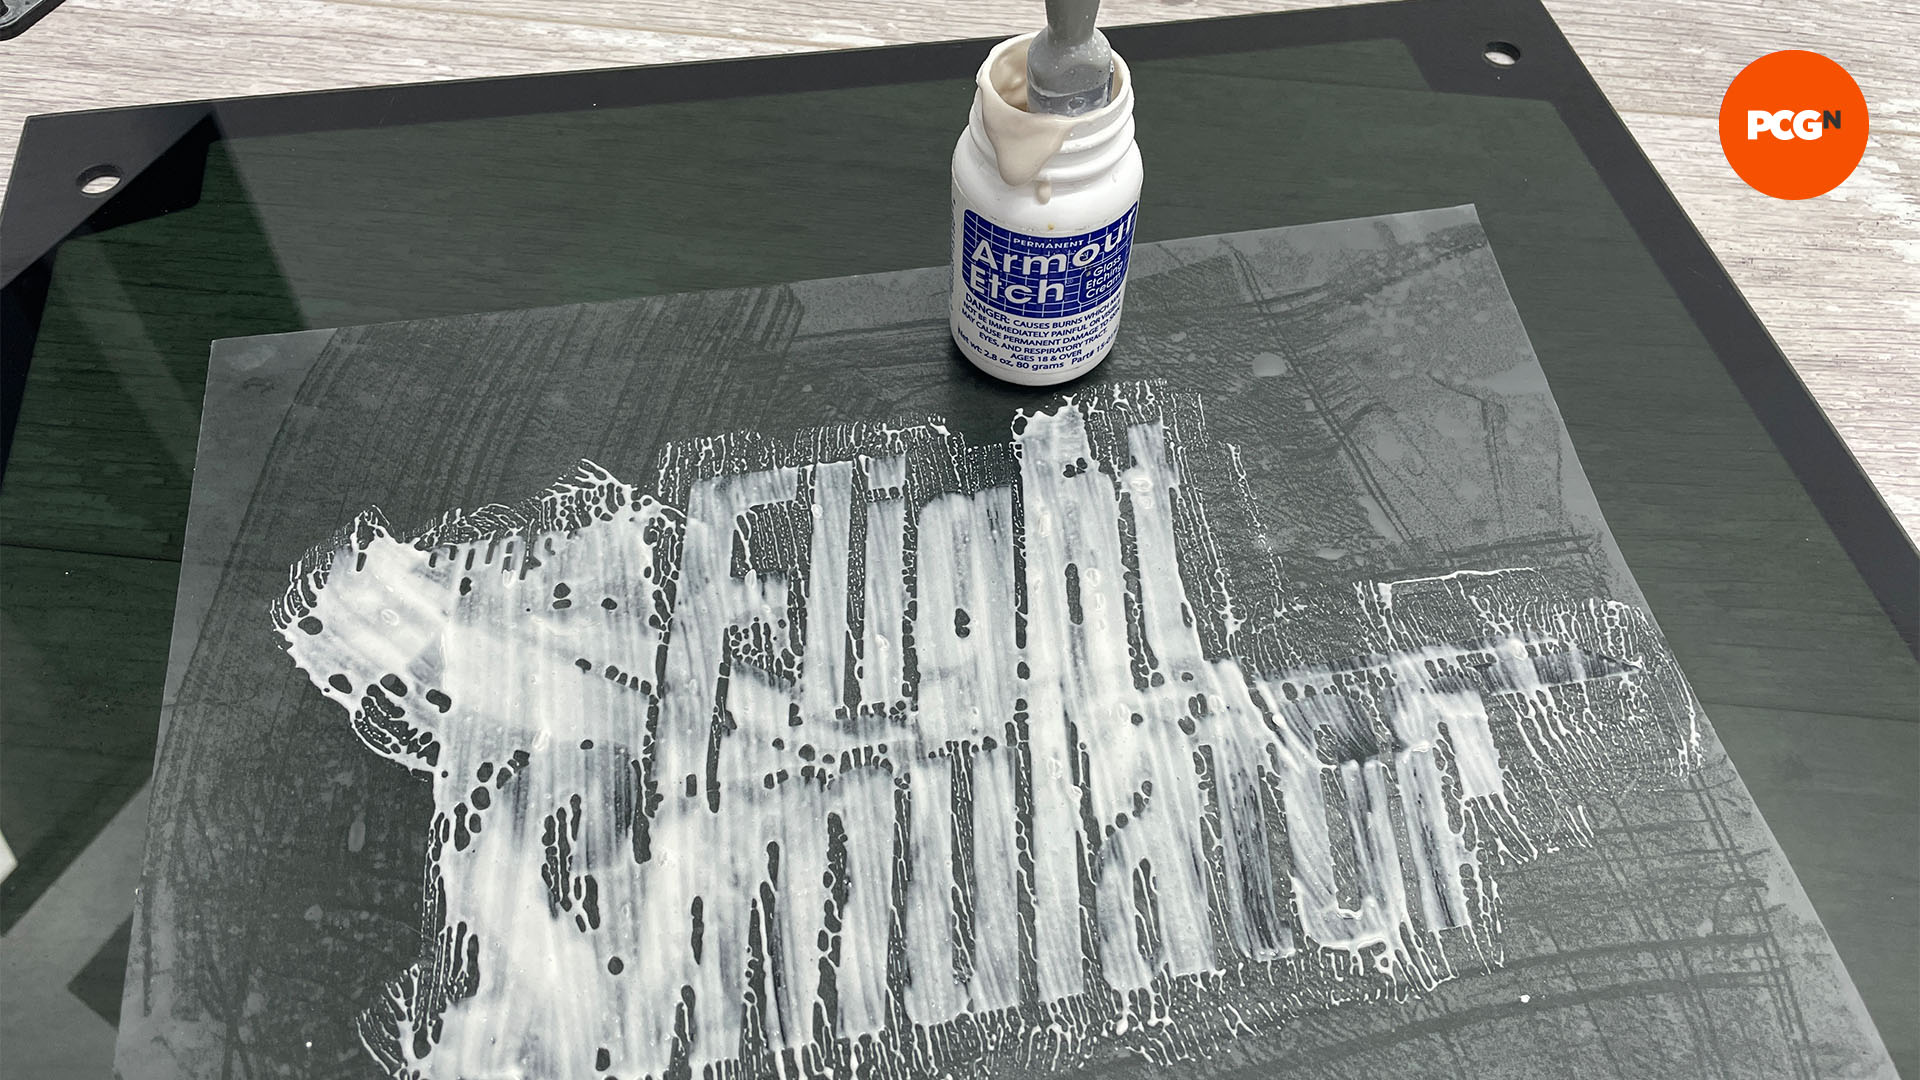
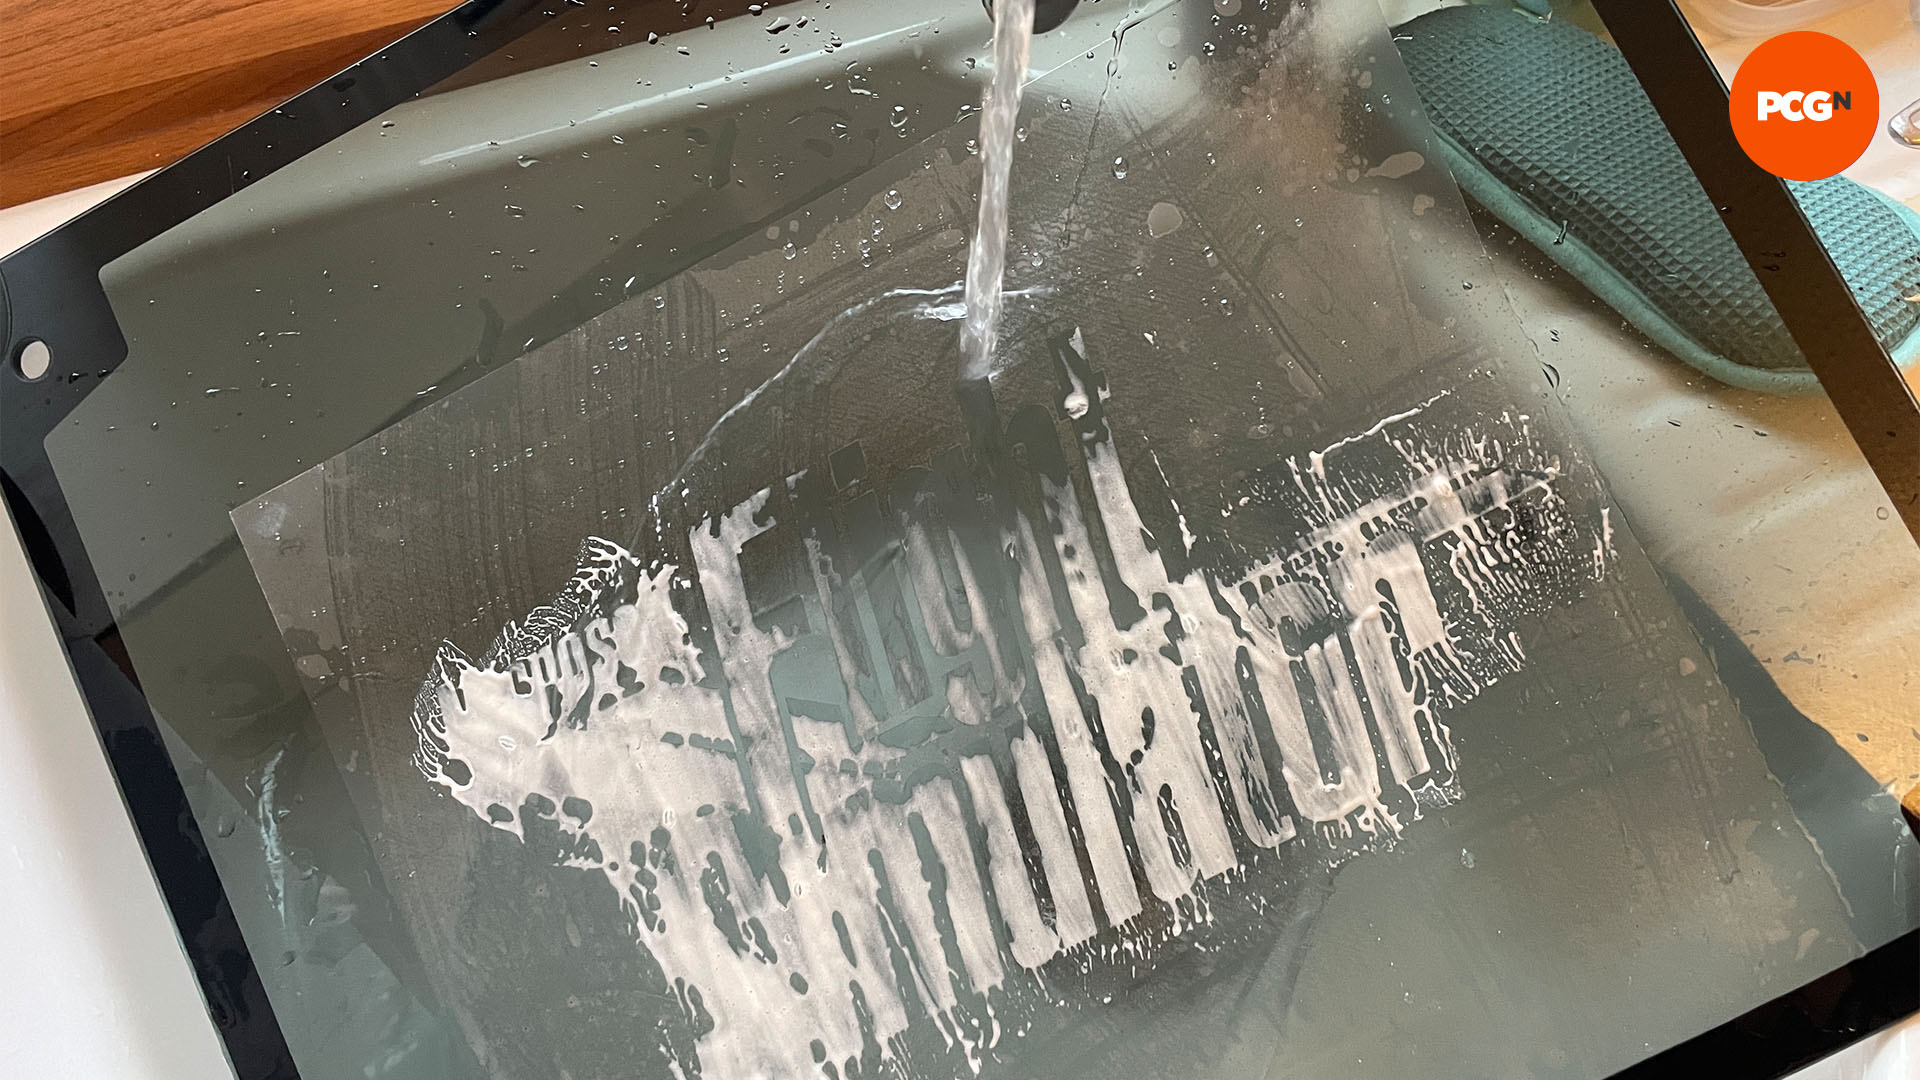
8. Clean panel
Follow the instructions for your cream regarding the length of time it needs to stay on the glass. This is usually only a minute or two at most. Once that time is up, put on some protective gloves and rinse the panel under warm water to remove the cream.
9. Allow to dry
You can now remove the masking. Clean the area to remove any sticky residue from the masking. The etching is quite durable, but avoid getting any colored water-cooling coolants near it, as it can stain in the right conditions.
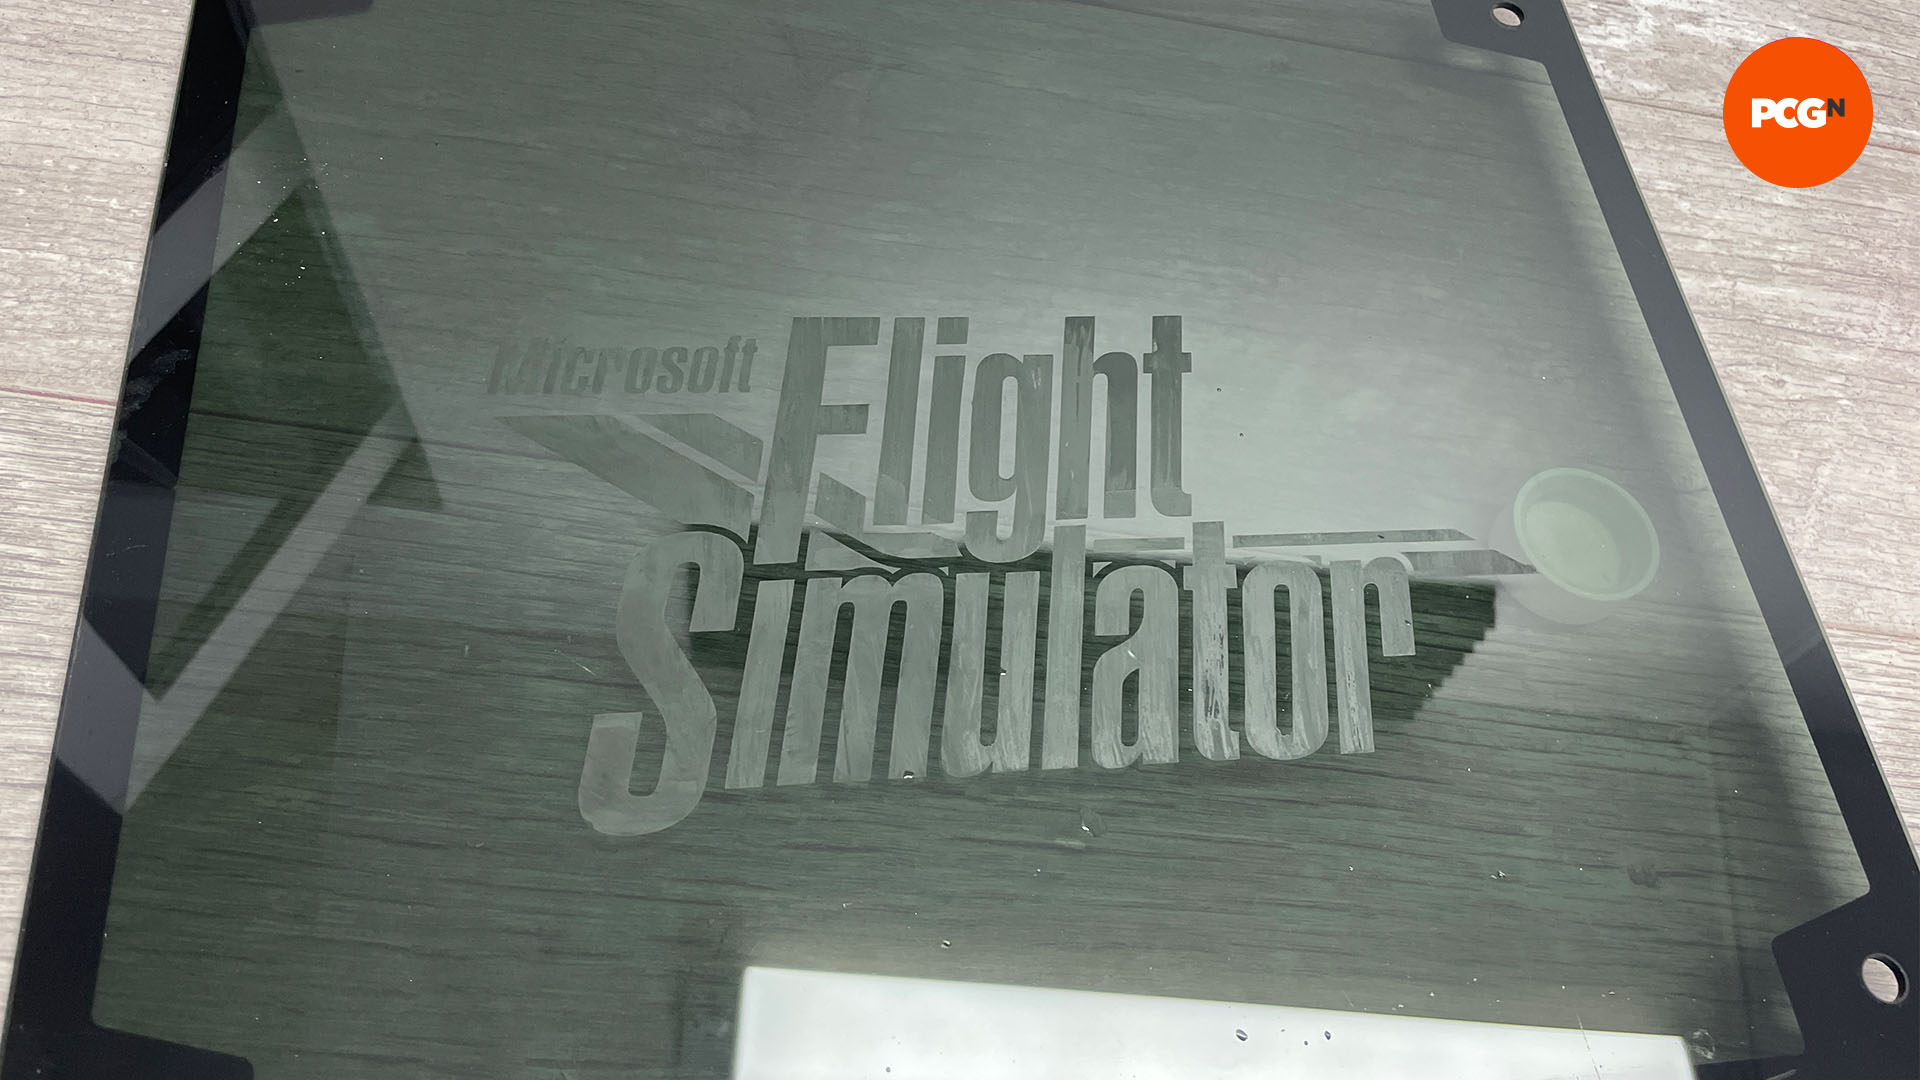
And just like that, your case’s glass side panel now has an etching of your own making – this is a great way to make your PC case stand out from the crowd, giving it a unique look.
If you want to go even further with customizing your PC, check out our guide on how to paint your PC case. If you’re planning to give your new build a different look, our guide on how to paint a PC motherboard has you covered.
