In this guide we’ll show you how to lower your GPU temperature, enabling your graphics card to not only run cooler, but also quieter. There are several ways to lower your GPU temp, and in this tutorial we’ll take you through the process of applying liquid metal paste to your GPU, replacing the thermal pads, and even adding case fans to your graphics card.
While the best graphics card options from Nvidia and AMD have loads of ferocious gaming power at their disposal, their chips can also get really toasty, especially on high-end models, such as the Nvidia RTX 4090. While your GPU cooler will undoubtedly do the job to the best of its abilities, there’s always room for improvement, and this guide will enable you to build a gaming PC with a graphics card that runs cool and quiet.
Replace the thermal paste and pads
While your graphics card’s cooler is probably fine in itself, cheap thermal paste and thermal pads have regularly been found to hinder cooling, especially if they haven’t been applied properly.
This can result in your graphics card running much hotter than necessary, and prevent the cooler from doing its job, making its fans spin up to higher speeds. Using high-performance thermal paste and thermal pads can dramatically cut temperatures, and as long as you feel comfortable with dismantling your graphics card, it’s relatively easy to apply them too.
1. Google PCB photos
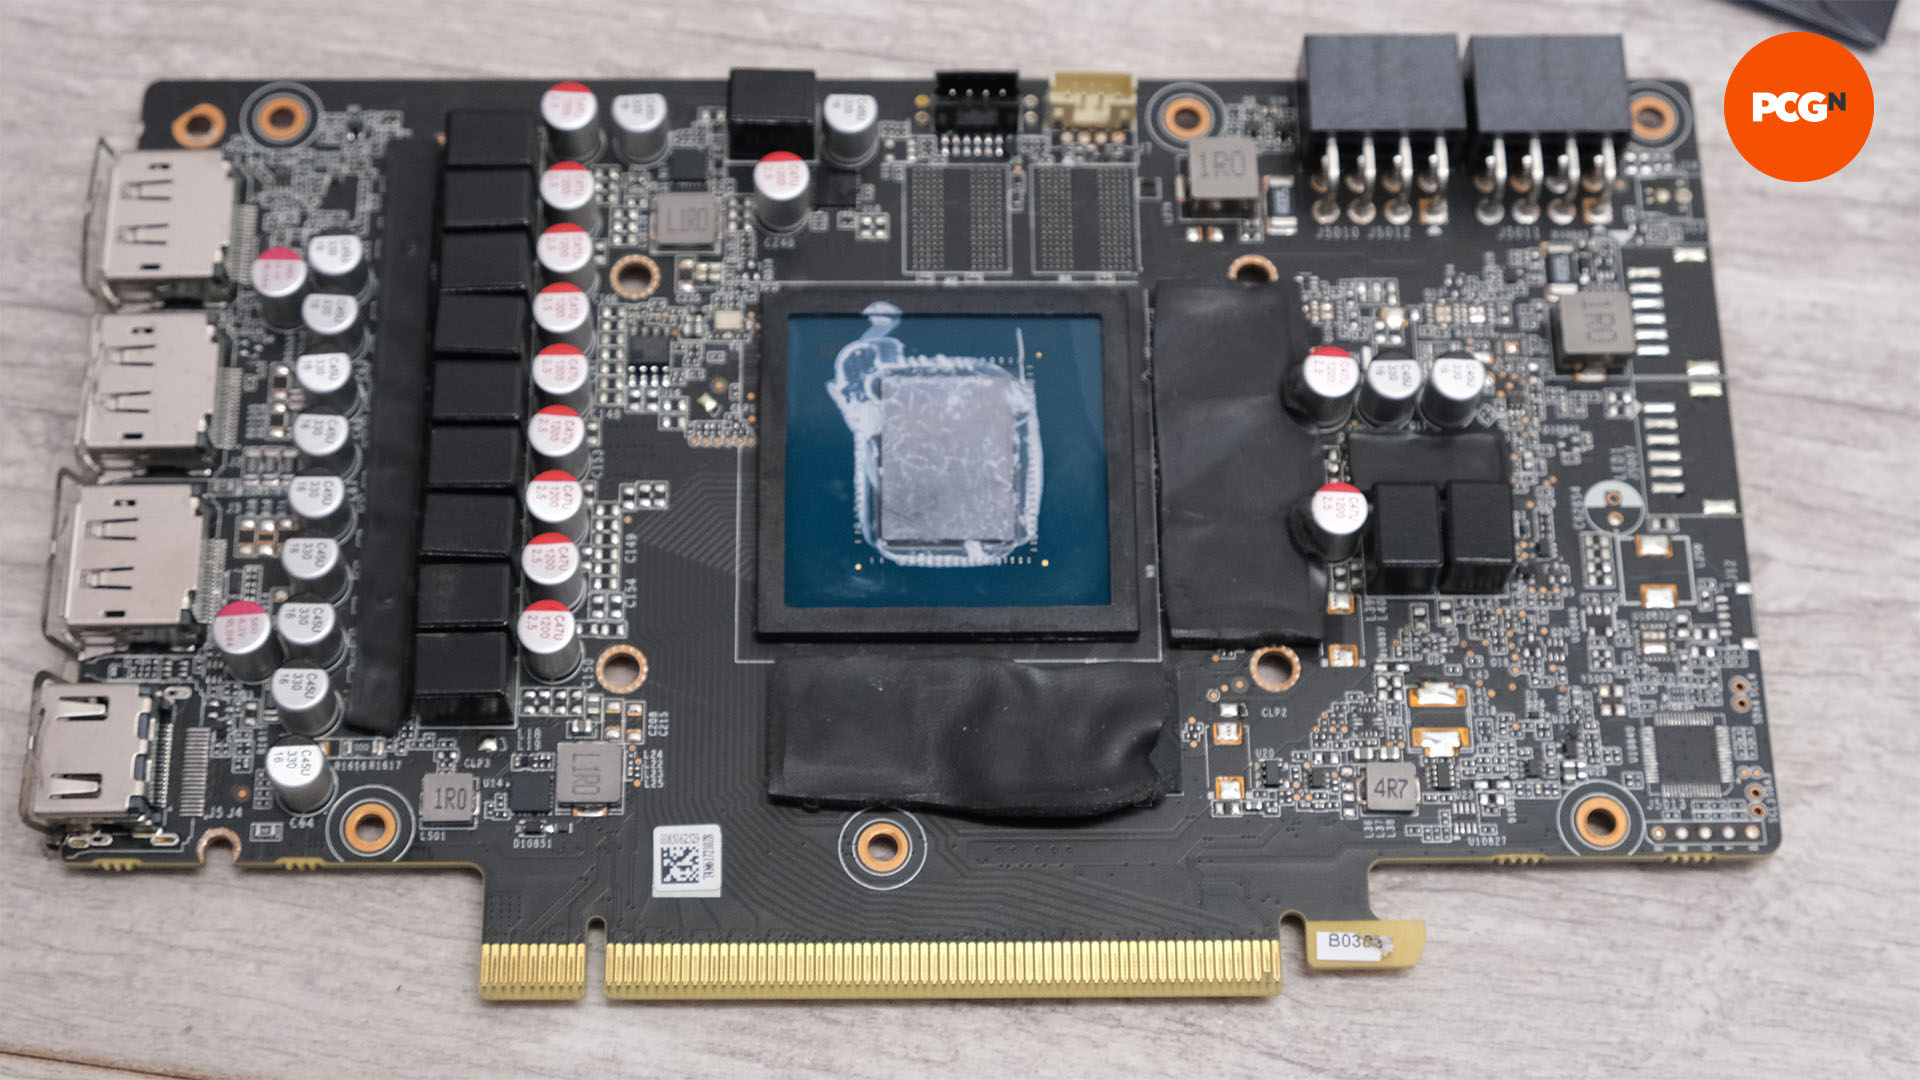
Identify the areas of your graphics card that are cooled with thermal pads before you start, so you can order enough pads of the right size to replace the stock ones. Google for your make and model of graphics card to see if someone else has dismantled it. The EK cooling configurator sometimes has PCB images too.
2. Buy new thermal pads
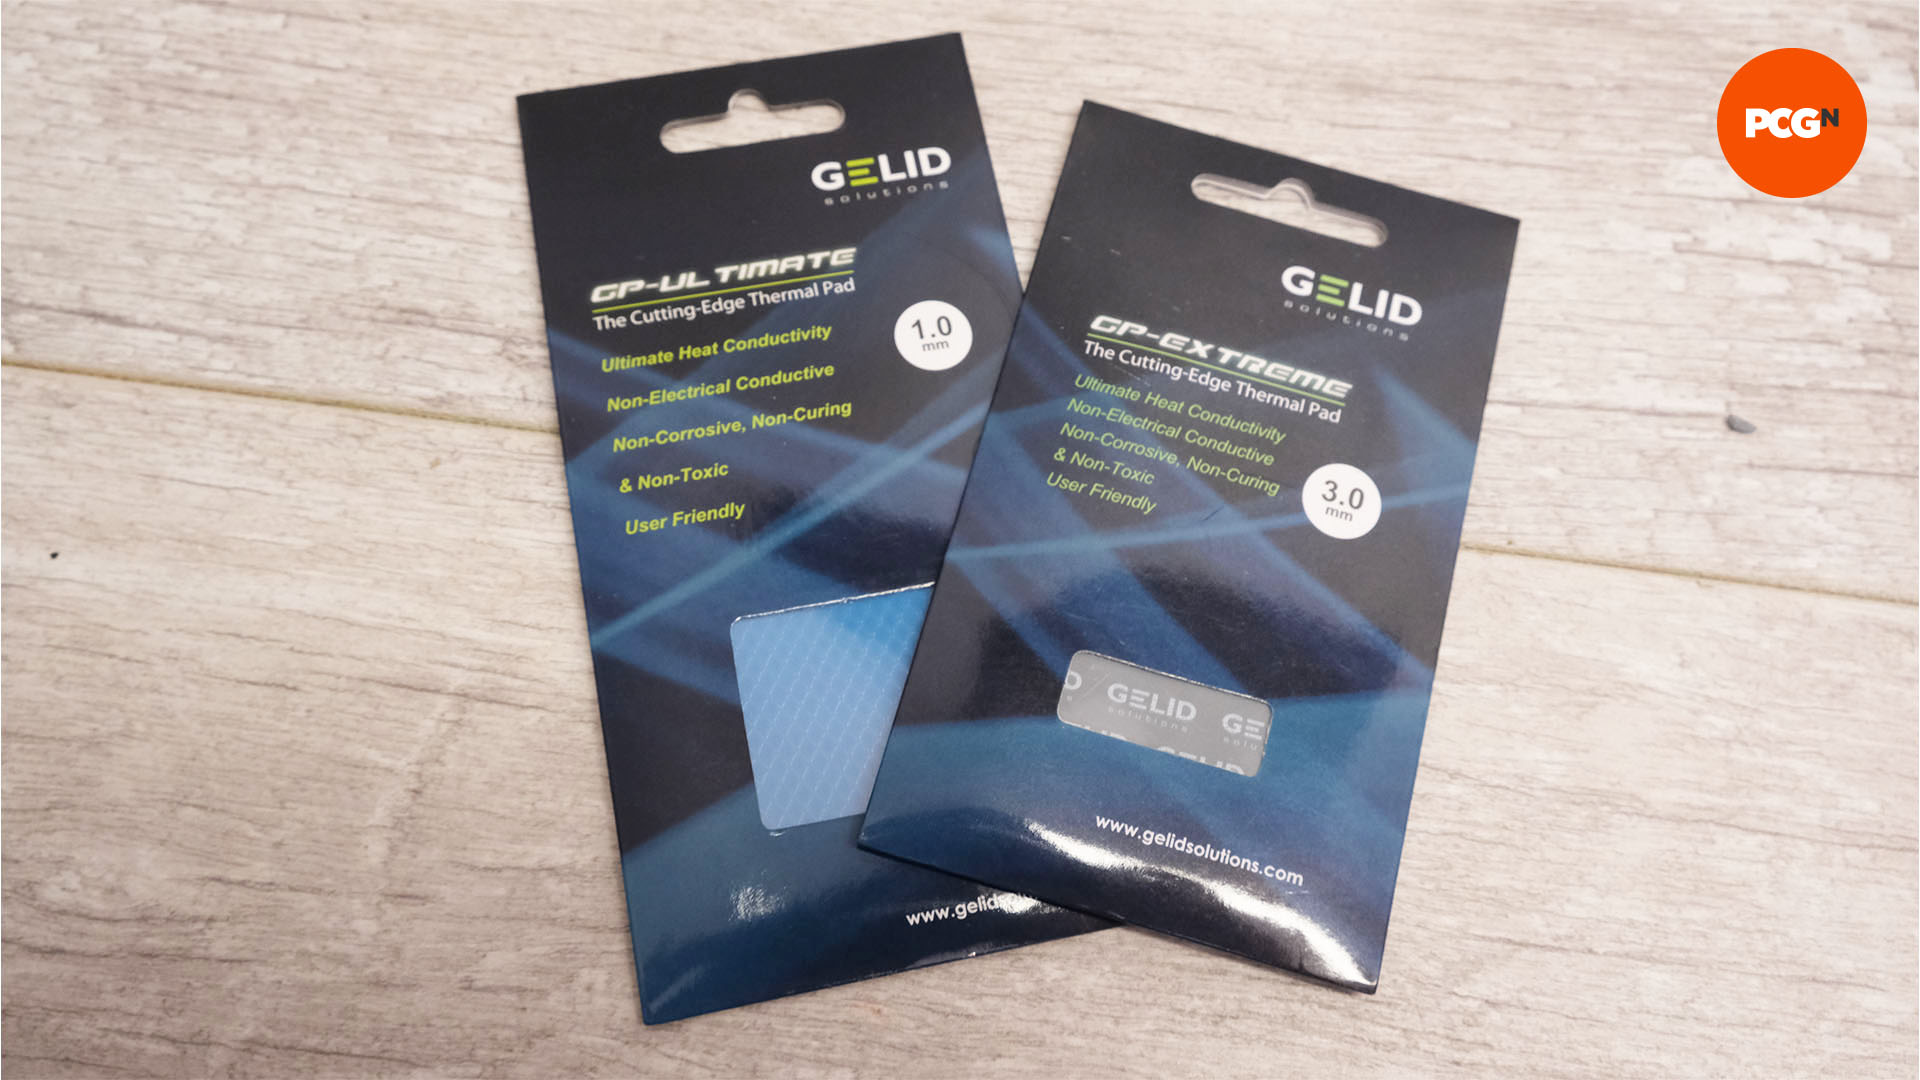
If the first step proves unsuccessful, proceed to step 6 and dismantle your card, so you can buy enough thermal pads – we recommend the Gelid thermal pads we’re using here. These pads come in a variety of sizes and thicknesses, so you’ll need to match the ones used on your card.
3. Use liquid metal paste
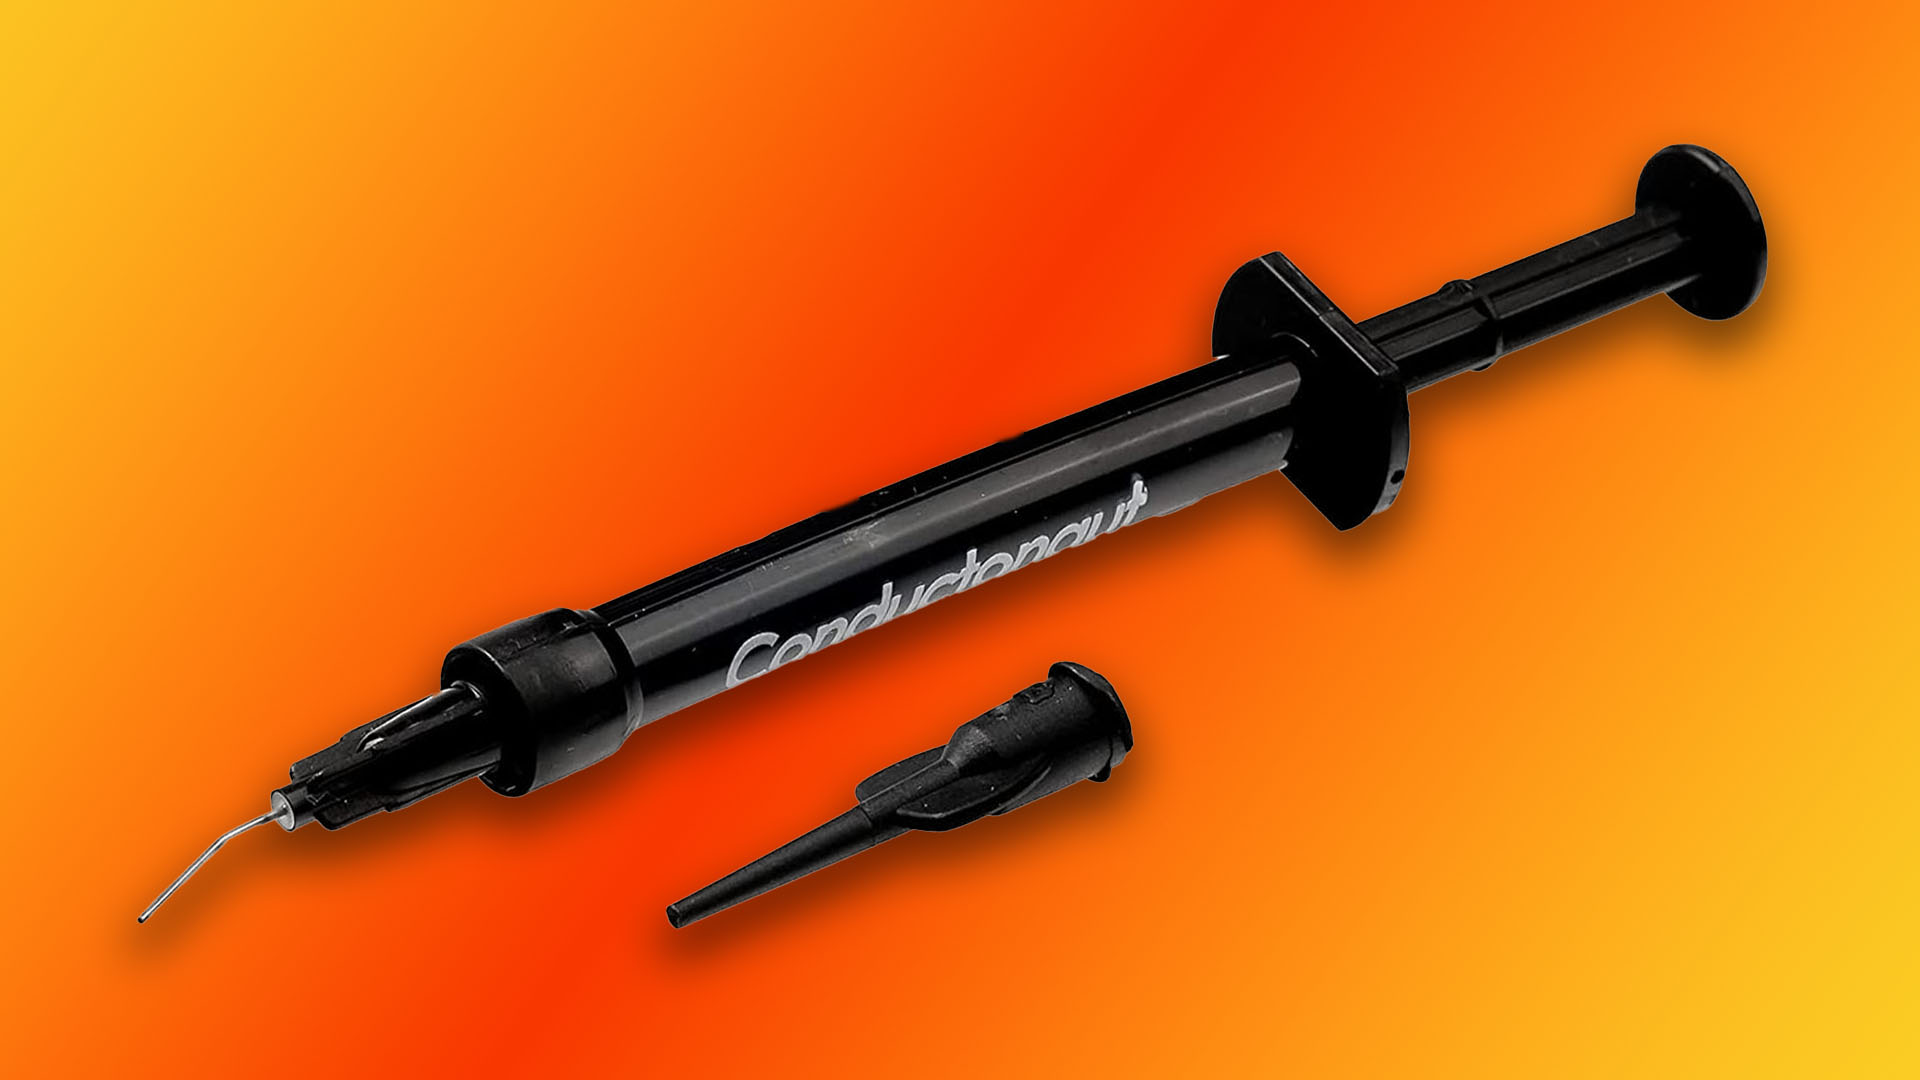
We’ll be using Thermal Grizzly Conductonaut liquid metal paste in order to get the best performance, but you can also use standard paste that’s non-conductive. The former can offer lower temperatures, but you’ll need to carry out the steps below to ensure it’s safe.
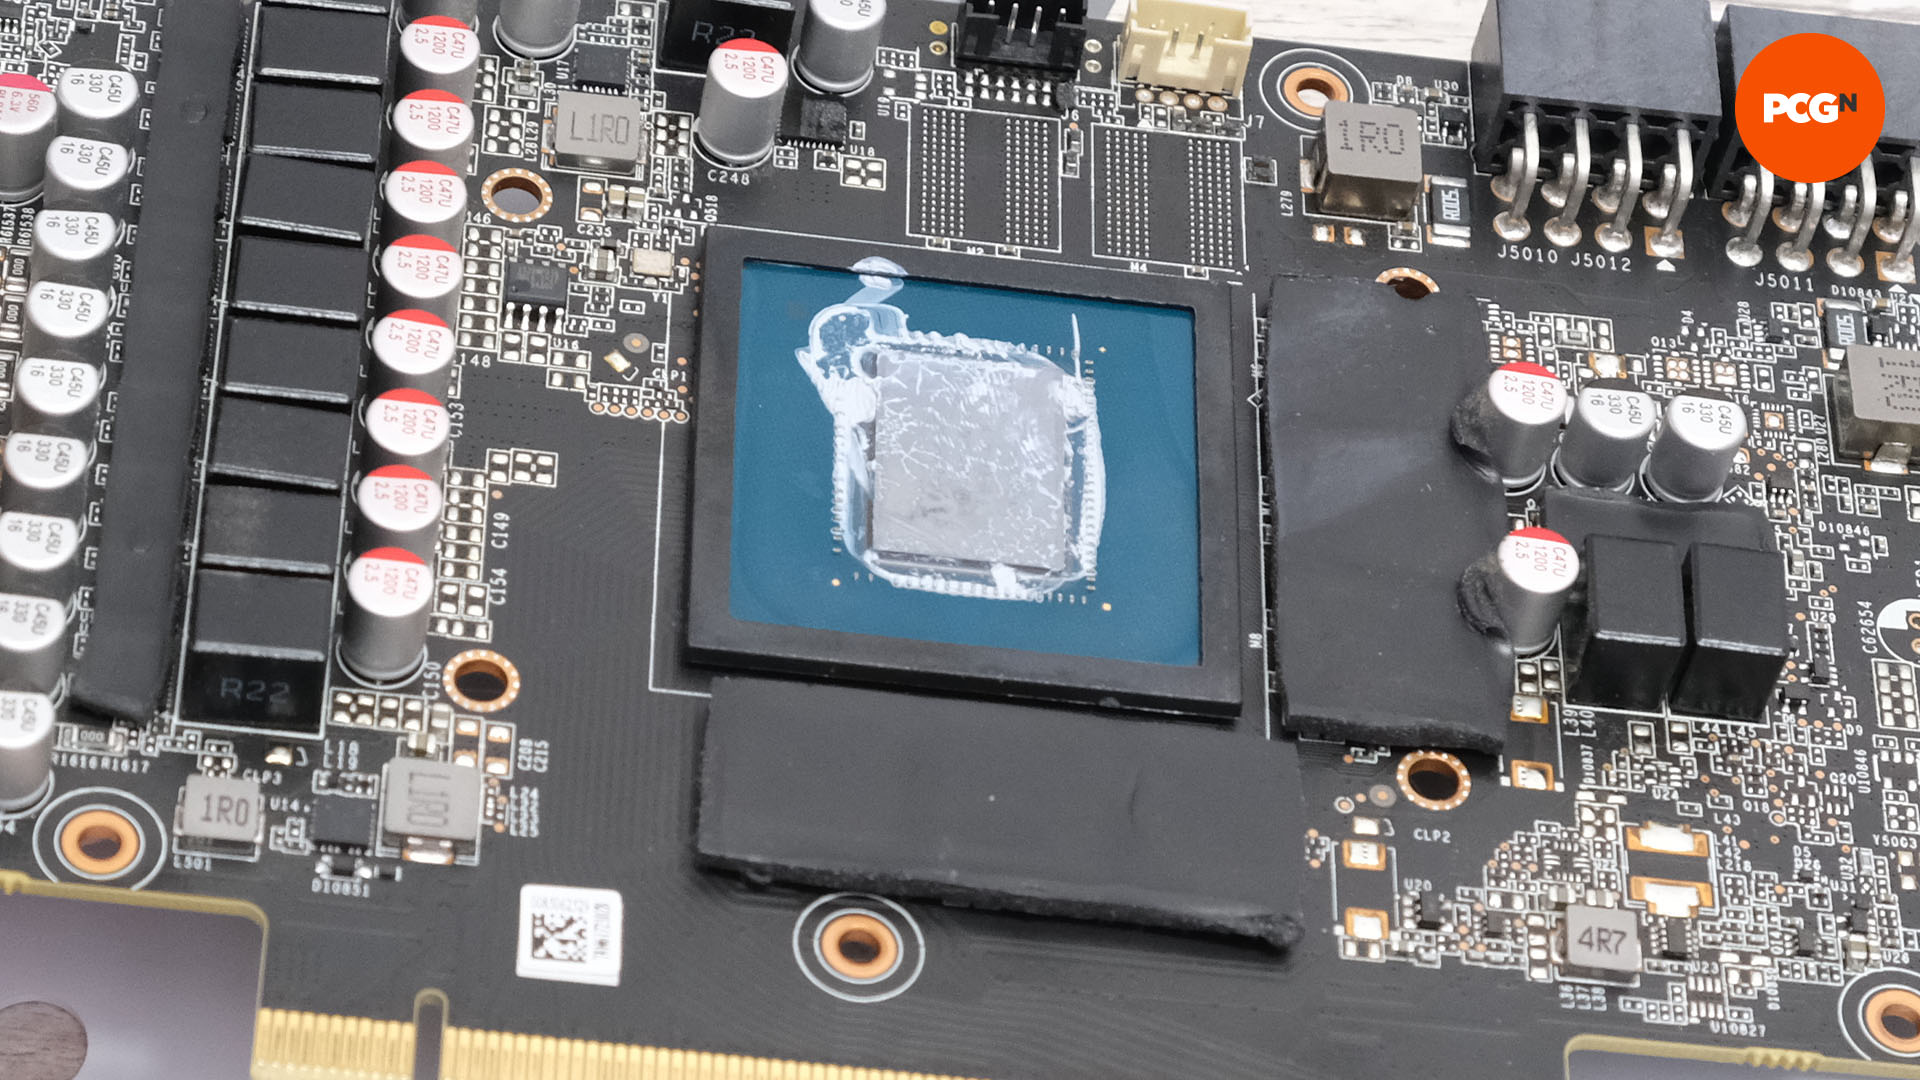
4. Inspect GPU area
Check the area around the GPU core in the image of your graphics card’s PCB. This is likely to have exposed components, in which case they’ll need to be insulated if you use liquid metal paste, as this paste can run when it gets hot. Again, if you can’t find photos, you’ll need to dismantle your card first.
5. Test graphics card
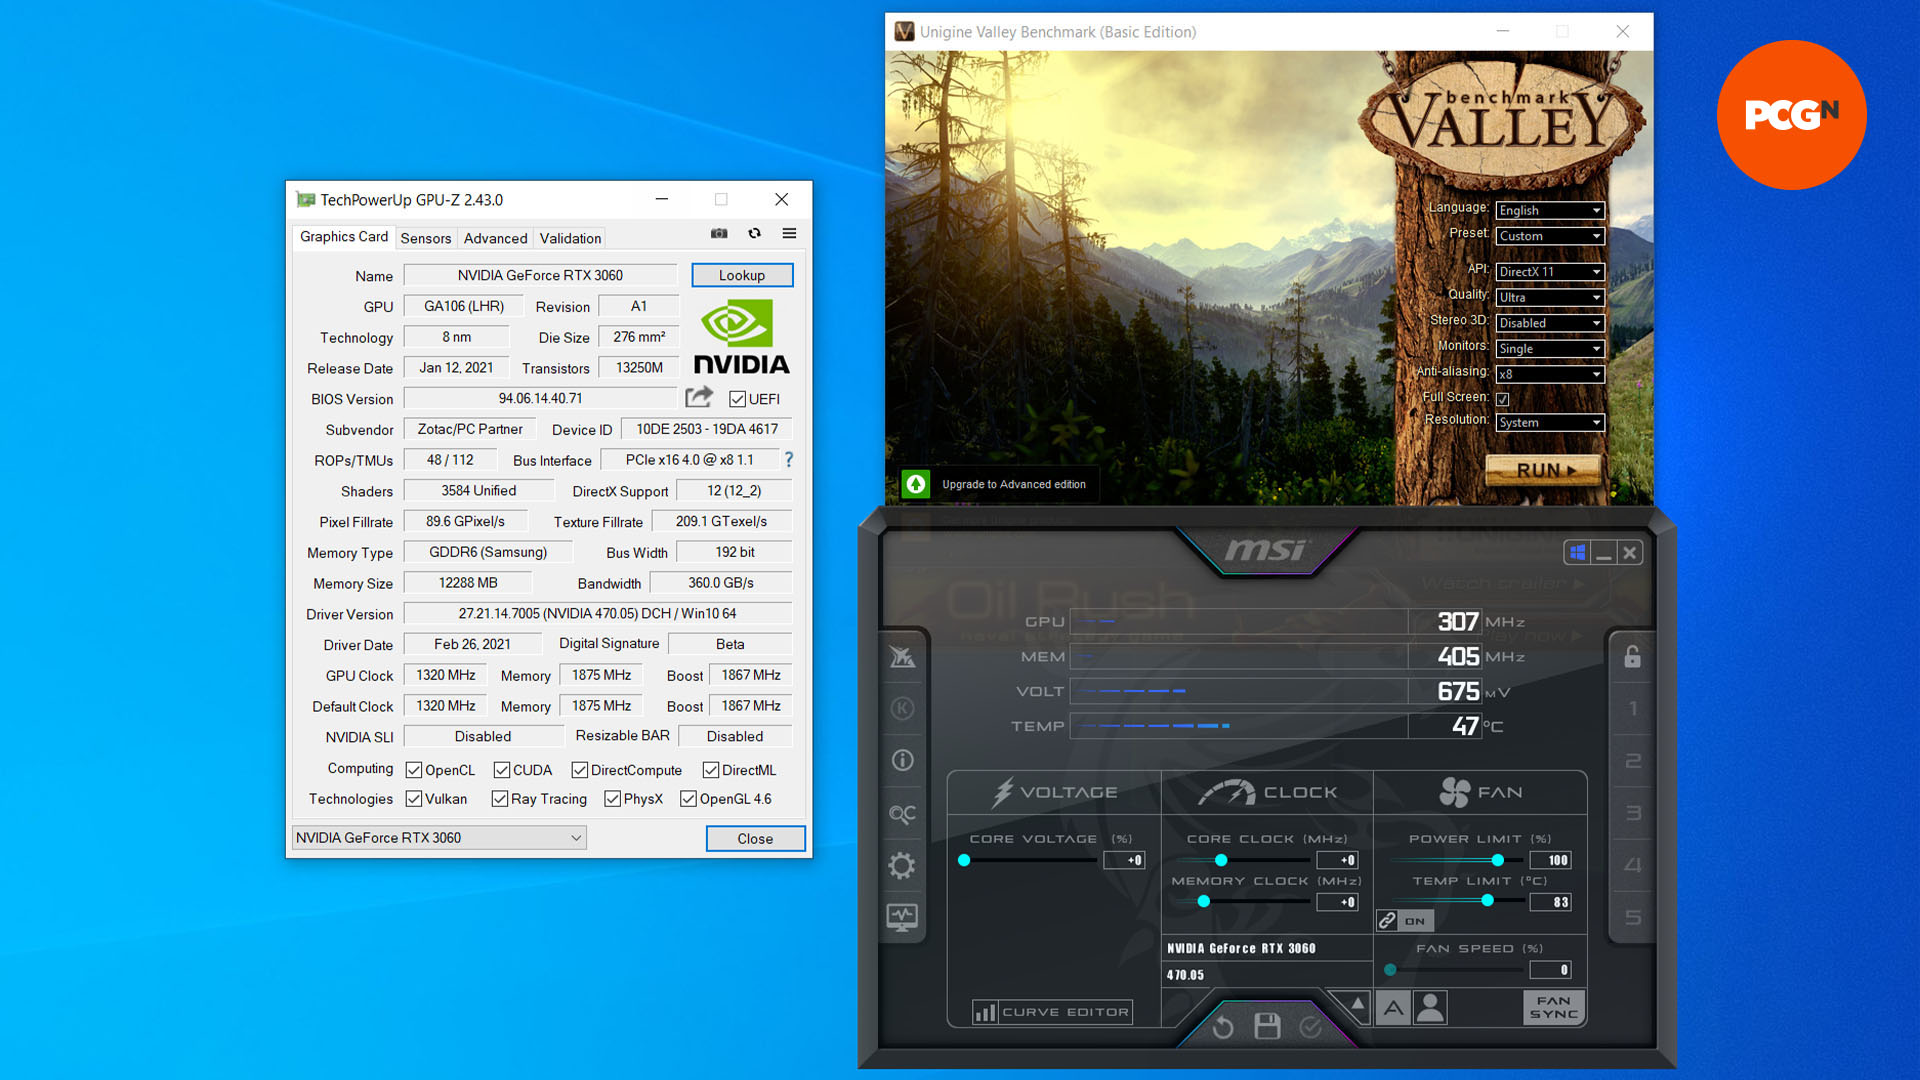
To see the results, run an intensive benchmark, such as Unigine Valley, to load your card, with GPU-Z recording the temperature of the GPU core and memory after ten minutes. Set a fixed fan speed such as 50 percent using MSI Afterburner, so you can stop automatic fan control from skewing the results.
6. Remove screws
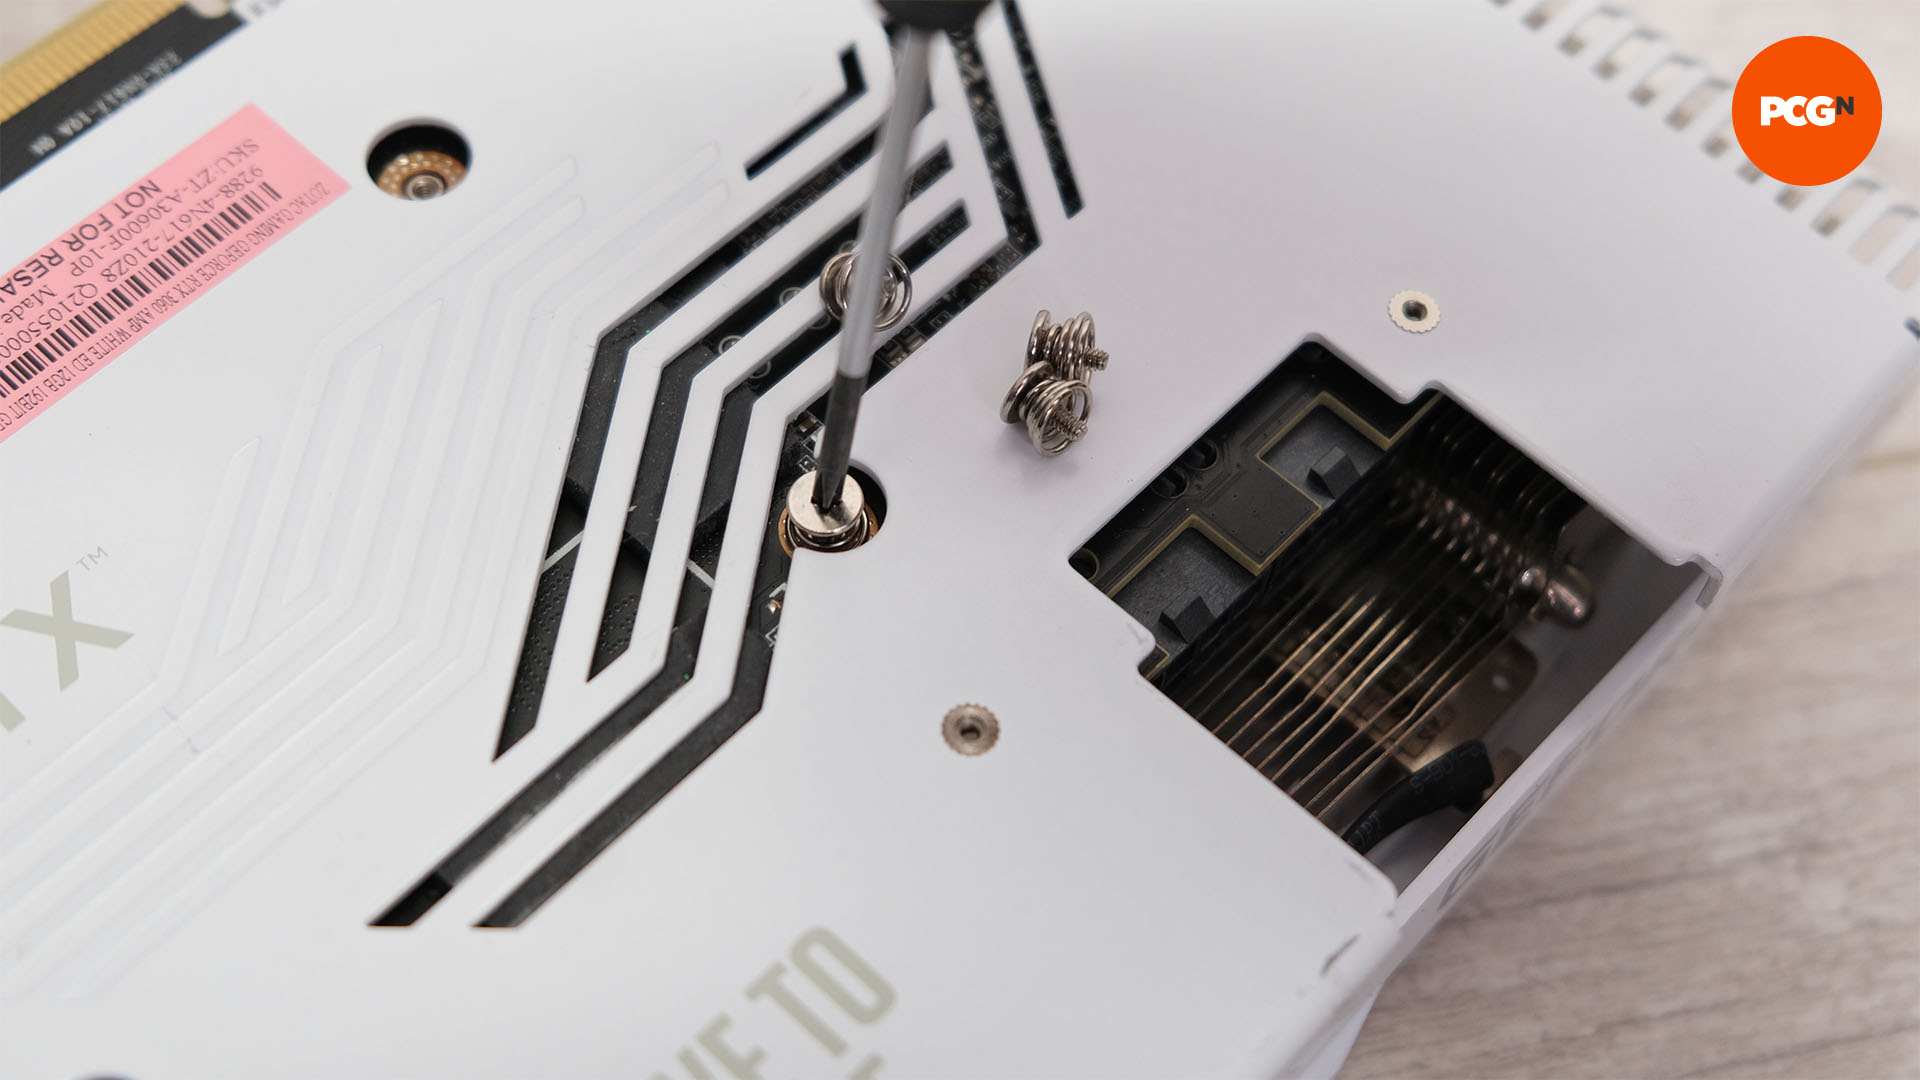
Remove the screws on the graphics card’s rear side to begin dismantling it. Use a small pot to contain them, as they’ll be easily lost. You’ll very probably need a micro screwdriver to deal with some of them.
7. Detach cables
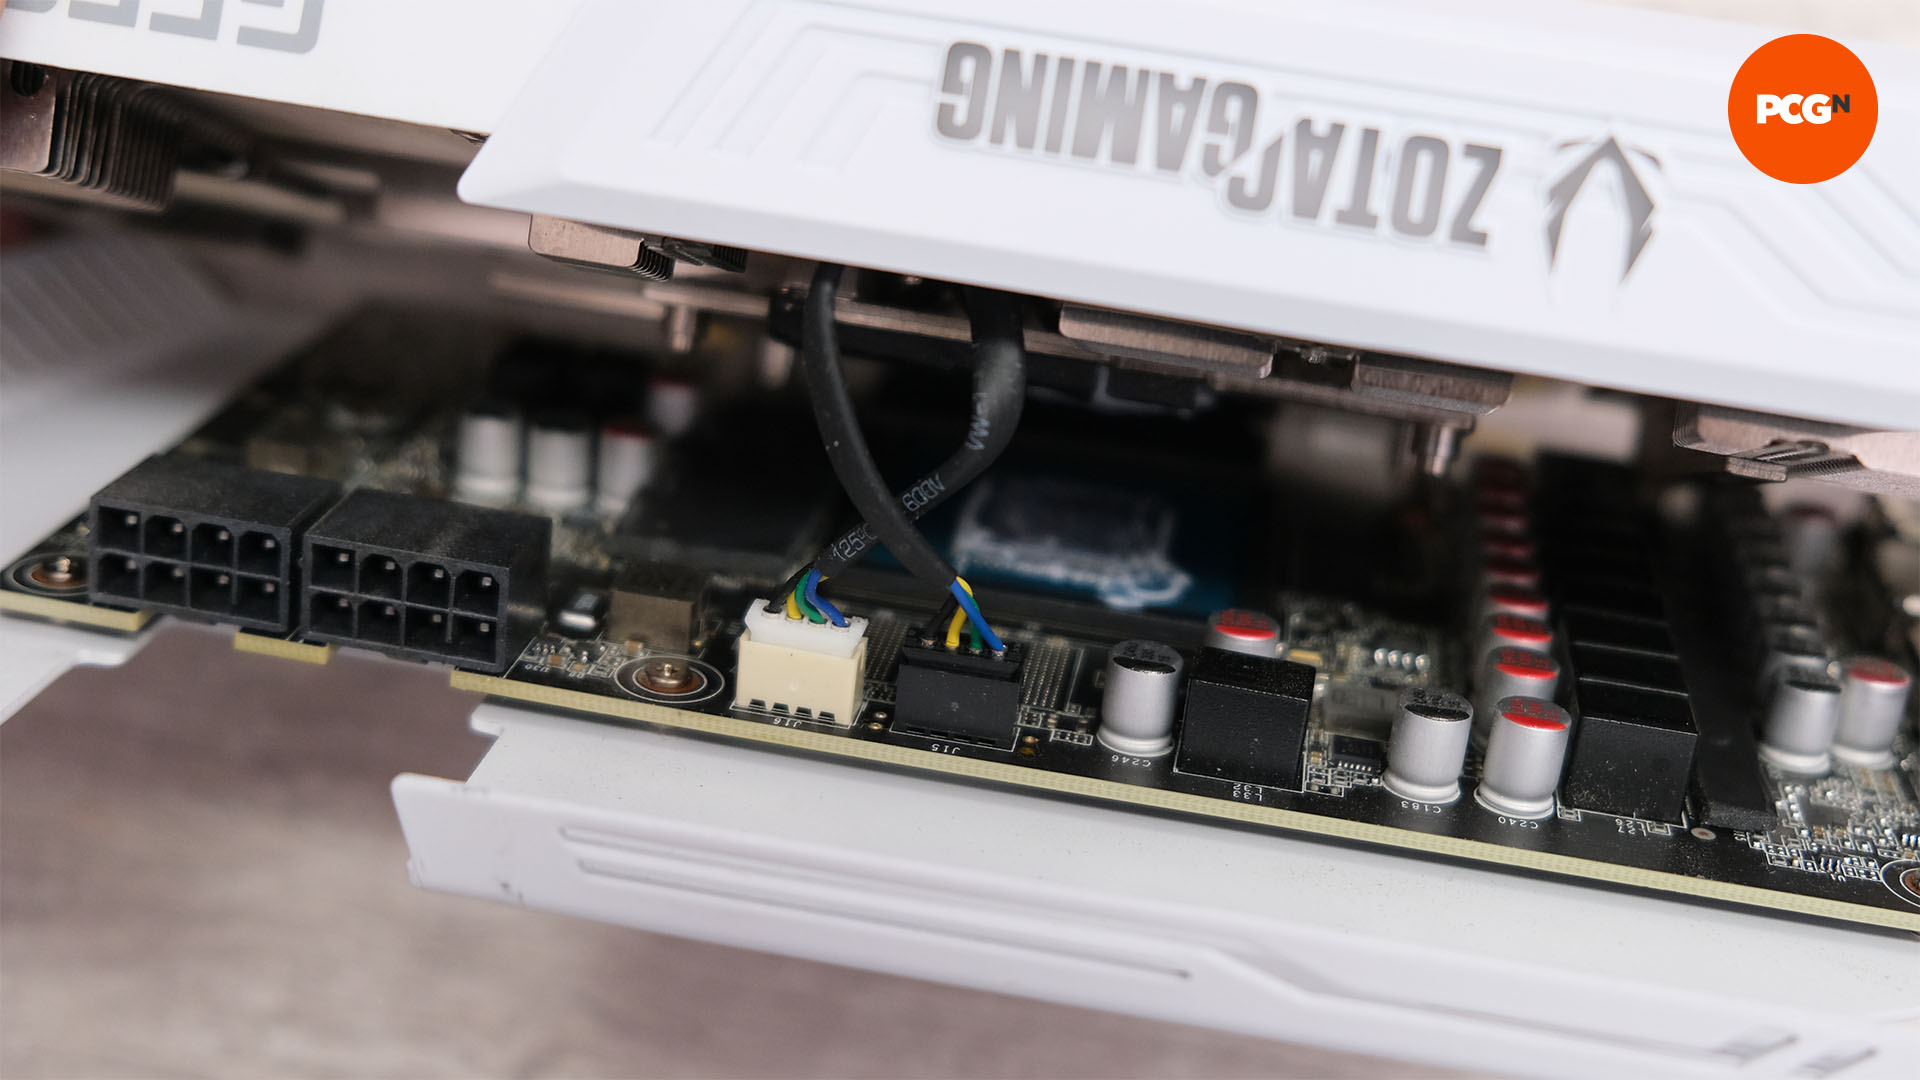
Once all the screws have been removed, detach any power and lighting cables you can see on your card. Most of them should be accessible now, but some may have to wait until you lift the heatsink.
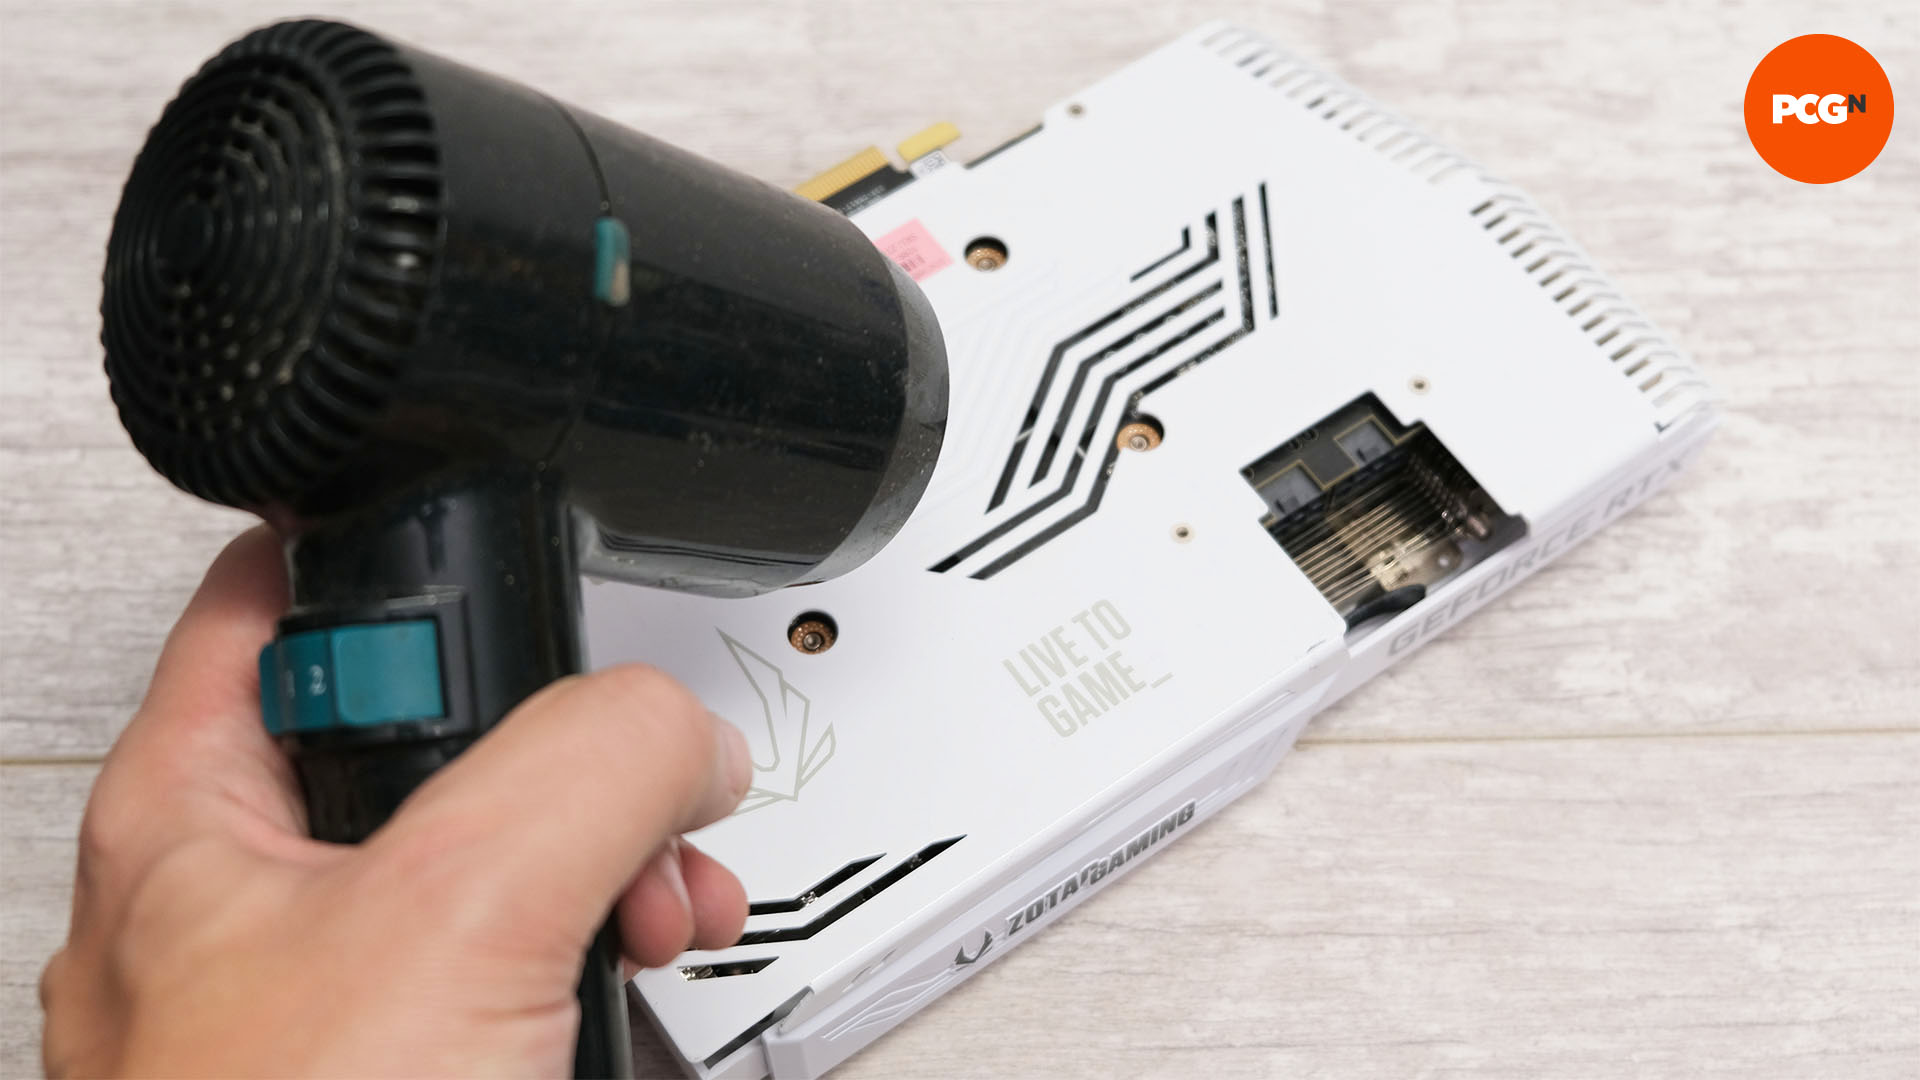
8. Use a hairdryer
If the heatsink proves tricky to remove, it can help to use a hairdryer from a foot away on a high heat and fan setting. This warms the card, and in turn warms the thermal paste and pads, making it easier to remove the heatsink.
9. Lift away heatsink
Go ahead and lift the heatsink away from the PCB, but do it gently and watch out for any cables that need to be detached.
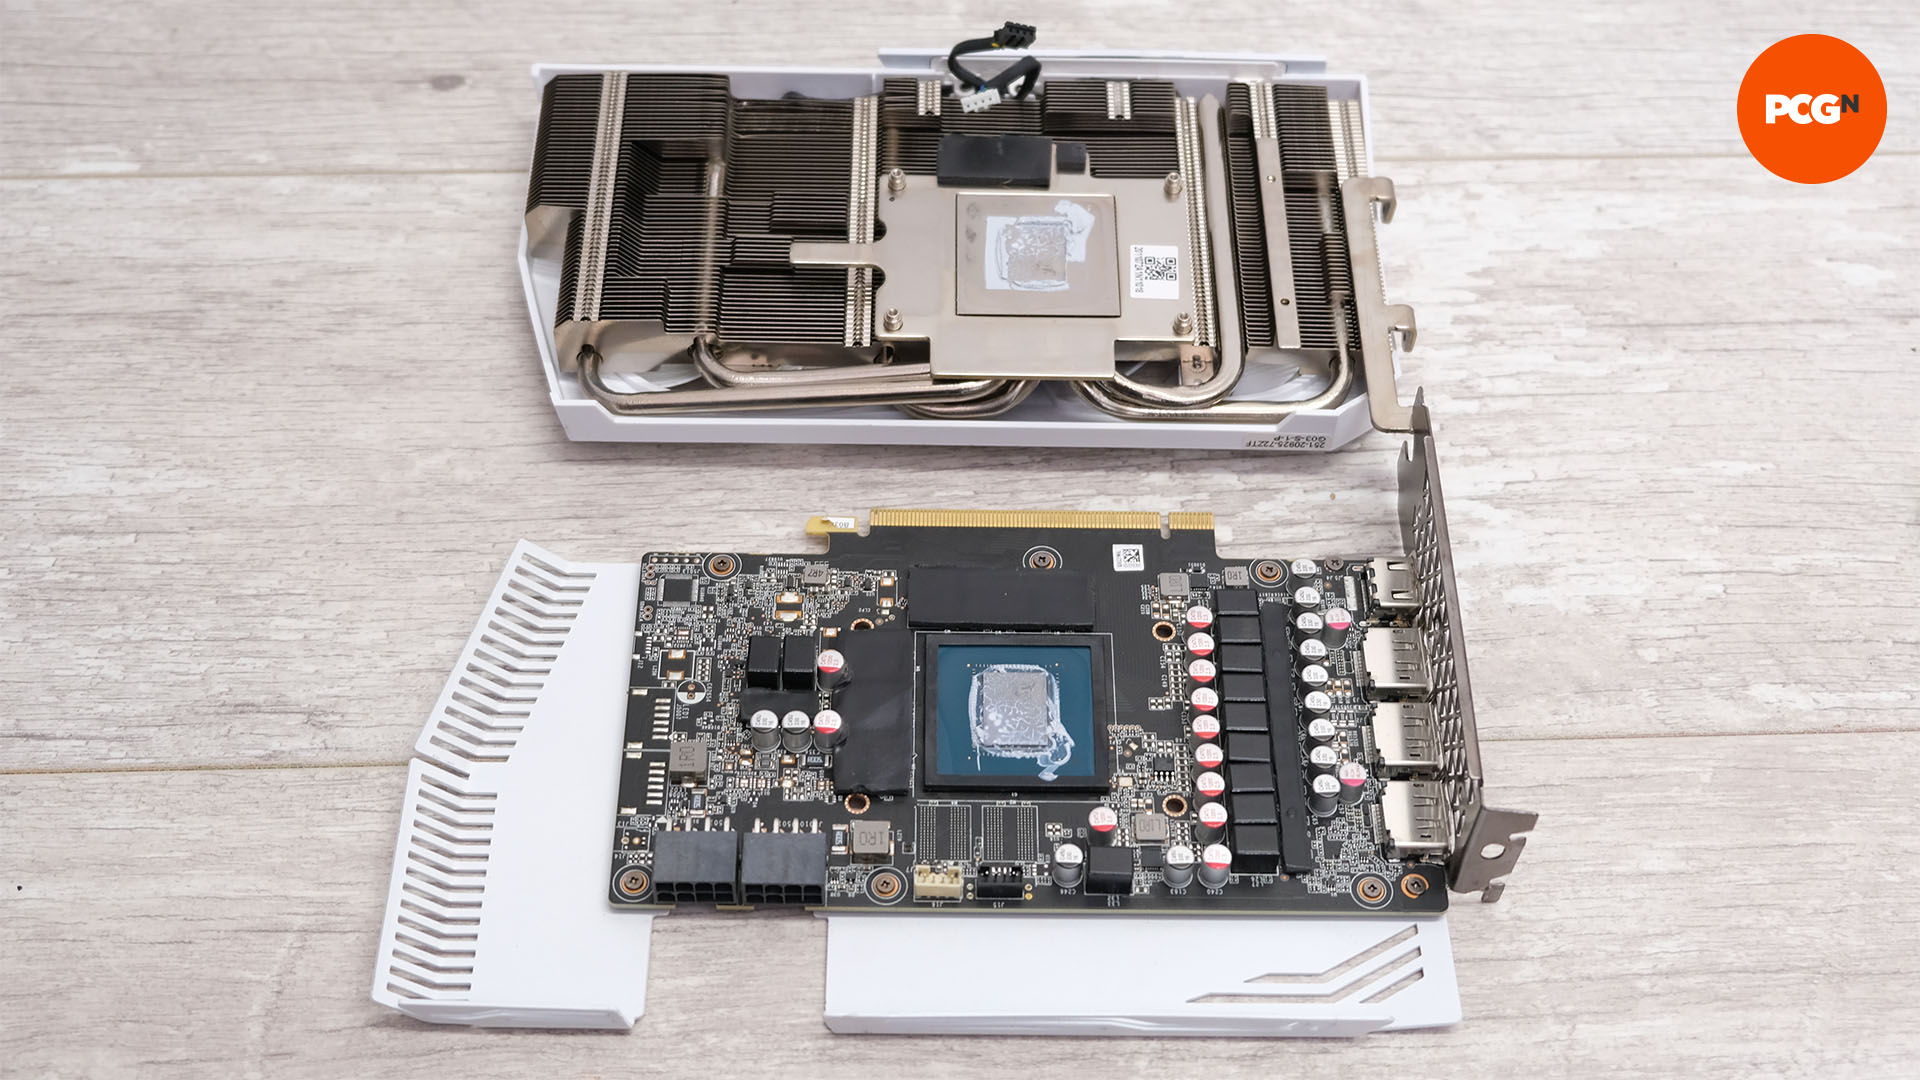
10. Detach slot bracket
You may need to remove the expansion slot bracket at the end of the card in order to fully dismantle it. This is easy to do, as the bracket will only be held in place by a few screws.
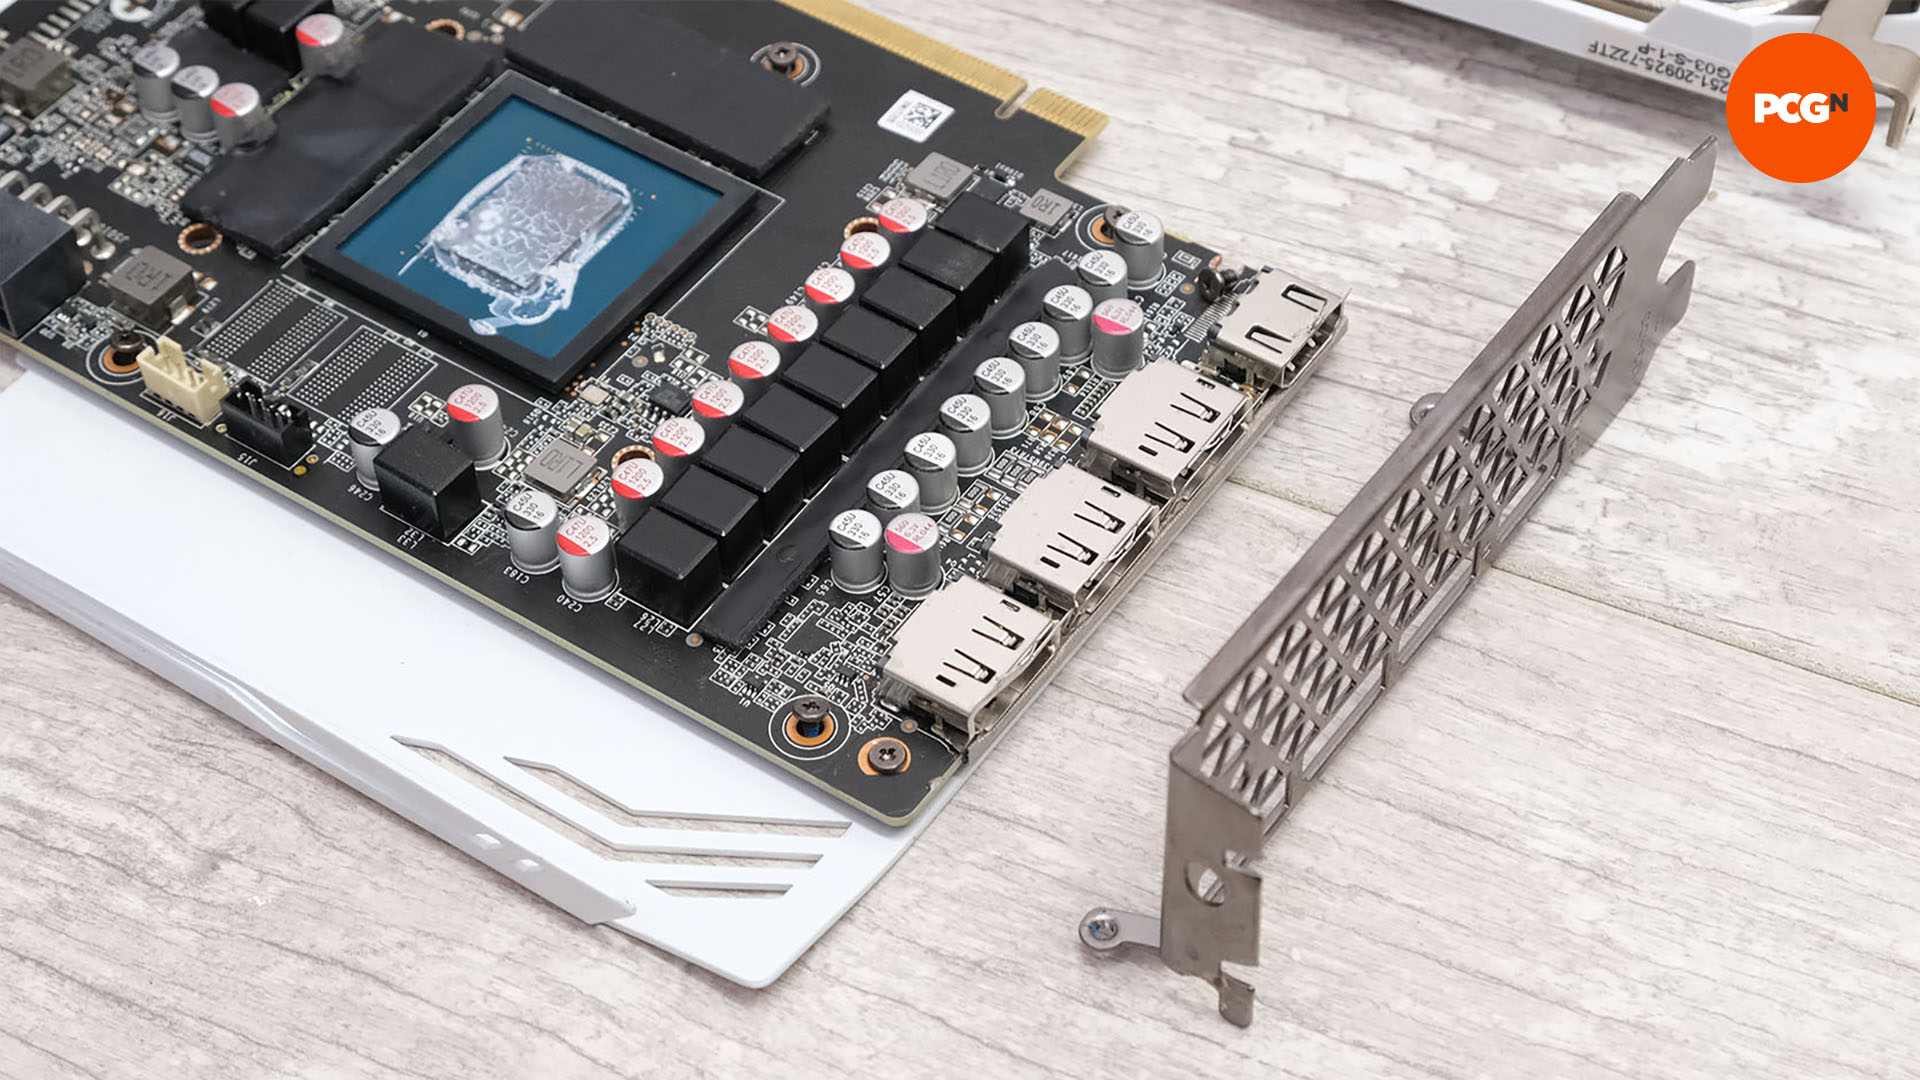
11. Remove thermal pads
With the key parts separated, remove any thermal pads that are located on the VRMs and memory chips, taking note of any size differences, so you can replace them with pads of the same size and thickness.
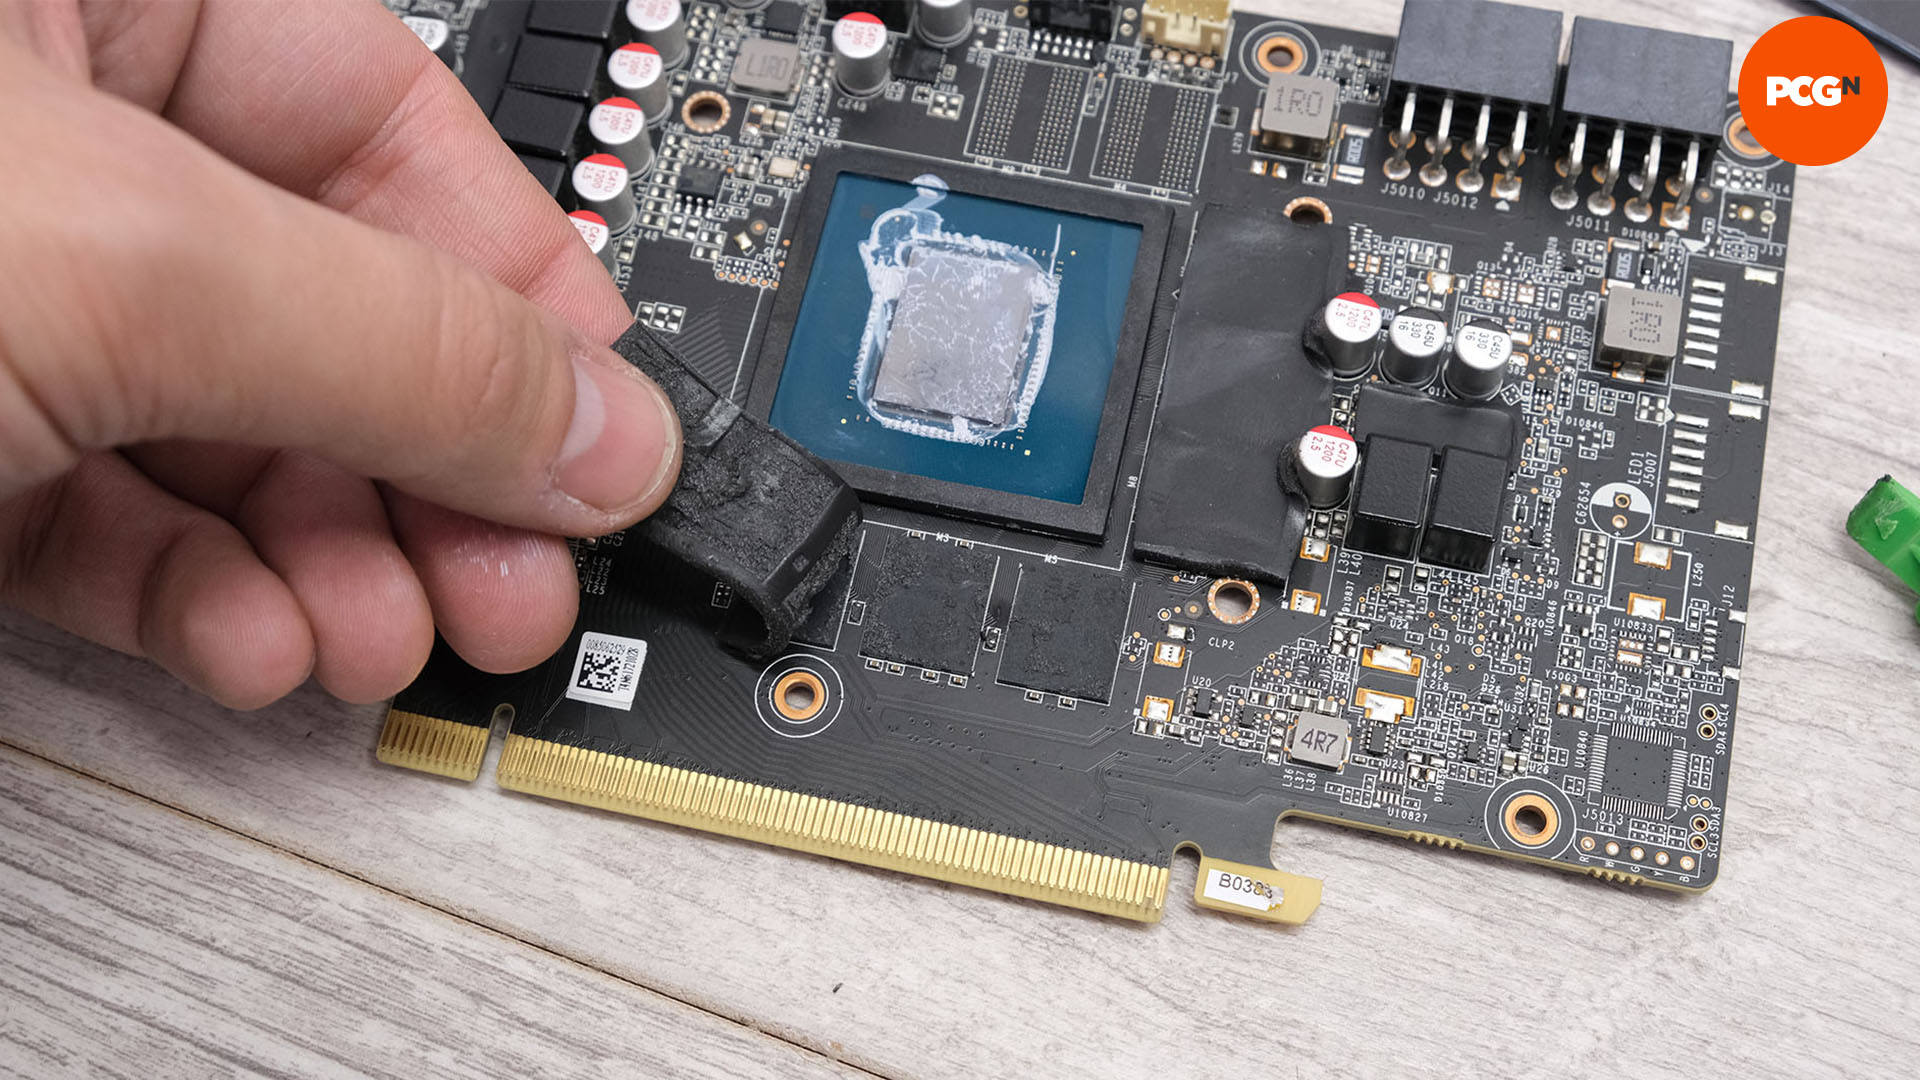
12. Clean surfaces
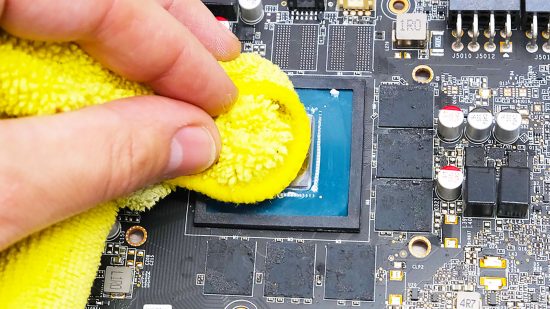
With the pads removed, use thermal paste cleaner or isopropyl alcohol, plus a microfibre cloth, to clean the surfaces of the GPU core, memory and heatsink. Pads can leave behind a residue, so be sure to clean the areas that were underneath the pads too.
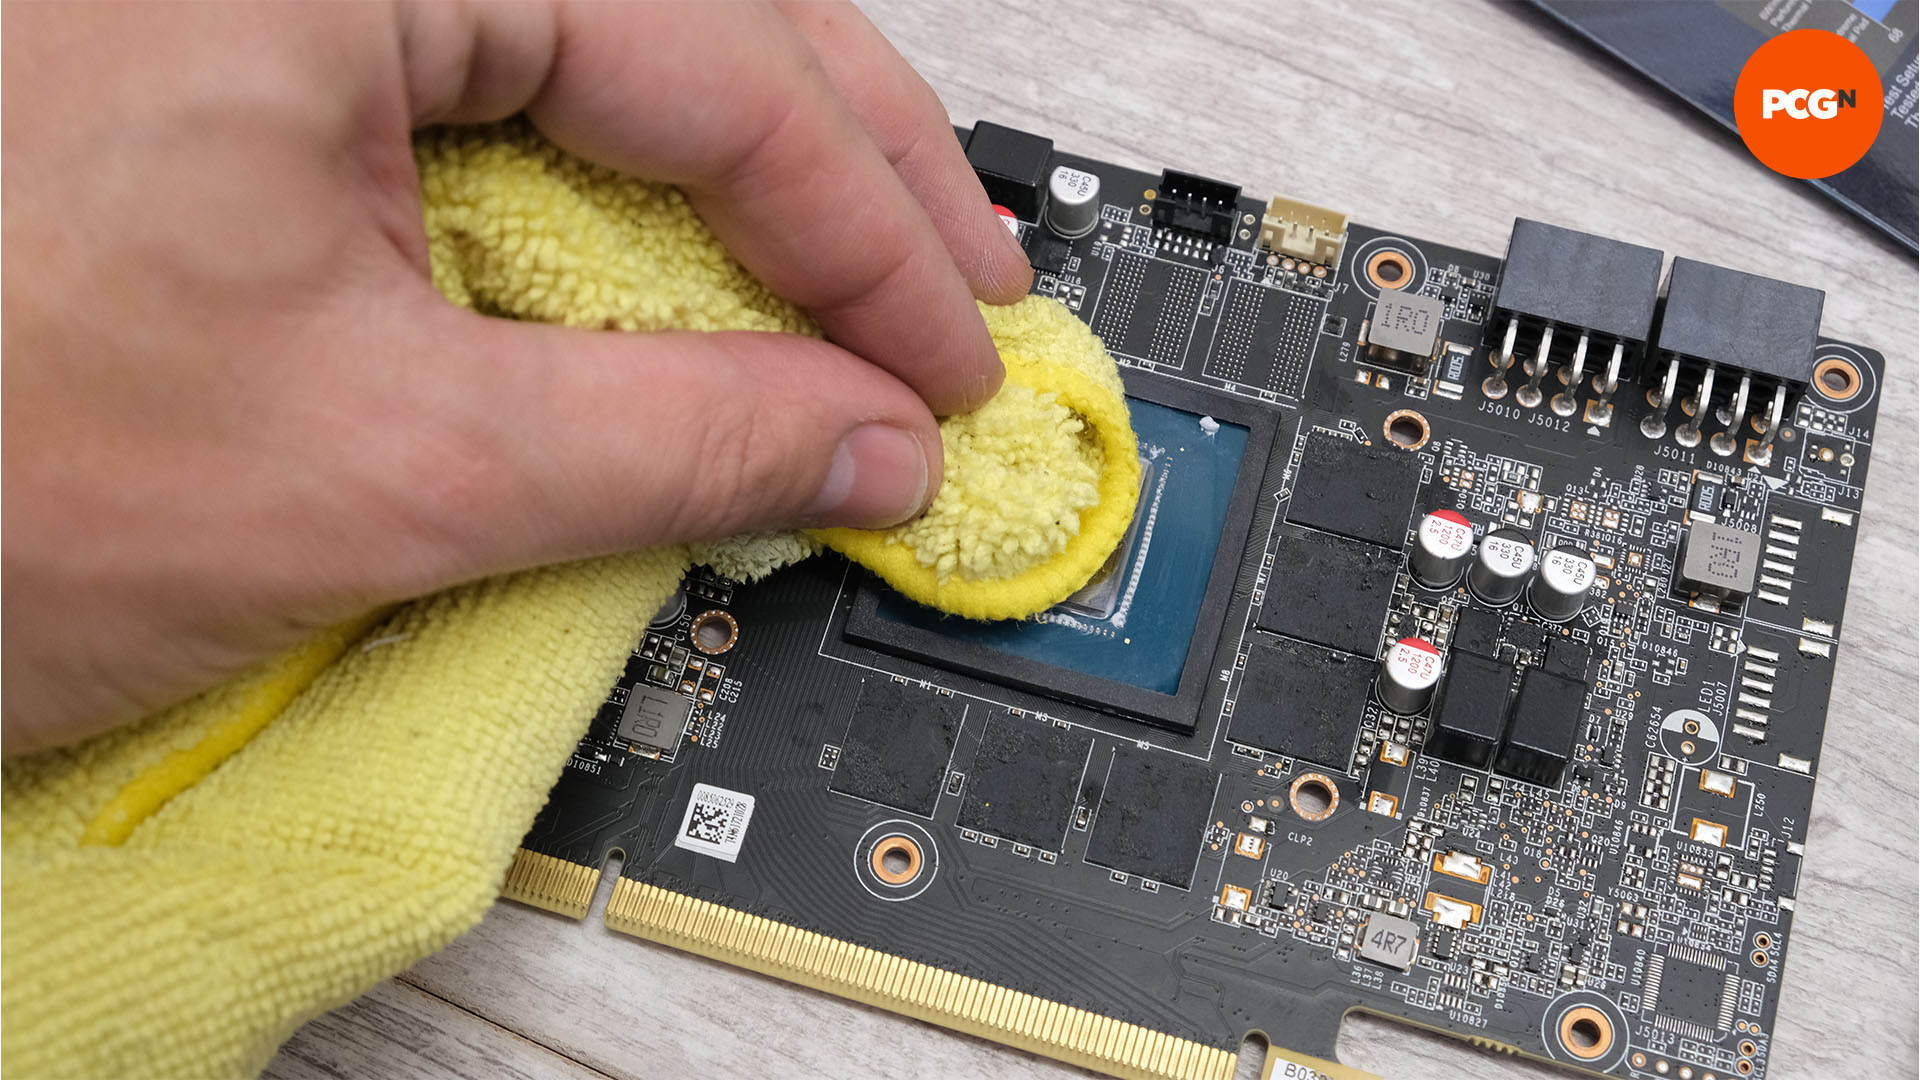
13. Remove other pads
Now inspect the heatsink and backplate. Remove any remaining thermal pads on these parts, and clean the contact areas here too. If the backplate is metal yet lacks thermal pads by default, it’s worth adding some pads above the rear of the memory modules and GPU core.
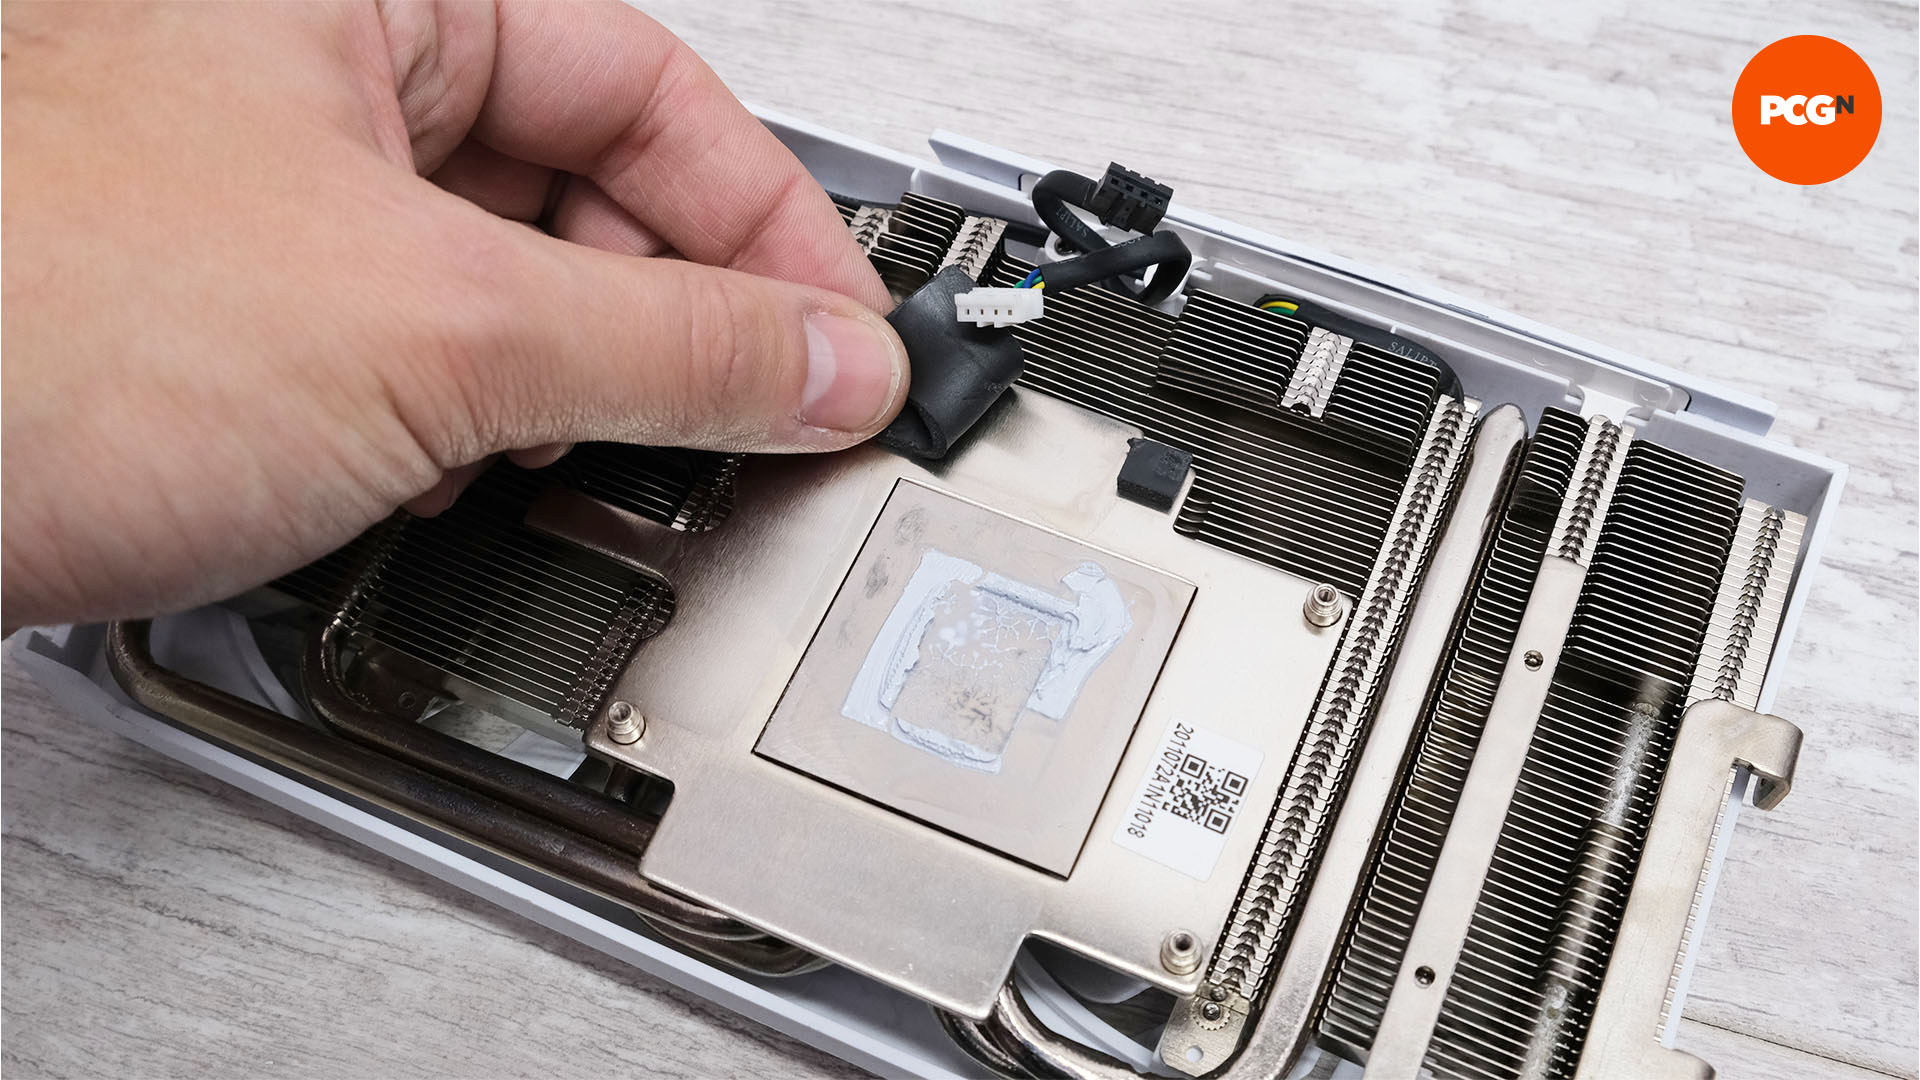
14. Clean heatsink with compressed air
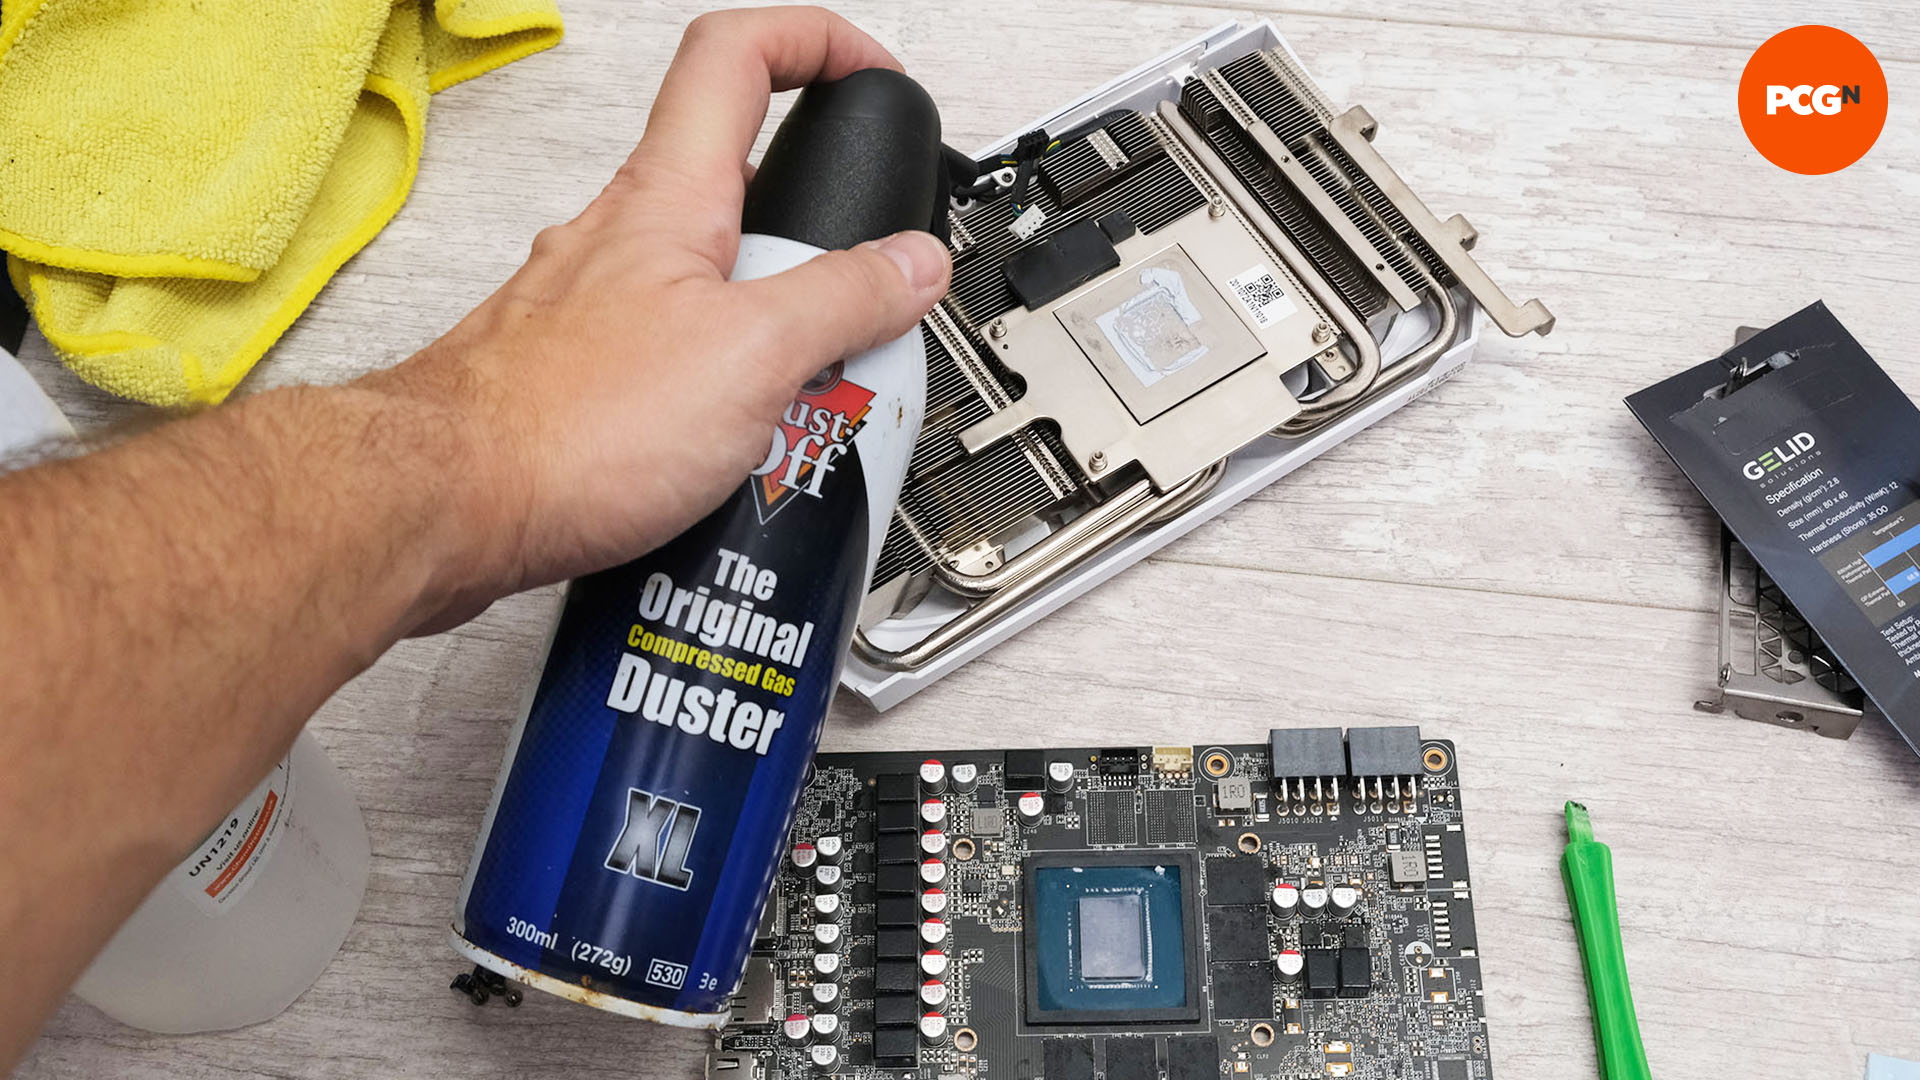
Now is a great time to clean your heatsink, as it can pick up dust and detritus over time, even if your case is well protected against it. An air duster is great for this job, but do it outside, as a lot of dust can be ejected if your card is particularly dirty.
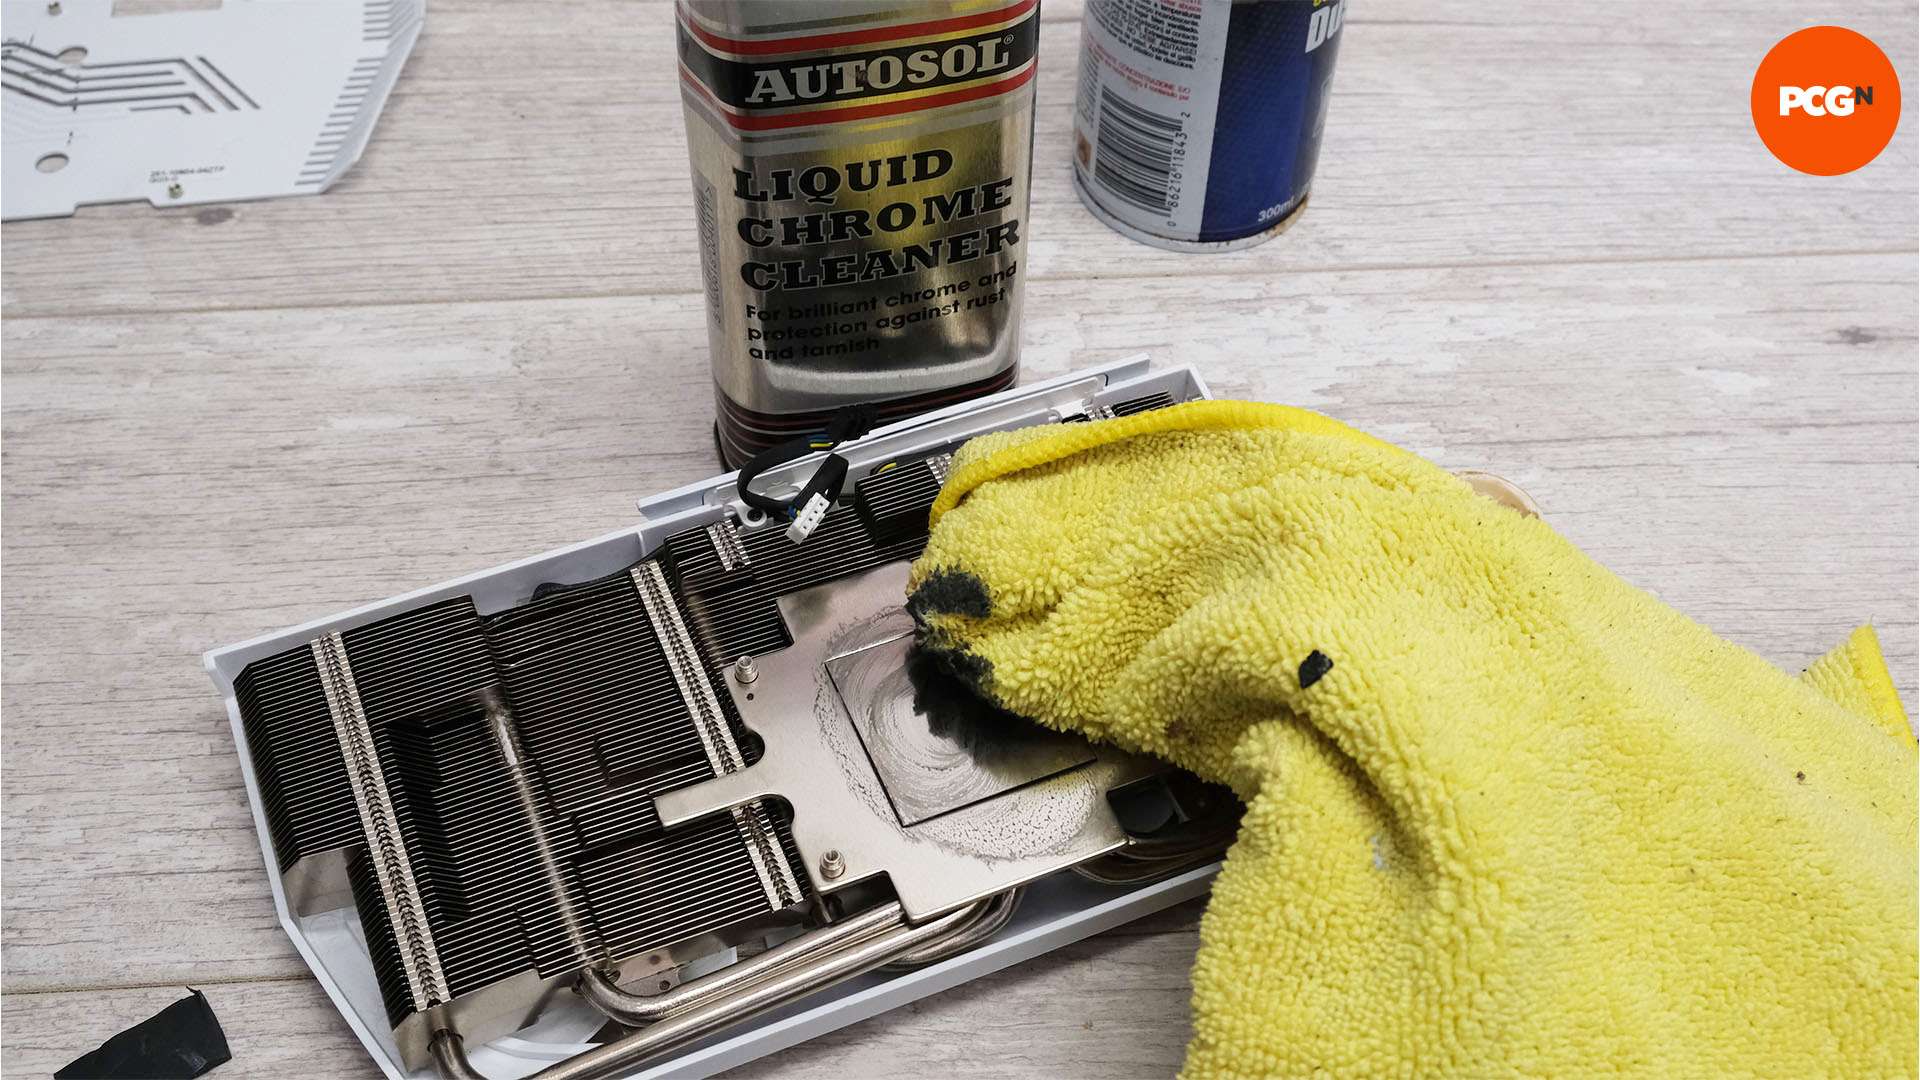
15. Polish GPU contact plate
The part of the heatsink that makes contact with the GPU core can often benefit from being polished if it’s become tarnished. Use a metal polish such as Autosol with a microfibre cloth to buff it to a shine, then use thermal paste cleaner to prepare it afterward.
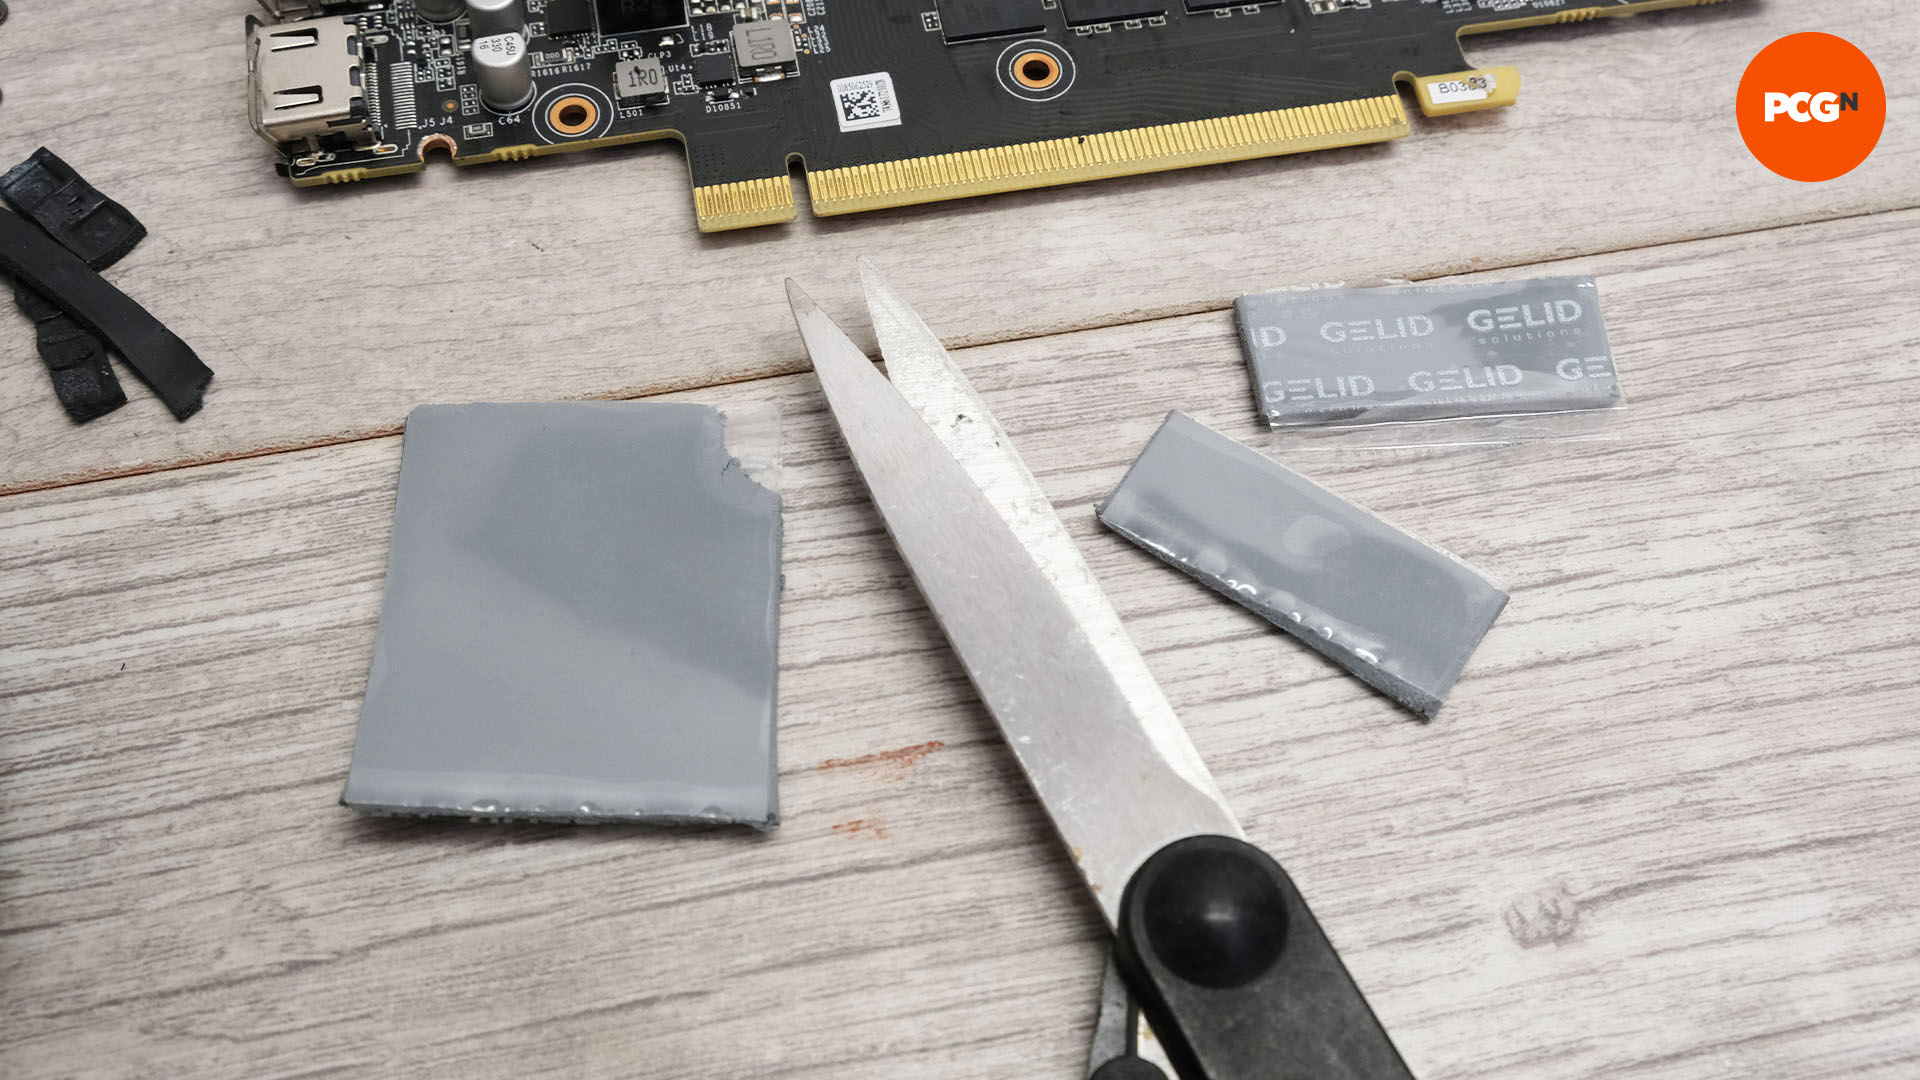
16. Cut new pads to size
Use scissors to cut the new thermal pads to size, mirroring the shapes of the original pads with the same thicknesses. Be sure to identify any small chips or other components that need pads as well.
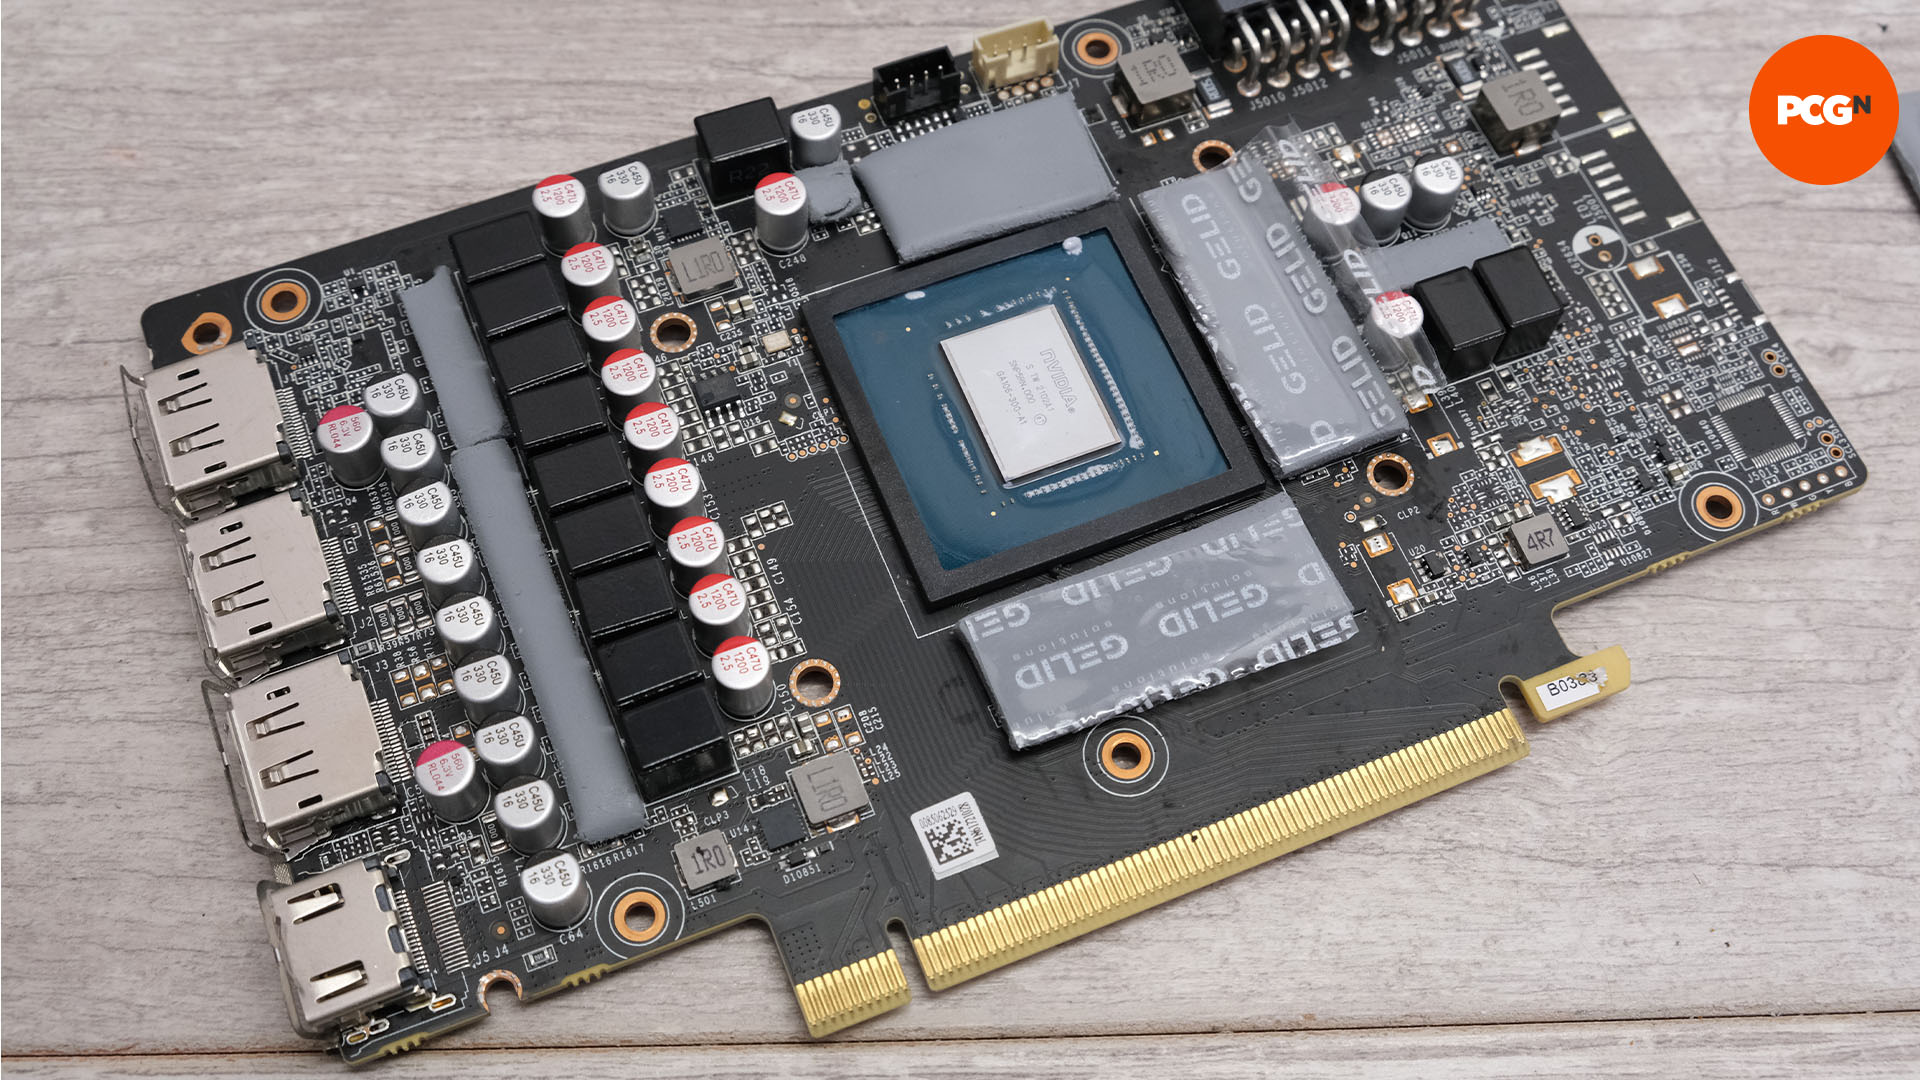
17. Fit pads to memory and VRMs
Remove one side of the protective film on the thermal pads and place the pads onto the memory and VRMs. Press them in place, as this will help them stick to the surface and not move around.
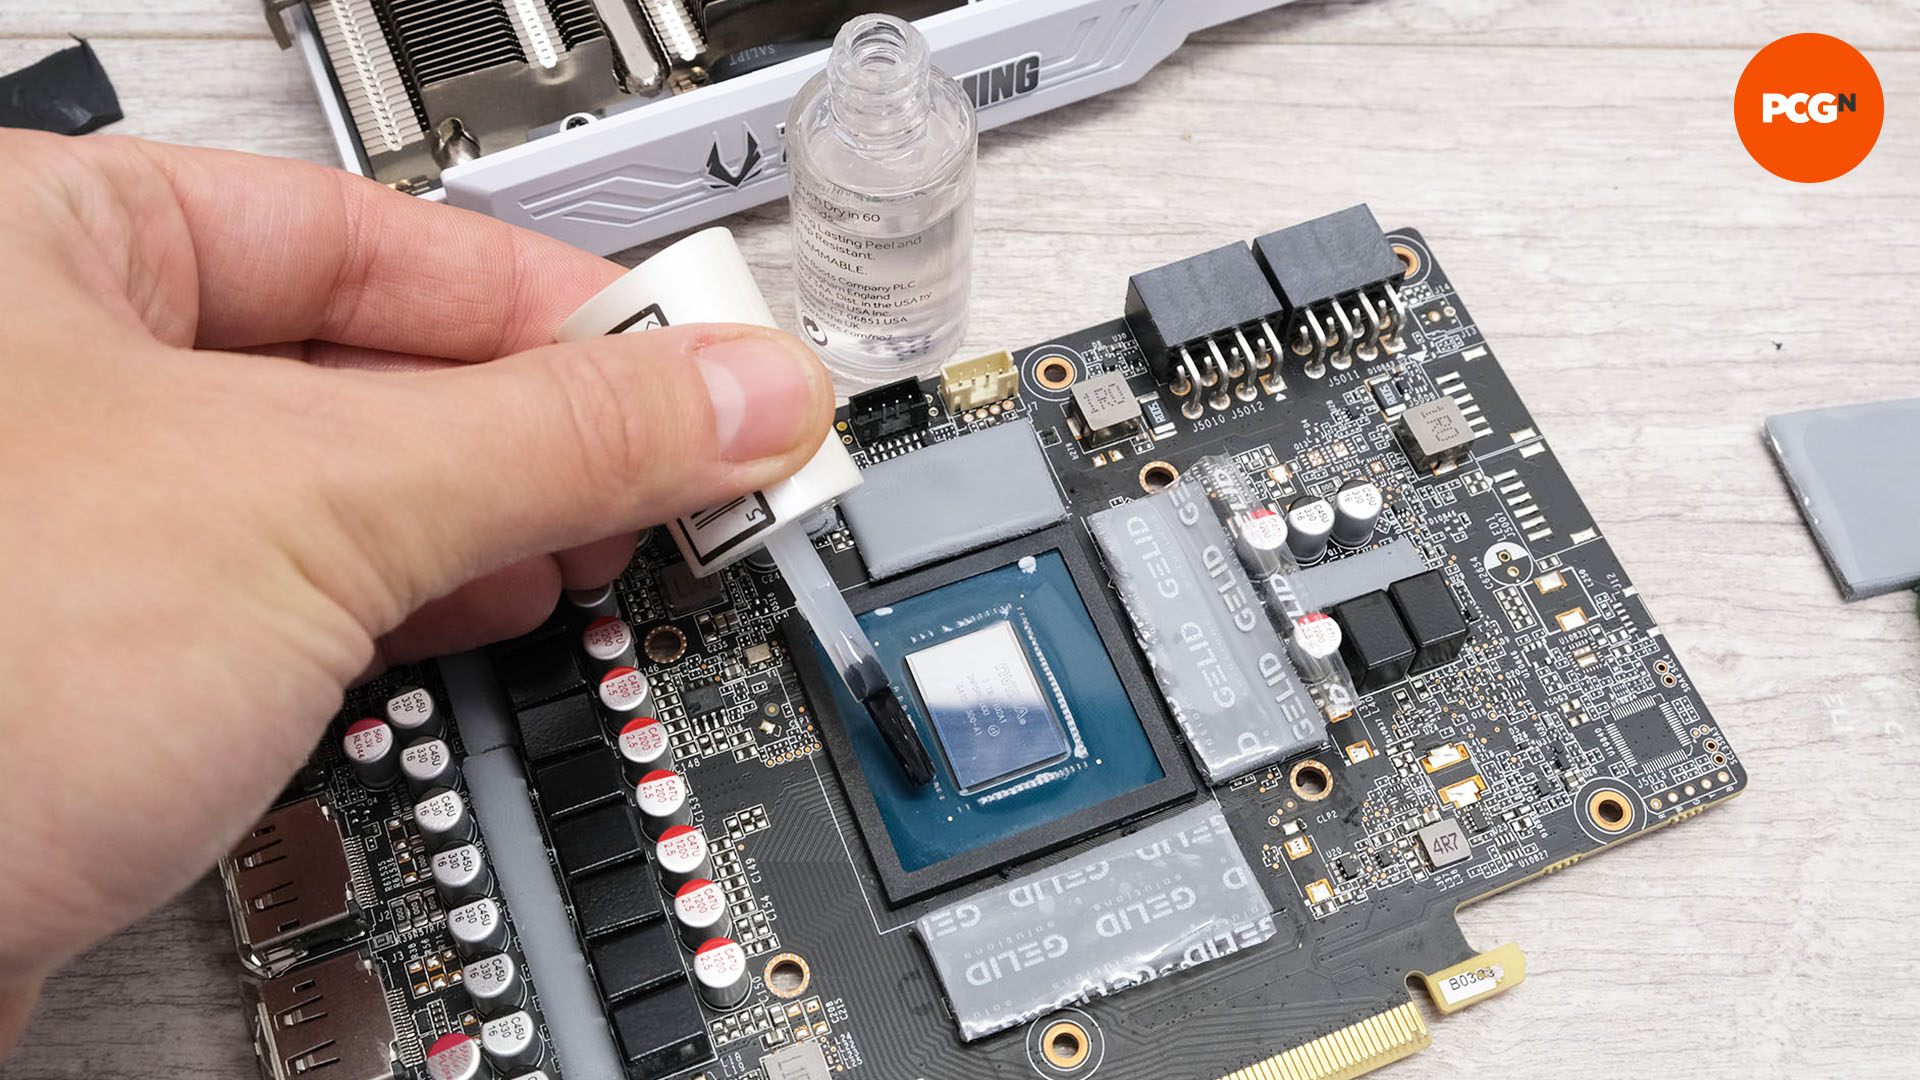
18. Apply nail varnish to GPU area
If you plan to use liquid metal paste, you’ll need to insulate the area around the GPU core in order to prevent short circuits should the paste run when it gets hot. Apply a thin layer of nail varnish (clear top coat) over the area immediately around the core– at least 10mm.
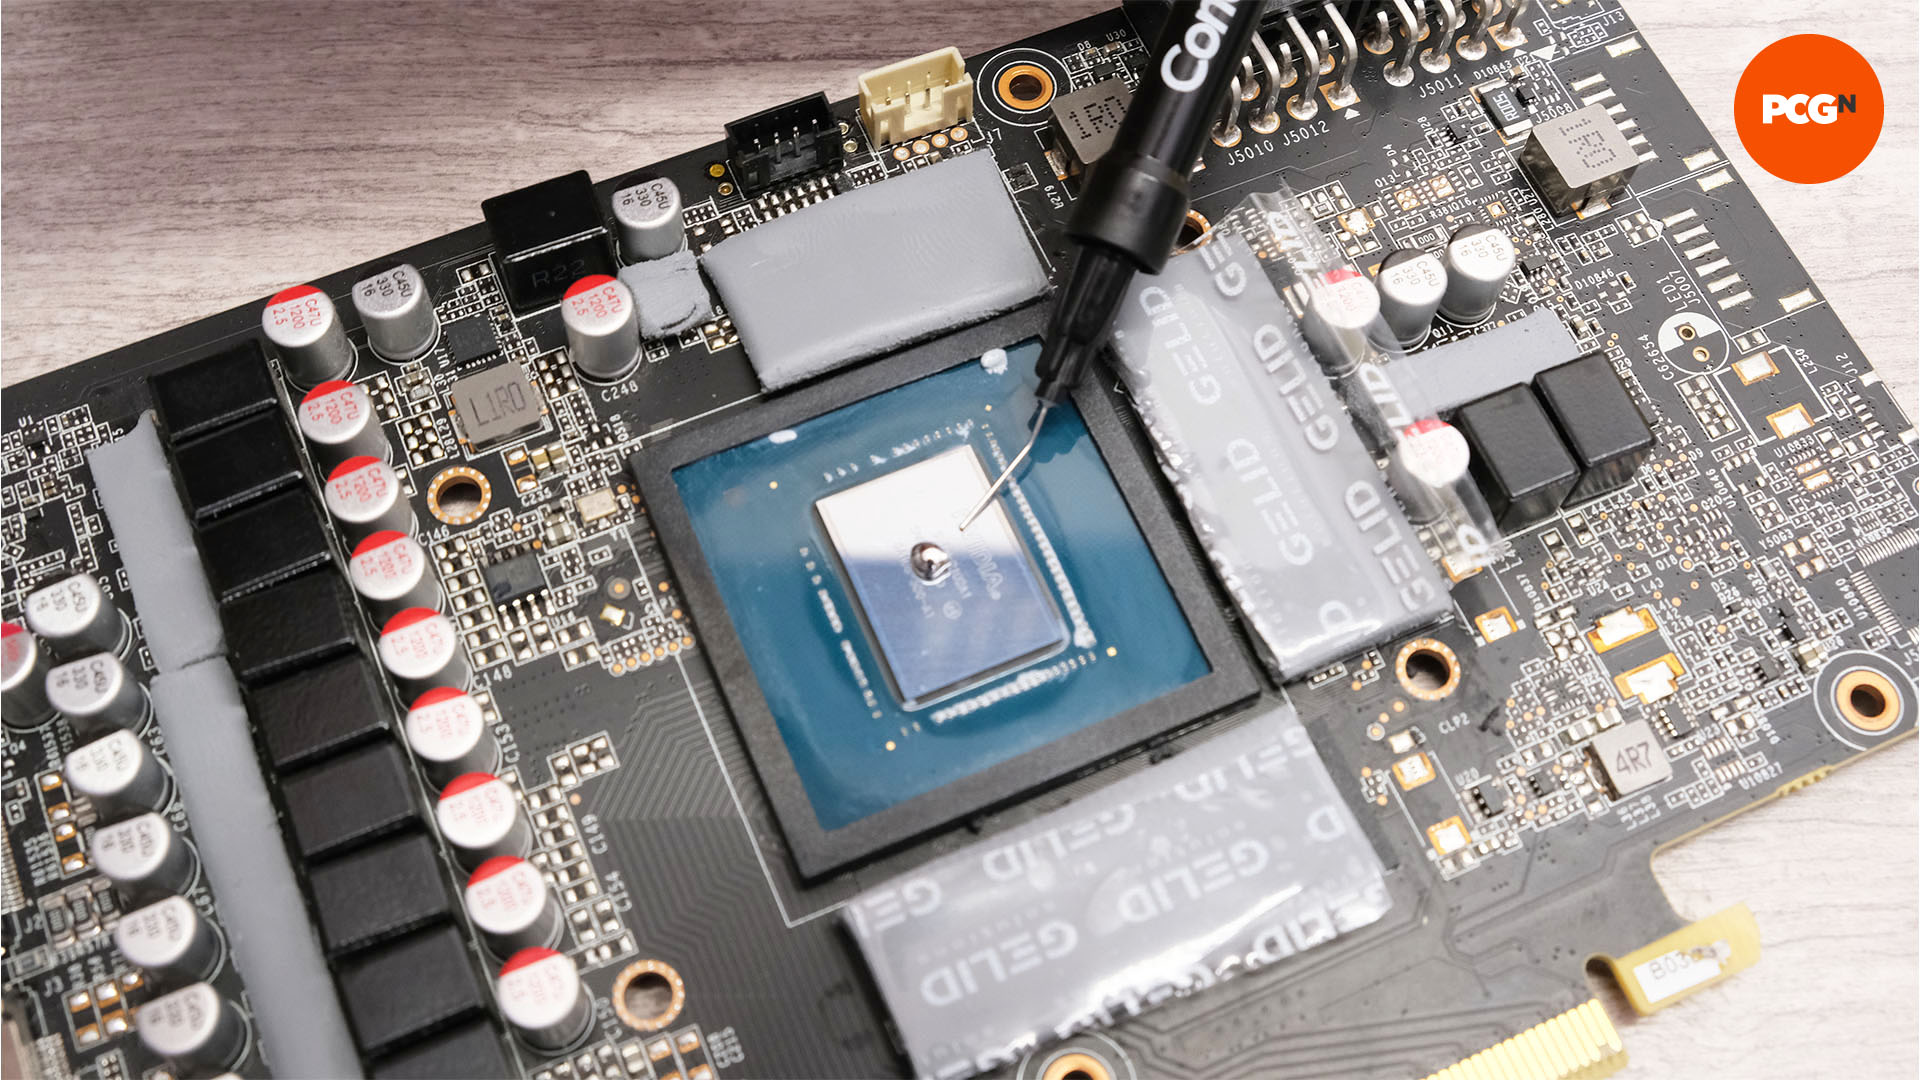
19. Apply liquid metal paste
Now you can apply your thermal paste. You only need a very small amount – half the size of a grain of rice will be ample to cover the GPU core whether you’re using liquid metal or normal thermal paste. For more information, see our guide on how to apply thermal paste.
20. Spread paste over GPU
Liquid metal paste needs to be rubbed into the GPU core using the included applicators. It will start to bind with the surface, eventually covering it. If you’re using a standard ceramic thermal paste, you can leave it to spread on its own using the pressure from the heatsink.
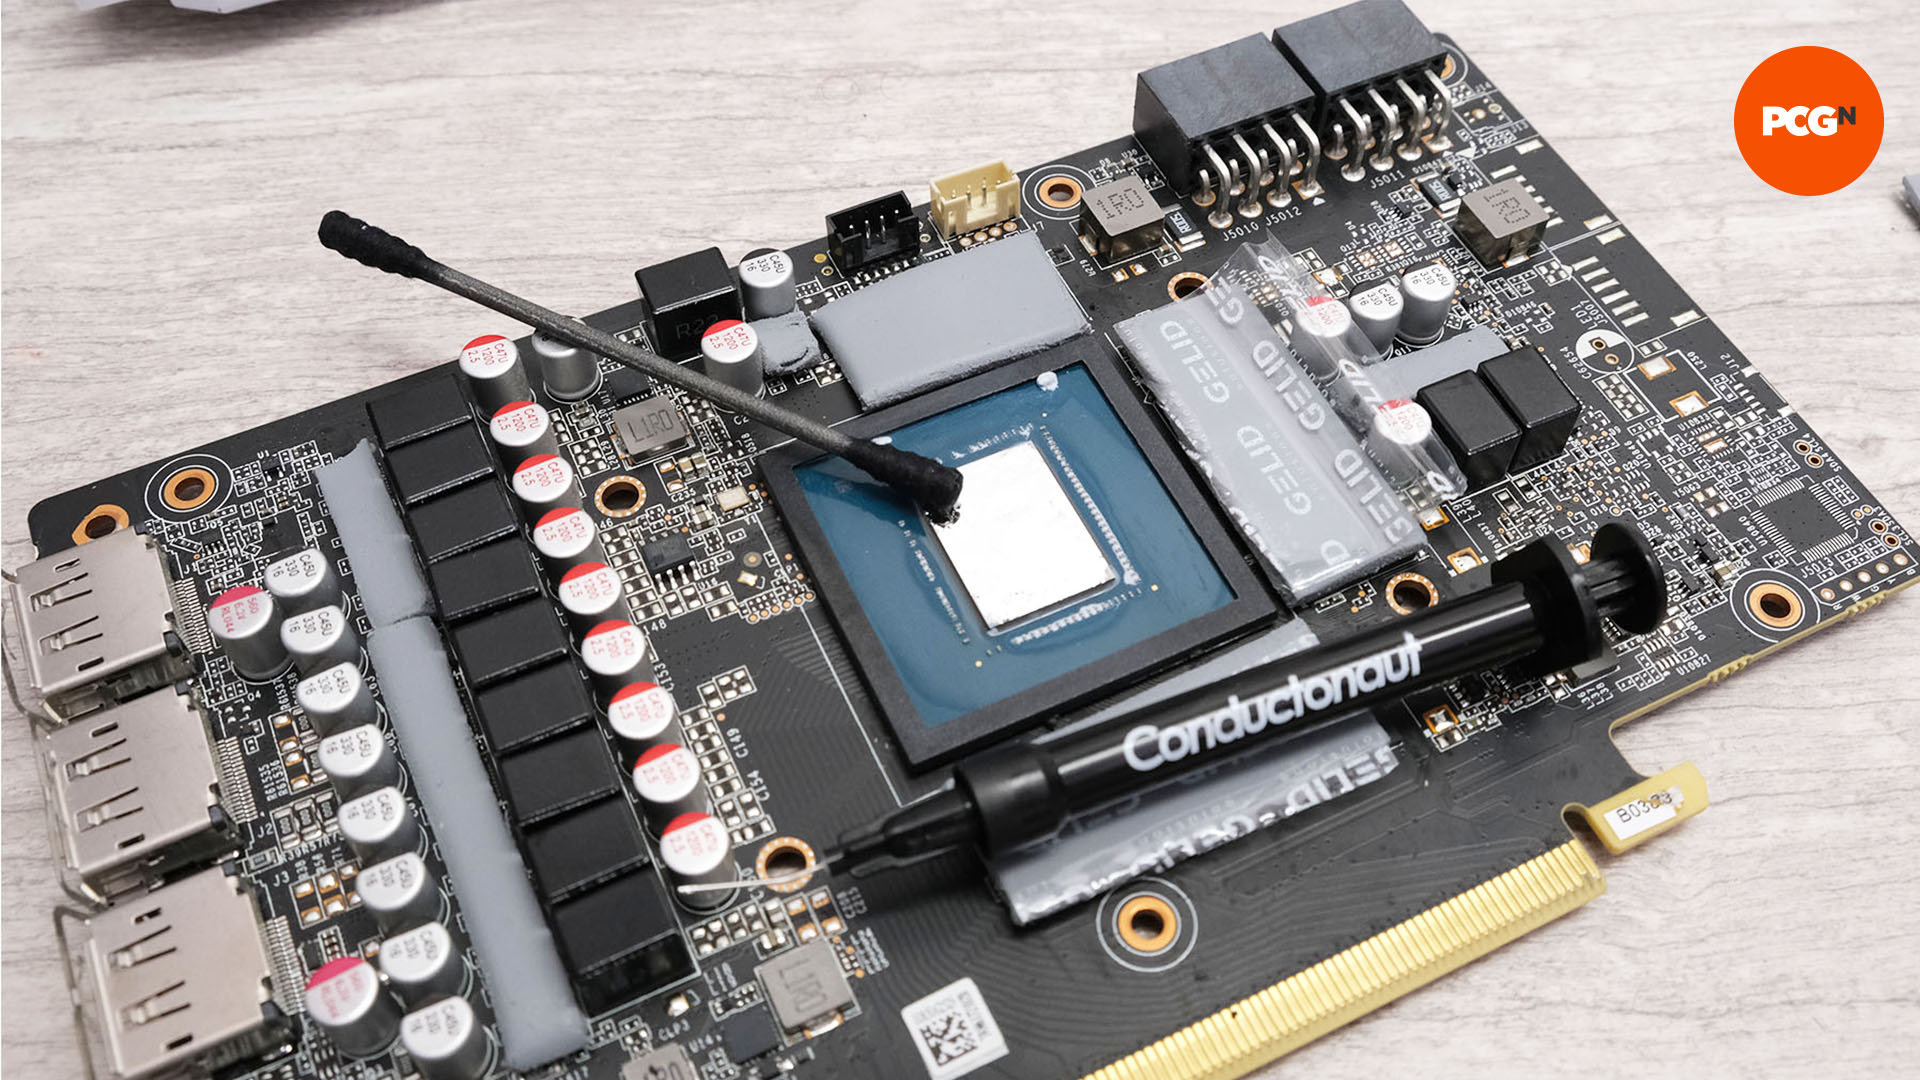
21. Reassemble and test graphics card
Finally, you can reassemble your graphics card. We found the GPU core temperature on our card fell from 75°C to 58°C under load with the new liquid metal paste applied, and the peak fan speed after five minutes was 300rpm lower than before our tweaking as well. With your GPU running cooler, you now just need to enjoy your cooler, quieter graphics card, and you may even find its boost clock improves in games as well.
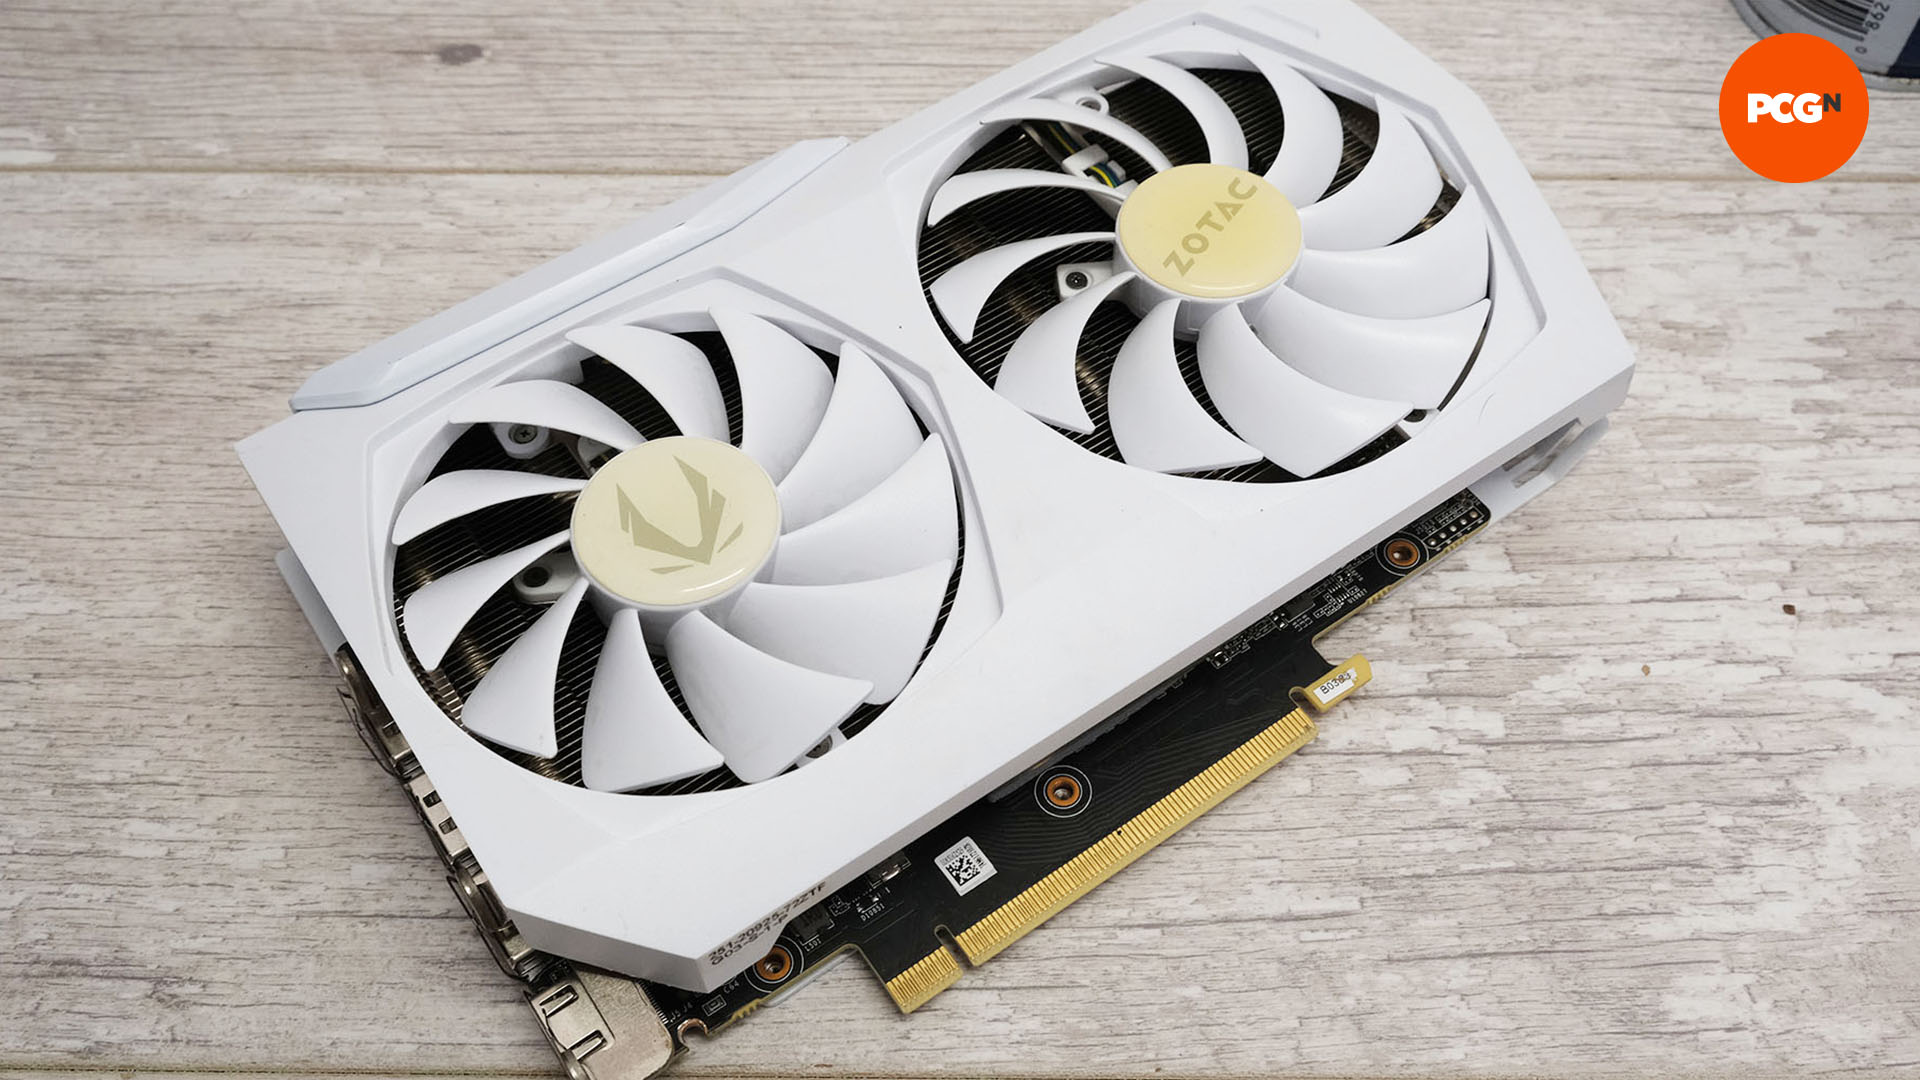
Fit case fans to your GPU cooler
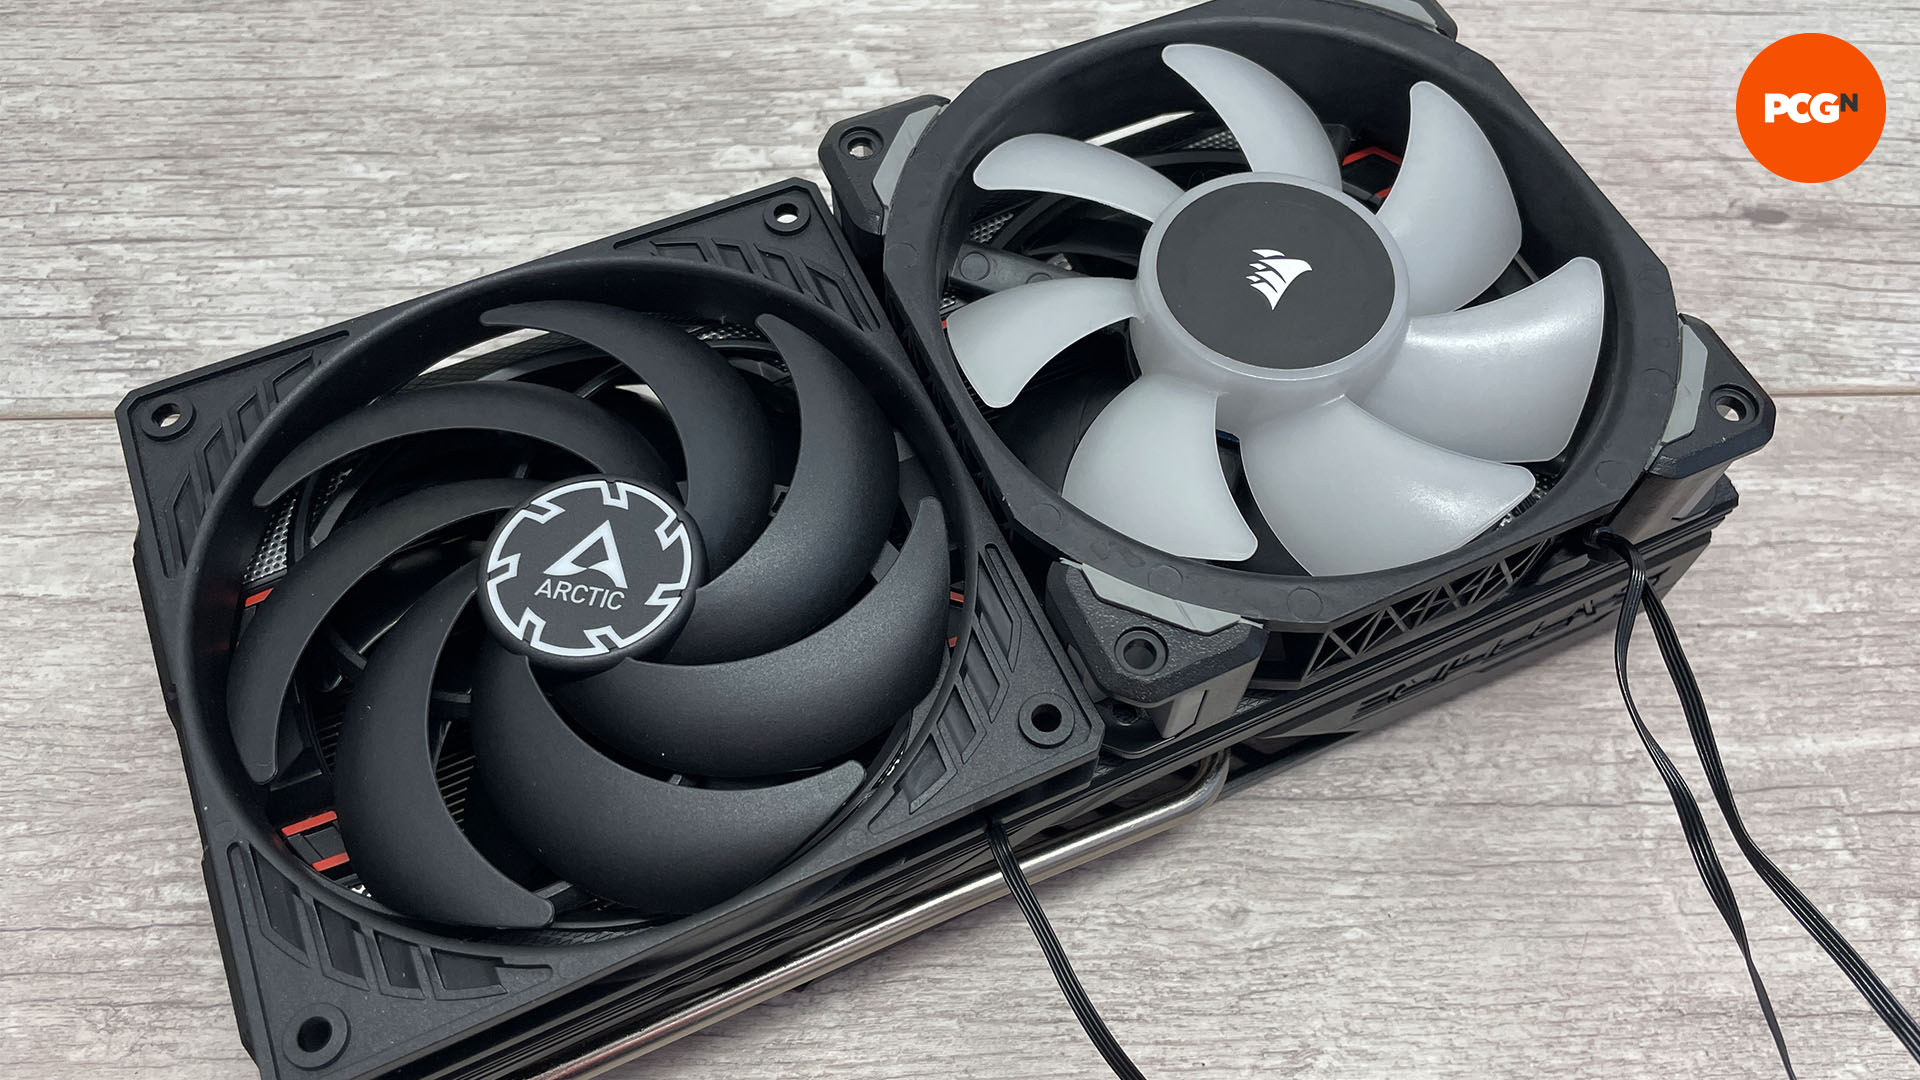
Graphics card fans are often very slim, and they sometimes lack sufficient airflow and static pressure to make the most of your GPU’s heatsink, even at full speed. If you’re looking to cut your graphics card’s noise, increase its cooling, and even lift boost frequencies, you can replace your graphics card’s fans with high-performance 120mm PC case fans. Best of all, this modification is relatively easy, requiring just a couple of fans and some cable ties.
1. Check for replacement fans
If you’ve broken a blade on one of your graphics card’s fans, there’s a good chance there’s a replacement set available. EBay is a great place to find them, so if you’re here because your graphics card is currently out of action and would prefer to keep the stock cooler, you may be able to just replace the existing fans.
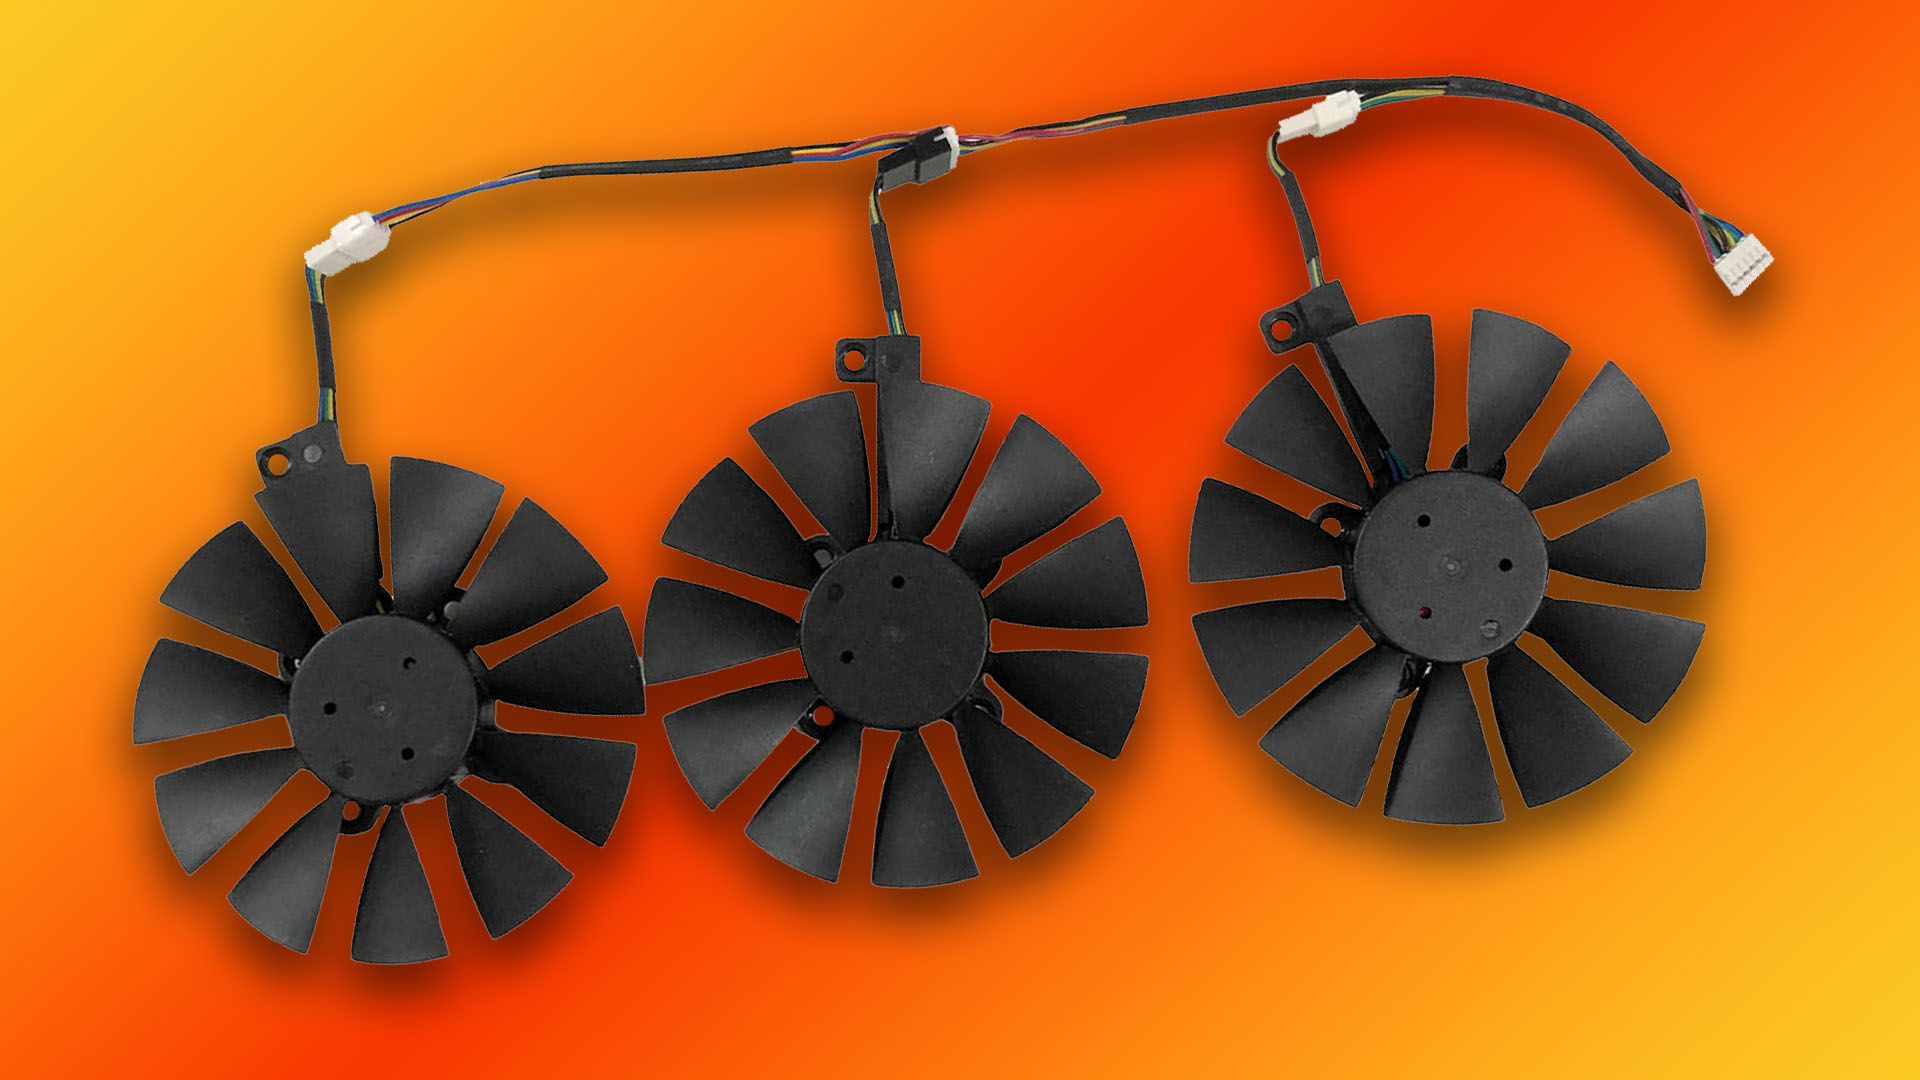
2. Measure graphics card
If you want to boost cooling, then adding custom fans is the way to go. To do this, first measure the width of your graphics card’s heatsink in order to assess the size of fans you’ll need. Large heatsinks can accommodate 120mm fans while smaller ones may need 92mm models.
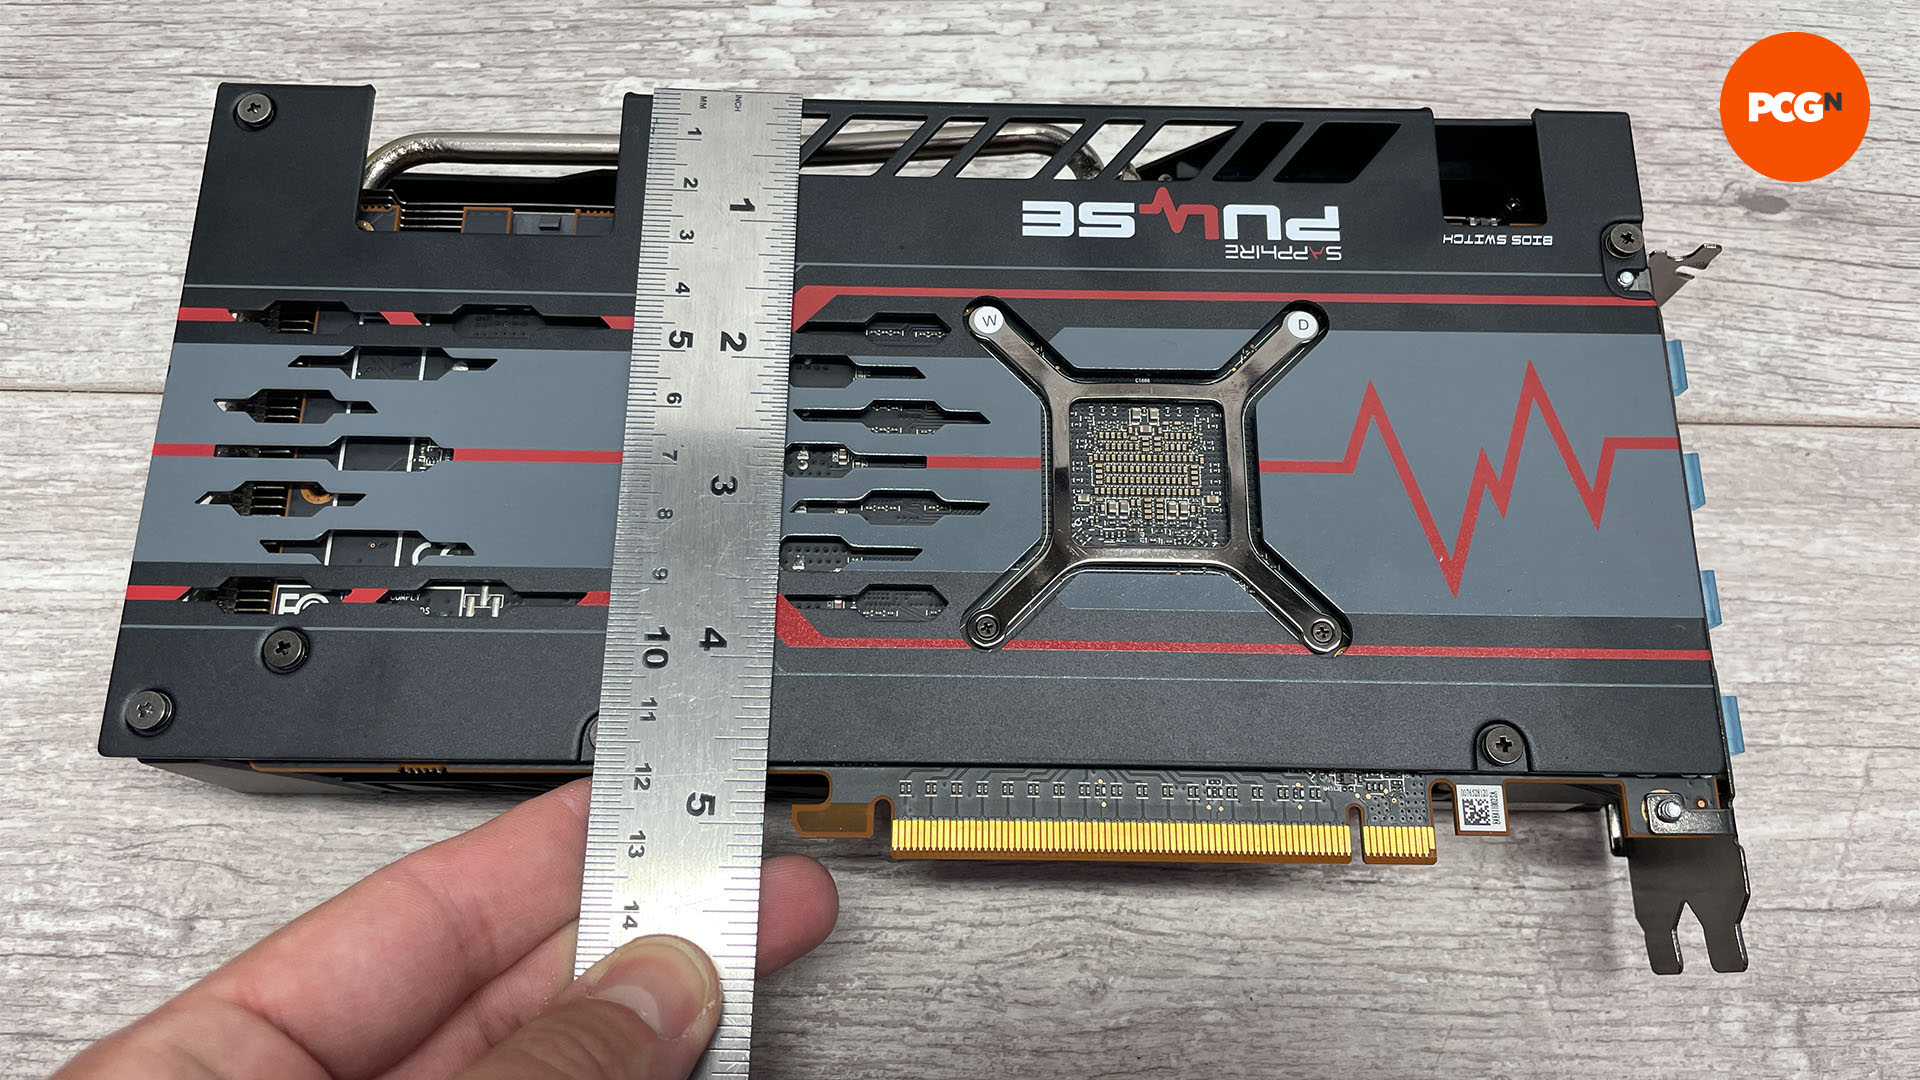
3. Choose case fans
Once you’ve chosen your fan size, you have a couple of further options. If there’s limited space, you can use slim fans to allow your graphics card to adhere to tight height limits. Otherwise, standard-height fans with at least 2,000rpm speeds should do the trick and a fan splitter cable will enable you to use just one power header.
4. Check for software control
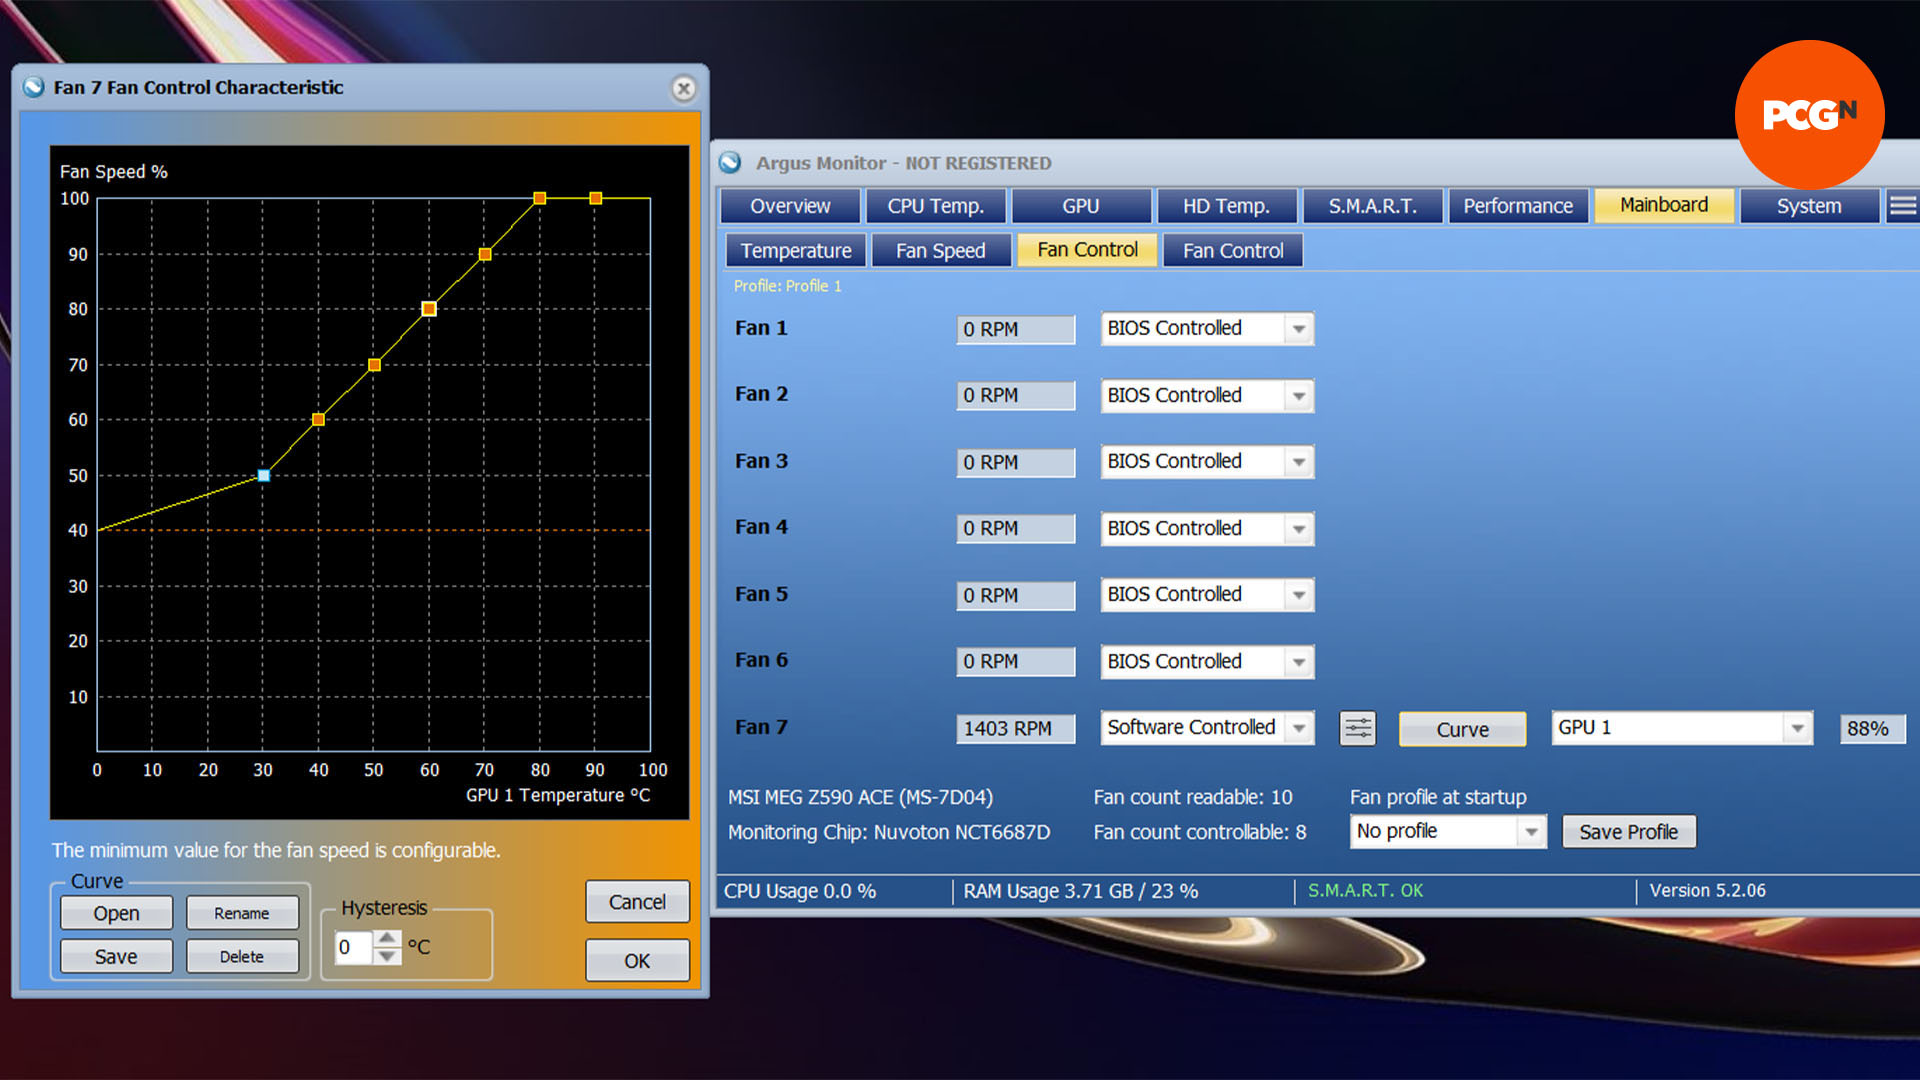
You can’t use your graphics card’s fan connector to power the new fans, so you’ll need to use a motherboard fan header. Check if your graphics card’s temperature can be used to control the fan speed in your motherboard’s software. Alternatively, Argus Monitor can do this, but it costs $13.95.
5. Check motherboard’s EFI fan control
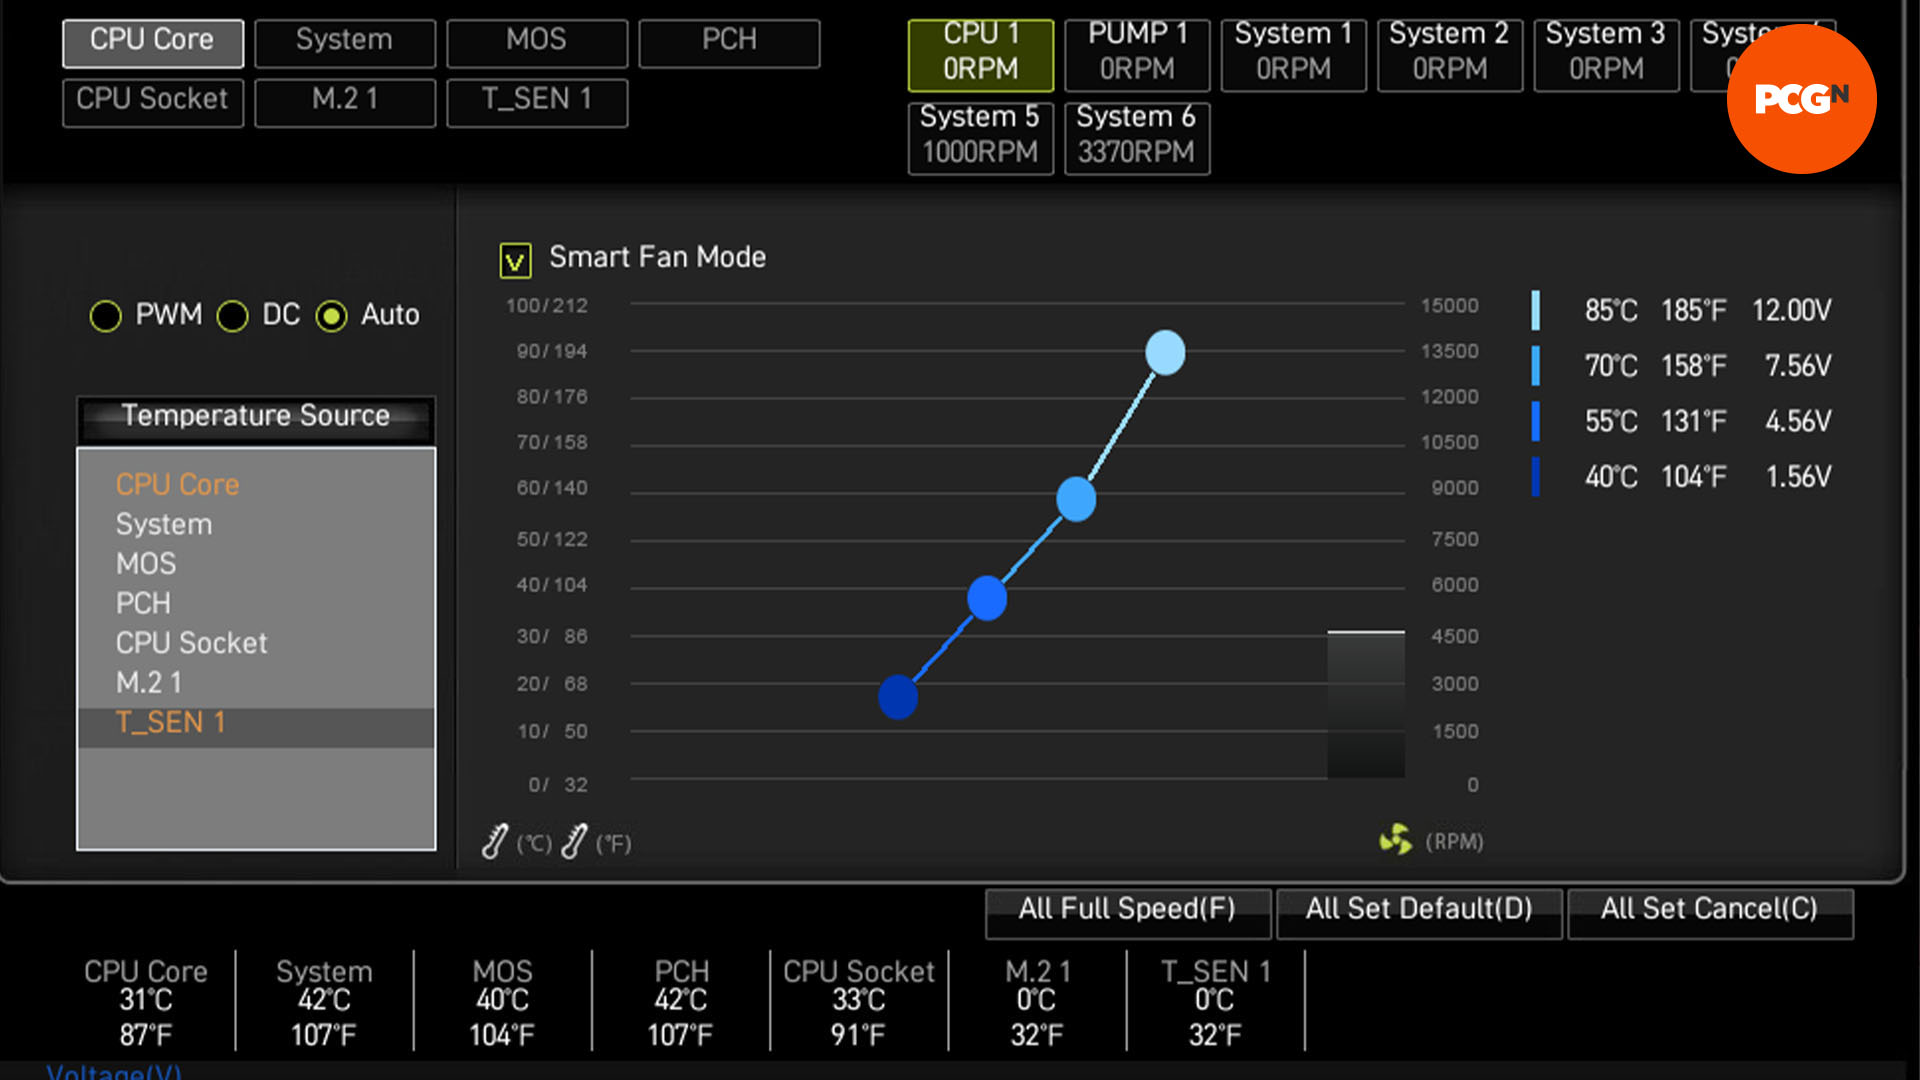
The EFI can often have options that are missing in the software, so be sure to check there for both GPU and thermal probe temperature inputs – both of them are useful for controlling the new GPU fans.
6. Use a thermal probe
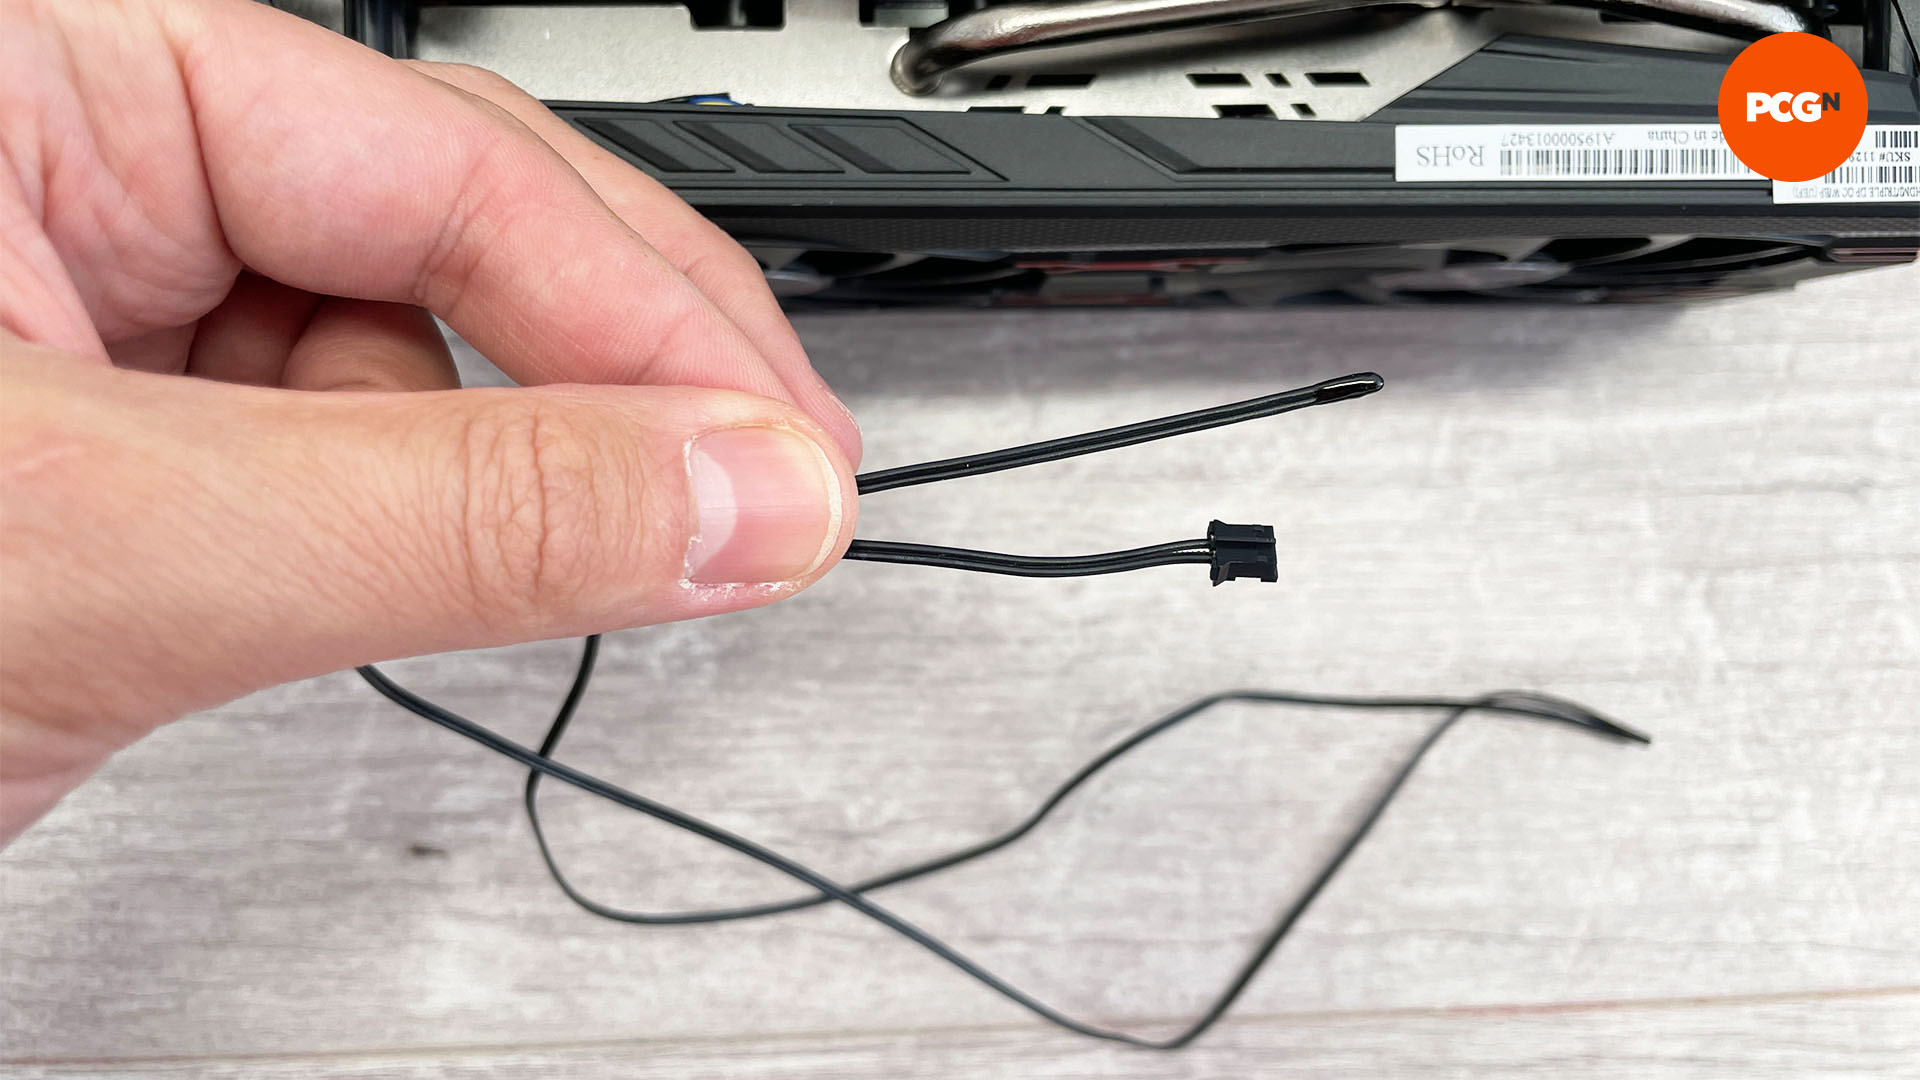
If there’s no GPU temperature input, you can fix the fan speed to a suitable level manually, or use a thermal probe if your motherboard supports them. This connects to your motherboard with the other end sitting inside the GPU heatsink – you then adjust the fan speed in the software or EFI to keep GPU temperatures in check.
7. Test GPU cooling
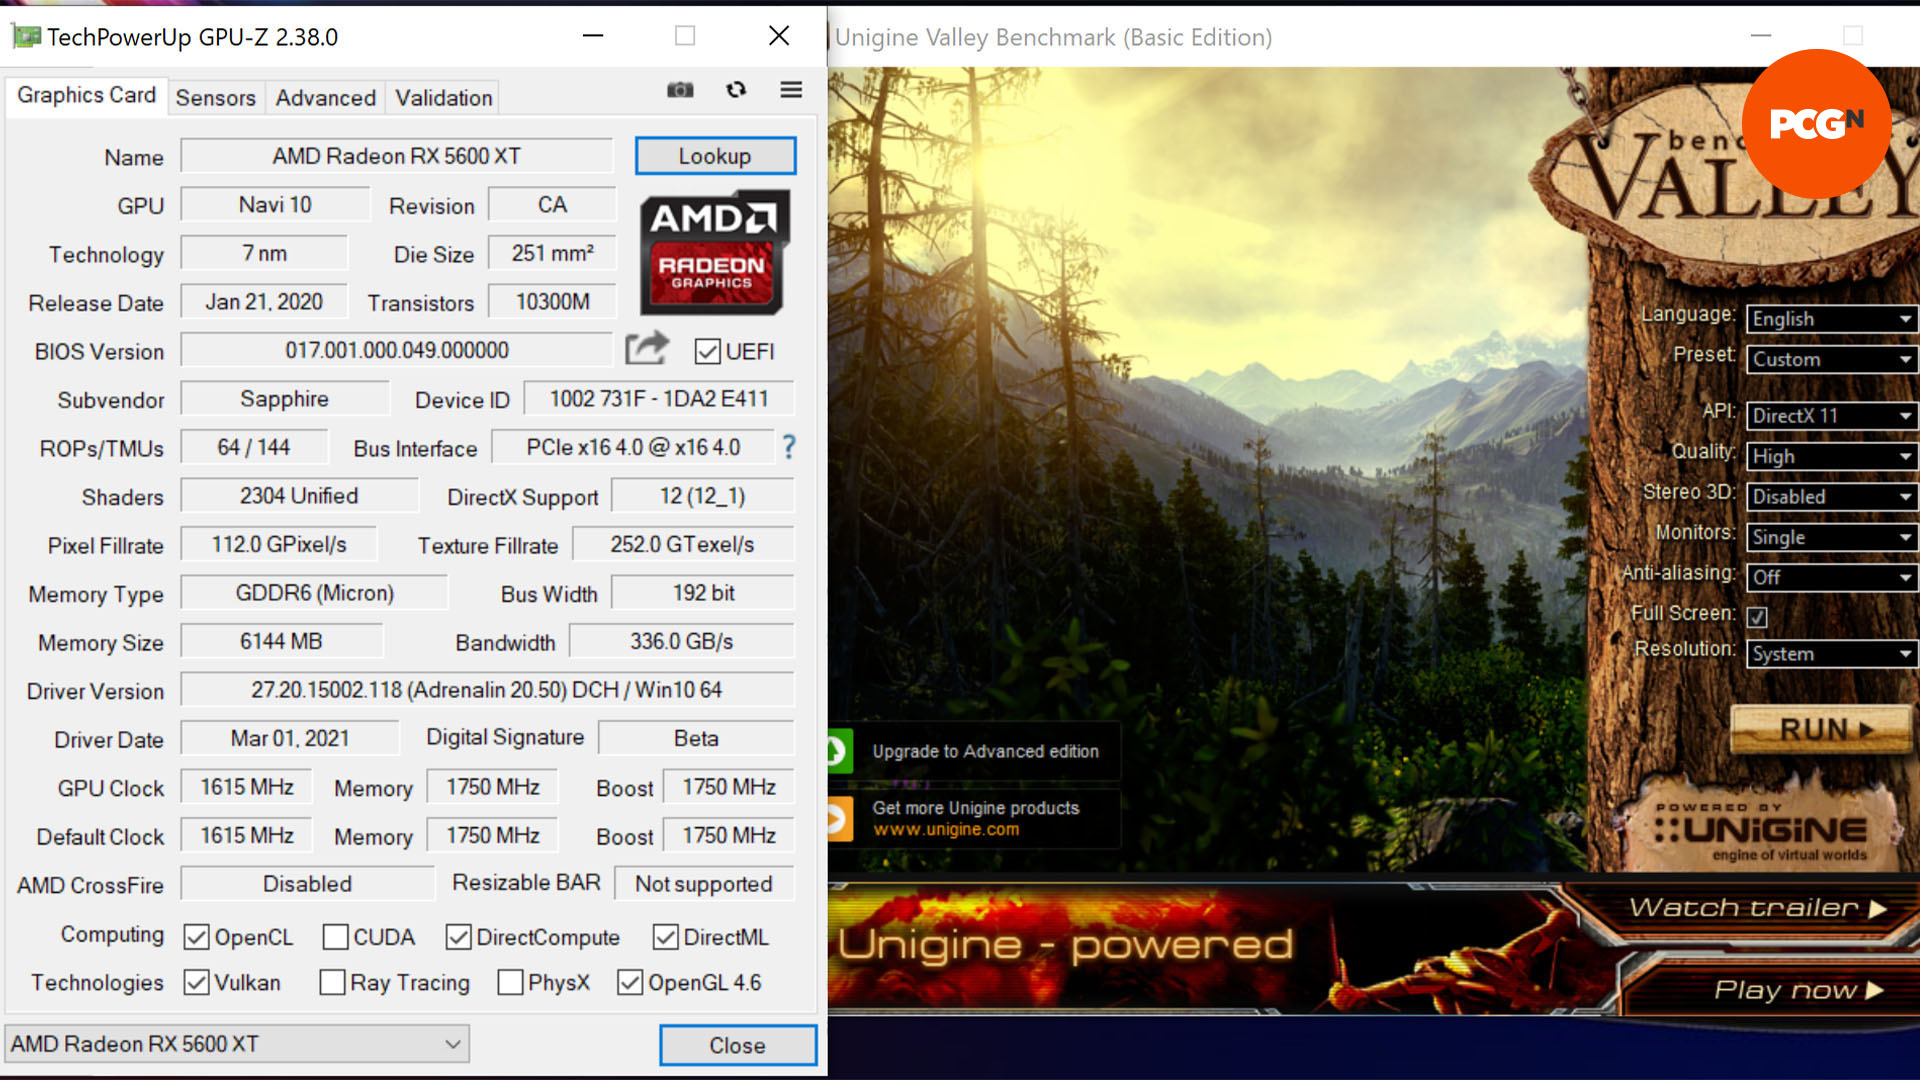
Before you get going, check the GPU temperature, so you can see if your modding has actually improved temperatures. Download GPU-Z and Unigine’s Valley benchmark, run the Valley benchmark for ten minutes, and take a GPU core temperature reading using GPU-Z.
8. Identify cable tie anchors
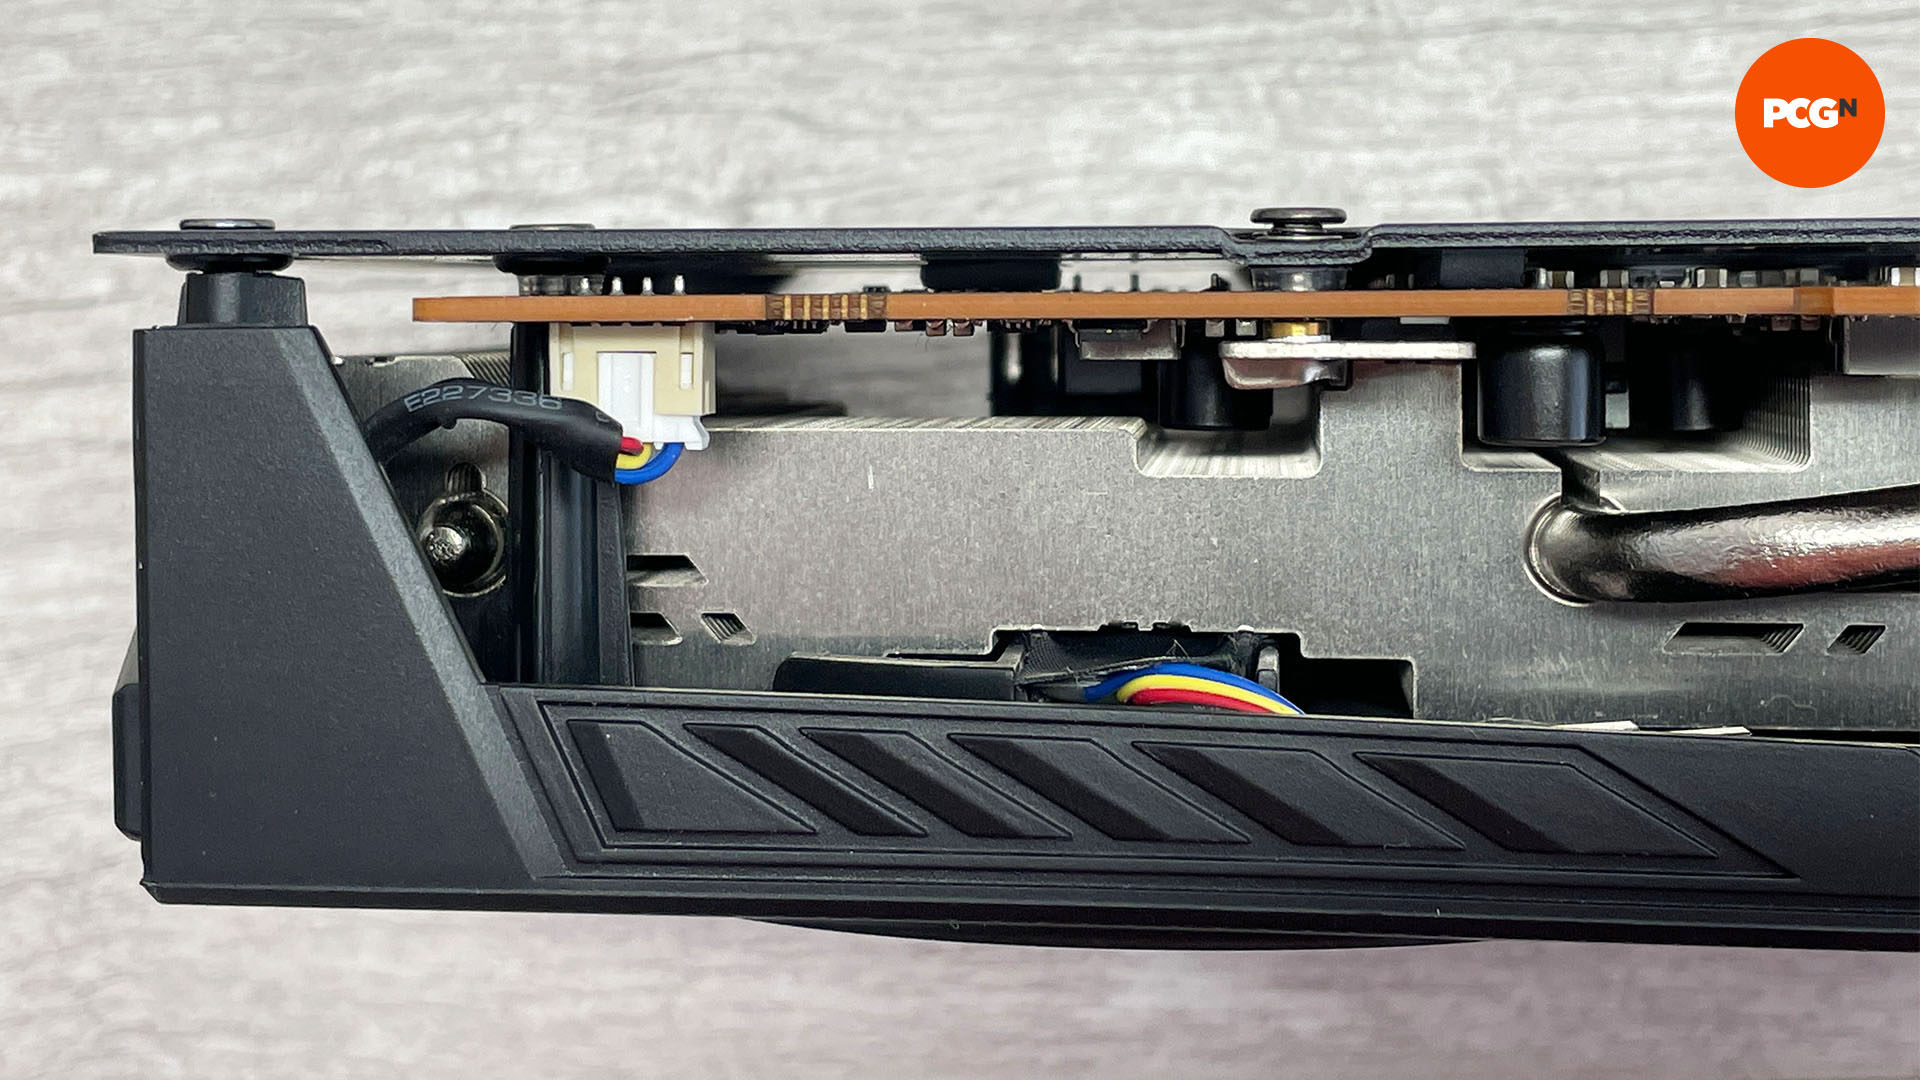
You can secure the cable ties to the GPU backplate, spare mounting holes or slip the ties through and under the heatsink. If you have no other option, heatpipes can also work as anchors, but they’re not ideal, as they can get hot. You only need to hold the fan using two diagonal mounting holes to secure it, but you ideally want to use all four.
9. Identify fan shroud screws
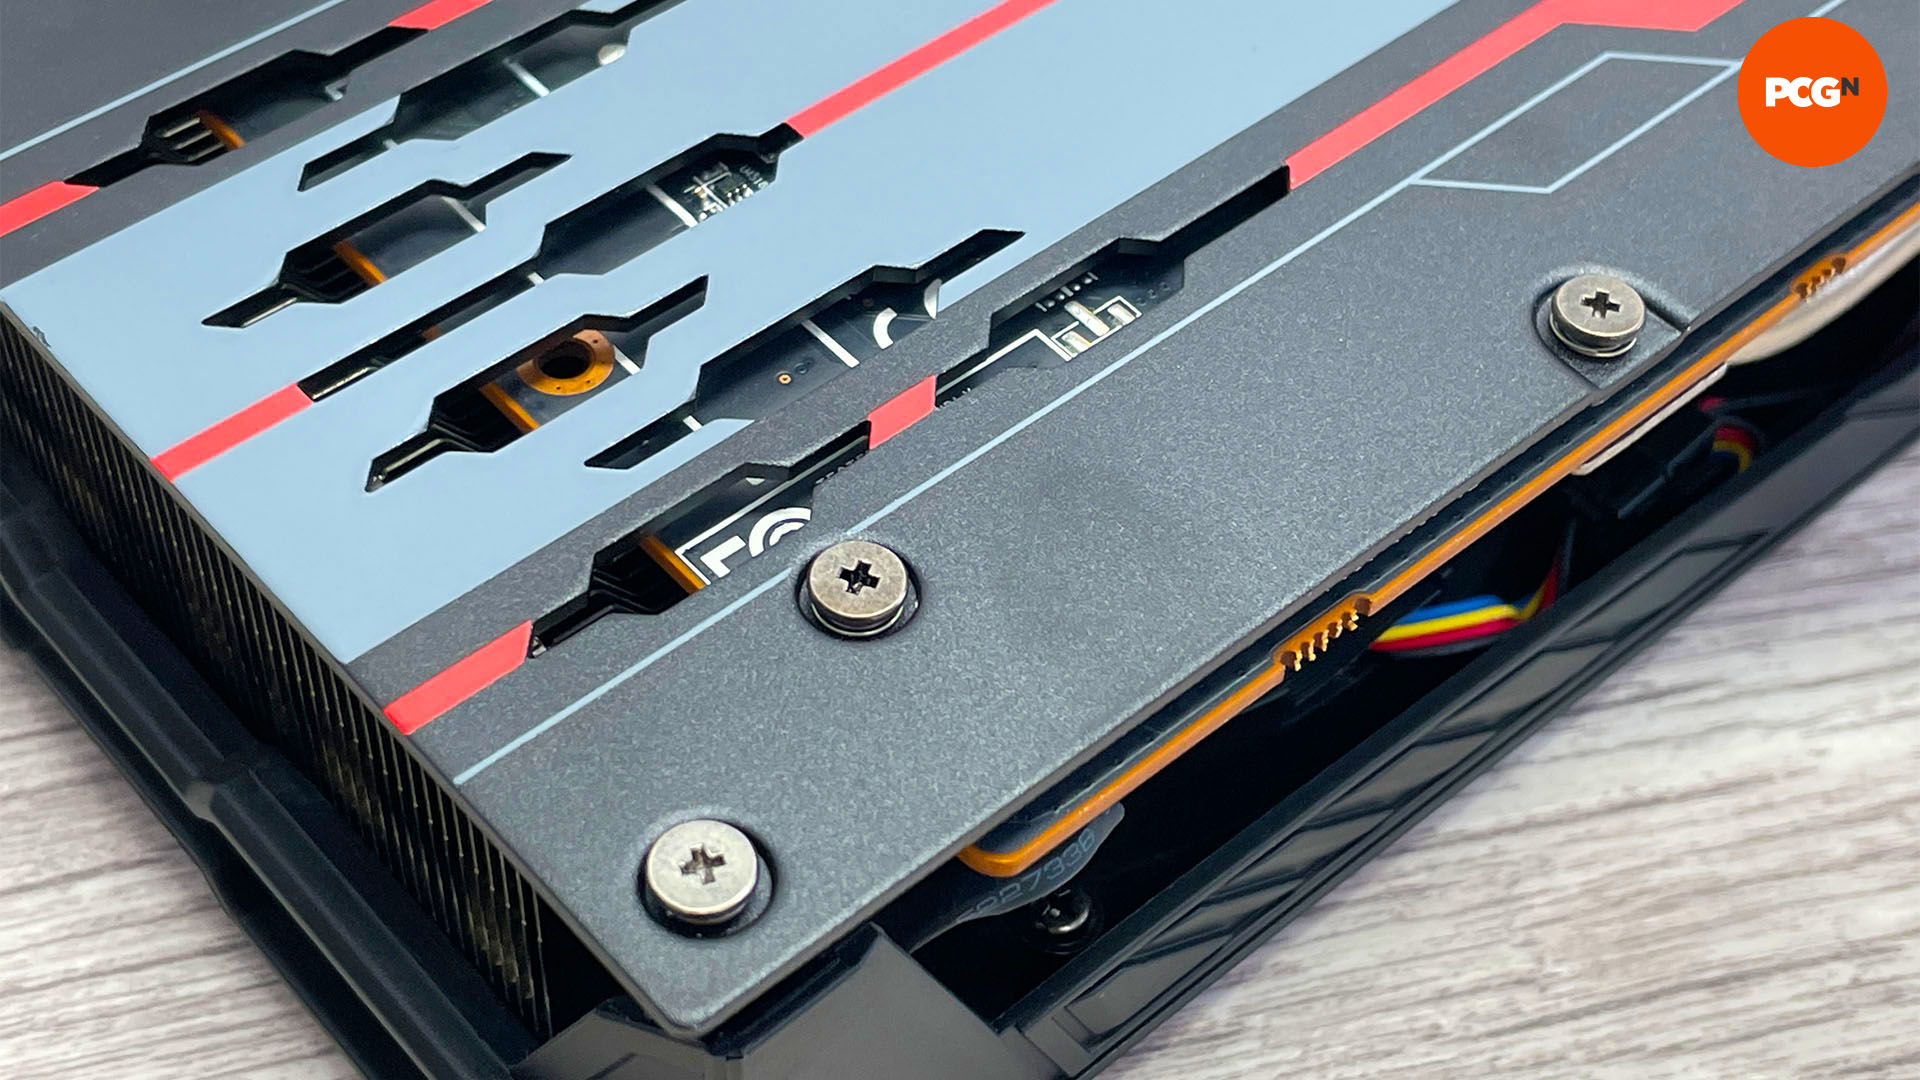
If possible, only remove the fan shroud and fans on your graphics card – you probably won’t need to remove the entire cooler and heatsink. Doing so will also likely void your warranty, but with our card, at least we could remove the fans and shroud without breaking the warranty seals.
10. Remove screws
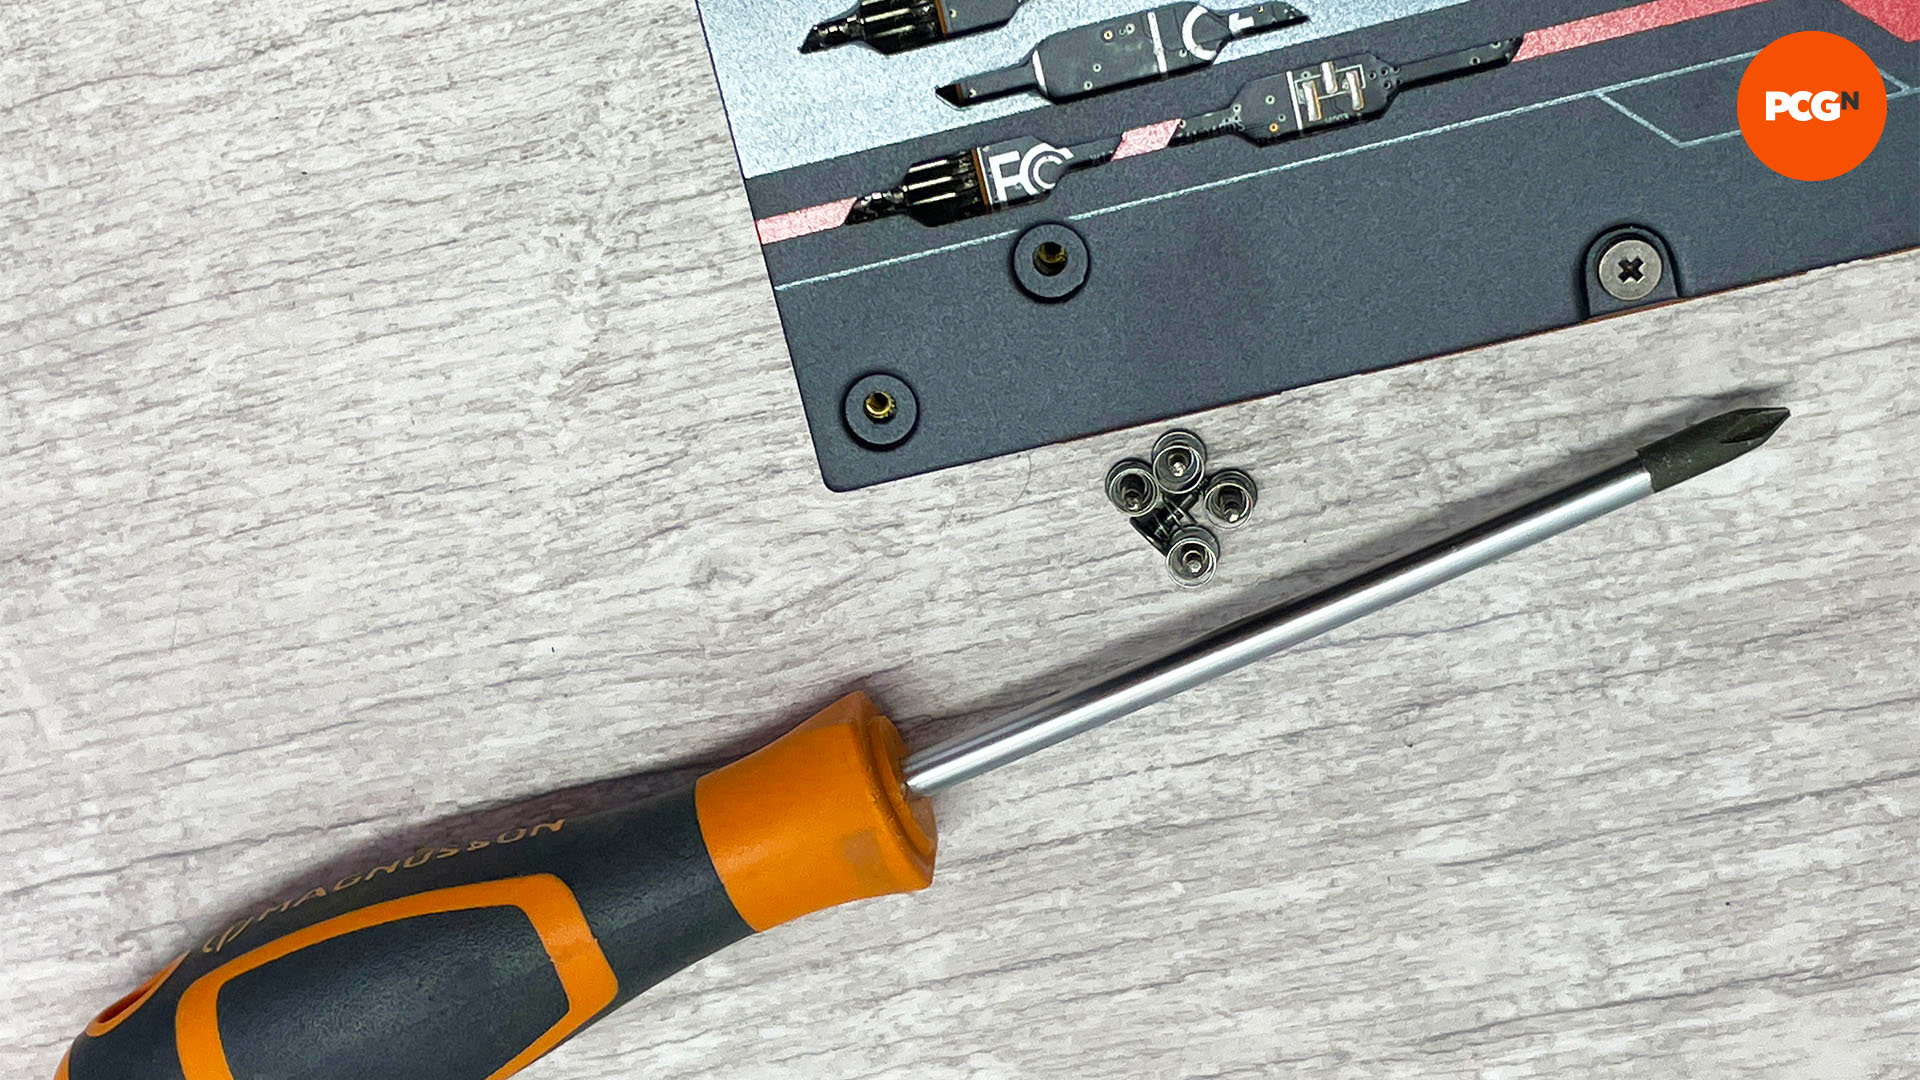
The screws can have a mix of head types, so make sure you have the correct tool to hand before you start. Once you remove the shroud, place the screws back into it for safekeeping, and keep any additional ones in a sealed bag or container in your graphics card’s box.
11. Unplug GPU power and lighting cables
Carefully lift the GPU cooler’s shroud, but beware of any cables that are still connected to the card’s PCB. You’ll need to detach these cables before fully removing the shroud. If there are lighting elements that can remain attached to the heatsink or PCB, and don’t foul the fans, feel free to keep them and leave their cables attached.
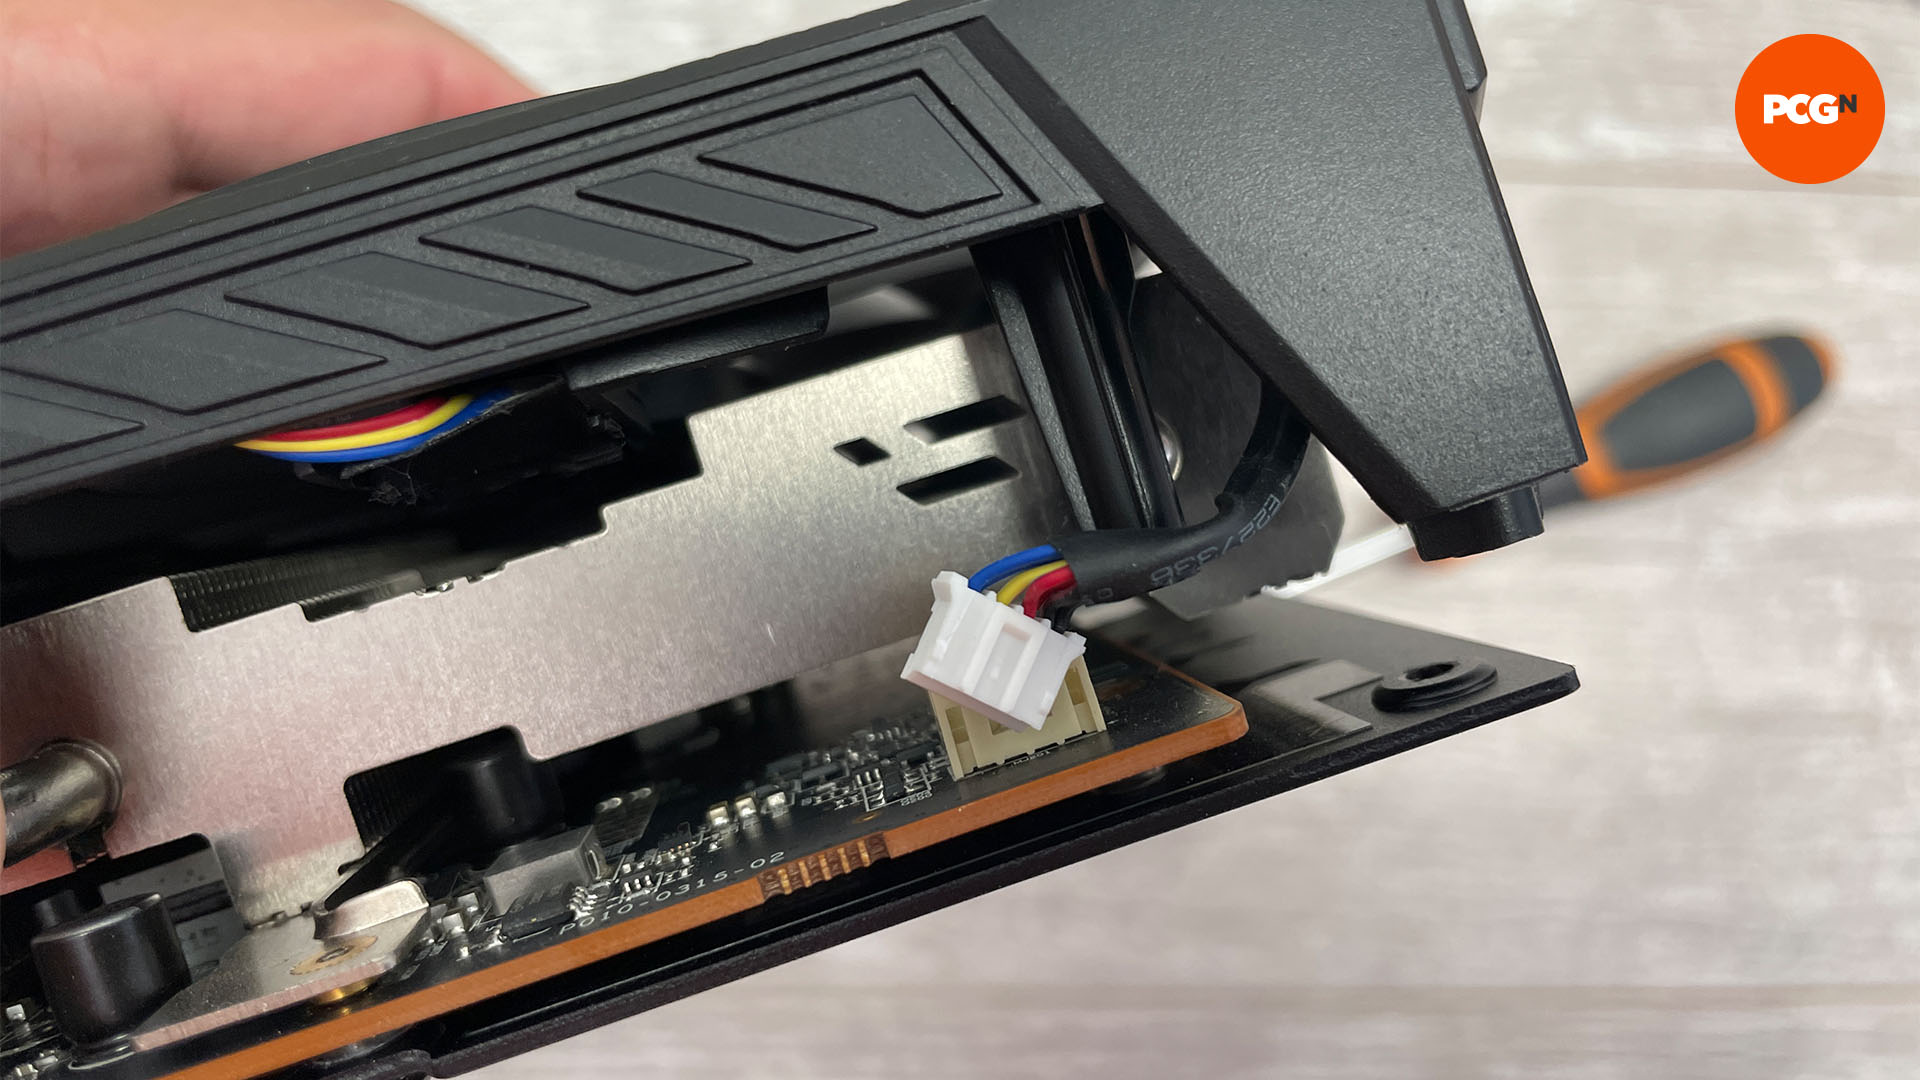
12. Remove GPU cooler shroud and fans
Lift the shroud and fans off the heatsink. There may be hidden screws or connectors you haven’t yet spotted, so if there’s resistance, check they’ve all been removed. The fans may well stay behind; lifting the shroud will give you access to the remaining screws.
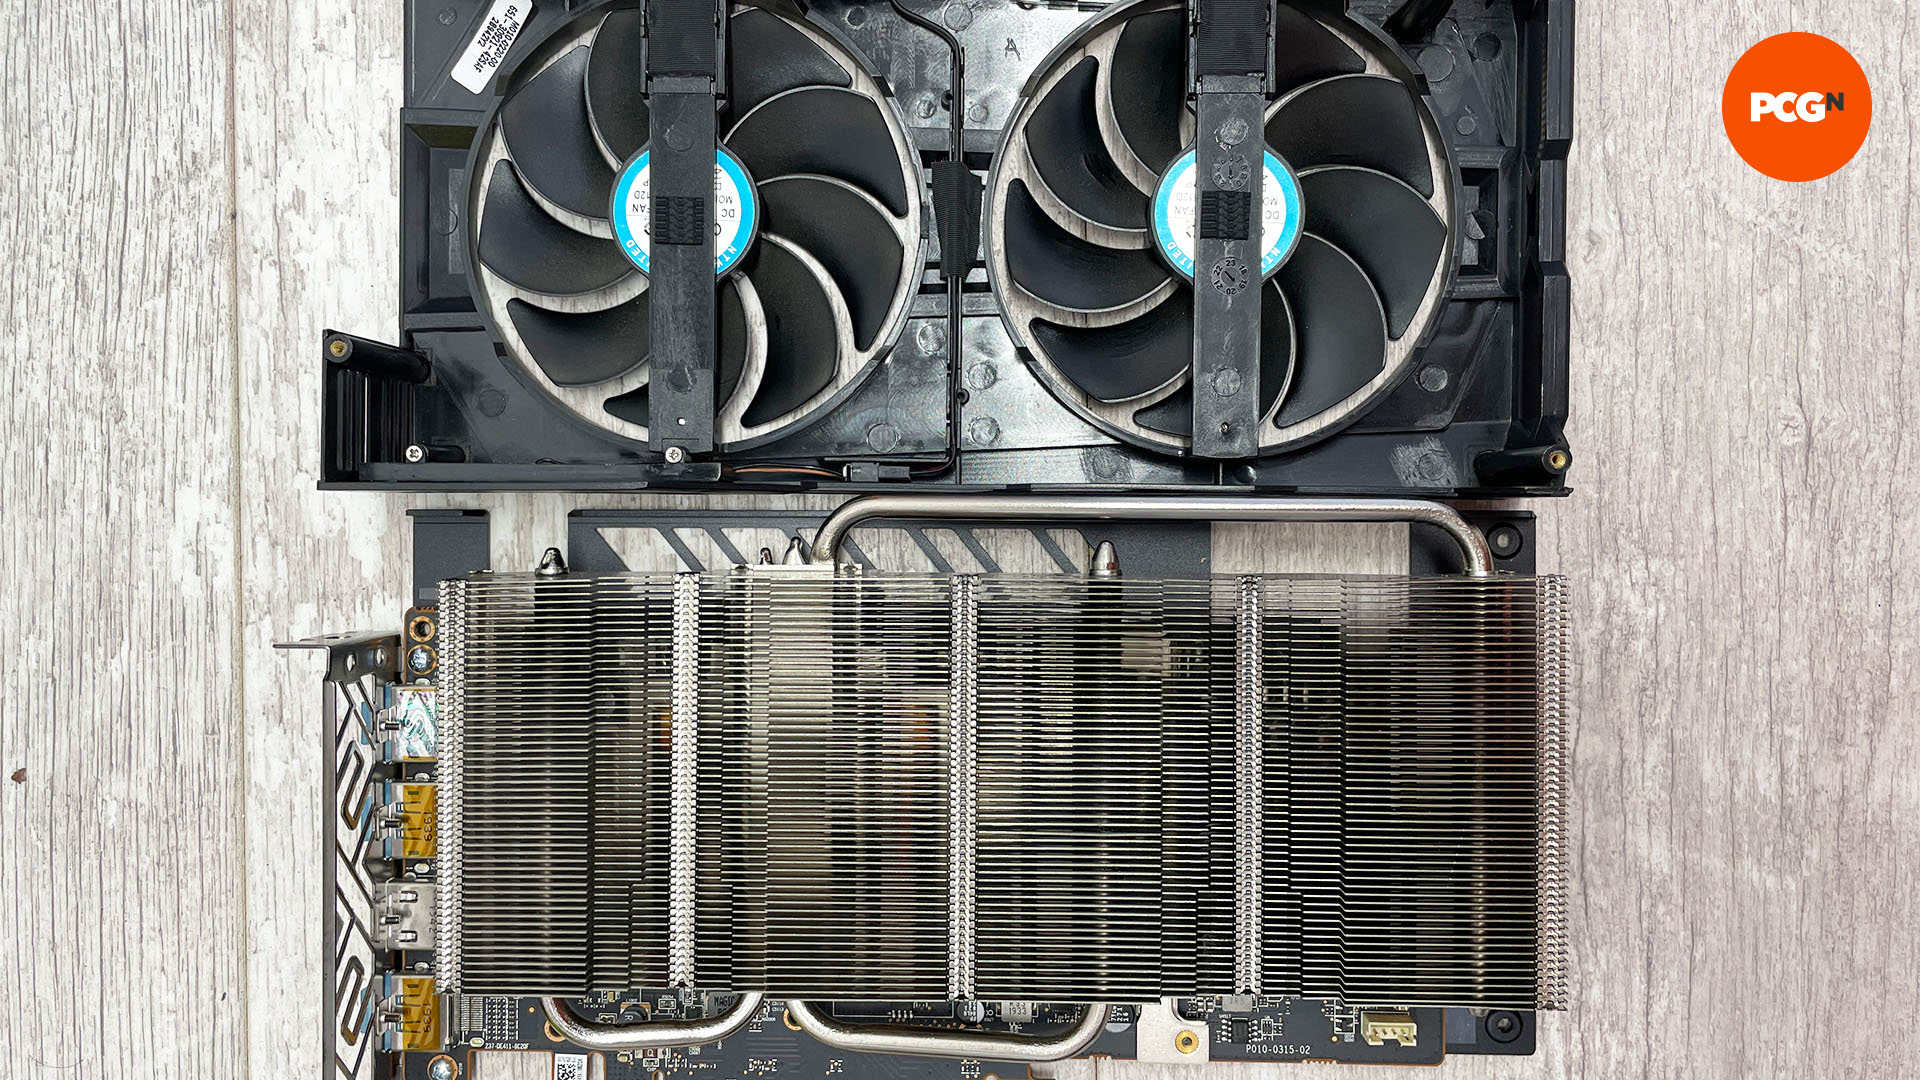
13. Line up case fans with heatsink
You want the new fans to exhaust air into the heatsink, so align them with their base sections sitting on it. You also want the fans to cover all or most of the heatsink, even if the final contraption looks a bit lopsided as a result.
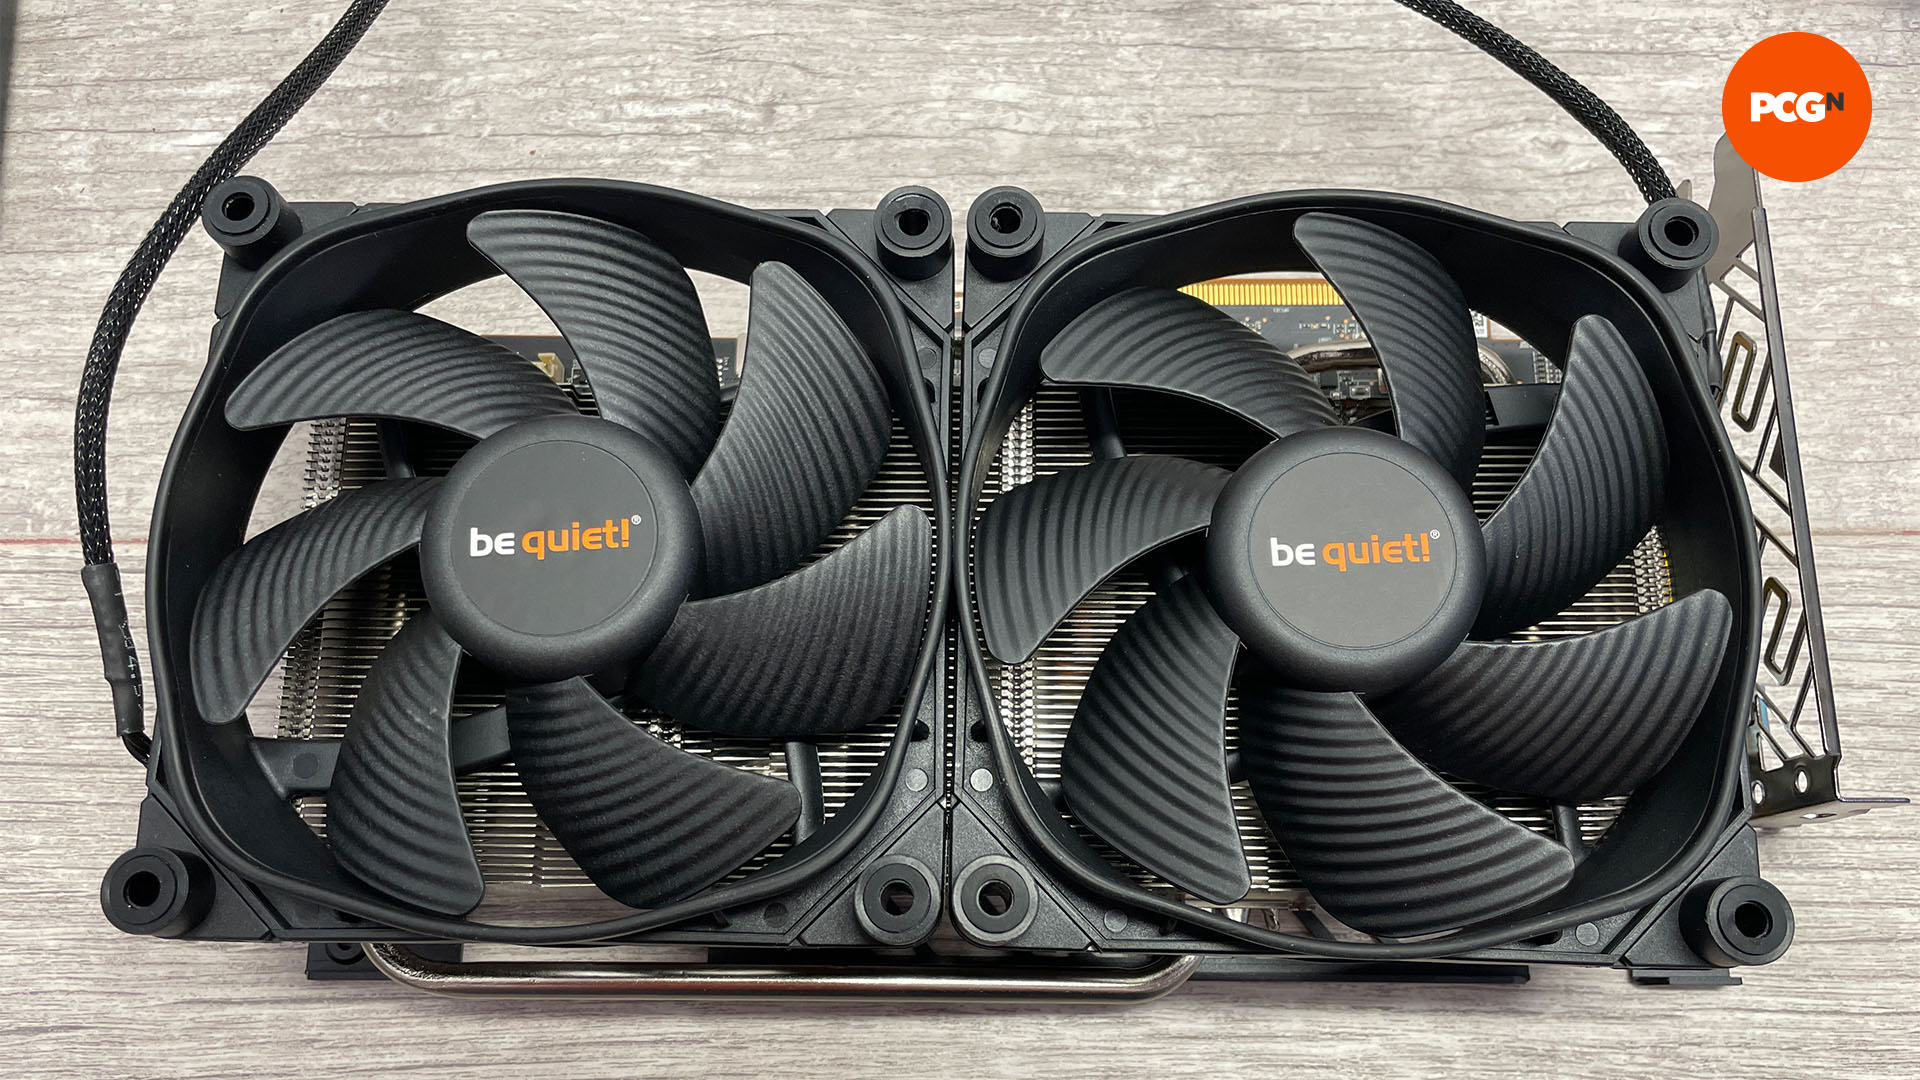
14. Secure case fans with cable ties
You’ll need the right length of cable ties to mount the fans. Use a piece of string to mimic the ties so you know the lengths of ties you’ll need to buy.
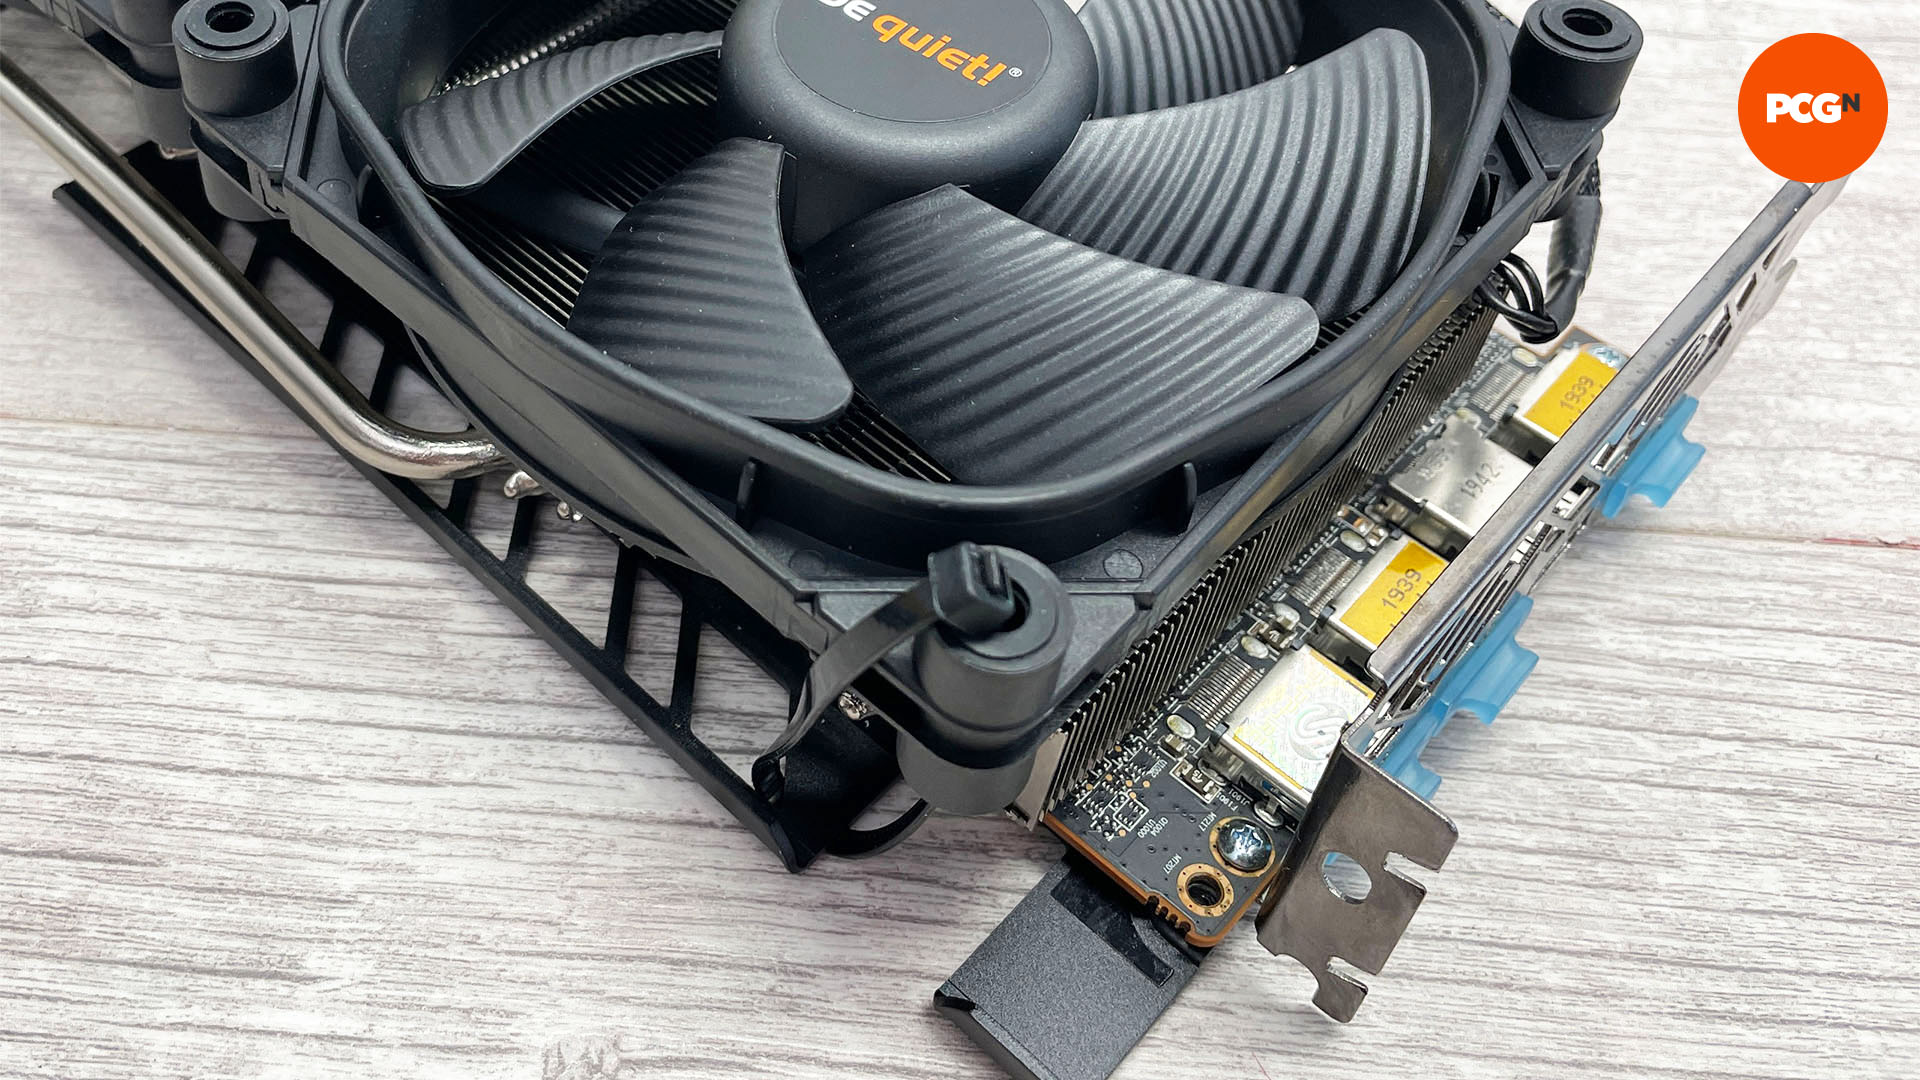
15. Test case fans on graphics card
Finally, reinstall your graphics card and run the same test you did earlier for the same amount of time. Our GPU core temperature fell from 67°C to just 47°C and only hit 53°C with the fans reduced to inaudible speeds. Meanwhile, the memory temperature dropped from 72°C to 50°C at full speed, and 58°C with the fan speed reduced.
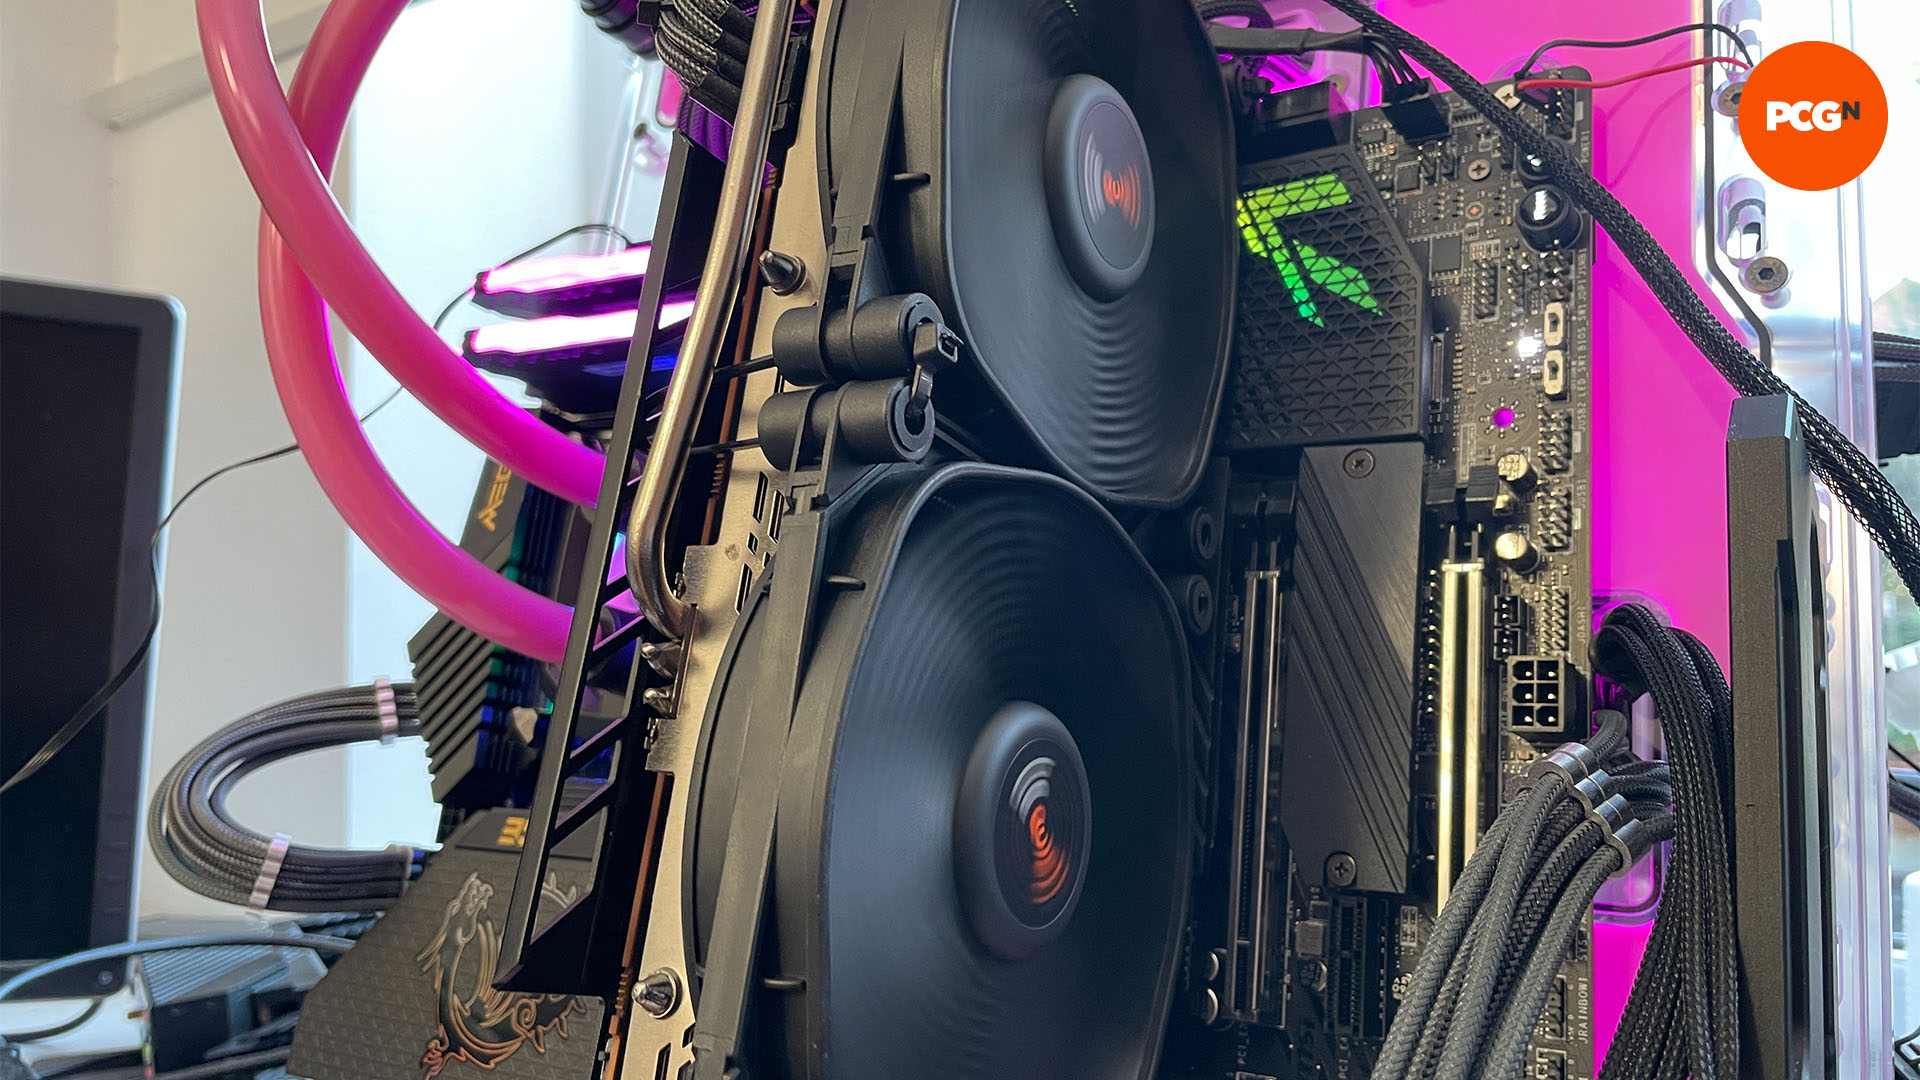
With two massive case fans actively cooling your graphics card’s heatsink, you can now wave goodbye to any GPU overheating problems, and (depending on your settings) you can enjoy a more peaceful gaming life too.
If you’re looking for even more cooling power, check out our full guide on how to water cool your PC, where we take you through all you need to know at a beginner’s level.
