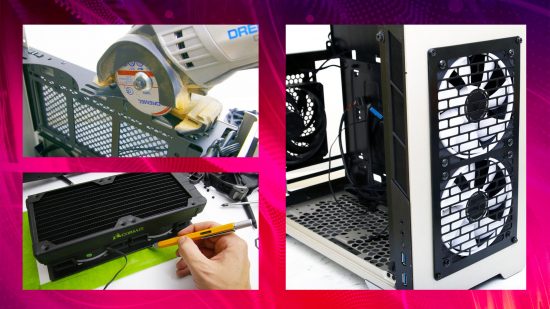
In this guide, we’ll show you how to make a radiator mount in your PC case. Some cases include sealed panels that make it difficult to mount radiators in those locations, even if you can put fans in them, as the panels drastically restrict airflow. What’s more, some older cases only have 120mm fan mounts in areas where you could clearly put a 240mm radiator.
Thankfully, there’s a tried and trusted method of boosting airflow if you’ve set your heart on a case with sealed panels or limited fan mounts, but you want to install one of the best AIO cooler models available, or if you want to water cool your PC. Cutting a blowhole for your radiator and fans can not only make your PC look great, but will also massively boost your PC’s cooling.
1. Decide on the size of radiator
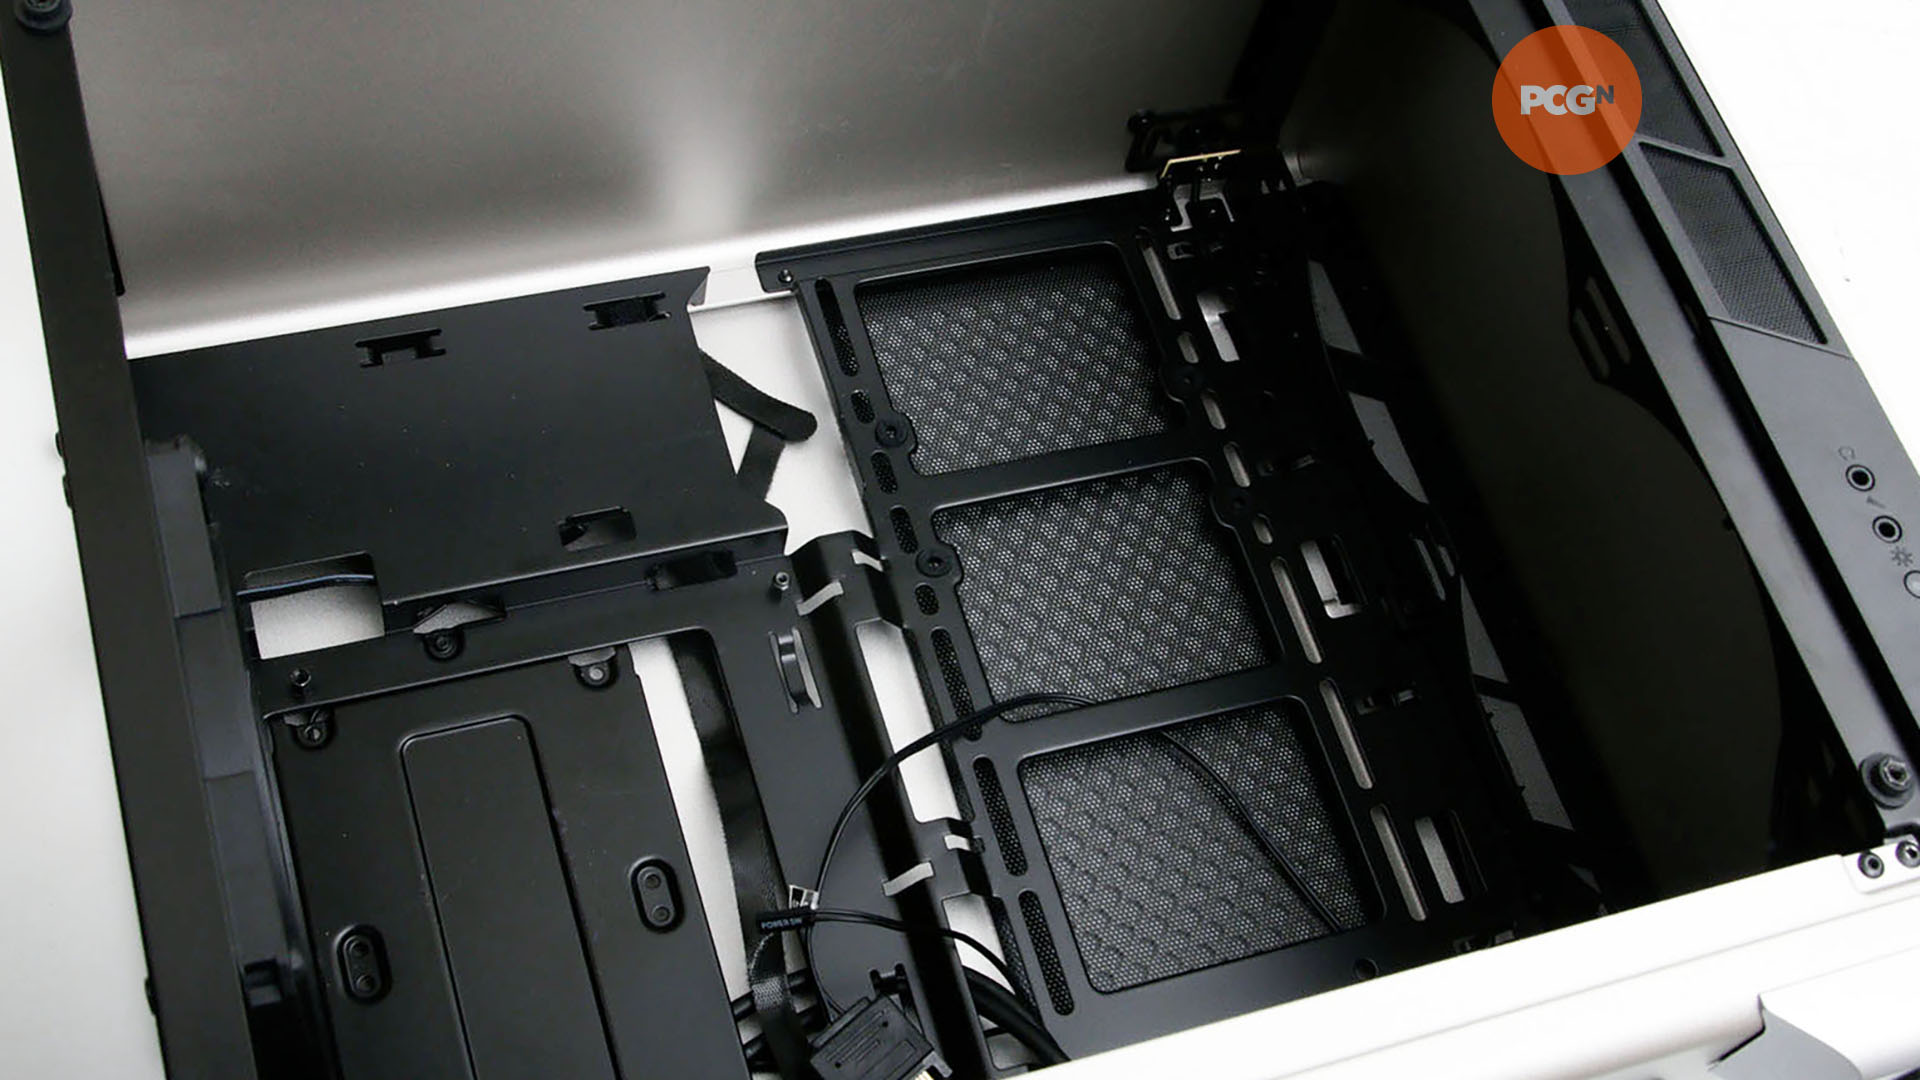
Before you start, work out what size radiator you need. If you want to keep costs and size to a minimum, there’s no point opting for a radiator with excessive cooling capacity. Equally, you might want to focus on low noise or maximum cooling, in which case larger is usually better.
2. Remove PC hardware
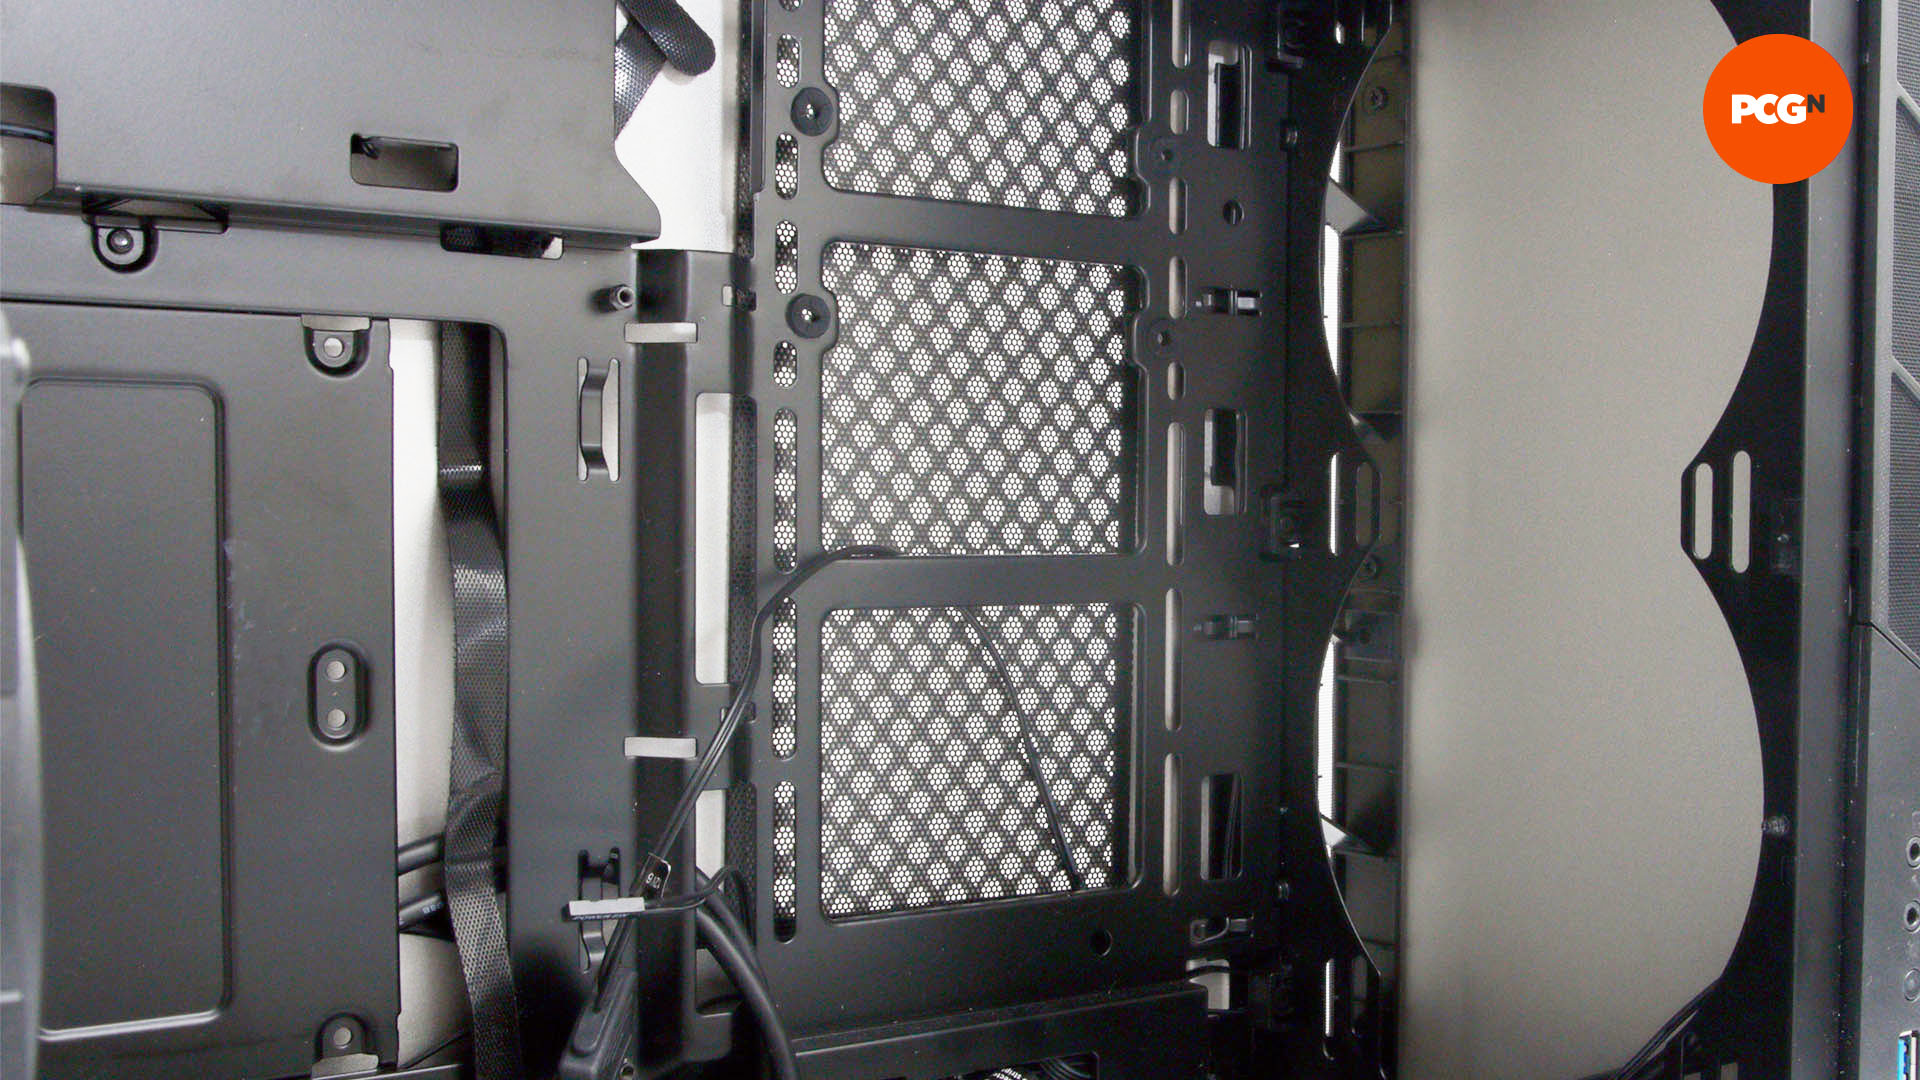
If you’re not working on a new PC case, your case needs to be fully stripped of all hardware. You’ll be making plenty of mess, including metal shards and dust that you don’t want anywhere near your components.
3. Choose radiator location
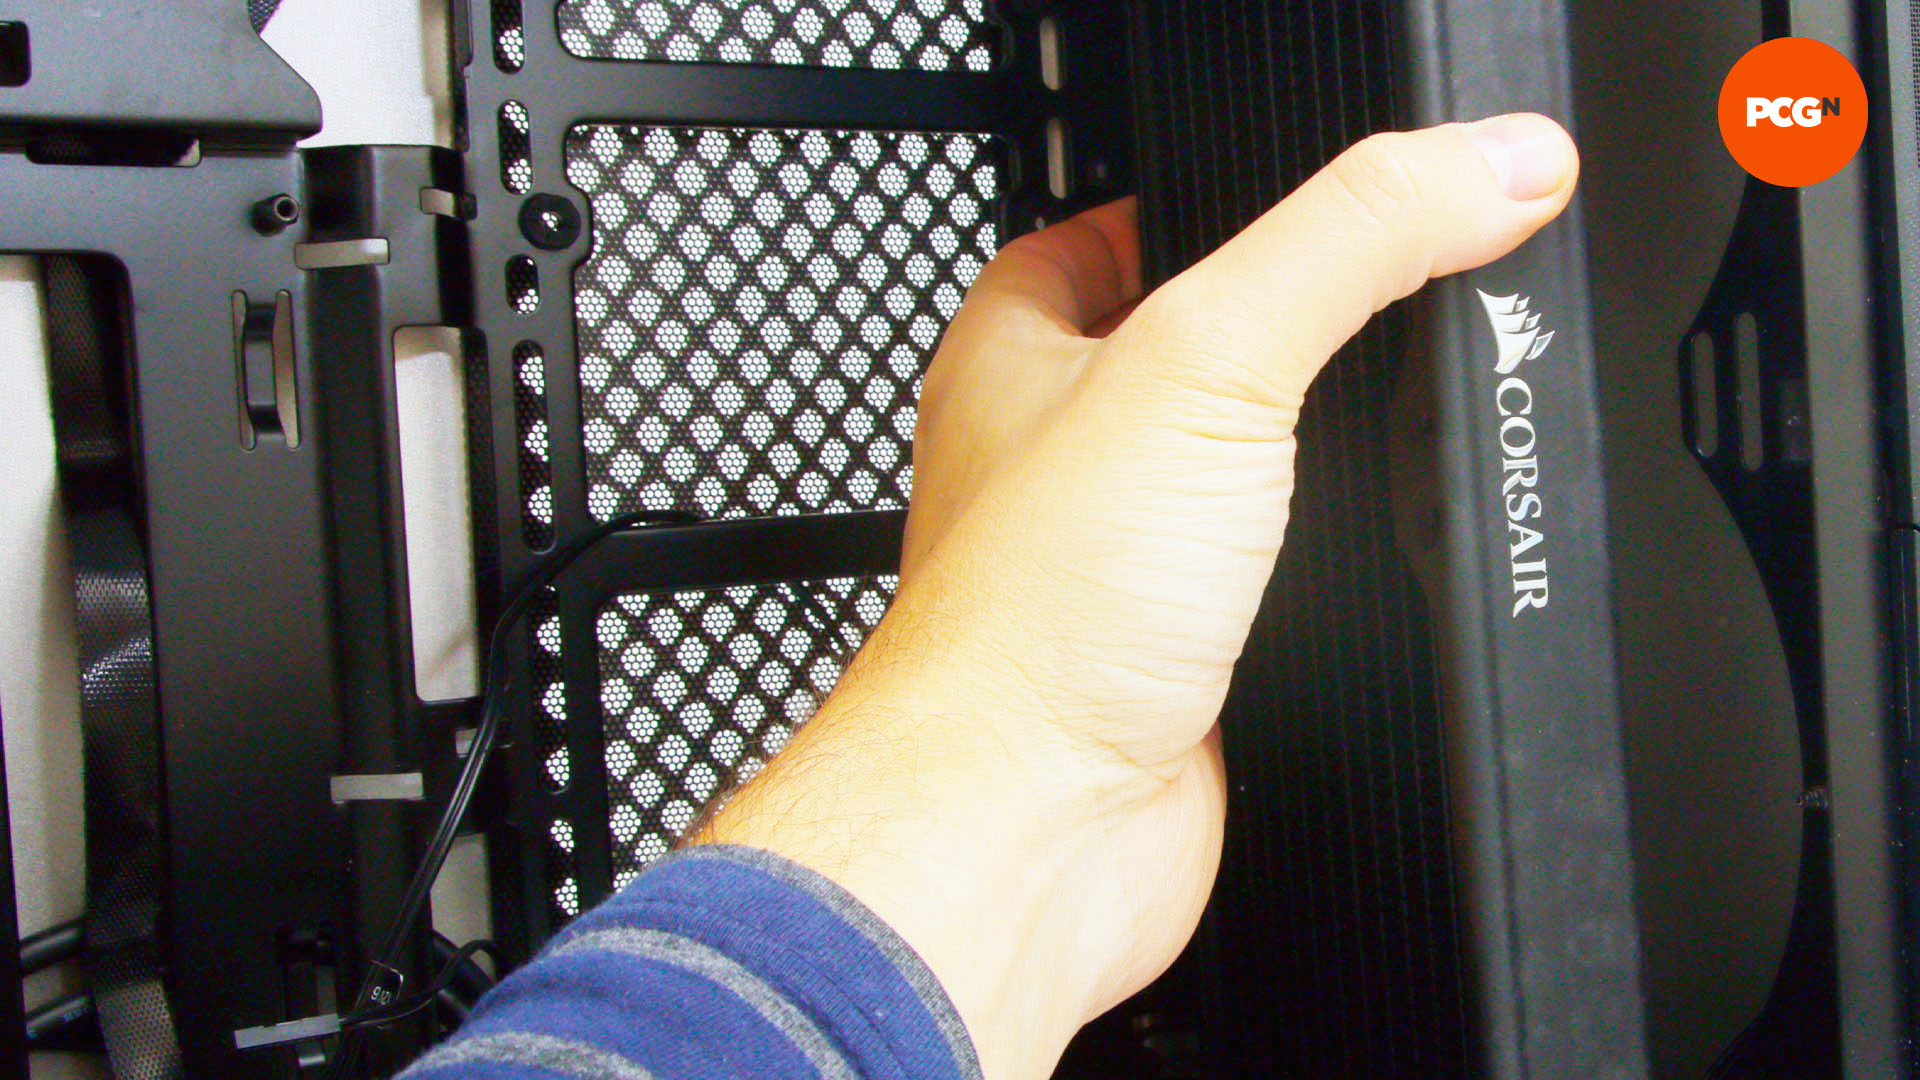
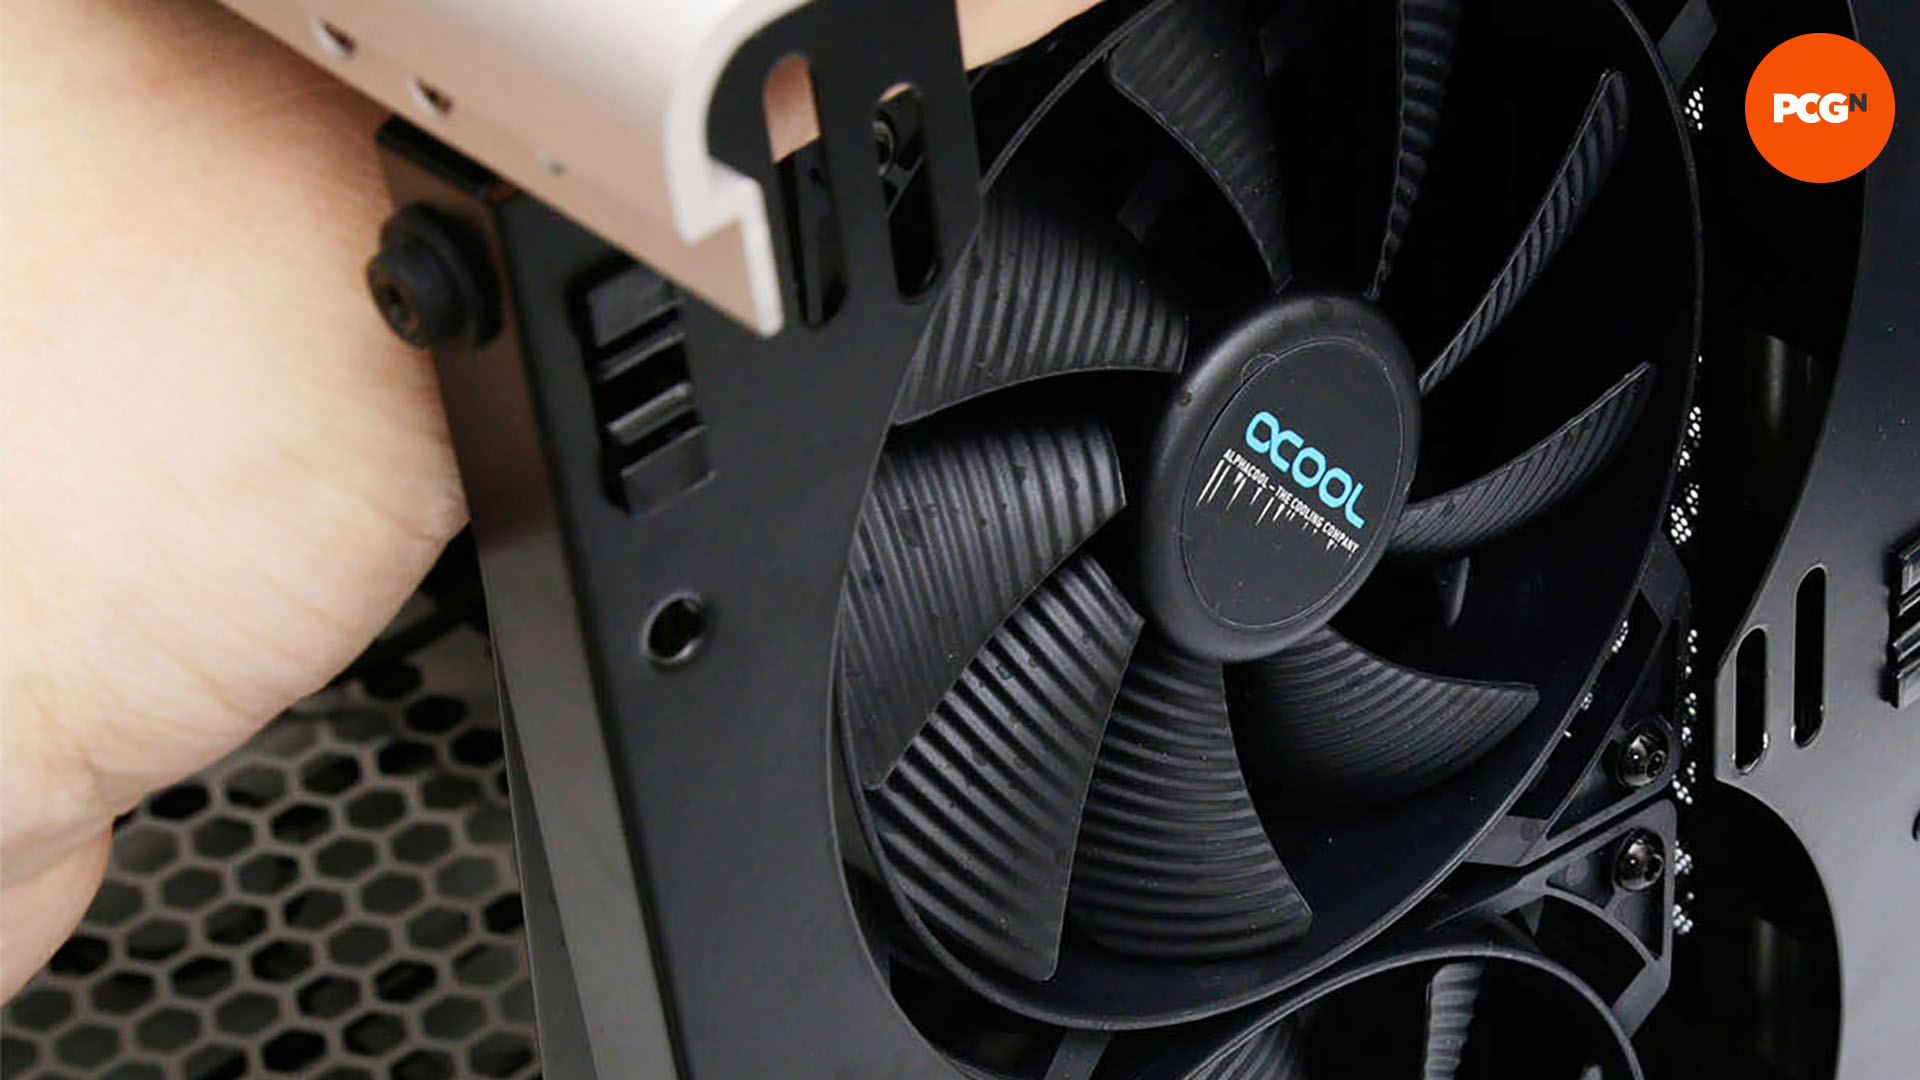
You have several options when it comes to installing your radiator. The most effective locations are in the roof or front of your case, where solid panels are common. However, you could also install a radiator in the side of the case, with air passing through the side panel.
4. Work out airflow
Before you start altering existing fan mounts, decide on your case’s new airflow arrangement. You’ll need to work out if you want to see the fans, whether you can factor in dust protection, and how to balance the airflow in your case. You also need to decide whether you’re using the radiator as an intake or exhaust.
5. Consider RGB fans
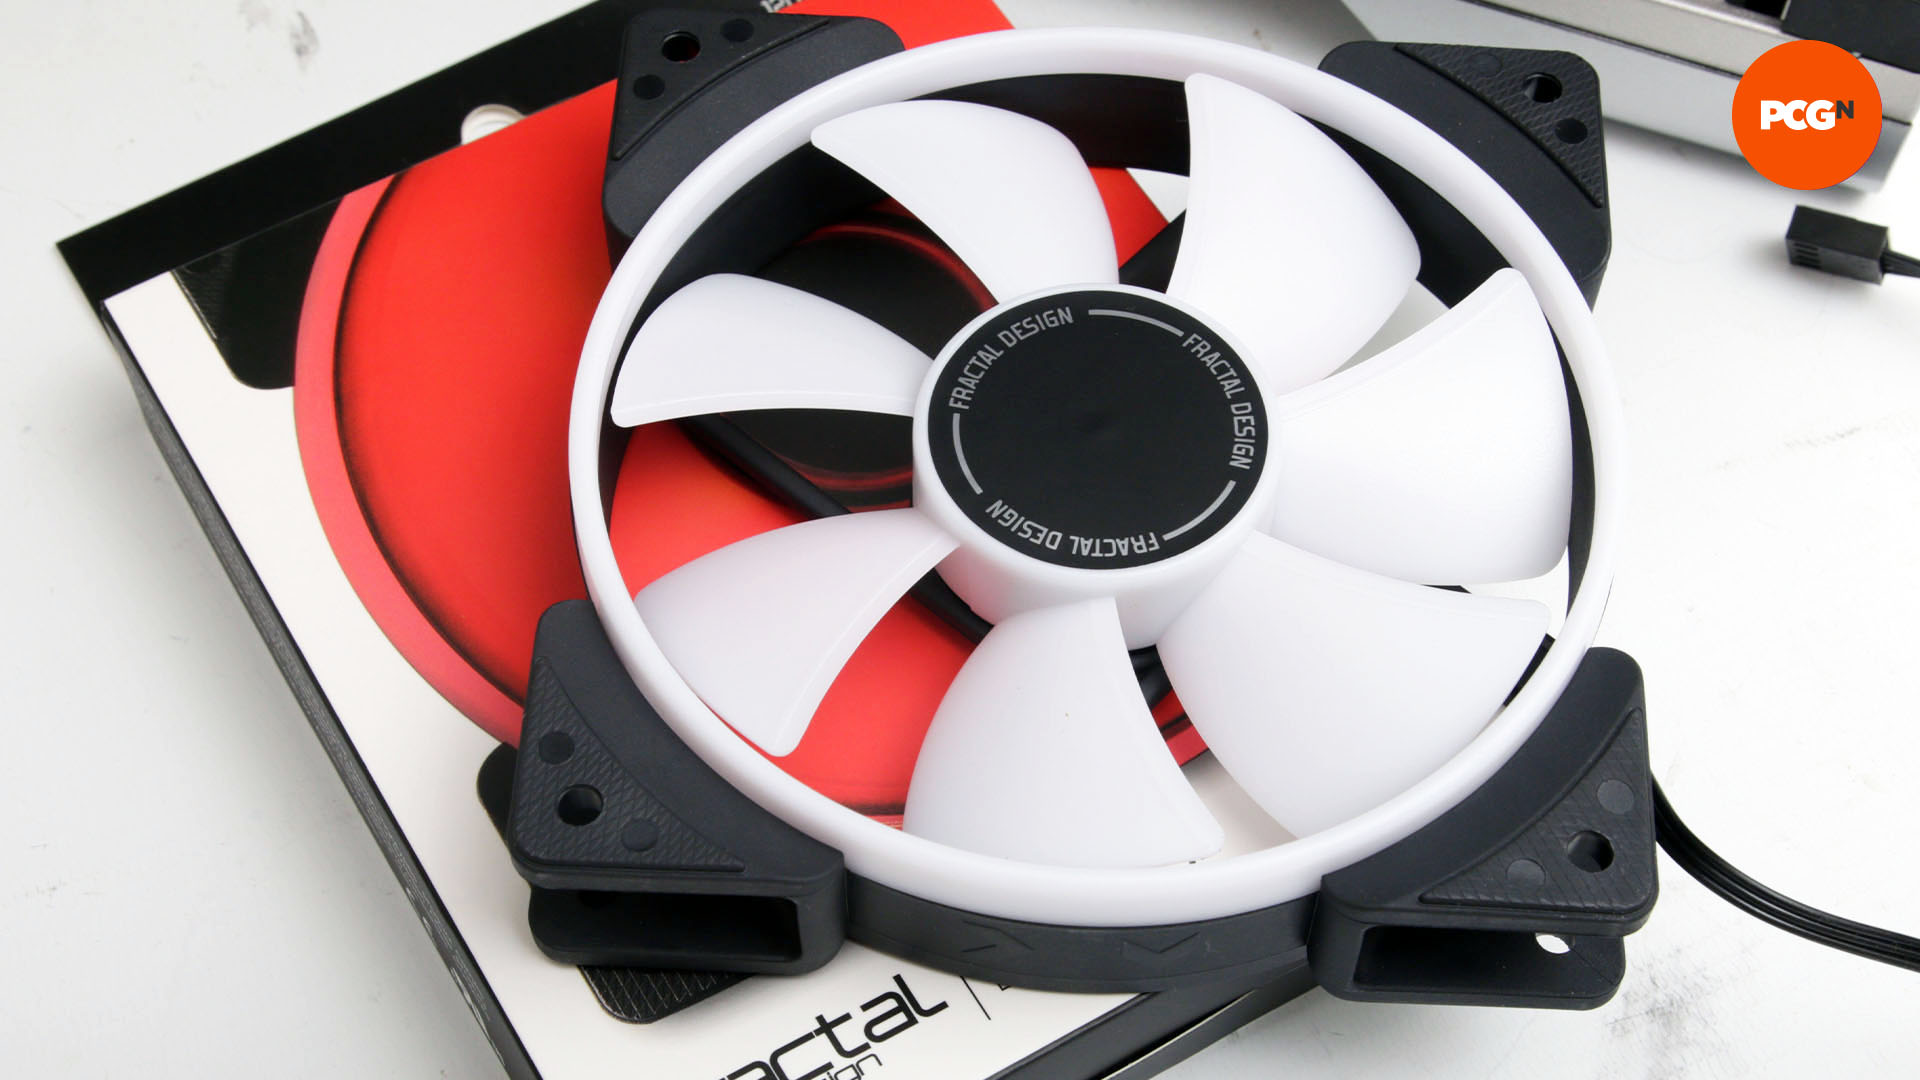
Plenty of high-profile case mods use RGB fans with custom radiator blowholes. If you’re using RGB fans, you’ll need to arrange them so they’re visible. You might want to position them so that they exhaust air through a side radiator, or they could be visible through front panel blowholes. Check out our guide to the best PC fan to find the best options. In this guide, we’re using Fractal Design Prisma fans.
6. Inspect case panel
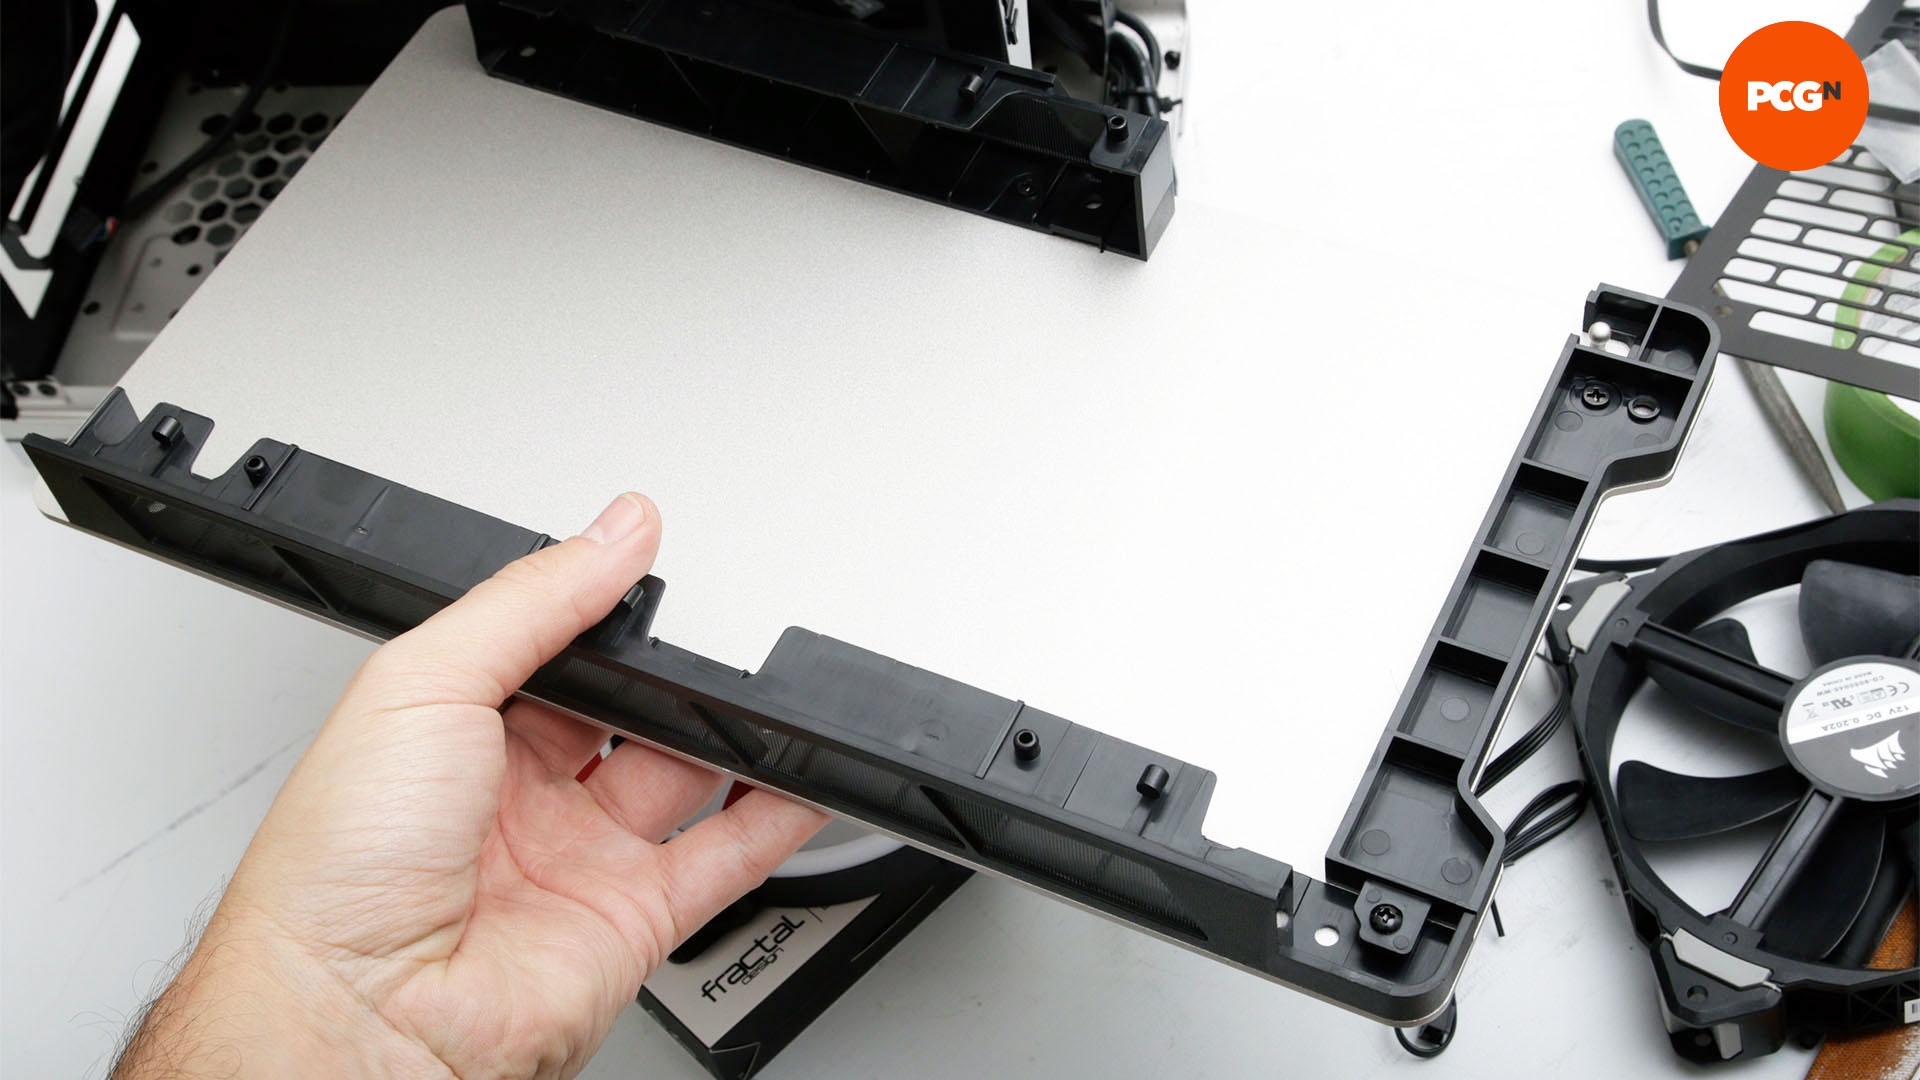
Measure the chosen panel for your particular radiator. Make sure it’s large enough to support your radiator, and ensure that it has enough free space to cut out the blowhole. It’s also worth checking the material from which it’s made, as steel will take much longer to cut than aluminum.
7. Check clearance
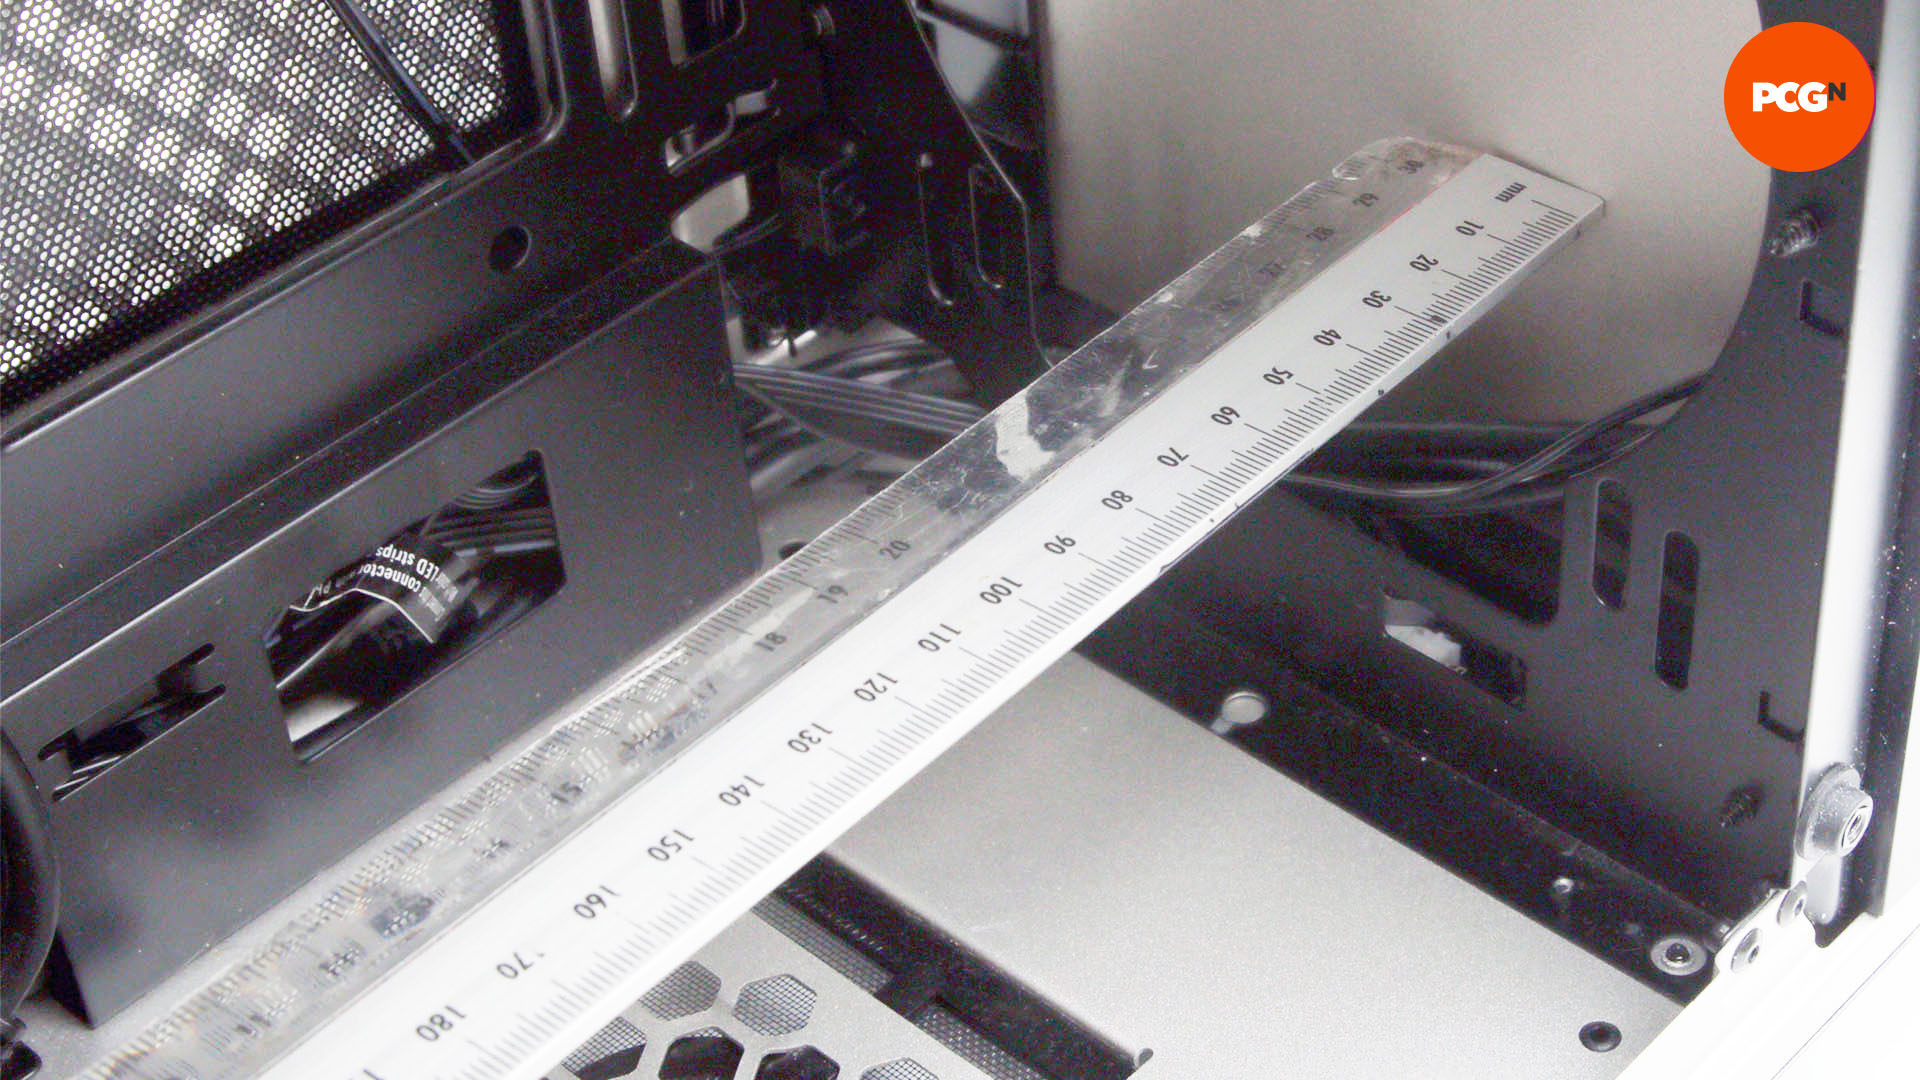
Use a tape measure to check the clearance for the radiator. Make sure there’s enough free space for the radiator’s width and height, as well as enough depth behind the panel for the radiator and fans.
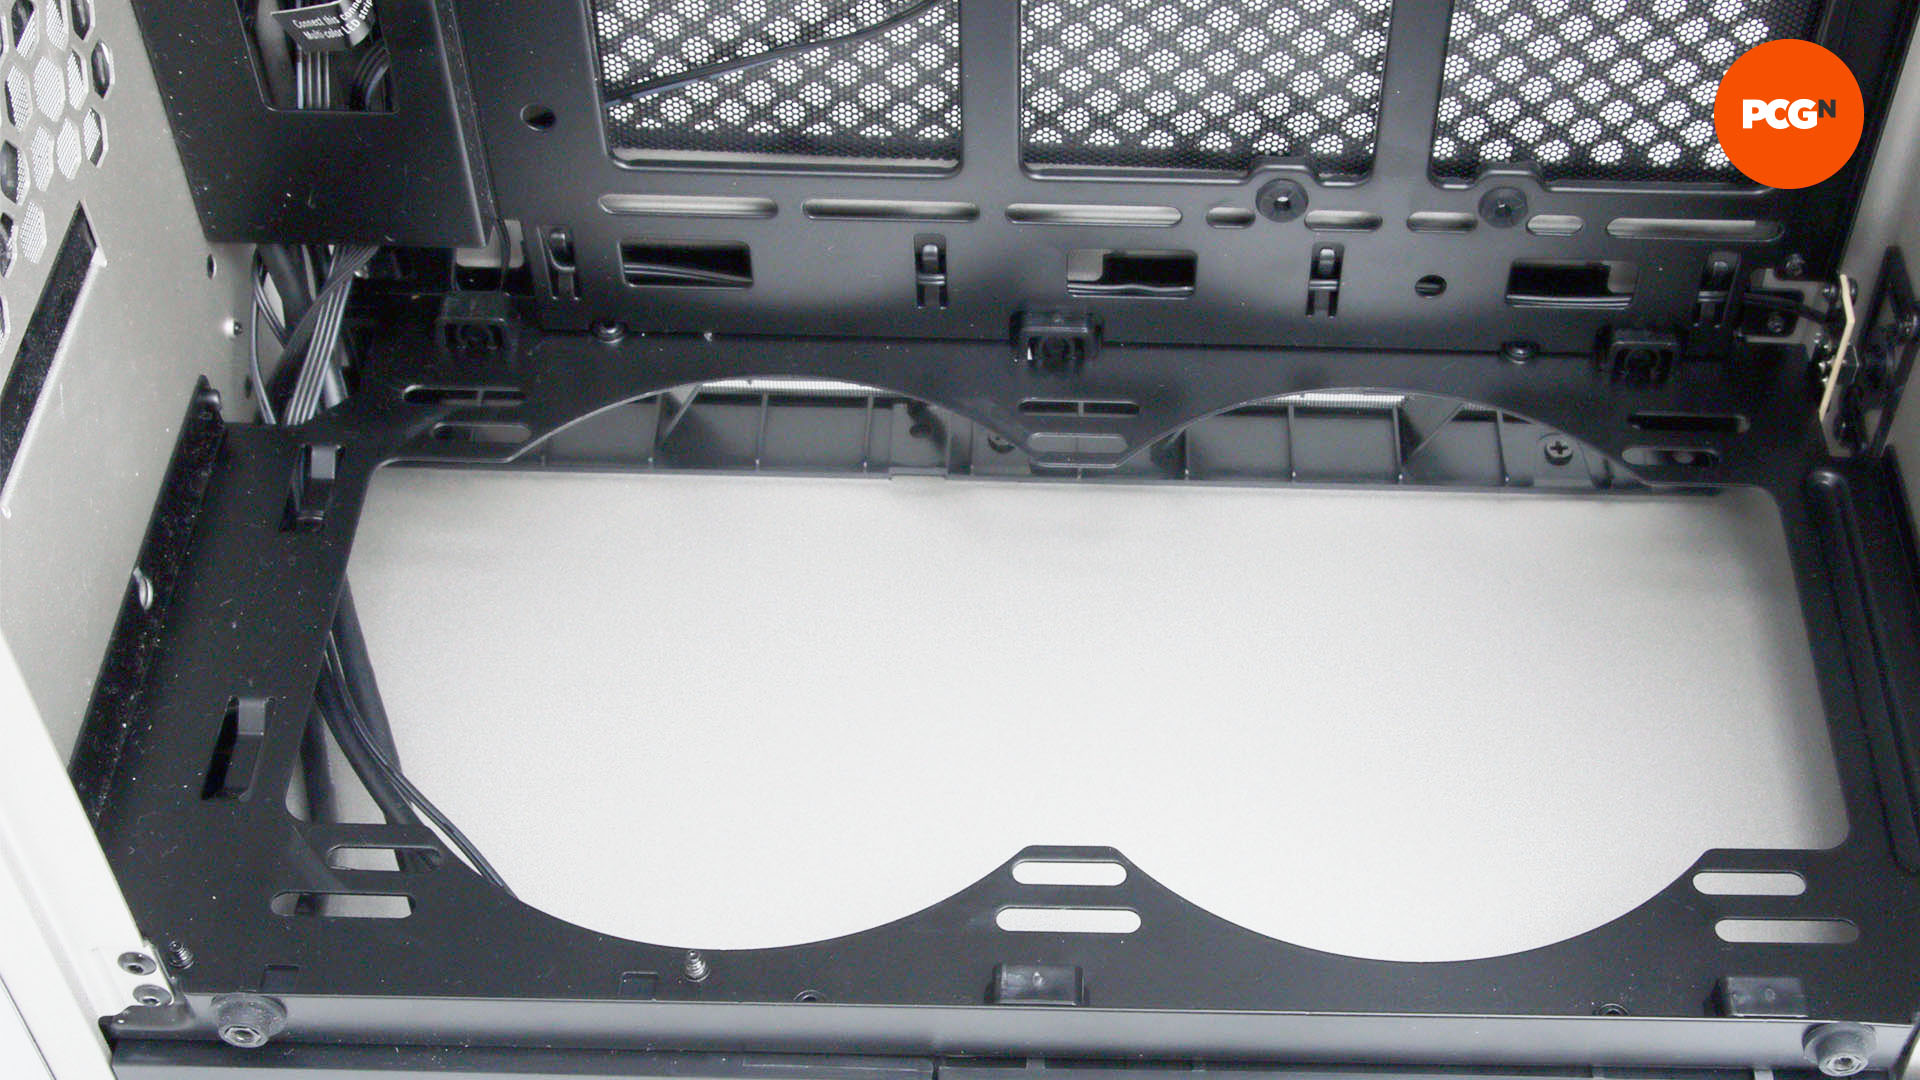
8. Examine fan mounts
You might find that your existing fan mounts will be useful for mounting your radiator, removing the need to drill fan holes to mount it. However, the fans or radiator need to sit flush with the panel, in order to avoid dust ingress or hot air spilling back into the case.
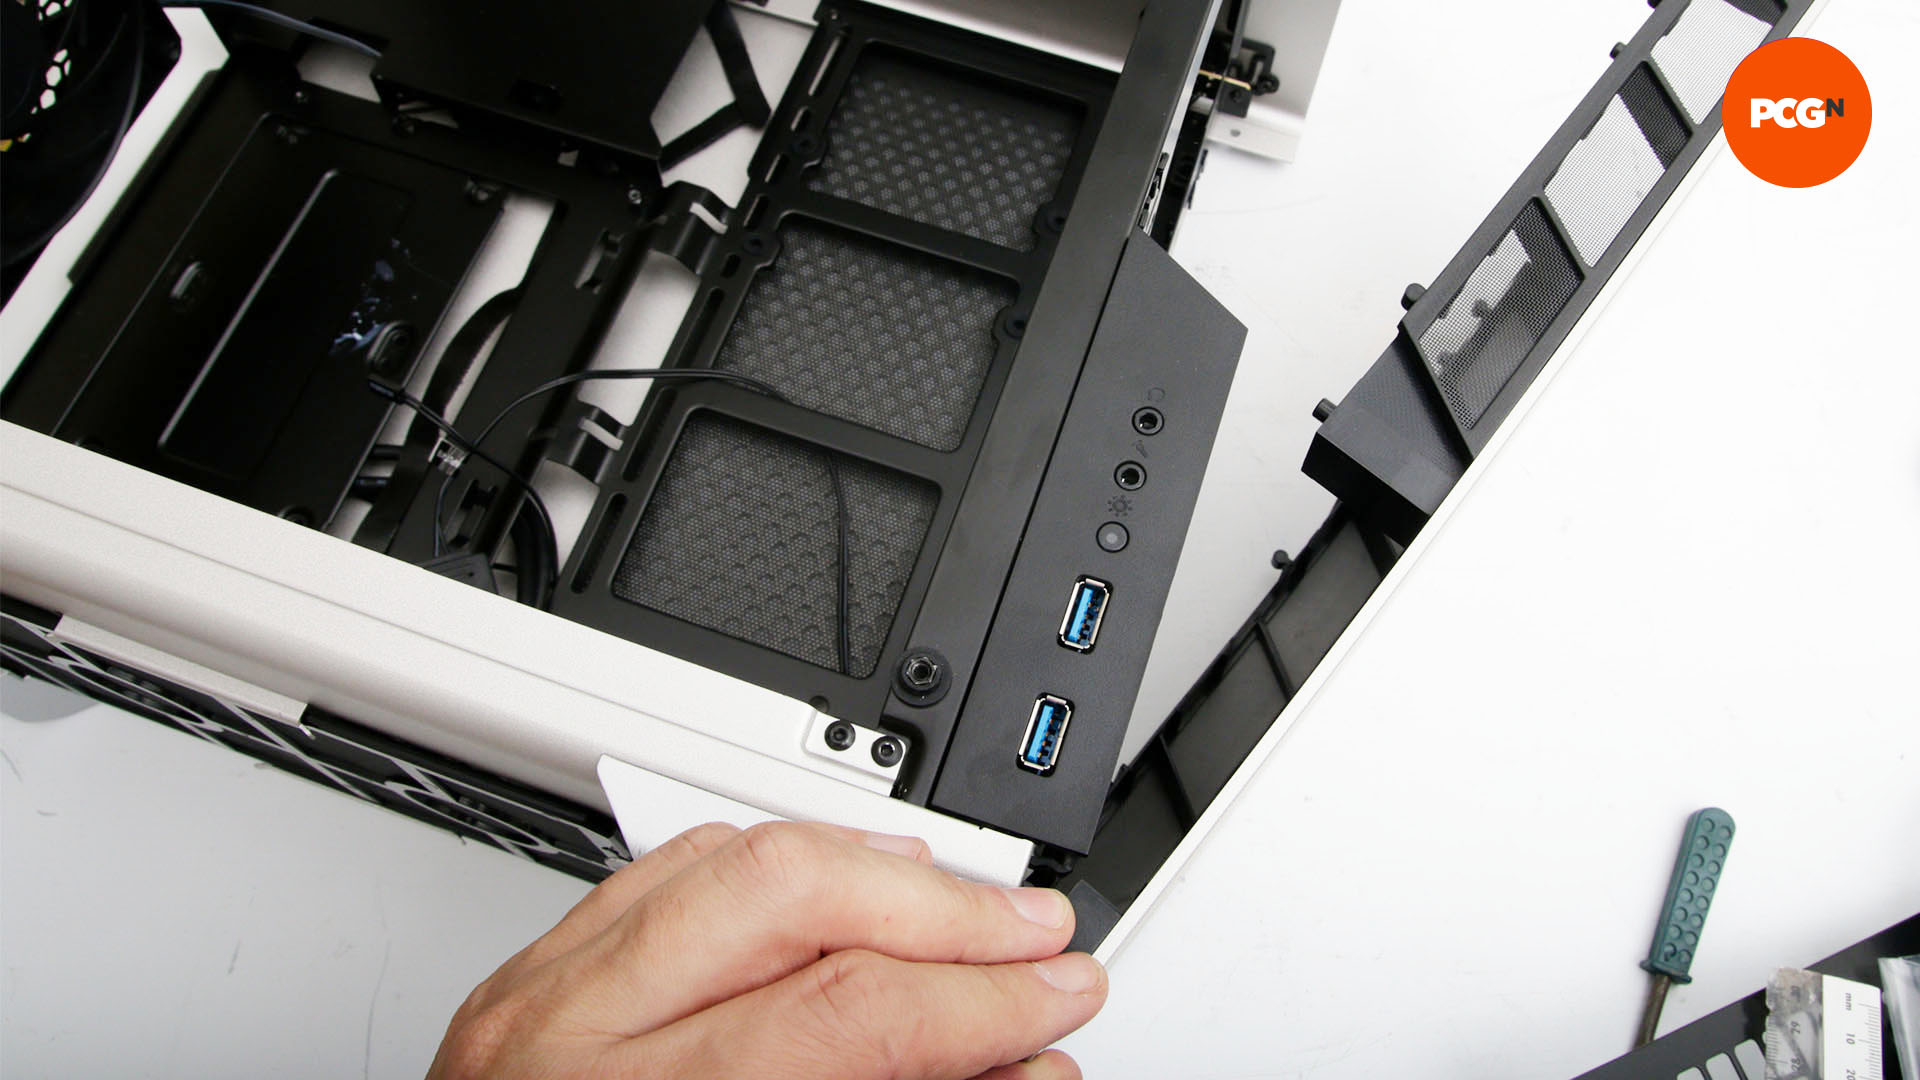
9. Remove panel
Remove the panel from the case if possible. This will make cutting it much easier, and it also means the rest of your case won’t be showered with metal dust from cutting. Consider de-riveting the case if it’s not held together using screws or push fittings.
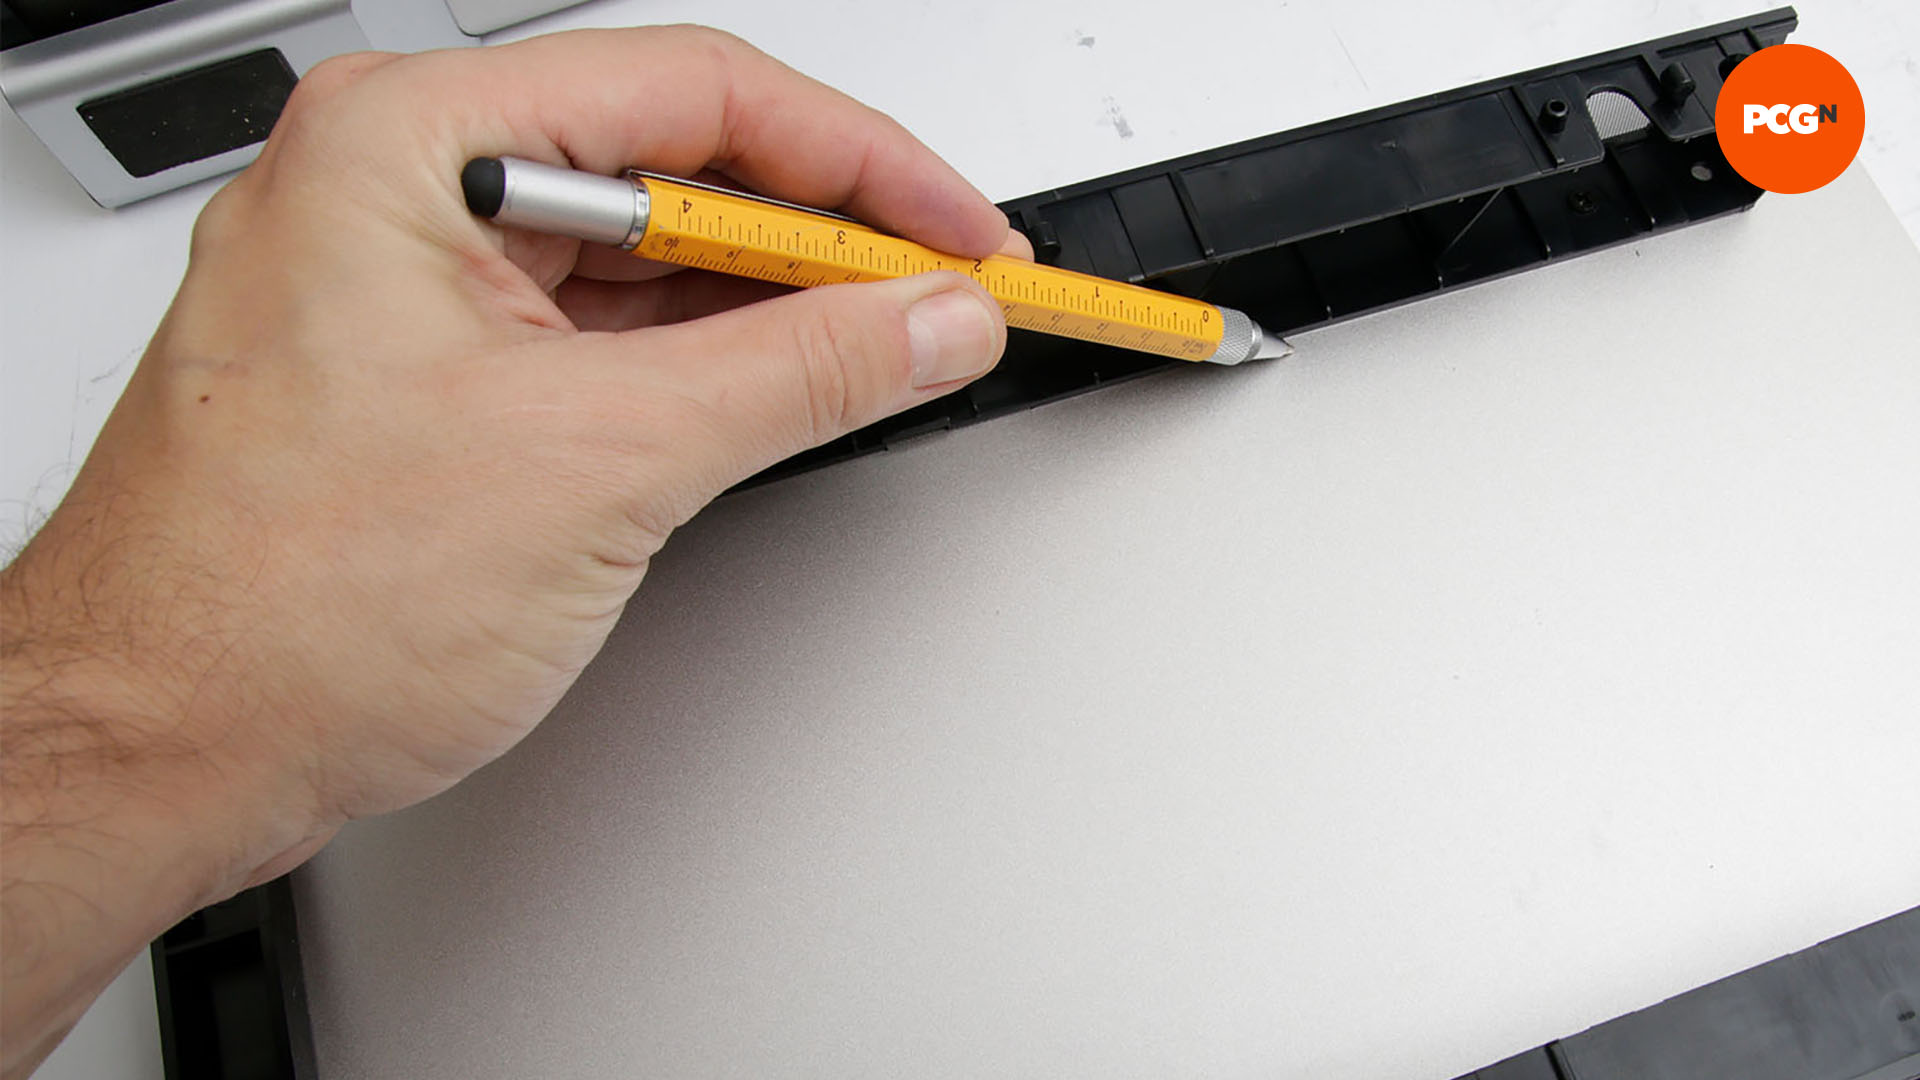
10. Draw around fittings
To avoid the blowhole clashing with any fittings, draw around them prior to removing them. You’ll now be able to work around them and line up your hole accordingly.
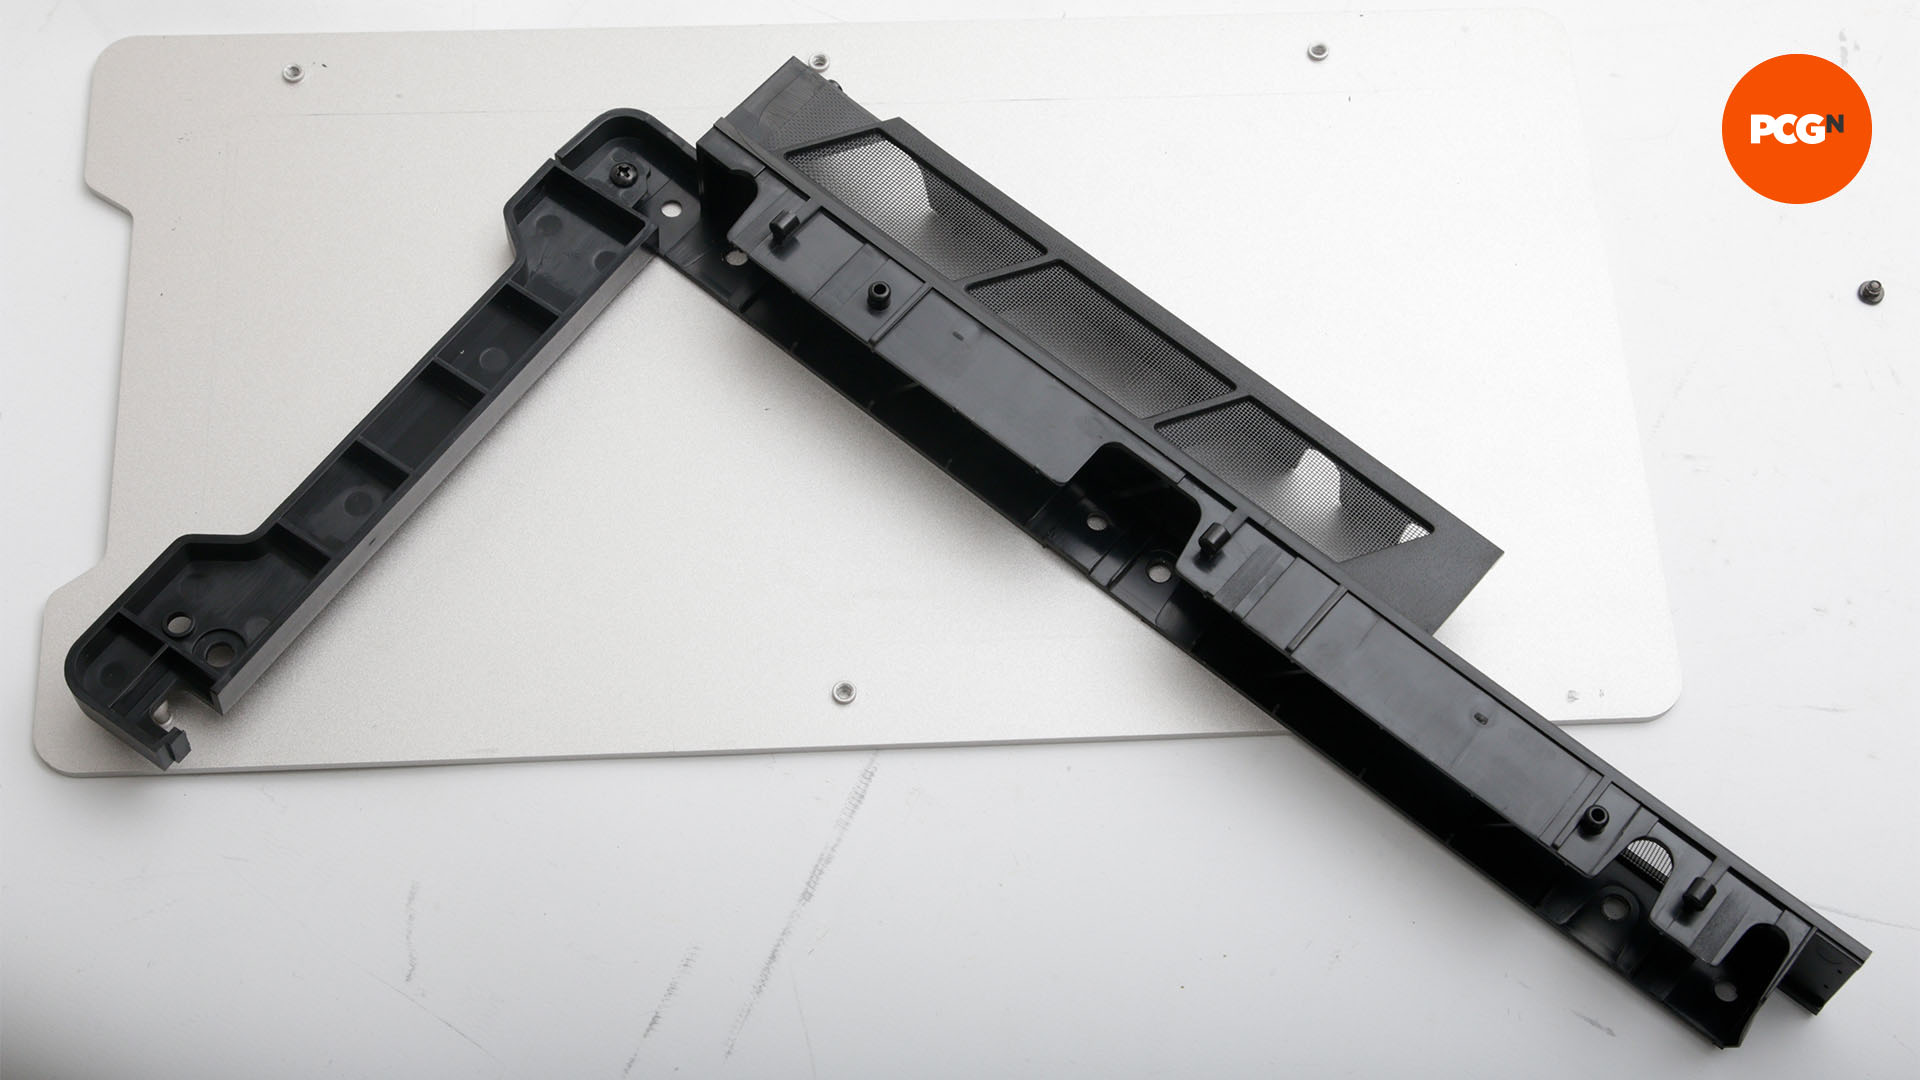
11. Remove fittings
It’s best to remove any fittings from the panel first, whether you need them or not. This is especially true if they obtrude and prevent you laying the panel flat for cutting, but it also prevents you from damaging them.
12. Remove old fan mounts
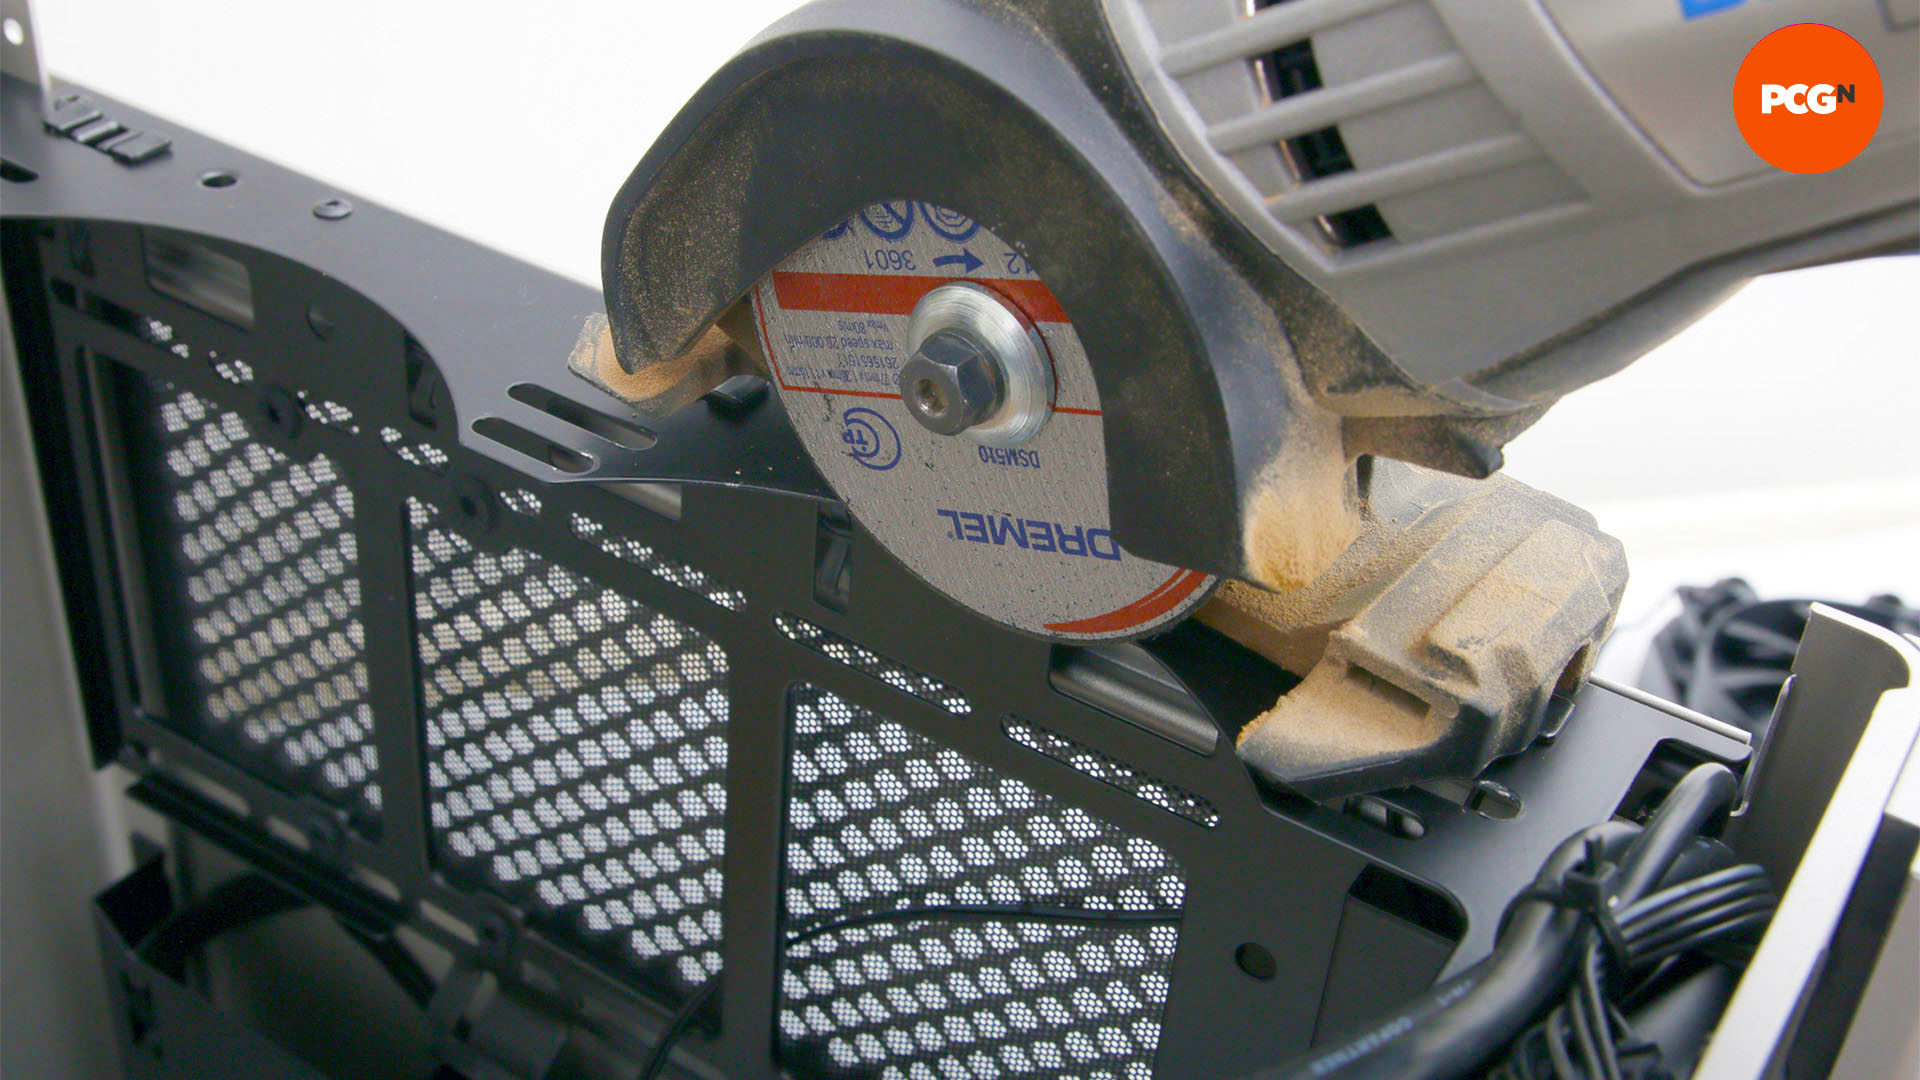
If the existing fan mounts in the panel aren’t usable and are in the way, you may need to cut them out to mount your hardware. The radiator can instead be secured onto the panel using radiator screws. We’re using a Dremel DSM20 saw tool for this job, but you could also use a Dremel rotary tool with a reinforced cutting wheel.
13. Test-fit radiator
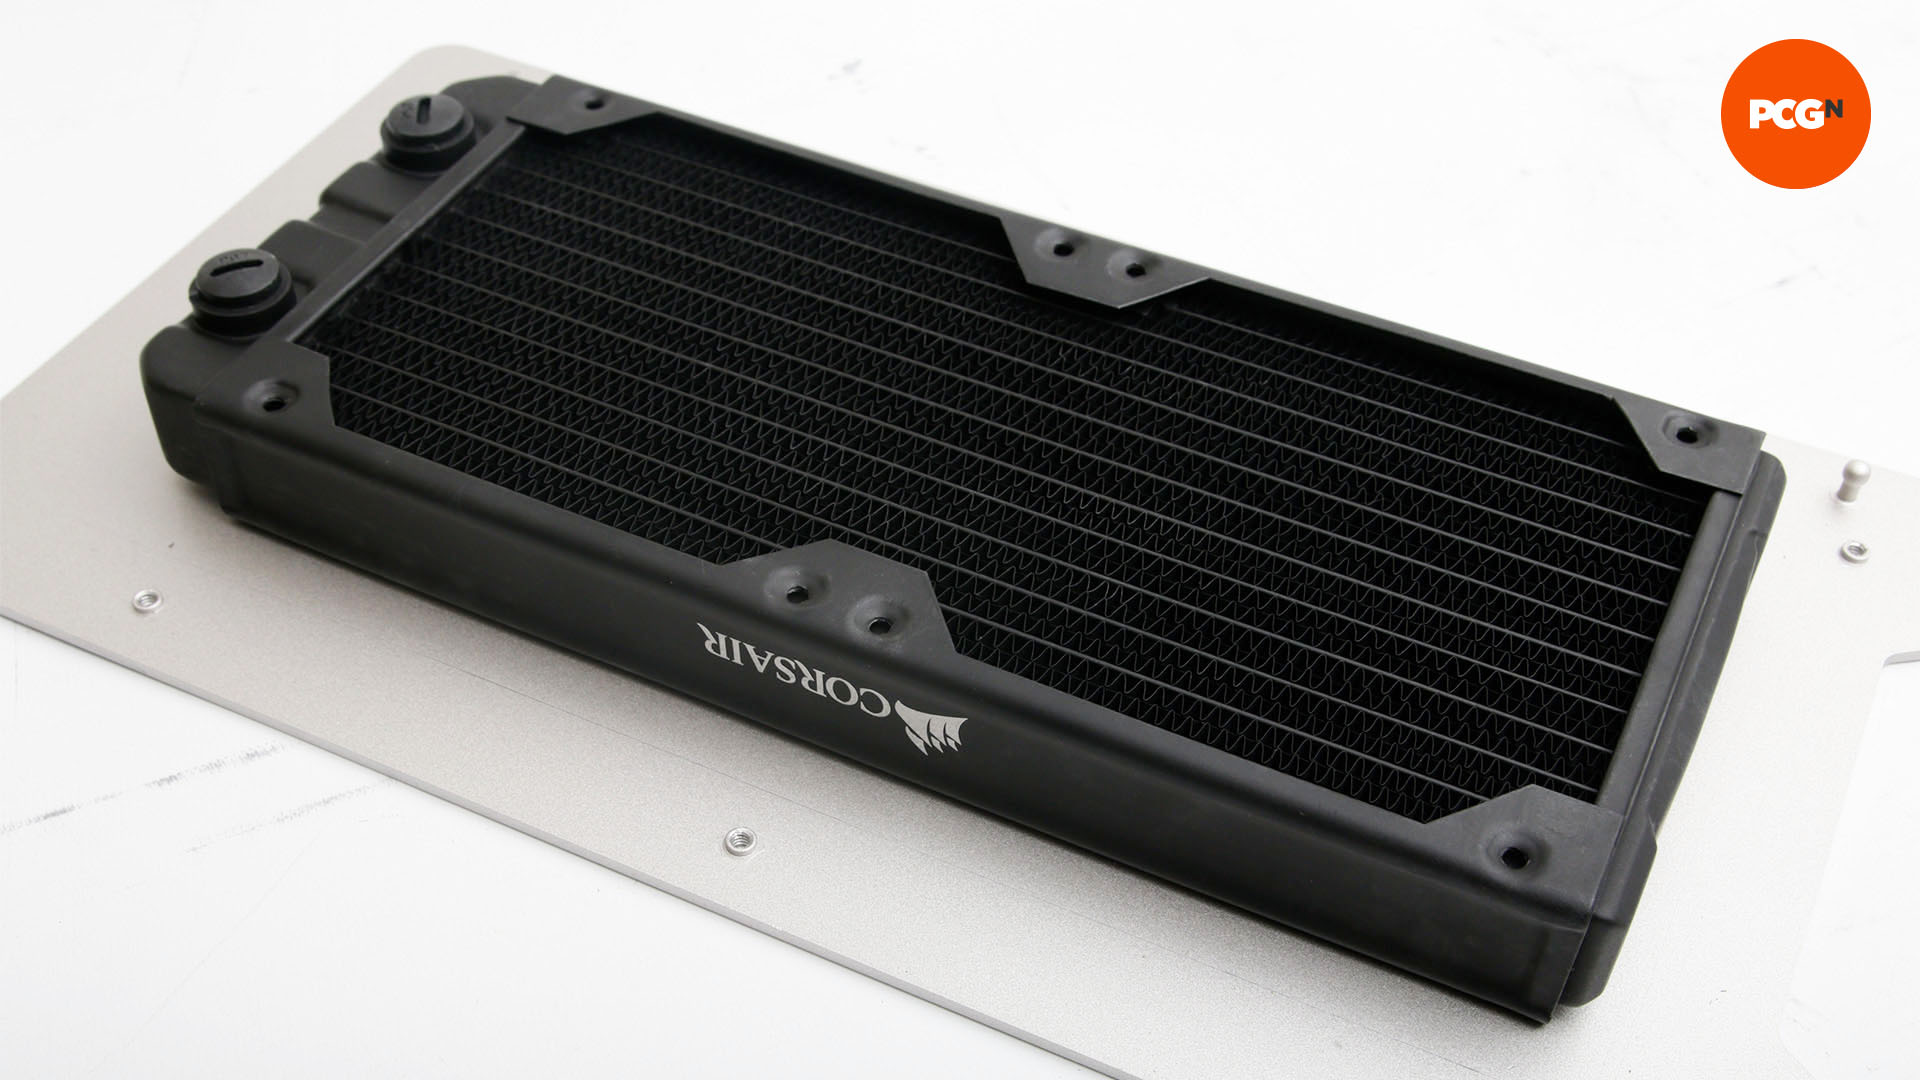
With the space behind the panel cleared, offer up the radiator to your panel to work out where you need the blowhole situated. Pay careful attention to the resulting airflow from the fan locations, as well as the visibility of any RGB lighting.
14. Check clearance for other mounts
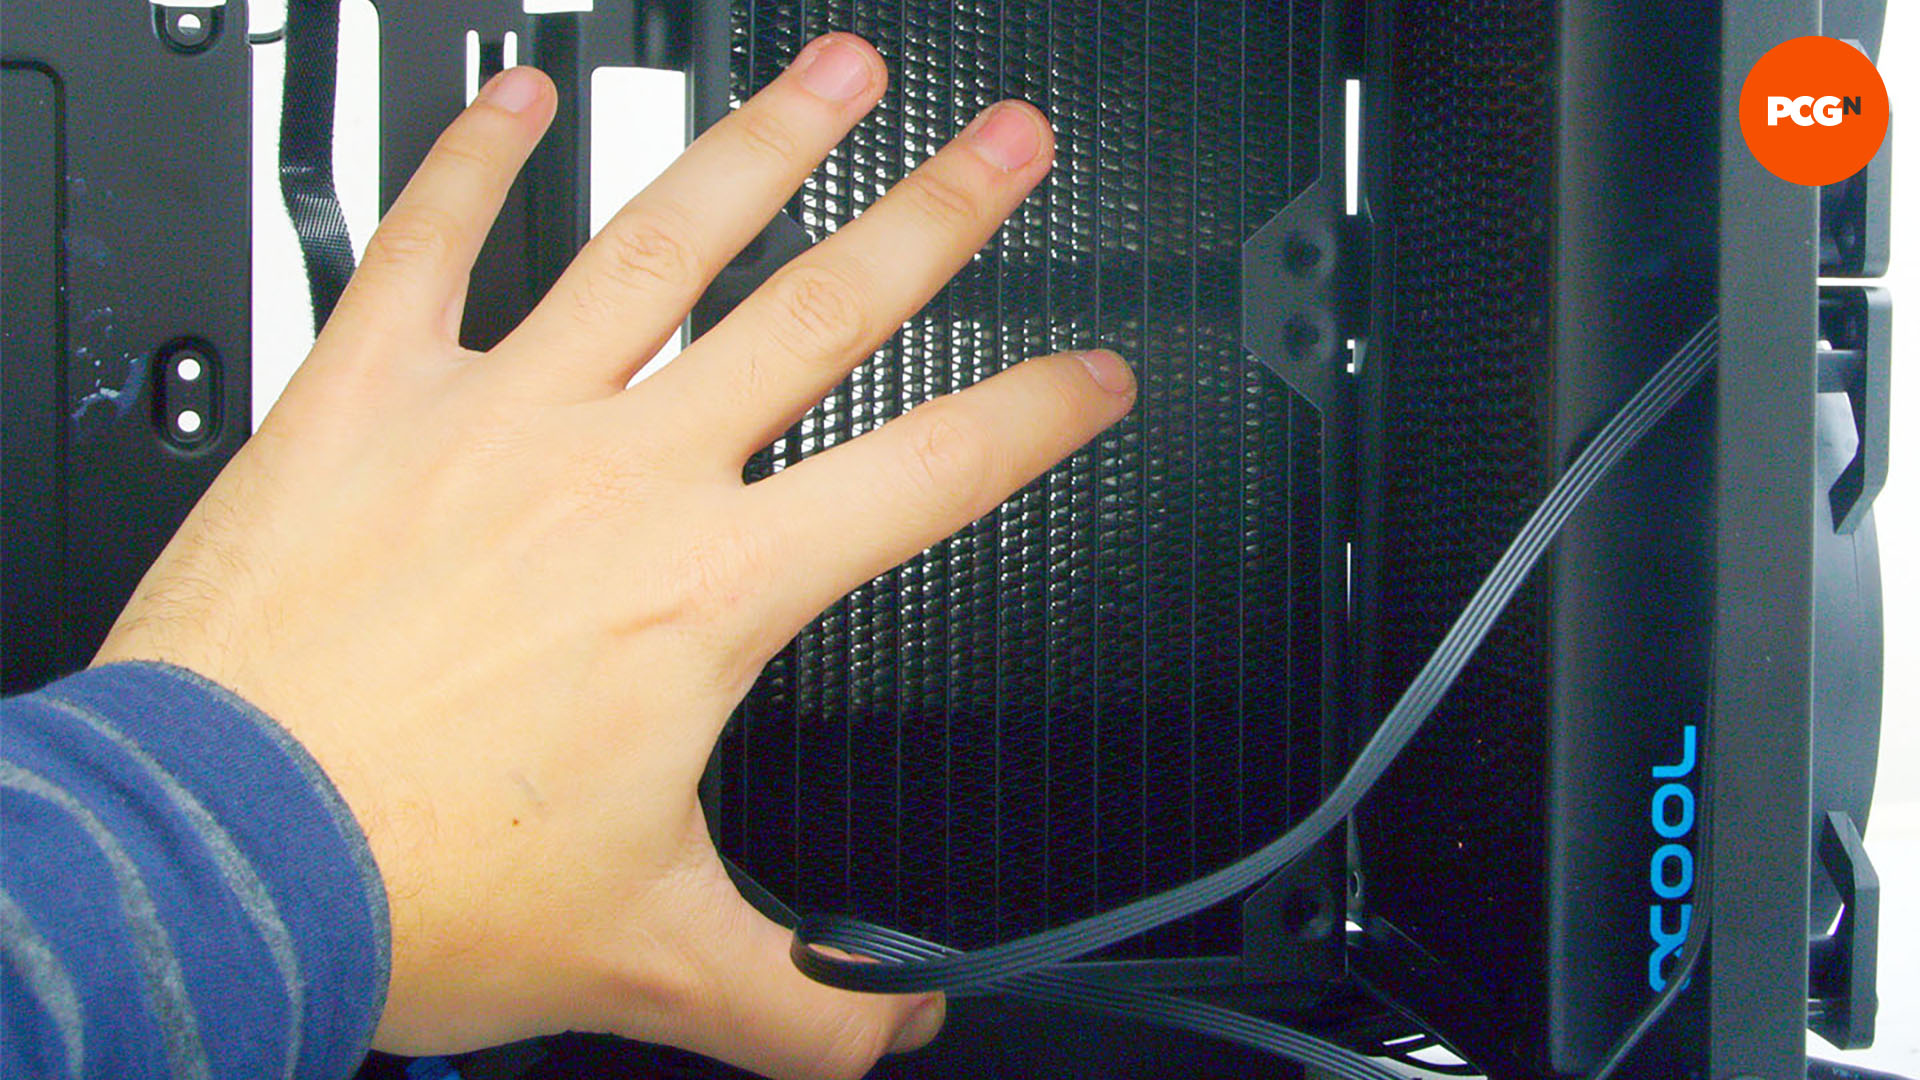
If your case has adjacent fan mounts you want to use, consider offsetting the radiator blowhole to allow you to continue using them. This could be the situation with cases that have side fan mounts, or if your blowhole is in the roof of the case with fan mounts in the front.
15. Use masking tape
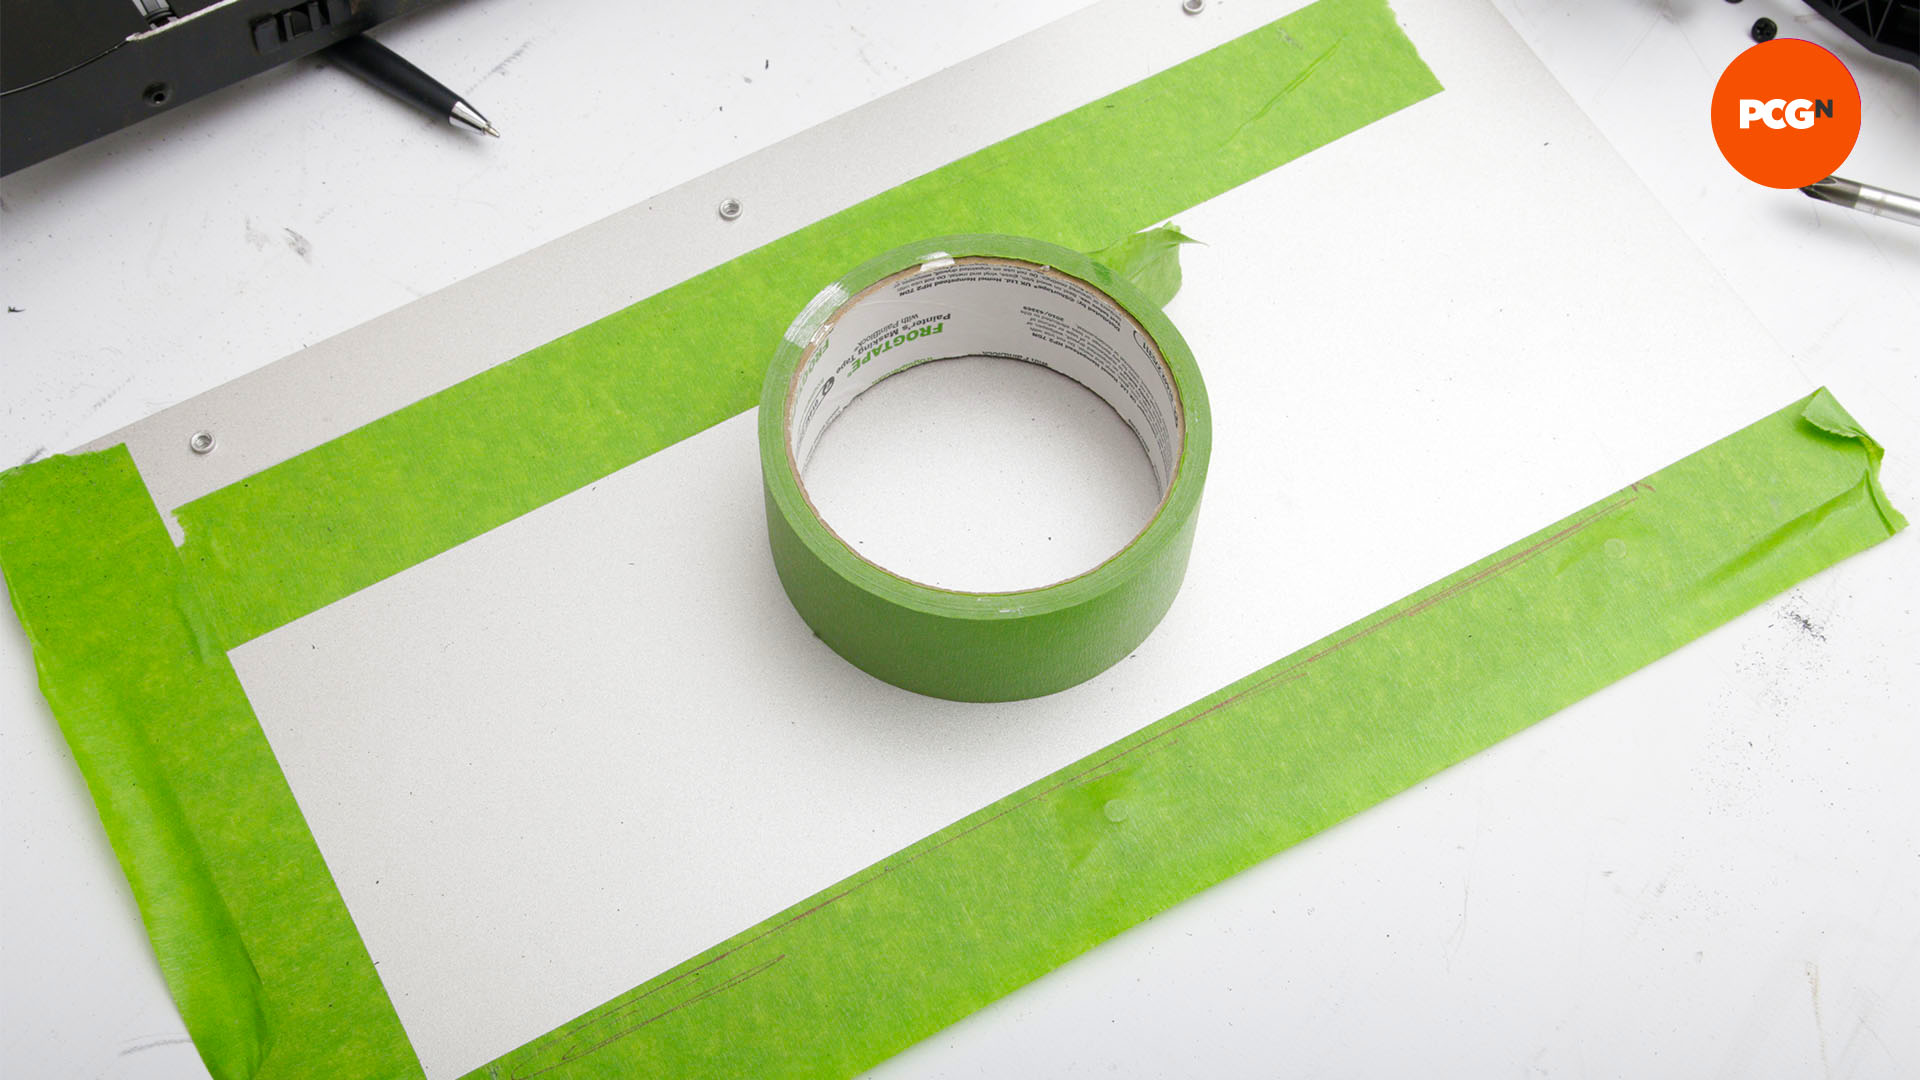
Apply masking tape to the panel area you want to mark up for cutting. This will eliminate the need to draw directly onto your panel, and also protect it if you slip with your chosen cutting tool.
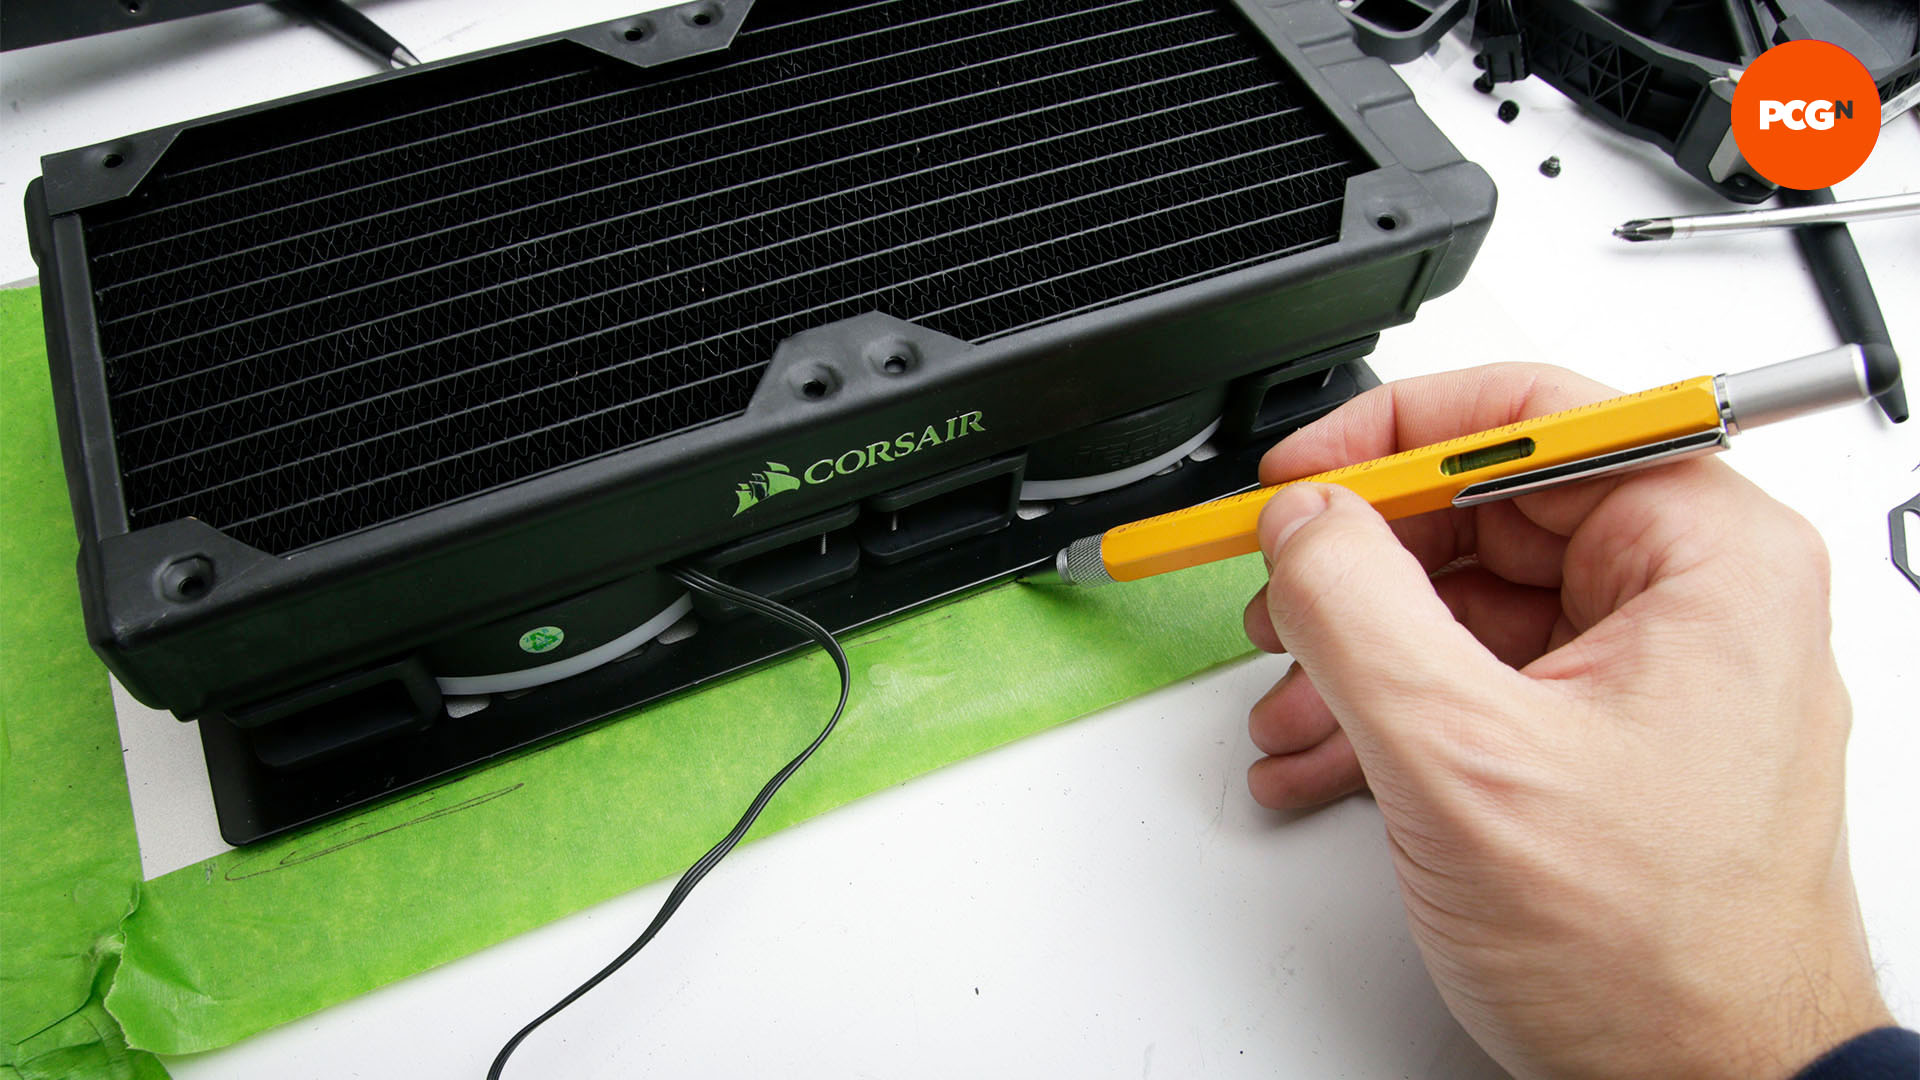
16. Mark up front panel
To cut a single rectangular hole that’s hidden under a grille, connect the radiator, fans, and grille together, offer up the panel, and sit them in the case. Once they align, lay them flat, draw around the grille, and draw your actual cutting line 5mm inside that line. Your cuts will now be neatly hidden under the grille.
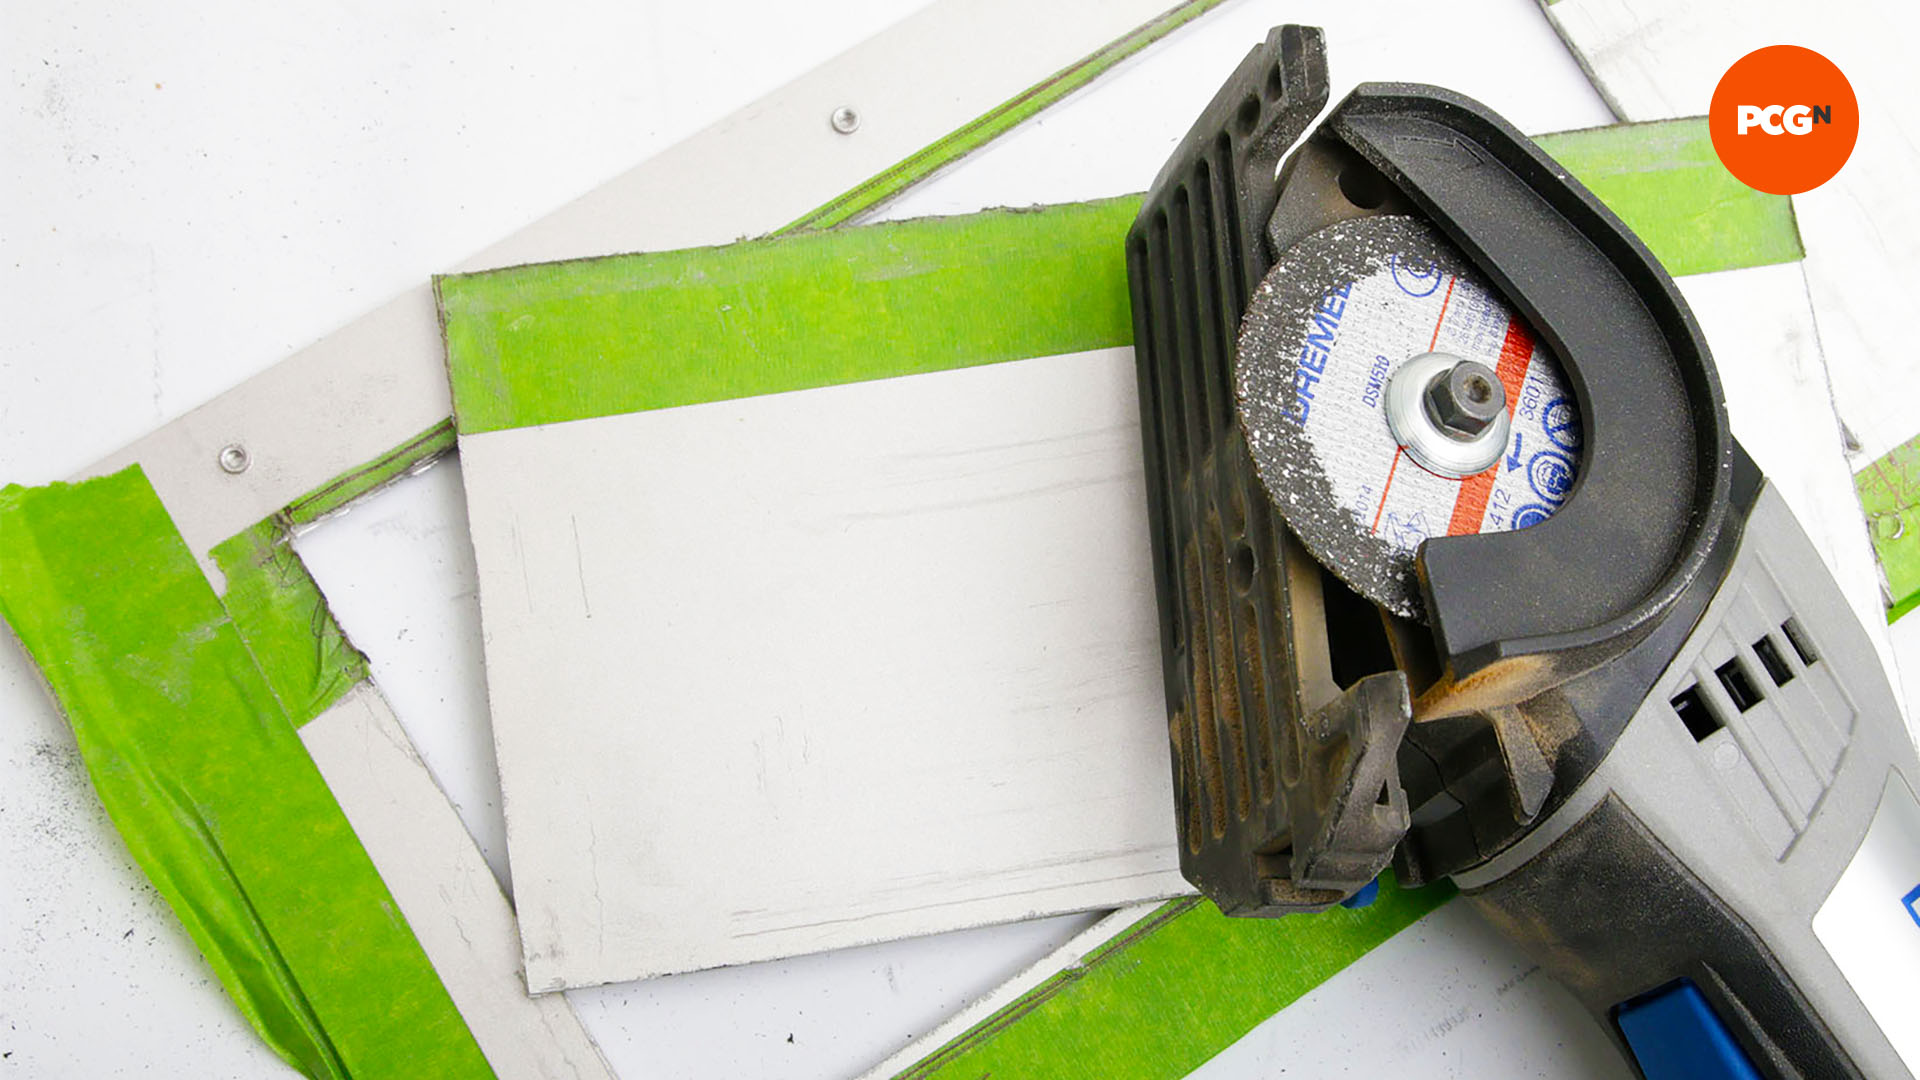
17. Cut panel
When dealing with metal panels, you want as much power as possible. A mini circular saw is ideal, as are jigsaws, but you can also use a Dremel with reinforced cutting discs to cut metals. Wear a mask and protective glasses to shield you from any shards and sparks.
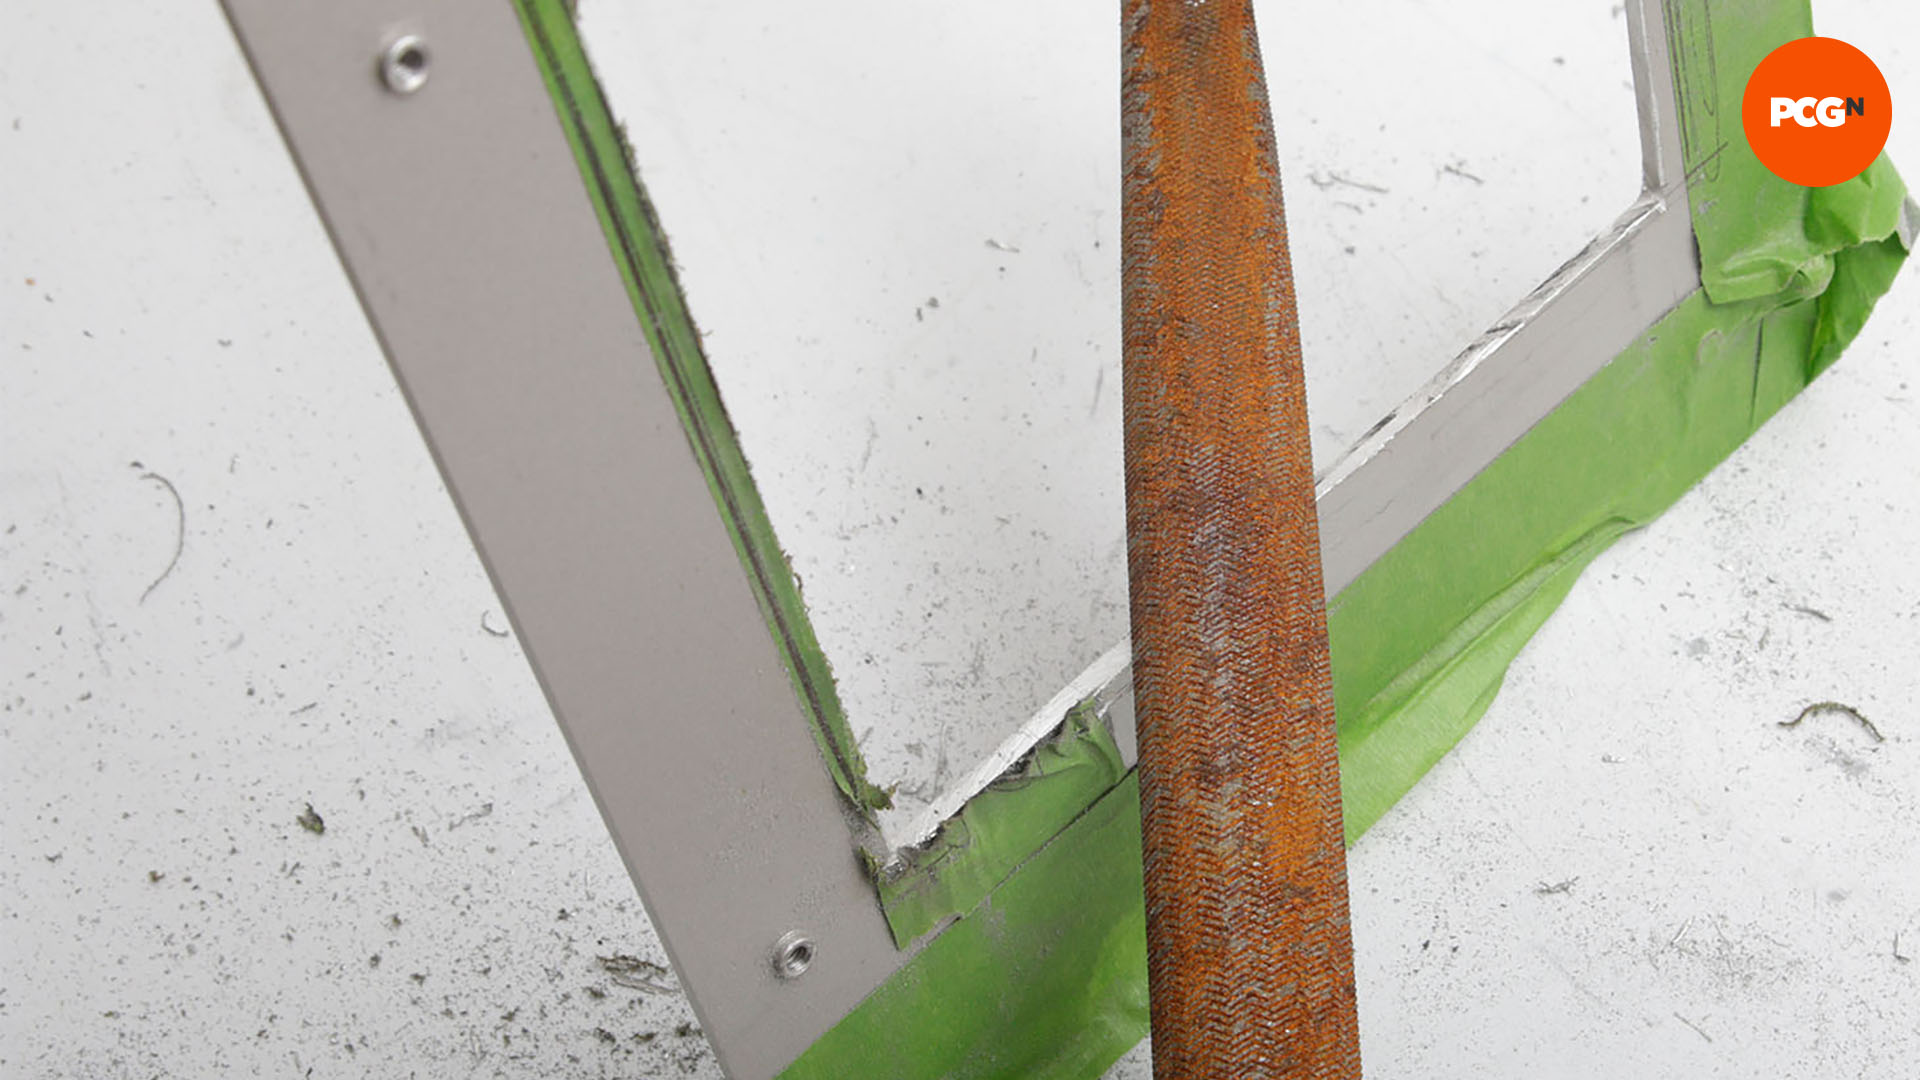
18. File edges
Once you’ve cut out the blowhole, use a metal file (Ed: preferably one much less rusty than Antony’s horror on show here!) to get rid of any large shards, and also to level off any uneven edges or corners.
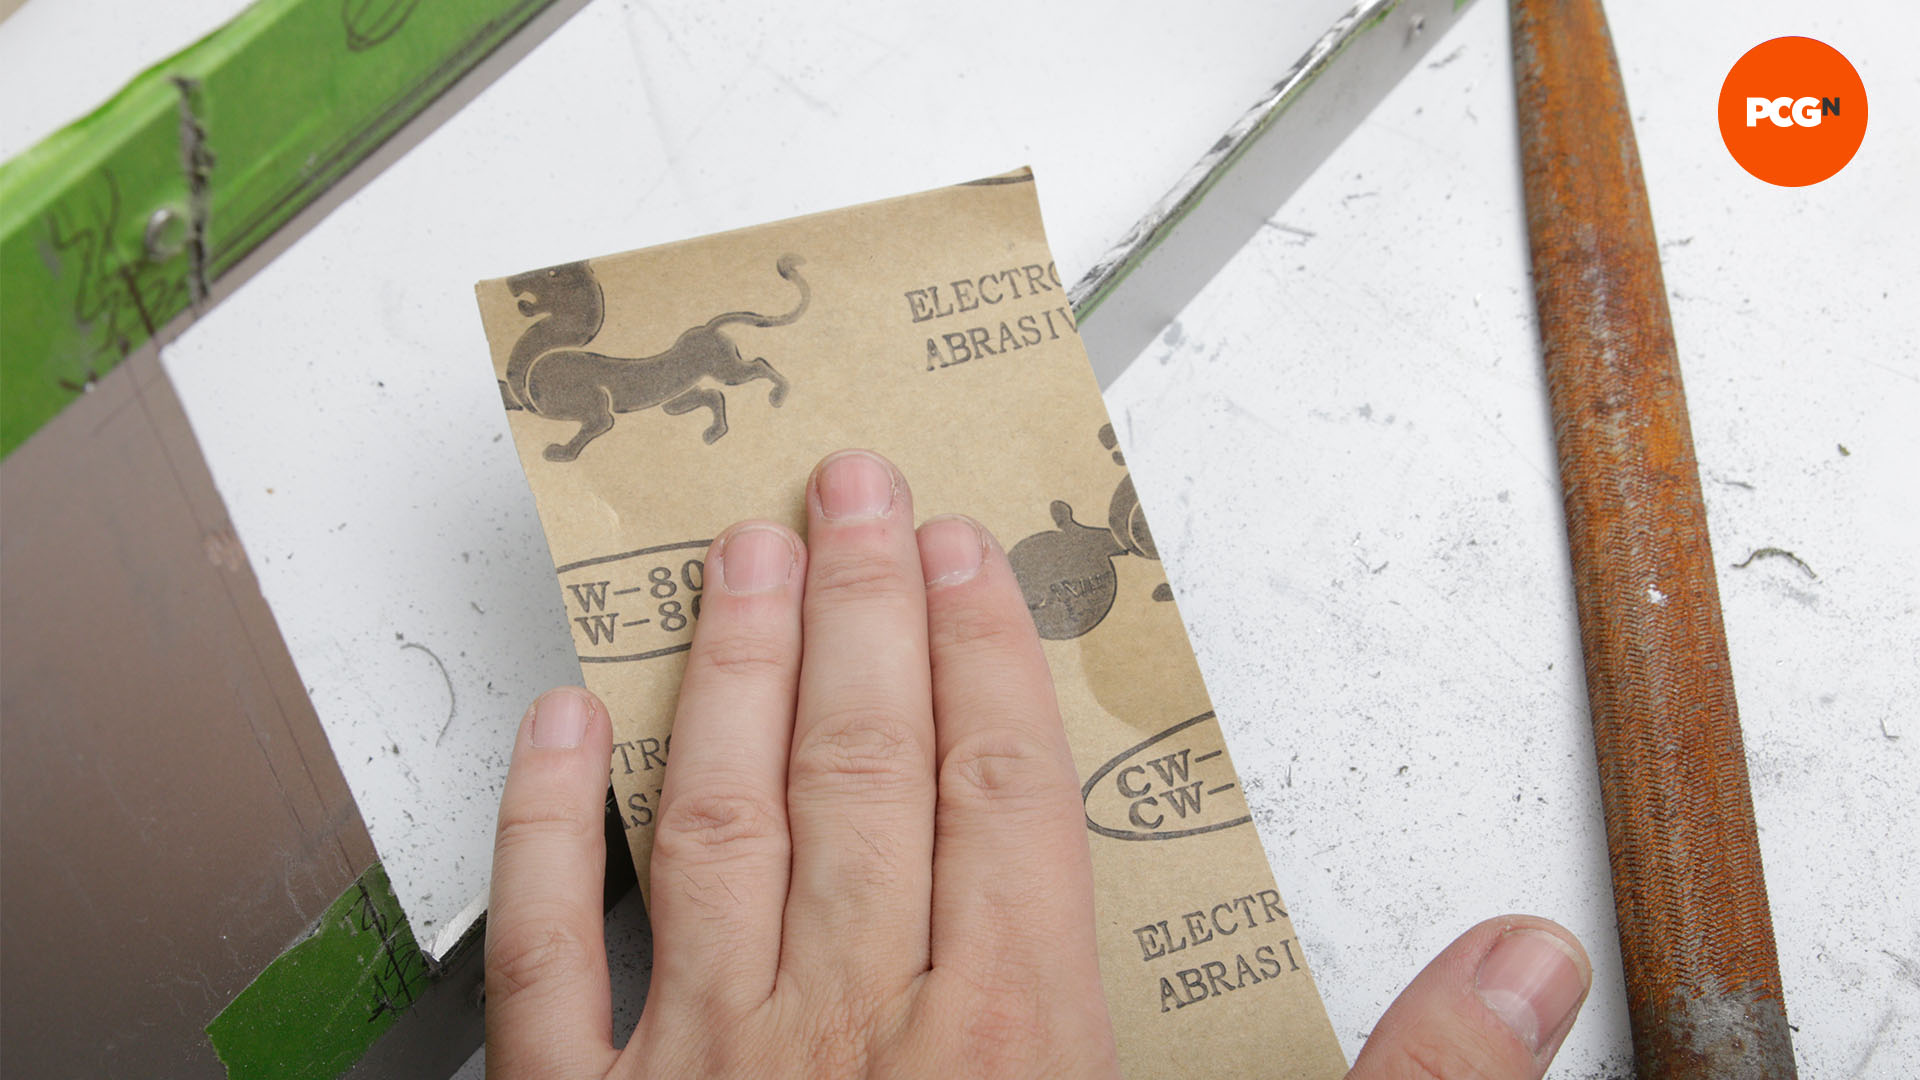
19. Sand edges
If you intend to make the edges visible, spend a bit more time on the finish. You can use finger files and sandpaper from 600-1,000-grit to smooth the surface further.
20. Secure radiator grille
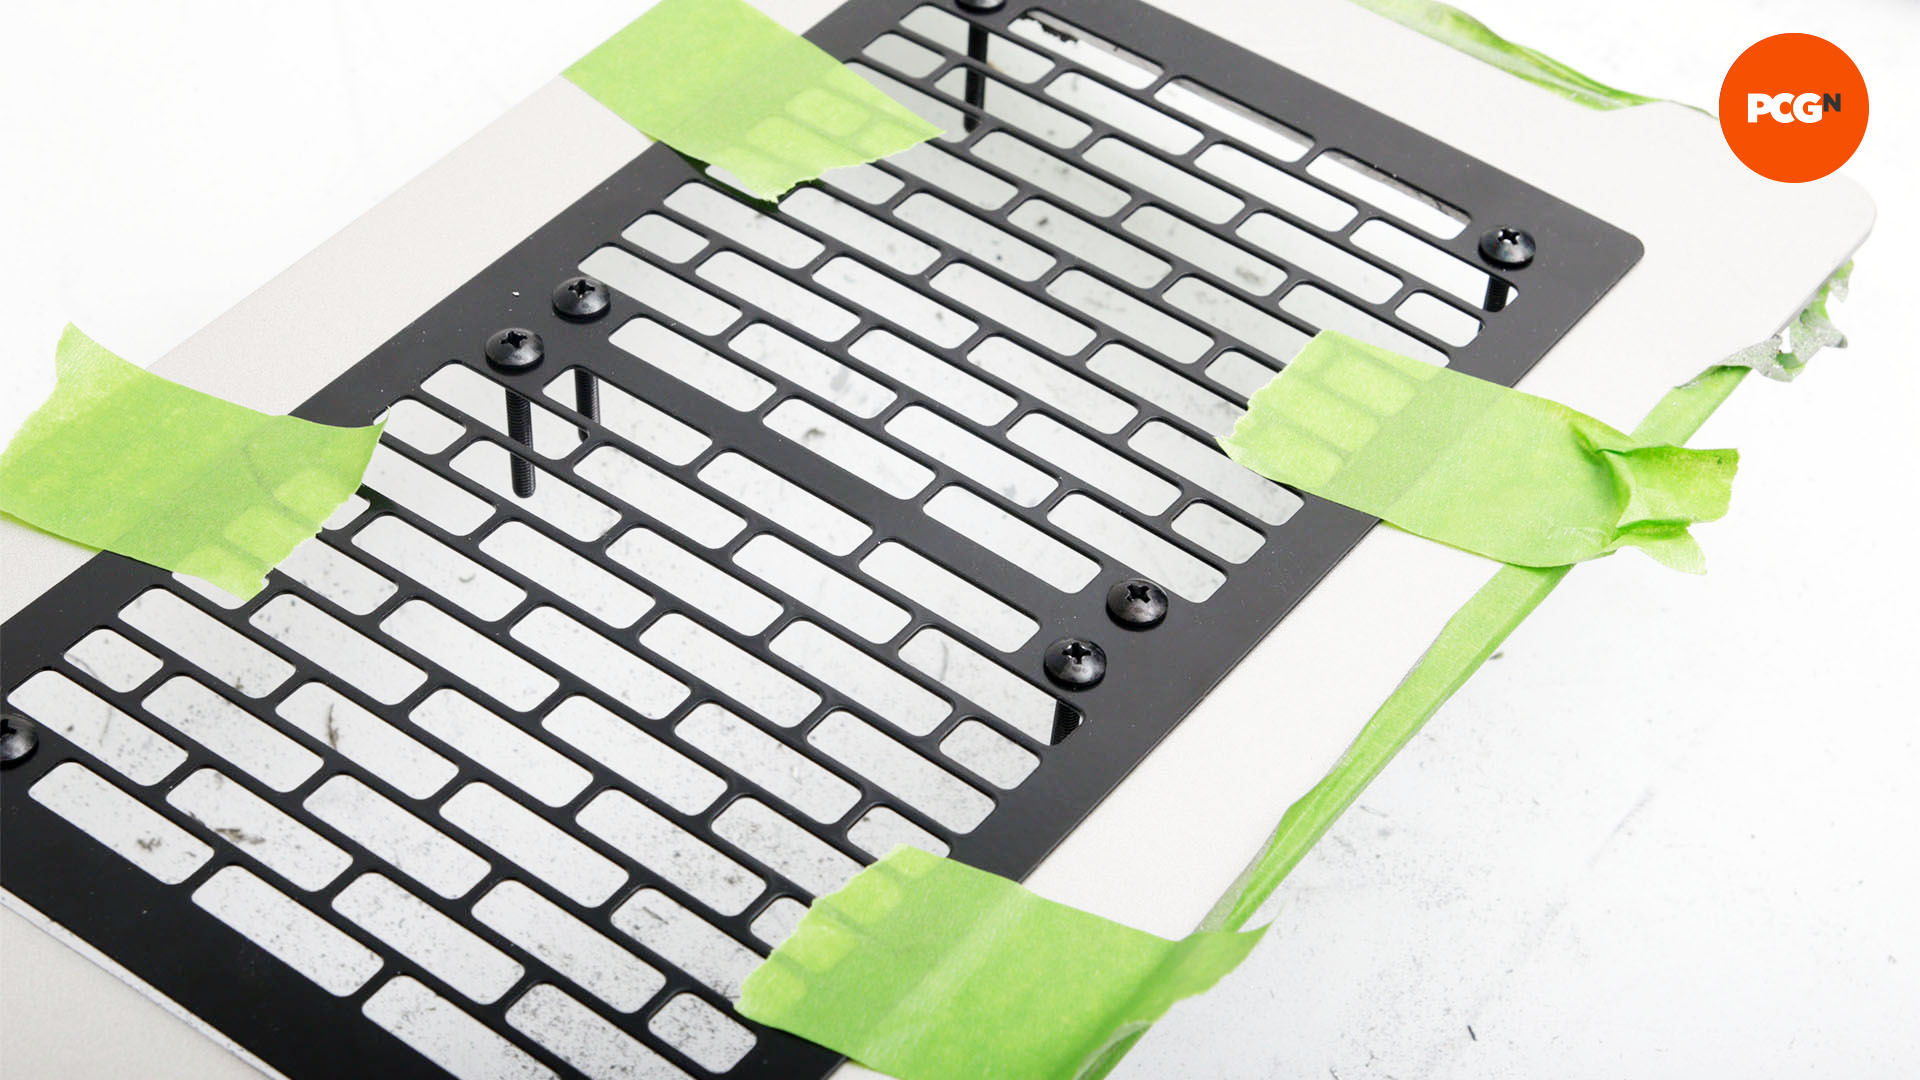
Once you’ve finished sanding, offer up your radiator grille to the panel. Make sure it’s the right way around if it has a painted or glossy finish, and align it so that it covers the edges of your blowhole if necessary.
21. Consider dust filters
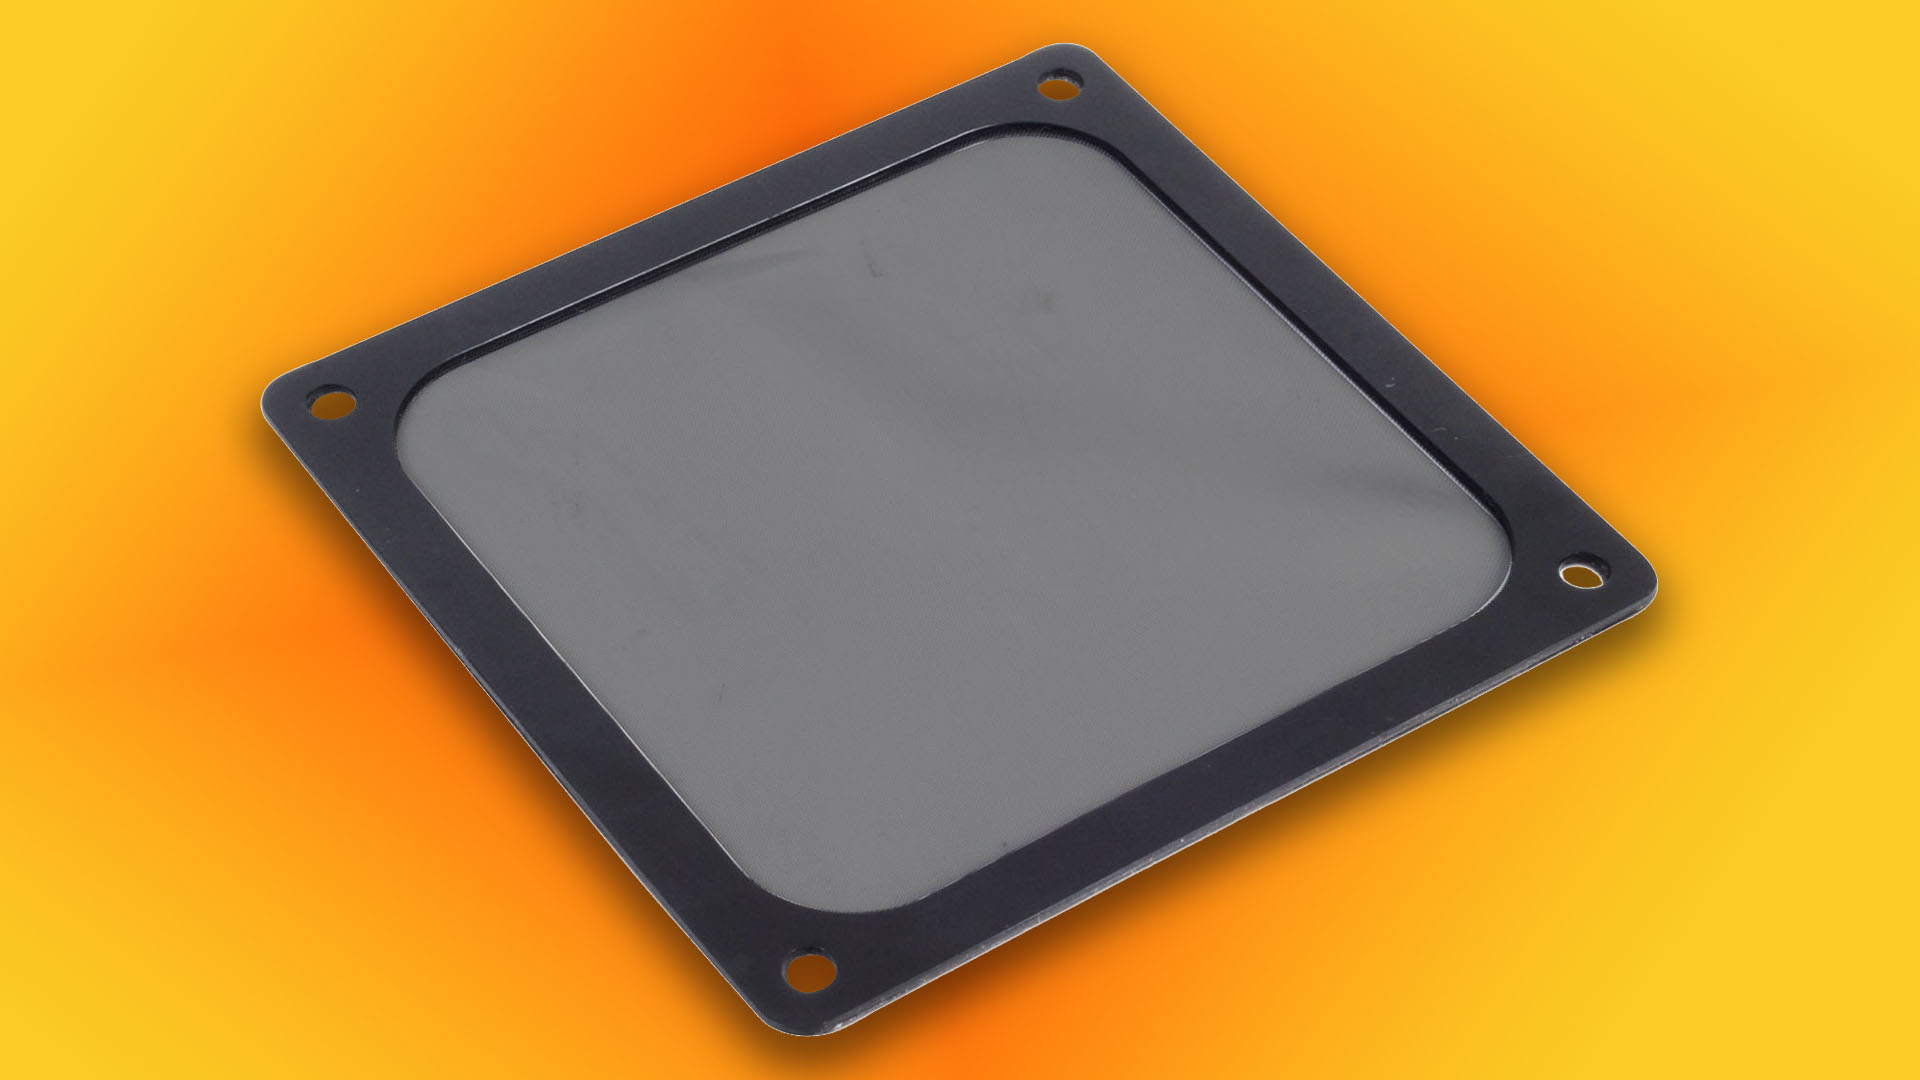
It’s worth using dust filters to protect your radiator. Ideally, they should sit between the fans and panel, but if you want a better view of your RGB fans, you can also mount them between the fans and the radiator.
22. Install fans
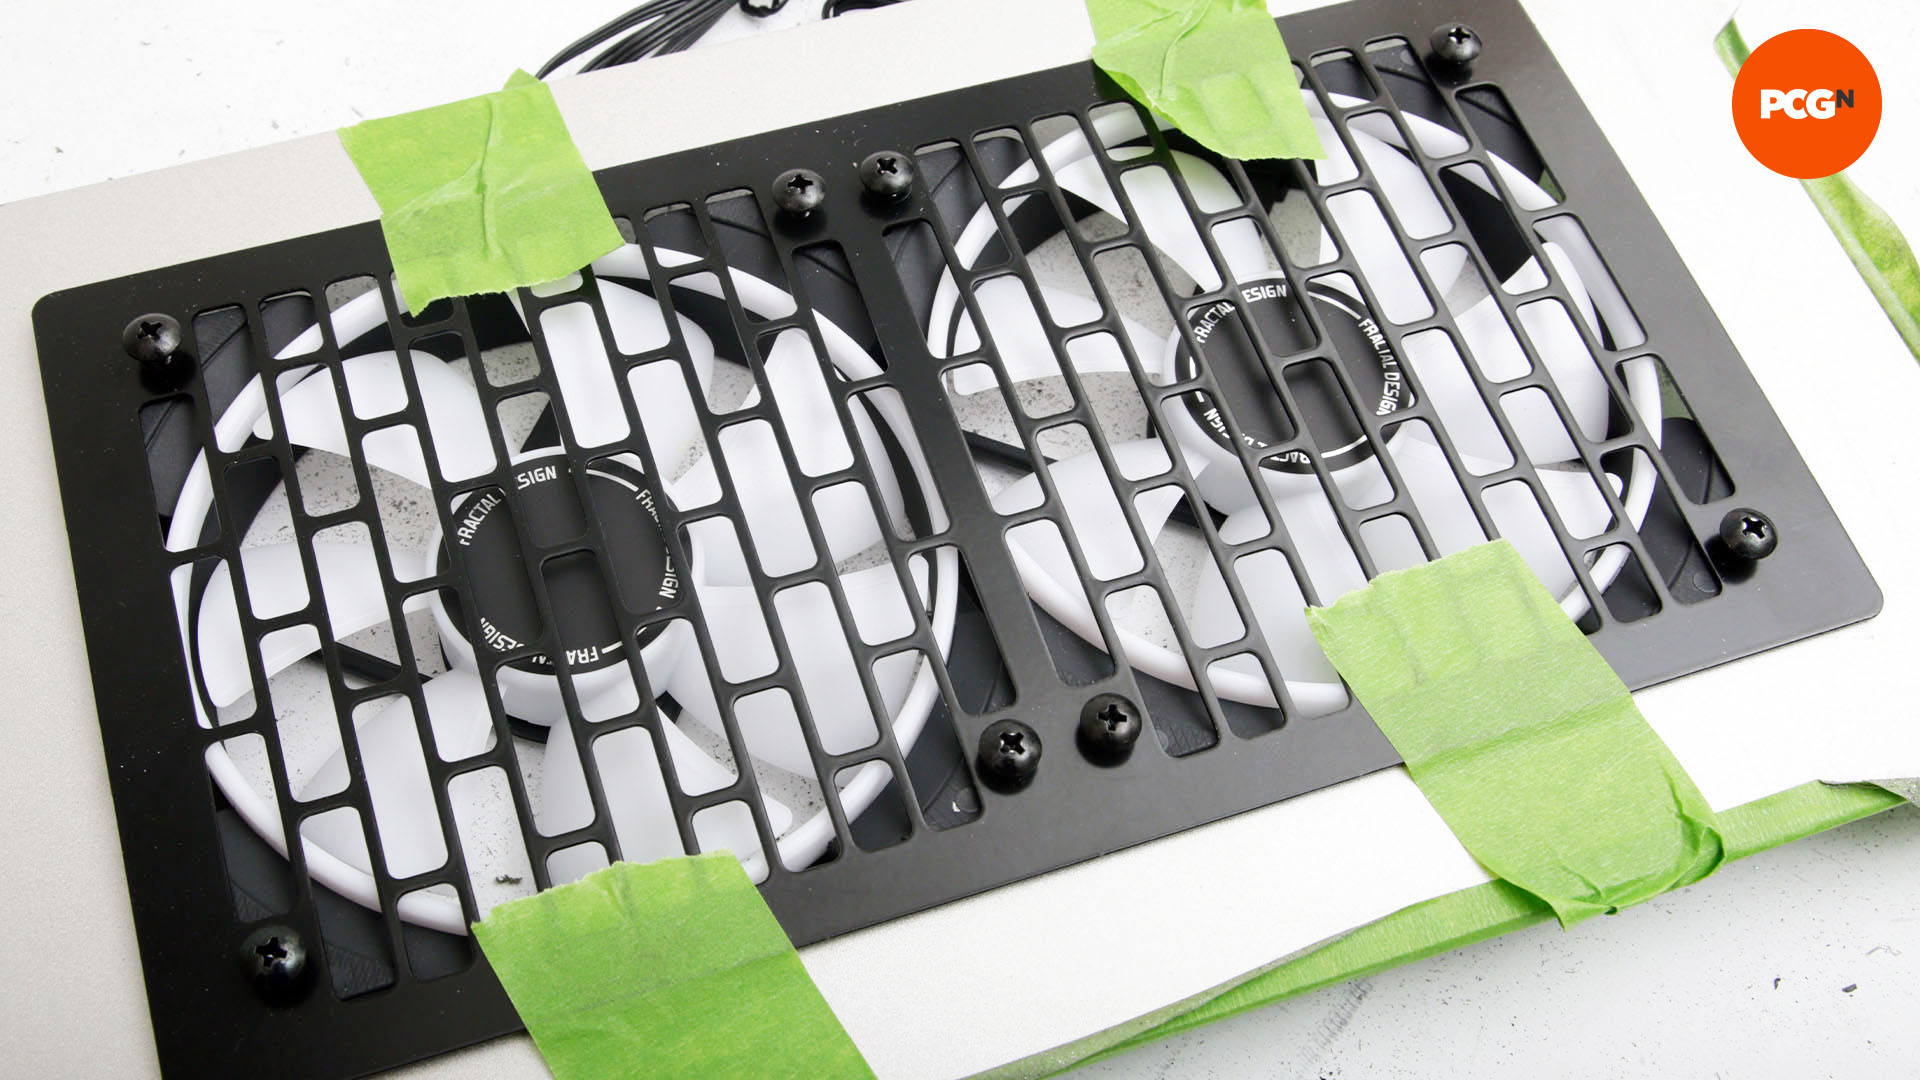
Place the fans underneath the grille and insert the mounting screws. If your panel opening and chassis allow you to mount the radiator now, do that next. If not, lift the fans and grille as one unit, and move them over to the chassis.
23. Secure radiator
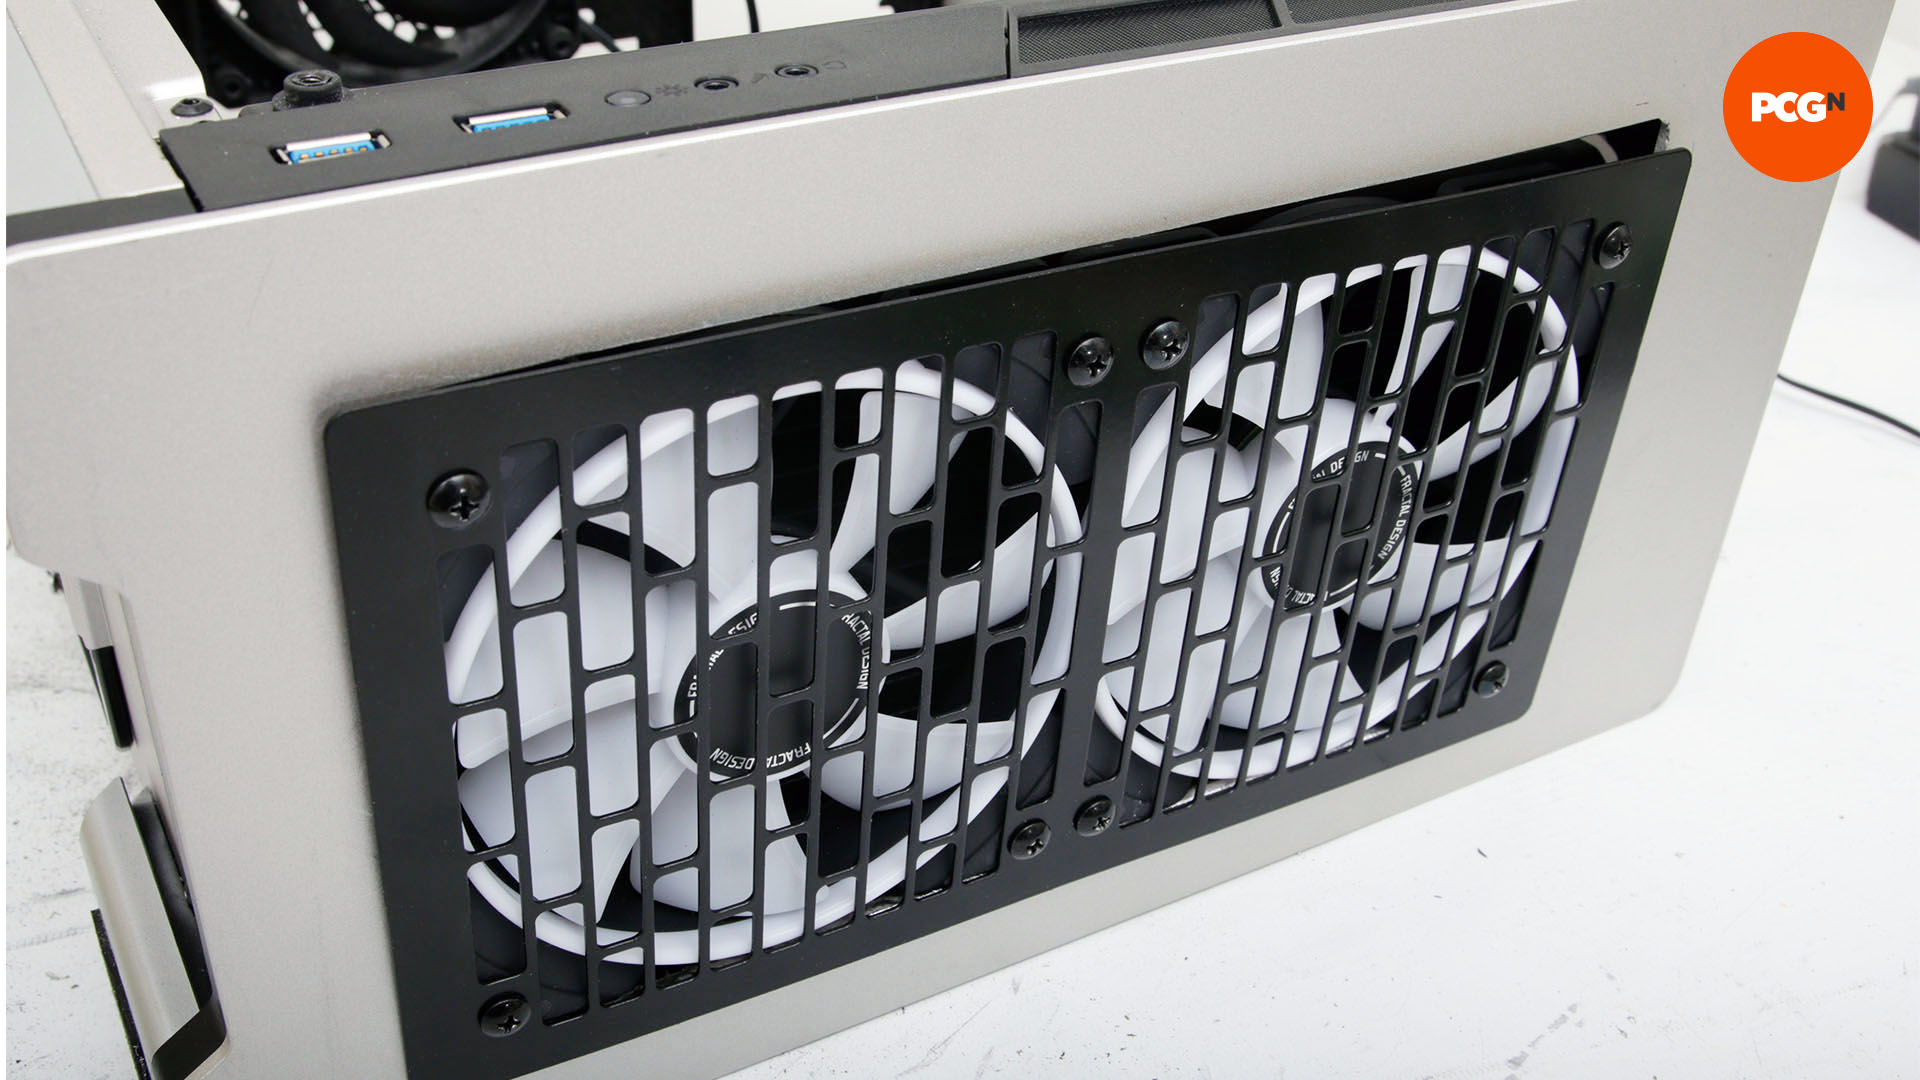
Fittings inside the case may prevent you from mounting the radiator to the panel before you install it back on the case. If that’s the case, you’ll need to put the fans and grille in place first, then secure the radiator in place from inside the case.
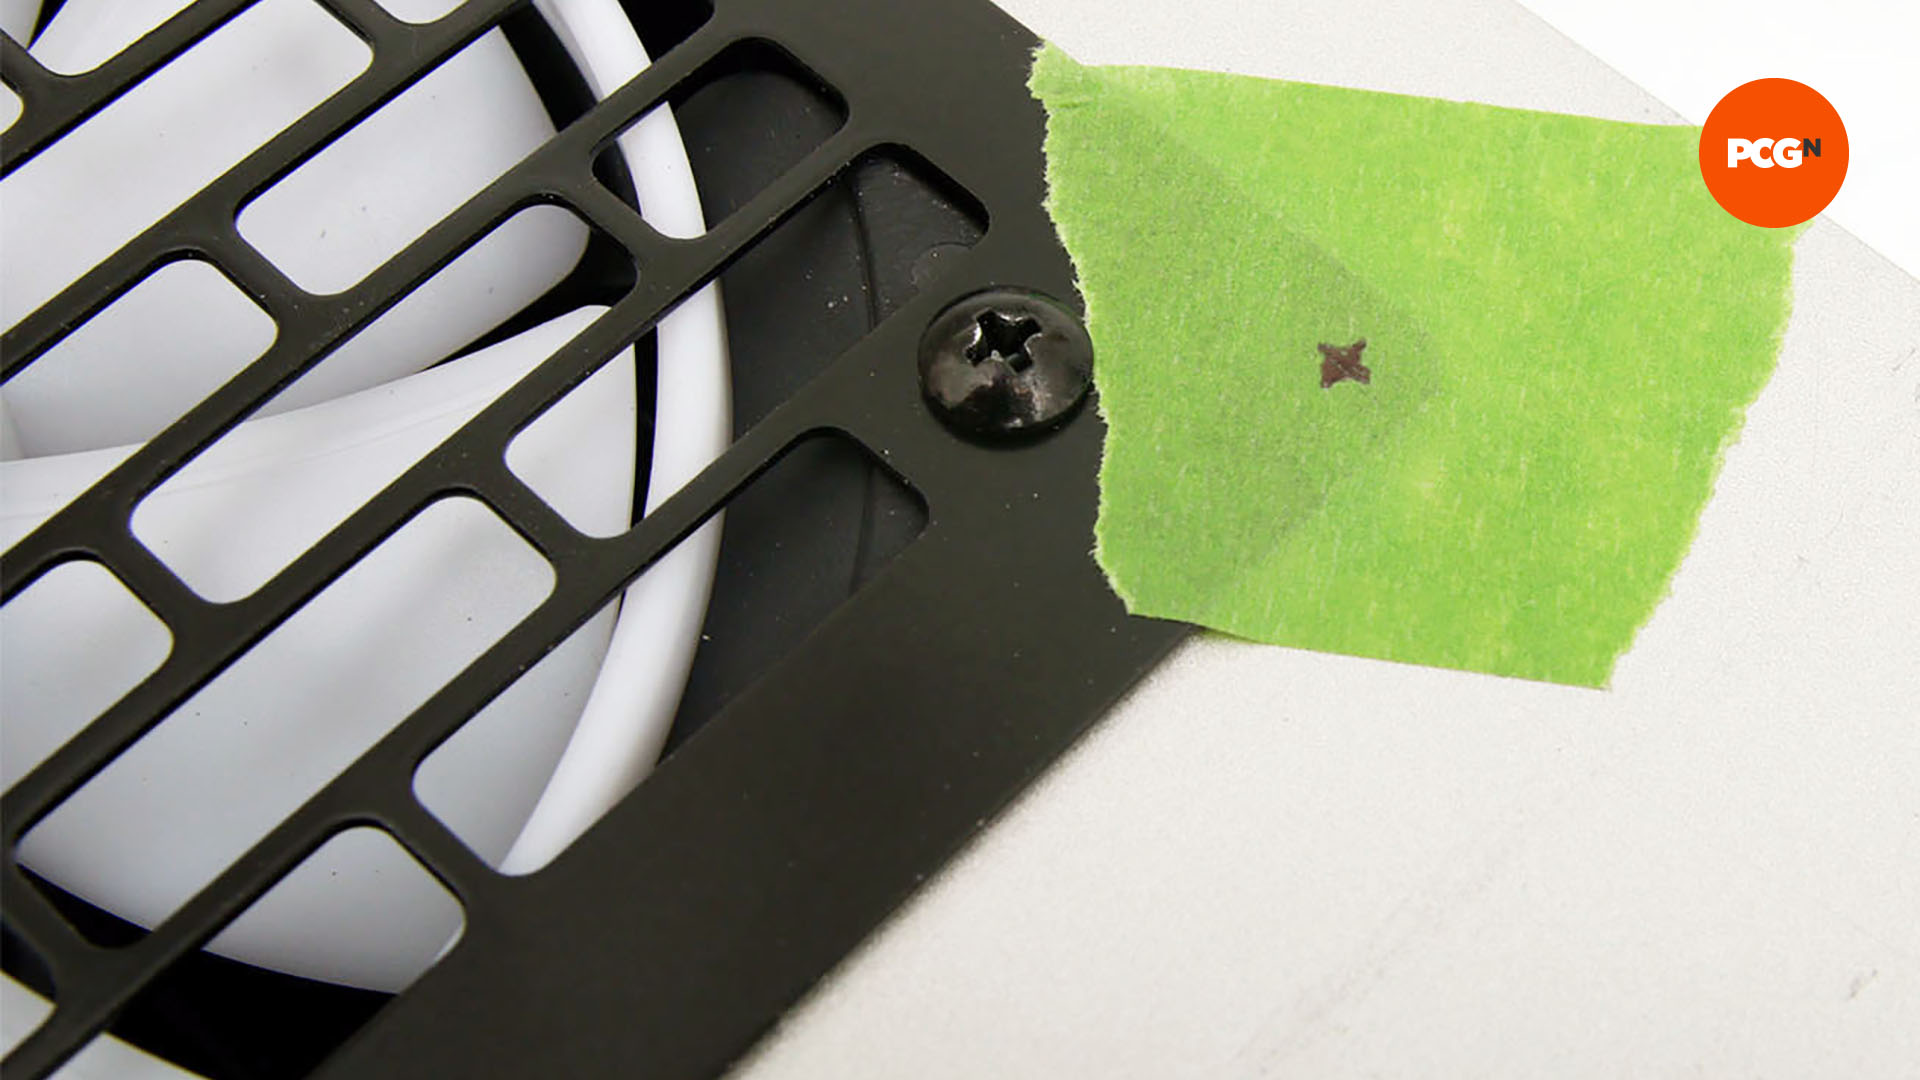
24. Apply masking tape
Apply masking tape over each corner of the grille where you want the screws to sit. Measure from the point and sides of each corner to replicate the screw positions and mark them.
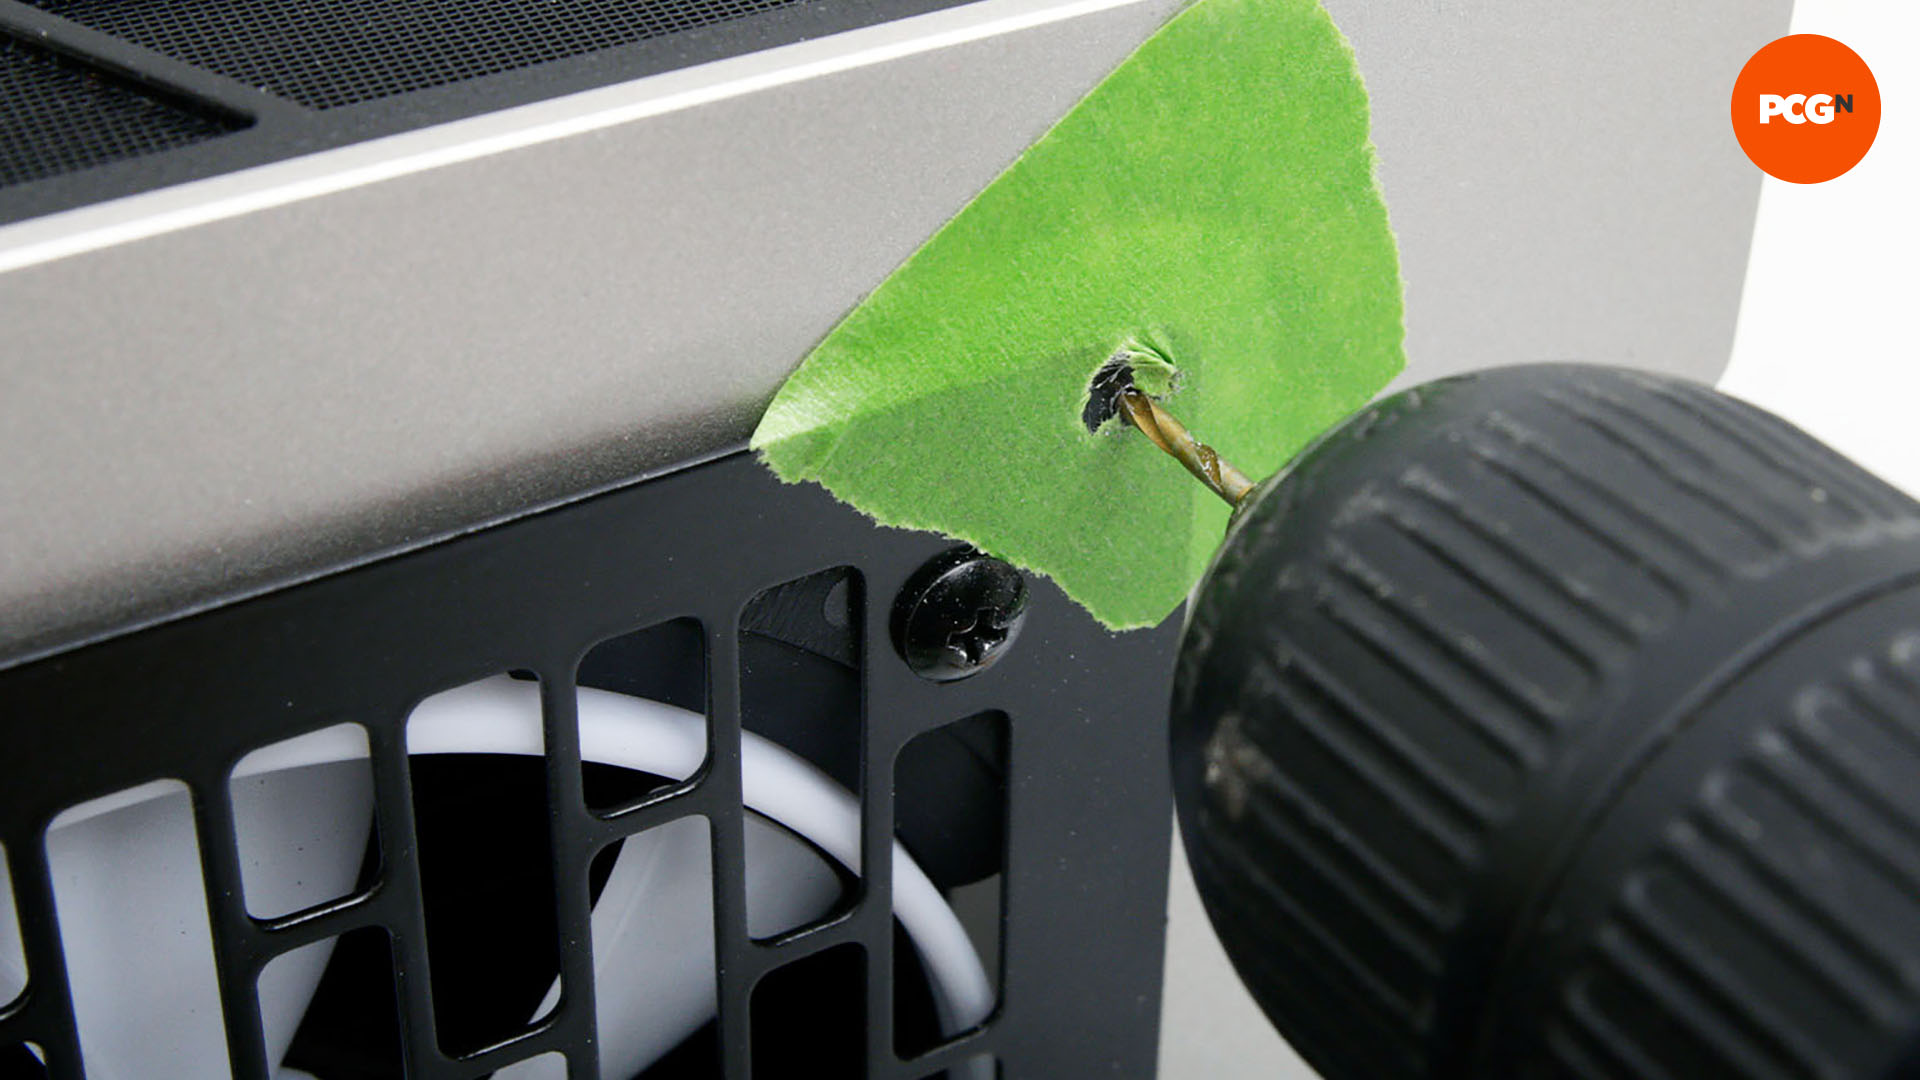
25. Drill fan holes
Use a 3mm drill bit to drill the holes in the panel. This will give you enough material for the M3 screw to bite, but the hole also won’t be too small to prevent it tapping into the metal, which can happen with a 2.5mm drill bit.
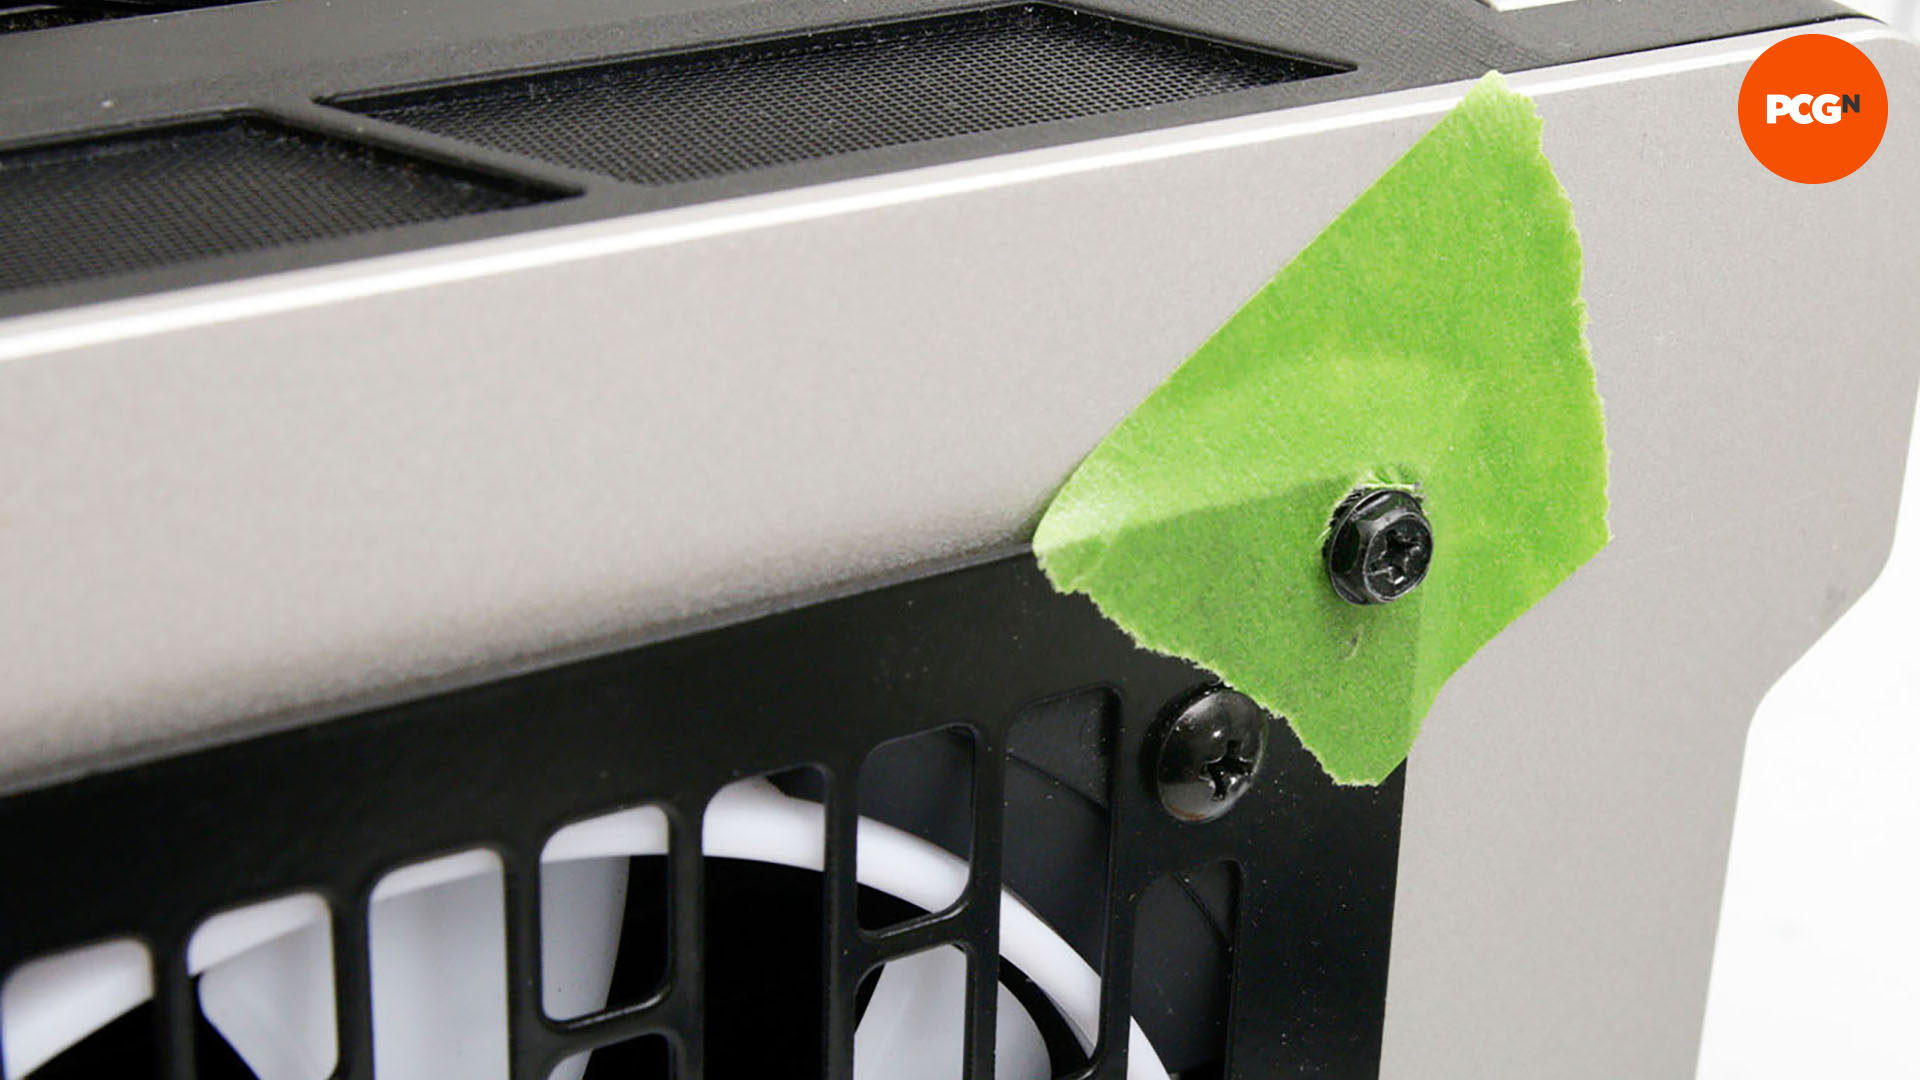
26. Tap in M3 screw
The M3 screw will tap its way easily into the aluminum and hold fast once it’s tightened all the way in. Remove the screw, check the threads and replace it with a fresh screw if the threads are worn.
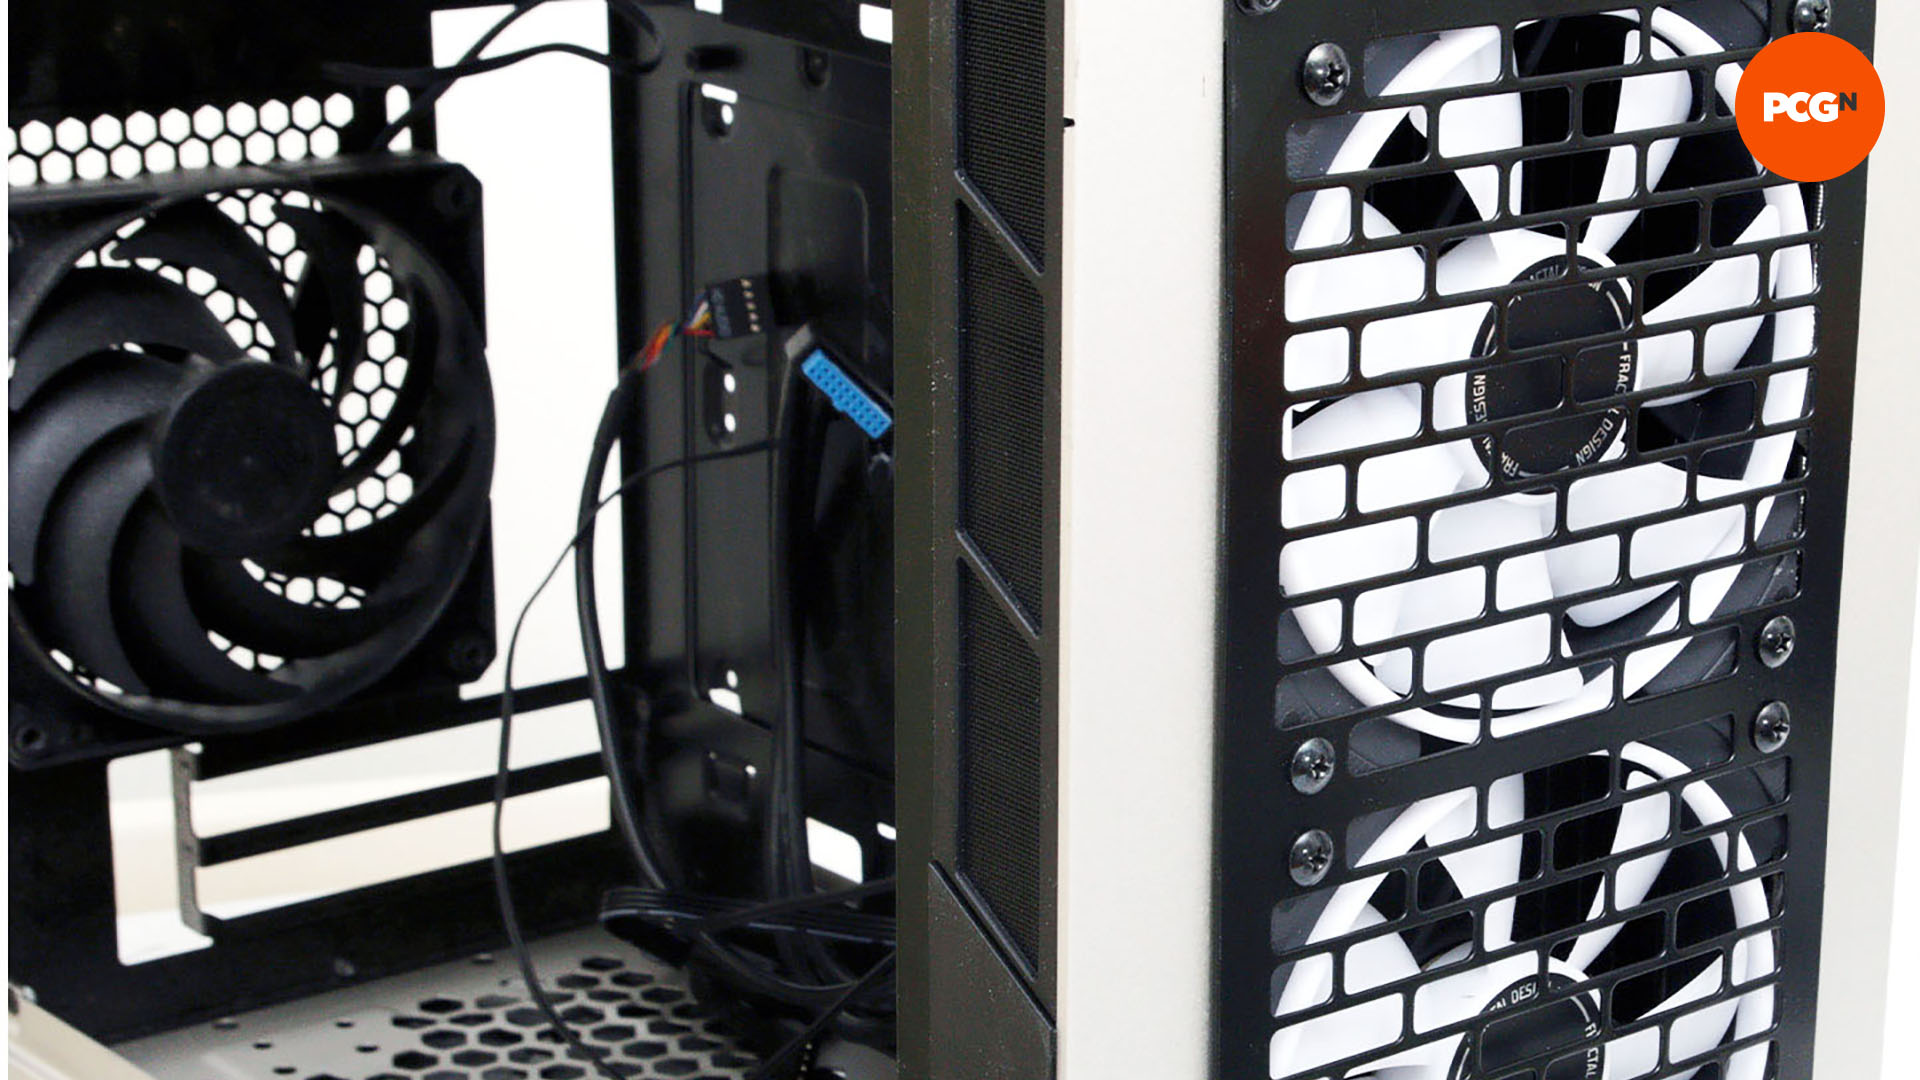
27. Finish installing screws
Now go ahead and install the rest of the screws, taking care not to tighten them too much, otherwise the threads might strip if your panel is made from soft aluminum.
And that brings us to the end of our guide – we hope you enjoyed getting your hands dirty and putting your radiator exactly where you wanted it in your case. For more PC case customization ideas, check out our guides on how to paint your case and etch glass panels to give your PC a more personal touch.
