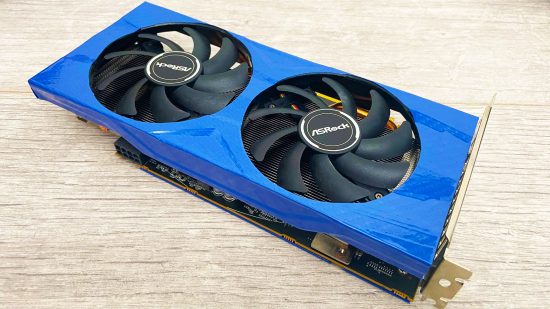
If you want to change your graphics card color, then using vinyl wrap is a great way to do it. Unlike using spray paint, it’s completely reversible, and it won’t make a mess either. In this guide, we’ll take you through every step of the process needed to vinyl wrap your graphics card.
While the best graphics card models often come in both black and white versions these days, you rarely find bright colors, and vinyl wrap also enables you to add patterns to your card. If you’re looking to build a gaming PC with a truly personal touch, then you could even vinyl wrap your PC case, as well as your graphics card.
1. Check for suitable surfaces
It’s best to stick to flat surfaces with vinyl, as too many curves, bumps, and corners can result in the vinyl lifting or becoming tricky to stick down. Backplates can be great for vinyl wrapping, as are square-shaped shrouds. However, don’t cover a backplate if it dissipates heat, as this can result in higher GPU core or memory temperatures.
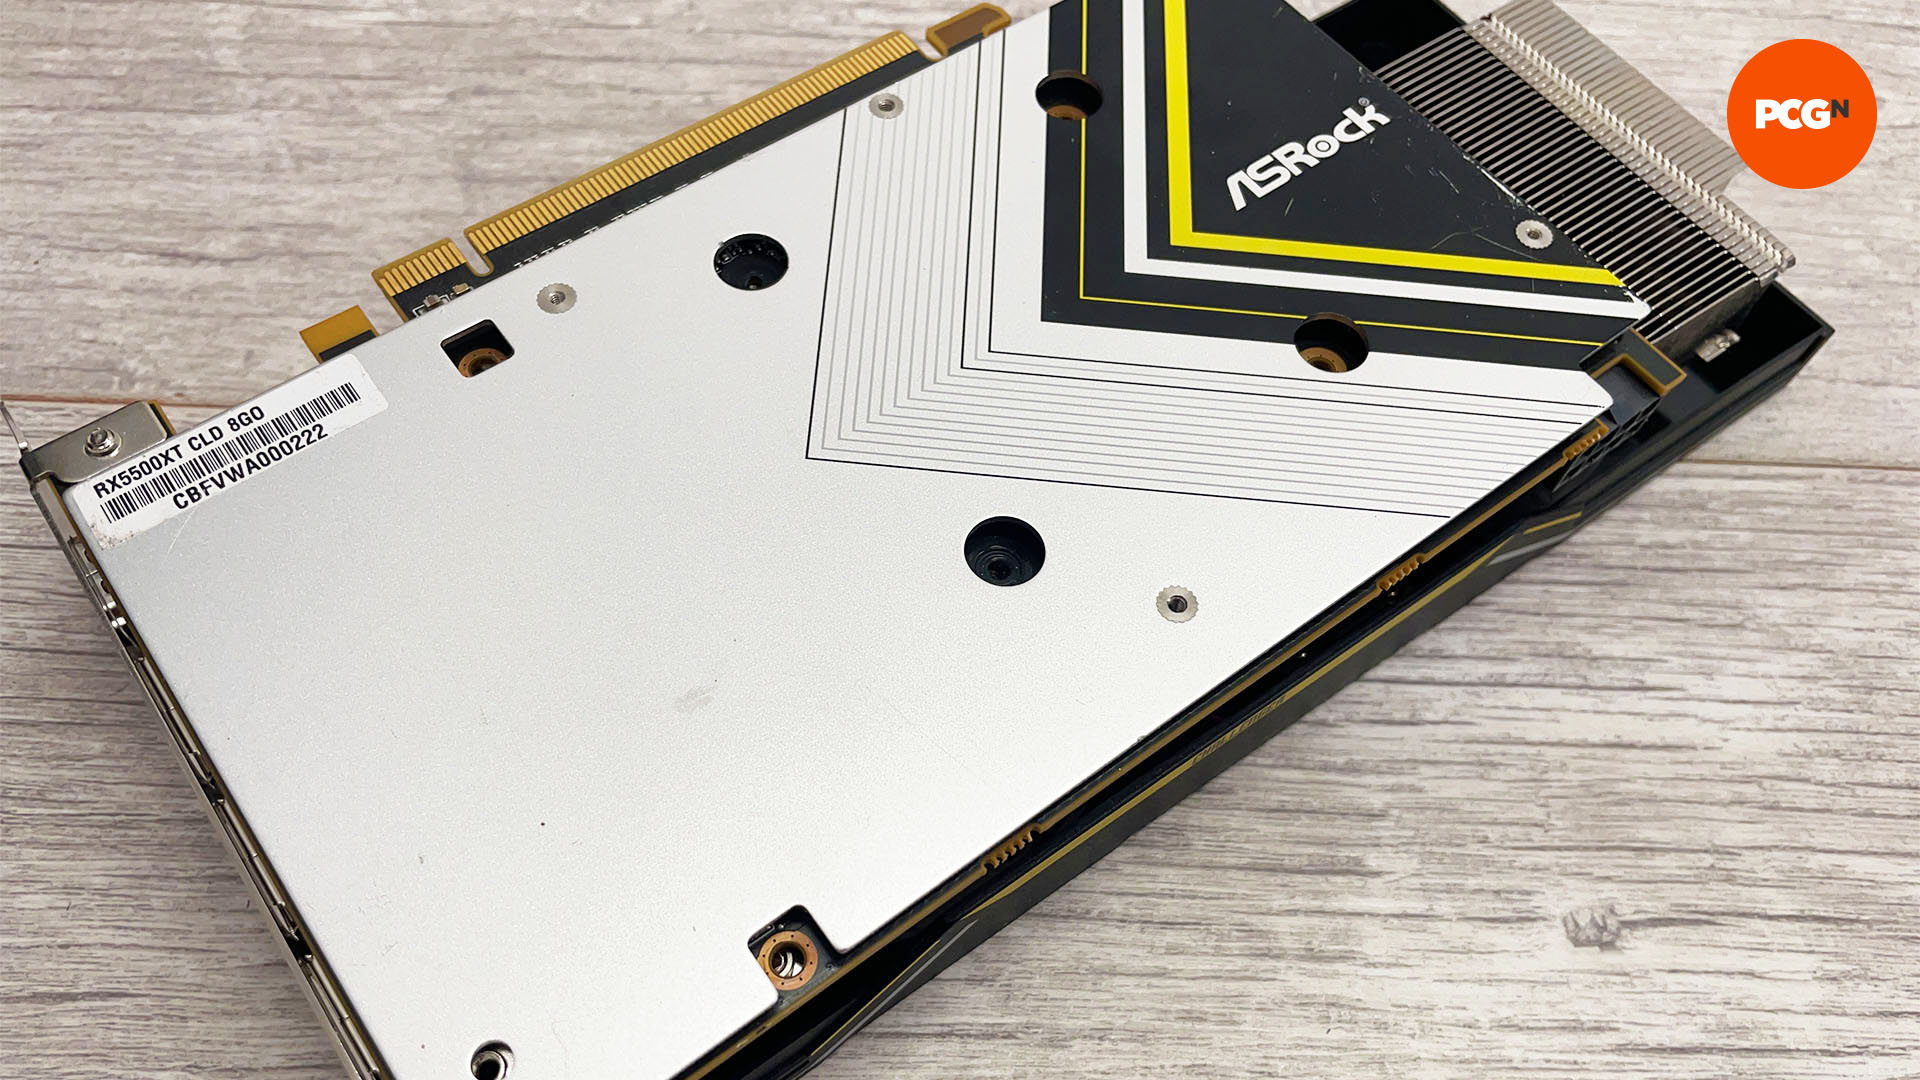
2. Check backplate
Check if the backplate is metal and see if thermal pads are visible. If not, it’s probably just there for aesthetic reasons. If in doubt, play a game for an hour to see if the backplate gets hot, but even then bear in mind that this could still be down to residual heat from the heatsink.
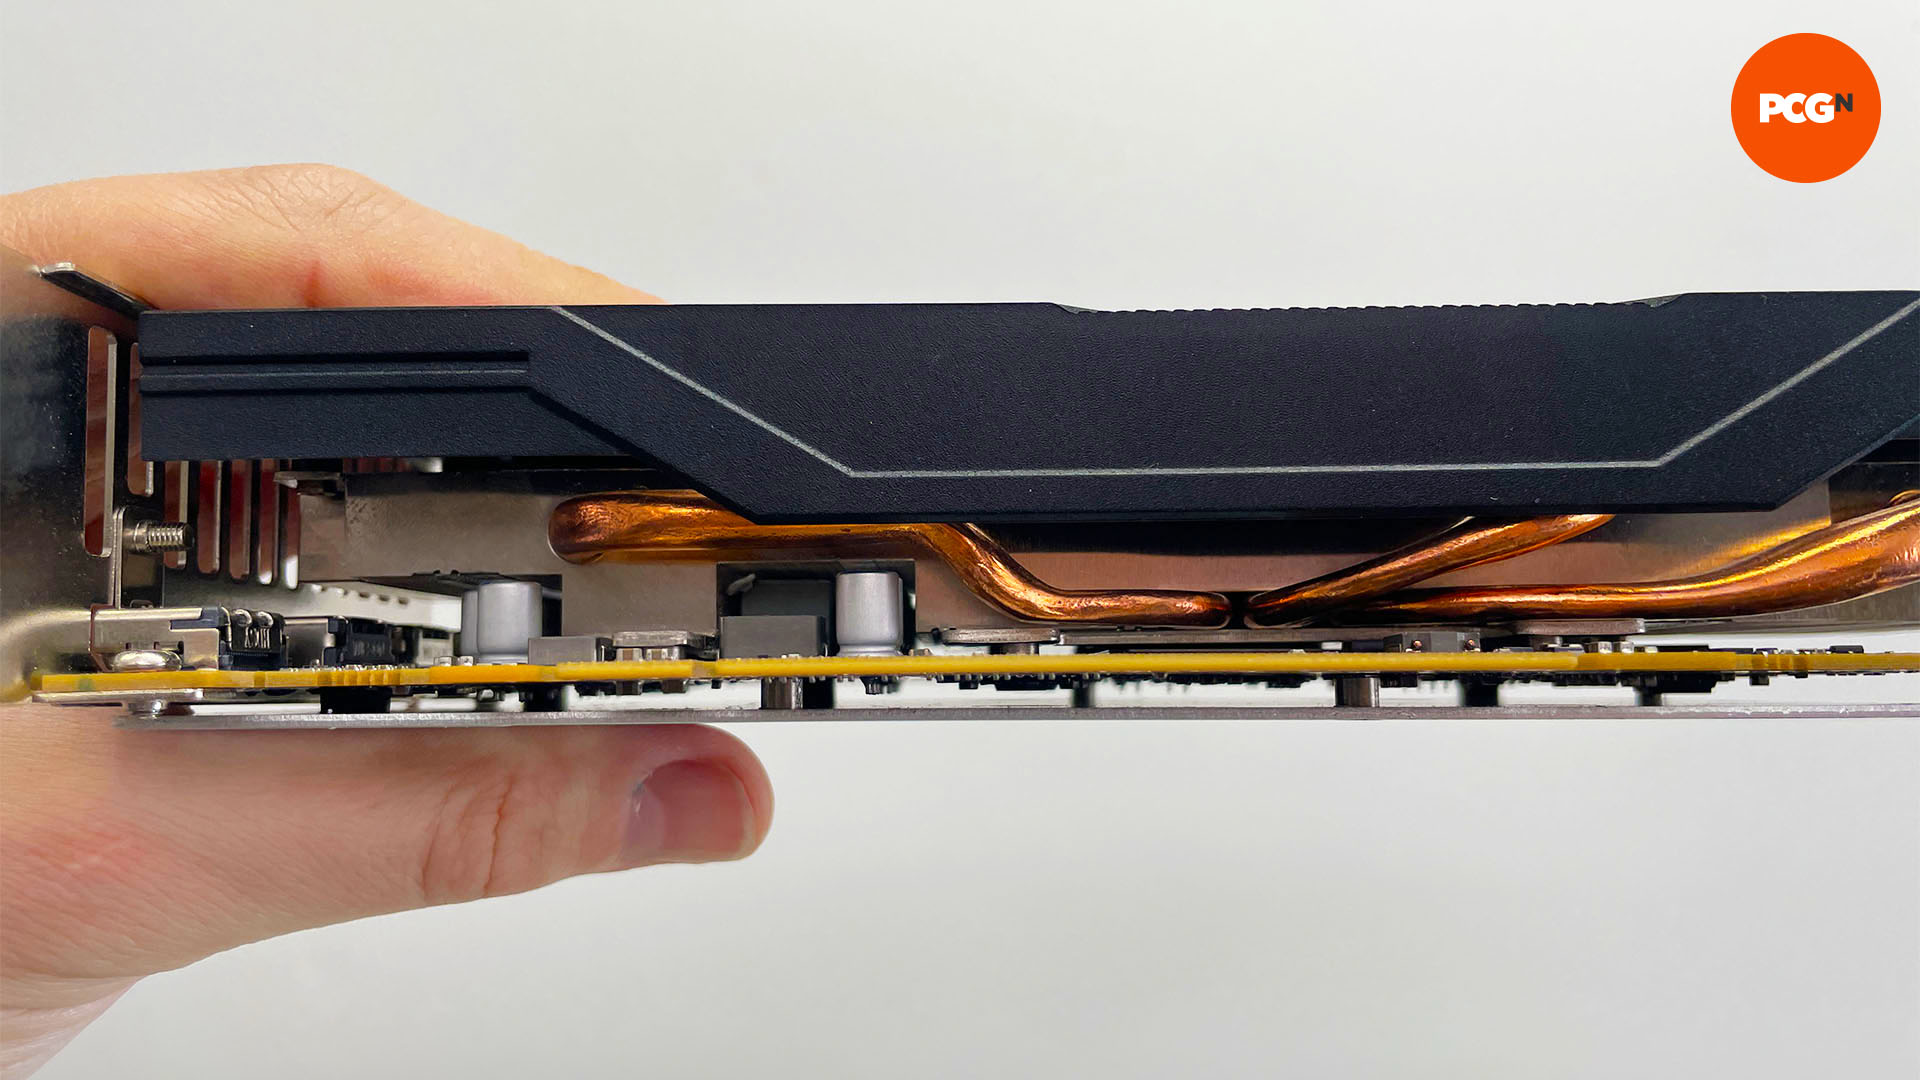
3. Check for thermal pads
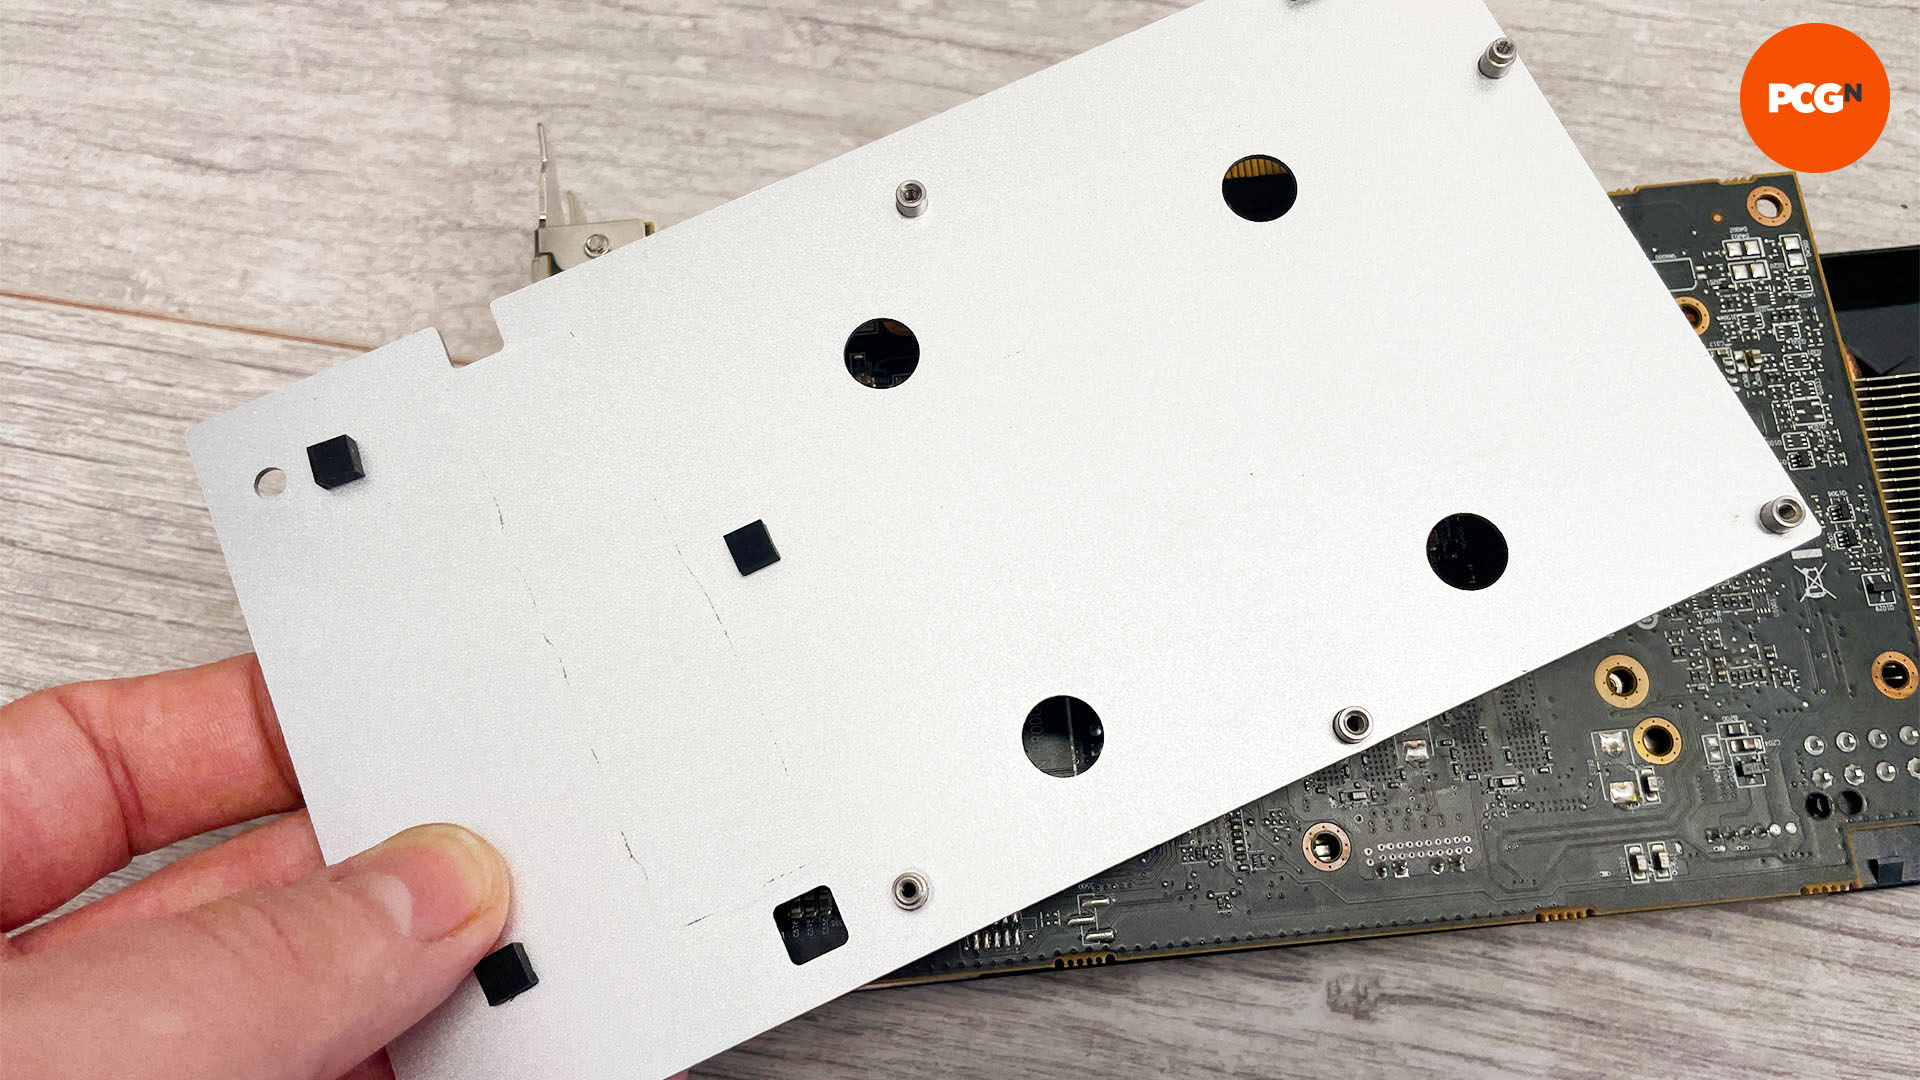
Remove the backplate – if it’s used for thermal reasons, pads will be visible, usually connecting it to the PCB to cool memory modules or the rear of the GPU core. If so, don’t apply vinyl to it, as the backplate’s cooling will be hampered if it’s covered. Our example only has rubber spacers between the PCB and the backplate, so it’s fine.
4. Clean surfaces
The vinyl secures to your graphics card using adhesive, so it’s important to ensure the surfaces are clean. Use isopropyl alcohol applied to a microfibre cloth to clean the areas, then allow it to dry before applying the vinyl.
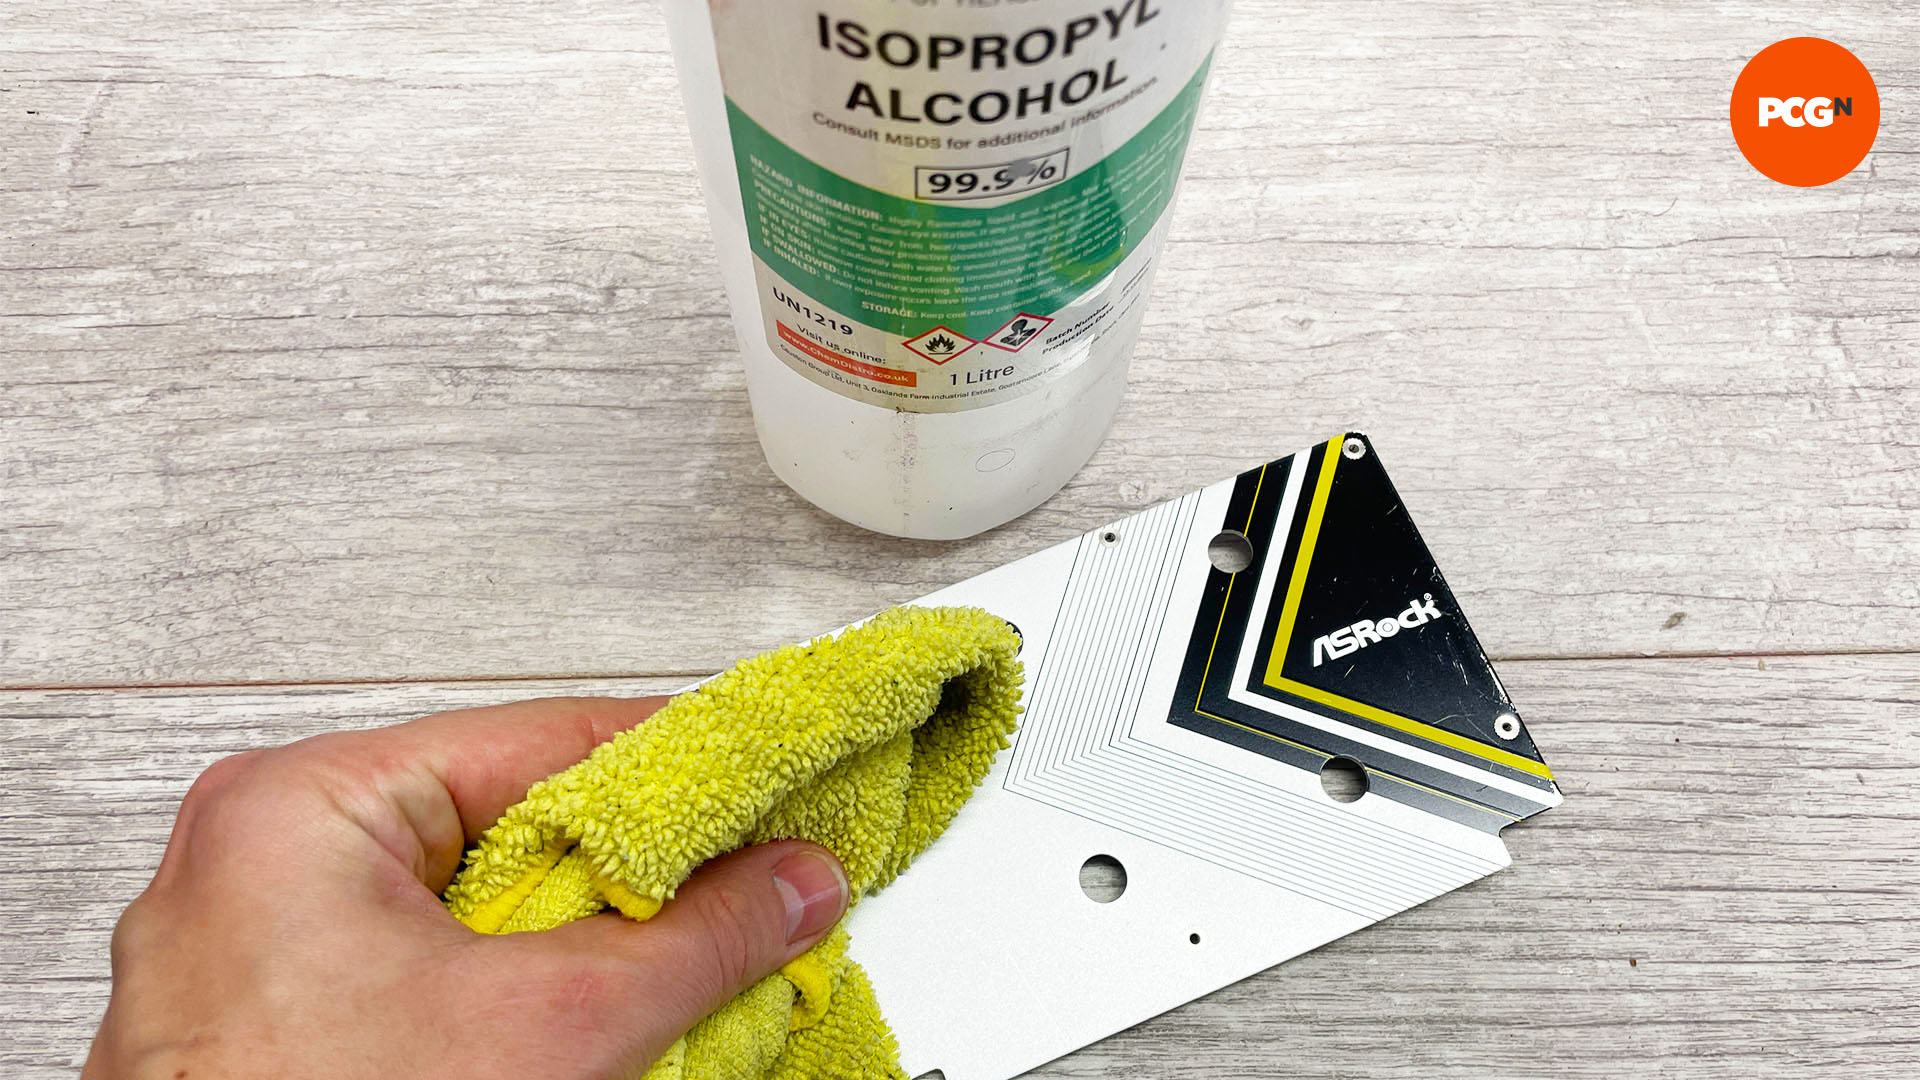
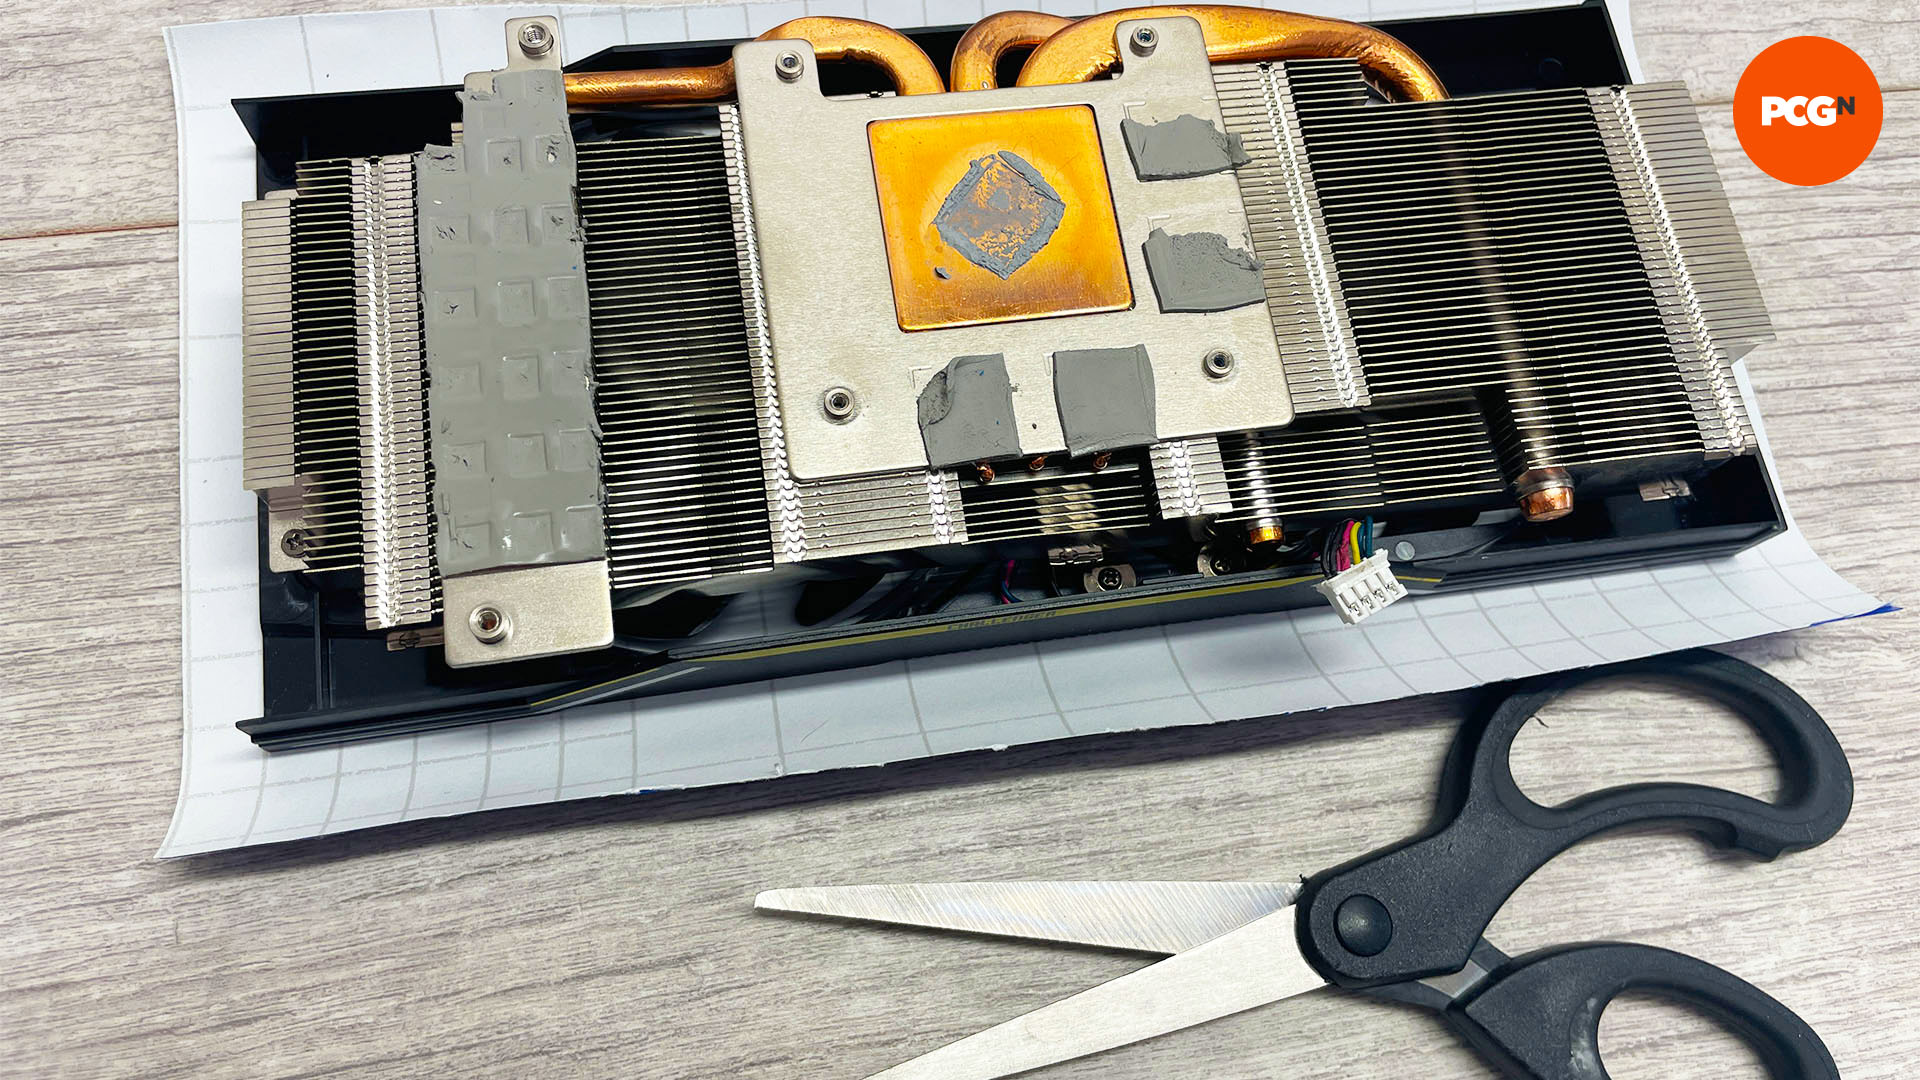
5. Cut vinyl to size
Use the backplate as a template to cut out the necessary vinyl, adding a centimeter extra, so you can wrap the vinyl around the edges and stick it onto the other side. We recommend using scissors to cut the vinyl here, as using a scalpel on large cuts can result in you inadvertently scrunching up the protective layer on the vinyl.
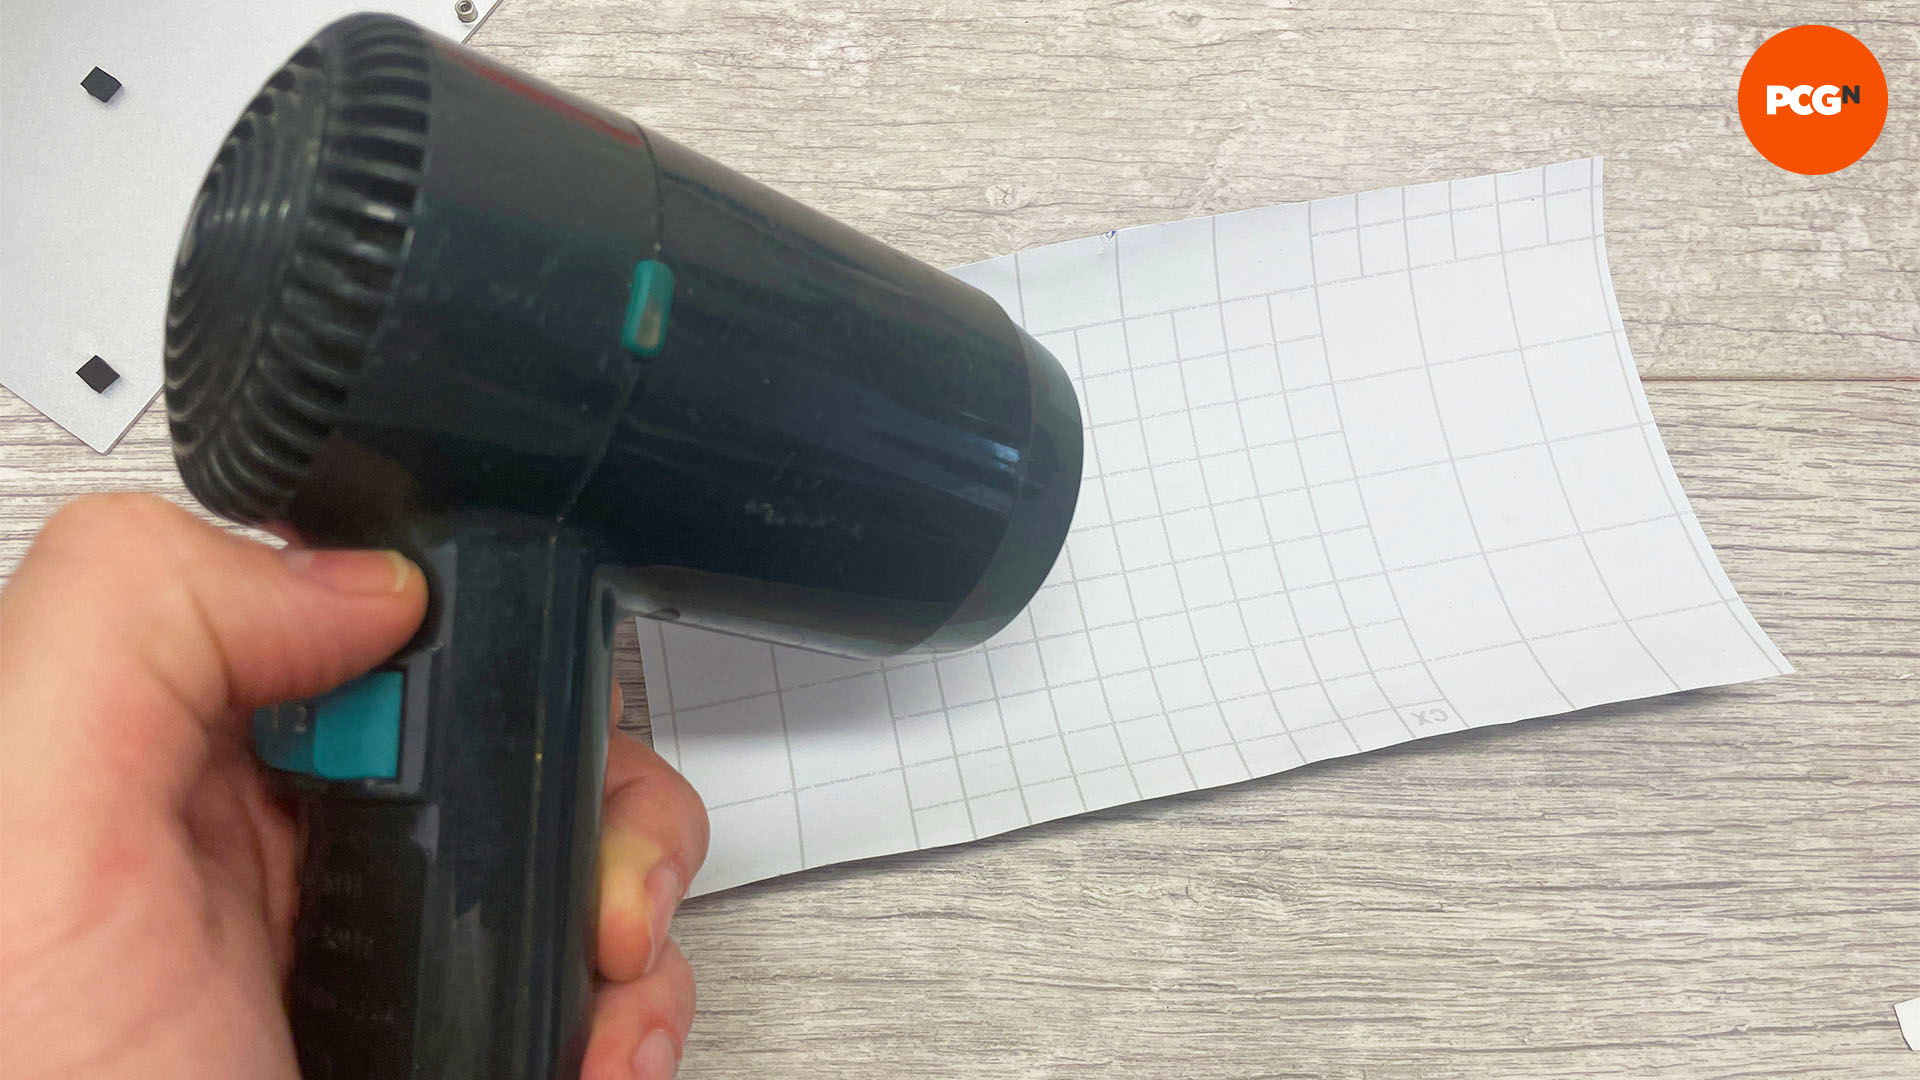
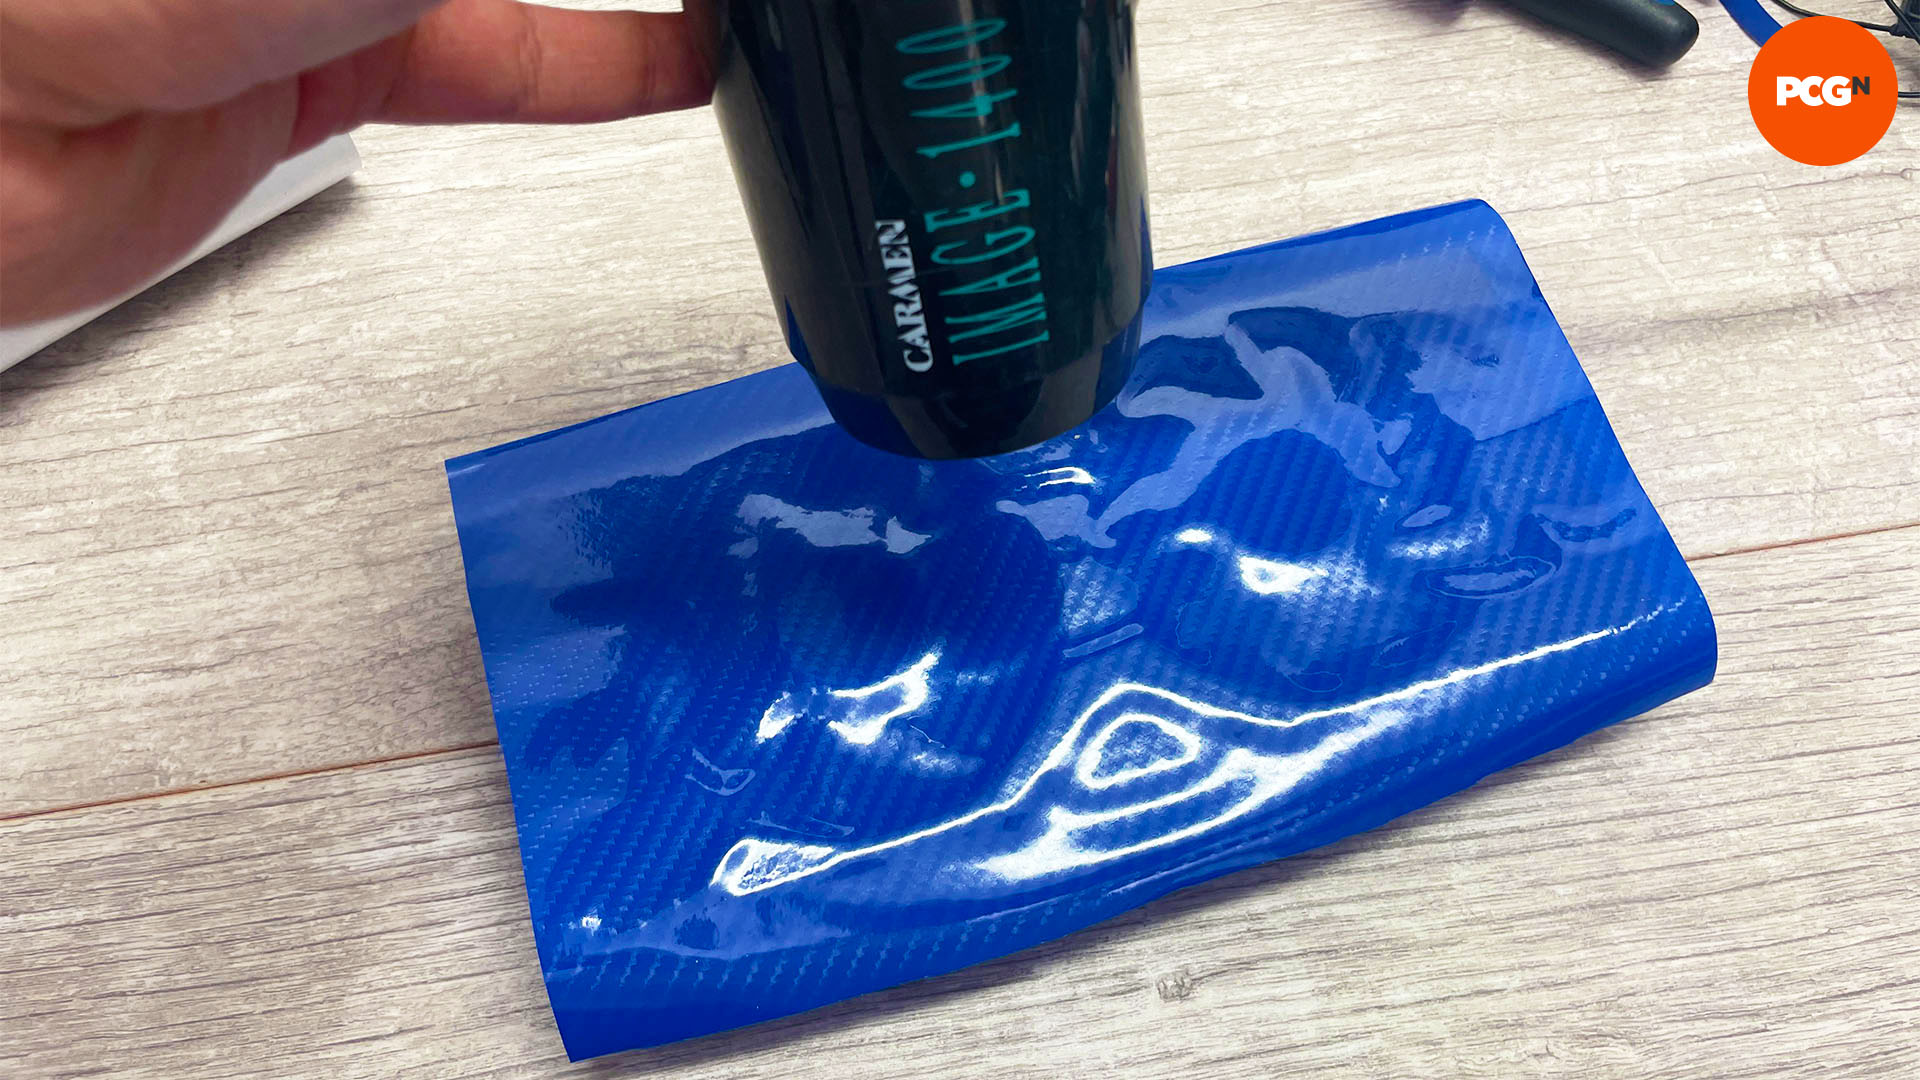
6. Warm vinyl with hairdryer
It’s best to warm the vinyl before you try to apply it, as it then becomes more flexible, which can help you when you’re bending it over edges and into corners.
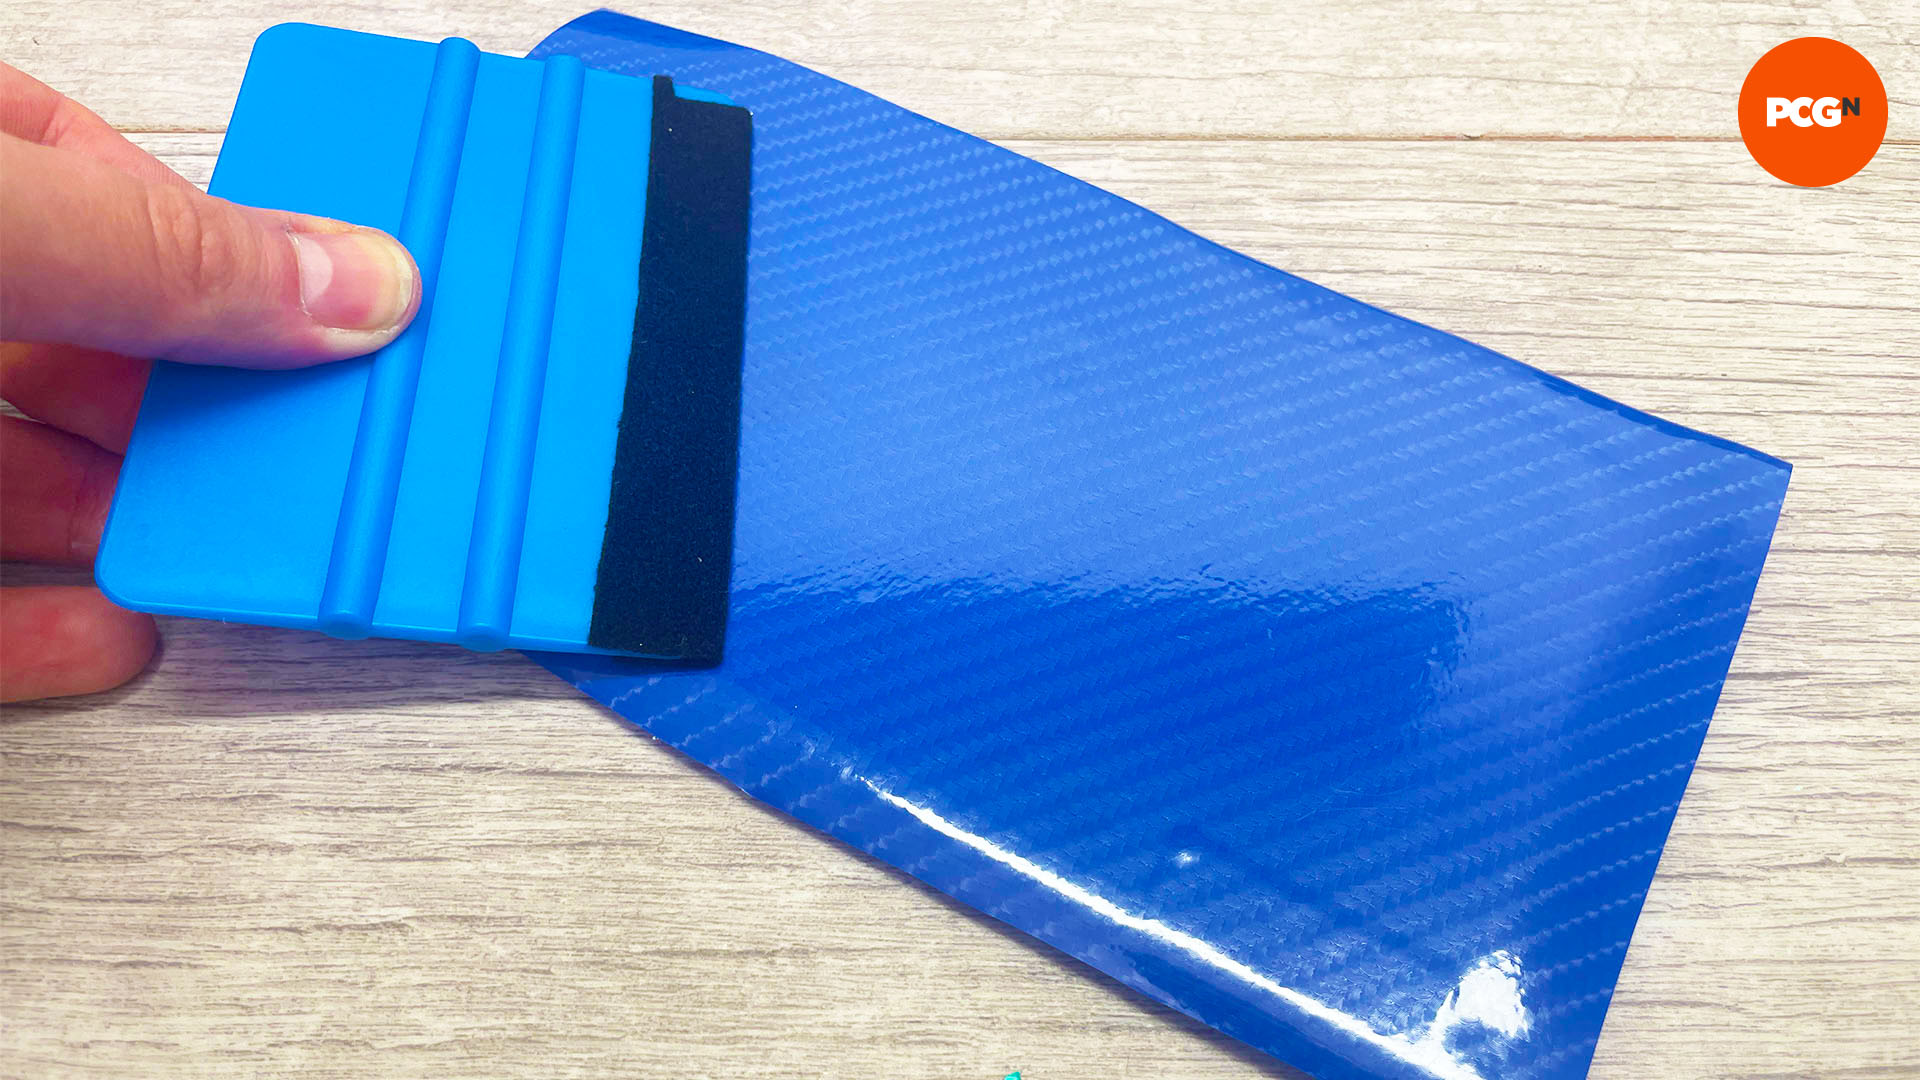
7. Use a squeegee to apply vinyl
For curves, depressions, and edges, heat the vinyl using a hairdryer, so it’s hot to the touch, then use a squeegee to press it onto these areas, working it into the surface, so it sticks firmly. It can also be used to remove air bubbles.
8. Cut the edges
Once you’re left with loose ends, trim the edges with a scalpel (giving you more precision than the scissors), so that no more than 5mm is left to secure the vinyl on the other side of the backplate. Alternatively, if you’d rather not wrap the vinyl around the backplate, simply trim it in line with the backplate’s edges using a scalpel.
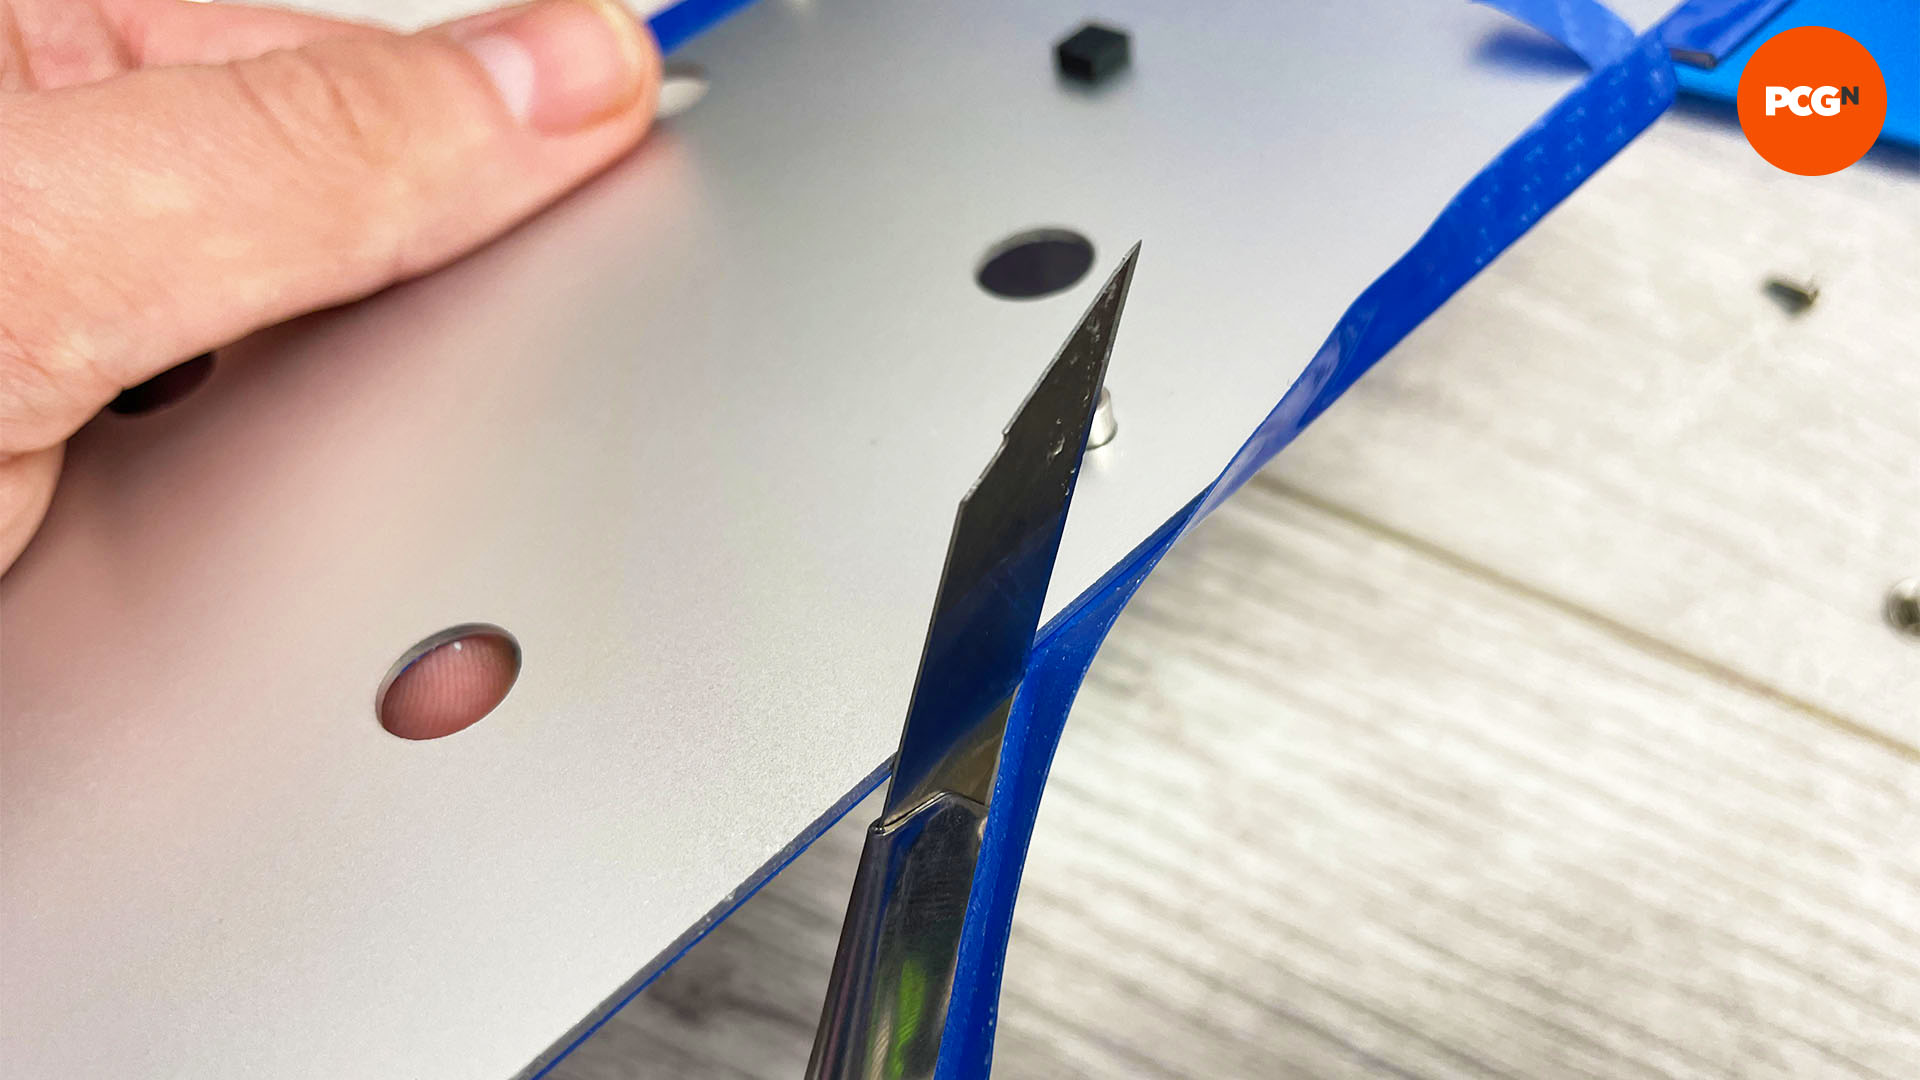
9. Fold over vinyl edges
Ensuring the edges of the vinyl are heated, use the other fitting tools in the kit to work the vinyl into any nooks and crannies, wrapping it over the edges of the backplate and squeezing out any air bubbles.
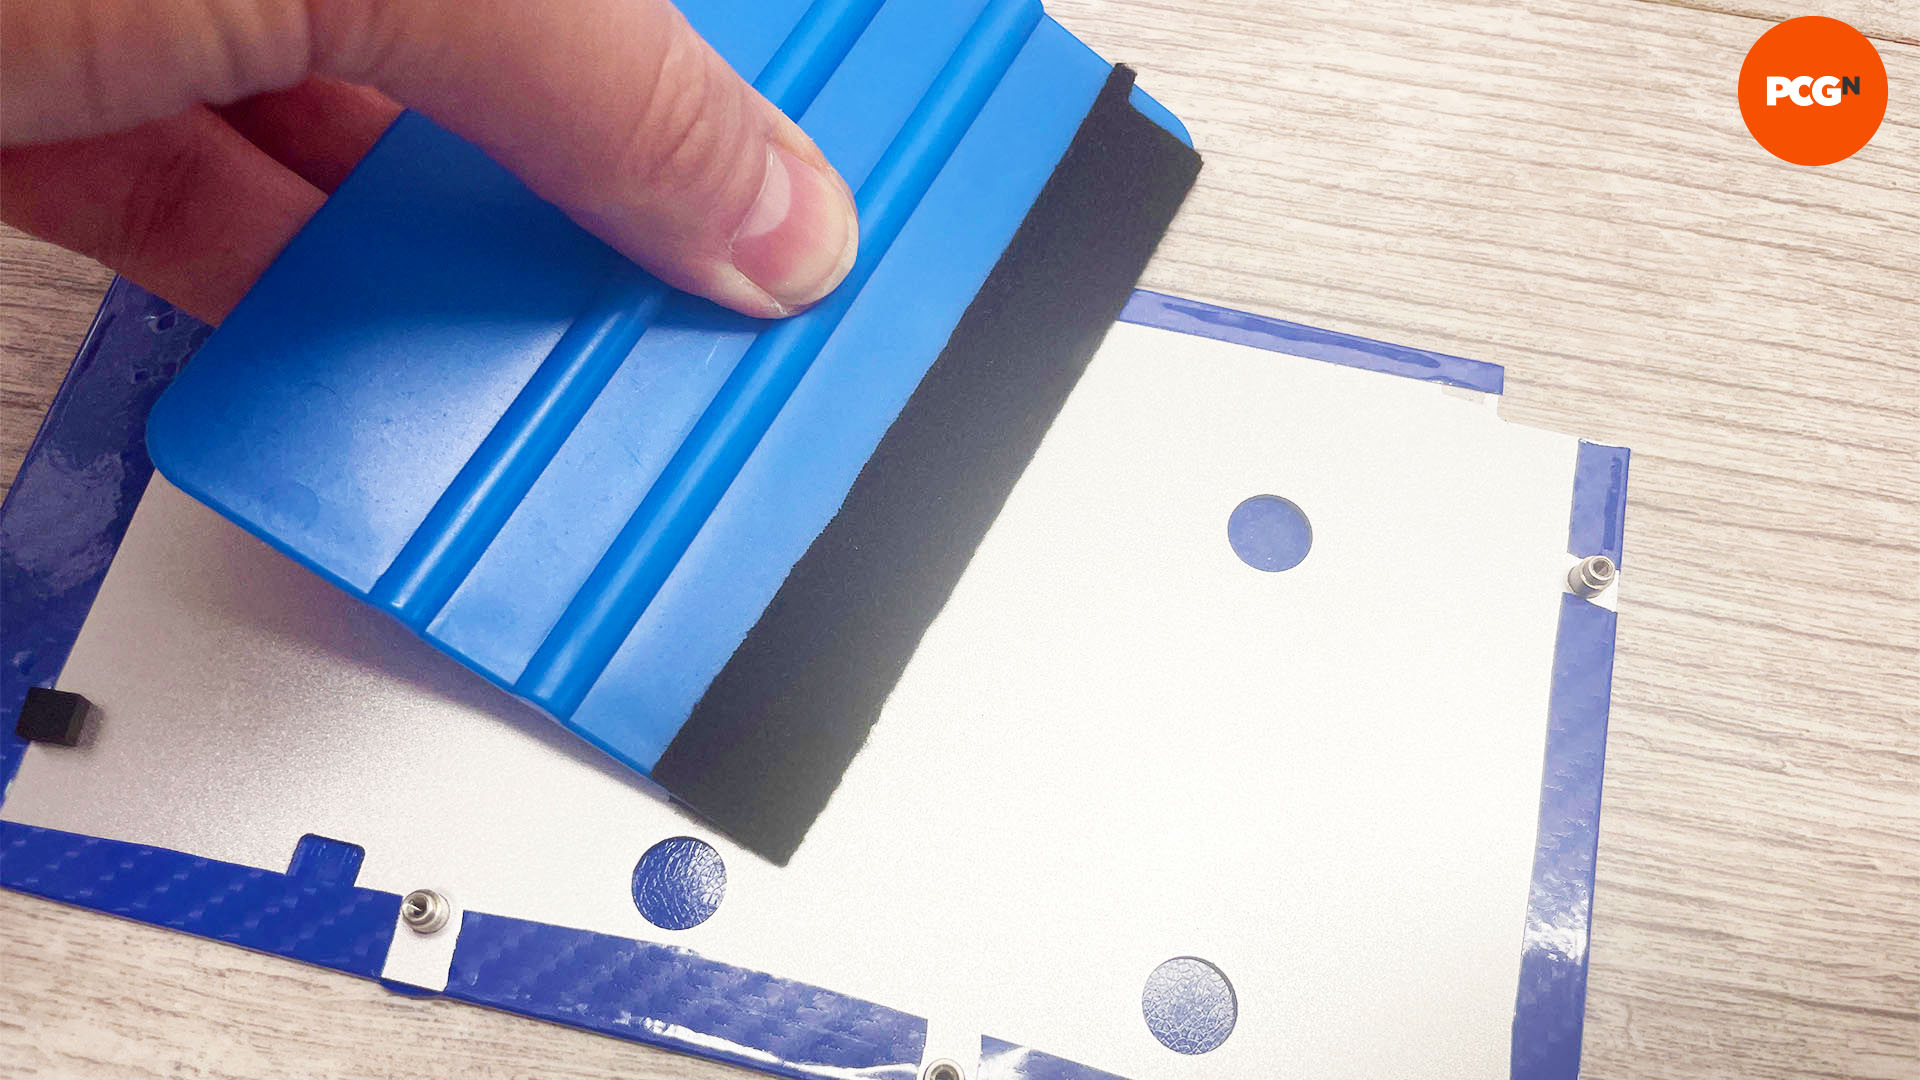
10. Cut out screw holes
Most backplates have holes for screw access, and these should be cut out to avoid the vinyl adhesive being exposed underneath – it could then dry out causing the rest of the backplate to lift. Use a scalpel to cut them out, creating a cross shape then cutting out the quarter sections.
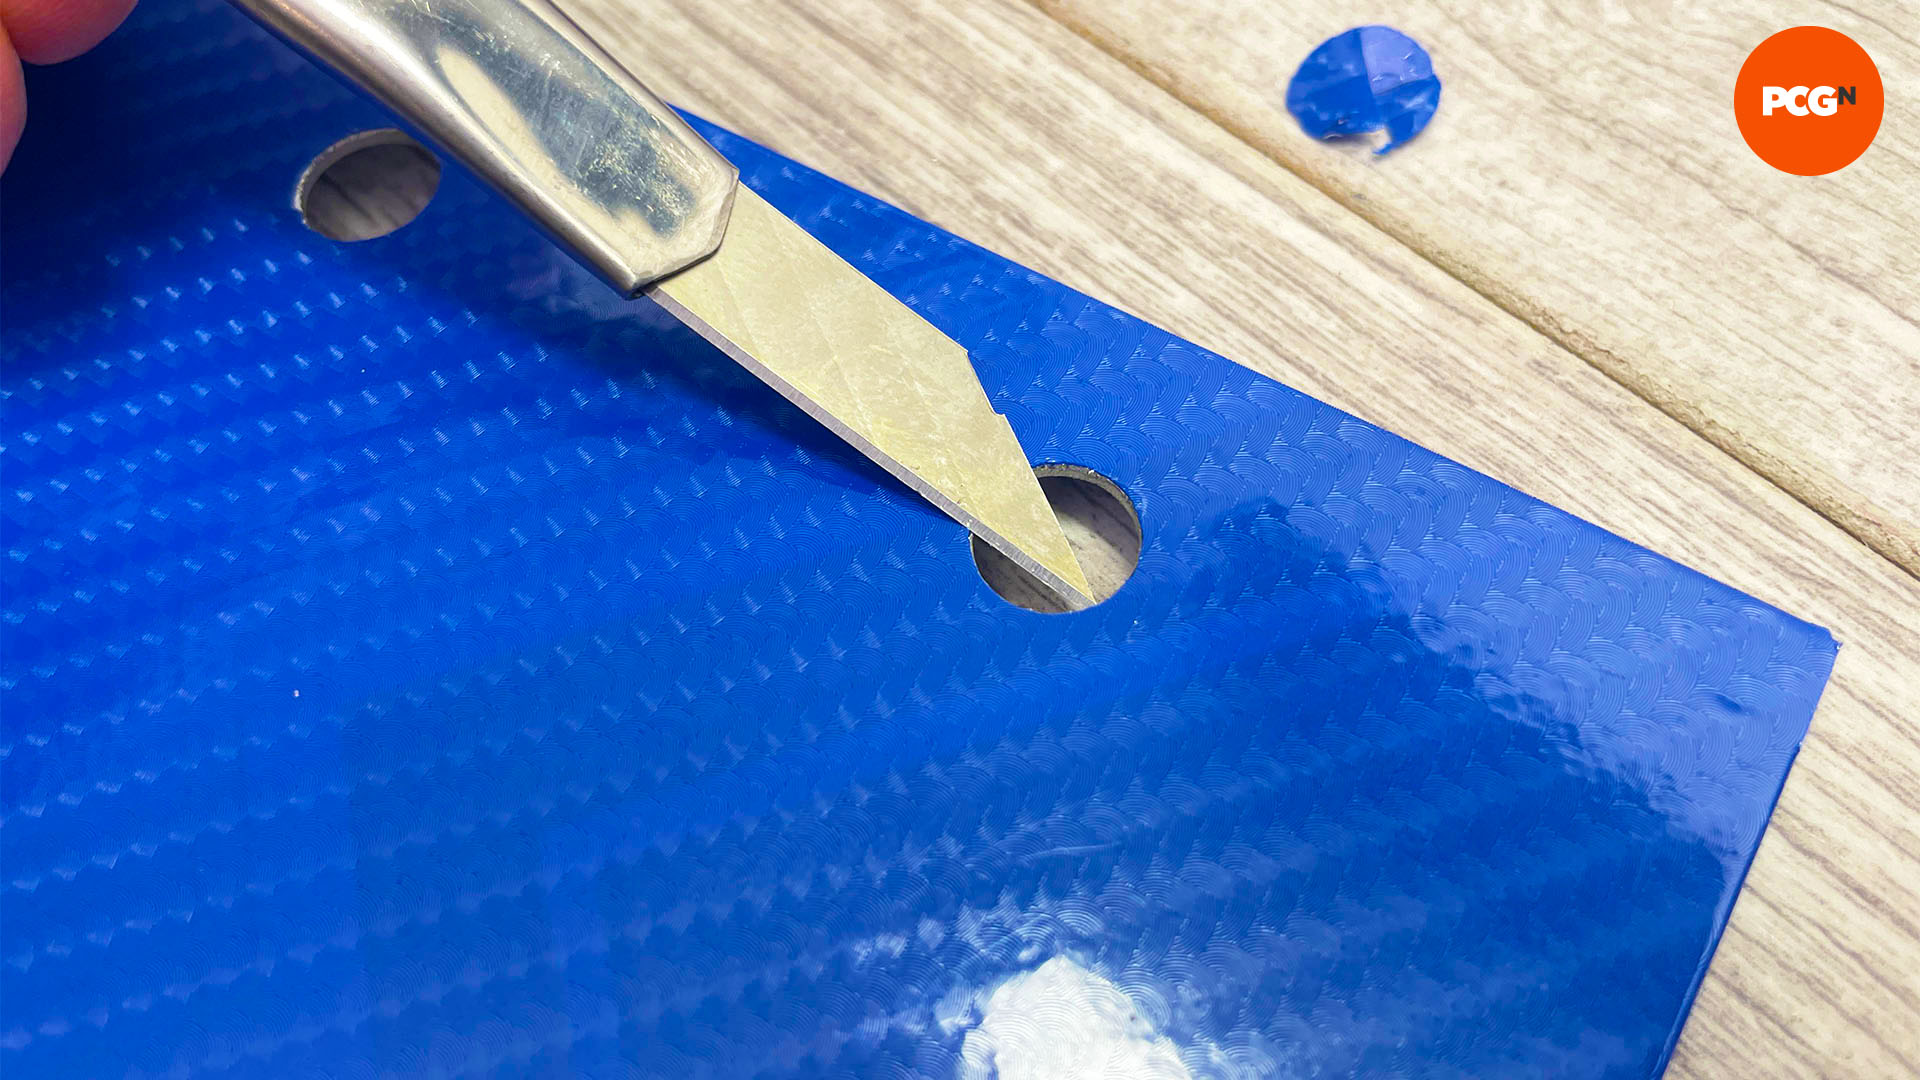
11. Place vinyl on top of shroud
Place the vinyl sheet onto the graphics card cooler’s shroud. If your fans protrude upwards above the shroud, cut their holes out first, as it will be tricky to do this later.
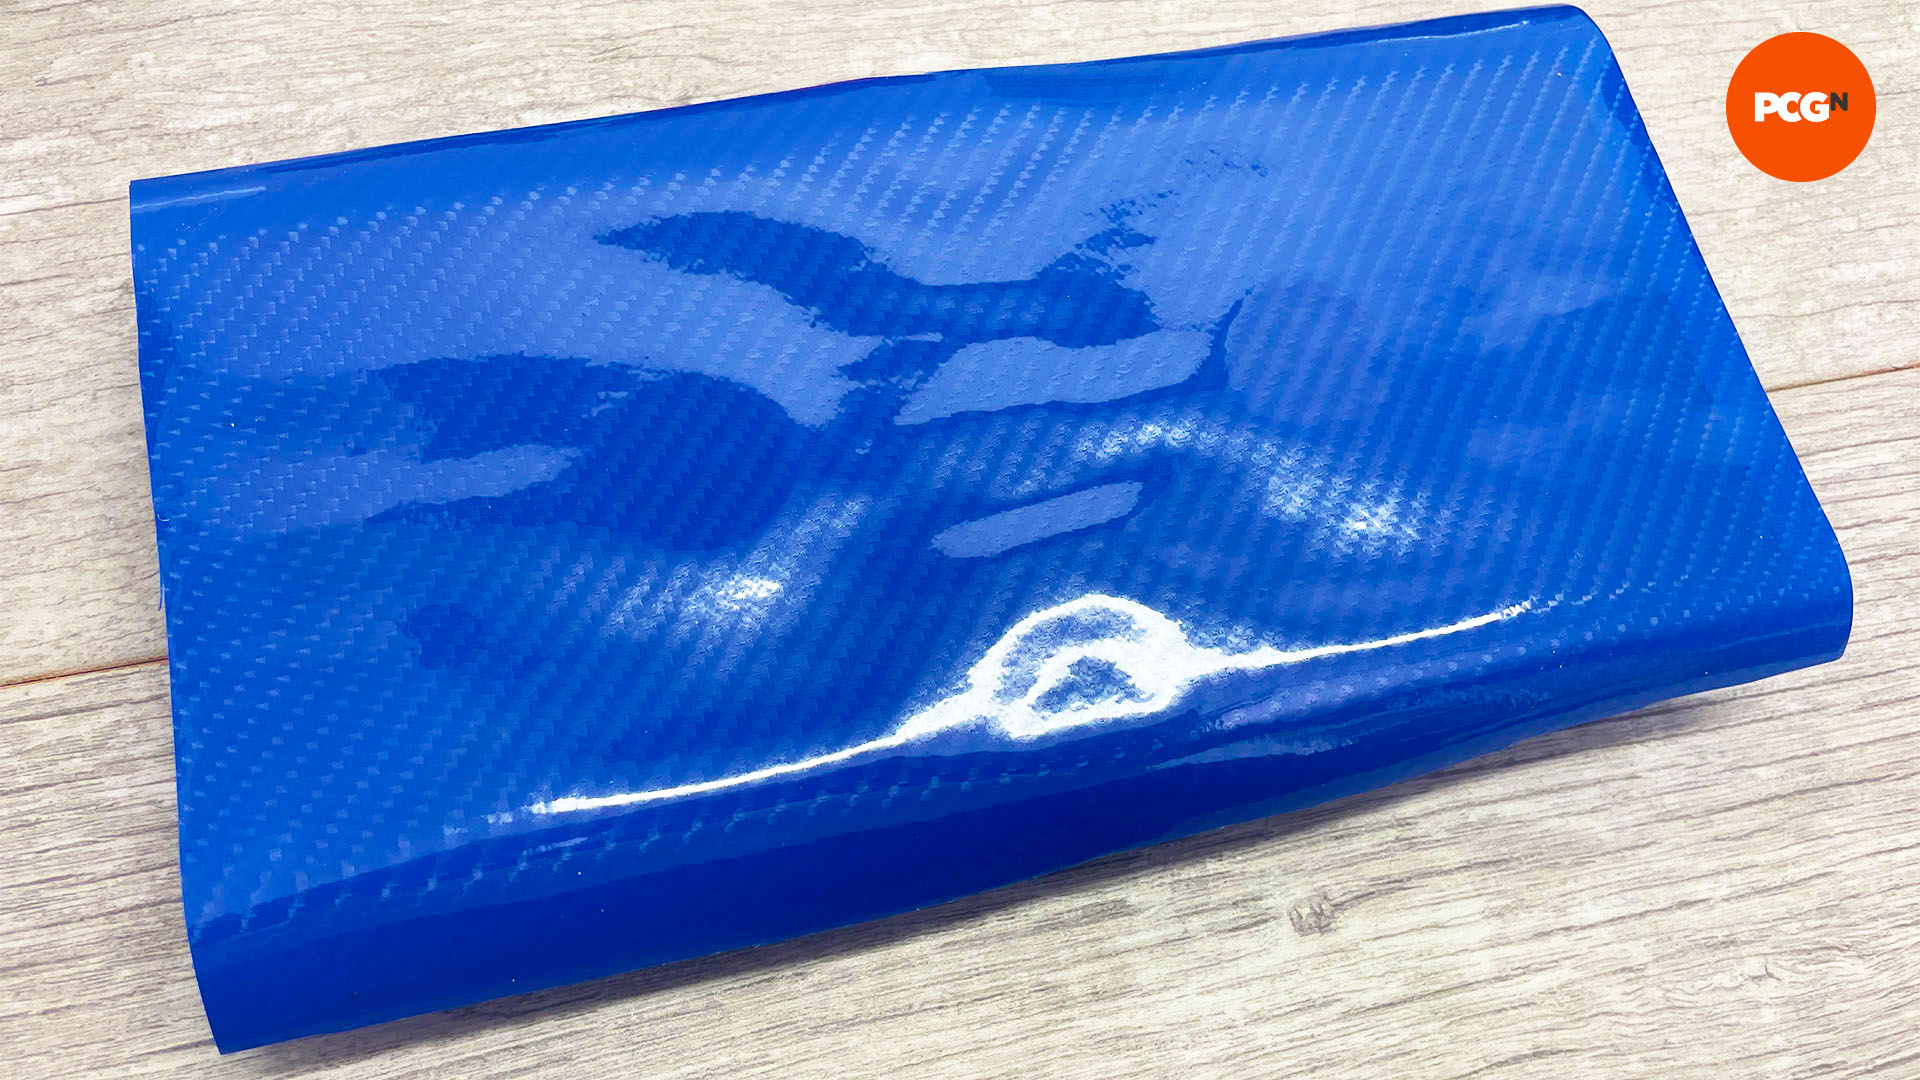
12. Heat the vinyl
Heat the vinyl using a hairdryer again, focusing on the specific areas on which you’re working, and press it onto the larger surfaces, using a squeegee and other tools to fix it in place.
13. Work vinyl into recesses
Use the angled spatula tools to work the vinyl into any corners or recesses. It’s important to keep the vinyl heated here, so it can stretch to fit. Don’t secure it to the edges of the shroud yet, as this will add tension to the vinyl that will prevent you from sticking it to recesses.
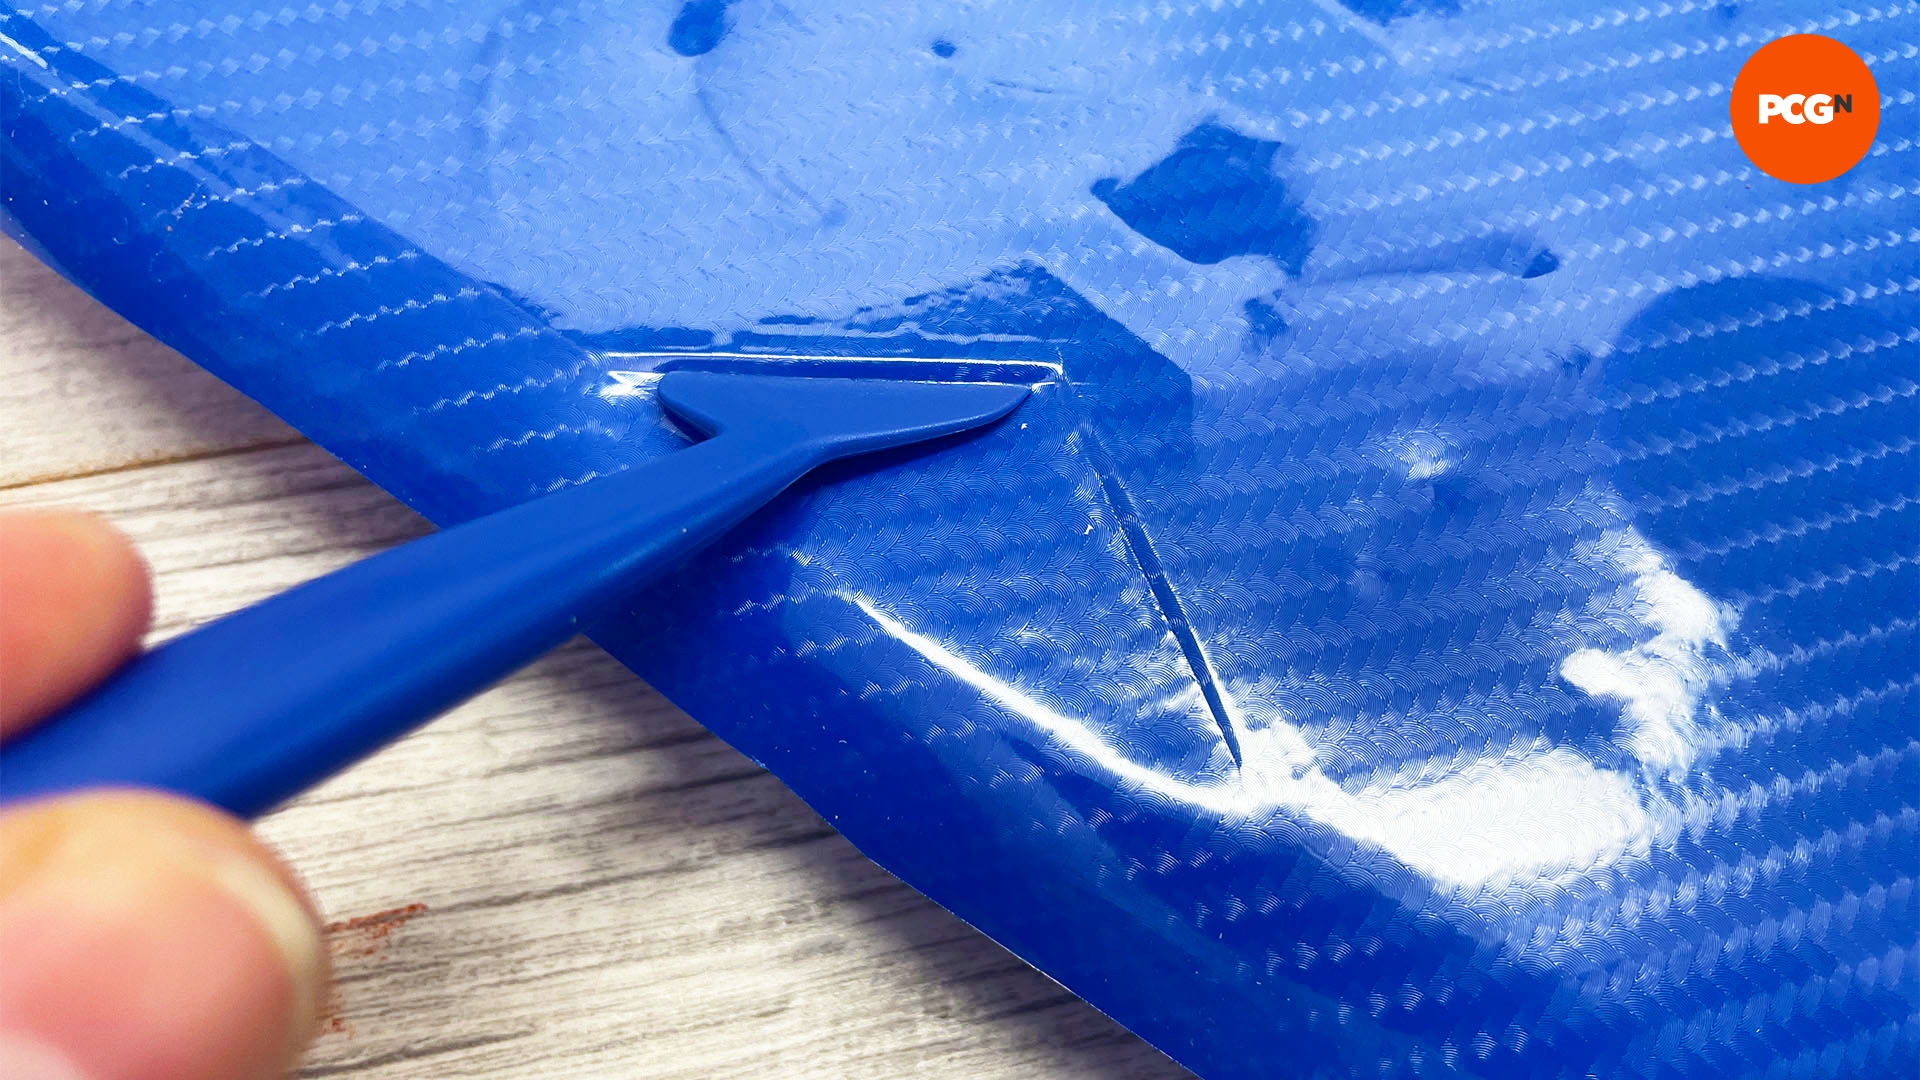
14. Remove air bubbles
If there are any air bubbles under the vinyl you can work these out with the squeegee, as most vinyl sheets have channels to allow this to happen. You can then secure the edges of the vinyl to the shroud in the same way as with the backplate earlier.
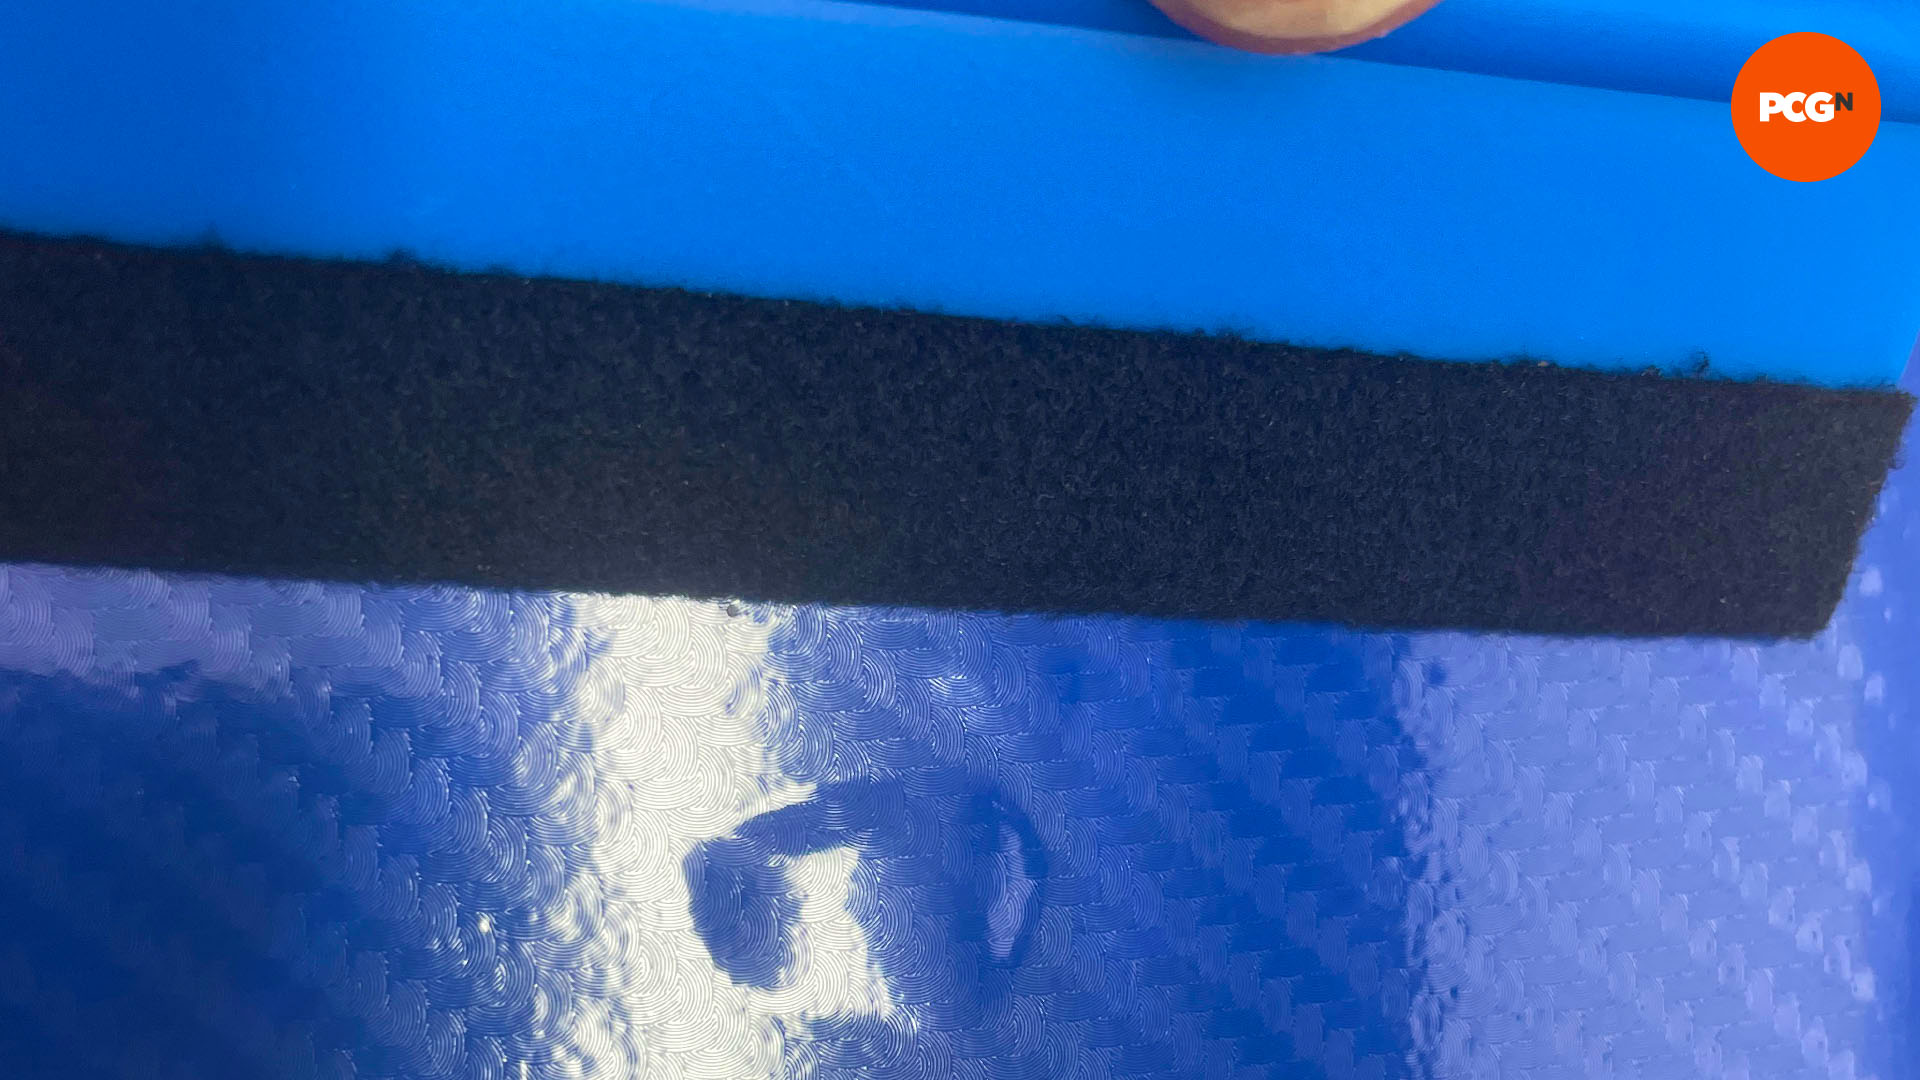
15. Secure vinyl to edges
Finally, cut out the fan holes with a scalpel if you haven’t already done it in step 11, and your vinyl-wrapped graphics card is ready to go. If you make a mistake, you can lift the vinyl on smaller flat surfaces and start again, but if all else fails, vinyl is cheap, so you can always start again from scratch.
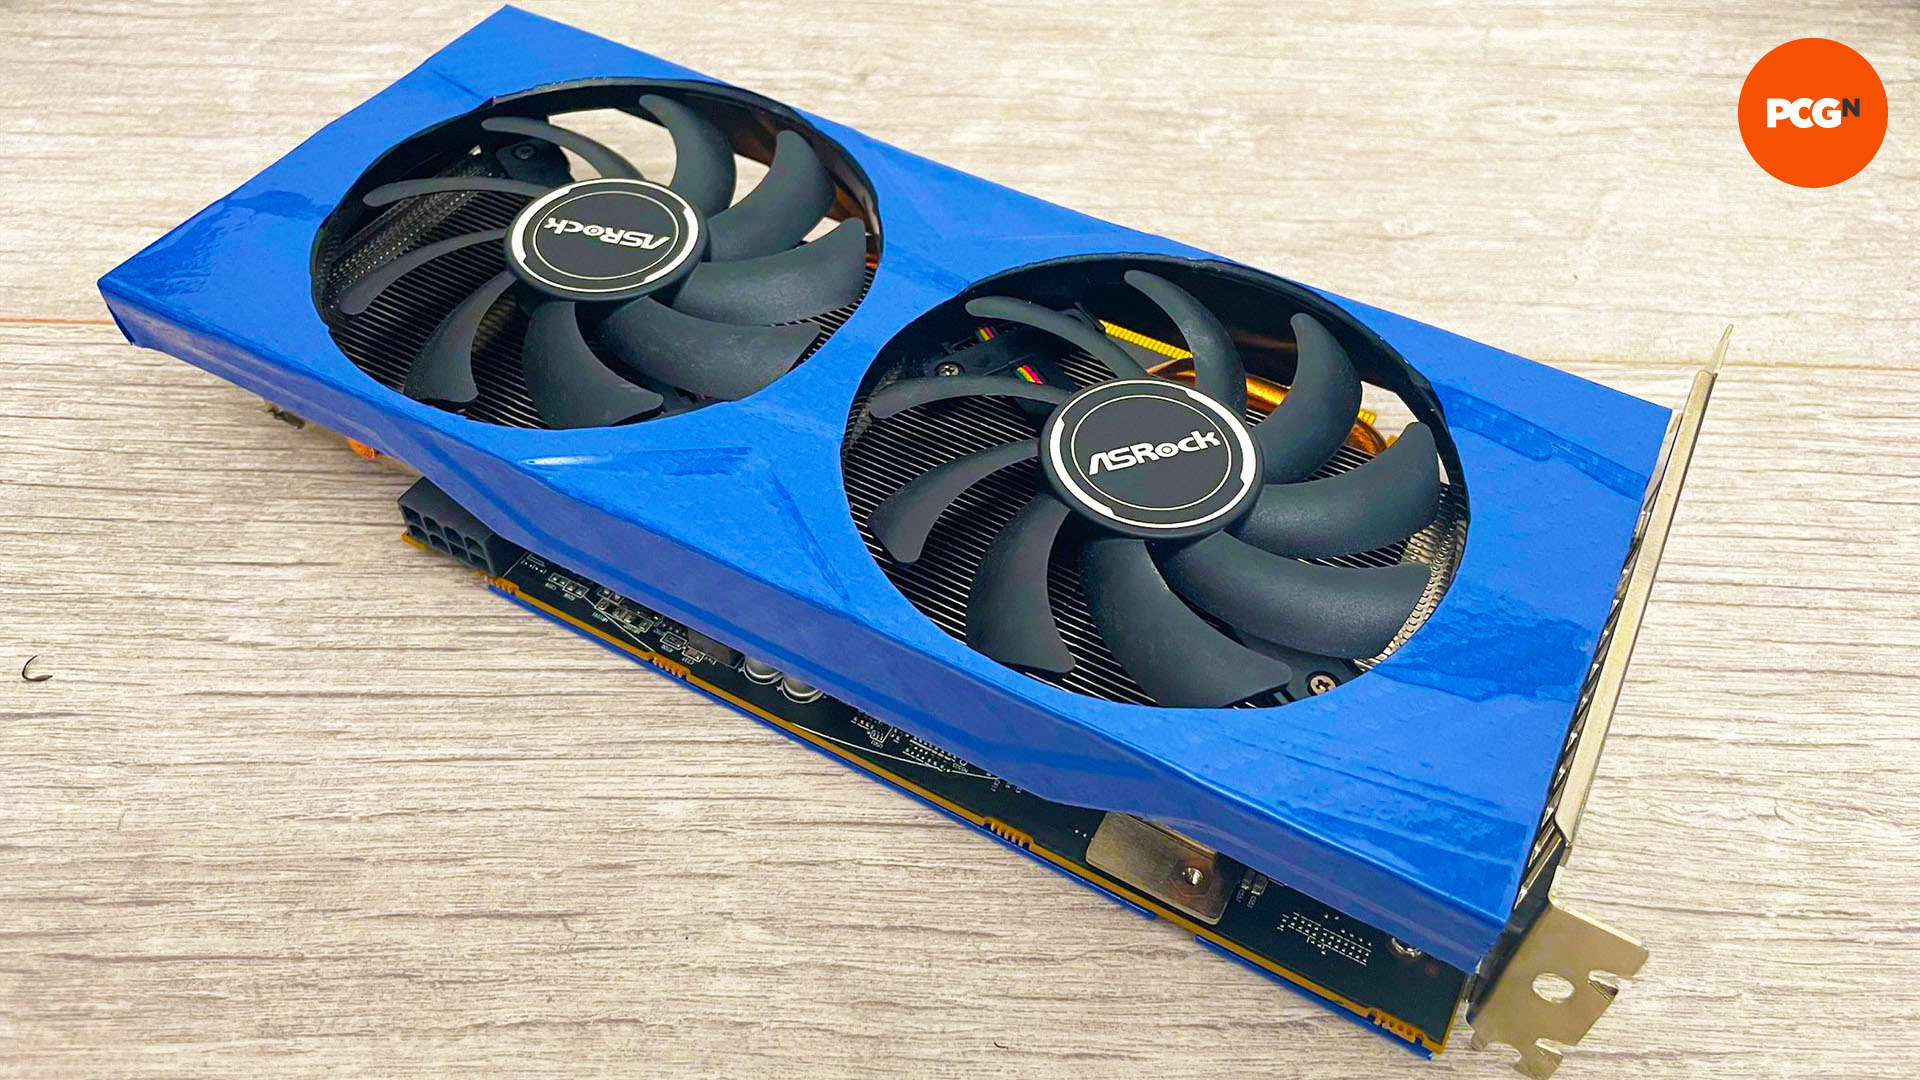
And that’s all there is to it – no paint mess, no accidental paint marks on your PCB, and the process is completely reversible. All you need to do now is enjoy looking at your PC’s interior with your customized graphics card inside it.
For further PC customization ideas, check out our guide on how to paint your PC case, as well as our tutorial on how to etch glass on your PC case panels.
