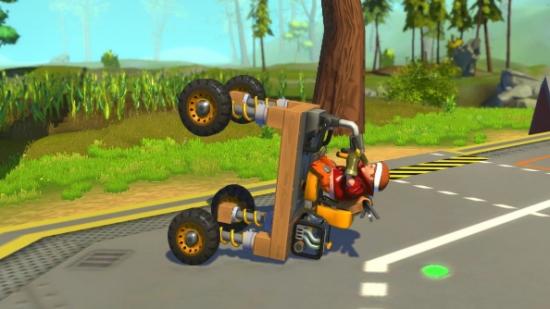
The latest addition to the explosion of creative sandbox games is Scrap Mechanic; an Early Access title that’s essentially Minecraft for anyone with ambitions of being an engineer.
See the community’s best engineering feats in our round-up of the best Scrap Mechanic creations.
The game turns complicated engineering ideas into simple mechanics, making it very easy to play. However it’s worth knowing a few handy tips before you go in, just so your first hour goes smoothly. Keep this beginner’s Scrap Mechanic guide open in a spare tab and you won’t go wrong!
The very basics
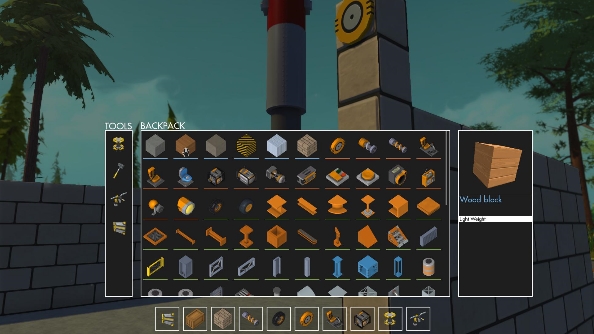
Scrap Mechanic currently only has a ‘create’ mode, which is wonderful because it means every component in the game is already in your inventory in unlimited quantities. Just press ‘I’ to open the inventory and scroll through the many items.
They’re all quite self-explanatory, and range from engines that make your creations move, to simple decorations to make your settlements more homely. To use items, click and drag them from the inventory into your hotbar, and select them with either the number keys or mousewheel.
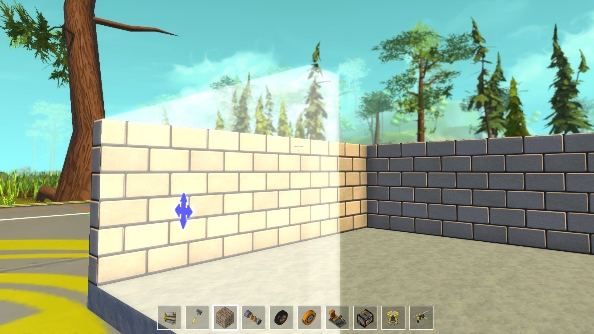
When creating new inventions, items will first appear in the word as transparent blueprints, and will then become solid when you click to place them. Block-like items, such as wood and metal, can be click-and-dragged out into bigger sections for large-scale coverage. Tapping Q will alter the direction of items, which is useful for altering blocks to drag horizontally (for floors) or vertically (for walls).
Tools of the trade
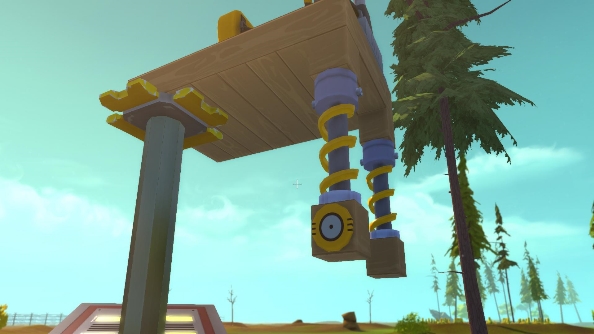
When starting out, the two tools you need to know about are the lift and the connection tool.
The lift is great for hoisting your creations above you so you can tinker underneath them easily. This is vital when adding things like wheels and suspension to your vehicles. It’s on your hotbar as default, and when placed in the world can be controlled with the up and down arrow keys.
If your vehicle ever gets knocked over, clicking on the vehicle with the lift equipped will set it the right way up.
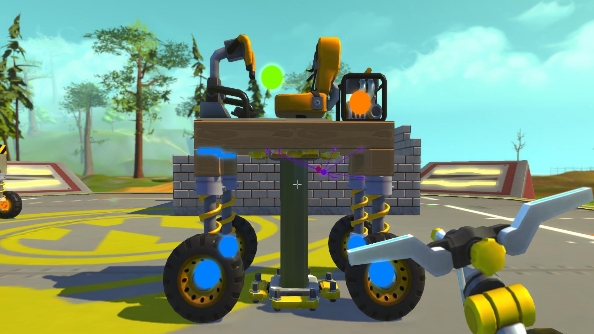
The connection tool is the item that will help bring your ideas to life. When equipped, you can see ‘wires’ that link components to each other. To make a connection, simply click and drag between two items with the tool equipped. Wires are colour-coded to make deciphering the tangles of lines easier.
With the connection tool equipped, you can interact with items such as wheels and bearings by right clicking to alter the spin direction. This is very useful when creating steering systems.
Building your castle
Shelter is not vital in Scrap Mechanic right now as there is no survival mode (that’s due in a later update), but you’ll likely want to create a home base anyway. Ideal materials for this job are concrete and brick, so add these into your inventory.
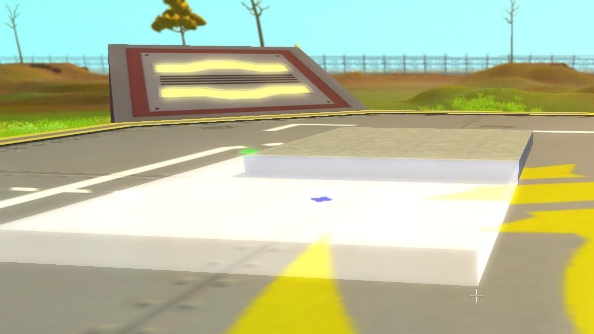
Drag out some foundations with the click-and-drag system (remember to tap Q to make the blocks extend across the ground instead of vertically). You’ll find that there’s a limit to how much you can drag, so just make multiple sections that fit together until you have an ideal size.
Use the same approach for your walls. If you’re finding it difficult to lay the bricks high, you can set down the lift tool, hop on, and tap the up arrow to elevate your position for easy reach.
For your ceilings and roof, just extend a horizontal level from your walls. Don’t worry about load-bearing and supports: Scrap Mechanic is more interested in fun ideas than true-to-life physics, and is all the better for it.
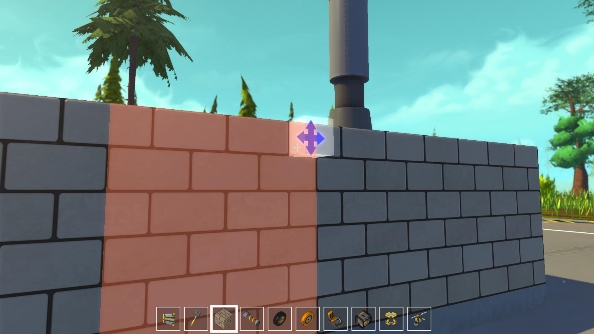
To add windows and doors, right click on your existing walls to click and drag out a red template. This will delete anything beneath it.
Automated entry
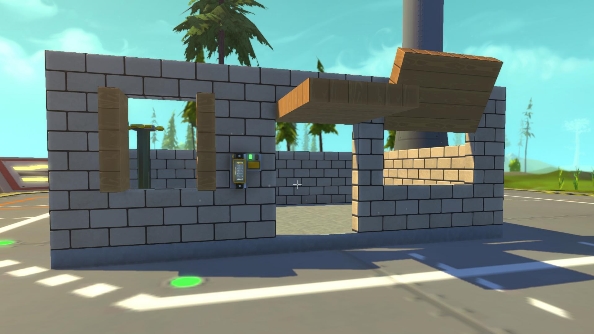
The controller is the coolest element of the game by far, and allows you to do some really advanced stuff. For this guide though we’ll stay simple and demonstrate how it can be used to make some automated shutters for your doors and windows.
First make the doors themselves. Drop a bearing in the very corner of the door aperture, and then fill the door in with wood. Then, on the wall, place a controller and a switch. Using the connection tool, connect the switch to the controller, and the controller to the bearing.
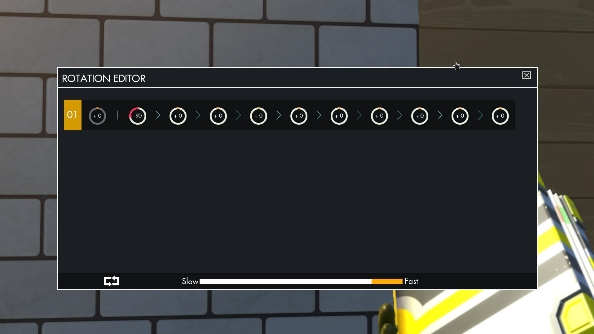
Tapping ‘E’ on the controller will bring up a window with lots of circles. These represent the angles you can make bearings turn, and the sequence order. You can make numerous actions that will be carried out in order when the switch is pressed, but since we only want the door to open it’s just the first circle in the sequence we’re interested in. Click and drag left or right to set a 90-degree angle (one quarter of the circle will highlight). The left or right direction you drag will set the door to open inside or out.
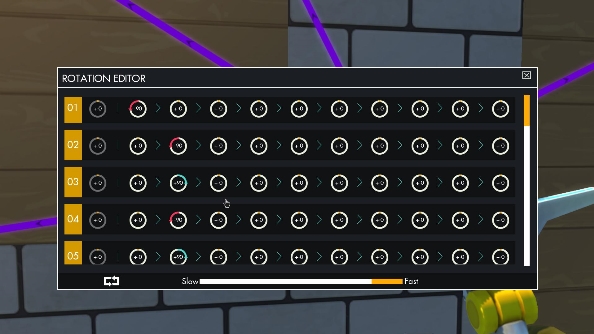
With that set, just hit the switch with ‘E’ and hey-presto: the door opens! Now, why not try the same with shutters for the window? You could try placing the bearings at different areas of the frames to open the shutters in different ways. When connecting the bearings to the controller, setting them later in the sequence makes the whole thing a little more dramatic as windows open one after another.
If you replace the switch with a sensor you can automate the system. Now when you approach your house, the door opens automatically. Remember to add a button on the inside of the house though, or you’ll be trapped inside!
The Scrapmobile
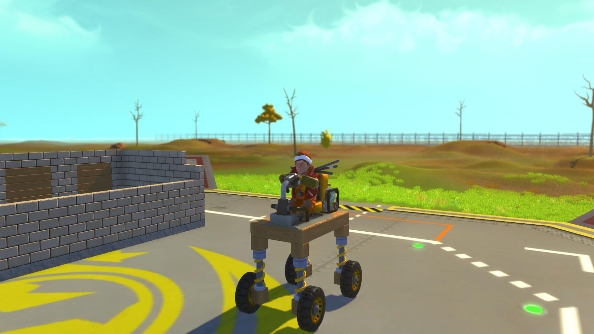
Houses are good, but they don’t move around and make brum brum noises (or do they? This is Scrap Mechanic after all). To get your adventure really on the move, you’ll need a car. So pull out your lift, because it’s time to build some wheels.
On the lift, drag out a chassis. Mount a driver’s seat and an engine to the top side. There’s two engine options: gas or electric. For big things like cars, gas is your best choice.
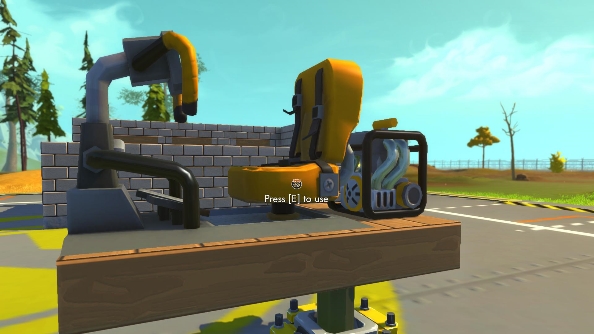
Now you’ll need some wheels. As the world of Scrap Mechanic is naturally very hilly, suspension is an absolute must. You’ll need to plan for steering too, so it’s important to think ahead before you just bolt things on.
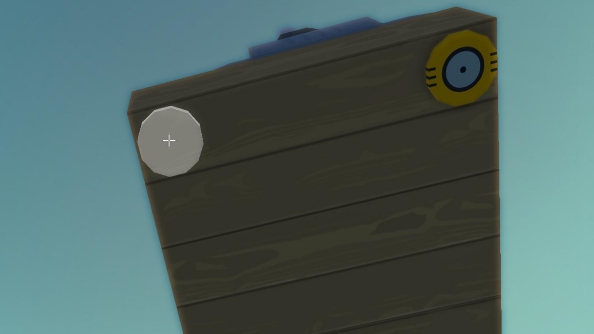
To start, attach bearings to the front two corners of your chassis. To these, add one block of material (we’re using wood), and use that as a mounting point for a suspension strut. At the bottom of the struts add another single block, and attach bearings to the outside-facing sides. You can then mount wheels to these bearings. Repeat the process for two rear wheels, but without the bearings on the chassis: the rear wheels don’t need to steer.
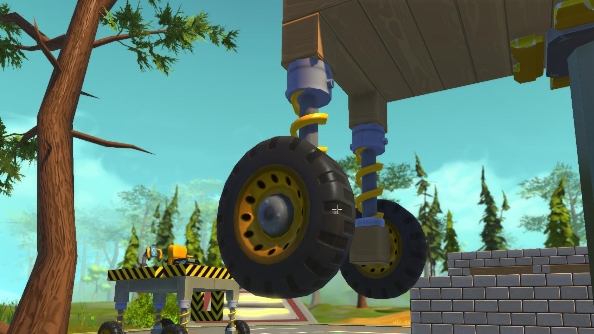
With these components assembled, you’ll have created a dining table on wheels. That’s fine: we’re all about practicality rather than style right now. Use the connection tool to wire everything up: all four wheels need joining to the engine, and the drivers seat needs to be hitched to the front two steering bearings and the engine. Make sure all the bearings are set to rotate the correct way (right click to adjust them). Then set the engine power by pressing ‘E’ on the motor: setting it to power setting two or three should be fine.
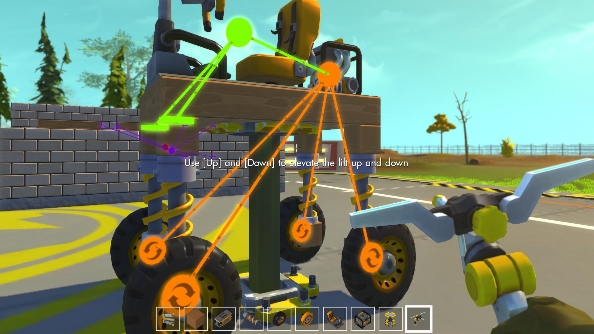
Now, pull the lift from under your car by holding right-click, and you’re free to drive. With this basic design, you can start to tinker and create something closer to real car designs, or indeed something entirely wacky. Think about how you could use the controller to create an incredible transforming machine.
Advanced levels
As you can see, getting things going in Scrap Mechanic is very easy, and there’s very little about it that’s actually complicated. All that’s required is inspiration and ambition from you. To see some of the amazing possibilities in Scrap Mechanic, take a look at this video from the developers, showing just what can be achieved when the controller is used to its full potential.
Also be sure to check out our list of impressive Scrap Mechanic creations if you’re in need of inspiration.
Anything else you want to know? Drop your requests in the comments and we’ll get the guide updated with additional info.
