
Star Wars Battlefront’s launch was a surprisingly smooth one, free of a lot of problems that we’ve sadly come to expect from big PC ports, particularly those that are predominantly online games. On top of that, Battlefront’s proved to be a well-optimised shooter, consistent and rich in PC-specific options.
In our Star Wars Battlefront PC port review, we passed DICE’s latest, but we’re now taking another look at the graphics options in an attempt to find the best mix of performance and fidelity. So, if you want to increase your frame rate without making the game look hideous, read our Star Wars Battlefront tweak guide below.
Tested on a Intel i5-3570K @3.40 GHz, 8 GB of RAM, GeForce GTX 970, Windows 10.
With my port reviews, I’m usually trying to get a stable frame rate of 60. Since I normally use a 60Hz monitor, there’s no point in trying to get more, and I feel like 60 is the sweet spot, anyway. However! I know that a lot of you have much nicer monitors than I, so for this tweak guide, I’ve turned off vsync.
With TXAA turned on, and the rest of the settings pushed to ultra, I’m able to get a consistent FPS of 60 across all maps and modes at 1080. Unshackling my PC, however, pushes the frame rate up past 80.
In the barren wasteland of Tatooine, ultra settings and TXAA jumps between the mid 80s to the mid 90s, occasionally spiking to 100 or so in busy areas. Turning the preset down to high and reducing AA to FXAA (high) confers a boost to between 110 and 120fps. With medium settings and medium FXAA, it jumps again, this time to between 145 and 175. Finally, reducing all settings to their lowest and turning off AA entirely gives me a frame rate of between 180 and 200.
The specific settings to pay attention to are AA and shadow quality. Reducing any one option increases the frame rate ever so slightly, but it’s those two that seem to make the most difference. On ultra, I went from a peak of 100 to a peak of 120 by turning down these options to high, though it still fluctuated considerably, dipping down to the mid 80s at times.
On the forest moon of Endor, things are a little bit different. Using the ultra and high presets, I was achieving a similar frame rate to Tatooine, but the medium and low presets, while still offering a significant boost, didn’t quite reach the highs of the desert world. On medium, for instance, it peaked at around 150, opposed to 175 on Tatooine.
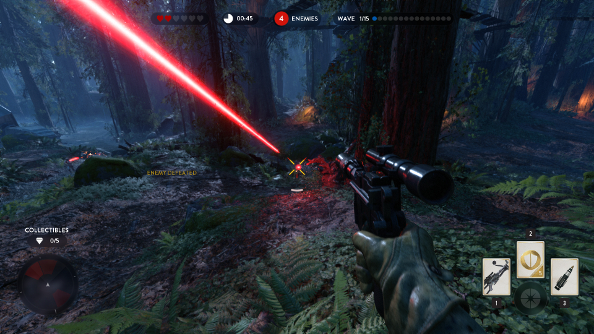
Another difference is the impact of the terrain groundcover setting. I hardly noticed a difference at all when reducing it on Tatooine, but on Endor, the frame rate becomes more consistent and around five to ten frames higher. Again, however, it’s anti-aliasing and shadow quality that have the most significant impact.
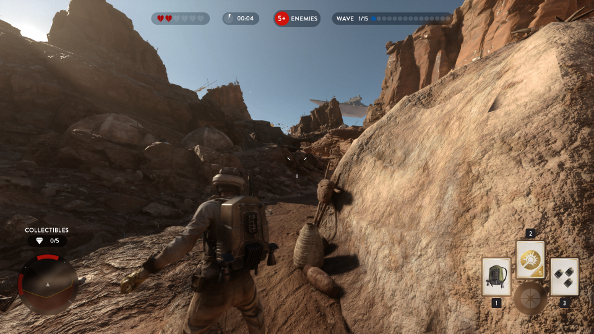
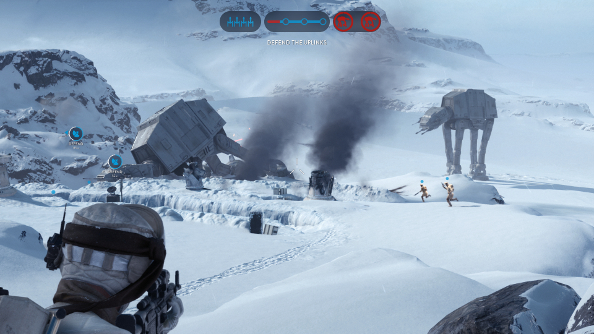
It seems clear that Endor is the map best suited for testing your graphics settings thanks to all that thick foliage that the Ewoks love hiding in so much. On the other end of the spectrum, there’s Hoth. The frozen world’s absence of much beyond snow netted me a marked improvement in terms of the frame rate, keeping things at around 100, dipping to 90 occasionally.
Ultimately, if you’re wanting an FPS boost, drop shadow quality down to high and anti-aliasing down to FXAA high. TXAA seems to be the main culprit when it comes to reducing the frame rate. Note, however, that reducing the AA has diminishing returns. Dropping it below FXAA high doesn’t make as noticeable a difference, while increasing those horrible jagged edges.
For further tweaking, we need to head to the config file, but that’s curiously absent, though there is a profile option files that can be opened using a program like Notepad ++. You can make your own file, however, which will allow you to permanently activate certain console commands instead of doing it in-game, which only makes temporary changes.
You can find instructions on how to make this config file below.
- Fire up Notepad.
- In Notepad write all the commands you want to use in Battlefront.
- Now you can save the file, but you’ll want to give it a specific extension. Save it as ‘user.cfg’ as All Files in the main Star Wars Battlefront location, probably C:/Program Files(x86)/Origin/Star Wars Battlefront.
If you’re not sure what console commands you want to use, don’t fret. In-game, open the console using the tilde key (~) or whatever normally brings up the console for you (for me that’s the grave accent) and simply type ‘list’ without quotation marks. This will bring up the entire list of console commands. I’ve also added them below, for convenience.
- UIDrawEnable
- Window.PosX
- Window.PosY
- Window.Width
- Window.Height
- GameTime.MaxVariableFps
- Render.DrawScreenInfo
- Render.ResolutionScale
- Render.VSyncFlashTestEnable
- Render.Dx12Enable
- Thread.ProcessorCount
- Thread.MaxProcessorCount
- Thread.MinFreeProcessorCount
- Thread.JobThreadPriority
- WorldRender.MotionBlurEnabled
- WorldRender.MotionBlurRadialBlurMax
- WorldRender.MotionBlurQuality
- WorldRender.MotionBlurMaxSampleCount
- WorldRender.EmitterSunTransmittanceMapEnabled
- WorldRender.EmitterSunTransmittanceResolution
- WorldRender.LightTileCombineOutdoorLightEnable
- WorldRender.LightTileCsPathEnable
- WorldRender.PlanarReflectionEnable
- WorldRender.InterpupillaryDistance
- WorldRender.SpotLightShadowmapEnable
- WorldRender.SpotLightShadowmapResolution
- RenderDevice.VSyncEnable
- RenderDevice.TripleBufferingEnable
- RenderDevice.RenderAheadLimit
- RenderDevice.StereoConvergenceScale
- RenderDevice.StereoSeparationScale
- RenderDevice.StereoSoldierZoomConvergenceScale
- RenderDevice.DxDiagDriverDetectionEnable
- RenderDevice.Dx11Dot1Enable
- RenderDevice.Dx11Dot1RuntimeEnable
- PerfOverlay.Enable
- PerfOverlay.DrawGraph
- PerfOverlay.DrawGraphMethod
- PerfOverlay.DrawCpuGraph
- PerfOverlay.DrawGpuGraph
- PerfOverlay.DrawFrameGraph
- PerfOverlay.DrawVblankGraph
- PerfOverlay.DrawFps
- PerfOverlay.DrawFpsMethod
- PerfOverlay.DrawFcat
- PerfOverlay.FcatWidth
- PerfOverlay.LegendDisplayFormat
- PerfOverlay.FpsTimePeriod
- PerfOverlay.FpsDisplayAlpha
- PerfOverlay.FpsDisplayFormat
- PerfOverlay.FpsDisplayScale
- PerfOverlay.FpsDisplayOffsetX
- PerfOverlay.FpsDisplayOffsetY
- PerfOverlay.FrameFileLogEnable
- NetworkPerfOverlay.Enable
- NetworkPerfOverlay.DrawGraph
- NetworkPerfOverlay.DrawNetworkDelayGraph
- NetworkPerfOverlay.DrawNetworkVariationGraph
- NetworkPerfOverlay.DrawPacketLossGraph
- NetworkPerfOverlay.Draw.FreqGraph
- NetworkPerfOverlay.Draw.PacketQueueGraph
- NetworkPerfOverlay.DrawBehindTime
- NetworkPerfOverlay.LegendDisplayFormat
- NetworkPerfOverlay.GraphPos
- Screenshot.Render
- Screenshot.Format
- Screenshot.LayerMode
- PostProcess.DofMethod
- PostProcess.BlurMethod
- PostProcess.DynamicAOEnabled
- PostProcess.DynamicAOMethod
- PostProcess.ScreenSpaceRaytraceEnable
- PostProcess.ScreenSpaceRaytraceDeferredResolveEnable
- PostProcess.ScreenSpaceRaytraceSeparateCoverageEnable
- PostProcess.ScreenSpaceRaytraceFullresEnable
Typing these into the console or in the config file you’ve just made will allow you to do things like limit the frame rate if it’s fluctuating too much (GameTime.MaxVariableFps) or just bring up an FPS counter so you don’t need to use FRAPS or another program (PerfOverlay.DrawFps).
And that’s you set. Let us know how the game performs on your rig, and if you’ve got your own tweaks, make sure to mention them in the comments.