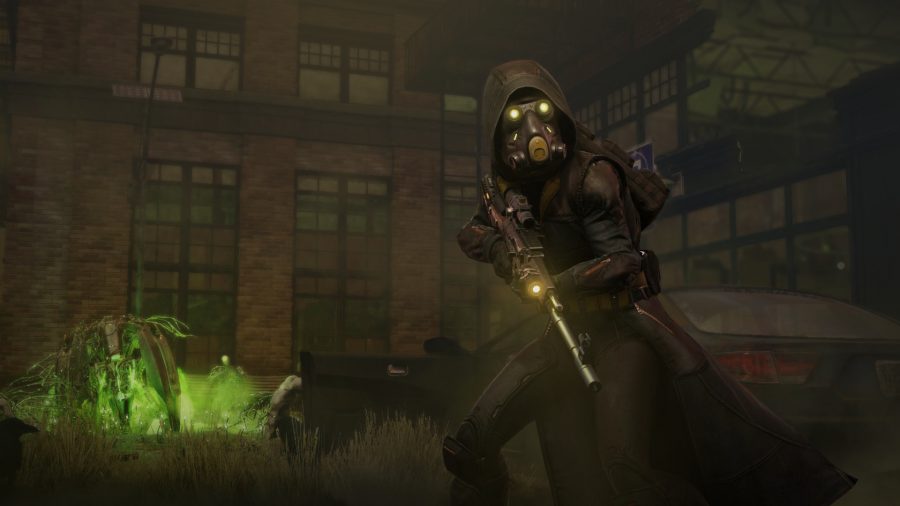
Looking for some XCOM 2 tips or a guide to XCOM 2: War of the Chosen? We’ve got you covered! One of the reasons the XCOM franchise is so good is its tactical depth. Aside from lofty production values, the turn-based strategy game ties together a fantastic array of abilities and mechanics to create an interlocked system of extremely polished goodness. It’s also a game that may seem simple after you get the hang of it, but there are a lot of advanced tactics and strategies that the tutorials don’t cover.
That’s only the base game, too. The War of the Chosen expansion adds a whole host of gameplay changes. There’s several completely unique systems to keep track of, alongside new character classes, gear, gadgets, weapons, and enemies.
War of the Chosen expands the base game in every single way, and with new content comes new tactics, and with new tactics, comes us. Below, you’ll find tips for the base game, as well as a dedicated guide to the War of the Chosen expansion. Not sure how to best use Mimic Beacons? Can’t decide which perks you should be taking? Tired of losing all your favourite squad members? Read on.
XCOM 2 SQUAD TIPS
Mimic Beacons are extremely useful for luring out enemy forces, as they force every alien in the vicinity to attack them before your real operatives. One secret feature, however, is that you can throw the beacon near an obstacle to have the projection take cover to avoid enemy fire, significantly extending the beacon’s lifetime.
The Phantom perk allows Rangers to start missions concealed even if the rest of the squad didn’t, which makes a world of difference in the realm of intel. Use your concealed ranger as a scout to anticipate alien patrols, then ambush them by shooting them in the back.
Most levels have extremely destructible environments, allowing for a wide range of tactical options. You can destroy roofs to relocate landing zones, take down walls to deny enemy cover, and level houses to create a quicker path to your objective. You’re also able to deal direct damage with environmental interaction, such as blowing out the floor underneath an enemy. This causes fall damage as well as explosive wounds, and works especially well against turrets. Just remember: the aliens can use the same tactic against you.
You can order your soldiers to follow a specific path to get somewhere by holding control and left clicking, which places waypoints for them to follow. This is especially useful to avoid overwatch arcs during engagements and enemy fields of vision/breaking through windows when concealed.
Soldiers left behind can usually be rescued. When an XCOM operative is not extracted for any reason, they’re captured by Advent forces and taken into custody. There is a chance that they won’t be killed and can sometimes be rescued, which takes the form of a VIP rescue mission.
If you complete a mission before the timer on dropped items expire, you will pick them up automatically. That also works in the unfortunate event where a soldier dies and you need to reclaim their gear.
The Teamwork bonus from bonded squadmates is more useful than just providing extra shots to finish enemies. It allows one member to dash ahead and scout, but still enter Overwatch, hunker down, or do anything else in case they find an enemy patrol.
The Dual Strike bonus from bonded squadmates causes the bondmate to fire their primary weapon, regardless of restrictions, as long as both have ammo. That means sharpshooters can fire their sniper rifle even when they’ve already used it that turn.
XCOM 2 ENEMY TIPS
If a Viper has grabbed one of your operatives on a choke hold and you’re not confident on your ability to shoot before the turn ends, you can throw a grenade at it. Carefully aimed explosives can hit the vipers without damaging your soldier, allowing you to damage or outright kill the reptile and free your soldier unscathed with one action.
The enemy usually calls down reinforcements as soon as the main objective is complete, and the timer is often as small as one turn. Use that to anticipate enemy deployment and the placement of evac zones, if you have the chance.
All psionic status effects can be neutralised by killing the enemies from which they originated or hitting them with a flashbang. This includes the Sectoid ‘Mind Control’, Chosen’s ‘Daze’, and all offensive Priest abilities. Curiously, it also worked with Spectres’ ‘Shadowbound’, even though they are not psionic units.
XCOM 2 BASE GUIDE
While constructing a room can take days, upgrading them is instantaneous.
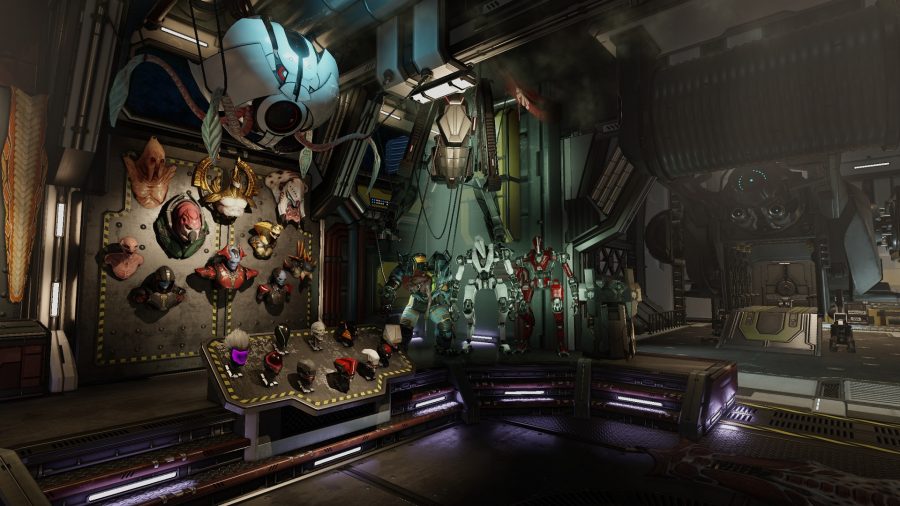
The adjacency bonuses are less pronounced than they were in the previous XCOM , but they still matter; building rooms near a Workshop allow them to be staffed with the little Gremlin bots, freeing up valuable engineers for other duties. The biggest efficiency factor this time around, however, is their location; besides the power cores that must be restored to working order, placing power generators on the bottom floor grants them a bonus to power generation.
Less of an advanced tip and more of an essential strategy, the Guerrilla Tactics School and Advanced Warfare Center must be built as fast as possible. The GTS allows you to field more units, level them up quicker, and get more items per mission, among many other useful perks. The AWC allows your soldiers to gain one extra ability outside of their class, and while you can retrain high level soldiers to unlock them, building the Center early minimizes the amount of time soldiers will be off duty retraining their skills.
War of the chosen tips
XCOM 2’s biggest DLC expands the base game in every single way, and with new content comes new tactics, and with new tactics, comes a new guide to walk you through the basics. Since the expansion radically changes how the game can pay, on both the tactical and strategy layers, we’ve put together a dedicated section for War of the Chosen specific advice. Enjoy!
XCOM 2: War of the Chosen Soldiers Guide
Rotate your soldiers to avoid Combat Fatigue. Don’t argue, just do it.
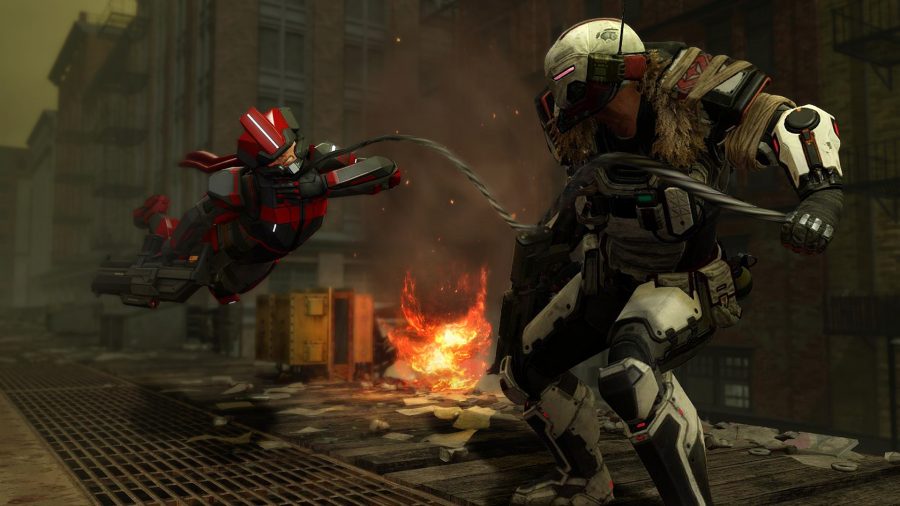
Skirmishers’ grappling hooks are a special ability that doesn’t cost anything; they can relocate using the grappling hook and still keep both their actions.
- The grappling hook built in the ‘Spider’ and ‘Wraith’ armours also works the same way.
Reaper’s Shadow Mode ability keeps the reaper concealed, but increases the chance of detection with every additional weapon. As they start with zero chance of detection, killing a target on the first shot keeps detection chance at 0%.
- Only wounding a target increases the Reaper’s detection radius from one tile to half the screen.
Templars never miss a melee attack, and giving a Templar the Ranger’s Bladestorm ability through the Training Centre allows them to clean whole waves of Lost by themselves.
Soldiers assigned to Covert Actions together will see their bond strengthen, just like operatives in normal tactical missions. Covert Actions are a great way to increase cohesion between two low-ranked squad members too dangerous to go in the field.
The Teamwork bonus from bonded squadmates is more useful than just providing extra shots to finish enemies. It allows one member to dash ahead and scout, but still enter Overwatch, hunker down, or do anything else in case they find an enemy patrol.
The Dual Strike bonus from bonded squadmates causes the bondmate to fire their primary weapon, regardless of restrictions, as long as both have ammo. That means sharpshooters can fire on the enemy with their sniper rifle even if they’ve already used the rifle that turn.
AP is earned by soldiers that perform tactical maneuvers during combat, like shooting targets from elevated positions, landing a flanking shot, ambushing an enemy from cover, or killing an enemy with the help of squadmates. The higher a soldier’s Combat Intelligence, the higher their chance of getting AP for those maneuvers.
War Of The Chosen BASE TIPS
The Advanced Warfare Centre (AWS) from vanilla XCOM 2 has been replaced with the Infirmary and the Training Centre. Build the Infirmary first.
- The Hypervital Module upgrade in the infirmary is way less useful than it sounds; it uses one Elerium Core to instantly (and temporarily) restore a soldier to full combat status, but that only lasts for one mission before the effects settle in again. Worse still, each soldier can only use the Hypervital Module once in the entire game.
Supplies are way more common in the expansion, so feel free to be more adventurous in how you spend them.
The Resistance Ring should be build quickly, as it allows you to field more resistance orders which give you multiple passive bonuses every month.
War of the Chosen Enemies Guide
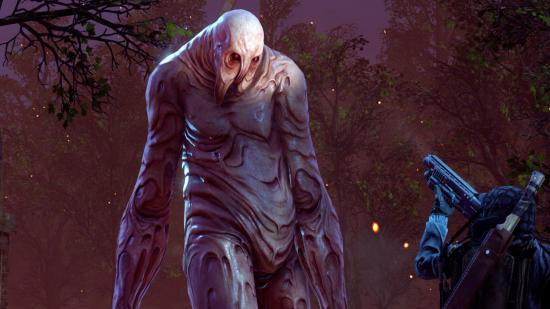
If a Chosen dazes one of your guys, you can kill or drive off them off before reviving the soldier, instead of rushing to their aid. The best defence is a good offence.
ADVENT Purifiers have a chance of exploding upon death, as their flamethrower tanks might be ruptured by incoming damage. The explosion radius is slightly smaller than a standard frag grenade and damages friend and foe alike, so use it to your advantage and keep your distance. No melee attacks!
- These fiery deaths can also attract the Lost, like any other explosion in the game.
ADVENT Spectres’ Shadowbound ability behaves similarly to mind-control, but you can destroy the shadow copy without dealing damage to the unconscious trooper. In fact, you can even revive the soldier while the shadow copy exists on the field, with zero adverse effects.
ADVENT Priests can shield themselves with stasis when about to die, deflecting any and all incoming damage for a turn. Try to have at least one unit with free actions after delivering the “killing” blow, in case of stasis.
- Priests are subject to the same rules of any other Psionic being in the game, so killing them is often the best way to free your soldiers from negative effects or get rid of any boosts to ADVENT troops.
- Curiously, the same applies to Spectres, even though they aren’t Psionic units. Killing them destroys the shadow copy borne of their Shadowbound ability and revives the unconscious XCOM soldier.
- Priests and Spectres tend to strike and run, keeping your squad in disarray while hiding. Hunt them down with high mobility troops like Rangers or shoot them with a sharpshooter as soon as possible.
XCOM 2 The Lost Tips & Tricks
Be aggressive — unlike standard rules of engagement in the game, getting closer to the Lost often brings more bonuses than risks. Keep cool and maximise your hit chance to methodically pick them off, weakest first.
Avoid using explosives, as the loud noise attracts Lost swarms. Swarms tend to appear close to the source of the noise, so you can cause an explosion on top of ADVENT troops to try and drown them in walkers.
The Lost are hostile to human and aliens equally, so use them to your advantage when fighting ADVENT forces.
- If your soldiers are not concealed, The Lost have a 70% chance to attack XCOM soldiers versus 30% of attacking alien targets.
- Lost often target the closest enemies, so keep the aliens between you and the swarm.
- The Lost always take their turn after the Alien Activity phase, so they can be used to trigger enemy Overwatch and overall crash into ADVENT’s strategy, allowing you more breathing room when dealing with everyone involved.
While explosives can attract the Lost, it is often not worth fighting ADVENT without them. The tide comes sooner or later, and explosives can be the difference between the life or death of your squad.
More like this: The best strategy games on PC
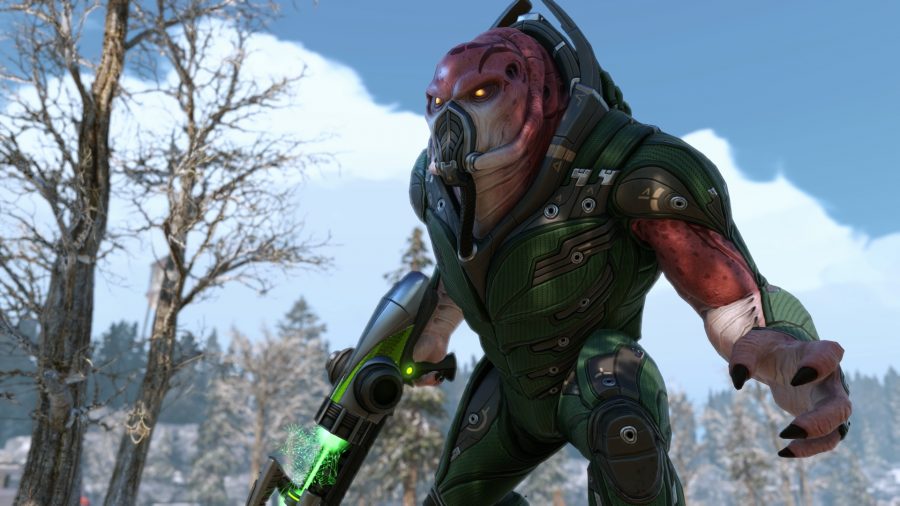
Follow these tips, and you’ll be well on the way to mastering one of the finest tactics games of all time alongside. Don’t forget to check out our complete XCOM 2 DLC guide, as well as our guide to XCOM 2 classes. Just don’t blame us when you’re favourite grenadier gets headbutted to death by a raging muton.
