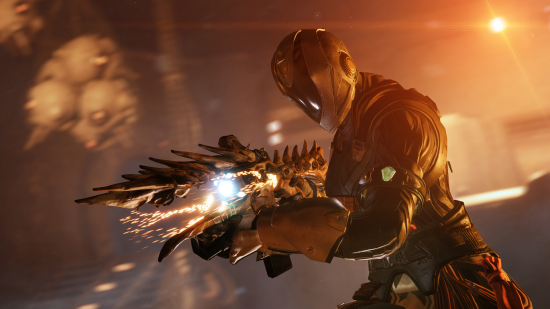
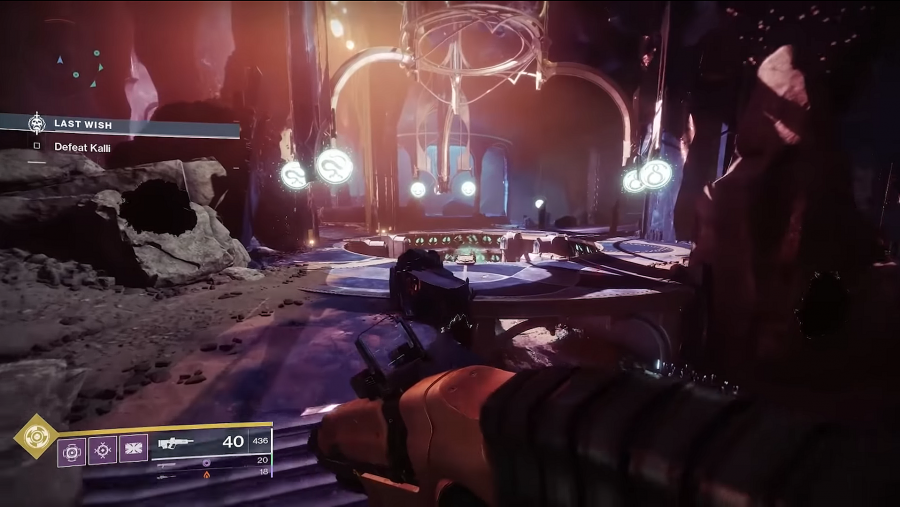
The Destiny 2 Last Wish raid is an ambitious affair. With thanks to world-first champions Clan Redeem and Destiny YouTuber Datto, here’s our thorough, written The Last Wish walkthrough. We’ll break down each encounter from the raid and offer some tips on preparing your character and builds for what once was undoubtedly Destiny’s biggest challenge.
The Destiny 2 Last Wish has a power requirement of 520, but a power recommendation of 550. So while you’ll technically be able to enter the raid at the former number, it’ll be essentially impossible, and still, bloody tough at 530. We suggest 540 as a practical minimum requirement for The Last Wish. It’s worth noting that you also need to own the Forsaken expansion for the free PC game, complete its campaign, and unlock the Dreaming City after you’ve done so. After that, simply pick The Last Wish raid from the Dreaming City’s map to get started.
Last Wish Loadout recommendations
We’ll get into more specific loadout recommendations for each encounter, but in general, you’ll want at least one Nightstalker to generate orbs, and one or two Dawnblades with the new Well of Radiance Super for the valuable buff it provides. The Sentinel’s new Banner Shield and the Sunbreaker’s Burning Maul are both handy for certain fights, but not essential. You’ll also need to cover the usual raid duties of add clearance and single-target DPS. Generally, Stormtrance and Hammer of Sol are better than any gun for sweeping up adds, while Sleeper Simulant, the Ikelos shotgun, and Whisper of the Worm are best for hammering bosses. You want to be able to field as many of these tools as possible across your party.
Last wish Kalli guide
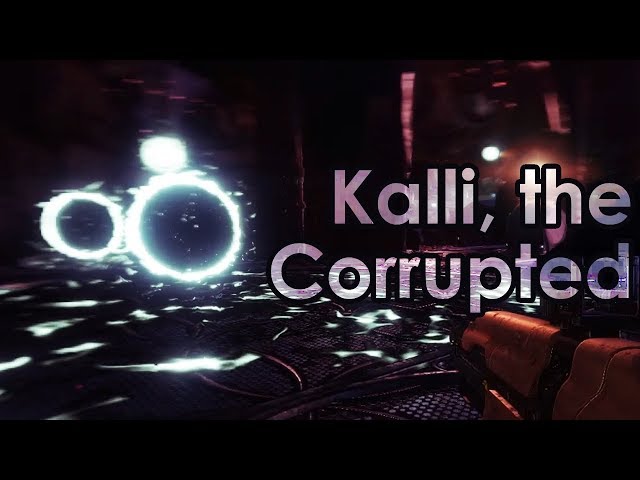
Kalli, the first of Queen Mara Sov’s Taken Techuens, isn’t too taxing. The main hazards here are getting swarmed by mobs or fried by Kalli’s laser. She serves as a bit of a gear check for the rest of the raid – you’ll likely struggle here if you’re underpowered.
The arena is a big, low-ceilinged cave with nine plates around its extremities, each marked with a glowing icon. In the centre of the room is a pit, where three pairs of these icons are visible. You need to split your team into three pairs, each of whom should go stand on one of the plates marked by the central icons (don’t activate the wrong plates – this will spawn an ogre and guarantee that some of you will die to Kalli’s nuke later, so just wipe if you do it accidentally).
The fight begins when you’ve activated three plates, at which point, two bombs that look like miniature black holes will appear on sections of each plate. Notice that beneath each bomb is a pool of sludge, and that one section of your plate is unmarked by said sludge – this is where you want to stand. The bombs will explode after a few seconds, and if you’re standing in the sludge, you’re dead. After another few seconds the bombs will reappear, and you need to check that you’re standing in the safe zone.
This repeats for three or four rotations, at which point a Ravenous Taken Knight will spawn near your plate. Kill it. Your plate is now ‘complete’ for this phase and you can roam the room helping others as needed. Note that Kalli herself will periodically visit your plate to harrass you. She has a painful laser attack, and can push you around with an attack that’s telegraphed by the floor underneath you lighting up green. This is annoying, but isn’t really dangerous unless it knocks you into the bombs, so do what you need to in order to avoid that. If you can damage Kalli between managing adds (low-level mobs), that’ll encourage her to bugger off.
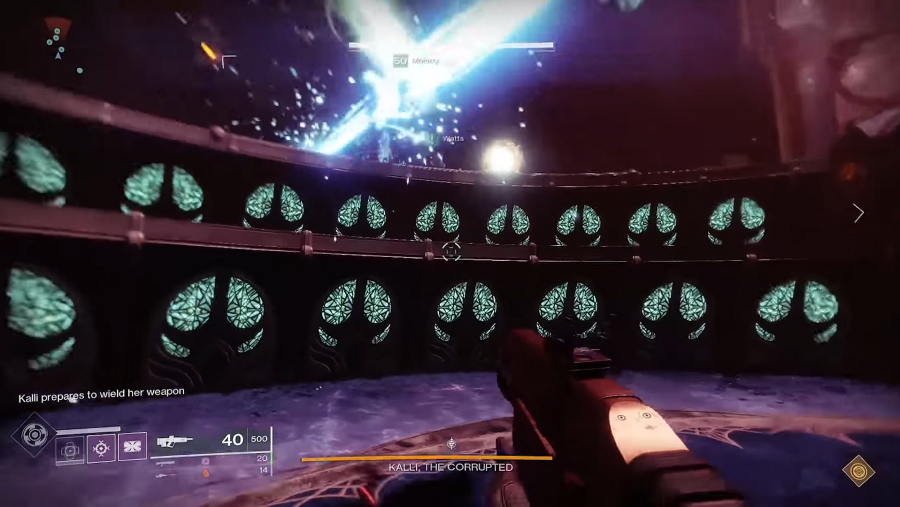
When all the required plates are completed, a message saying ‘Kalli conceives an ontological weapon’ will appear in your HUD. This is your cue to damage her – she’ll be knocking around the central pit at this point, so head there and bring out the big guns. After a short time, the HUD will say ‘Kalli prepares to wield her weapon’, which means she’s about to cast a nuke that will wipe you.
Pay attention to the rows of green doors that line the walls of the central pit: these are safe rooms where you can survive this attack. There are three sets, but you’ll know where to look because Kalli should be hovering over them. Six random doors will open, which should tip you off that only one player can occupy each room, so you’ll need a system to get each player to their own room quickly. We suggest you number everyone on the team from one to six, and scan the two rows from left to right, top row first. Player one takes the leftmost open room on the top row, while player six takes the rightmost open room on the bottom row.
After the nuke the doors will open again and the pit will be full of Taken Psions. You want to kill them quickly and get back to damaging Kalli – any add-killing Super is effective here, but a Nightstalker with Orpheus Rig can use them to generate orbs. Take the Psions out and return to Kalli, who will have moved to another section of windows. When she’s attempted her nuke at all three sets of windows, the fight returns to the plate phase. Note that the icons are randomised so you’ll have to reassign plates across your party, and that since the fight is active at this point, the plates already have bombs on them.
Overall, fairly simple stuff. With decent DPS tactics you should be able to pull it off in no more than two cycles. Good orb-generating abilities plus a Warlock with Well of Radiance are invaluable. The only other thing to note is that Kalli has a strong ground slam, so entering melee range is extremely risky. Here’s a guide in video form, courtesy of Destiny YouTuber Datto:
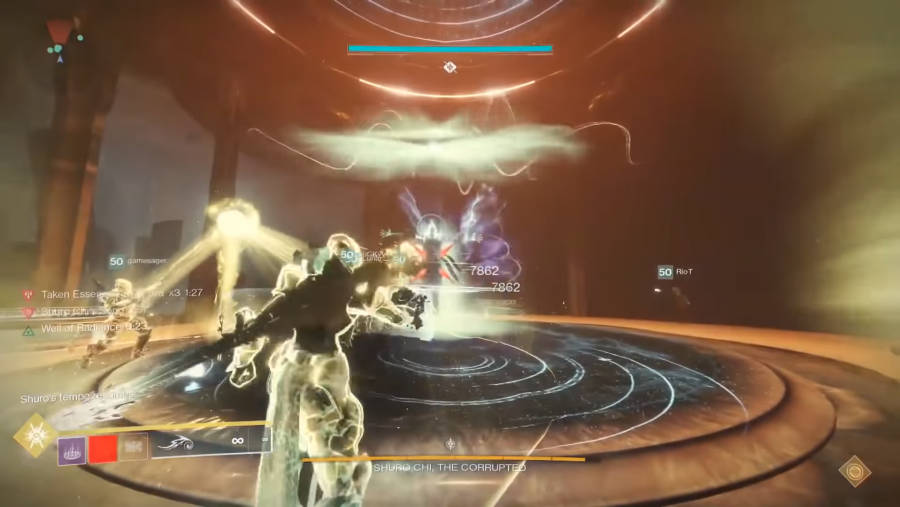
Last Wish Shuro Chi guide
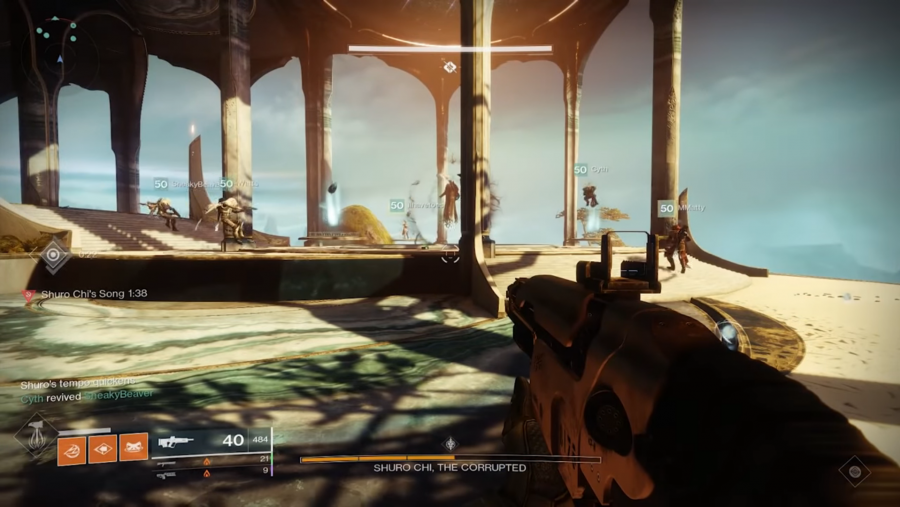
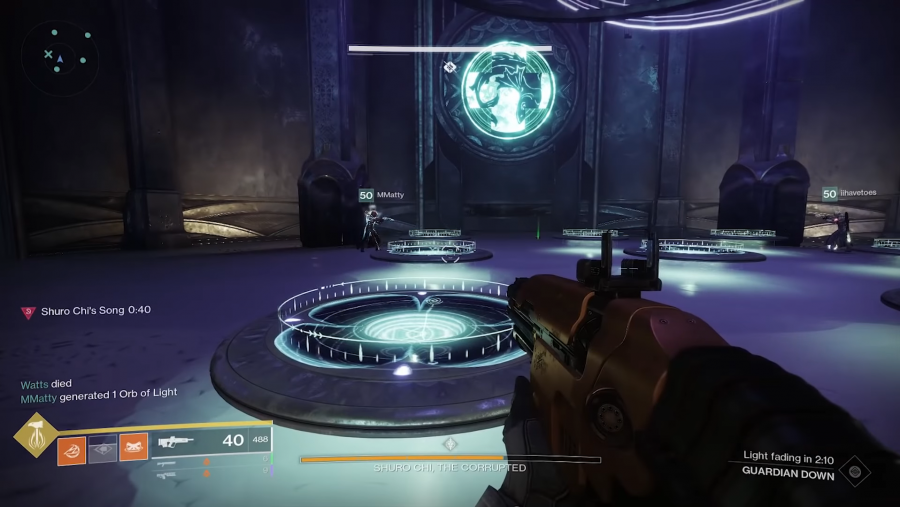
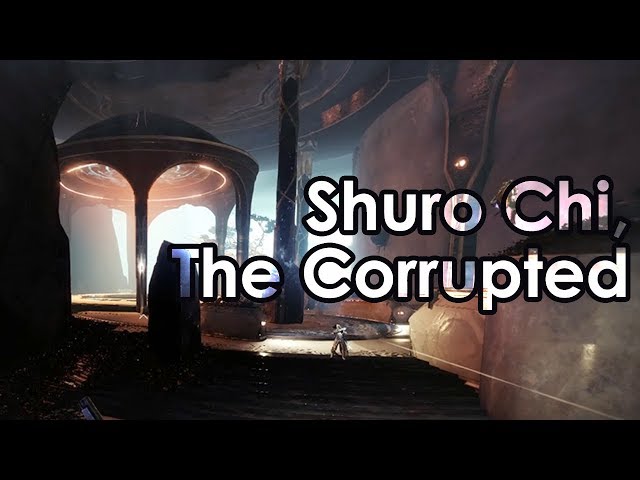
Shuro Chi is a big step up in complexity compared with Kalli. You need to chase her up three floors of a tower, interrupting her fatal song and navigating puzzles as you go.
You’ll begin the encounter by opening a pair of big doors. At this point you’ll be swarmed by adds, and Shuro Chi will start singing. Her song lasts four minutes, and if she finishes it, you wipe. Your goal is to complete the first floor before then. Fight through the adds to a gazebo, where you’ll find Shuro Chi in the middle of three small plates.
When all the adds are dead, Shuro Chi’s song will speed up, and three crystals will appear on the plates. Three designated team members need to get on the plates, grab the crystals, and shoot their lasers at each other to trap Shuro Chi within a triangle of light. Do this quickly, since standing on the plates will cause damage – best to just agree that you’ll shoot the teammate to your right. This will slow Shuro’s song down again and break her shield, enabling you to damage her. Drop all your usual boss-melting DPS tricks, and note that her health bar is divided into sixths – when one sixth is gone, she’ll move on.
During this phase, Shuro Chi’s song will audibly change. This is your hint that she is preparing a different wipe spell, which can be interrupted in one of two ways. First: you melt one-sixth of her health and force her to retreat. Second: you use an Eye of Riven. These are orb-like weapons which will drop from enemies of the same name – they look like Taken Captains – so keep an eye out for them during the add phase. Once dropped, an Eye of Riven will last for 45 seconds, so you can wait until the damage phase to pick it up. Designate someone to do so.
The Eye of Riven has a shooting attack that does a fair amount of damage, and you can drop it by pressing the grenade button. Its other trick is the relevant one here, though: use your Super while carrying an Eye, and you’ll shoot a bomb that will cancel Shuro Chi’s new song. Do this when ripples appear above her head – don’t leave it any longer or you risk wiping.
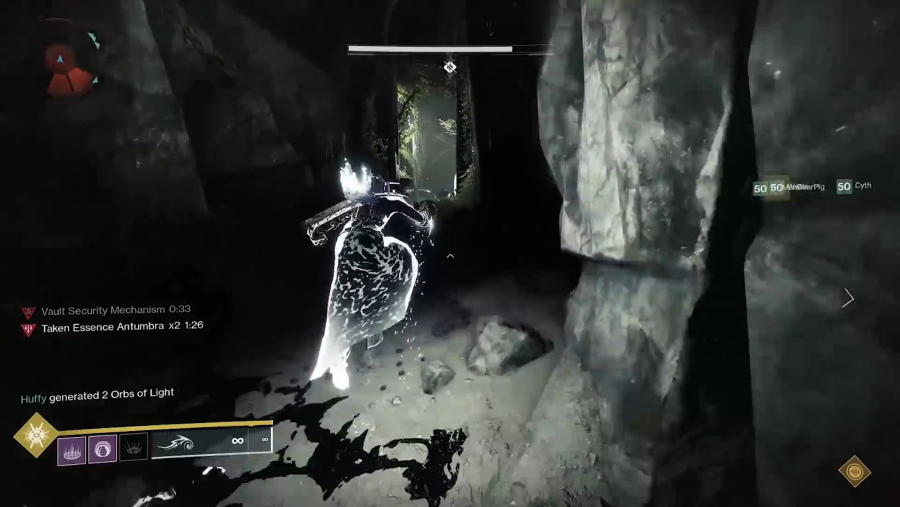
When you’re carrying an Eye, you’ll stack an effect called Taken Essence Antumbra. This has a 90-second countdown that will refresh with every stack you gain. If you accrue ten stacks, it’ll kill you, so ensure you drop the Eye before then. You get a new stack every five seconds, meaning you can carry an Eye for 50 seconds in total, which is more than enough time to cancel Shuro’s wipe. The Antumbra will count down to zero once you’ve dropped the Eye, but until it does so, you can’t pick up another one, so someone else will need to take it on the next damage phase. This means two designated Eye-wielders and a crystal team of three.
When you’ve taken a chunk of Shuro Chi’s health, she’ll become immune again and flee to another gazebo. Repeat what you’ve just done and chase her off again. Her song stops, and now you have to climb to the next floor via a room with a puzzle in it.
As you enter, you’ll see a three-by-three grid of nine small, floating plates, with large glowing icons on the left-hand, opposite, and right-hand walls. The icons are also divided into ninths. Four of those ninths will look different from the others, obscuring parts of the picture with a dull green pattern. To pass, you need to ‘complete’ each picture by standing on the correct plates. The catch? Standing on the plates hurts, like it does in the damage phase, and the orientation changes according to the picture.
You need to solve the pictures from left to right, so start by having everyone stare at the left-hand wall first. If the top-middle part of the picture is obscured, someone needs to stand on the top-middle plate. Call this out, and have three other people call out the plates they’re standing on to solve the picture. Since the obscured sections are always random, it’s best to do this ad hoc – be disciplined about your callouts and you shouldn’t have any problems. Once four players have called each of the required plates, someone should call ‘go’, and they should all jump on.
Get it right and a prompt in the HUD will say ‘command accepted’ – it’s only safe to jump off when you see that message. Reorient yourselves by staring at the middle wall and repeat, though there is another catch: no one can stand on the same plate twice. This means the same physical plate, not the plate that’s in the same position in each picture. Coordinate with your team to make sure you don’t step on the same actual plate twice. Adds will spawn during this phase, so have the remaining two players mop them up. Prioritise Taken Phalanxes as their shield blasts can knock people off their plates, which is no good.
When you’ve completed all three walls, Shuro Chi’s song will reset to four minutes, and hemispherical platforms (like those around the Oracle Engine) will appear. Use these to jump up to the next floor, but note that shortly after a player touches them they will capsize. Stay as a group and try not to fall behind, or you’ll take ages to join the fun at the second floor.
That floor is the same as the first, but with Psions instead of Thrall. Another puzzle room will give you access to the third floor, which will swarm you with Acolytes. On Shuro Chi’s last damage phase, these Acolytes will continually spawn, so your add clearance needs to be on point. Take out her last chunk of health and you’re done.
This one’s all about speed. You need to kill adds and damage Shuro Chi as efficiently as possible. Stormtrance, Nova Warp, and Hammer of Sol can help with adds, and the best way to keep them ready is to have a Nightstalker with Orpheus Rig generate orbs for everyone. Call your Supers out so you don’t squander two at once. As for Shuro Chi, she doesn’t have a close-range slam, so you can get in her face with shotguns (the Ikelos shotty is ideal) and possibly even swords, though the usual DPS standouts – Sleeper Simulant and Whisper of the Worm – are as dependable as ever. As always, a Dawnblade with Well of Radiance is extremely useful for buffing damage. Rally barricades and empowering rifts are also handy.
Last wish Morgeth guide
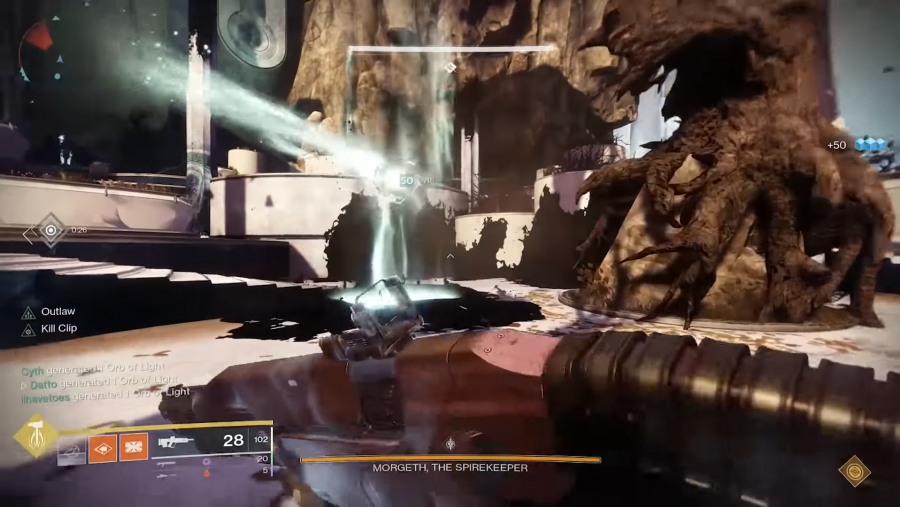
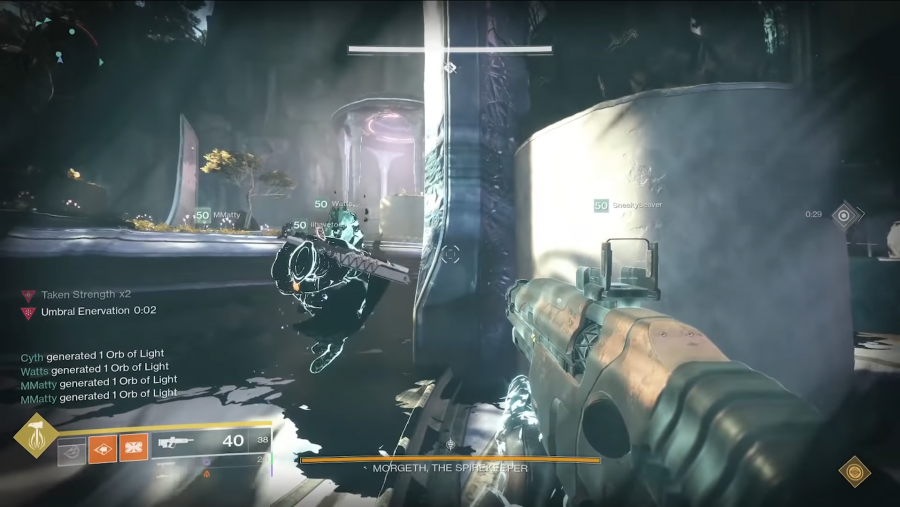
Morgeth is the shortest encounter in the Last Wish, though there’s an awful lot that can go wrong. The boss itself has vibes of The Taken King’s Golgoroth – it’s a big gross Taken ogre in the centre of the arena. It’s immune to damage initially, but you’ll trigger a DPS phase when ten stacks of a buff called ‘Taken Strength’ have been gathered across your team. Distributing these stacks correctly is the key to success, and there are lots of complications that you’ll need to manage as you go, so keeping chatter to a minimum and your callouts clear is essential.
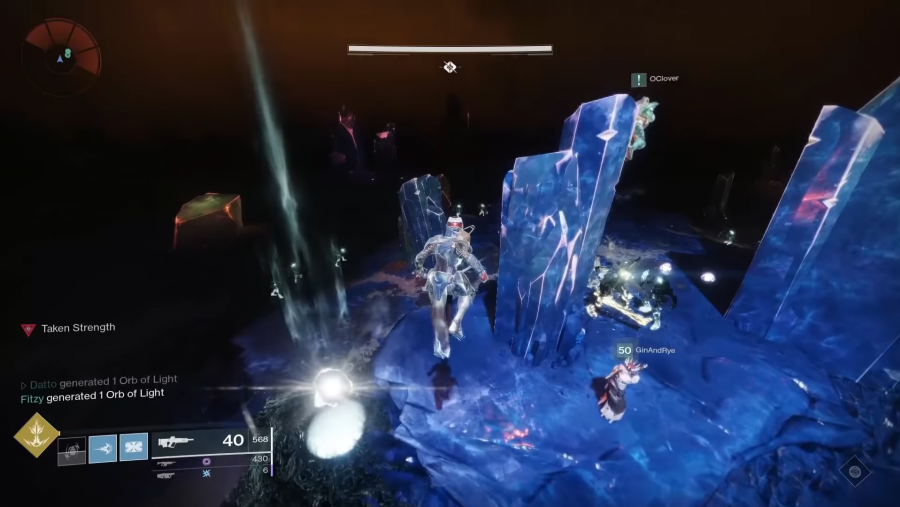
Black orbs will spawn around the arena in fixed locations, each of which will grant a stack of Taken Strength when picked up. Each player can only ever hold two – if they try to take a third orb, they die. If left alone, these orbs will power Morgeth up – note the messages in your HUD that warn you it’s gaining strength – so you want to get Taken Strength off the field quickly. When Morgeth reaches 50% it’ll spam Axion darts (the Taken Centurions’ homing bomb attack), so designate someone with an auto rifle to hose them down if it ever gets to this point. If Morgeth gets to 100%, you wipe.
The other complication is that, if you have any Taken Strength, Morgeth may slap you with a debuff called ‘Umbral Enervation’. This immobilises you, and will kill you if it isn’t removed within 20 seconds. You can do this with an Eye of Riven relic, which will drop from named Taken Captains as per the Shuro Chi encounter. Get close to the affected player and use the Eye’s grenade ability to cleanse the Enervation. This will cause the cleanser to steal the cleansee’s Taken Strength, so don’t cleanse if doing so will give you three stacks! Only two Eyes of Riven will ever appear at once, and they’ll still kill you if you hold them too long. Dying will feed any Strength you’re carrying to Morgeth, so don’t die.
You’ll start the encounter by grabbing the first Taken Strength orb. Four orbs will spawn on the next wave, another four after that, and then one final, tenth orb. One player will be hit with Enervation after each of the four-orb waves. Given all of this, here’s how things should shake out:
Split your team into threes, each taking half of the arena. Someone initiates the encounter by taking the first orb. When the next four spawn, a player on the left and another on the right should pick up two orbs each, neither of whom should be the person who initiated. Two players now have two stacks, and are the likeliest to get hit with Umbral Enervation, so they should drift to the centre of the map for easier cleansing. Designate someone without any Strength who will grab an Eye of Riven and cleanse – the timer is generous, so you can think about grabbing an Eye as soon as the third or fourth orb has been collected.
Four more orbs will spawn. Three players, one of whom was just cleansed, should now have zero Strength. Two of them should grab two orbs each. This leaves one more player with zero Strength who can cleanse, and the last player – the one who initiated the encounter – to grab the tenth and final orb. This triggers the damage phase.
Morgeth’s crit spot is the huge bulbous mass on its back, which you should be able to hit from anywhere in the arena. Stack up wherever you fancy – ideally on a Well of Radiance – and light it up. Use Whisper of the Worm or Sleeper Simulant if you have them. It’s easy damage, but Morgeth will now power up rapidly. If you were quick when gathering Taken Strength, Morgeth’s strength before this phase may be 10% or lower, meaning you have that much more time to lay into it. The longer you took to gather Strength, the less time you have to damage Morgeth before it powers up to 100% and wipes you all.
As with Shuro Chi, you can cancel the wipe by using an Eye of Riven’s Super attack, which will stagger Morgeth and start a new Strength-gathering phase. It’s entirely possible to one-phase this on a good run, but if you have any doubts about your DPS or if you’ve let Morgeth build strength, it’s a sensible insurance policy to designate someone to grab an Eye. Remember to watch out for the Axion darts at 50%, too.
Communication and covering your teammates is key. You’ll be dealing with lots of Psions and Ogres, and running into a crowd of enemies to pick up Strength or Eyes of Riven can be dicey. If you’ve been designated to do this, call when and where you’re going so your team can cover you.
Last wish Vault guide
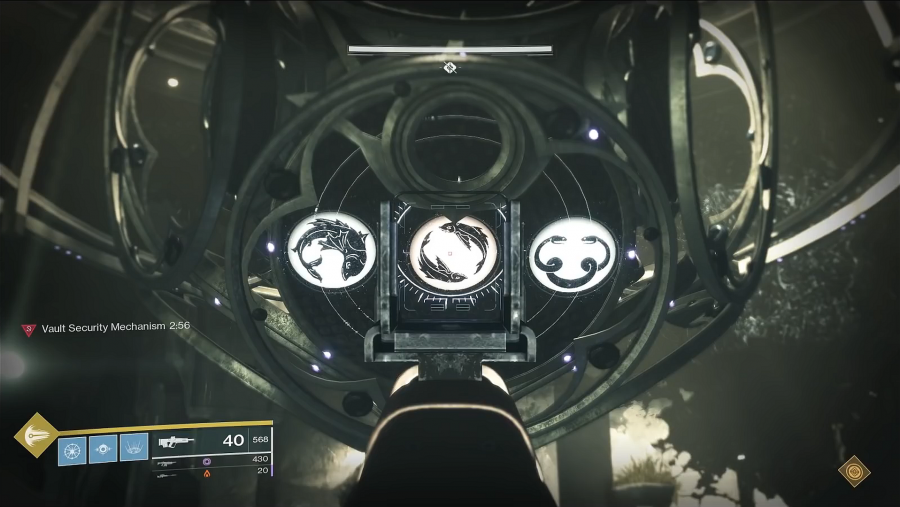
If you enjoyed Leviathan, you’ll probably enjoy the Vault. It’s a complicated, mechanic-heavy encounter with no bosses. You need to ‘unlock’ the vault by dropping the correct buffs on the correct plates – perhaps even more so than Morgeth, it depends on effective communication.
The arena has a large globe in the centre, surrounded by three plates. The arena itself is surrounded by three rooms behind these plates, which are connected to one another by small tunnels. You’ll need calls for the plates and the rooms behind them – Datto calls them Forest, Spire, and Temple, based on the features in each room. It helps to know which room is next to which, as you’ll soon see, so get your bearings before you start.
Three players will initiate by jumping on the plates, which activates the ‘Vault Security Mechanism’ timer. It lasts three minutes and if you let it expire, it will wipe you. The plate team should look up at the apparatus around the globe, where they will each see three different icons, arranged in a row from left to right. Agree an order to call these out: whomever goes first should call out the central icon in their display. One of the other two players will have a copy of this icon on either the left or the right of their display – they should call it out, and call its position. This copy needs to be ‘cleansed’ at the plate where it is found.
As with Morgeth’s Umbral Enervation, you’ll use an Eye of Riven to do this, but here, Eyes of Riven can give one of two buffs – either Penumbra or Antumbra. The position of the duplicate icon – left or right – will dictate which buff you need to cleanse it. If the duplicate icon is on the left, you need Penumbra; if it’s on the right, you need Antumbra.
The second plate should follow suit: call the central symbol, and wait for one of the rest of the plate team to confirm they have a copy of it, and its position on their display. It looks like the plates will never need three of the same buff – so far it’s always two of one, and one of the other.
This means that the third plate only needs to call their middle symbol if you get one of each buff on the first two plates. If you get two Antumbras, you can deduce that the third plate will need a Penumbra, and vice versa. You now know which plates need which buff. The full conversation might go something like this:
- Temple plate: “Twin fish is in the middle.”
- Forest plate: “I’ve got that on the right! Forest is an Antumbra cleanse. My middle is infinity snake.”
- Spire plate: “That’s on my right, too. Antumbra to Spire, then.”
- Temple plate: “And that means Temple needs Penumbra, please.”
After you’ve killed some adds, a barrier of Taken goo will drop on two of the outer rooms, locking them off. Go look at the open room, because an Eye of Riven will spawn there. A designated runner needs to kill it and pick up its Eye. To make matters more complicated, when you kill the Eye, its room will also get sealed, and one of the other two rooms will open. This means only the runner – and possibly an escort, if needed – should be in the Eye’s room when it dies.
Everyone else needs to be in the centre killing adds, and they also need to tell the runner which room has opened. The runner then goes directly there via the connecting tunnel – go the wrong way and you waste time. There are some adds in the tunnels and outer rooms, which is why the runner might need a hand (even though the Eye of Riven gives them a powerful gun). When they get back to the centre, they use the grenade ability to cleanse whichever plate needs the buff they’re carrying. This resets the Vault Security Mechanism, so you effectively have three minutes per cleanse. Put the wrong buff into a plate, and you die.
There’s one more thing to worry about: a tough Knight of Riven will spawn during each attempted cleanse. If you let him reach a plate, he will bury his sword in it, and the entire team will wipe after a few seconds. Killing him before he does this is the top priority for those in the centre, and is the reason why everyone except the carrier should stay in the centre to help. If you wander into one of the outer rooms and get locked in there, you’re useless – and probably dead.
That’s one cleanse. Someone else now has to get another Eye of Riven to cleanse another plate – the cooldown on the buff means the same person can’t go twice in a row. During your second cleanse, you’ll also have to deal with a second Knight… and, yes, three Knights on your third cleanse. Nightstalker tethers and smoke bombs are great for slowing and weakening them, and Sunbreaker’s Burning Maul can push them back, but if you’re wondering where you’ll spend all that heavy ammo without a boss, it’s here. Call out if you need help.
When you’ve cleansed all three plates, that’s one round. You now need to get on the plates again and repeat the whole thing twice more, cleansing a grand total of nine plates across three rounds, to complete the encounter. Steel yourself; you’re about to face Riven.

Last wish Riven guide
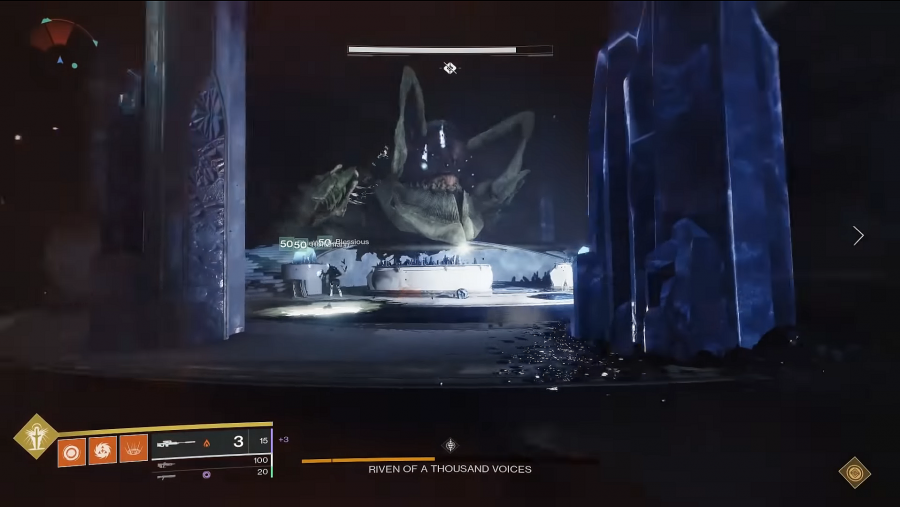
Riven stumped Destiny’s best raid teams for several hours during the race to world first. She is probably the most difficult and complicated raid encounter in the series’ history.
You start in a massive chamber with a stone circle in the centre and six plates around the edges. You’ll be back here later, so take a minute to get your bearings. Split the team into two groups of three, pick a plate each, and remember it for later. When the encounter starts you’ll drop through the floor, fall past Riven, and exit her nest via some stairs. There are two identical chambers on either side of the following room – assign each chamber to a sub-team and head on in.
Riven can appear in either chamber, and what you do next depends on where she goes. If she’s not in your chamber, you need to cleanse the room with another Eye of Riven. Find its bearer, take him out, and have someone grab the Eye – this person will now see a column of icons on the pillar in the centre of the room. The icons are all the same, so call it out.
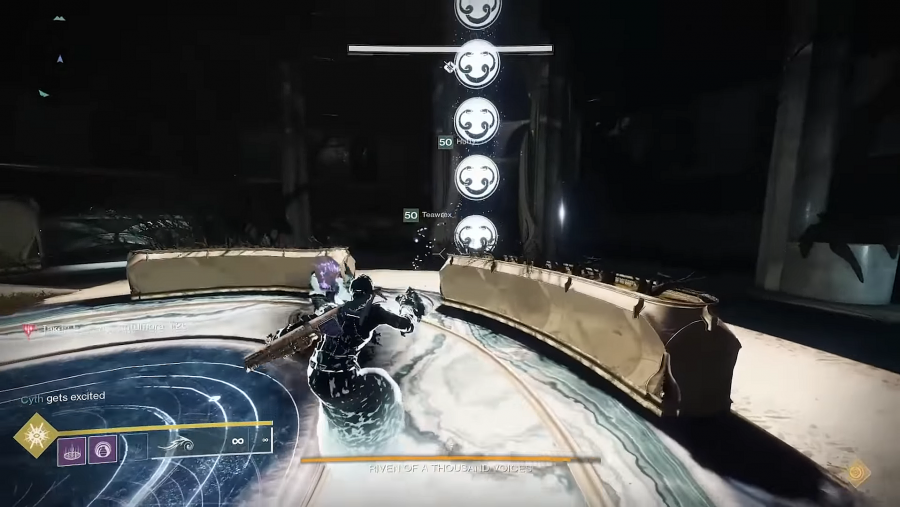
In the other chamber – where Riven is – someone needs to stand on the plate on top of the equivalent pillar. All the raid icons will fill the room, and you’ll also be able to see the Eye-carrier in the other chamber. You need to direct them to the icon they called, so you need precise locational callouts: “perched bird is left stairs, bottom”. The Eye-carrier gets glowing white outlines as a guide, and you can confirm when they’re in the right place. When the Eye-carrier is stood in the centre of the correct icon, they cleanse with the grenade button.
If Riven is in your chamber, you need to dodge her attack, stagger her, and note the eyes that light up after you’ve done so. If she’s about to breathe fire, her mouth will glow – get into cover and shoot her mouth once the blue fire has hit. If she’s about to attack with her tentacles, they will unfurl – someone needs to bait them, and then dodge the slam. Your cue to move is when the tentacle glows, but it still needs good timing – if you screw up, the force of the impact will throw you against a wall, fatally. After the tentacle has hopefully missed, its tip will glow, and you must shoot it.
When you’ve done enough damage to Riven’s mouth or tentacle, you’ll stagger her, at which point her upper face will open and two of her eyes will light up. You need to agree callouts for these, because Riven is about to change rooms – the other team now needs to stagger her in exactly the same way, and when they’ve done so, they must shoot the exact same eyes you just called. Equally, since Riven’s left your chamber, you must now cleanse it just as the other team did theirs.
Note that Riven will change rooms after you stagger her or after 40 seconds, whichever is sooner. You don’t want her interrupting the other team when they’re still trying to cleanse, so hold your Whisper or your Sleeper until they’ve successfully done so.
If you’ve shot her eyes successfully, an elevator beam will activate at the back of the room and carry you up to another identical chamber. Here you need to repeat what you just did, and when you’ve shot Riven’s eyes successfully again, you’ll take another beam in the centre of the room up to the cavern where you began the encounter.
This is where you get to do some damage. Hunker down in the stone circle in the centre – Riven will show her face through the chamber walls all around you, and will repeat her fire and tentacle smash attacks. No need to wait for a cleanse this time: dodge Riven’s attacks, stagger her, and call out the eyes that glow, but don’t shoot them yet. You’ll have to stagger her three times, and two different eyes will glow each time. On her fourth appearance, you’ll have to shoot all six eyes that have glowed previously. It’s best to designate three people as eye-shooters and assign them an order: shooter one calls the eyes on her first appearance, and is responsible for shooting them both on her fourth.
Add clearance is a real problem in this phase; each of Riven’s appearances will swarm you with mobs, including ogres. Call them out and ask for help if you need it. Wells of Radiance are, as always, excellent for their many buffs, while Banner Shield is very helpful as a screen for incoming damage. A regular Titan barricade (the tall kind) dropped in the gaps of the stone circle is also helpful for this, but ideally you want to be making lots of orbs.
When you’ve successfully shot Riven’s six eyes and cleared the adds, you’ll get hit with the ‘Creeping Darkness’ debuff. A stack of ten will kill you, but any of the plates around the limits of the room can cleanse you, but only your original plate will drop you to the next stage. It’s simplest to have everyone return to the plate they had at the start, but if you desperately need a cleanse, you can jump on any of them.
Your original plate will open and you’ll once again fall past Riven, but this time you’ll notice several blisters on her snake-like body. Shoot these for even more damage, but beware: they will release Axion darts, which will kill you if you don’t hose them down first. Alternate between doing this and putting the hurt on Riven.
Once you land on the floor of Riven’s nest, return to the two chambers where you’ll once again alternately cleanse and stagger her. Repeat the cycle until you get Riven down to roughly 10% of her health bar – you should aim to do this in two rotations, total.
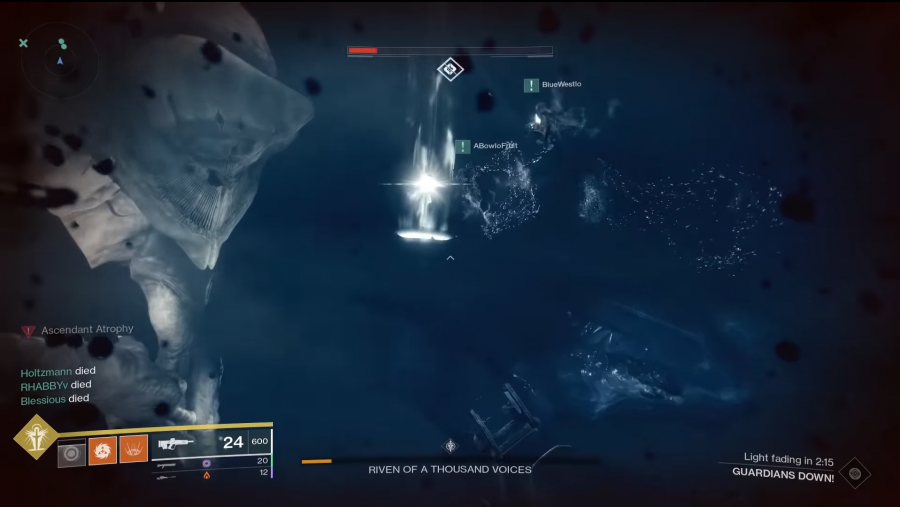
As soon as Riven hits that threshold you’ll be teleported to the Ascendant Realm, where you have to complete an annoying platforming section. At the top of a bunch of floating rocks is a portal that you must reach, but Taken Hobgoblins will snipe you, and Phalanxes will try to blast you into space. Moreover, you’ll slowly lose health while you’re here, so don’t be afraid to use healing tricks such as rifts, the new Dawnblade’s healing grenade, and even Wells of Radiance if necessary. On the plus side, only one of you needs to reach the portal, and the path is fairly straightforward – just be alert for the point where it doubles back on itself.
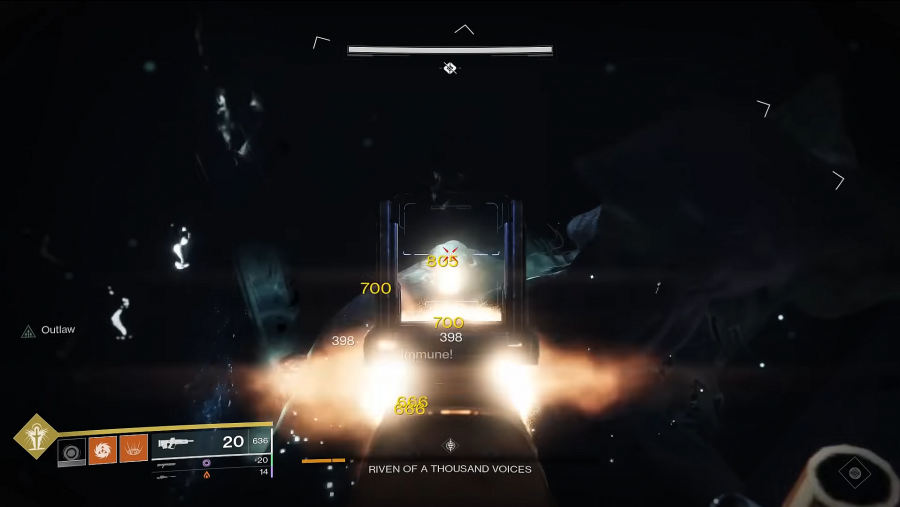
When someone gets to the portal, you’ll all be teleported back to the starting cavern. Resurrect anyone who needs it. Riven pokes her face through the top of the room, and if you hammer her with your hardest-hitting weapons, it shouldn’t be long before she finally succumbs.
Congratulations and all, but you’re not quite done. Remember the raid reveal trailer? You still need to carve out Riven’s heart, which is also about to apply a damage-dealing debuff called ‘Metaphysical Bleed’, so don’t delay – jump into Riven’s mouth and run down her throat. In a quirk of Ahamkara biology, her throat leads directly to her heart, which is glowing with Taken energy. Shoot it. When it dies you’ll get a prompt saying ‘you’ve slain Riven of a Thousand Voices’ and the Ethereal Key, which you’ll need to unlock the final reward chest. But you’ve got one final challenge before you get there – when the key drops, you’ll be teleported to the Queenswalk.
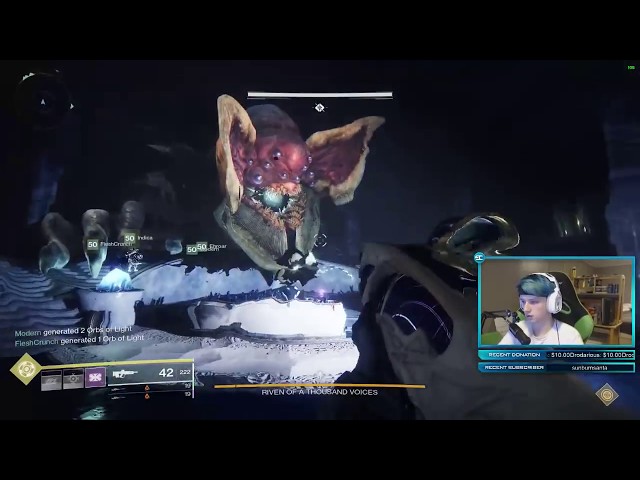
Here’s the Riven fight from beginning to end via Sweatcicle of Clan Redeem, during the world first completion of the Last Wish raid.
Last wish Queenswalk guide
Compared with what you’ve just been through, this is a pretty simple encounter. Your goal is to take Riven’s heart back to a Techeun so it can be cleansed. The Techeun is waiting for you back at the entrance to the Vault. To complete the encounter, at least one team member needs to reach the Vault with the heart – the problem is all the enemies in your way, and the Creeping Darkness that now permeates the whole raid. Once again, it will kill you if you accrue ten stacks of it.
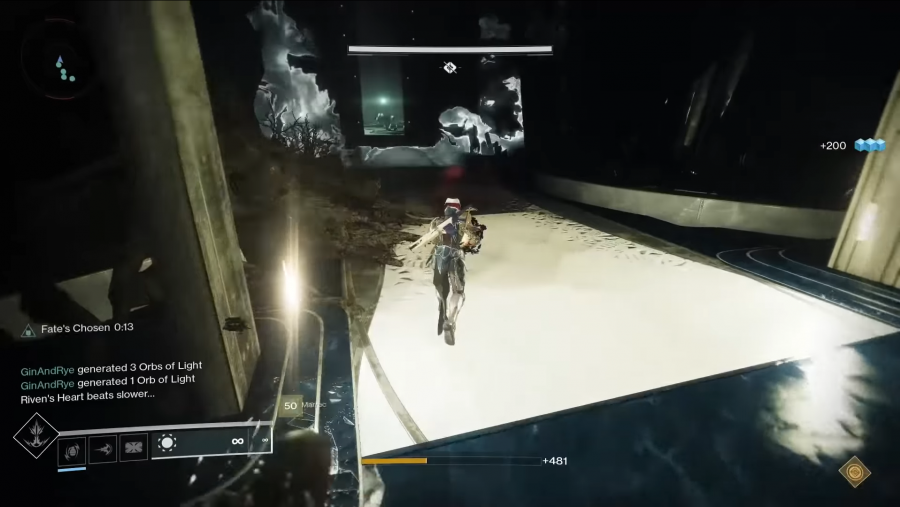
A message in the HUD will indicate that one teammate has been ‘chosen’ by Riven’s heart. They should pick up the heart (the orb), which will suppress all their abilities and project a protective bubble that will remove all stacks of Creeping Darkness. Thus, everyone else needs to dip in and out of that bubble to cleanse themselves during the run. The bubble has a 20-second timer (called ‘Fate’s Chosen’), and will shrink as that timer ticks down. When it elapses, the carrier will be teleported inside Riven’s heart, and so will anyone standing too close to them. Riven’s Heart will then choose a new carrier. They should pick up the orb and continue.
It’s helpful if orb carriers call the countdown out so that others can anticipate the next handover and manage their cleanses. You don’t want to have to catch up with a shrunken bubble in order to stay alive, and nothing will screw this up more surely than wasting ten seconds for the next chosen player to grab the orb. Like a relay race, the handover is everything: the whole team should stop and stack up when there are about three seconds left, but avoid the orb carrier when doing so, lest they drag anyone else into the heart with them.
For the run, spec for high mobility and bring add-sweeping tools to clear the way ahead. Splash and burst damage is what you want, so Fighting Lion, Wardcliff Coil, and drum-fed grenade launchers are all decent picks, as are rapid-fire shotguns. Offensive Supers are also advised – you can leave your Wells at home for this one.
You’ll inevitably end up with many players inside Riven’s heart, where they will have to deal with mobs, but they can still help carriers out by gathering Taken Strength. When all Taken Strength orbs inside the heart have been collected, the orb carrier’s timer is reset to 15 seconds. You can do this once per carrier, and the number of Strength orbs in the heart equals the number of players there. Wait until the carrier’s timer is running low before grabbing the last Taken Strength, so as to maximise your available time.
The only other thing to be aware of is that your path through the Vault will fork – either Forest or Spire will be open, but not both. Your goal is to get to Temple via the connecting tunnel and follow the lit stairs in its centre. That’s the finish line. Since adds are the main obstacle, this encounter should get a lot easier at higher power levels. When any team member crosses the line within Templet, you’ll hear dialogue from the Techeun. That’s how you know you’ve done it.
Everyone else will be returned from the heart. The Queenswalk – and the entire raid – is finally finished. Here’s Datto’s guide to both Riven and the Queenswalk:

Check behind you to find a roomful of chests to open with the Ethereal Key. Open any to get your loot. This is the only possible source of One Thousand Voices, a power trace rifle that draws a beam of explosive fire, which will probably become one of Destiny 2’s most coveted weapons. May RNG be with you!
If you’re done with the Destiny 2 Last Wish raid, and can’t wait for the newest challenge, we have the best Destiny 2 exotics, builds, and classes here so you’ll be fully up top speed for whatever is next.
