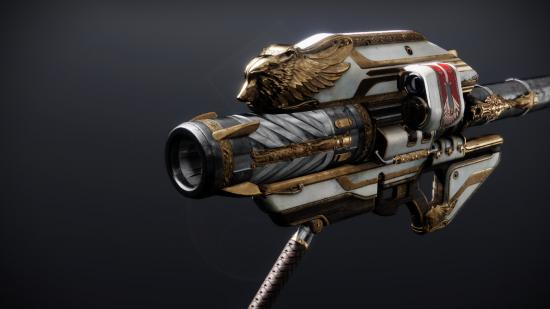
Wondering how to get the Gjallarhorn in Destiny 2? The Bungie 30th Anniversary Pack has arrived, bringing with it a myriad of weapons, the new Thorn Armor sets, and various activities paying homage to three decades of Bungie. One of the most interesting weapons players can acquire is the Gjallarhorn, a fan-favorite rocket launcher from Destiny 1 that makes its triumphant return as part of the anniversary celebrations.
Obtaining this massive gold-and-white rocket launcher in Destiny 2 involves quite a few steps – you must finish a dungeon, collect various components, and re-assemble them to bring this legendary weapon back to life in the free PC game. While these steps demand a certain level of expertise in order to complete them – especially the Grasp of Avarice Dungeon – overall, this Destiny 2 exotic quest is thankfully very straightforward.
How to get the Destiny 2 Gjallarhorn
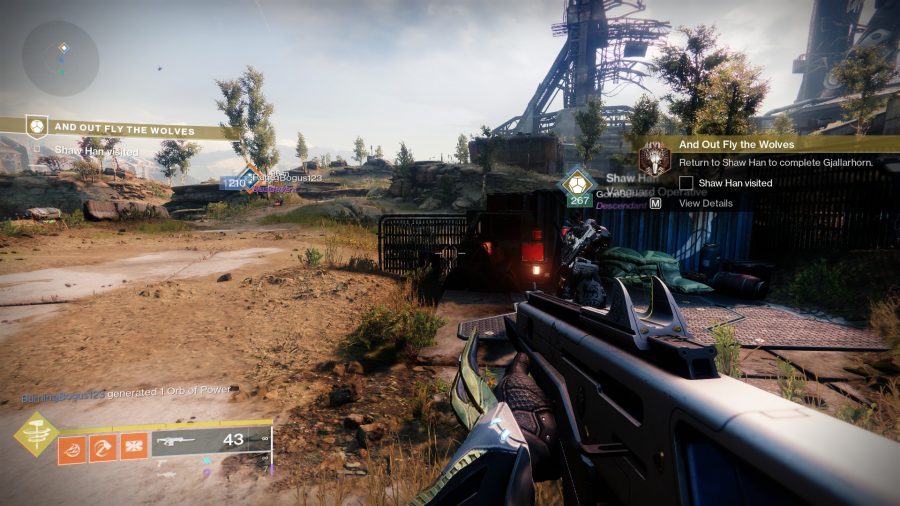
When you log in after purchasing the Bungie 30th Anniversary Pack, you find yourself in the middle of a heated battle, as you begin your first round of the Dares of Eternity. After playing through the entirety of this activity, you will be able to go to the Treasure Hoard where the vendor Xur awaits. Speak with him and get the quest ‘And Out Fly the Wolves’, so you can begin your journey to acquire the Gjallarhorn.
Complete the Grasp of Avarice dungeon
After unlocking the Exotic Quest, speak with Shaw Han, a Hunter operative working for the Vanguard that resides in The Cosmodrome. He will instruct you to complete the dungeon Grasp of Avarice, a Fireteam Dungeon for 1-3 players that is accessible from the Map menu in the Earth. We highly recommend you complete the dungeon with two friends since it can last between one to two hours, making it a bit overwhelming to play solo.
The recommended Power Level and Modifiers for the Grasp of Avarice dungeon are as follows:
Legend
- Power Level: 1,310
- Modifiers: None
Master
- Power Level: 1,360
- Modifiers:
- Champion: Overload
- Champion: Barrier
- Match Game: Enemy shields are highly resistant to all unmatched elemental damage.
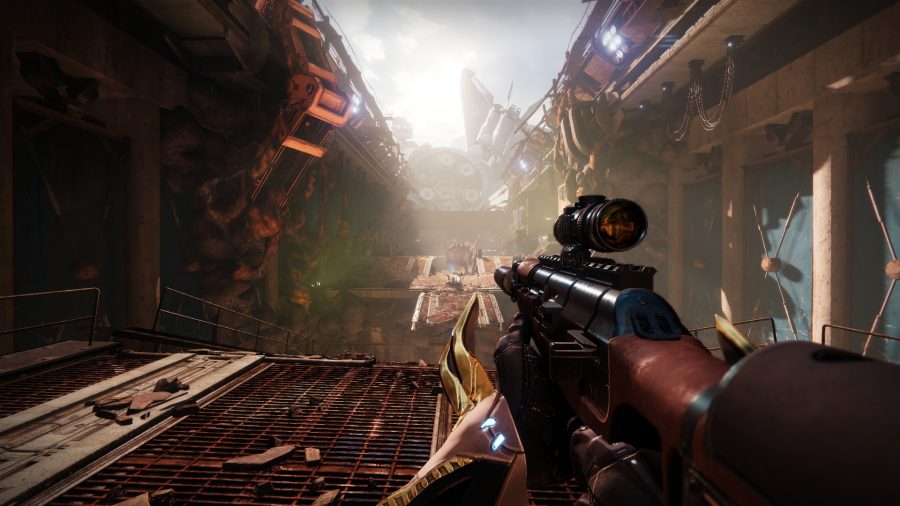
The Grasp of Avarice dungeon has no matchmaking, so you can’t just expect people to jump into it with you unless you form a Fireteam, and it involves numerous puzzles across many areas. You can also collect hidden lore pieces that show up in the form of messages in bottles, scattered across the whole dungeon in the most unexpected places.
The various puzzles in this dungeon include several mechanics for you to navigate, from jumping tricks in platforms to rooms filled with various traps that will test your precision more than a few times – with some frustrating and unexpected twists, a deadly Sparrow race, and two massive Boss battles against two powerful villain Champions, Phry’zhia The Insatiable and Captain Avarokk The Covetous.
Once you’re done with this task, go back to Shaw Han for the next step.
Obtain Wolfpack rounds in the Cosmodrome
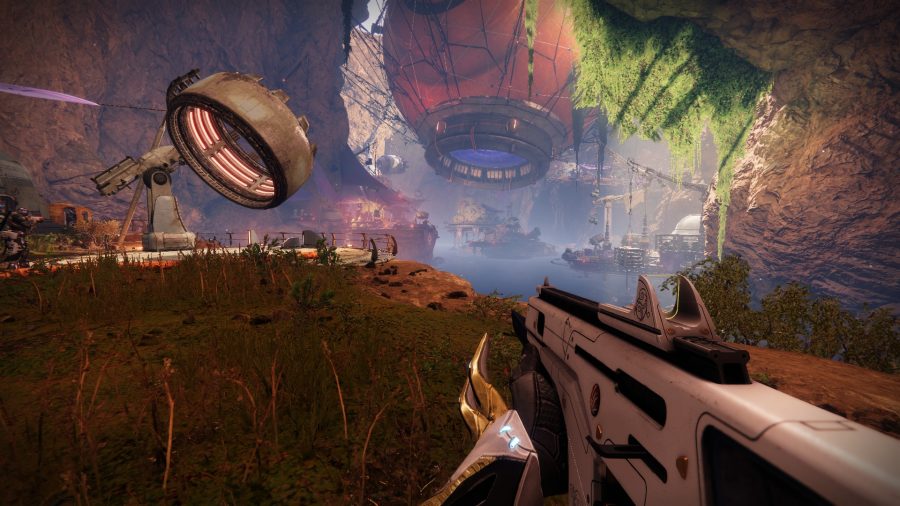
The next step is to collect seven Quest Items called Wolfpack Rounds in the Cosmodrome, by defeating Powerful Fallen enemies (the ones with yellow health bars). You can find Powerful Fallen in many areas in the game, but one of the fastest ways to farm those items is by running the Lost Sector Exodus Garden 2A in The Divide area once or twice since a lot of these foes spawn there. Once you’ve gathered all the necessary Wolfpack Rounds, return to Shaw Han.
Obtain the Gjallarhorn Components
When you return to Shaw Han, he gives you the Quest Item Rocket Housing, the second Gjallarhorn component, and the instructions for the next location in this Exotic Quest. You must pay a visit to Banshee-44 in the Tower, where he will indicate to you that the remaining Gjallarhorn Component, the Trigger Mechanism, is waiting for you inside the Lost Sector Exodus Garden 2A in The Divide. Go and finish this quick activity one more time for the last component, and go back to Shaw Han.
Reassemble the Gjallarhorn
This is it: the last step in your journey to obtain the Gjallarhorn. With the Rocket Housing, the Wolfpack Rounds, and the Trigger Mechanism in your possession, you’re ready to restore this legendary weapon to its former glory. Go to Shaw Han’s workshop, located across from where he’s standing in the Cosmodrome, and interact with the workbench. Once you’re done, the Gjallarhorn finally comes back to life in your hands.
Gjallerhorn catalyst
To get your hands on the Gjallerhorn exotic catalyst, you must return to the Grasp of Avarice dungeon. You will encounter three Reaver Vandal enemies who drop an engram when defeated – the engram grants you the ‘Burdened by Riches’ debuff. Find and open the nearby chest before the buff runs out, or you’ll perish. After opening the three chests and completing the dungeon, you’ll be granted the Gjallarhorn catalyst.
And that’s it! Now you can sport one of the best-looking and most powerful weapons that Destiny 2 has to offer, while you wreak havoc against the many enemies, challenges, and activities this season has to offer. Something tells us that the Gjallarhorn might come in useful when you attempt the Lightfall raid in Destiny 2’s latest expansion.


