In this guide, we’ll show you how to set up PC fans, and take you through the principles of PC airflow and cooling. From knowing which way round to mount your fans, to where you should put the radiator for your AIO cooler, airflow is the most critical consideration when building your PC.
If your components get too hot, they can often throttle, resulting in slower performance, and even shortened lifespans. Thankfully, ensuring that your case has good airflow is relatively simple, especially if you use one of the best PC fan models from the likes of a reputable manufacturer such as Corsair or Fractal Design. As long as there’s a decent passage of air traveling across your rig, you can generally deal with the heat dumped into your case by your graphic card and CPU cooler.
Most of the best PC case models are designed with a front-to-back airflow design, which will be evident in the locations of their fans and dust filters. This is logical too, since many PCs have their rear ends sat against walls or other stuffy locations under desks – it’s much better to dump hot air into these locations than draw air from them.
A front-to-back setup also means that every component benefits from airflow as, generally speaking, your PSU, graphics card, and motherboard are stacked vertically, with your graphics card sat in the middle of the case and usually hindering any attempt at bottom-to-top or chimney-style airflow arrangements. If you’re fairly new to the PC building scene, then here are a few key airflow factors to make sure you get right at the start.
How many case fans should be in your PC?
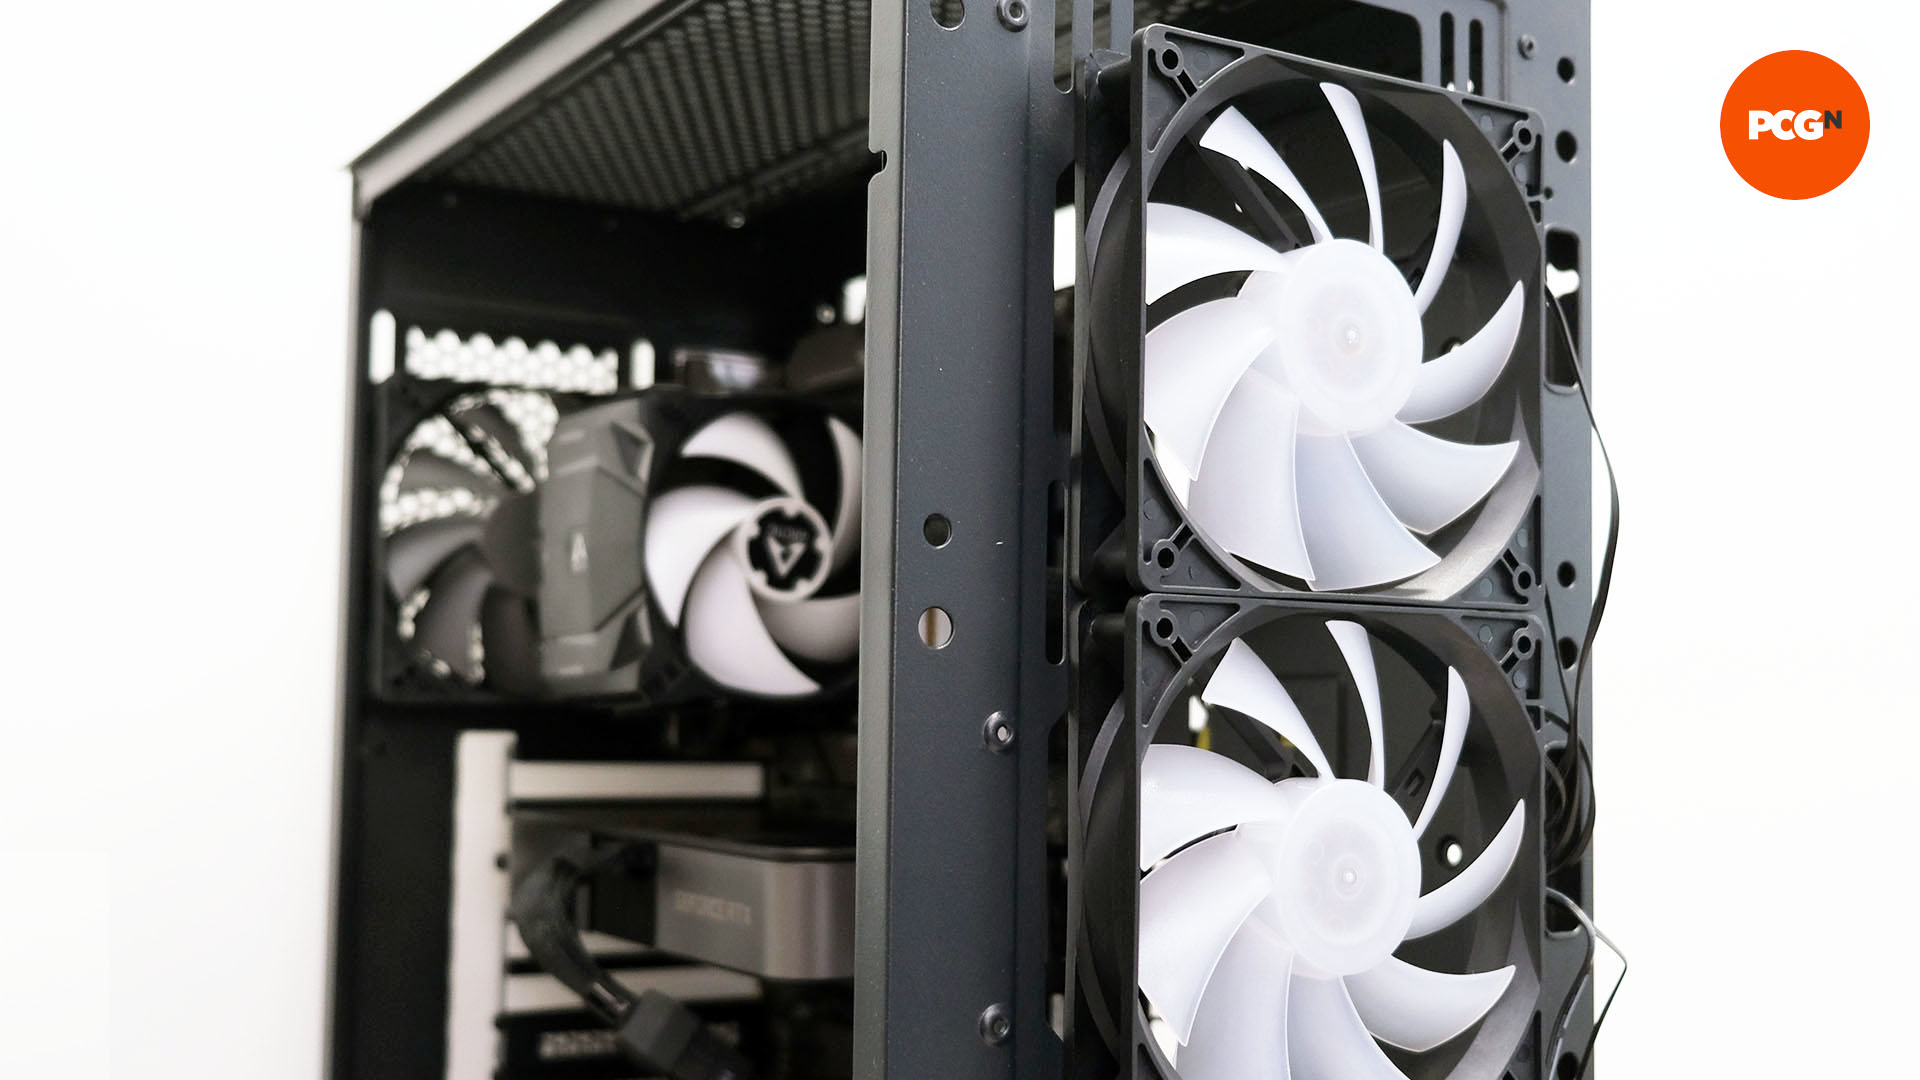
A rear exhaust fan is essential for a number of reasons. Drawing air into your case with front fans is critical, but a rear fan can significantly aid the removal of warm air from your case, irrespective of whether your case has negative or positive airflow.
Negative airflow means that you have more air-pushing power getting air out of your case than getting air into it, meaning that air will be drawn in through any open sections in your case, which can potentially mean dust ingress too. Positive airflow, on the other hand, means more air is being drawn into your case using fans, which is generally preferable as those nooks and crannies will now be expelling air.
To achieve a positive airflow setup, you just need to have one or two more intake fans than exhaust fans – as a bare minimum, we recommend having two front fans and one rear exhaust fan. After that, you see diminishing returns, although placing extra fans in key locations can boost cooling for not much money. If your case only has one front fan, consider shifting it up from the bottom so it sits in line with your CPU cooler, then add a second fan below it that’s in line with your graphics card.
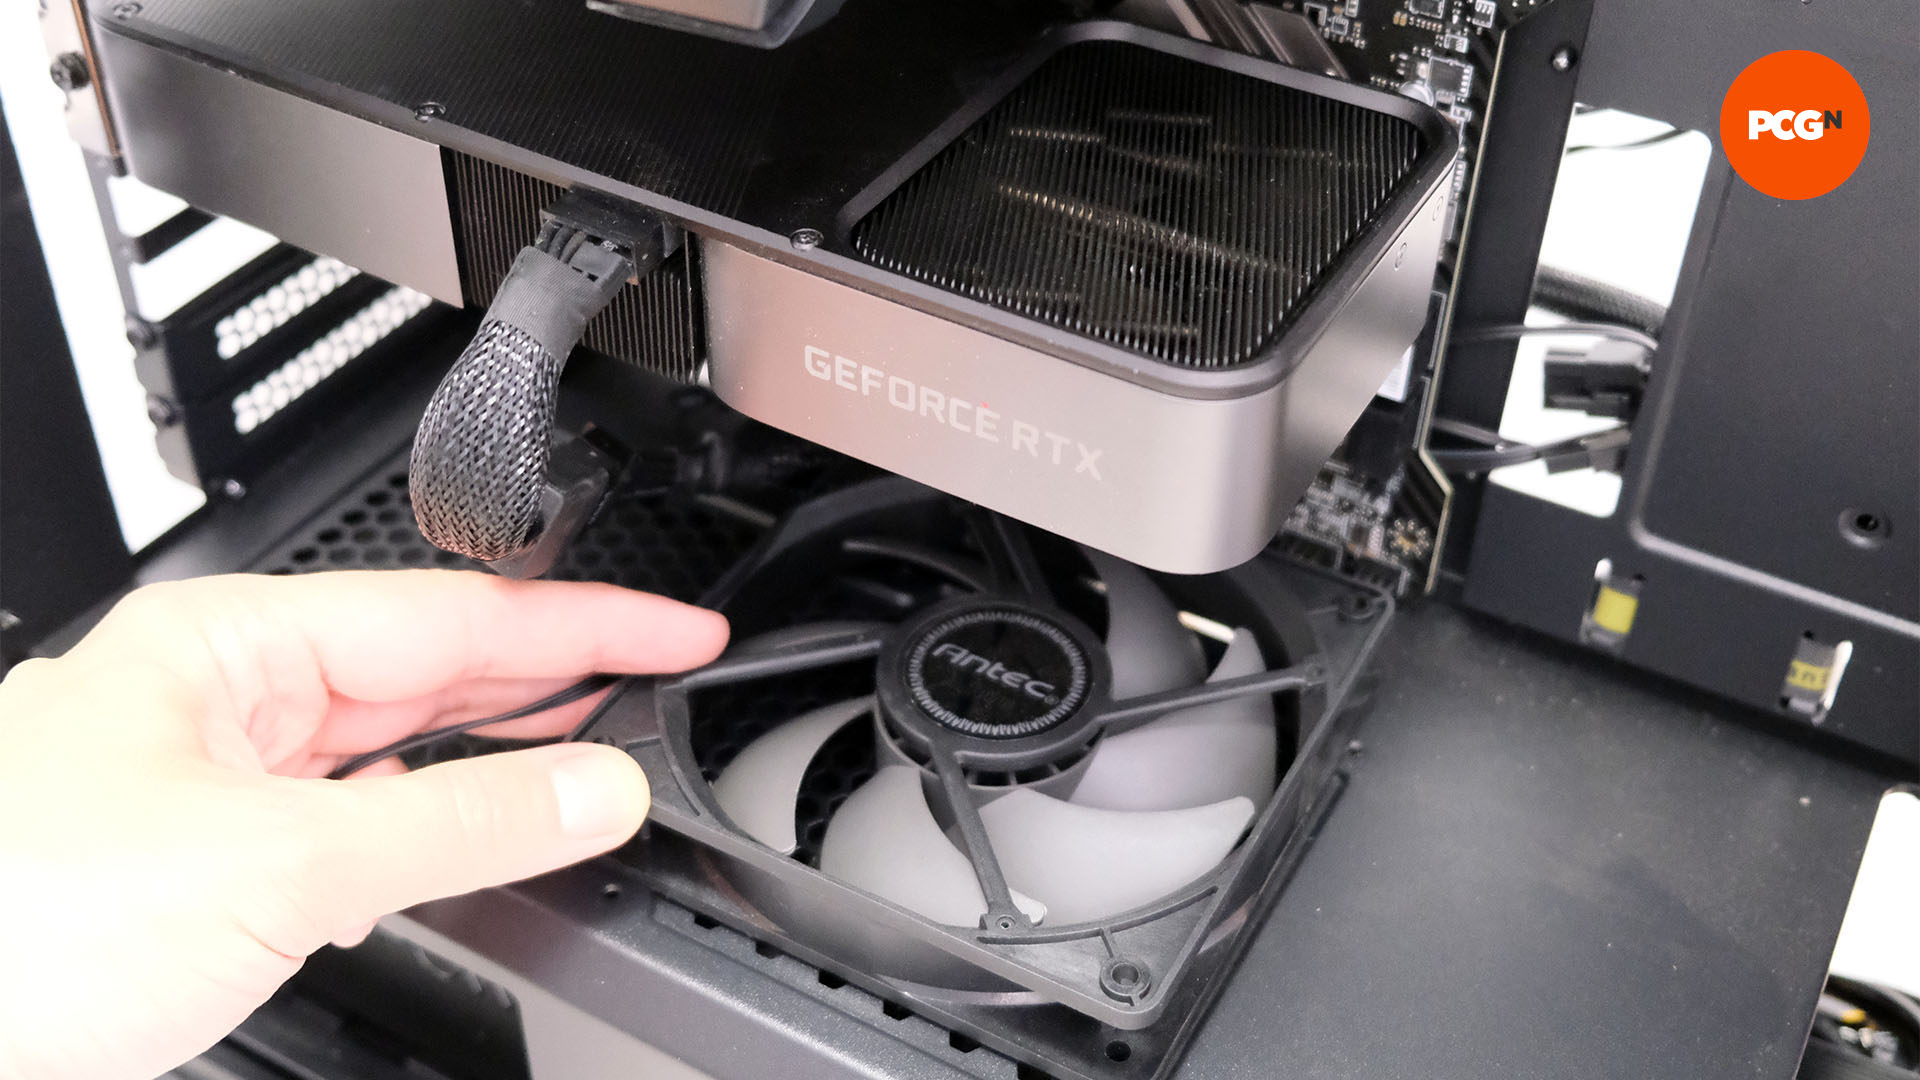
This will ensure that both components are aided as much as possible by direct airflow, and it can also help move warm air that’s been exhausted out the sides of the graphics card to the rear of the case.
Adding a bottom fan pointing at your graphics card can help cool it too, especially if you have an Nvidia Founders Edition card with a flow-through cooler, such as the GeForce RTX 4090 – if you’re using one of these cards, adding a roof fan can help expel the hot air too.
Which way round should you put your CPU cooler?
The rear fan installed in a typical case can actively aid CPU cooling by getting shot of the warm air from your CPU cooler and promoting the front-to-back airflow arrangement. In short, it can act as a second CPU cooler fan, helping to draw air through the cooler and prevent it hot air from pooling at its rear. For this reason, you always need to have your CPU cooler pointing in the same direction as the rear fan.
Sometimes that’s not possible, of course, depending on the orientation of your motherboard’s CPU socket, or the mount used. If there’s absolutely no way you can point your CPU cooler fan at the rear of the case, then point it at the roof instead. Whatever you do, don’t point it at the bottom or front of the case.
Where do you put an AIO CPU cooler?
AIO liquid coolers are designed to have the pump sitting lower than the radiator, and for the radiator to act as a reservoir, trapping air inside – this way, it doesn’t find its way to your pump and cause it to be noisy. A few of these coolers are refillable, in which case you can top up the coolant occasionally and place the pump and radiator wherever you like.
If you can’t refill yours, though, the coolant can slowly evaporate, which can lead to some radiator orientations seeing your pump receive air rather than water. After this point, it will get noisy and eventually stop working.
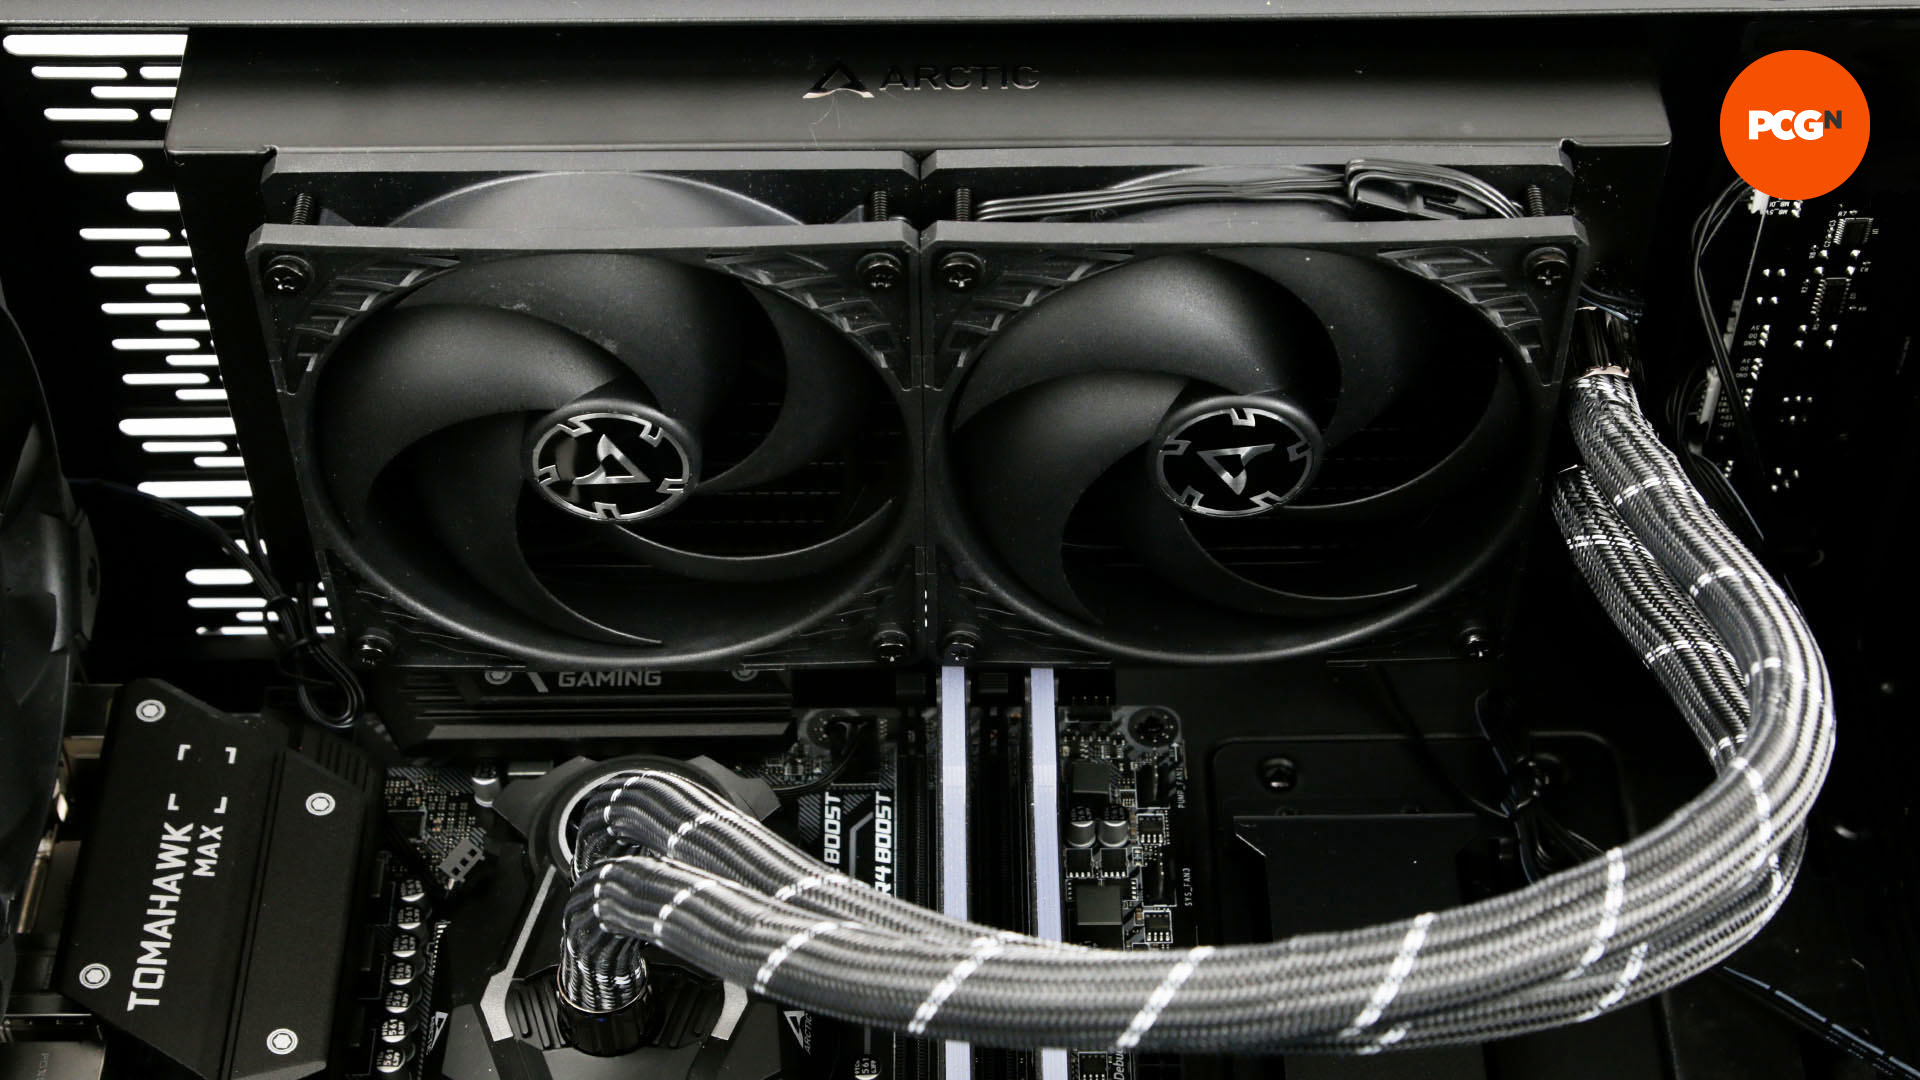
For this reason, it’s best to have the radiator in the roof of your case, which will mean any air in the loop will sit in the radiator and not find its way to the pump. It also means that mounting the radiator in the front of your case is unwise, at least in the long term, since the air could transfer to your pump, as the latter won’t be lower than the radiator if the tubes are at the top.
If you have the tubes at the bottom of the radiator when it’s mounted in the front, then any air that does find its way to your AIO cooler pump will probably stay there. Mounting the radiator in the roof has another benefit too, which is that the warm air it exhausts will be expelled straight out of the case and not be dumped back into it. If you’re looking to buy a liquid cooler for your CPU, make sure you read our guide to the best AIO cooler.
Where should you put AIO radiator fans?
Plenty of tests have been performed over the years to work out whether fans are best placed so they push or pull air through a radiator. In general, there isn’t much difference, but the highest static pressure is behind the fan blades, not in front of it, which means a fan will push more air through a radiator than it will pull through it from the other side.
This is important with radiators, as some designs can be far more restrictive in terms of airflow than a CPU air cooler, so static pressure is important. However, there are some instances where case or motherboard components require fans to be placed in the roof of your case and the radiator below them – doing so won’t result in significantly worse performance.
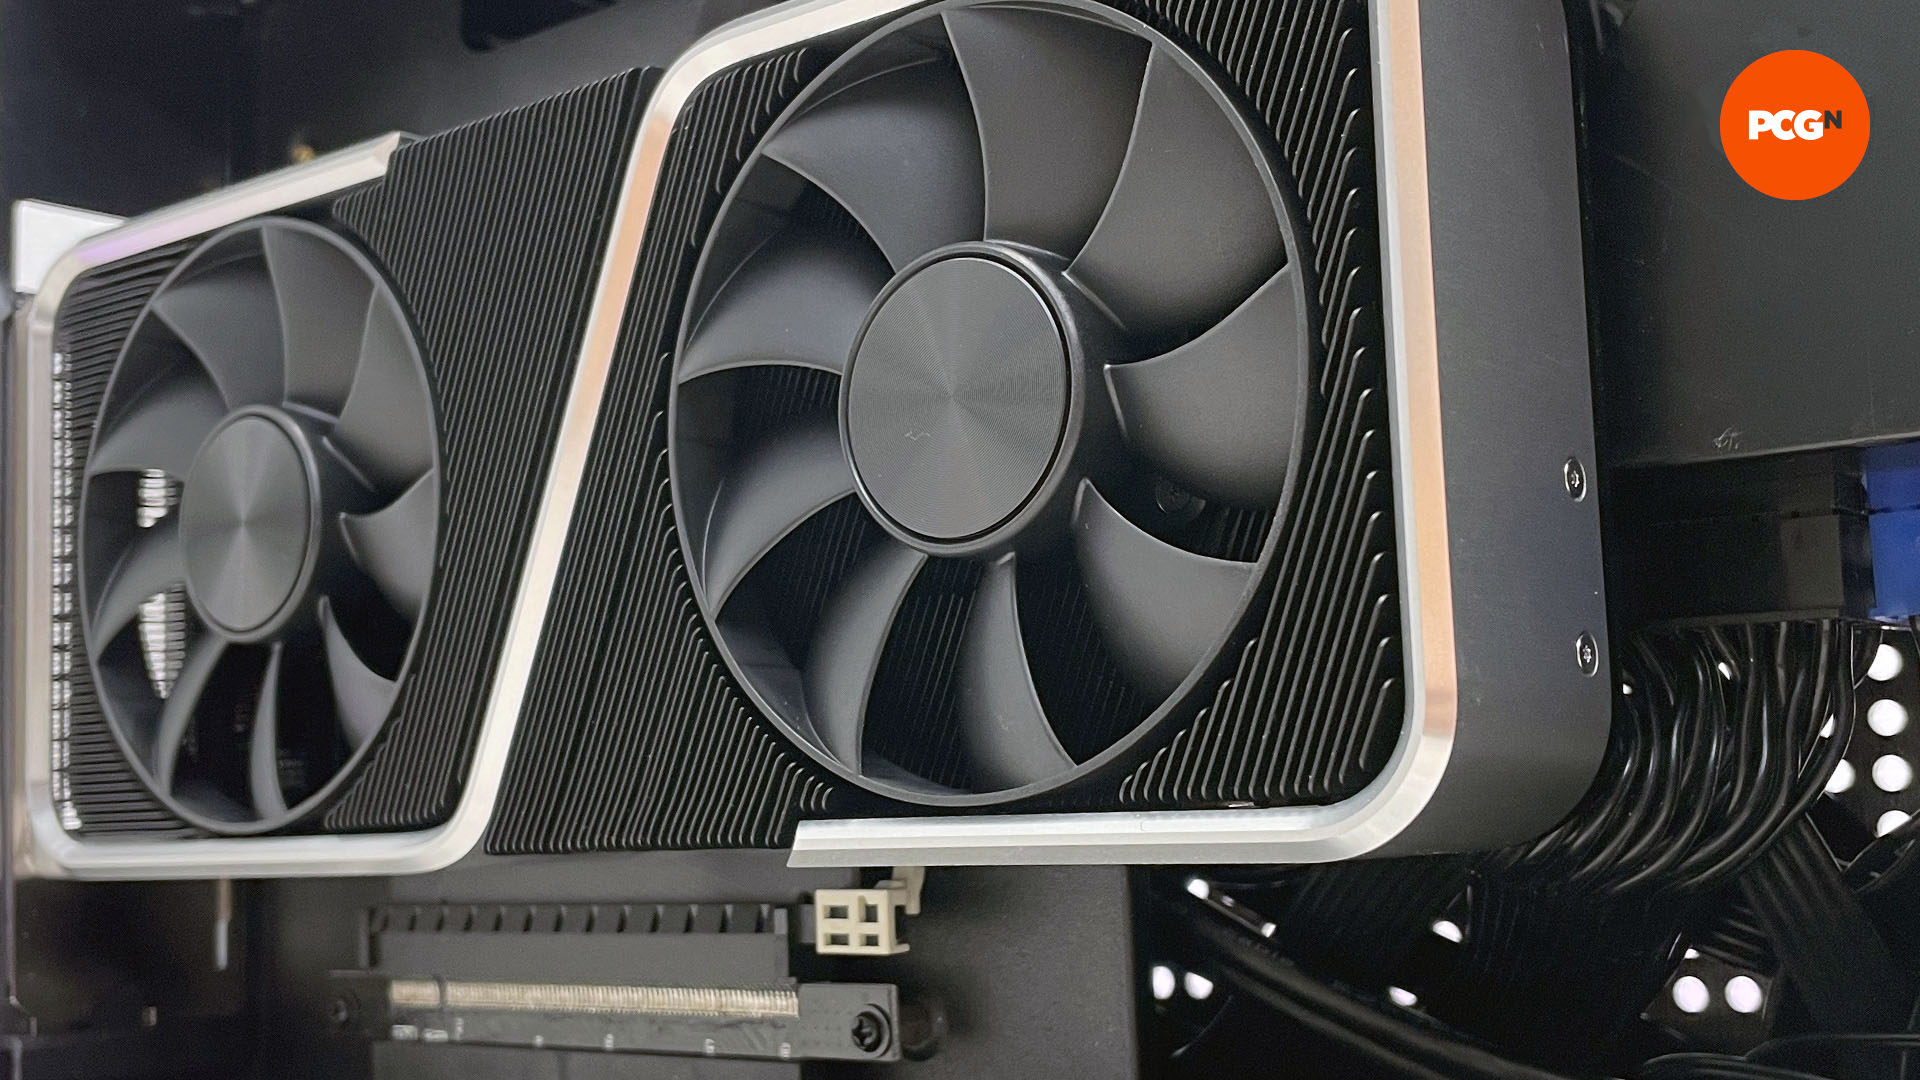
Does a vertical GPU mount affect PC cooling?
Many graphics card coolers have sexy designs, which makes it a shame that in most cases they end up face down and obscured from view. This is one reason why vertical graphics card mounts are popular, as they allow your graphics card’s cooler and fans to be visible through a glass side panel.
However, there are hidden dangers from mounting your graphics card in this way. For starters, many vertical mounts place the graphics card right next to the side panel, and even those that are sensibly offset away from it still have less clearance than if the graphics card were simply sat in your motherboard’s PCIe slot.
This lack of clearance, and the fact that glass side panels aren’t vented, means your graphics card will have to fight harder for air, making its fans spin up more regularly to higher speeds and it will run warmer too, potentially affecting boosting speeds. We’ve run our own tests with this on numerous occasions and it’s always the same – vertical graphics card mounts are usually a bad idea for air-cooled cards.
There are some exceptions, though, such as cases with vented side panels. Admittedly, you won’t be able to see your graphics card clearly behind one, but you shouldn’t be wary of a case’s cooling just because it has a vertical graphics card mount. Many mini-ITX cases have this type of setup and they still offer excellent cooling thanks to vented side panels that allow the card to breathe.
The other exception is if your graphics card is water-cooled. Here, there will be little if any difference compared to it being mounted directly on your motherboard, since its hot spots are being cooled using the waterblock.
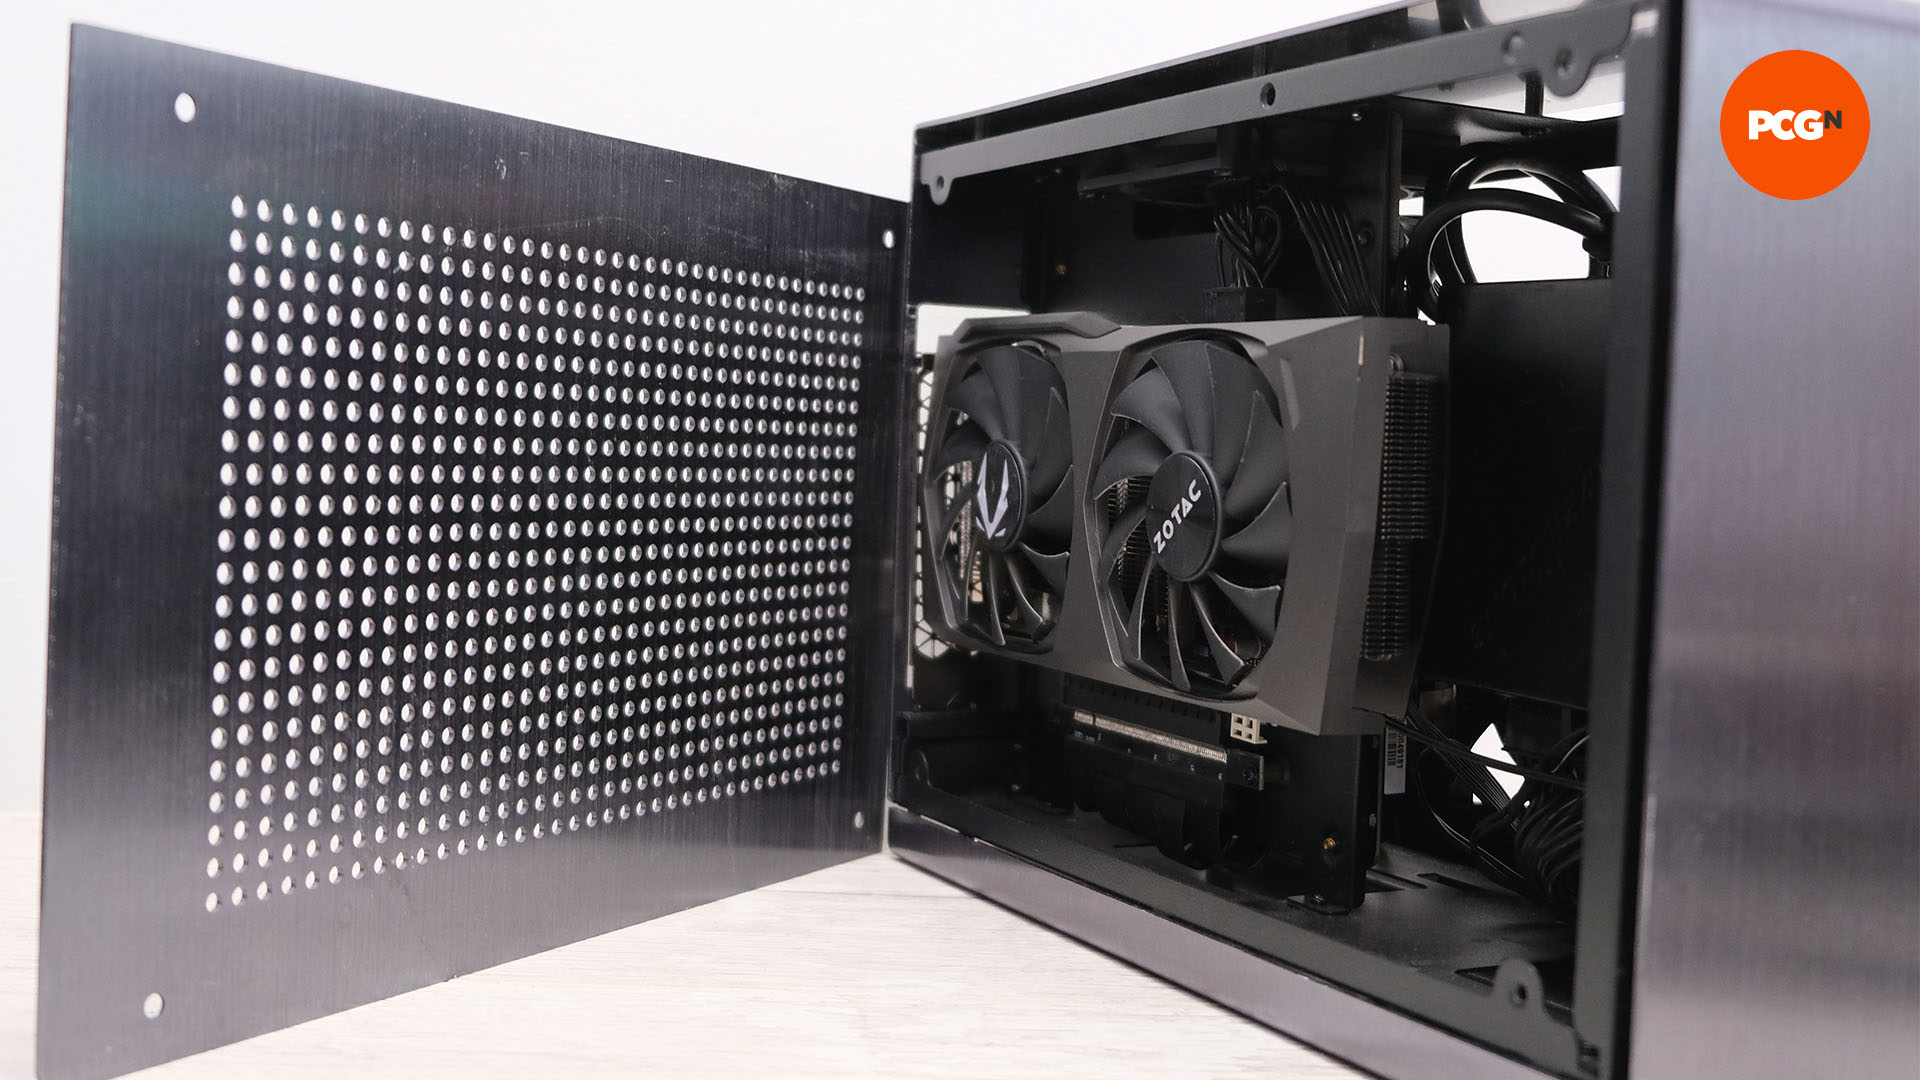
Where should you put fans in a mini-ITX case?
A common misconception with mini-ITX cases is that they’re small and therefore must be stuffy, hot, and generally undesirable for high-end PCs. The fact is, there are so many varieties in terms of internal design, that any blanket statement is inaccurate in the first place. As we’ve already mentioned, some mini-ITX cases sport vented side panels for graphics card cooling and, for this reason, they can actually outperform larger cases when it comes to cooling.
Modern mini-ITX cases can also support radiators, so it’s generally easy to cool your CPU and even add custom liquid cooling. In fact, with many mini-ITX cases lacking decent CPU cooler height support, liquid cooling is often the best way to cool your CPU in a mini-ITX case. However, just like a CPU cooler heatsink, the volume of air in a mini-ITX case is smaller and as a result can warm faster than in larger cases.
For this reason, it’s advisable to fill all the available fan mounts in your mini-ITX case, in order to shift the air quickly. This doesn’t mean having your fans on full speed all the time, just that you’ll want plenty of fans to keep the air moving through the case. Similarly, it’s a bad idea to put any extra heat into the case, so it’s best to install radiators so they exhaust warm air out of the case, rather than into it.
That’s a wrap for our PC airflow guide. Once you learn the principles of front-to-back airflow, the rest of the theory is pretty easy to follow. If you’re assembling a new rig, make sure you read our full guide on how to build a gaming PC to guide you through the process.
