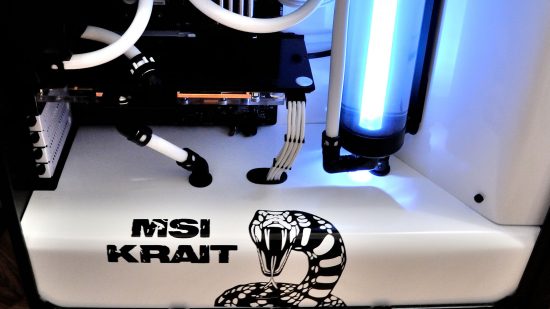
You don’t need to go overboard with flashing rainbow RGB lighting to make a PC that stands out, and we really like this monochrome gaming PC. Inspired by the black and white color scheme of MSI Krait motherboards, Ricky Kemp built his first PC with a custom water-cooling loop, and fabricated several custom aluminum parts for the interior
Thanks to our rapidly growing PC building Facebook page, we’ve seen many custom gaming PCs, from mods based on existing case designs to scratch PC builds. You can even submit yours for consideration right here. Here we talk to Ricky about how he made this black and white PC build.
PCGamesN: What made you want to build a PC based around MSI’s Krait theme?
Ricky: I had been frustrated with a previous motherboard, which didn’t have the best BIOS support and also had some hardware quirks, so I decided to swap it out. After browsing the usual sites, I stumbled across the MSI Krait series, which I thought was great-looking and had an understated look in contrast to the RGB trend. Black and white is a classic combination, and it inspired me to have my first go at a themed water-cooled build.
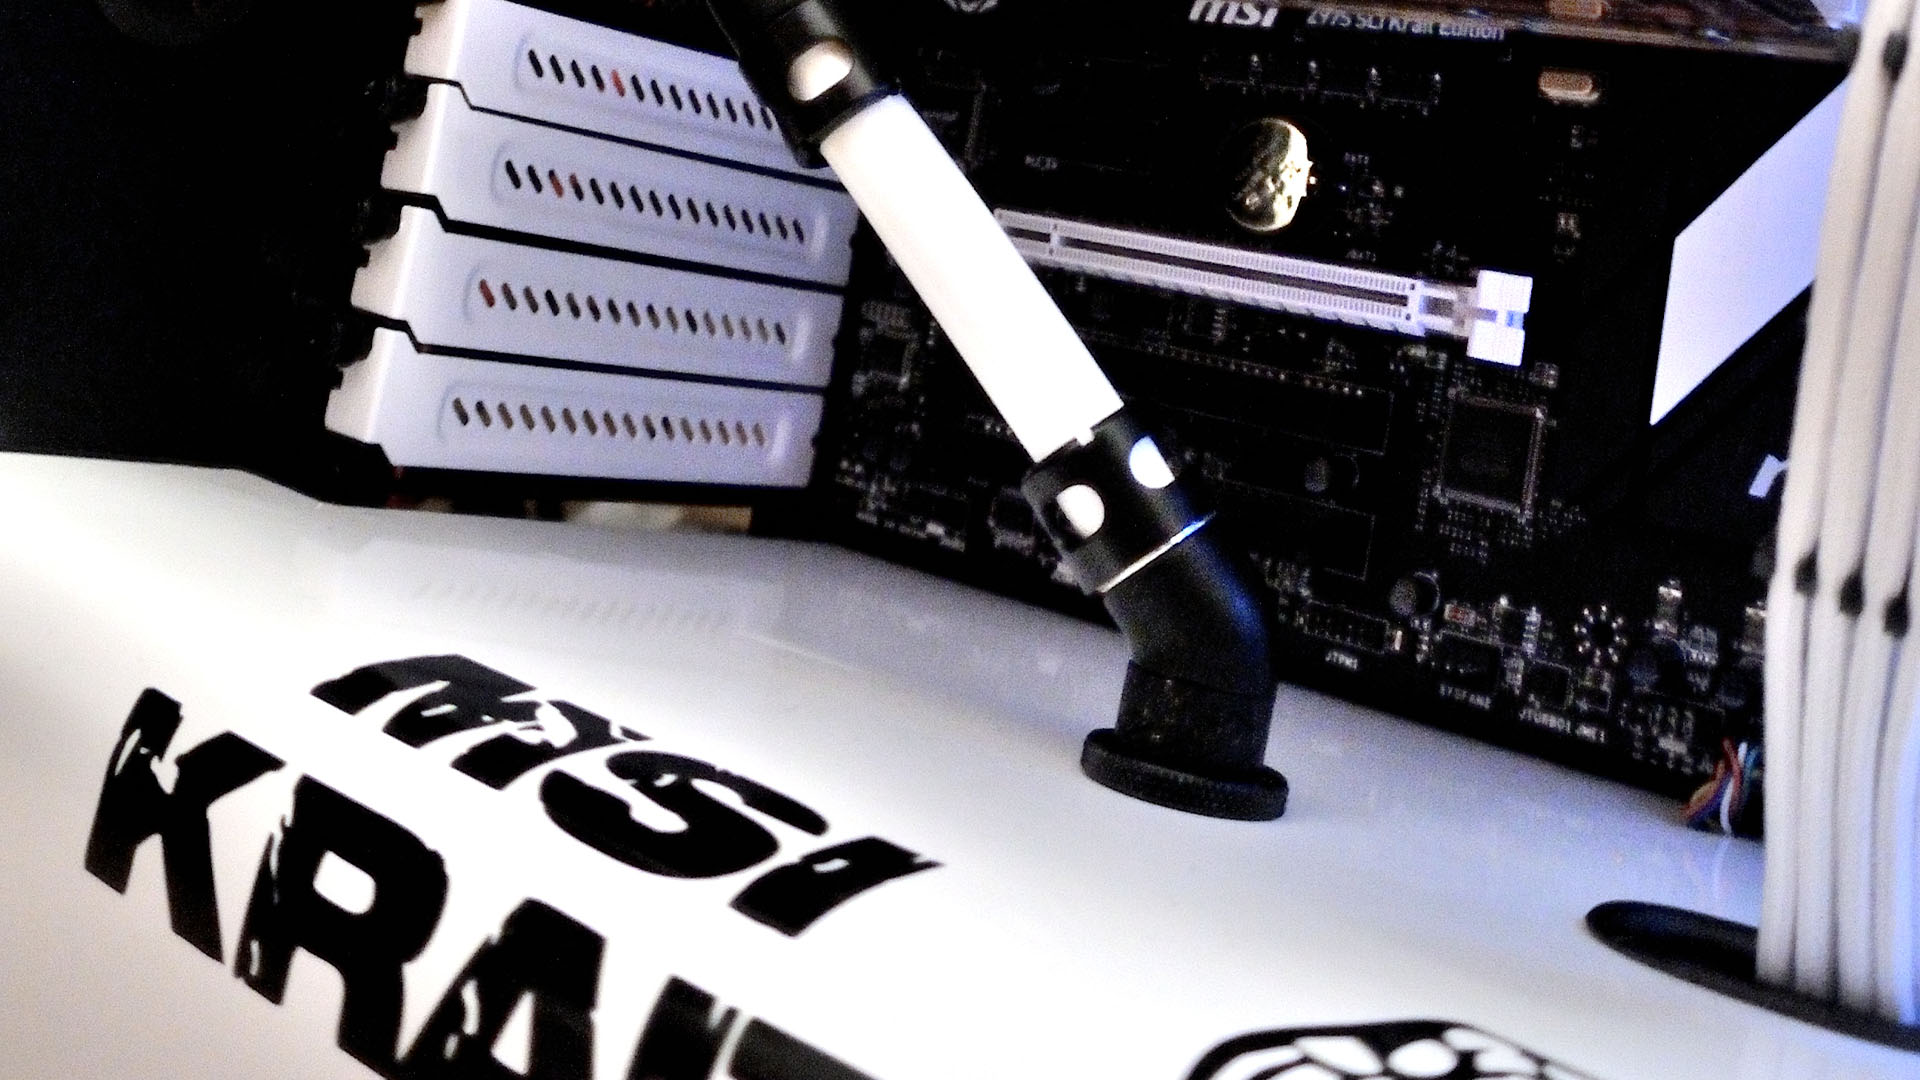
How did you go about making the custom motherboard tray, drive bay cover and PSU shroud?
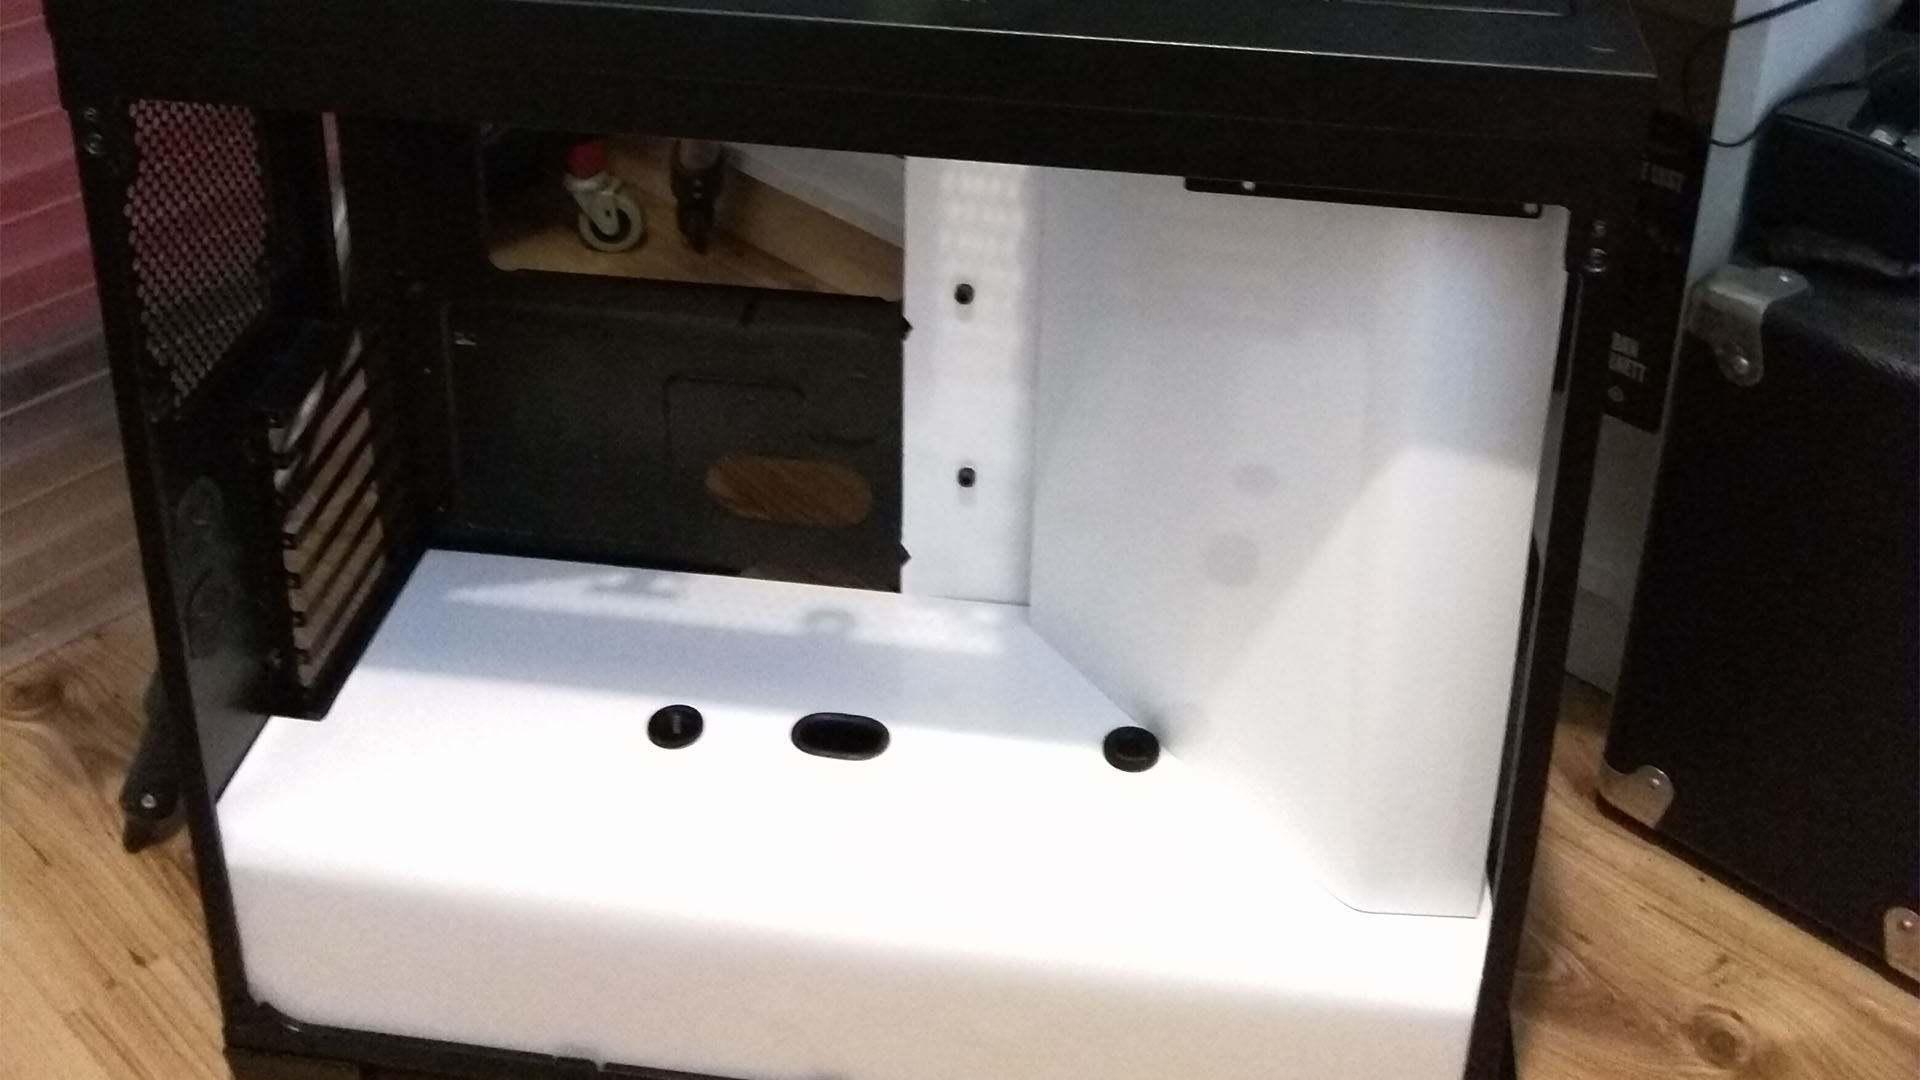
I wanted to focus the bulk of the costs on the cooling hardware rather than the case, so I gutted my trusty Corsair 650D, removing the drive cages and various brackets.
I got hold of some 3mm aluminum, as I’m not great at working with acrylic, and fabricated the motherboard tray, reservoir plate and PSU shroud – they’re held in place with bolts, so I can remove them with hardware, such as the pump and reservoir, still in place. I made my own very simple plate-bender for the shroud, using flat steel bars and hinges, which allowed me to get a nice uniform radius along the length of the aluminum sheet.
We like the way you’ve made the soft tubing look like rigid tubing in places, using angled fittings and straight lines. Why did you decide to use soft tubing over rigid tubing?
I absolutely love the look of hard tubing but at the time that I was planning this build, it was only just starting to take off. This project was my first go at a custom loop, so I wanted to stick with tried and tested products. I wanted to make sure that the loop was as efficient as possible too, with no excess bends or stress on the fittings, and with a couple of curves as a nod to the ‘snake/Krait’ theme.
How did you go about planning the cable and tubing routing, and cutting the holes in the custom parts for the cables, tubing and reservoir?
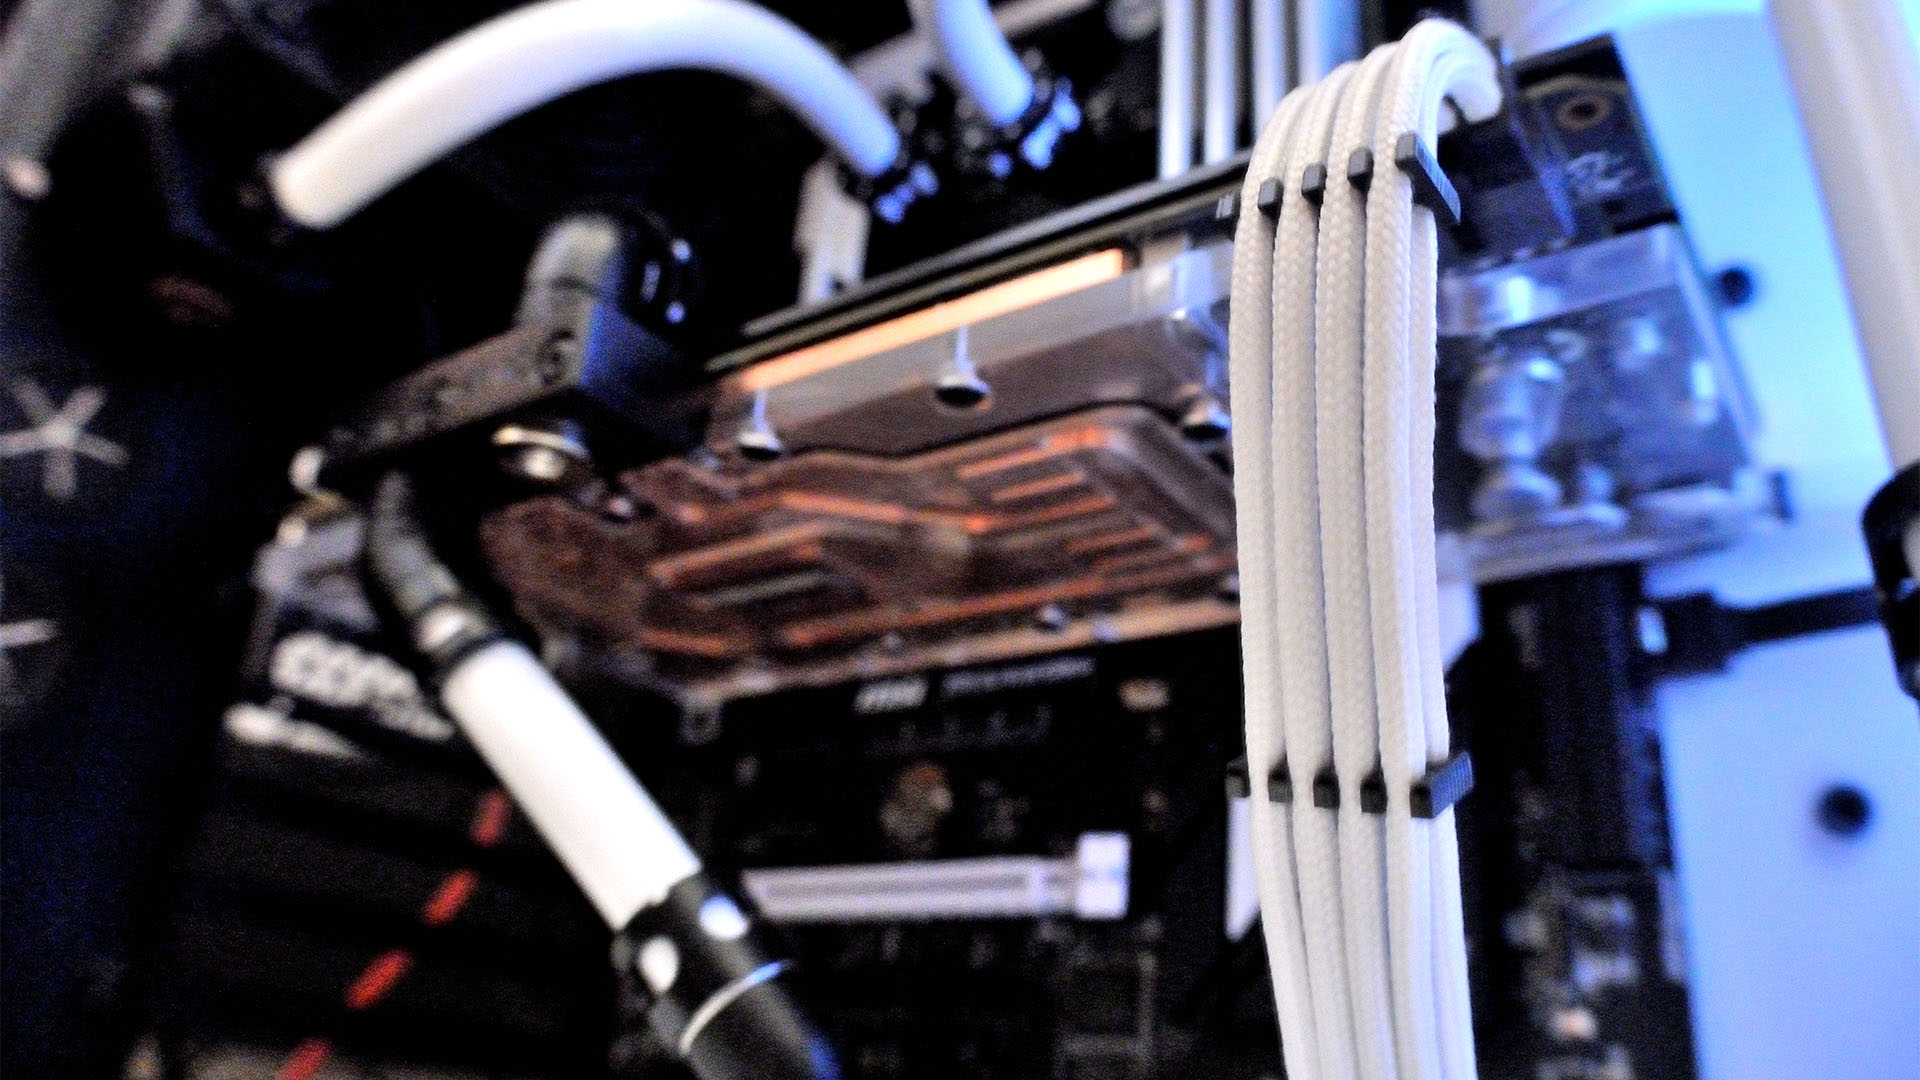
The 650D was one of Corsair’s earlier cases, which is lovely to look at but isn’t the best for cable management. To keep it simple, the majority of cables were routed under the PSU shroud – the only cables going above it were the 24-pin ATX, PCIe and fan cables, which were routed to a controller in the front of the case. I drew up a load of paper templates and did lots of test fitting before using a power drill and various hole cutters to cut into the aluminum sheet.
How did you get the Krait snake logo on the PSU shroud?
The shroud itself is covered with a vinyl wrap. I laid out a design in image editing software, and sent the file over to a local company that printed it onto the vinyl.
Talk us through the water-cooling system – what parts did you use and why?
I spent a lot of time planning and researching my build, making sure that – where possible – I wasn’t mixing copper and nickel in the loop. I had seen some horror stories about colored coolants gunking up blocks and, as it was my first loop, I played it safe with distilled water and a couple of drops of biocide and inhibitor. Originally, I was planning on using a top 360mm radiator along, with a 120mm radiator, but the 650D has a SATA dock in the roof which would foul the fitting.
I worked out the TDP and decided to go for some nice thick rads instead to maximize the cooling headroom – I settled on using Alphacool NexXxos Full Copper radiators, as they have a great balance of price and cooling capacity.
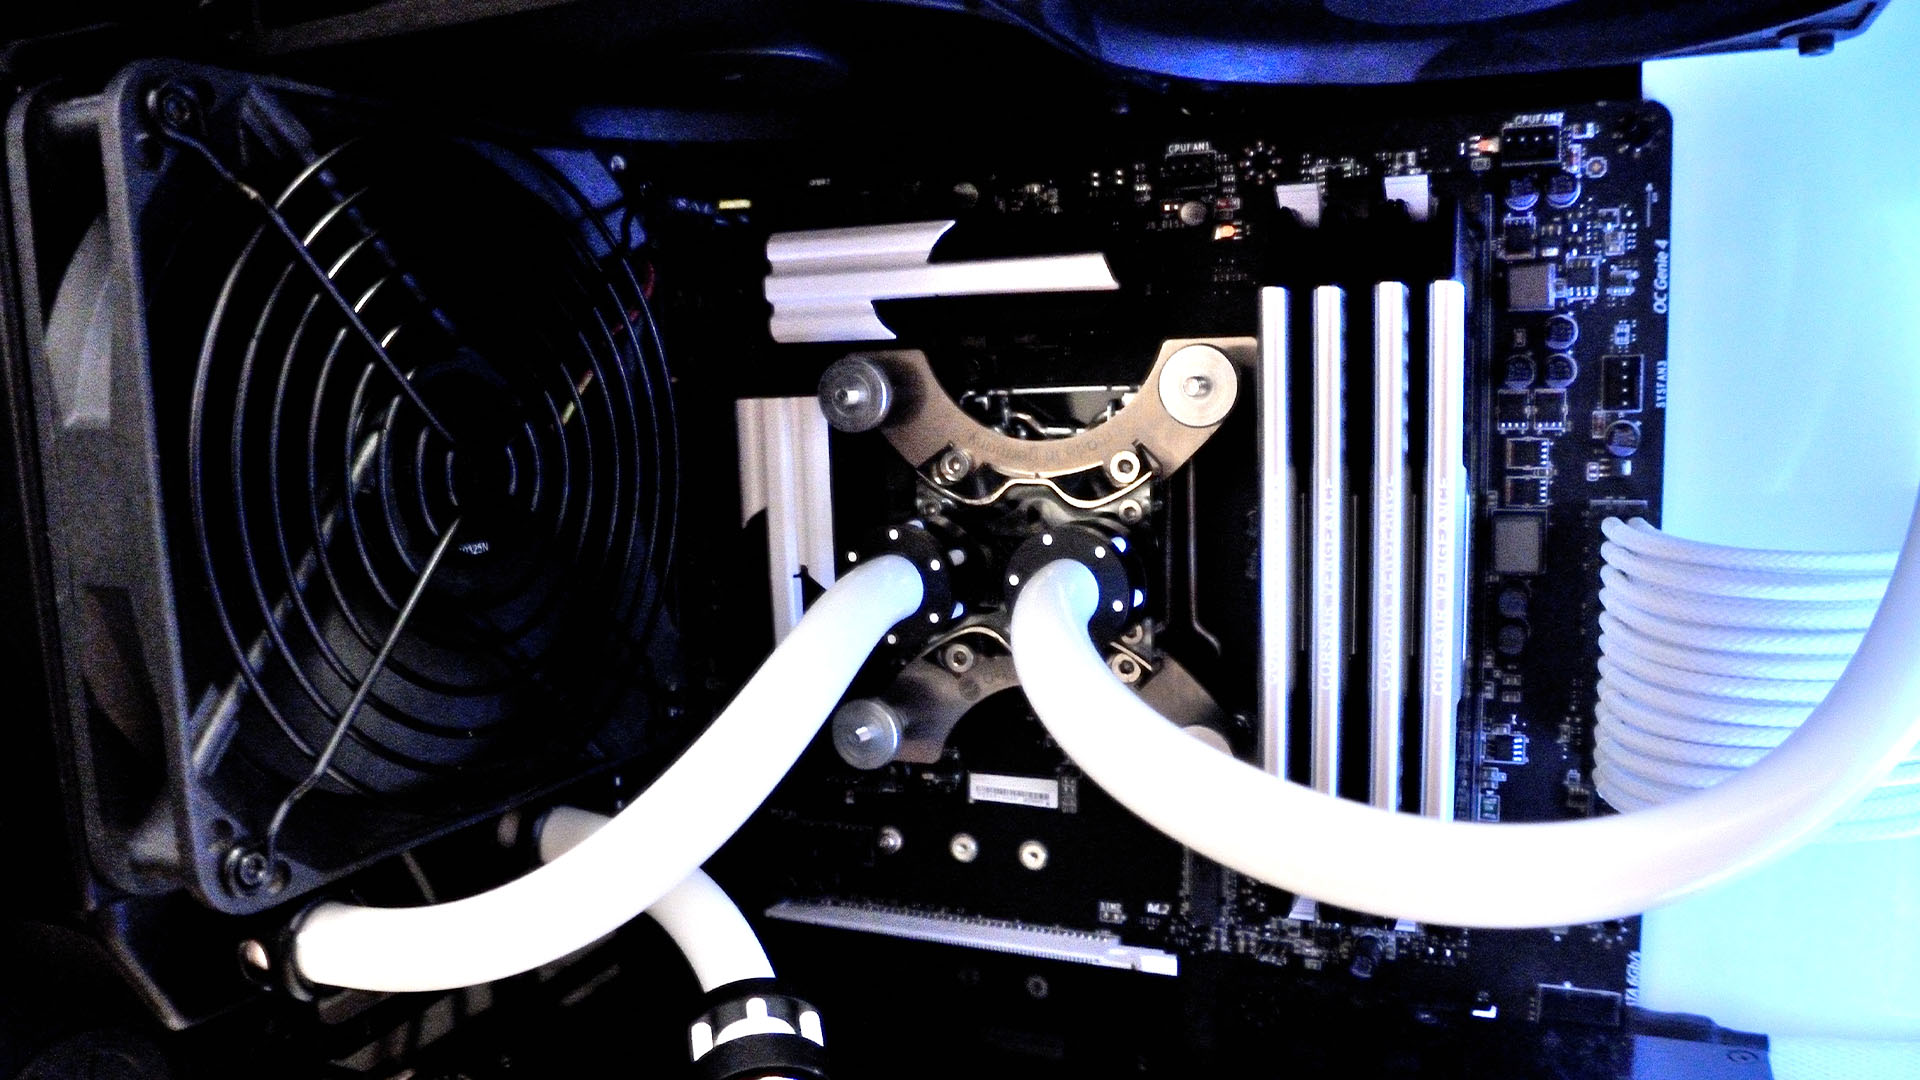
For the GPU, I just had to go with the copper and plexi full cover block from EK, as it’s a stunning-looking block. The CPU block is from Aquacomputer, as I was won over by that company’s attention to detail and precise machining.
The reservoir is probably where I went a bit over the top, and I ended up with a glass XSPC Photon. It holds over a pint of water, but it’s beautiful and I had planned it as the main source of light in the build, so I really wanted to show it off. It feeds directly into the top of an EK SPC pump just beneath the PSU shroud. The fittings are a mix of Monsoon Chaingun and free-center compression fittings, with the chain guns really suiting the black and white theme.
Where does the tubing from the GPU go once it enters the hole in the PSU shroud, and how is the fitting secured to the acrylic?
I wanted a modular design to make maintenance easier. The EK SPC pump is attached under the shroud, with a drain loop. I used bulkhead fittings as pass-throughs for the GPU block’s tubing, and just below the reservoir, directly into the top of the pump. I wanted to be able to just pop the back of the case off and easily get access to the drain when needed.
How long did it take you to complete this build, from start to finish?
I spent most of my time planning, which makes a change for me! Altogether it took around three months to get it to a point where I was happy.
Did you come across any difficulties?
The only real difficulty was fabricating the parts on a workbench in my garden – the British weather is unpredictable and rain stopped play more than once!
Are you completely happy with the end result, or do you wish you’d done some of it differently in retrospect?
For my first custom loop, I’m really happy with the result. I wish I’d worked more on the external appearance of the case, but I felt it trod a fine line between understated and ostentatious.
Monochrome Krait PC specs
- CPU: Intel Core i5-4690K overclocked to 4.7GHz
- GPU: MSI GeForce GTX 1070 Founders Edition (2126GHz core, 9.6GHz memory)
- Case: Corsair Obsidian 650D
- Storage: 500GB Samsung 960 Evo SSD, 1TB Toshiba P300 hard disk
- Memory: 16GB (4 x 4GB) Corsair Vengeance 2400MHz DDR3
- Motherboard: MSI Krait Z97S SLI
- PSU: Corsair CX600
- Cooling: 240mm and 120mm radiators, with 120mm Yate Loon fans as intakes
There’s a lot we like about this PC build, but the custom aluminum PSU cover is our favorite bit, and the snake on the vinyl wrap looks grand. If you want to achieve a similar effect on your PC case, make sure you read our full guide on how to vinyl wrap your case. If you’re new to the world of water-cooling and want to have go yourself, then make sure you also read our full guide on how to water-cool your PC.
This post originally appeared on Custom PC, which has been covering amazing setups for over 20 years and is now part of PCGamesN. Join our 500k member Facebook group to discuss this build.
If you consider yourself to be an expert PC builder, you can submit your own custom PC build to us today for a chance of being featured on PCGamesN in the future.
