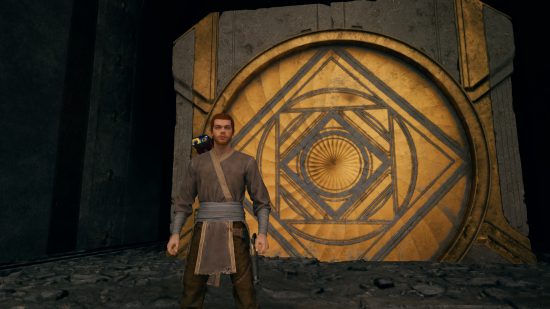
Searching for the solution to the Star Wars Jedi Survivor Chamber of Clarity? The Chamber of Clarity in Star Wars Jedi Survivor is one of the High Republic Chambers, also known as Jedi Temples. Found in the Untamed Downs area of Koboh, you’ll be making use of your Force Powers to move around blocks. Our guide discusses this particular location, as well as the puzzles and rewards you can find therein.
The Star Wars Jedi Survivor Chamber of Clarity is just one of many interesting areas in the game world. You can learn more in our High Republic Chambers main guide for the newest Star Wars game, as well as learning about other puzzles and secrets in our guides hub.
How to find the Star Wars Jedi Survivor Chamber of Clarity
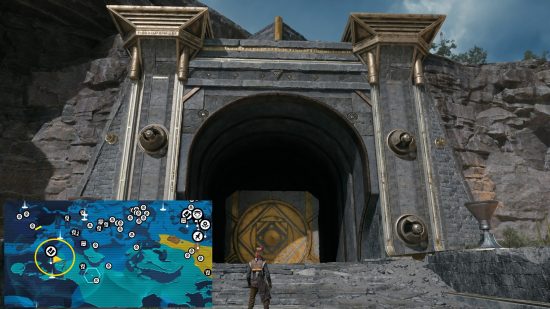
To find the Star Wars Jedi Survivor Chamber of Clarity, you’ll need to head to the Untamed Downs zone, which is across the ruined bridge from Rambler’s Reach Outpost. Bring a Nekko mount with you, as you’re going to need it.
As you follow the path around the large rock formation, you’ll see the massive temple in front of you. The Untamed Downs fast travel point itself is to the left, inside a small nook that you can squeeze through. As for the temple’s entrance, you can reach it by going to the right-hand side, then double-jumping with your Nekko so you can climb on the vines.
Star Wars Jedi Survivor Chamber of Clarity puzzle solution
This particular Jedi Temple requires you to use Force Pull to move blocks around. The first block is right below you. After moving it, check the nook below, which leads to a wall-running and wall-jumping section. At the very top, you’ll find the Unique Non-Metal weapon materials.
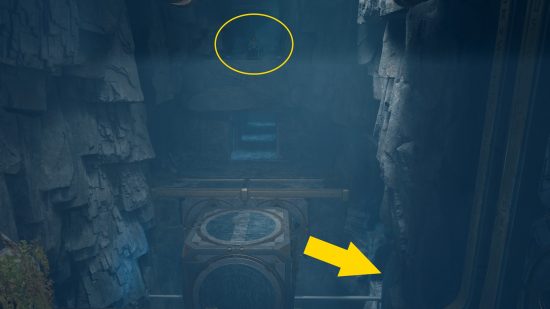
Next, jump across the gap and pull the block through the metal grate. Let’s call this Block A. Then, pull it back to its previous location.
While it’s moving, make sure to grab onto the vines and move sideways so you can avoid the wall. This will lead you to the other side of the room, which also has another block. Let’s call this Block B.
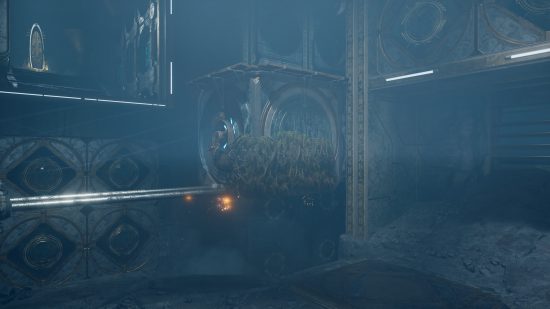
In this section, push away Block A, then move Block B toward you. This will reveal a nook, which has Echo: Trials. The new block (Block B) should be next to a wall, so here’s what you should do next:
- Pull Block A toward you, causing it to hit Block B.
- Pull Block B back to its initial location, but grab the vines so you can reach the ledge.
- Follow this small segment, which has Echo: Concerted Effort.
- You’ll then be able to open the hatch. Jump across to get Echo: A Candid Moment.
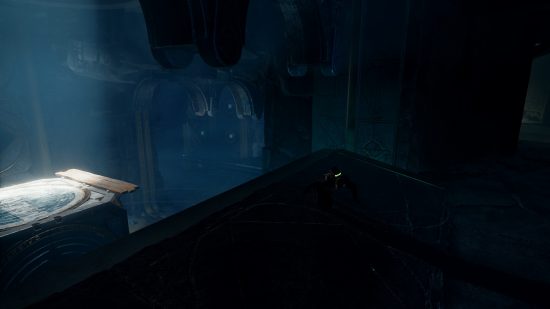
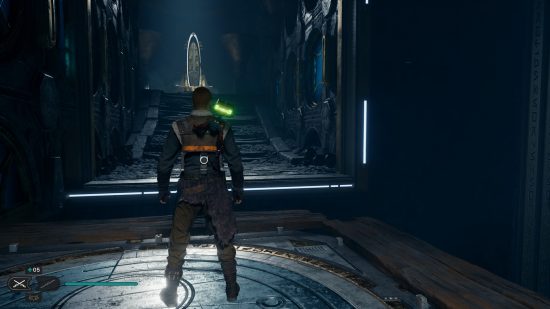
You should be able to push the block out to the initial area. Don’t jump down yet. Instead, head back to where Block A and B are. You’ll want to pull Block A so that it moves back to the initial hallway. This allows you to use the metal bar to hop on top of it. With that, you’ll be able to cross the chasm.
At the end of this segment, you can pick up the Fellowship perk, which is akin to giving BD-1 an extra Stim charge. You can learn more about these passives in our perks guide. And that’s it, you’ve completed the Star Wars Jedi Survivor Chamber of Clarity puzzle.
This is just one particular High Republic Chamber in the game. You can learn more in our High Republic Chambers guide. For everything else about Star Wars Jedi Survivor, you can visit our walkthrough and guides hub.
