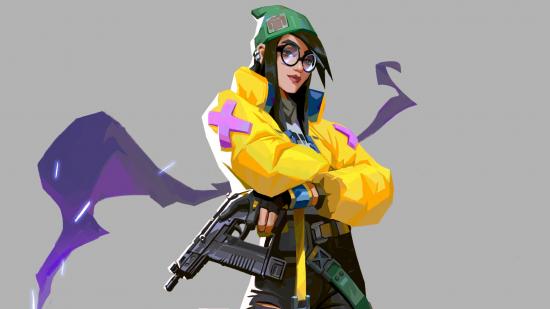
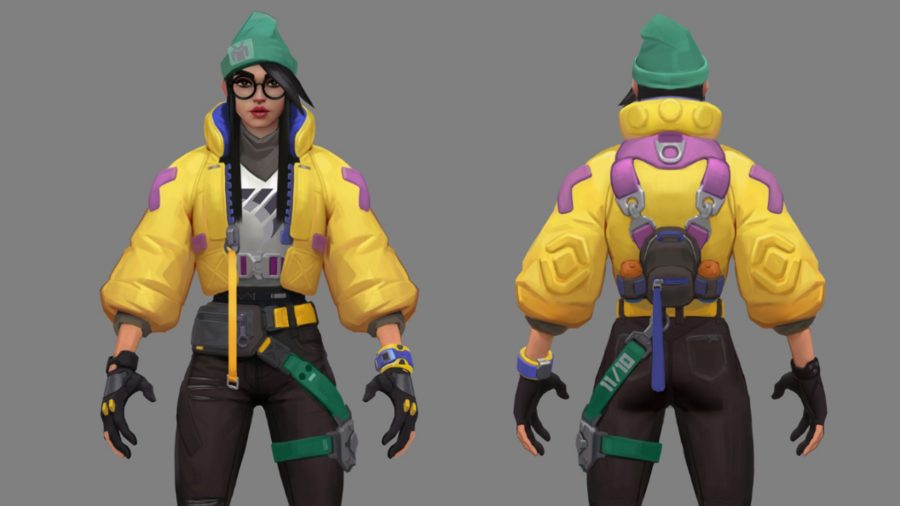
Killjoy has landed in Valorant. Following various leaks, the character, previously known as agent 12 dropped in the FPS game at the beginning of Valorant Act II. True to her name, she is able to “secure key battlefield positions with her arsenal of inventions” and use her robots to infiltrate and lockdown enemy positions.
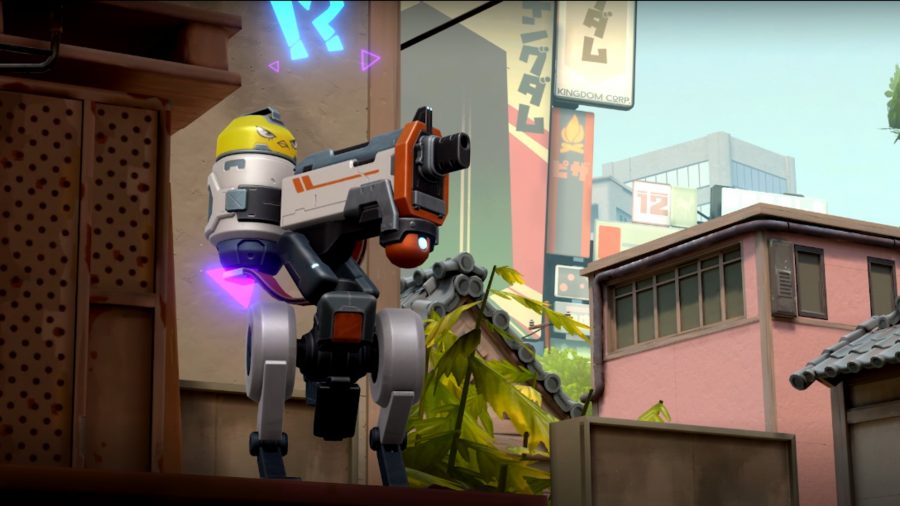
She’s a Sentinel controller, with most of her abilities aimed at gaining map control. This could be securing flanks when pushing a site, or providing lots of information on defence. All of Killjoy’s abilities unleash robotic gadgets, whether that’s the small Alarmbot which hunts down nearby enemies, or her ult which detains enemies in a certain radius, rendering them highly immobile and vulnerable to attack. You can view all of Killjoy’s abilities below, including the concept art of the adorable mech chicken-thing that operates the Turret.
Here’s a guide to everything you should know about the Valorant agent, including all her abilities and a bunch of tips on how to utilise her gadgets.
First, let’s get the lowdown on what Killjoy’s unique abilities are.
Valorant Killjoy abilities
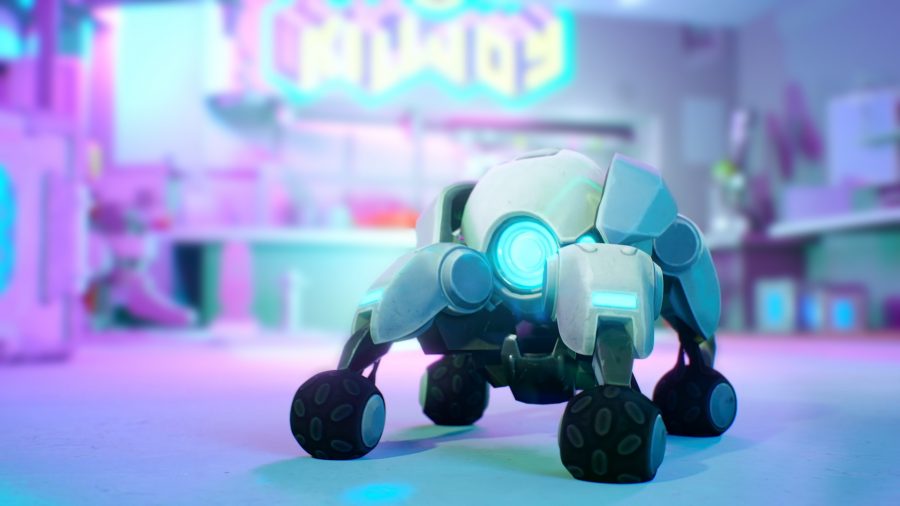
Alarmbot
“EQUIP a covert Alarmbot. FIRE to deploy a bot that hunts down enemies that get in range. After reaching its target, the bot explodes, applying Vulnerable. HOLD EQUIP to recall a deployed bot.”
Turret
“EQUIP a Turret. FIRE to deploy a turret that fires at enemies in a 180 degree cone. HOLD EQUIP to recall the deployed turret.”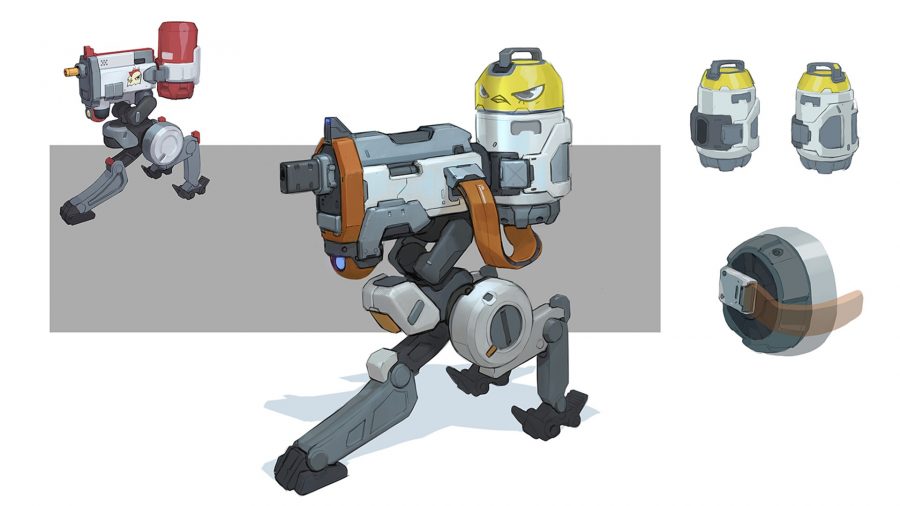
Nanoswarm
“EQUIP a Nanoswarm grenade. FIRE to throw the grenade. Upon landing, the Nanoswarm goes covert. ACTIVATE the Nanoswarm to deploy a damaging swarm of nanobots.”
Ultimate Ability – Lockdown
“EQUIP the Lockdown device. FIRE to deploy the device. After a long windup, the device Detains all enemies caught in the radius. The device can be destroyed by enemies.”
Killjoy tips
Killjoy is a Sentinel, which means she’s fantastic at collecting information on the battlefield. Keep this in mind when you’re using her abilities, as although they can certainly be used for scoring debuffs and damage, they’re also fantastic at working out where your enemies are and what they’re doing.
General tips
- Killjoy is very much a defensive agent. Defence on any point is much stronger with her abilities, but on the flipside, she is also much weaker on Attack. Make sure you consider the other agents you already have on your team and if they’re well equipped to deal with attacking even with a highly defensive agent on the roster. That’s not to say she doesn’t have a role to play when attacking, just that she’s not an entry agent like Omen, Raze, or Breach.
- Killjoy and Cypher are a great pairing. As a combination on a point, they’re deadly – they can collect information, block sightlines, and slow enemy pushes without even being on the point. If you’re playing with a Cypher, pay attention to his abilities when placing yours – they go hand in hand defensively. Better still, you can pretty much solo-hold with either Killjoy or Cypher, so with both on the team the rest of your squad is free to start dishing out damage off-site.
- Sage and Killjoy can also coordinate well – particularly with using walls. Sage often uses her ice wall to see through the windows in Ascent’s B main and pick off any unsuspecting agents – add a Turret up there and you don’t even have to take the risk. This is just as handy if you just want some more information on where enemies currently are. Coordination on any point like this will be a great tactic. Other points where this is handy include the elevated centre of B on Haven, and box stack near B elbow on Bind.
- Smokes are Killjoy’s downfall. Remember that if there is smoke between Killjoy’s Alarmbot or Turret and an enemy, they will not activate. Consider placing these devices away from default smoke spots so they’re more likely to catch an enemy off guard.
- Flashes will affect Killjoy’s Turret. Although it isn’t blinded for very long, it will be inactive for a short period of time. If it’s been flashed, perhaps take that opportunity to peak while an enemy’s attention is focussed on the Turret still.
Alarmbot tips
Killjoy’s Alarmbot is a less deadly version of Raze’s Boom Bot. When you deploy an Alarmbot it camouflages itself, until either an enemy activates it by being in range, or an enemy is close enough for the camouflage to fade (like Cypher’s Trapwires).
When activated it quickly chases down an enemy. It can be shot and destroyed, or it will explode leaving your enemy ‘vulnerable’. The only agent who is fast enough to evade the explosion that Alarmbot causes is Jett when she uses Tailwind – but other than that agents will need to destroy it or block its path if they don’t want to be made vulnerable. Even if they do destroy the bot – you at least know the location of an enemy.
Being vulnerable is a status effect Killjoy can utilise to debuff an adversary. For four seconds your enemies will take double damage from everything – guns, abilities, or even melee. In a game where every bullet matters, this double damage will really put the victim at a disadvantage.
A great first tip for placing the Alarmbot is tucking it around a corner. Peaking is an important part of Valorant – timing your counterstrafe just right and making sure you’ve got eyes on where your enemies are likely to be is what wins gunfights, which means that agents are less likely to be looking at the floor when coming around a corner.
Placing an Alarmbot just around a corner means Killjoy can be hidden, an enemy will peak, set off an Alarmbot, and then Killjoy has a great opportunity to peak herself and take out the vulnerable enemy. A simple play but as corners are everywhere, it will continually catch enemies off guard on defence and can additionally be used as a good flank deterrent on attack.
On attack, the Alarmbot can be utilised in a couple nifty ways. If you’re pushing a lane and want some extra intel, why not leave an alarm bot in another lane to check movements of your adversaries?
Alternatively, save the Alarmbot for post-plant when you’re defending the spike. Placing it near the spike will delay and distract agents from a defusal, or if you can guess where your enemies are coming from, use it to make adversaries vulnerable and eliminate them.
Turret tips
Killjoy’s Turret is not just a weapon, but a great tagging device. Of course, everyone’s first thought when it comes to the Turret is placing it somewhere that punishes overly aggressive enemies – but in reality, the Turret doesn’t do a huge amount of damage per burst. Good players will quickly turn and destroy it as it only has 150hp.
This, however, is a great baiting opportunity. Killjoy can hide, waiting for her Turret to be set off. Enemies will naturally turn to destroy the attacking Turret which gives Killjoy the opportunity to peak and take them out.
The Turret also seems to have no range limit. Damage from the Turret will drop off steeply the further away the turret is from the target, but this again gives Killjoy information about where enemies are. This is useful for covering your flank or just giving the enemy one more thing to think about when bursting onto site.
On attack, the Turret is a little more difficult to utilise. If enemies are smoking a choke point, you can drop the Turret within the smoke, so when it eventually dissolves it can tell you if there are any enemies still covering the area. If it’s a Cypher’s or Omen’s ‘hollow’ smokes, placing a Turret inside it also prevents enemies from surprising you by pushing through the smoke towards you. As with any defender-centric gadget in Valorant, saving this for the post-plant can be devastatingly effective.
One other thing to bear in mind is that Sova’s drone and Raze’s Boom Bot will not be targeted by the Turret – however, Sova’s drone can tag the Turret.
Nanoswarm Grenade Tips
Much like Cypher’s Cage, Killjoy’s Nanoswarm is activated by looking at it and pressing F. This means timing is a pretty big deal for this ability, especially when agents can see the grenade when up close, and destroy it.
The first tip for the grenade is not only hiding the grenade around walls, much like the Alarmbot, but also hiding it within environmental obstacles. In corners, behind plant pots, underneath drop-down points are all great places to put the grenade that aren’t immediately obvious and stop enemies destroying them as quickly.
Additionally, on attack, chucking the grenade into areas you suspect an enemy is hiding in is a great move. It will damage the enemy upon detonating, confirm your suspicions if it’s destroyed, or your adversary will be flushed out of their hiding spot – all situations giving you an upper hand. Basically, use the grenade as both a timed deterrent and like a Brimstone or Phoenix Molotov.
In very specific situations, using the Grenade to flush people out is also amazing when used in tandem with Brimstone’s ultimate ability, Orbital Strike. Brimstone’s ult is timed so once activated, agents barely have enough time to get out the way before being killed. Using a grenade in conjunction with this ultimate – perhaps in the corner agents have hidden in, or in the doorway enemies will try to escape through, will corner or kill enemies. This is entirely situational – but next time you have a Brimstone on your team, keep an eye out for these opportunities.
Lockdown Tips
Lockdown is a fantastic clearing tool. Its range is huge, and although its setup is slow, it will send enemies into a decision-making panic. Where can they flee to in order to avoid being ‘detained’, or could it be an opportunity to swing out and destroy the gadget before its effects kick in?
Lockdown’s victims will be detained which means they’re slowed and have all use of guns and abilities taken away from them for eight seconds. No matter how good the player is, they will be useless for that time. Killjoy isn’t notified of where victims are, however, she will be told how many enemies have been affected, so she’ll know if the area is clear.
Lockdown’s range is massive and easily enough to cover any single point, and can even cover parts of two points on Haven. Placement will be important to decide what you want to achieve. On attack, this is useful for pretty much forcing the enemy team off a strongly contested point, giving your team the opportunity to waltz onto site.
If you don’t need the ultimate to push, then using it to hold the point once you’ve planted the spike is equally as important as it pressures enemies to fall back to avoid being ‘detained’ or more recklessly push onto the point to find the device and destroy it – leaving them more vulnerable to counterattacks. If the enemy chooses to wait out the device then you’ve bought yourself a huge amount of time, but be careful as they could use the opportunity to sneak their way onto site.
Lockdown is good for defence or attack. Enemies will either be prohibited from moving into an area or be forced out of one. The main weakness, however, is how long it takes to set up. It takes 13 seconds for the ultimate to take effect, and at the end of this period all enemy players still within the radius will be detained, so there will be players who push hard to destroy the device. Make sure you aren’t caught off guard by these bold agents.
Those are the best tips for using Killjoy’s abilities right now. As time goes on, players will find even more inventive uses for her gadgets much like Sage’s wall and slow orb spots or Sova’s arrow lineups.
If you’re not into playing Killjoy after all, don’t worry here are all the Valorant characters and abilities and our Valorant tier list in case you’re just after the best of the bunch.
