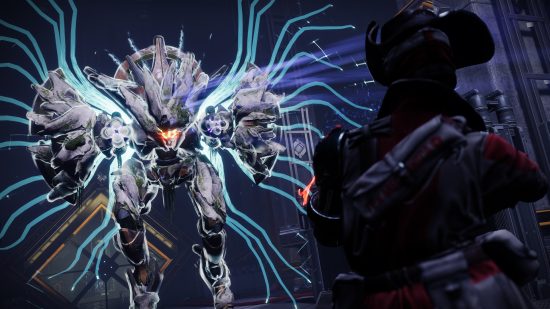
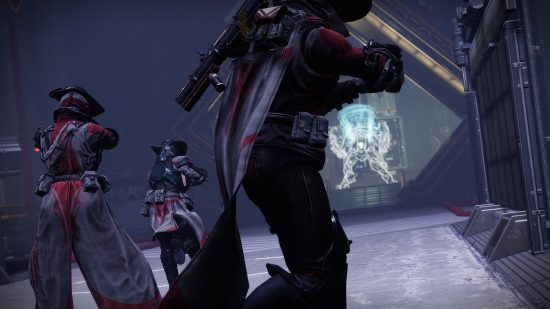
Looking for a Destiny 2 Spire of the Watcher dungeon guide? It features a fight for control of a Seraph facility currently overrun by Xivu Arath-led Vex forces. If you’re looking at this guide, you probably want to know how to beat the Destiny 2 Spire of the Watcher dungeon. You’ll do this by ensuring these forces won’t succeed in their activities by taking down Persys, Primordial Ruin.
Of course, it’s not that simple. Like all dungeons and raids in one of the best free PC games, this involves solving a series of puzzles while facing challenging enemies in an environment that restricts respawning. Therefore, you’ll want to know as much as possible about the new Destiny 2 Spire of the Watcher dungeon before you tackle it. Do note that using the best Destiny 2 Warlock builds, the best Hunter builds, and the best Titan builds will serve you well here.
How to start Spire of the Watcher
Owning The Witch Queen Deluxe Edition grants players access to the dungeon, but those who do not own the deluxe package that also contains the seasonal content will have to purchase a Dungeon Key, which will grant access to the Duality dungeon and Spire of the Watcher. This key costs around £17 or $20. Note that you’ll also need to complete the first mission of The Witch Queen to gain access.
Access the dungeon by visiting Ikora Rey in the Tower. She’ll give you the Ares Desperado quest, which notes that a Seraph facility that has been offline since the Collapse has powered on, and that there are Vex signatures converging on it.
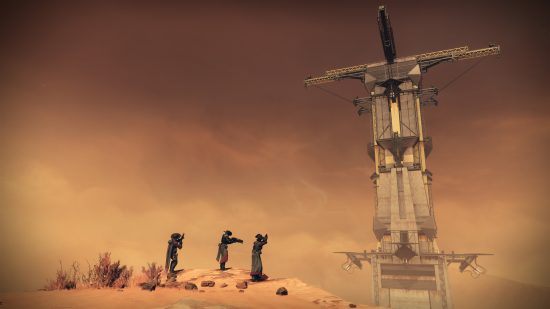
Head to the Enclave on Mars, which you can access from Savathun’s Throne World in the Director. The dungeon icon will be above and to the right of the diamond. In the next screen, you can set the dungeon difficulty to Normal (1570 recommended Power) or Master (1610 recommended Power and additional modifiers).
Upon clicking in, you’ll emerge outside of a facility, and enemies will quickly spawn in. You’ll also notice yellow wires all throughout the area, which you can follow to find diamond-shaped nodes.
Search the area for a special Vex Minotaur, called a Conduit Minotaur. Upon defeating it, it will drop glowing Arc energy, which grants the Arctrician buff. The buff allows you to destroy the nodes that connect to the wires. You’ll need to shoot the nodes in a specific order. Once you have the buff, find and shoot the first, which you’ll notice because only one wire is coming out of it. Follow the wire to the next node, which you can then shoot. The wire connecting the two nodes will turn blue. Then, follow the yellow wire to the next node until you’ve shot all nodes. This will open the door to the dungeon.
The Ascent platforming puzzle
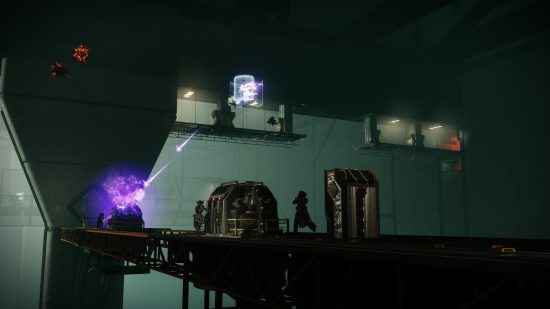
After making your way through a few hallways, you’ll climb a platform that takes you through a red door and into the main Ascent area. From the platform, jump the one that crosses the room in front of you, defeating enemies along the way. Then, jump on the series of hanging carts. At the end of this sequence, look to the left and you’ll notice a tall column. There’s a difficult-to-see platform on it, which you’ll then jump on and begin climbing a series of platforms.
You’ll then follow another series of intuitive jumps until you come to a point where there seems to be no place to go. However, the column ahead of you is actually blocking the platform where you need to jump, so jump around it and land on the platform below. Head forward, which takes you to the first encounter.
First encounter: Ascend the Spire
Follow the platforms upward. There will be two wires, similar to what you saw at the beginning of the dungeon. Find the Vex Conduit Minotaur and defeat it again. Once you have this buff, shoot the nodes one by one following the wire around.
You’ll then complete the lift, which you can take to a higher level and perform the same task again, avoiding the circuits that can kill you if you touch them. Although the mechanics aren’t difficult, this process is relatively tough while enemies are hunting you. Although it’s more of a traversal, this is considered the dungeon’s first encounter, meaning it will lead you to your first chest.
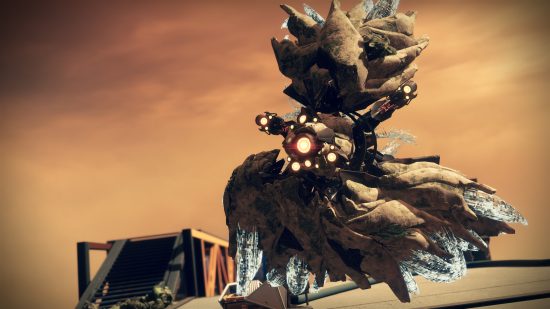
Second encounter: Akelous, the Siren’s Current boss guide
After the chest is yours, climb just a little higher to face the boss. For this encounter, be sure to carry high-DPS medium-to-long-range weapons such as sniper rifles, rocket launchers, and linear fusion rifles, as you’ll need them to defeat the boss.
The boss is impenetrable until you perform a set of tasks, which use similar mechanics to those you’ve already seen. At the center of the platform, you’ll see four wires leading in different directions, each of which leads to a platform.
You’ll defeat the Vex Conduit Minotaur and, when buffed, you’ll choose one of the wires, follow it, and shoot the nodes along its path in sequence until you shoot the fuel rod, which is at the end of each set of wires.
The boss, Akelous, the Siren’s Current, will emerge at the fourth and final fuel rod. It will open up similar to a Harpy to Wyvern, which gives your fireteam the opportunity to shoot its glowing spots. Upon shooting all of them, you can then DPS the boss. However, the boss will also start moving away from you, toward the center of the encounter.
Once the boss reaches the center of the platform, it becomes immune once again. Note that when it overcharges to regain its shield, it can blow you backward and off the platform, so stay far enough away that this won’t happen.
Once the boss regains its shield, begin the process of gaining the buff and shooting the nodes in order all over again. Completing this encounter grants another reward chest.
Descend puzzle
This is generally a traversal, but there are a lot of enemies and new puzzle mechanics. Here, you’ll find five red wires, and each will pair with a node. Defeat the Conduit Minotaur for the buff, then rapidly shoot the five nodes. This opens the floor below, taking you to the next floor.
The mechanics are similar for the second and third floors, though it does get progressively more difficult. The third stage, which also has exposed currents that can kill you in one hit, hides one of the nodes in the circuit column. Be sure it doesn’t hit you when you shoot it. Note that in this room, you can also move beneath a staircase to access a secret dungeon chest.
Completing the final floor puzzle opens the final floor and takes players to the final boss fight.
Final encounter: Persys, Primordial Ruin boss fight
First of all, ensure your fireteam has some sort of healing such as Well of Radiance or buffed healing grenades to help you survive the encounter. You’ll also want to ensure you have high DPS weapons such as rocket launchers, or powerful, close-range weapons such as shotguns. For DPS phases, you may also wish to rely on powerful Supers.
This encounter draws on both wire mechanics we’ve previously seen in the dungeon. You’ll find four sets of yellow wires in a separate room from the boss, and you have to open them by first addressing the red wires and nodes in the other room.
Defeat the Hydras to spawn the Conduit Minotaurs once again to get the buff, and then shoot all nodes connected to the red wires, plus a node at the top of the center door that you shoot last. Performing this task correctly will open the door, which you’ll then enter. Two nodes will have opened up, so follow the open nodes’ wires from their position behind the red wire node pillar to shoot the correct nodes connected to the open nodes. This will be the first step in triggering a reactor core purge. However, the mechanic requires one more action.
As quickly as possible, head back to the red wire area and shoot all five nodes as quickly as possible, which closes the door. Doing this successfully will set off a reactor sequence in the boss room, taking down its shield. You can then DPS the boss.
Repeat this process as many times as it takes to defeat the boss. You’ll then be able to open the chest at the end of the encounter, successfully completing the dungeon.
Destiny 2 Spire of the Watcher loot table
The final dungeon chest grants players the chance to earn the Hierarchy of Needs Exotic bow. With this bow, precision final blows grant Guidance Ring energy. At full charge, it grants a Guidance Ring. Shooting arrows through the Guidance Ring releases seeking projectiles, which do more damage based on distance traveled.
The Hierarchy of Needs of a random drop, and can only drop from your first run through the raid each week. If it doesn’t drop for you, you’ll have to wait until after the Destiny 2 weekly reset to try again. However, completing certain Triumphs can increase your chances of earning the weapon. These are:
- Devil in the Details: Find and listen to all six of the Devilish Recordings hidden in the Spire of the Watcher.
- Resident Vexpert: Complete the Spire of the Watcher on Master difficulty.
- The Magnificent One: Complete all encounters in the Spire of the Watcher solo.
- Mind the Vexplosion: Complete all encounters in the Spire of the Watcher without dying.
- Untarnished Grit: Complete all encounters in the Spire of the Watcher solo and without dying.
The weapon’s catalyst appears to be a guaranteed drop from completing the dungeon on Master difficulty.
Additional Spire of the Watcher dungeon rewards
Additional possible weapon rewards include:
- Terminus Horizon: Legendary machine gun (all encounters)
- Long Arm: Legendary scout rifle (first encounter, final encounter)
- Seventh Seraph Carbine: Legendary auto rifle (first encounter, final encounter)
- Seventh Seraph Officer Revolver: Legendary hand cannon (second encounter, final encounter)
- Wilderflight: Legendary grenade launcher (final encounter)
- Liminal Vigil: Legendary sidearm (final encounter)
All weapons include a special origin trait. With Tex Balanced Stock, damaging targets while firing from the hip increases handling, reload speed, and movement speed while aiming down sights.
Players can also earn pieces of a unique Western-themed Tex Machina armor set.
- Head (first encounter, final encounter)
- Arms (all encounters)
- Chest (second encounter, final encounter)
- Legs (first encounter, final encounter)
- Class item (second encounter, final encounter)
And finally, Guardians can also earn the Into the Sunset Exotic Sparrow, which features a similar style to the armor set.
That’s everything to know about the Destiny 2 Spire of the Watcher dungeon. Check our Destiny 2 Lightfall release date guide and Destiny 2 Strand subclass guide to see what will be coming to the game in 2023.
