
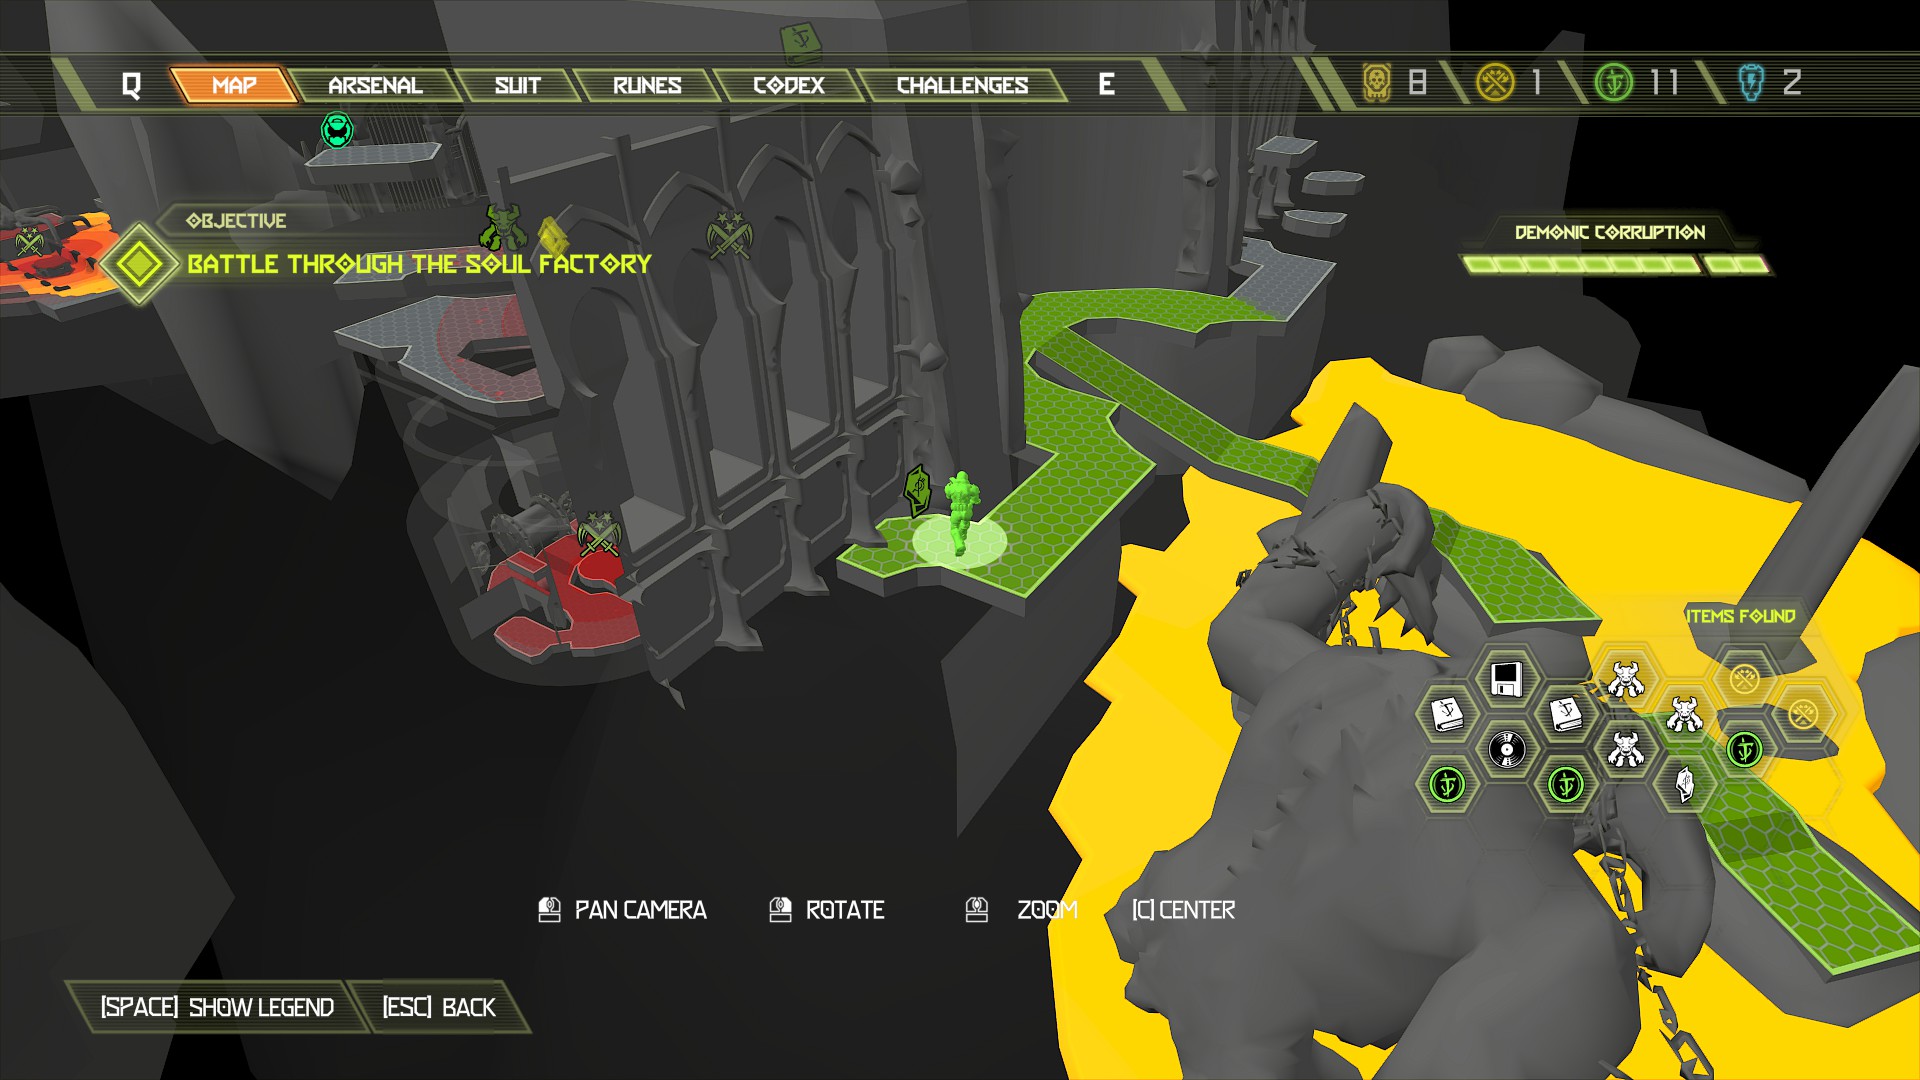
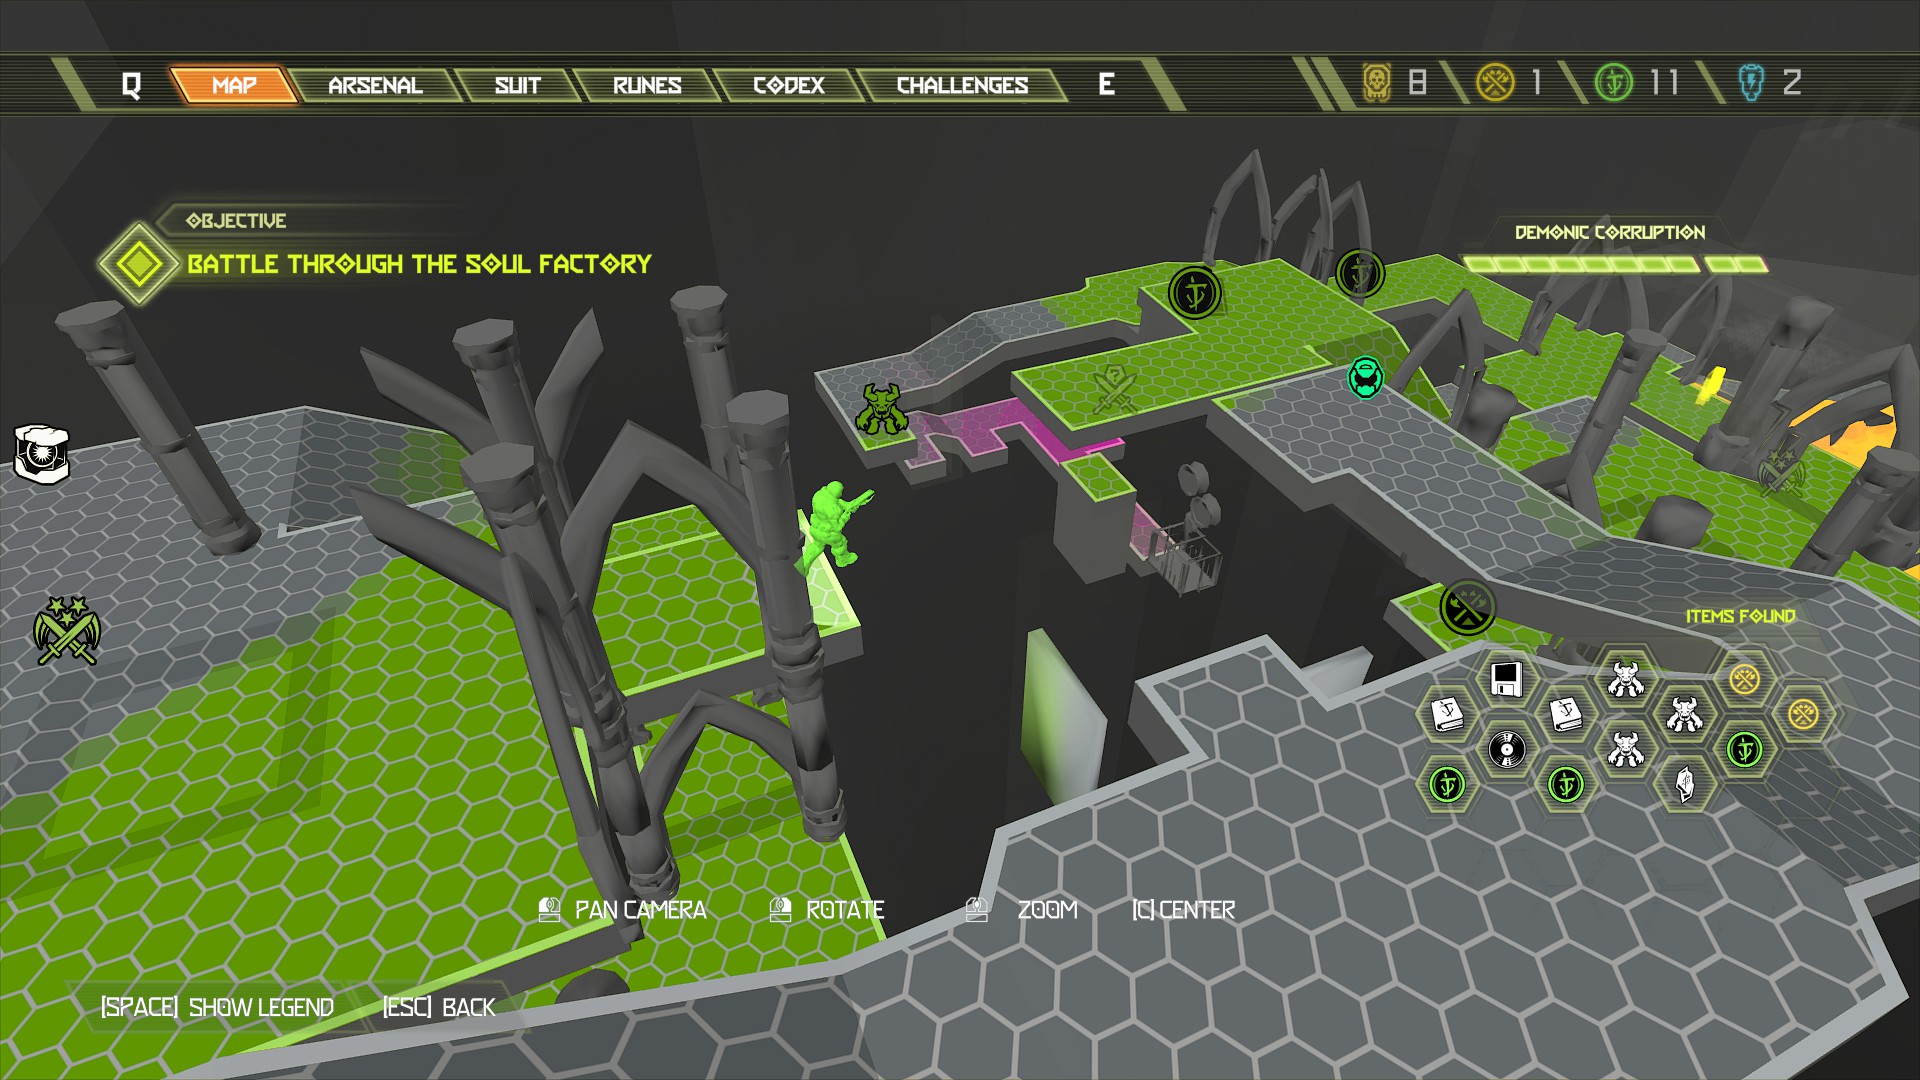
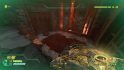
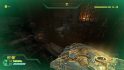
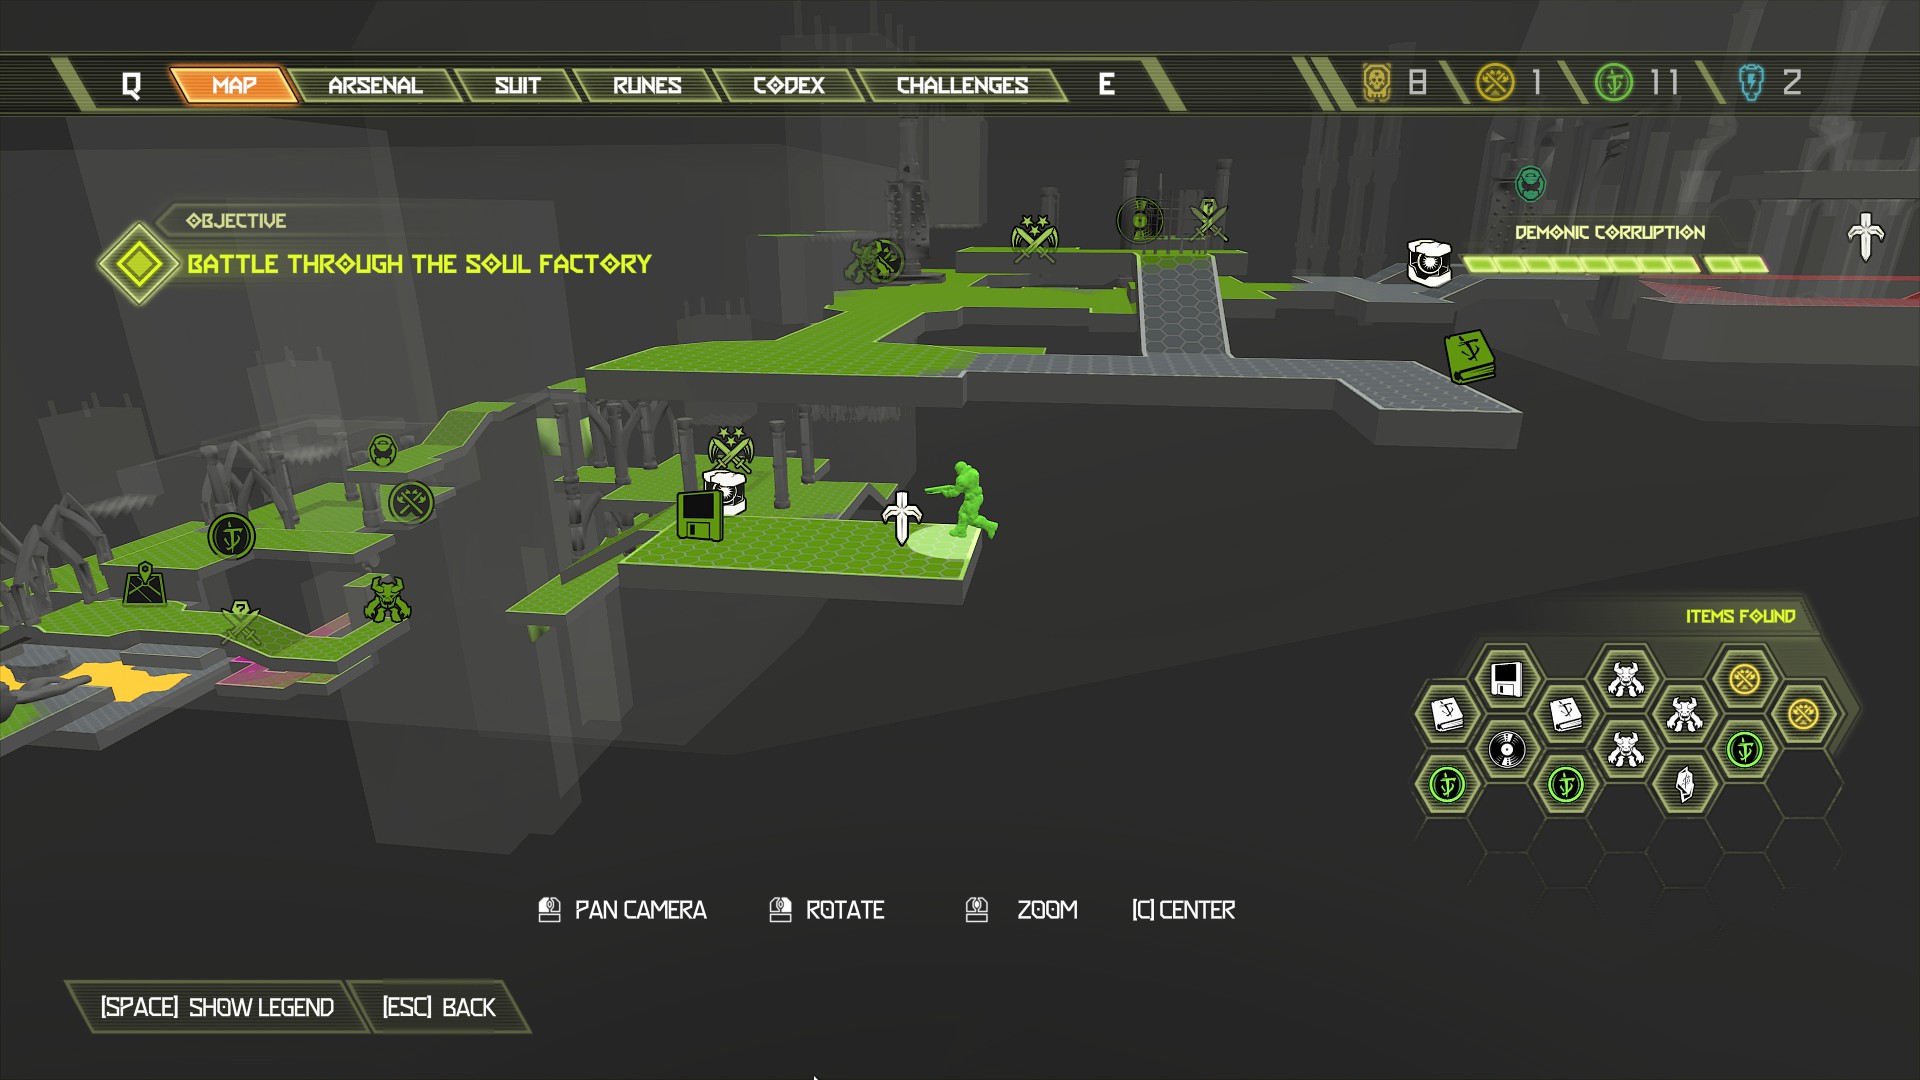
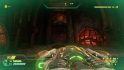
Struggling to figure out how to access some of the many Doom Eternal Nakravol collectibles and secrets? Even though they’re often tucked away behind a grate or visible on your map, Doom Eternal does an excellent job of making you really work to find every single collectible and secret on any level.
While we’ve already assembled a Doom Eternal Hell on Earth collectibles guide, a Doom Eternal Exultia secrets walkthrough, and a how-to on the Fortress of Doom collectibles, we know that many, many players are struggling with hoovering up all of the Nekravol collectibles in particular. We’ve found all every secret in this main mission and below you’ll find a image-heavy walkthrough of how to grab them all for yourself.
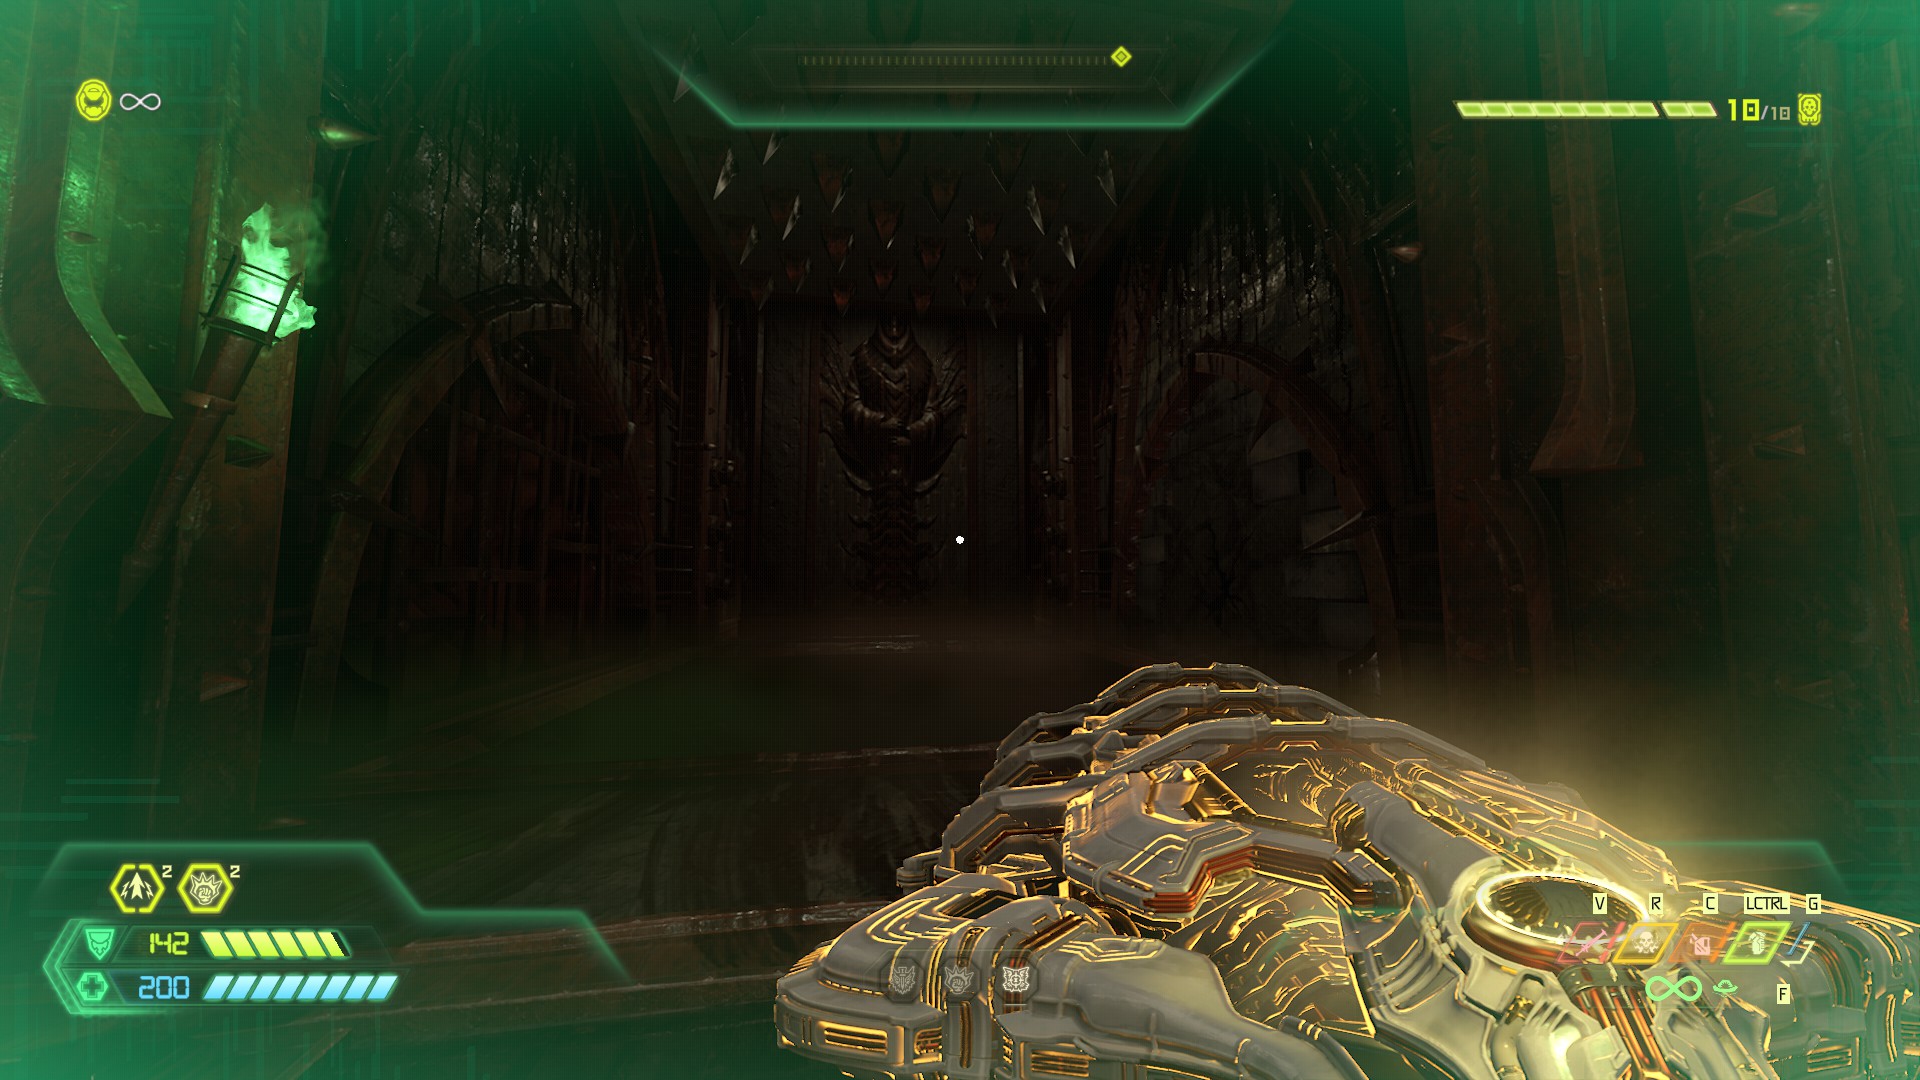
A couple of things will make your life easier: up your gamma so you can spot breakable walls more easily, and enable cheats for any missions you don’t need to complete a Doom Eternal Slayer Gate on. We won’t be going over any of the collectibles that are on the main mission path as this will just waste your time, we’re only breaking down the actually hidden ones. With those quick tips out of the way, here’s where to find all Doom Eternal Nekravol collectibles.

Sentinel Crystal
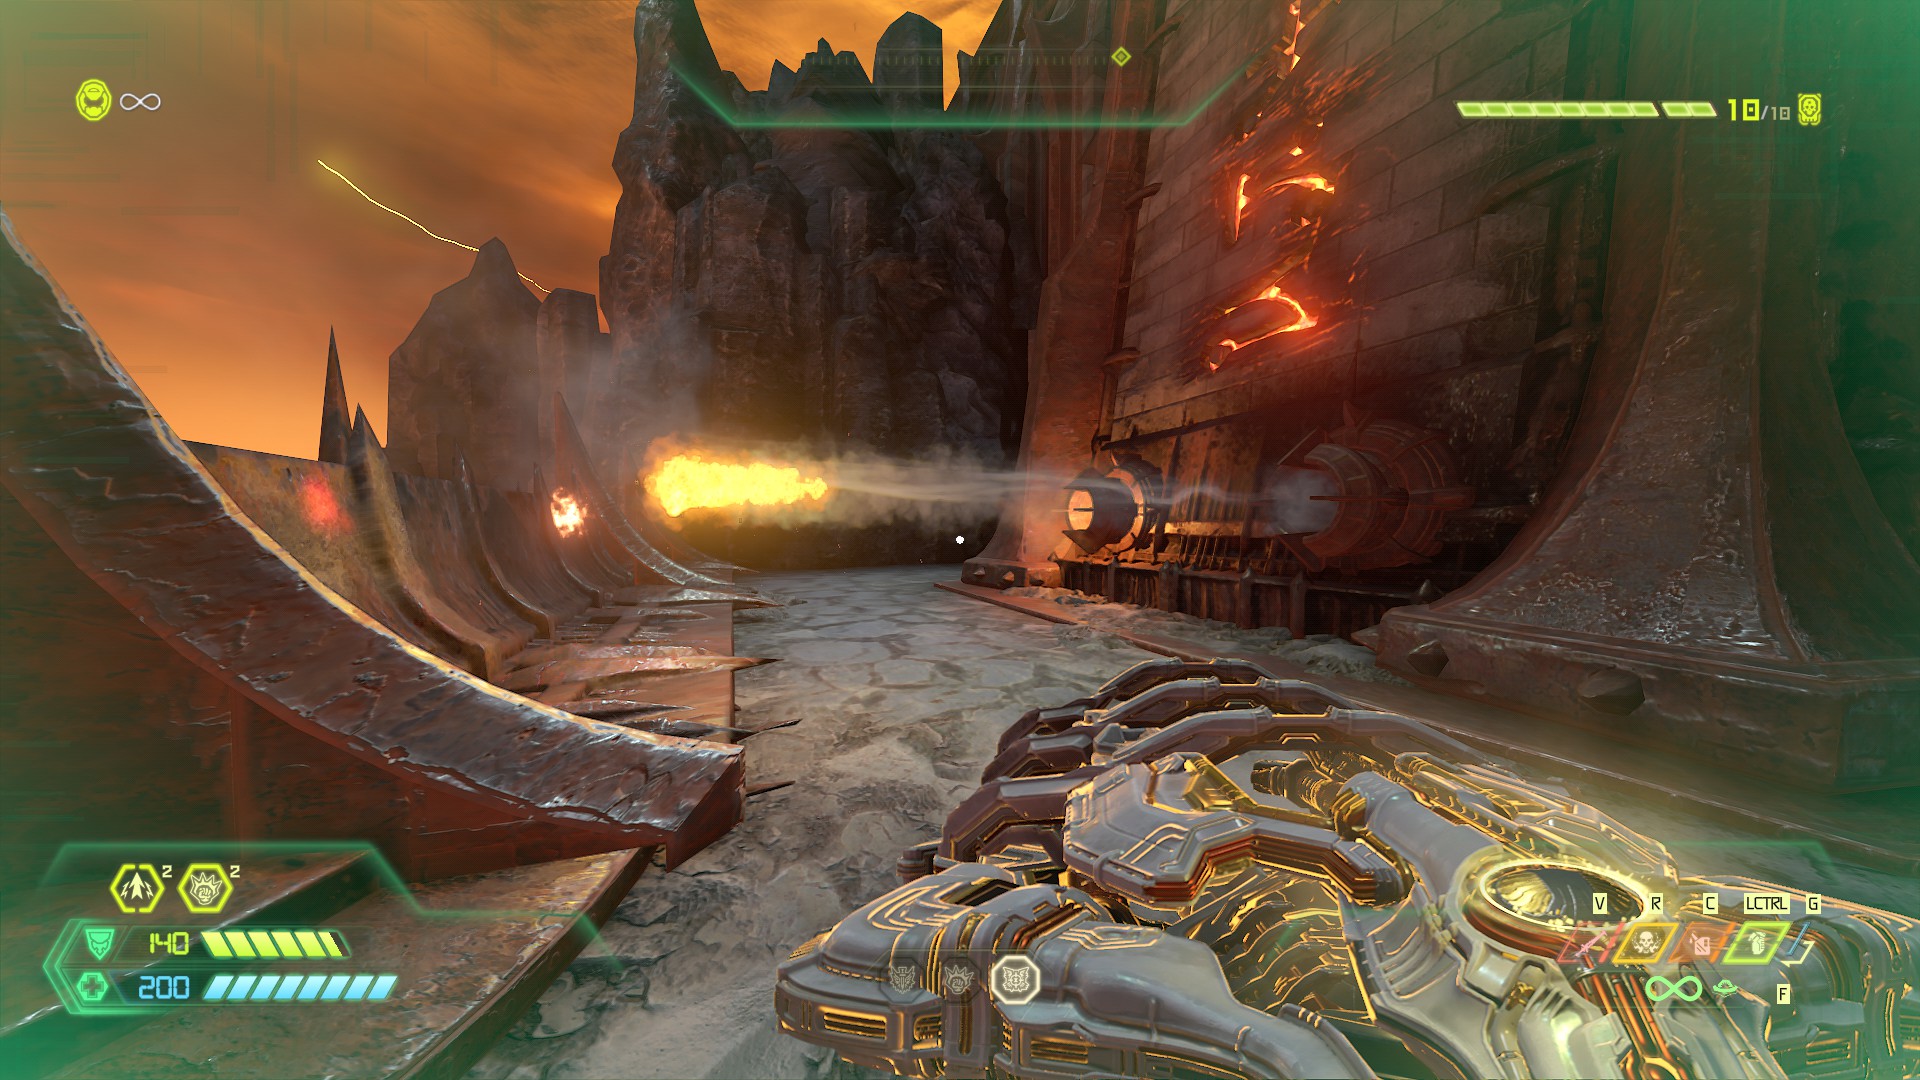
This one is easy to grab. From the first fight on the stairs to Nekravol, head left instead of right, it’s just around the corner.

Hidden codex 1
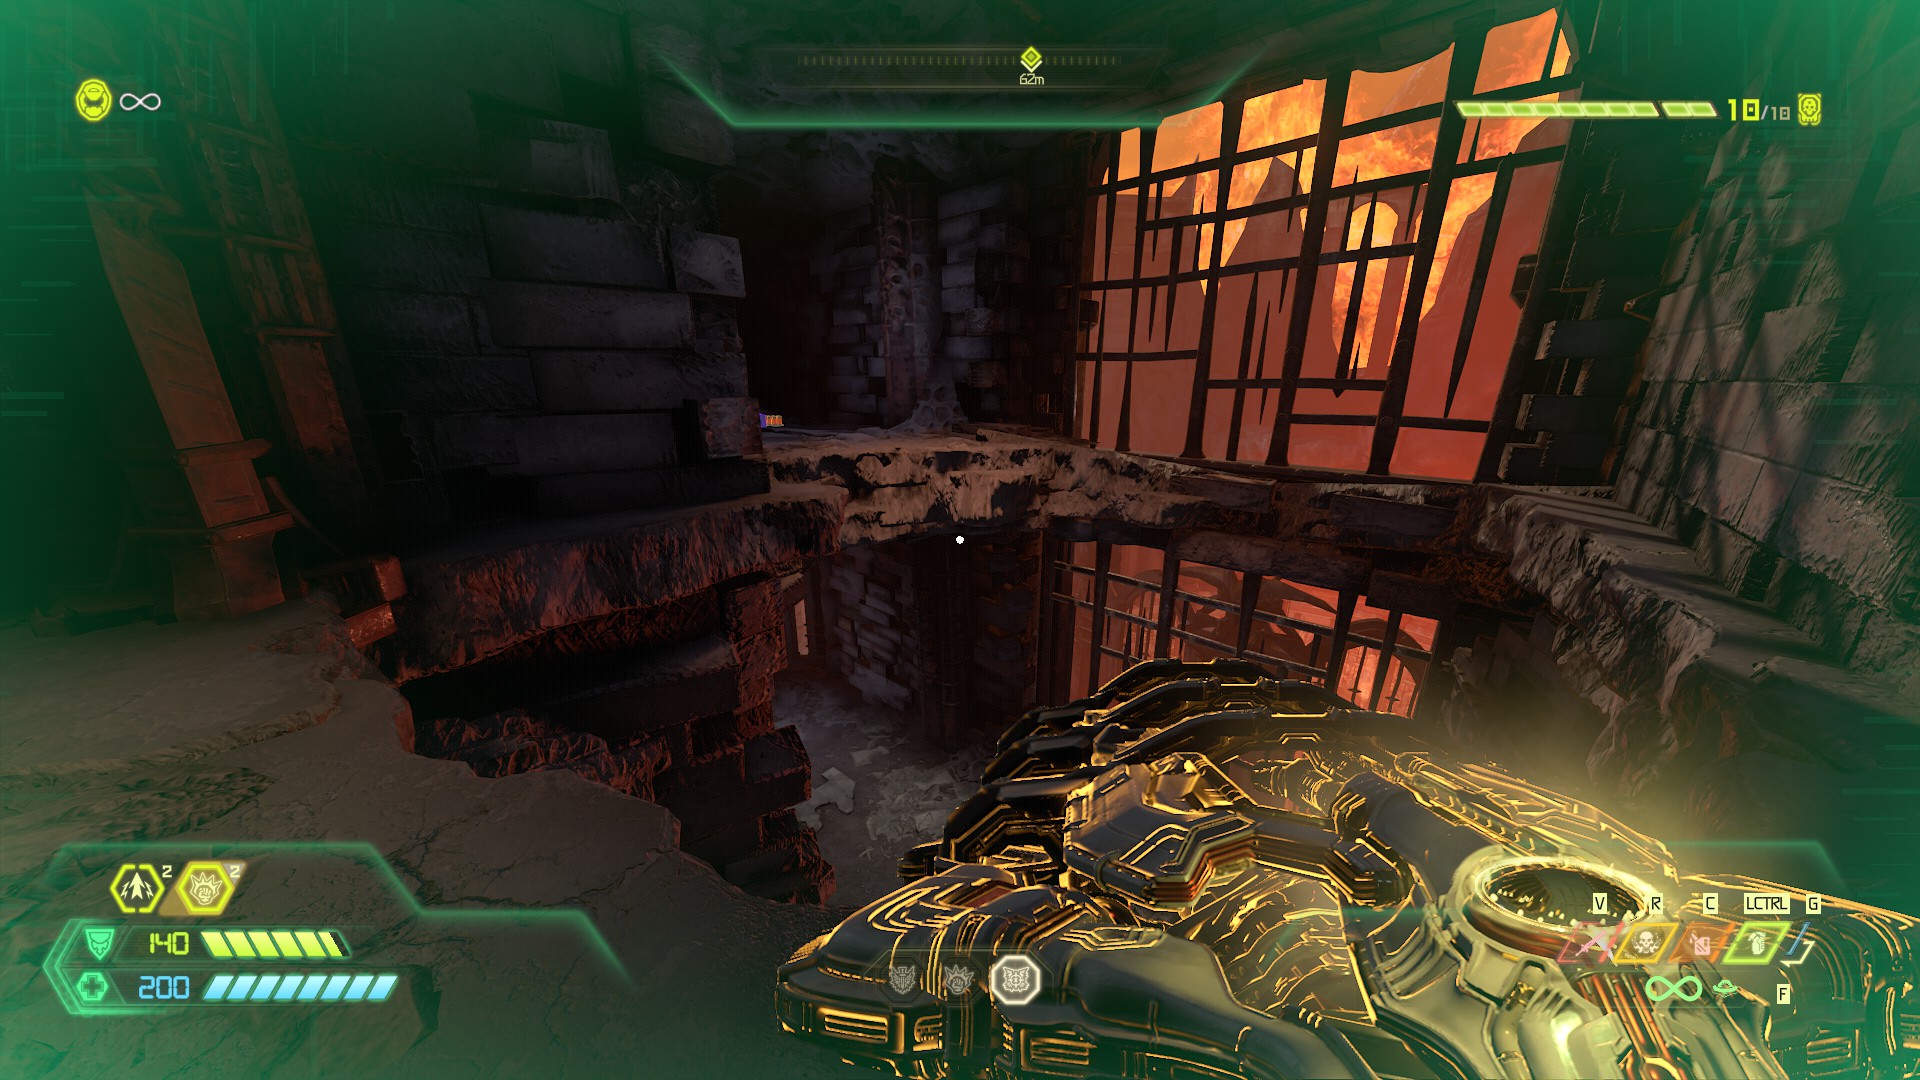
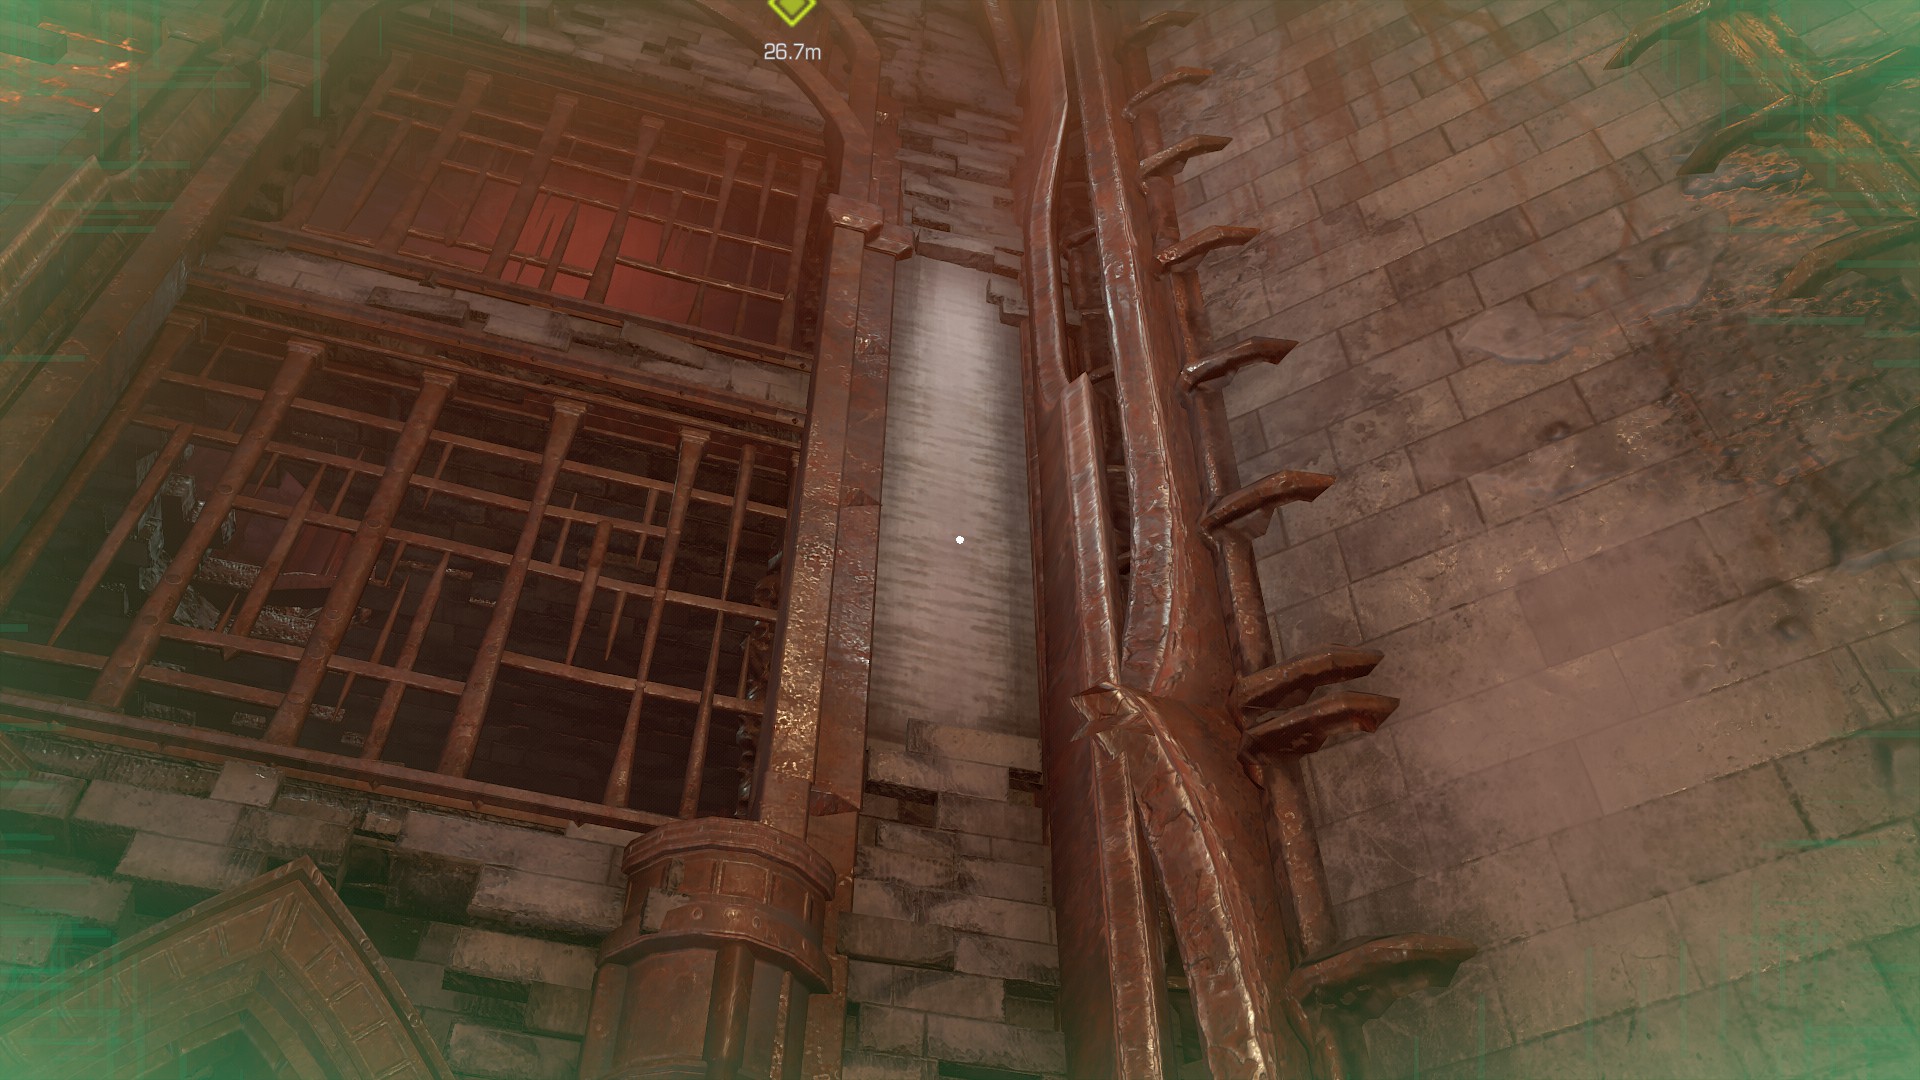
When you head inside the castle-like building, there is a corridor with a large hole in the floor – jump across this and head left around the corner to find an extra codex entry.


Toy 1
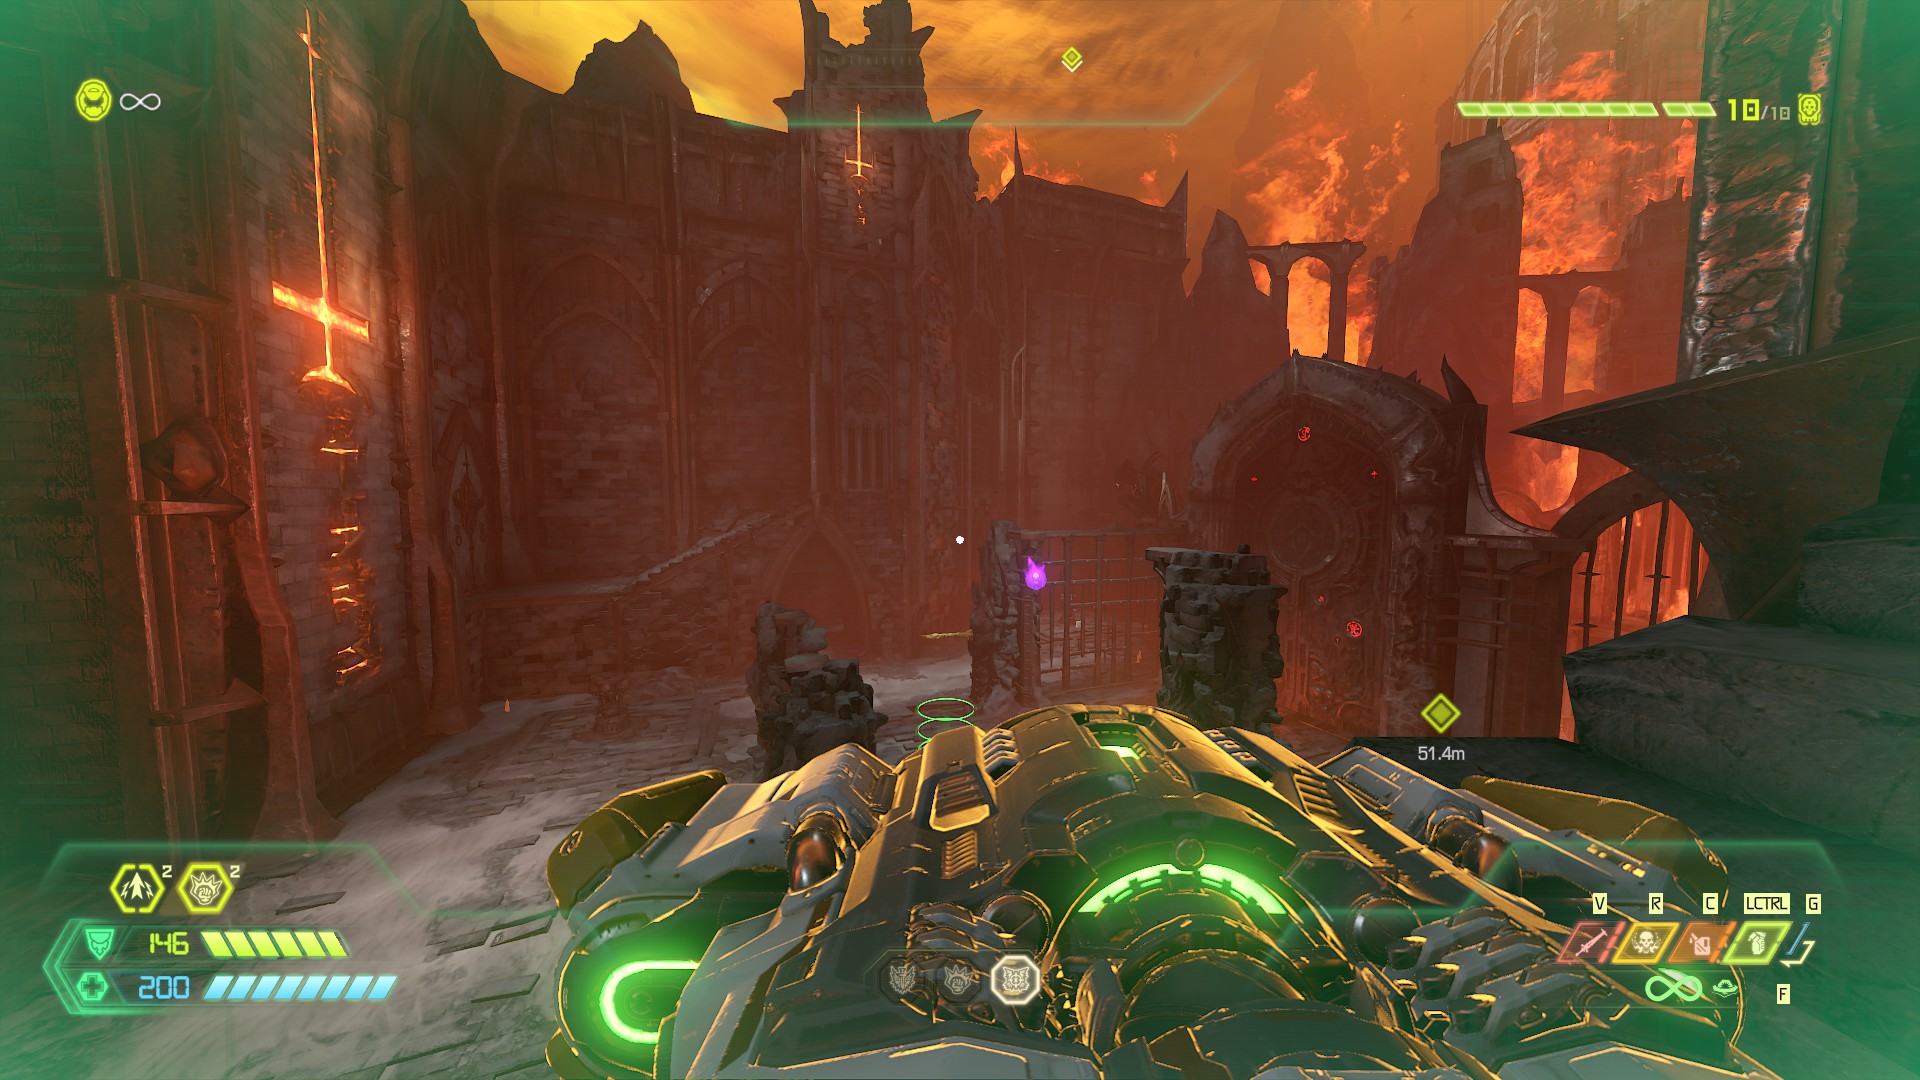
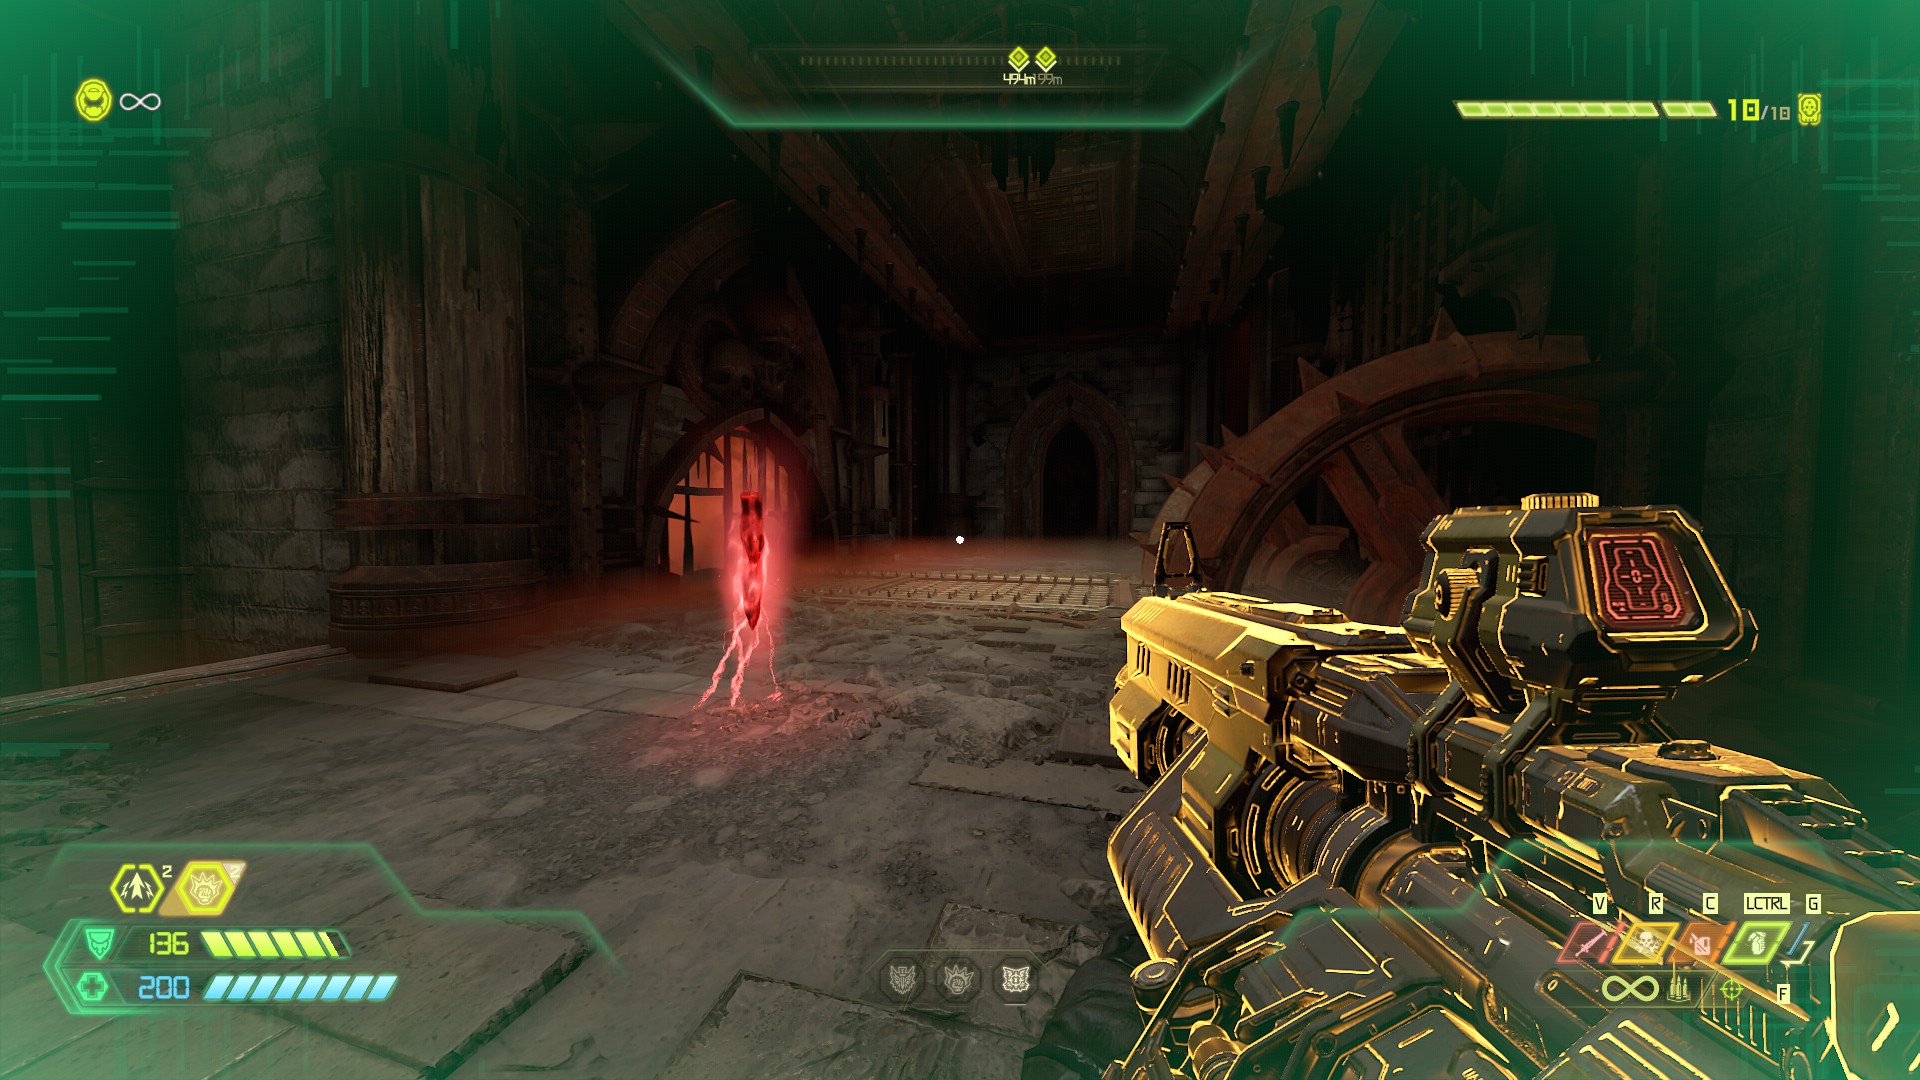
This one is very devious. In the large courtyard where you’ll fight several major enemies there is a series of monkey bars leading up the left tower. You can see a question mark through a portcullis here, but the monkey bars don’t go high enough to get you inside. Hidden around the right side of the tower is a small patch of climbing wall that’s easy to miss. Monkey bar up and across to it, then climb up and into the tower.

Praetor Suit upgrade 1
After shooting all of the giant brains eyes and punching your way through to the next area, head right instead of left. Just around the corner there’s a Praetor Suit upgrade token.


Toy 2
Progress a little further by taking the left path and you’ll arrive at a chasm, adjacent to this is a small lower lever with a closed gate that blocks your path. Ignore this for now, instead, make the gap across the chasm, turn around, and you should spot a small entrance below the one you just leapt from. Jump into this, grab the collectibles along the path, and you will open up the gate from before.


Toy 3
This is coupled together with a weapon mastery token and is through a breakable wall to the right of the first corridor of death traps (the big stampy gore traps).

Hidden codex 2
When you come across a large room with a single spinning spike machine, keep going down a corridor where you’ll fight a Marauder, and turn left around the corner – there’s a codex on the right.
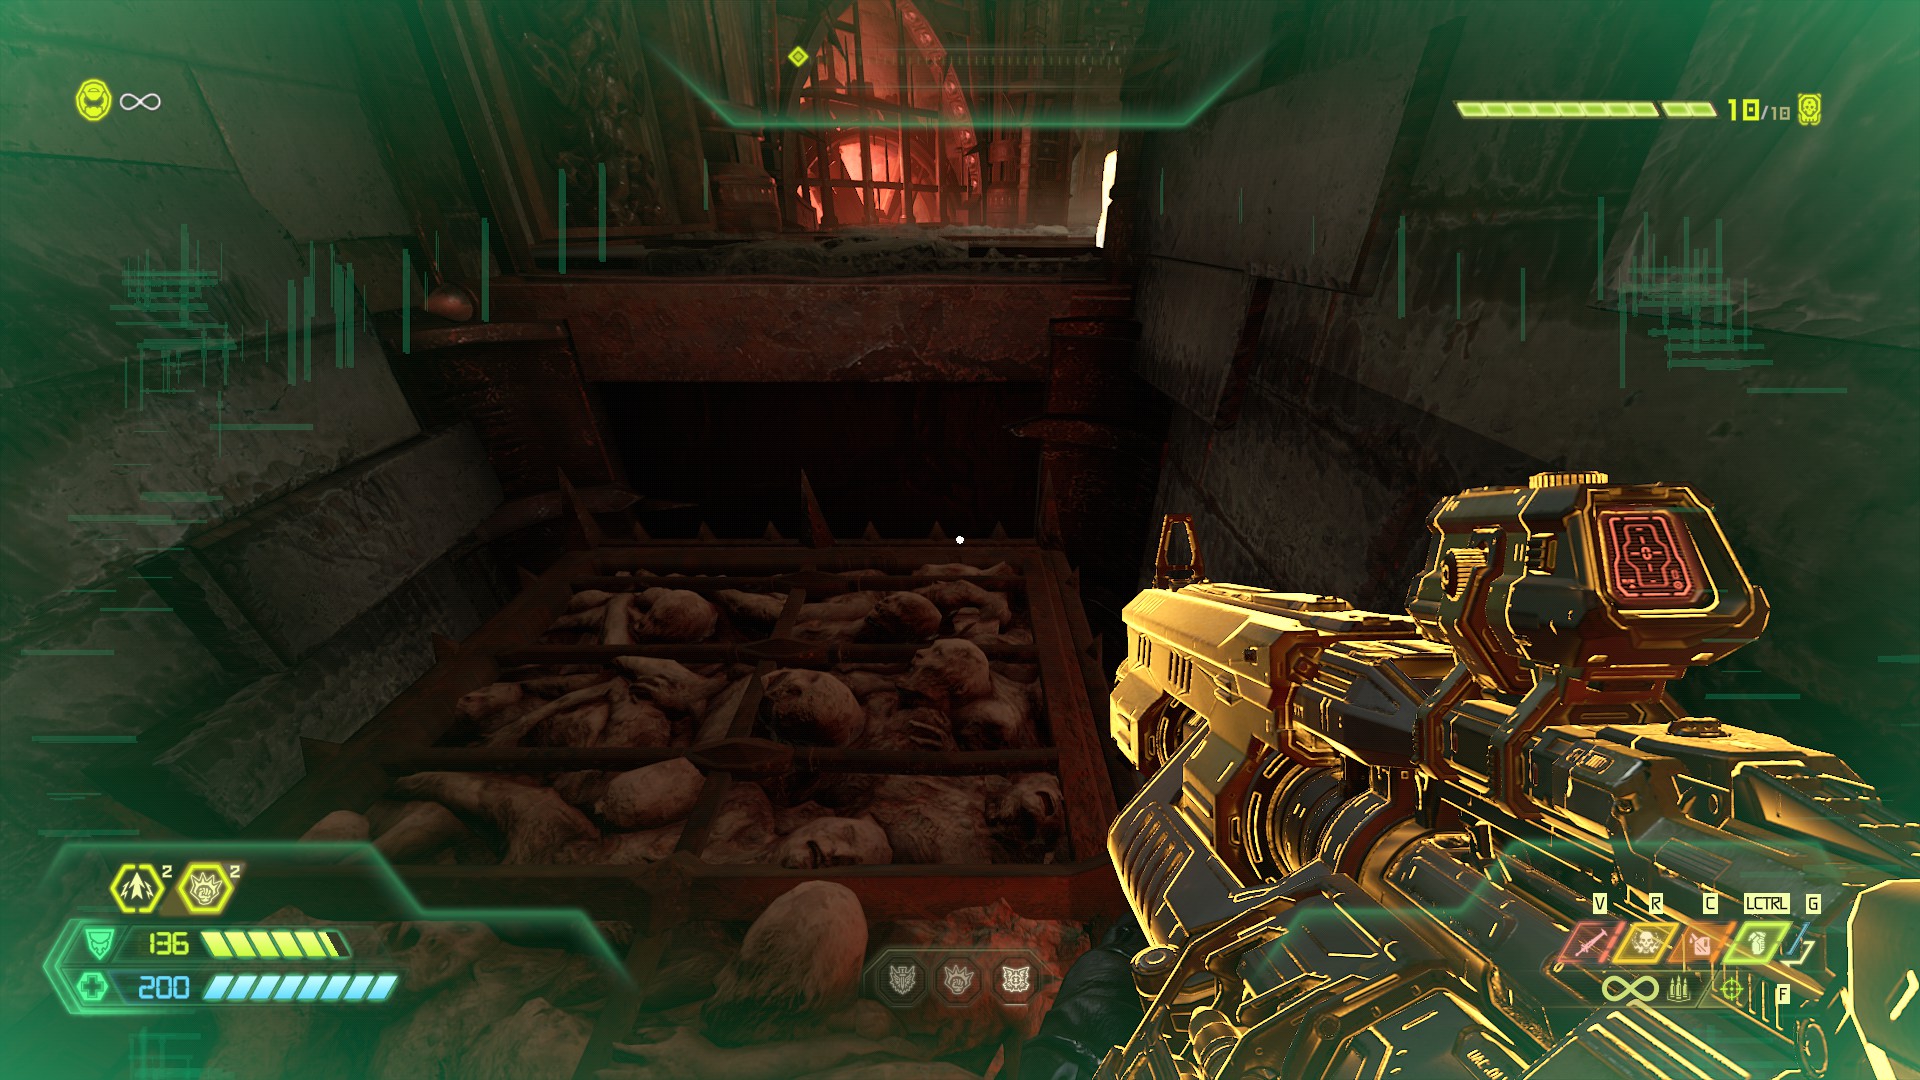

Cheat code 1
When you head back to the spinning spike machine there is a pair of corpse elevators. As soon as you can fit underneath one, dash down and back out when you’re at the bottom. This is where you’ll find a Crucible pickup and a cheat code.

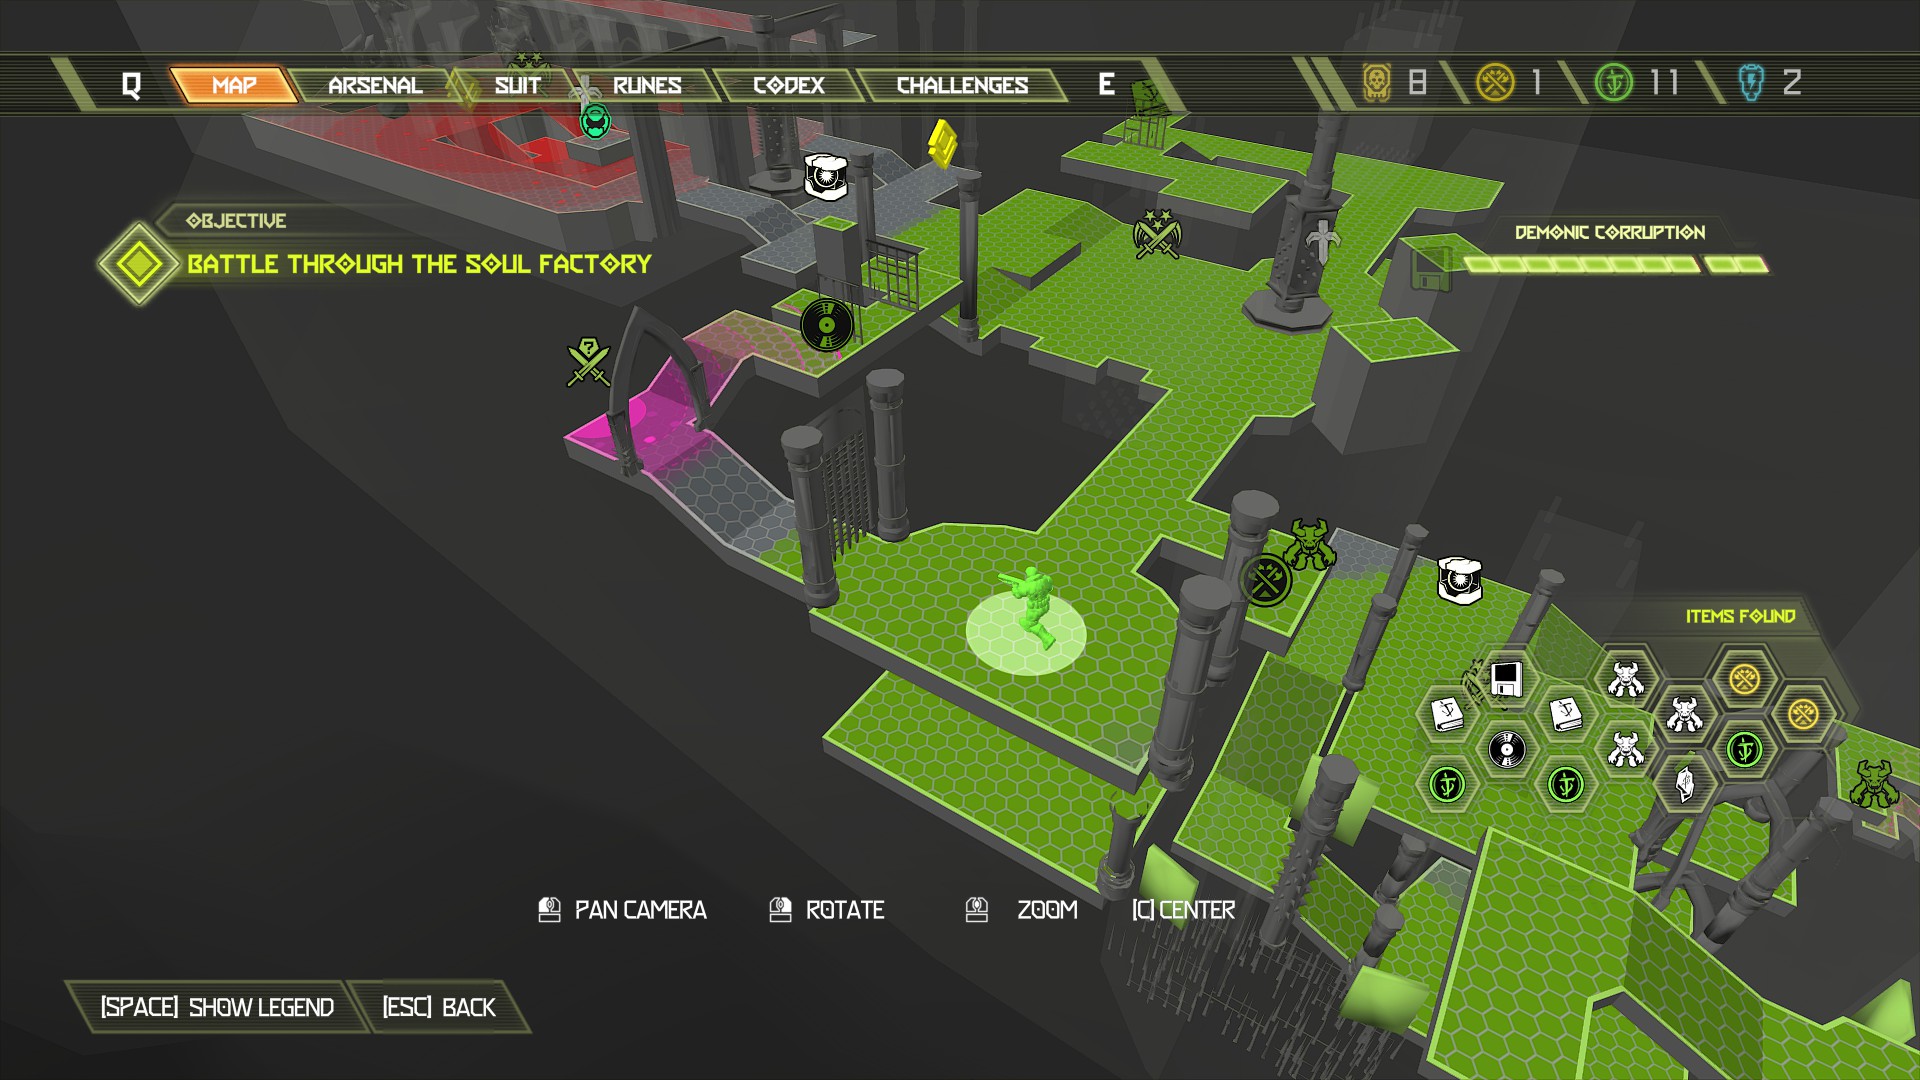
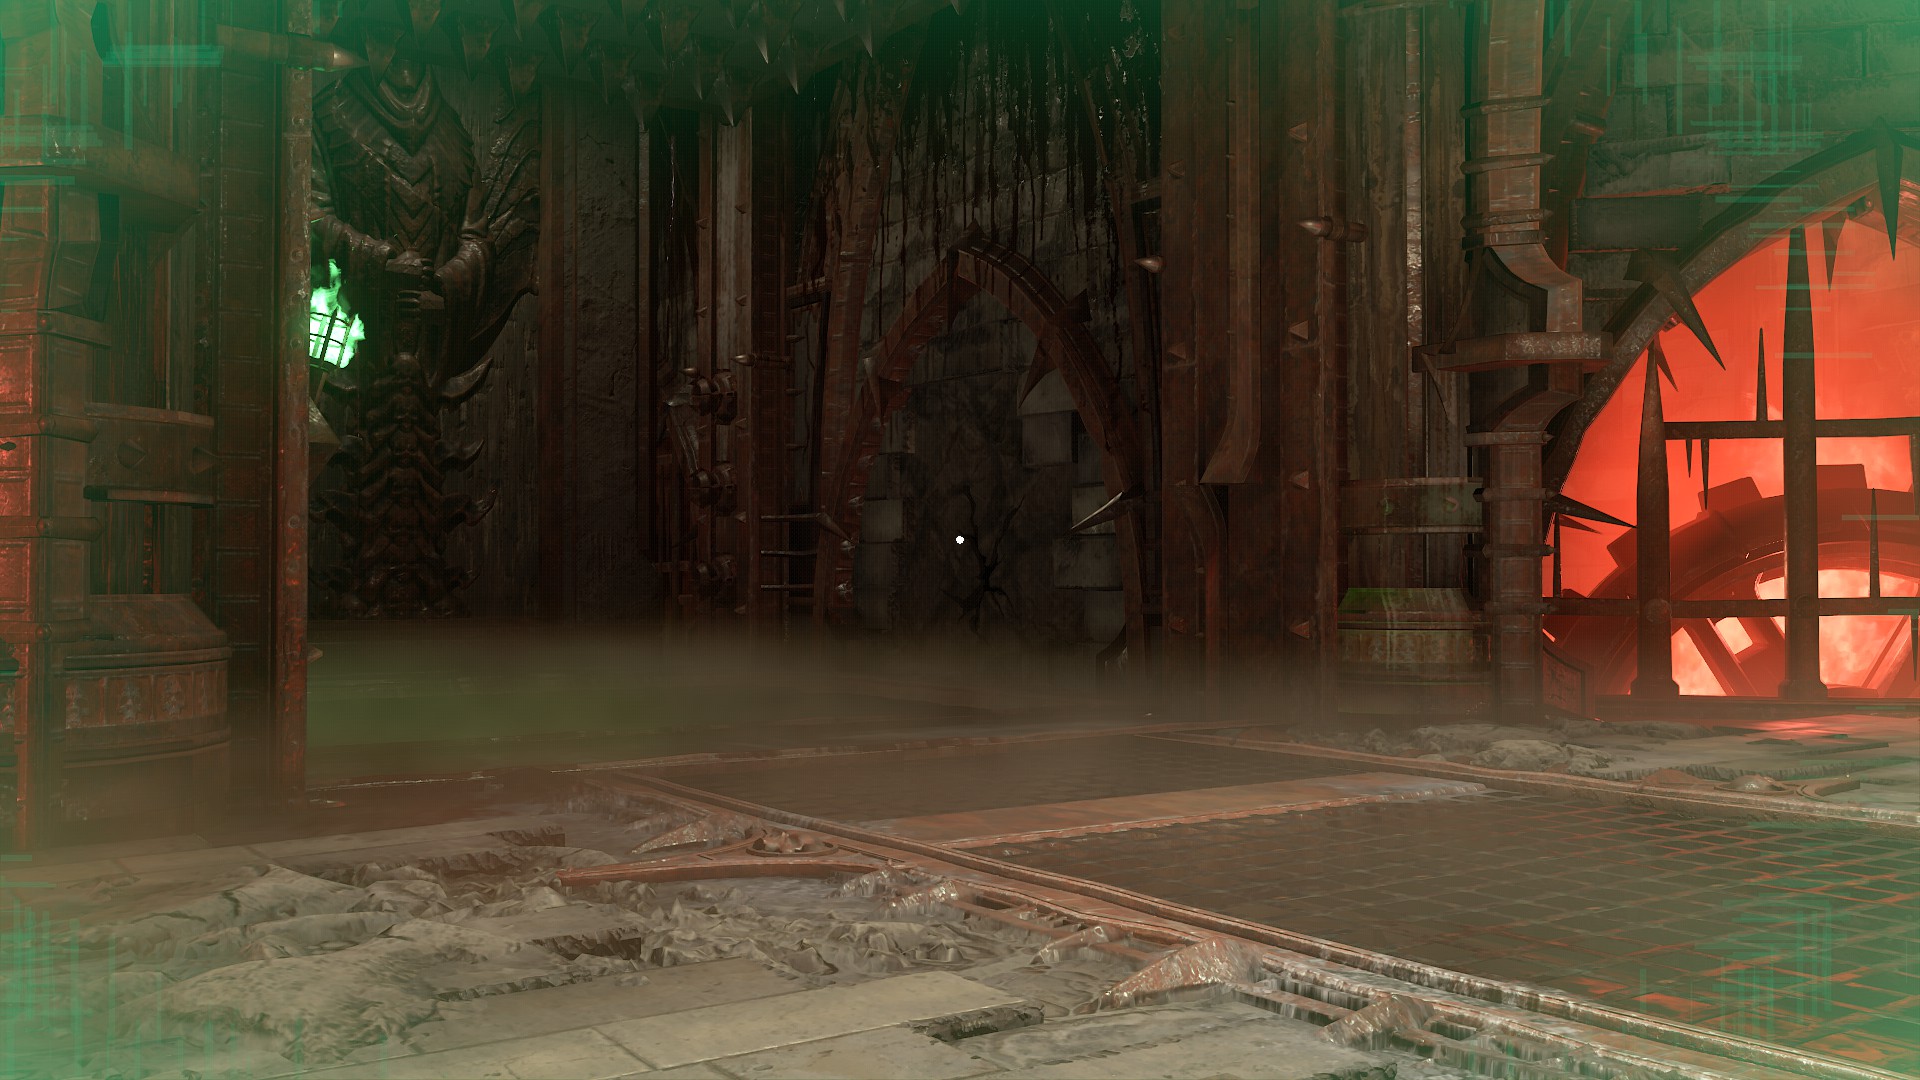
Soundtrack
On the left wing of the room with the spinny spike machine, you’ll find a closed portcullis. There is a gore nest and a soundtrack through here, but you won’t be able to access it until you open up all of the levers in the final arena of the mission. Just be ready to backtrack before finishing the mission.