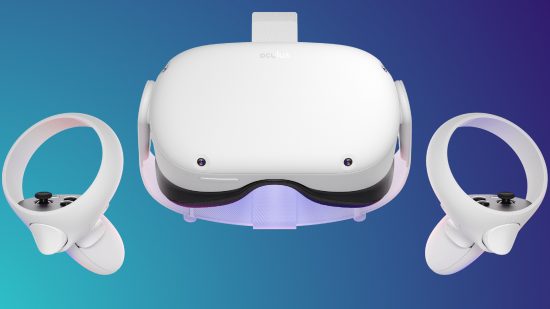
Meta Quest 2 is one of the easiest VR headsets to get started with, as Meta’s standalone approach with Quest headsets make setup a relatively straightforward affair; you don’t need a PC or external sensors. Charge the headset, turn the power on, follow the instructions, and you are good to go.
That isn’t to say you can’t play Steam games on Meta Quest 2, though. Thanks to Air Link – which is also compatible with the original Quest and Meta Quest Pro – you can experience some of the best VR games not currently on Quest, like Half-Life Alyx or Star Wars: Squadrons.
However, Quest 2’s strength lies in its simplicity. By not requiring additional devices, many VR users often consider it the best VR headset, reportedly selling over 10 million units. So, if you’re looking to jump into some Beat Saber for the first time, here’s our guide on setting up your Quest 2.
1. Download the Meta Quest app
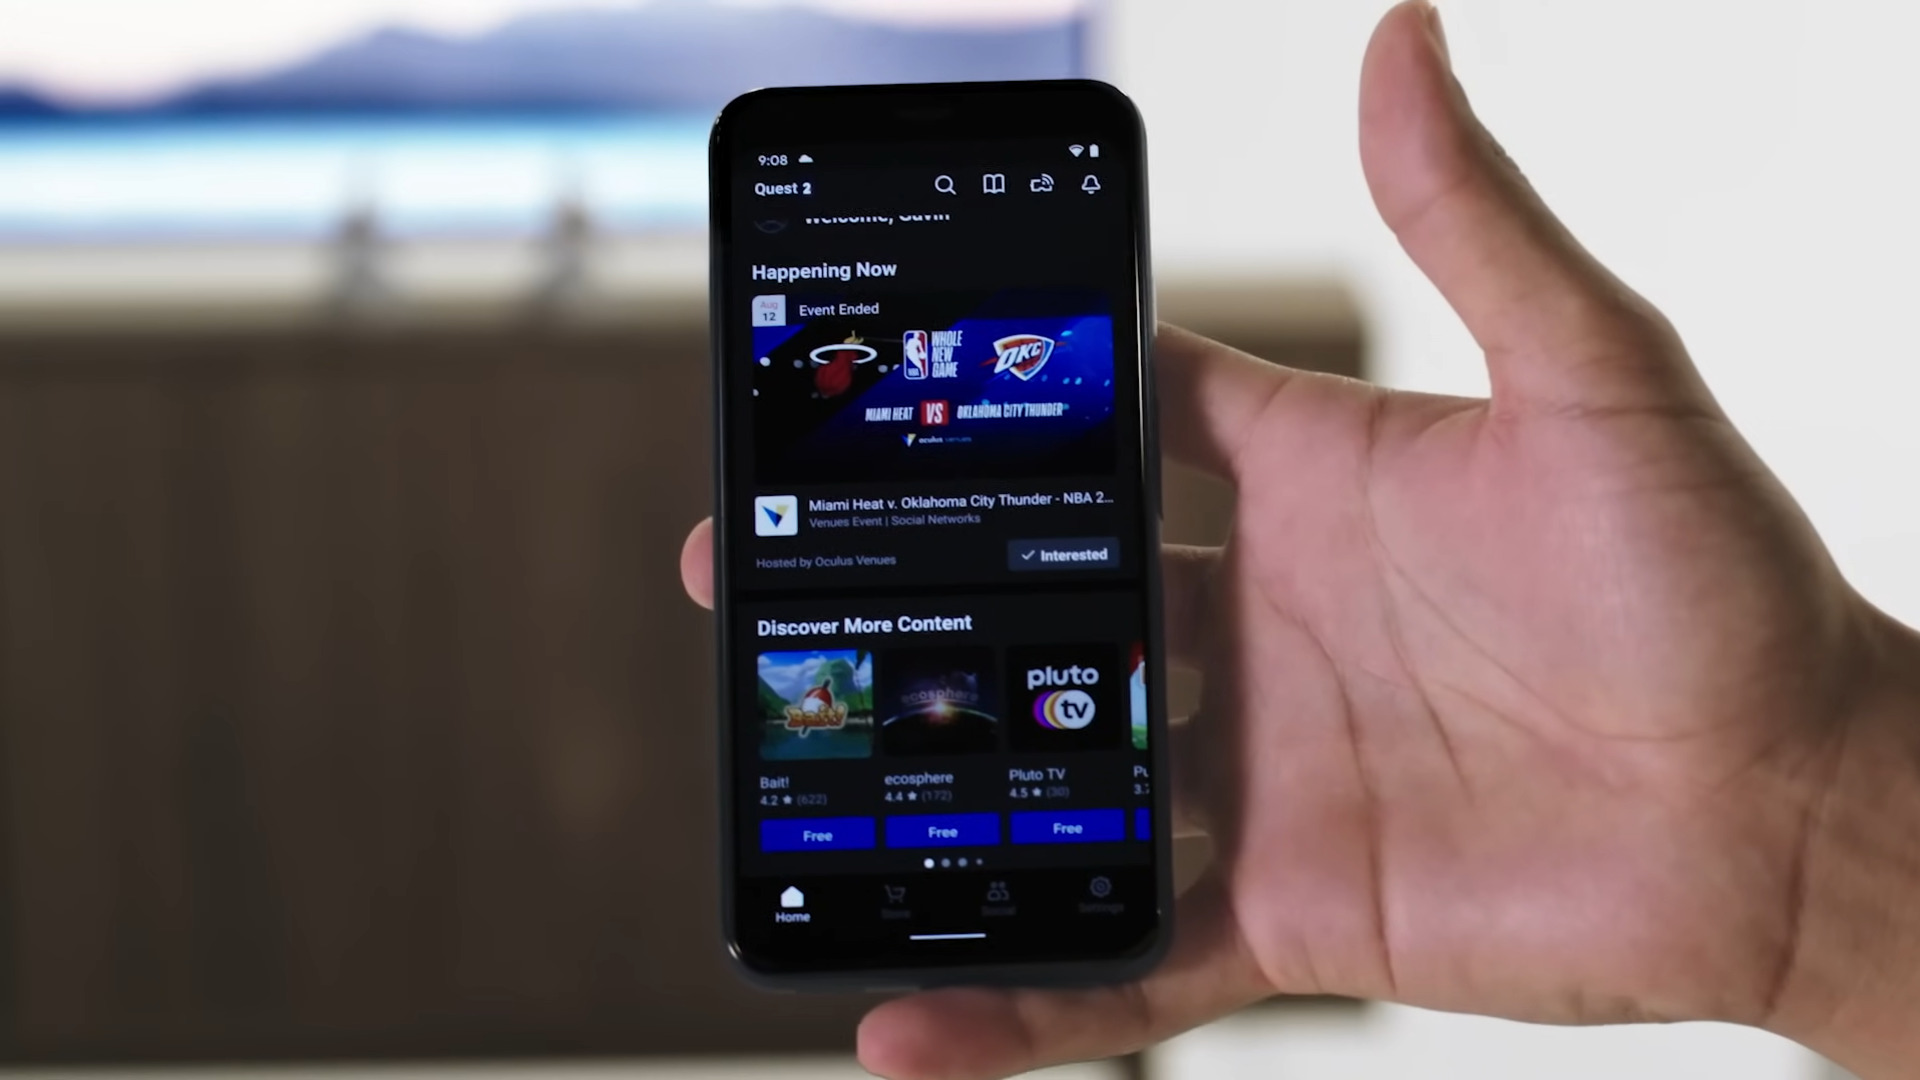
We recommend downloading the free Meta Quest app first, which is available on both Android and iOS. If you’re entirely new, set up a Meta account or use your Facebook profile to log in. While a Facebook account was mandatory for all Quest 2 users, Meta scaled back this requirement in late 2022, making it optional.
While you can use the app to connect Quest 2 to a TV, it’s also a handy companion that lets you browse the Meta Store without needing to put your headset on. Our advice is to turn on your smartphone’s Bluetooth during this phase, so you can pair up your devices with less hassle while also wearing a VR headset.
2. Unbox the Meta Quest 2
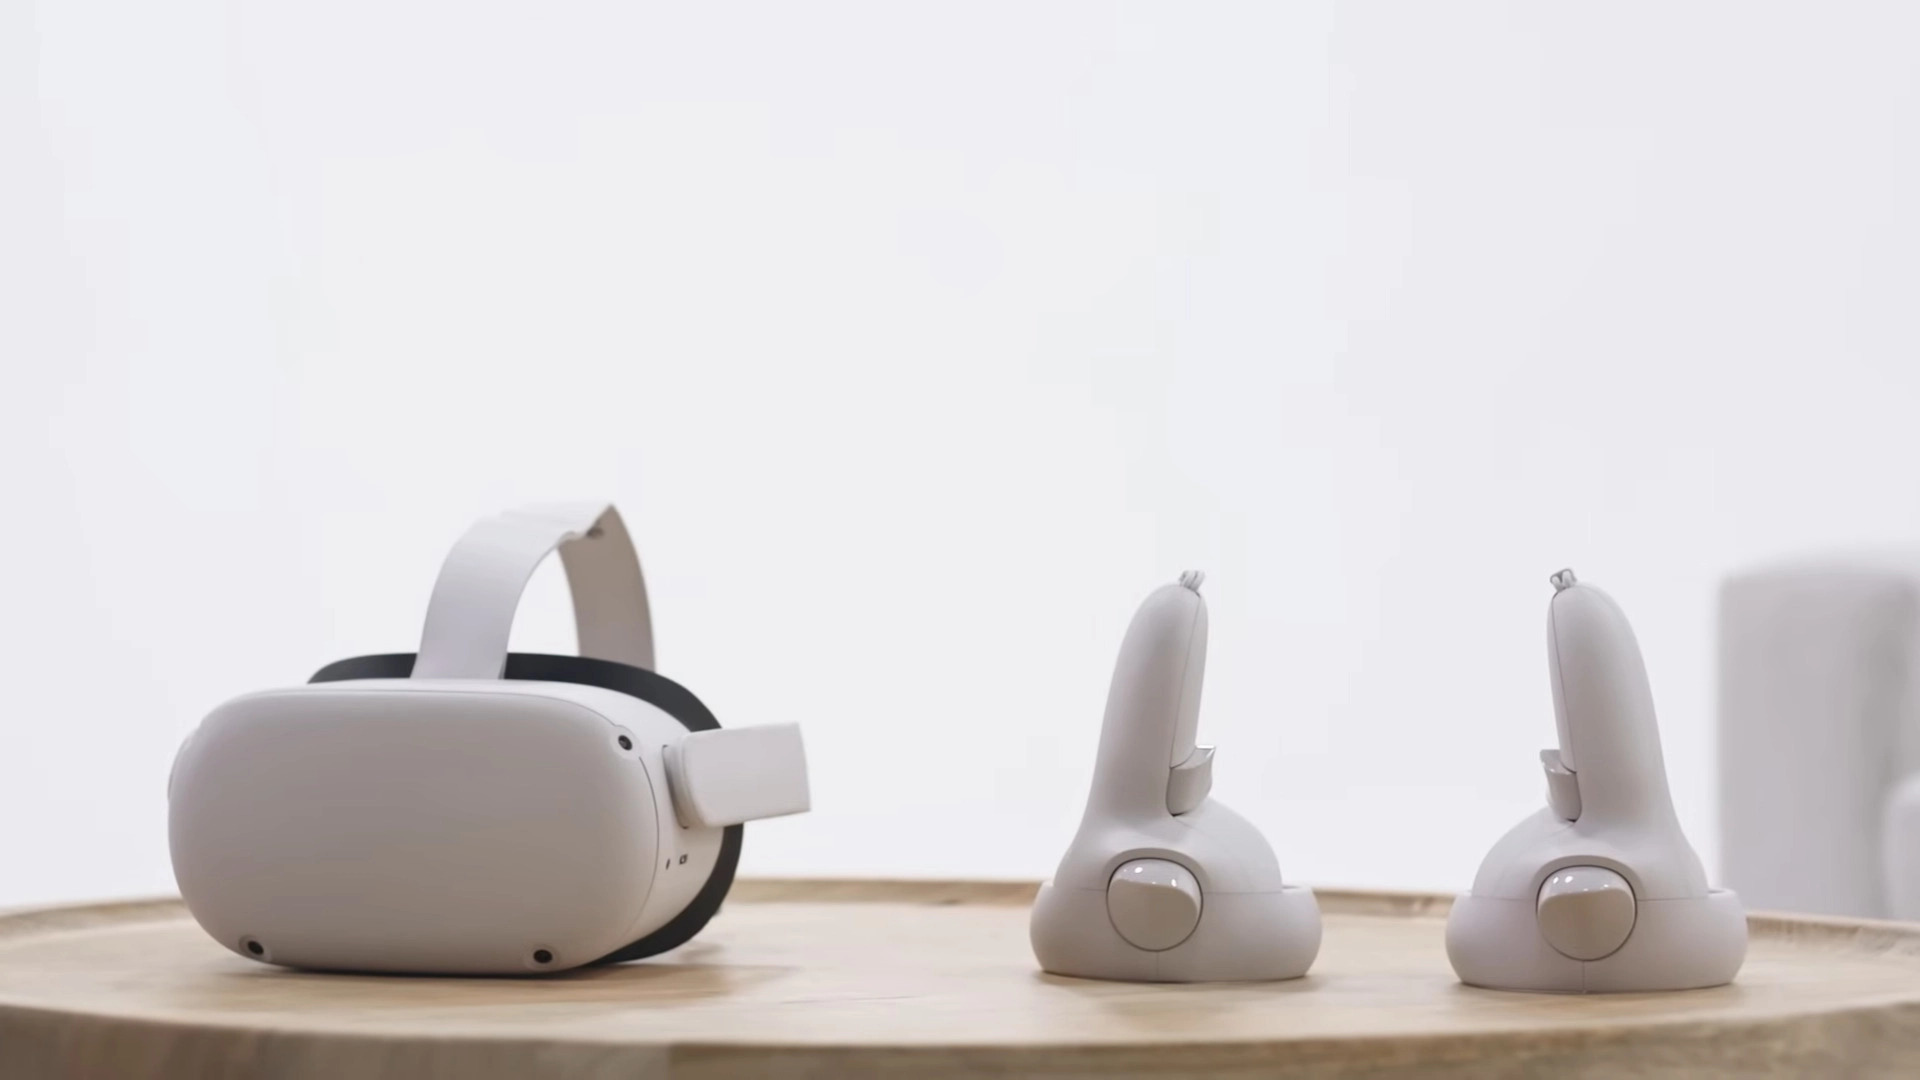
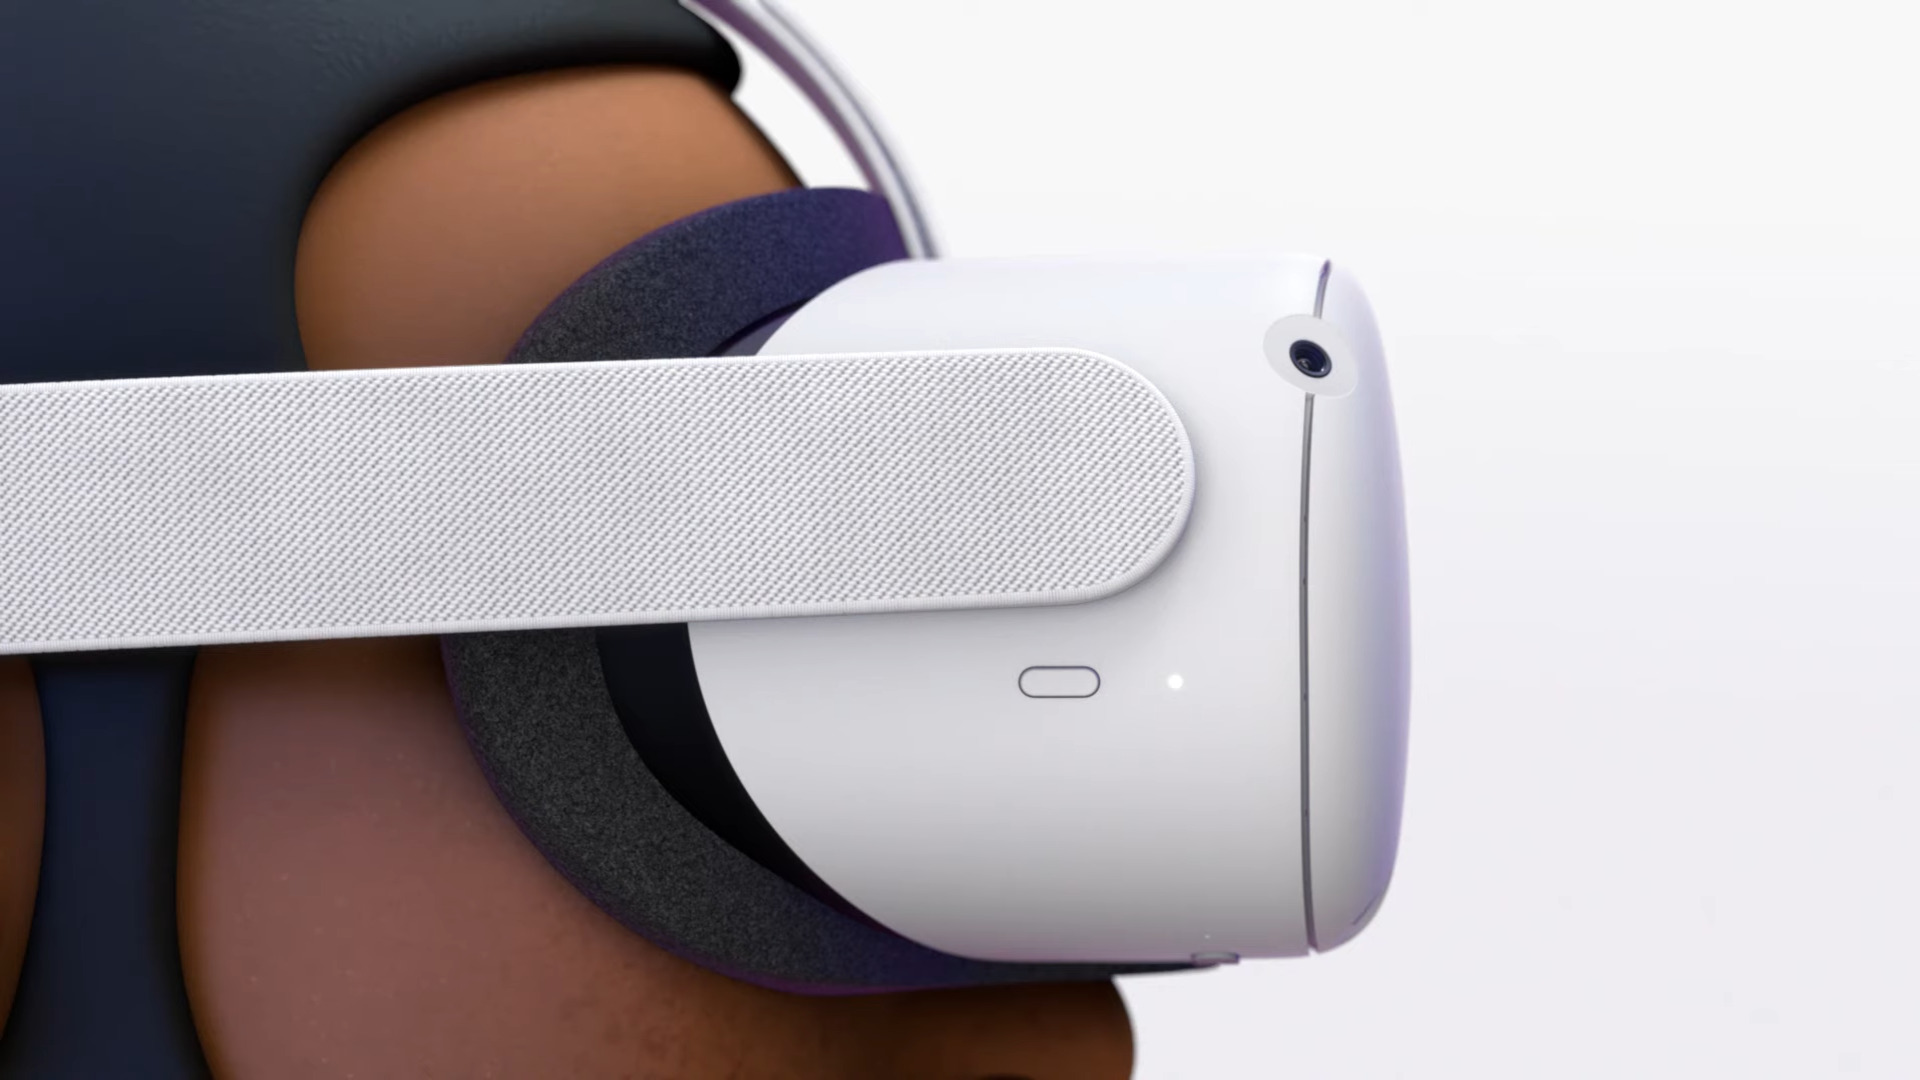
Take the Quest 2 headset and the Touch Controllers out of the box. Charge the headset through a USB Type-C cable (which comes included) on the headset’s left side; there’s a small port right beneath the head strap. Once plugged into a power source, wait for the charge light to turn from orange to green.
For the controllers, each requires a single AA battery. Slide down the battery cover, which is on the opposite side to where the Touch Controller’s grip button is, and reattach once complete. Place the headset on, tighten the head strap until it feels secure, then grab the controllers. We recommend placing your hands through the wrist straps as a safety measure, so they don’t go flying across the room mid-game.
3. Power on your Meta Quest 2
If you’re powering up your Quest 2 for the first time, follow the on-screen instructions and do so inside. Using your VR headset outside can cause sunlight damage. Unfortunately, we can’t provide direct screenshots of this step, as Meta prevents this due to safety concerns. Choose your language settings, link your account, connect to your Wi-Fi, and more.
This is also where you’ll set up Quest 2’s Guardian boundary, which defines your virtual playspace and keeps you in position. Getting close brings up a blue barrier, which turns red if you’ve nearly exceeded those limits. You don’t need to set up the Guardian every time, though it can be reset manually via ‘Settings.’ Once Guardian’s sorted, your Quest 2 is ready to use.


