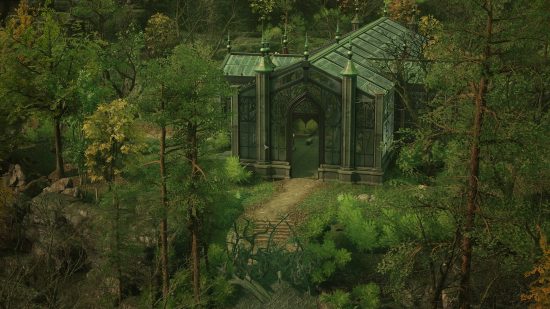
Finding every Midnight Suns moon seal location is a journey in and of itself, as you’ll be completing challenges and scouring the Abbey grounds for myriad collectibles, all so you can obtain the four words of power. Once you have each of the powers at your disposal, there won’t be a door or barrier in the Abbey that will stay closed in your presence.
There are four moon seals in Midnight Suns, each with its own mini-quest associated, and challenge battles to complete. Midnight suns is one of the best PC games released this year, and it’s these optional side-quests that set it apart from other strategy games. Here are the locations of all four Midnight Suns moon seals and how to get them.
Midnight Suns moon seal locations
Here is how to collect all four Midnight Suns moon seals:
First moon seal
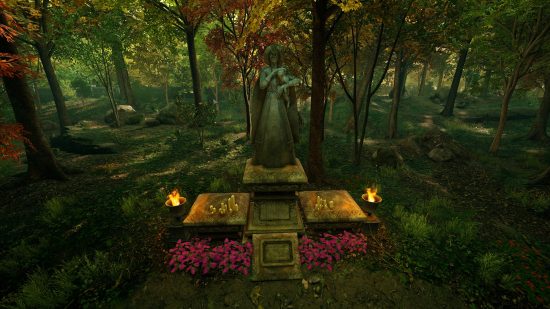
The first moon seal is a bit of a gimme, as you’ll have access to it as soon as you have access to the Abbey. Simply interact with the statue of Agatha, and the spirit of the dead witch will lead you to the first blood gate.
Complete the blood gate challenge and you’ll gain access to Oshtur’s Cavern. Inside you’ll find the moon seal. Place your newly found trinket on the altar found in the same room and you’ll then gain the use of the Word of Power: Open.
Second moon seal
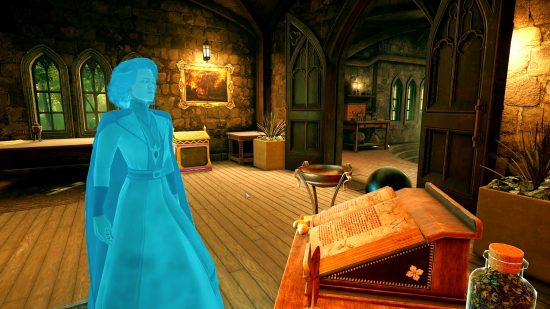
To begin the quest for the second moon seal, speak to Agatha in the library. She’ll tell you’ll need an entire set of four elemental rods in order to reveal the seal that sits atop her altar. We have a step-by-step guide on how to find Midnight Suns elemental rods here. When you’ve acquired the four elemental rods, place them on the corresponding plinths at Agatha’s Altar, and the moon seal will appear.
Once you have the second moon seal, head to the Standing Stones area on your map. You’ll notice there is a blood gate challenge awaiting you. Once this challenge has been completed, place the second moon seal on the altar in Atum’s Cavern and you’ll receive the Word of Power: Reveal.
Third moon seal
With the Word of Power: Reveal at your disposal, you must now make your way north, to Hiram Shaw’s Church. Once there, use your Reveal power to open the rear door of the church and enter. You’ll find a red glyph blocking the way. Fast travel back to the Abbey and speak to Dr. Strange, who will get to work on dispelling the glyph so you may pass.
Eventually, Dr. Strange will contact you again, and give you the tools to remove that barrier. Head back to Hiram Shaw’s Church and use the Reveal power in the now-accessible room. Three blank pieces of parchment will now show drawings of where Hiram Shaw had murdered witches in the years gone by. It’s your job to visit each of the ‘Witch Warrens’ depicted in these drawings to retrieve a soil sample. Here are the locations of the three witch warrens:
- Near Atum’s Cavern on your map, you’ll see a Witch’s sign. Head into the opening near the sign and you’ll find the first soil sample.
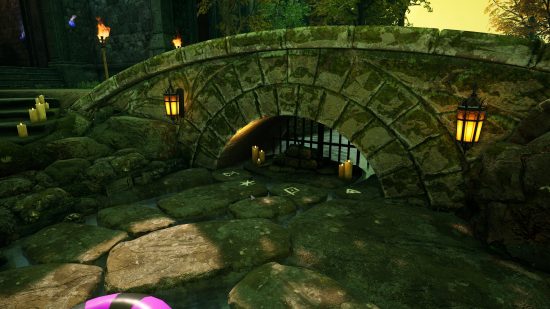
- Follow the stream next to the training yard to its end, you’ll pass another Witch’s sign on the way. You’ll find the second soil sample near a wooden table.
- Find Dreamer’s Descent on your map. Walk uphill once you get there and you’ll find a cave where the third, and final, soil sample is located.
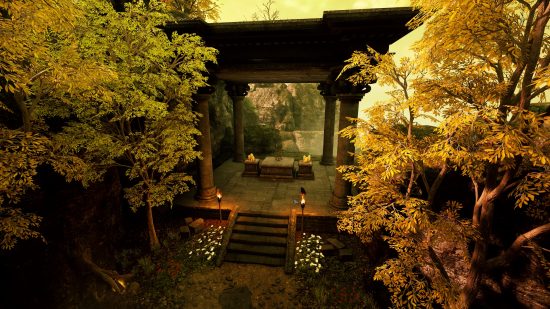
Once all three soil samples are in your possession, head to the hanging tree near Hiram Shaw’s Church, it’s in an outdoor area just up a flight of stairs. Once there, use Word of Power: Reveal to acquire the third moon seal. Complete the subsequent challenge to add Word of Power: Purify to your repertoire of abilities.
Fourth moon seal
In the northwestern portion of the map, you’ll find the Garden of Envy, which is your next, and last, destination. When you arrive in the garden, you’ll find out that the fourth moon seal has been shattered into pieces, and it’s now up to you to find those pieces and rebuild it. Here are the locations of the three moon seal fragments:
- Climb the spiral staircase in the first area you entered. The first moon seal fragment is in the wall at the top of the stairs.
- The second moon seal fragment is on a ledge above the graveyard next to the Garden of Envy. You will find a climbable part of the graveyard wall at the opposite end to which you entered.
- Make your way up the steps in the centre of the garden and you’ll find a walkway leading around a cliff, the last moon seal fragment is at the end of this walkway.
Once all three moon seal fragments are in your possession, you’ll be asked to collect a mysterious flower. Fast travel to Agatha’s cottage where you’ll find the reagent on the floor. Meet Agatha in the library and she will restore the moon seal to its former glory, enabling you to open the blood gate in the Garden of Envy, take on the challenge, and enable the use of Word of Power: Break, which can be used to break open the cracked walls dotted around the Abbey.
There you have the location of all four Midnight Suns moon seals. With all four seals collected, challenges vanquished, and Words of Power in your possession, there won’t be an inch of the Abbey that is out of your grasp. Once you’re done scrambling around the hub area, check out the Midnight Suns character tier list so you know who to take into combat, with the best Spider-man build being especially potent for bashing Hydra heads.
