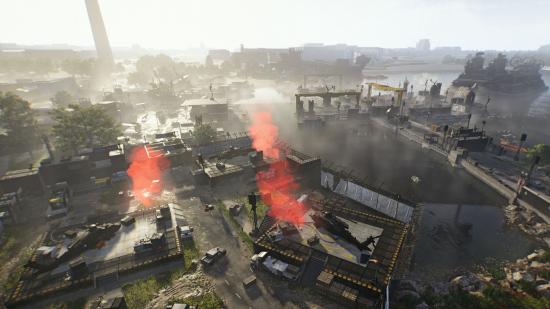
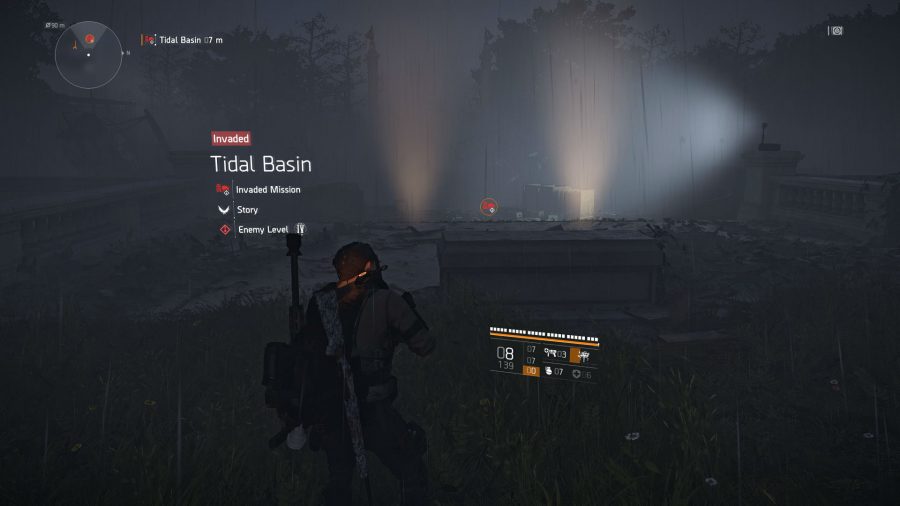
This walkthrough of The Division 2 Tidal Basin stronghold should help you get past any confusing sections or trick opponents. Of course before you can approach the Tidal Basin stronghold you’ll need to be in World Tier 4 and at the appropriate gear score (you can check this by hovering over the map icon). There is also a small story mission you must complete south of the White House, so make sure you do this before attempting the Tidal Basin mission – it’s narrative only and very short.
This Tidal Basin walkthrough only covers the first story playthrough of the stronghold, but we will update it with additional pointers when we manage to take on the Invaded Tidal Basin. And in case you were wondering what you get from The Division 2 Black Tusk stronghold, you’ll be rewarded with two gear set masks, one from the Ongoing Directive gear set and the other from the True Patriot gear set, not to mention plenty of other high-end drops.
We’ve also written this guide with a full squad of players in mind – we simply ran to the start point of Tidal Basin and started matchmaking to boost our numbers. Anyway, that’s enough filibustering, here’s a walkthrough of The Division 2 Tidal Basin stronghold.
The first thing you need to do is drop down into the sinkhole and run through the underground section sticking to the right-hand side if you want to avoid getting lost. There are a couple of weapon stashes to be found down here tucked around innocuous corners, so keep an eye out.
Next, you’ll emerge topside in the outer section of the Black Tusk HQ and straight into battle in a very wide-open area. Fan out so as to stop flanks and push forward using cover at all times. There is a raised section on the left that’s ideal for LMG players. Once you’ve cleared out all hostiles you’ll come across two automated turrets that you can’t destroy – clear out any other enemies and then proceed to the right of the guarded gate when the ‘circumvent the turret defenses’ prompt appears.
Rush into the next section and clear a path to the metal bridge as this is where a helicopter will show up to spawn in more goons. Position any turrets here and then retreat a little to quickly clean up the area.
More like this:
The Division 2 gear sets
The Division 2 Exotics list
The Division 2 PvP builds
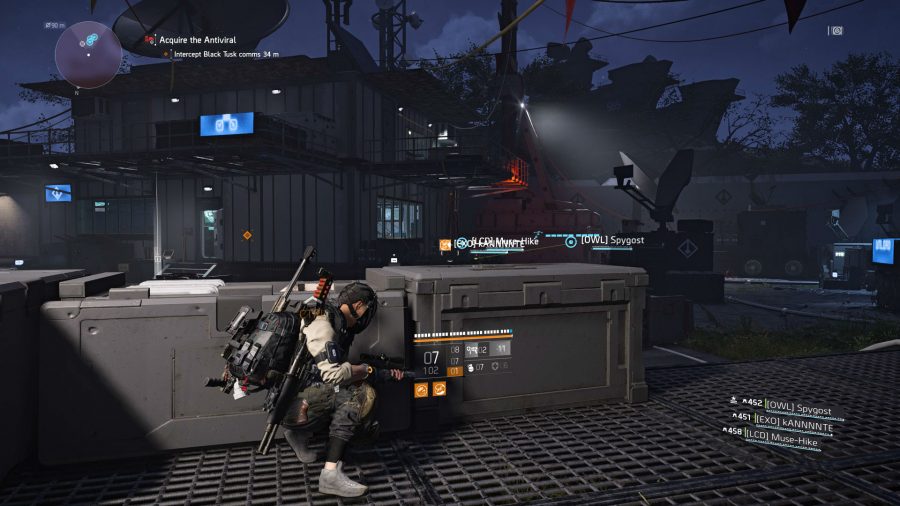
Proceed through a set of doors along a white wall to reach the comms station. You’ll want to stick to the first bits of cover you encounter and take your time with this fight as advancing prematurely will get you flanked and killed. There is an automated turret here that you can only kill by shooting the large yellow box just below it. Head into the comms area, activate the laptop on the table, head back out into the compound through the door to the right, and finally advance to the next area through a gate to the right.
Next you’ll reach a large area with three helicopters you’ll need to disable and a lot more enemies. Simply stay on the first platform and reign fire down with snipers and LMGs to clear out most enemies with ease. You can shoot the red barrels near the choppers to wipe those out quickly, too. A couple of mingun-toting elites will enter, so mop those out from your snipers nest as well before exiting the area through the main gate to the east.
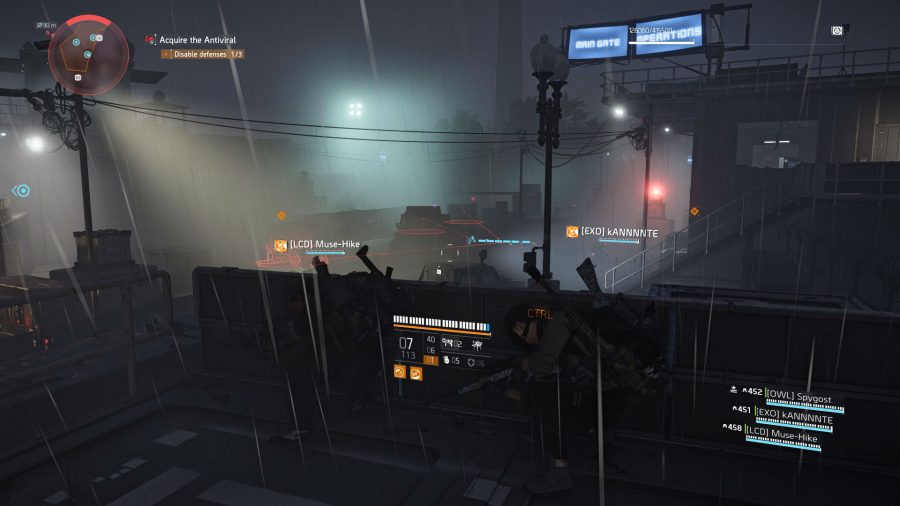
This fight is also pretty easy, simply stack two players on the high ground to the right as overwatch and another two in the middle lane to stop flanks. There are three turrets you’ll need to destroy here by shooting the yellow boxes below them.
Next head up the staircases to the building on the right of the fight area and then activate another laptop. This spawns in a support team leader who you will need to defend, but don’t worry, this isn’t an escort mission. Simply guard the staircases to stop enemies getting to the team leader, while the rest of your squad fire from the window thin the Black Tusk ranks. Enemies spawn in from the left and right, so use your red minimap markers to prioritise which direction your covering.
On your way to the next area you can head over to the docks on the right side, admire the massive Black Tusk hovercraft, and find a crate near some drying clothes up a nearby staircase.
The next area can be accessed by heading south-east until you hit a wall, then right towards a dock. Head left until you reach a staircase, go up the stairs, and then vault to the area below – there is a loot stash if you continue exploring this gantry. In the next area, look for a repair station to the east with the number 14 printed on it. Gather your squad in the room and then interact with the doors.
There’s a minigun in the area ahead clear that out rapidly and then head up to the raised platform to trigger a much larger fight. There’s a named robot up ahead called the Warhound Convoy, which you’ll need to defeat sharpish to stop it from escaping, so focus all of your guns on this enemy to make the following battle much easier. Once the robot is down, clear out the area paying special attention to the minigun turret to the east that some enemies will flock towards.
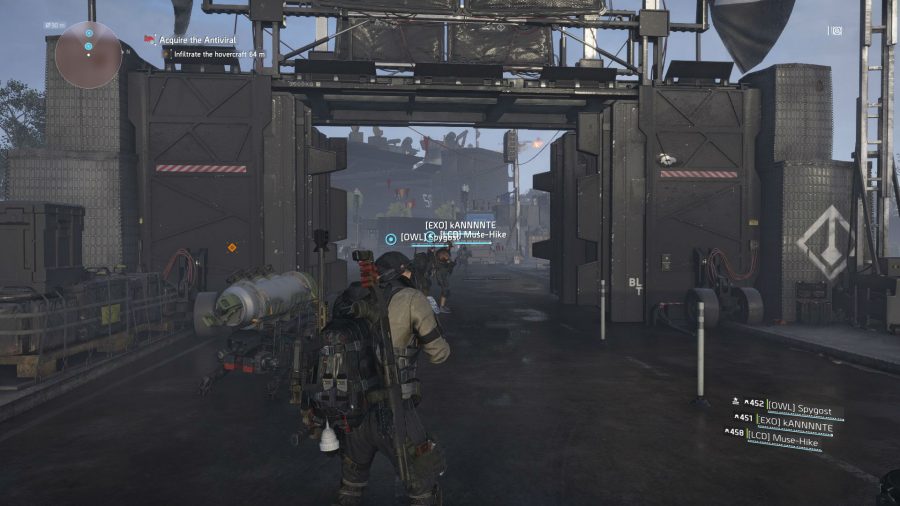
Next, go through a gate to the north-west and up some crates to reach the next area. Here you’ll have a narrow stretch to clear, moving from cover to cover. When the area opens up a bit you’ll encounter a seconde Warhound Convoy that you’ll need to focus all of your attention on. Keep pushing on, call in nearby allies, and proceed through the large gate toward the hovercraft.
Enjoy some fireworks and then head to the back of the hovercraft, clear out a smattering of foes, and head inside. There’s a small, very manageable fight before you head topside, which is where the final battle takes place.
With you squad assembles on the bridge, it’s time to enter the final area. Here you’ll want to locate the tree missile launchers dotted around the deck and remember where they are as you’ll need to find them later. First, however, you need to focus your attention to the cache of missile in front of you where a number of enemies will initially spawn from. Destroy these by locating the three yellow boxes and shooting them and remember to stick together and keep your armour topped off whenever possible. There’s a time limit here that you should have no problem beating – failure will boot you back to the start of the final fight.
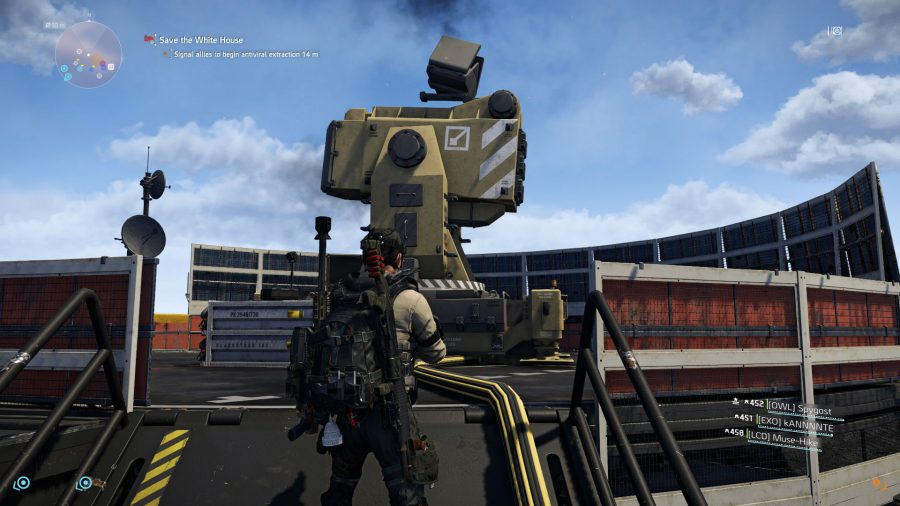
Once these are down you need to clear the area before two choppers arrive dropping in tank enemies and elites. Find a good sniper position to take these out quickly. Next up you’ll have a couple of minutes to take out one of the rocket launchers (just look for the quest marker to figure out each one). These launchers have two yellow boxes you need to shoot before they go down, one on their base and another at the top.
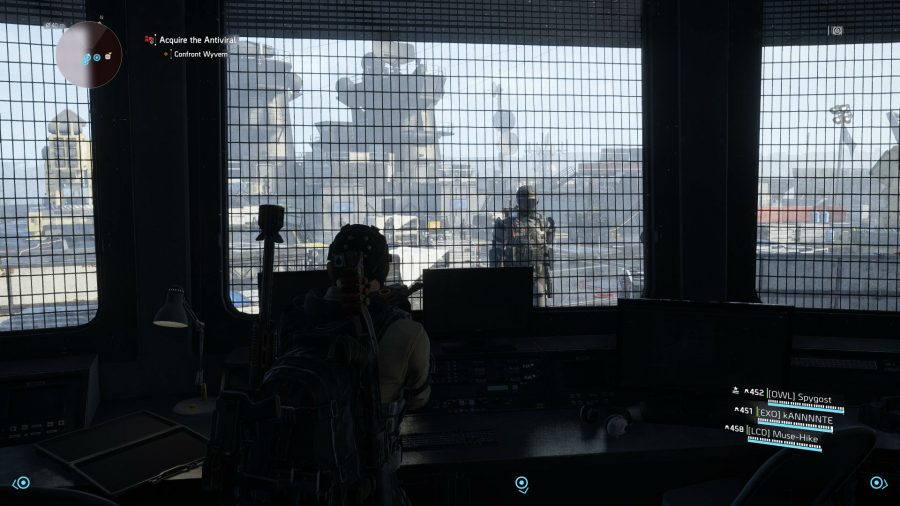
When you’ve taken down one launcher the boss, Wyvern, will spawn in from the inaccessible gantry area. Watch out for the three exclamation marks as these will tell you when she’s invulnerable. There’s not much you need to know about her other than she has a grenade launcher and will routinely activate an invulnerability mode.
To take her down simply wait for the invulnerability to wear off and hammer away at her armour until it breaks and finish her off with a few rounds to the exposed area. More rocket launchers will activate during the fight, so keep an eye out for these and make sure you’re on top of the situation. Collect your loot and gear and then you’re done.
