Destiny 2 is out now on PC, and you’ll want to get off to a flying start. Perhaps you’ve not played the original, or maybe you’re concerned about making mistakes early on. Worry not: the console players (plus some PCGN staff) have served as lab rats for the game, and are able to provide plenty of advice. With the handy Destiny 2 tips that follow your campaign is sure to go swimmingly.
Want to get raid ready fast? Check out our Destiny 2 levelling guide.
Loot chests
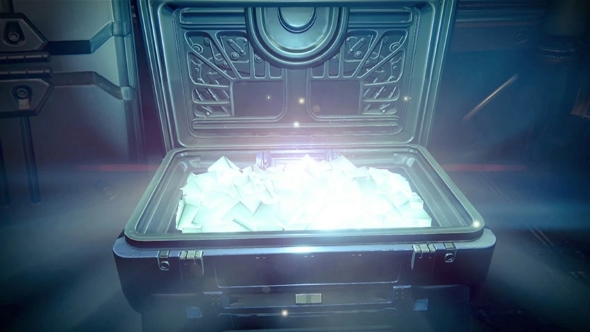
- Your map is an invaluable source of information. Not only will it show where available quests and adventures are located, it will also alert you to where public events are, and how many minutes are left until they start. Completing public events will reward you with a loot chest containing, at the very least, region tokens.
- Many chests will contain tokens specific to your location, for example, an EDZ Token. These are handed over to the planet’s faction vendor (e.g. Devrim Kay) in exchange for a legendary engram. You’ll need to be level 20 to claim the engram.
- During your travels you’ll come across chests, be they found in the world (keep an eye out for diamond-shaped chest icons) or dropped by defeated high-value targets. Stay close to the chest when opening it, as you may not grab the loot if you run away too quickly.
- You can find more loot chests by completing Lost Sectors. These are cave networks containing a miniboss, easily identified by the arch-like logo painted near their entrances. Defeat the mini-boss and you’ll be able to claim the loot. The chests contain new gear, two region tokens, and 1,000 glimmer. Lost Sectors are also one of the fastest ways you level up your character after the campaign is finished.
- Chests have a chance of containing a Class Relic, which can be used to unlock new subclasses. For more information, see our class guide.
Engrams
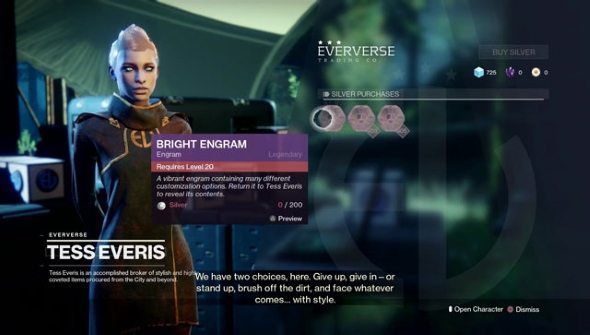
- Destiny lore defines an engram as information without matter, which is kinda neat. Basically, they’re items that must be ‘decoded’ to be made into equippable gear. Their colour dictates what grade weapon or armour piece will be inside: white for basic, green for uncommon, blue for rare, purple for legendary, and gold for exotic. White, green, and blue engrams will be automatically decoded when picked up, but purple and gold ones must be decoded by a Cryptarch, such as Tyra Karn at The Farm.
- Bright engrams are white and glittery, and can only be decoded by Tess Everis. They’re part of the Eververse microtransaction system, and (with one minor exception) are purely cosmetic. During the campaign, you’ll be provided with a couple at no charge, but you’ll also gain one for free each time you fill your XP bar after hitting the level 20 cap.
- Shaders can be found in bright engrams and will re-colour a weapon or armour piece. They are single-use consumables now, as opposed to in the original Destiny, where they were reusable and applied to all equipped armour.
- Legendary and Exotic engrams have their power level set at the time they drop, so it’s best to head to a Cryptarch to decode them immediately. Otherwise, any power gains you make in the meantime will chip away at those the engram might give you. You might even overtake it!
- The exceptions to the above rule are Luminous Engrams – a special hybrid of legendary and exotic that only drop from weekly milestones marked with ‘powerful gear’ as their reward. Their stats derive from your power when you decode them, so it’s best to leave them with the NPCs who award them until you’re sure you can’t power up any other way. If you’re wondering where that cap lies, see our leveling guide for a thorough rundown.
- Legendary engrams will decode into legendary weapons or armour, but can also be weapon modifications. Mods are single-use, so apply them wisely.
Infusions
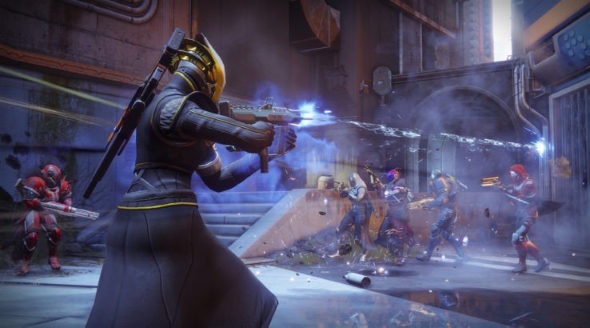
- Infusions allow you to power up your gear by combining it with another item of higher power. This is useful for improving your exotic items.
- Only legendary and exotic gear can be infused, and you must infuse two items of the same type. For example, a hand cannon can only be infused with another hand cannon.
- All exotics have a legendary element mod as standard, which adds +5 power to the weapon. This will not be taken into consideration when infusing, so remember to subtract five before working out the result of your infusion.
Exotics
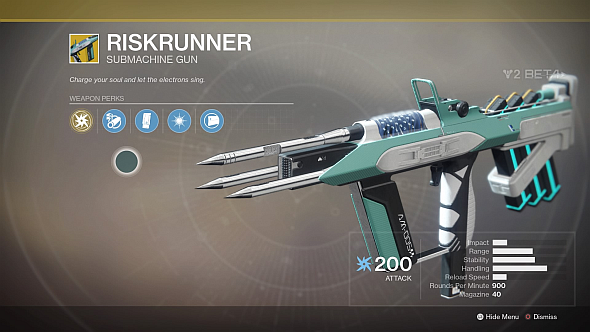
- You’ll pick up your first exotic weapon during a story mission around two thirds of the way through the campaign. You’ll be able to choose one of three guns as a reward: the Risk Runner, the Sun Shot, or the Graviton Lance. Use our exotics weapon guide to decide which one you’d rather take.
- Earlier on there will be a story mission on Titan that rewards exotic armour. Again, there will be three items to choose from, but they’ll be based on your class.
- Every planet has an exotic weapon quest, which will unlock after completing all other missions on the world. You’ll need to have finished the campaign, too.
- Exotic rewards provided by these planet quests are:
- EDZ: Mida Multi Tool
- Titan: Rat King’s Crew
- Nessus: Sturm and Drang
- Leviathan raid:Legend of Acrius
Endgame
- After finishing the campaign, you’ll have hit the level cap of 20, but you can still increase your power level. As such, you’ll want to leave some activities until after you hit level 20 so you don’t waste their XP.
- Cayde-6 will sell treasure maps that will guide you to special loot chests. Save these until your power level is around 260, as the exotic gear these quests provide are some of the only ways to progress past level 260.
- Talking of exotics, it’s wise to save your planetary exotic questlines until you are 260 power level or above.
Got any more advice for your fellow Guardians? Let us know your tips in the comments below.
