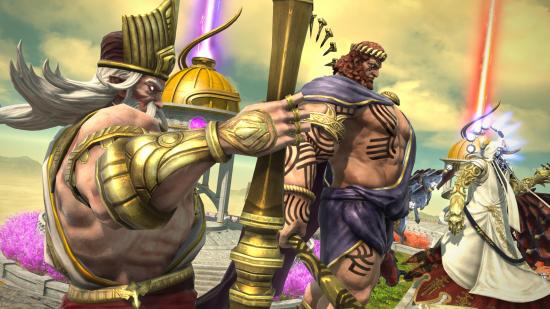
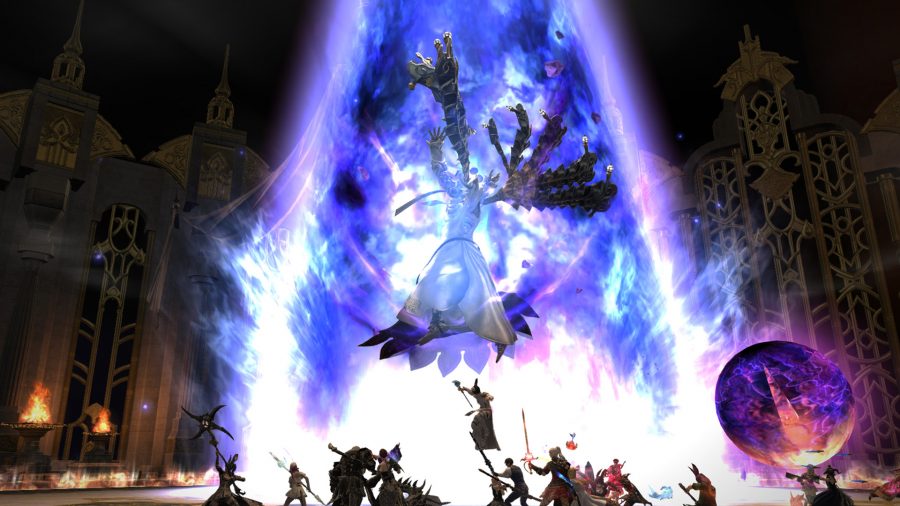
Want to know about the FFXIV Aglaia raid? Introduced in the recently released 6.1 patch, Aglaia is the first stage of the Alliance Raid. The Aglaia raid brings together three parties consisting of eight players each to fight against the divinities of Eorzea. As is the case with most raids in this MMO game, there’s a unique storyline to delve into, powerful equipment to find, and much more.
This raid is part of the Myths of the Realm series, giving players a chance to learn about the twelve gods of Eorzea, exploring the divinities that have been lurking around the game’s margins since the beginning. To jump into the FFXIV Aglaia raid, you must be level 90, have at least the item level of 565, and complete all the main scenario quests from this new patch.
Once you have done that, go to Old Sharlayan and speak with the Fresh-faced Student (X:9.1 Y:11.5) to obtain the ‘A Mission in Mor Dhona’ quest – this chain of missions lead you to the raid. Here’s what you need to know to tackle the main bosses of the FFXIV Aglaia raid.
Compared to other Alliance Raids, Aglaia is one of the easier ones to get through, mechanically speaking. You will find a lot of group damage, AoEs, and tank busters, but most of the obstacles are already present in other duties within FFXIV.
In total, there are four bosses and two minor encounters. A chest drops after defeating the bosses, each containing two pieces of gear for a specific type of job. Only the final boss drops more gear, as well as the Nald Card, the Wind-Up Azeyma, and the In the Balance Orchestrion Roll. As this is a new raid, for now you can only get one drop per week outside of the cards and the Orchestrion Rolls.
FFXIV AGLAIA RAID BOSSES
Byregot
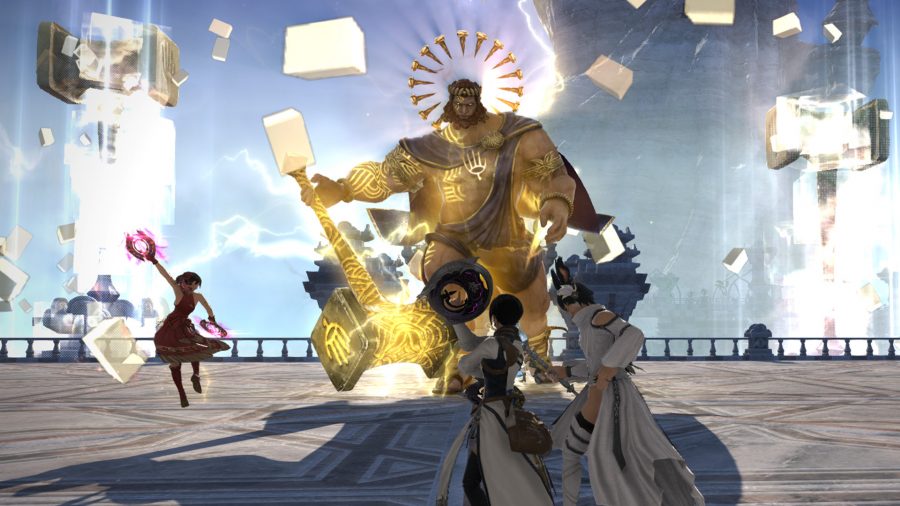
The first boss in the raid is the Zeus-like god, Byregot. The first phase of the fight is a standard boss battle that takes place within the arena. After some time, Byregot marks both sides of the arena and smashes them, marking the beginning of the second phase.
Be careful around the sides of the arena as Byregot spawns swinging hammers to strike the stage, moving large chunks of the arena around. The secret to surviving during this phase is to stay on the opposite side of the glowing hammers. Once they hit the arena, a safe zone appears which prevents you from falling off, similar to a mechanic used in the Zodiark’s Trial in Endwalker. During the fight, Byregot uses powerful skills that are important to keep in mind:
Byregot’s Strike causes a blue circle to appear on the ground which knocks players back. You must position yourself carefully at the edge of the circle to be pushed away from the impact, allowing you to avoid taking any damage. There’s a stronger version of Byregot’s Strike where electric cone attacks follow the impact, so you must position yourself carefully so that you can be pushed into a safe area.
Byregot’s Ward is a tank buster attack that targets the player with the most aggro in that moment, and Reproduce sees Byregot create five copies of himself. All of Byregot’s copies perform a frontal attack, but attacks from the copies which are not glowing will be slower. Stand in the path of the non-glowing copies first, then move to the other lanes once the quicker attacks have passed.
Rhalgr
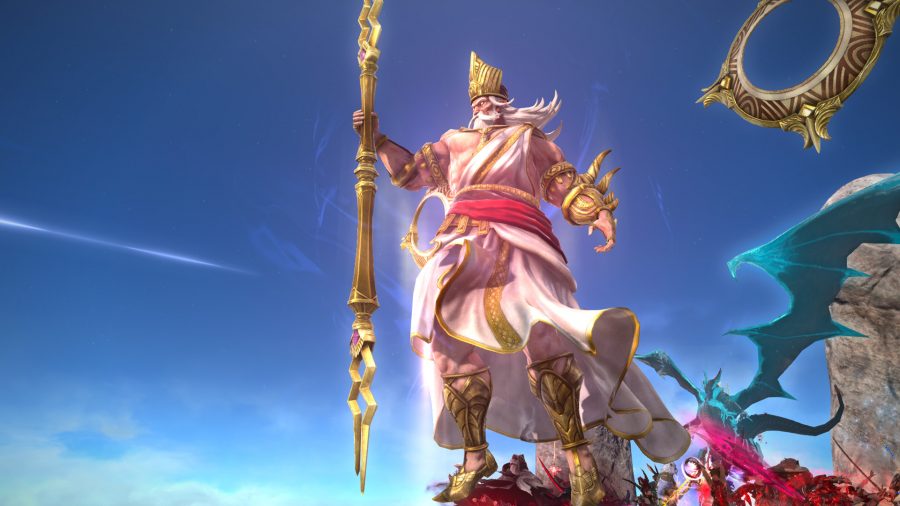
The Rhalgr fight takes place in an arena shaped like a massive hand. Like with Byregot, there are some special moves you need to watch out for. Rhalgr attacks with the Advent of the Eighth and follows it up with the Hand of The Destroyer. This causes two of the four rings floating around him to transform into large portals – a blue one and a red one. The remaining two rings will hover in front of him, also coloured blue and red. Whenever Rhalgr punches a ring, a devastating AoE attack emerges from the portal of the same colour.
To avoid this attack, pay attention to which arm Rhalgr raises and the colour of the ring he’s trying to strike, then head to the side of the arena that matches the other colour. The second version of this attack features one portal with a large AoE marker in front of it. Later in the fight, Rhalgr mixes both versions, so just keep using the same strategy that’s appropriate for the version of the attack Rhalgr uses.
During the fight, he uses Rhalgr’s Beacon which pushes players away. In its second version, position yourself to be pushed into one of the fingers that have no purple orbs with AoE markers. There’s also the Destructive Bolt, a tank buster attack, and Bronze Work, which creates two groups of cone-shaped AoE markers. Stay in one of the second group until the first attack explodes, then move to the safe spot.
Azeyma
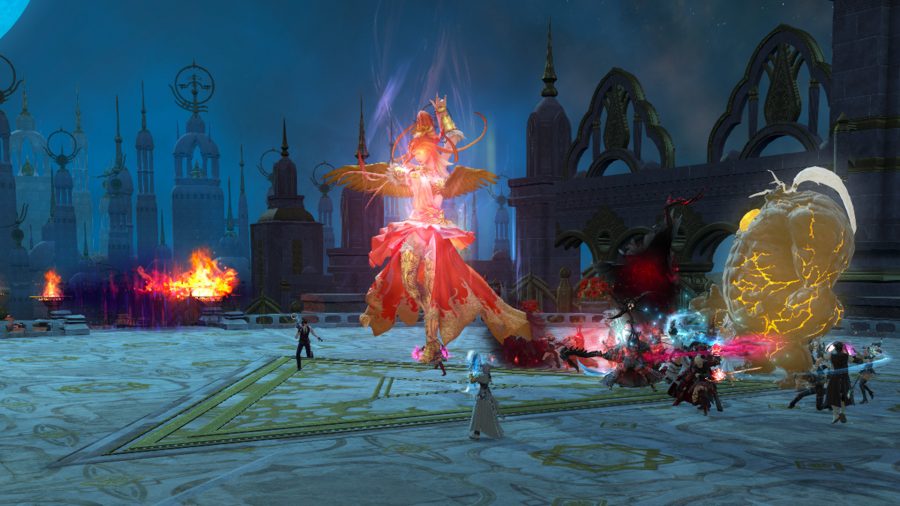
The third boss in Aglaia is Azeyma, one of the keepers of the realm. She has many different skills and even though her fight doesn’t have a specific gimmick like the previous two, this battle can be challenging – be prepared to deal with lots of AoE attacks during this fight.
First, there’s the Solar Wings attack which summons large AoE cones that cover each side of the arena. There’s also Sun’s Shine: in its first phase, Azeyma summons fire spheres and detonates them. After some time, clones of Azeyma appear next to the spheres. To avoid the damage, stay behind whichever copy the others are facing away from.
The hardest part of the battle is when Azeyma uses Solar Fans, Radiant Rhythm, and Radiant Finish in that order. When the fans stop, two massive AoE markers appear. You need to move to one of the other quadrants to avoid taking damage.
When she uses Solar Fold, Azeyma performs a cross-attack and leaves four markers on the ground. Right after, she creates copies of herself to blow the Solar Flair orbs in one specific direction. Avoid this attack by going to one quadrant that no other copy is facing.
The last major skill you should learn about is Wildfire Ward: this attack covers the whole arena in flames and it features a triangular-shaped safe zone. Shortly after, lines of fire are drawn around the arena in a specific order along with a direction. Pay attention to these lines as they’re set to explode in the order the directions appear. Try to stay on the long edge of the triangle to avoid being shoved into the fire.
Nald’Thal
The final boss battle in the Aglaia raid is against Nald’Thal. This is the hardest fight in the raid as he comes prepared with a variety of attacks to make things complicated for your party. Right at the beginning of the fight, Nald’Thal uses Heat Above, Flames Below, adding dangerous zones to the arena. If the walls of the arena are blue, the safe zone is yellow, but if they are yellow, you should move to the blue.
Nald’Thal also uses Once Above, Ever Below which summons two sets of circles, one blue and the other yellow. Keep an eye on the colour matching the colour of the arena – these circles are set to explode. Stay within the opposite colour to avoid taking any damage. In addition to this, tankers and healers must pay attention to the Golden Tenet skill – a tank buster that requires all the tanks to group together in order to minimise the damage to the rest of the party.
The main mechanic you need to be aware of is Soul’s Measure. First, the boss summons three soul vessels. Once the vessels are defeated, a weight symbol appears over your character, and the arena is split in two sides. Everyone must spread out between the two sides to balance the ghostly scale on the edge of the arena. The position of the spirit vessel corpses also contributes to the weight of the two sides.
The final sequence is one of the most confusing mechanics in the entire raid. Nald’Thal’s sequence of Fire Up I, Fire Up II, Fire Up III, and Fortune’s Flux. When Nald’Thal casts one of the Fires, this ability places a mark on the arena and displays a blue or yellow symbol above their head. Yellow indicates a knock back attack, while blue indicates a large AoE. The attacks are set to detonate in the order indicated by the diamonds above the markers.
That’s everything you need to know about the FFXIV Aglaia Alliance Raid. For more FFXIV tips, check out our FFXIV classes guide, as well as our FFXIV leveling guide if you need help getting to the endgame.
 Final Fantasy XIV Complete Edition Final Fantasy XIV Complete Edition $59.99 Buy now Network N earns affiliate commission from qualifying sales.
