Want to clear Hitman 3’s Chongqing mission on a Silent Assassin, Suit Only run? The densely packed, neon-lit streets of the Chinese city are packed with opportunities, but getting to each target is a daunting task. Hush floats between two floors of an apartment complex with guards, scientists, and test subjects you need to avoid in order to pull off the kill. Make sure you take on Hush first however you decide to navigate this murder sandbox, as the third objective is located with Royce and you don’t want to backtrack more than necessary.
Royce is even more challenging, as she’s hidden in an underground base. There are limited entrances, she has a personal guard, and finding somewhere to hide the body is even harder. Fortunately, we’ve got a quick and safe path to both of them. A quick thanks to YouTuber MrFreeze2244, whose nigh perfect run is the basis of ours – we’ll embed their walkthrough below.
For this run we suggest you take an accurate silenced pistol, lockpicks, and coins. Also, in case you’re struggling with any previous levels, we’ve got a Hitman 3 Dubai Silent Assassin walkthrough, plus Dartmoor Silent Assassin and Berlin Silent Assassin walkthroughs, too.
CHONGQING SILENT ASSASSIN, SUIT ONLY WALKTHROUGH
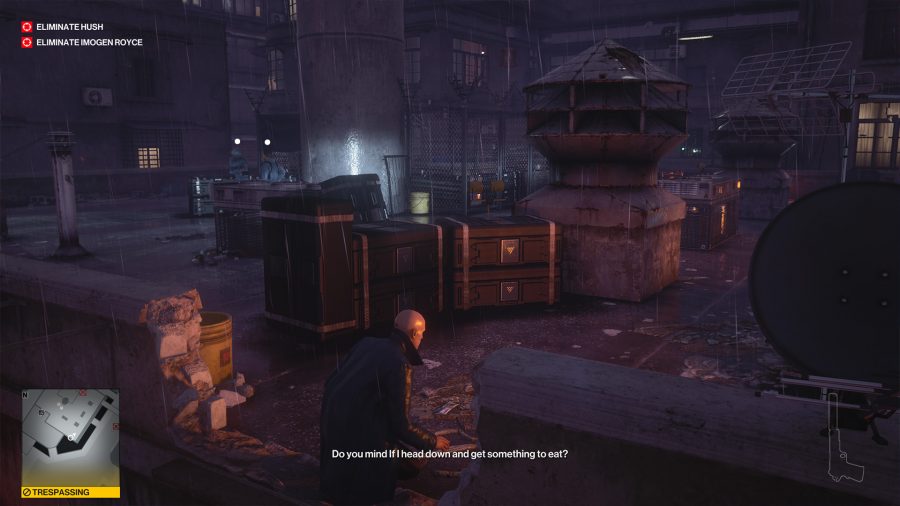
From the standard train station starting point follow the walkway until the level opens up. Look for the double doors just to the left of the neon-lit street. Run up all of the stairs as fast as you please and emerge on the rooftop. Turn left immediately and drop down the ledge. Work your way along the ledges and pipes up to the next roof that’s got a massive satellite dish on it.
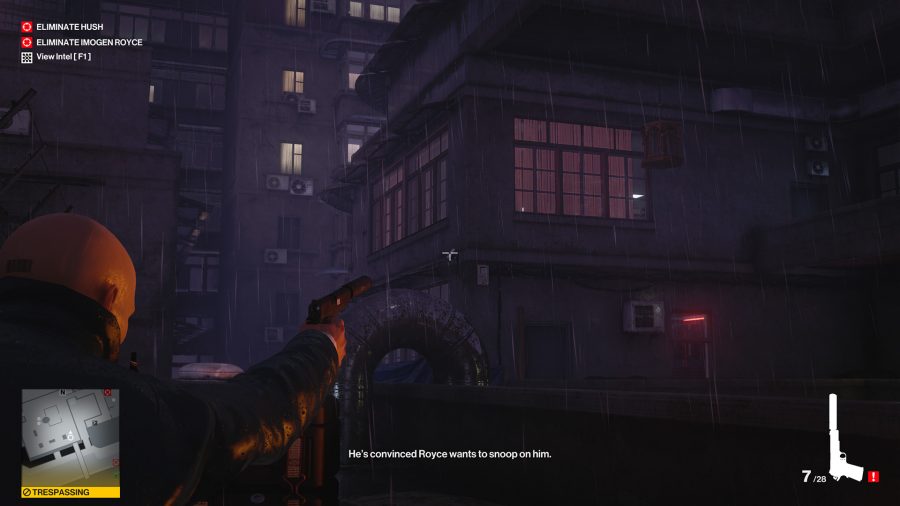
Avoiding the guards, run straight ahead, and when you hit the half wall, take a second to shoot out the camera on the left. Run to the door the camera was covering, through it, and crouch-run all the way along the exterior of the room anti-clockwise.
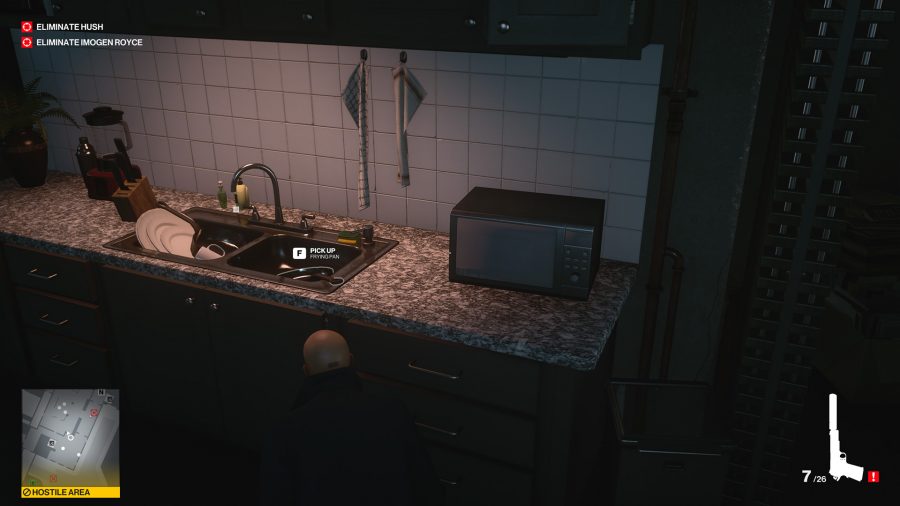
Head up the staircase, not bothering with the guard on the left. At the top you can shoot out the camera and head left. Avoid the main room and aim for the double doors at the end of the corridor. You can very easily silently knock out the two guards in this room and leave them be for now, but grab the frying pan out of the sink before continuing.
At this point, Hush should be downstairs and not too far away from making his way upstairs.
Head back out into the corridor and place a coin on the floor in the open double doors. You can do this using the CAPS key, as if you throw it you may lure someone else in. The aim is that this coin will stop Hush for a few seconds, giving you a window to slap his guard and then shoot Hush.
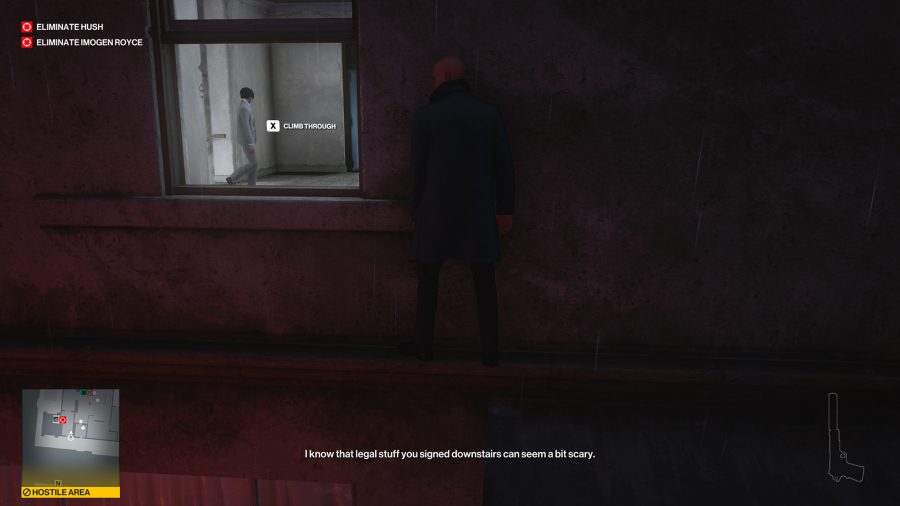
There’s an open window in this corridor that I like to hide outside of while Hush and his guard come up the stairs. You have to take some time here as the main room where Hush was conducting his experiment has a technician who will sometimes be watching the path you need to cross.
The next bit is a little time-consuming, but when the coast is clear you need to drag Hush and his hushed friend into the room where you knocked out the other two. In this room and one side room, there’s enough cupboard space for four bodies. Although YouTuber MrFreeze2244 managed to just leave the bodies in the hallway we tried a couple of times and they got discovered very late into the run, so we find it’s safer to haul them into storage.

From the room where you stored the bodies head through the other double doors and onto the roof with all the flying drones. You should find yourself in a fenced off section, pull out your silenced pistol to take out a couple of nearby drones. Then pop open the chain link fence gates that lead to a metal staircase. Run down and when you’re close to the bottom shoot out the camera.
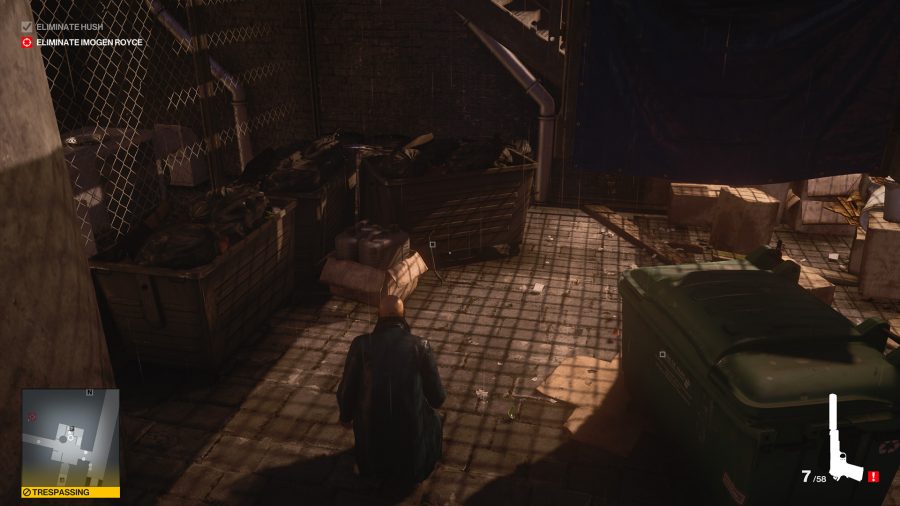
At the bottom of the stairs there’s a dumpster and a crowbar on the immediate right. Grab the crowbar, watch out for the single guard on the right, who patrols back and forth, and cross through the double doors when it’s safe. Walk down to the bottom of the staircase and place a coin on the lower few steps.
At this point Royce and her guard should be heading up the nearby corridor and towards you to catch some fresh air. Wait at the top of the stairs, make a save game as this can be fiddly, and when Royce goes to pick up the coin throw another deeper so the guard turns as well – peek over the top of the stairs and shoot Royce in the head and quickly switch to the crowbar and throw it at the guard’s cranium. Grab a tier 3 dongle.
Watching out for that patrolling guard outside, drag both bodies into the dumpster. Head back into the facility, right, and then drop down on the right again. Make a beeline straight for the core by dropping down the next ledge.
Hack the doors of the core, head in, and wait for Olivia to give you some privacy. Follow the cutscene. A lockdown will start so bolt into the vent on the other side of the computer and follow the path left.
More Hitman: Read our Hitman 3 review
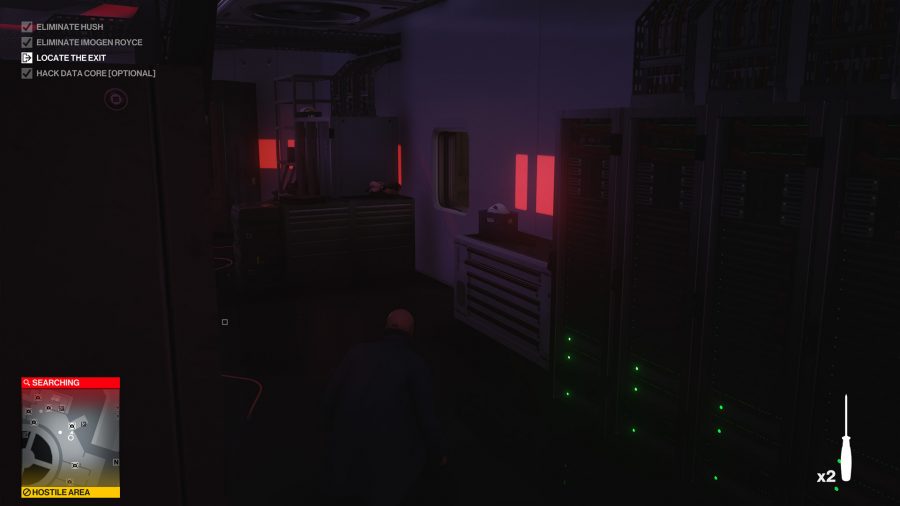
Once you’re out of the vents, grab the flask of chloroform from the shelves on the right in case you need to knock someone out. Wait for the guards to filter through from the stairs.
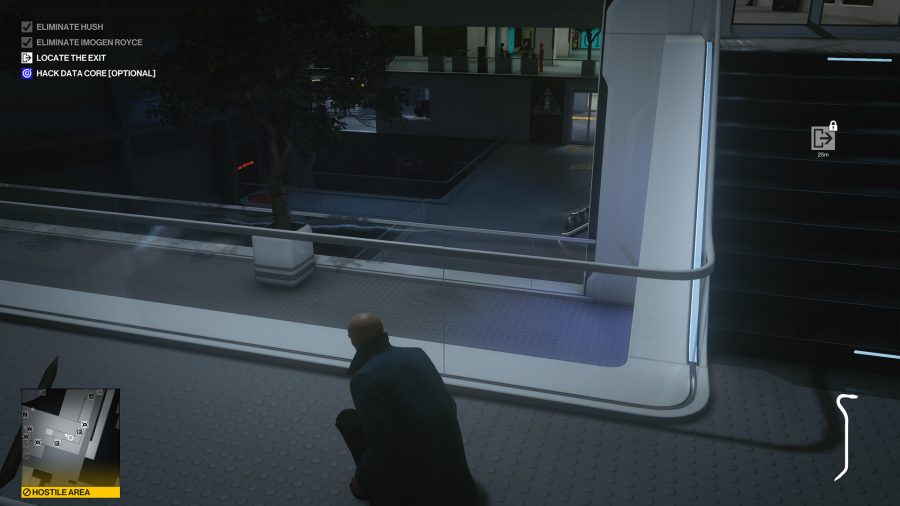
Follow the second guard through the corridor around until you hit the next set of guards, on the right there’s a vent you can go through. Take the ladder up. From here it’s simple enough to follow the open corridor back up to the very first guard post, up the stairs, and outside.
Our final completion time was just over 17 minutes, but this can probably be reduced to 13 minutes if you streamline it.
