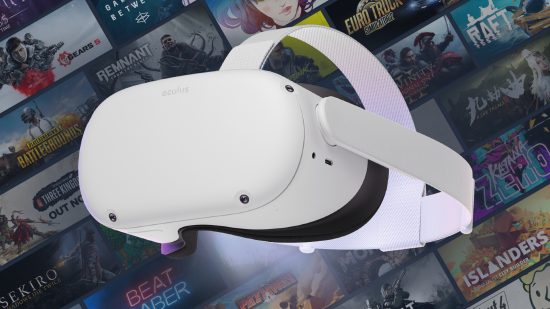
Want to know how to play Steam games on Meta Quest 2? We’ve got you covered. Valve remains the undisputed king for gaming PC storefronts, and thanks to comprehensive VR headset support, there are many VR games to play on the platform.
Figuring out how to play Steam games on Meta Quest 2 is beyond worthwhile. Between exploring City 17 in Half-Life Alyx, racing Ferraris in F1 22, or saving the galaxy in Star Wars: Squadrons, SteamVR has some of the best VR games not currently found on Meta Quest. But, assuming you’ve invested in the best gaming PC, you can still experience these games off your Meta Quest, Quest 2, and Meta Quest Pro VR headsets.
There are a few ways you can achieve this, including learning how to use Air Link. If this doesn’t work, there are alternatives. None of these methods run PC VR games natively off the Quest, but it opens up your games library further, cementing Quest’s claim as the best VR headset. Here’s everything you need to do.
1. Initial checklist
Alongside the Quest VR headset, anyone looking to play SteamVR games needs a gaming PC. We’d advise checking the Quest Link system requirements to see if yours will manage, and remember that some games will have heftier specs than others. Make sure you’ve downloaded the Meta PC app, too, which requires 4GB of disk space.
If you value portability, you can use your best gaming laptop, but we wouldn’t recommend Steam Deck. Valve’s already marked most VR games as unsupported, which hasn’t stopped people from trying. However, while Steam Deck boasts impressive specs for its price, VR games noticeably struggle when running through it.
If you’re connecting your Quest via Air Link, ensure it’s running on the latest firmware update. You can check this by selecting ‘Settings’ and ‘System,’ then ‘Software update.’ Your Quest and PC must use the same Wi-Fi connection, ideally a 5GHz network without a range extender. D-Link’s VR Air Bridge adapter is also available; otherwise, you can plug Quest directly into a PC using a USB 3 Type-C cable that’s ideally 5m.
2. What to do on your PC
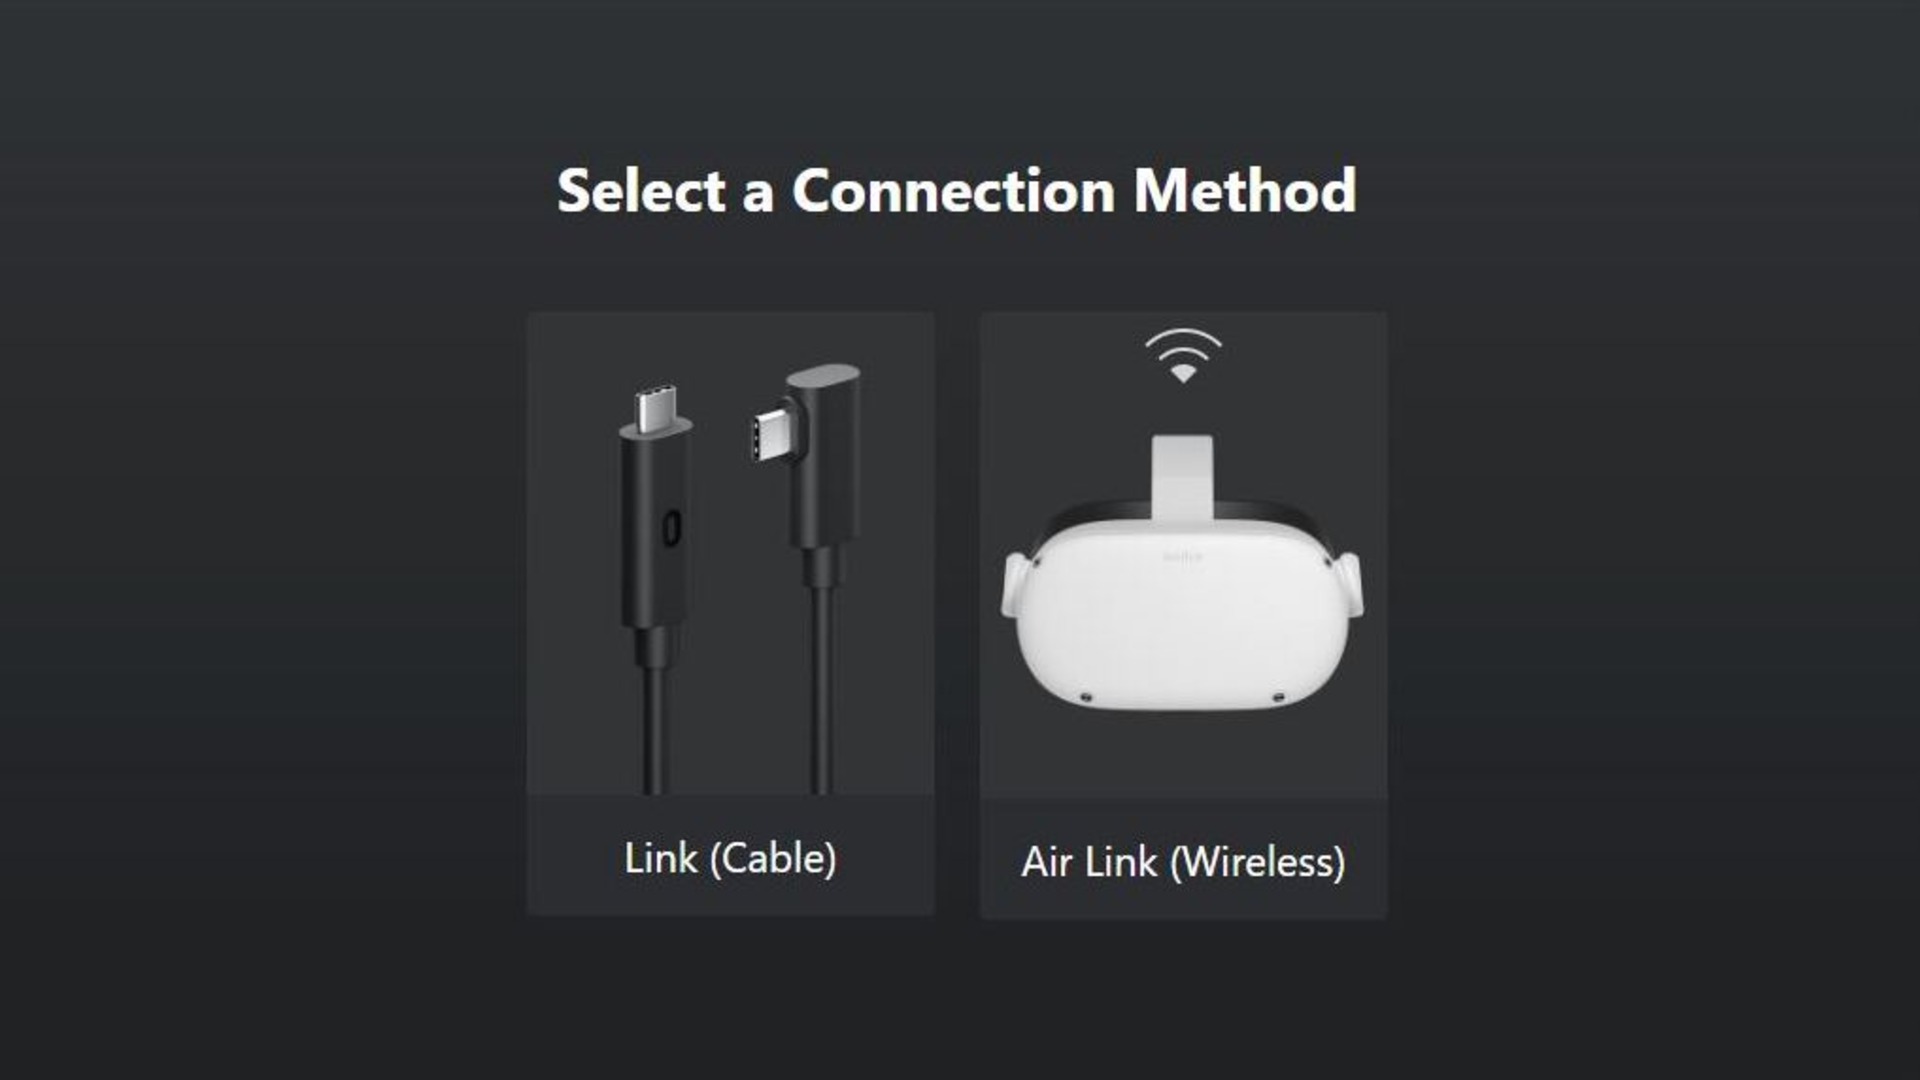
Launch the Meta PC app, which automatically checks for and downloads the latest version once opened. Turn off your VPN to avoid connection interference and link your Quest to the PC with a USB cable; this requires an initial setup. Choose ‘Devices’ in the main menu, then press ‘Add Headset’. Once done, choose your method of connecting (pictured above) and put on your Quest headset.
Or, you can buy Virtual Desktop on the Meta Store, a third-party application that functions like Air Link. While this costs £14.99/$14.99, you can change performance settings. Virtual Desktop forgoes the device setup stage, instead connecting through a downloadable Streamer App on PC. Type in your Meta account username into the box and press ‘Save’.
Now, make sure Steam is installed and download SteamVR. Install whichever games you’re hoping to play – you can check out the complete list here – and once done, jump into your Quest headset.
3. What to do on your Meta Quest
The next step depends on your chosen connection method. For those using the wired Link method, connect your USB Type-C cable to the PC, press ‘continue’ when prompted inside the headset, and that’s all you need to do. You can then virtually navigate, load up the SteamVR app, and select a Steam game.
If you’ve gone wireless with Air Link, bring up the ‘Settings’ menu, choose ‘Quest Link,’ and then switch on the ‘Quest Link’ toggle. Finally, for Virtual Desktop, select your PC from the ‘Computers’ tab and ensure the Streamer App is running on your PC. Once connected, a ‘Games’ tab appears, listing each VR game you previously downloaded.


