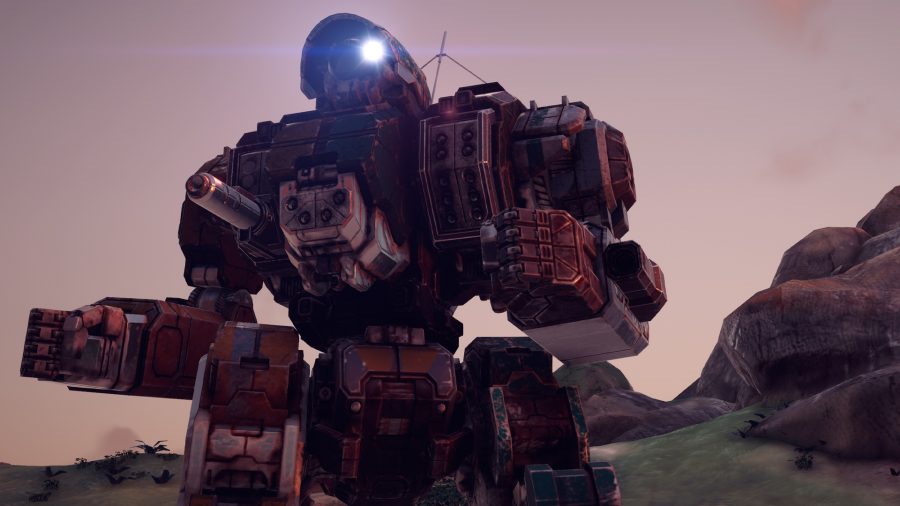
Need some BattleTech tips? The world of the MechWarriors is harsh, encompassing a universe where metal is more valuable than people. BattleTech is one of the best turn-based strategy games around, but it’s a game you need to take seriously if you’re going to win. Luckily for you, we’re here to help.
While the economic and management layers to BattleTech are important, the real game-changing action happens in the tactical battles. Before you consult the bellow, you’ll want to make sure you know everything there is to know about BattleTech mech builds, which we conveniently have a guide for. Provided you’re up to see on that though, now it’s time to learn how to handle your lance.
Below you’ll find everything from contract tips, to general mech principles, to detailed ‘dos and don’ts’ for the various weapon types. There’s a lot of detail you can bury yourself in, and the more you master the better time you’ll have on the harder missions. Official support for BattleTech has finished now, so we don’t expect this will need updating much but we’ll refresh this guide as we need to.
BattleTech tips
Here are some essential tips to weapons and warfare in BattleTech.
Bigger is better
Particularly in the early stages of the base campaign, you’re generally going to want to field the heaviest BattleMechs you have available. There are certainly roles for lighter, faster ‘Mechs, like the Jenner and Firestarter, but when you’ve only got a few key MechWarriors available, you can’t afford the risk of putting them in something that can’t be armoured as heavily as possible.
Bigger ‘Mechs usually mean more hardpoints for weapons, and that means you can afford to equip them as generalists for early missions. Being able to be flexible early on is important, and fielding ‘Mechs with a wide range of weapons will help out a lot in the beginning missions. ‘Mechs tend to get substantially more survivable as you move up in tonnage, and that’s also crucial in the early game when money is tight.
Heavy Metal does change this calculation up a bit, as the new COIL weapon was specifically designed to keep lighter, speedier ‘Mechs viable further into the game. Having a light frame ‘Mech such as a Flea or Locust equipped with COIL beams (which build up damage-dealing capability based on how far a ‘Mech travels in a turn) can open up incredibly valuable flanking and harrassing opportunities on the battlefield.
Specialize (to a point)
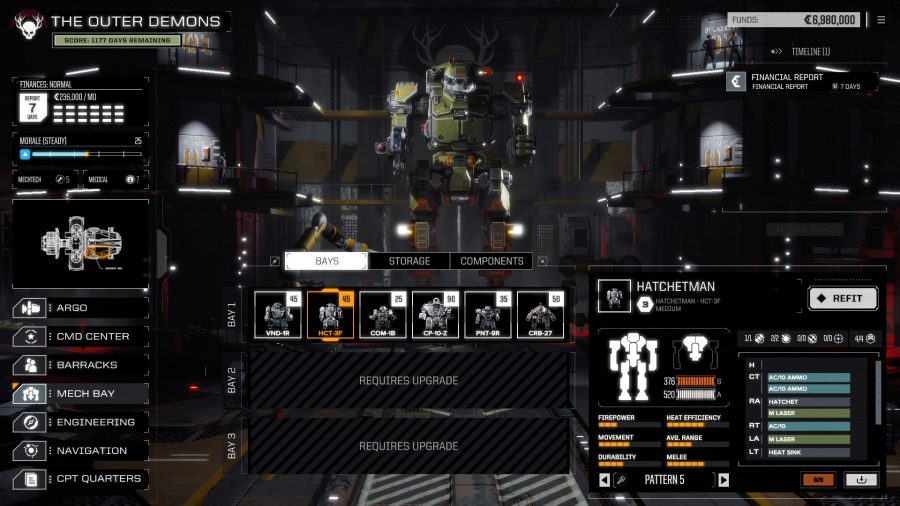
Once the financial restraints are loosened up a bit in the campaign, you’ll have more freedom to kit out your ‘Mechs for specific roles. Each BattleMech chassis has a stock role that your engineer, Yang Virtanen, describes in notes you can find in the info panel. That includes a default weapons loadout template you can follow, which is a very helpful starting point for most ‘Mech builds.
However, you’re free to ignore as much of Yang’s advice as you wish and moving away from his preference for medium lasers can allow you to customize a ‘Mech for a much more specialist role. In most cases, think of these loadouts as existing solely for a particular type of mission: a fast, long-range sniper built on a Jenner chassis, for instance, can be incredibly helpful in assassination missions, but its low drop-in tonnage will make it nearly useless in base assaults and straight-up battles.
Related: The best mech games on PC
Your heaviest ‘Mechs are best when you give them a decent spread between ballistic, missile, and energy weapons. It doesn’t hurt to have a close-range support machine gun or laser in the mix, either. But be aware of the mission type you’re heading into, and the environment. If you’re heading into a hot biome, you’ll want to either swap energy weapons out for ballistic or missile weapons or add heat sinks. Conversely, if you’ve got a mission in tundra, you can drop some heat sinks and add all the medium lasers and AC/10s you can carry because PPCs have been basically rendered useless by recent balance patches.
The new ‘Mechs introduced in Heavy Metal tend to have built-in technologies that are adapted for more specific roles than you may be used to with the rest of the lance. That can tie your hands a bit when it comes to trying to adapt them for different roles, but the advantages you get from the new Special Techs tend to outweigh the downsides – if you want to field an Archer or Rifleman, for example, consider refitting other long-range ‘Mechs in your lance for support or close-in duty.
Pick The right missions
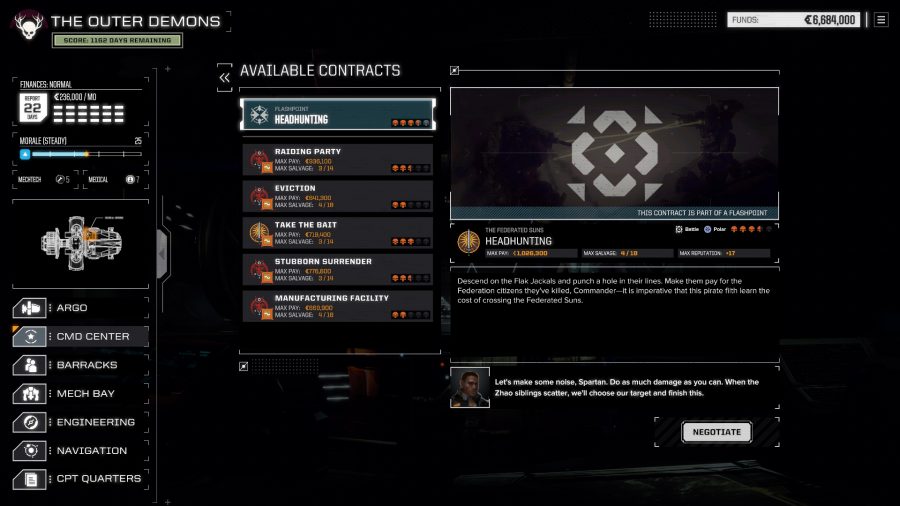
You’ve almost always got a choice of three missions to take on in BattleTech, and these are randomly selected from a series of types, as I mentioned above. They’ll all involve ‘Mech combat in some way, but what you’re up against and how each battle develops is heavily dependent on the kind of mission you deploy on. Some mission types have strict fail conditions, and the mission will end abruptly if you hit one of those – let an assassination target make it to his dust-off zone, and that’s the mission scrubbed, with no chance to recoup your losses.
With a squad of heavy, generalist ‘Mechs, you’ll be well-equipped to take on battles and base destruction missions. You’ll want to make sure you have faster ‘Mechs with sniper loadouts readied before you go on assassinations or convoy interceptions, though.
Don’t be afraid to wait a few days on a contract while Yang’s crew refits your lance, either. Unless you’re facing imminent bankruptcy, it’s far more important to field a properly-equipped team than it is to field a lance right away. The consequences for taking the wrong equipment into the field can be costly – ‘Mech repairs cost you time and money, and MechWarriors can’t help you out from sick bay.
salvage first, store second
Depending on how you negotiate your contracts, you’ll usually be pulling in some salvage after a mission. Pay attention to what’s available on the salvage screen! Your contract will dictate how many pieces you can call “dibs” on, and it’s worth going through the full list. Often, you’ll want to snap up BattleMech salvage – even when it’s not a chassis you want, they’re incredibly valuable to sell once you have a complete set. But you’ll also want to be on the lookout for rare, powerful weapons and gear. You’ll also want to be aware of equipment and ammo racks you’ve lost in combat, and salvage can be a chance to replace these cheaply.
With Flashpoint, some of how salvage and payouts work is going to change. Harebrained is altering the way reputation works, and the multi-mission Flashpoints will offer bonus rewards beyond what you negotiate for when accepting the contracts. According to this developer diary, the team has taken steps to have the loot you gain from these missions and in stores make sense with the location you find them, so finding and buying specialized parts is now a much less random affair.
For now, though, here’s a very rough wish list of spare parts you should try to have lying around at all times.
Weapons:
- 4x AC/2
- 4x AC/5
- 2x AC/10
- 2x AC/20
- 6x M Laser
- 6x LRM5
- 2x Snub-nose PPC
- 2x COIL
- 4x LRM10
- 4x LRM15
- 4x LRM20
- 4x SRM 4
- 4x SRM 6
- 4x S Laser
- 4x MG
Spare parts:
- Heat sinks: Always be on the lookout for these, in particular for upgraded, more efficient modules. Thermal exchangers will cut your overall heat generated by a percentage, and they’re worth their weight in gold in any energy-heavy build. Basically, always have some spares around and do not forget to include heat sinking in a new ‘Mech build if you’re carrying energy weapons Conversely, don’t add superfluous heat sinks – you’ll wind up with a ‘Mech that’s either under-gunned or under-armoured.
- Cockpits: A BattleMech’s cockpit is its most sensitive area – a lucky shot can take out a pilot and take both out of action in an instant. That means you’ll want to have cockpit upgrades installed whenever possible, especially for senior staff. Keep an eye out for these. Cockpit upgrades can grant wound resistance, or in the case of rangefinders, add to your view distance.
- Jump jets: Essential for outfitting a new scout or other fast-mover in your team. These lighter ‘Mechs can get into trouble quick and odds are you’ll have to replace them more often than you’d like. Jump jets give scouts and assault builds the ability to flank and duck back into cover on a moment’s notice, so always have extras handy if possible.
- Electronic Warfare: The Urban Warfare expansion adds two new pieces of kit in the form of Electronic Countermeasures and Active Probe. These both have the potential to give your lance the edge in any fight, but they’re particularly helpful in the new city biome, where sightlines can be easily broken and indirect fire tends to reign supreme. The ECM suite in particular is surprisingly powerful, and despite its in-game description it’s able to effectively ‘cloak’ a group of mechs around whoever’s carrying it. This makes everyone much harder to hit, and it’s worthwhile mounting one on a lighter frame – or just taking the stock Raven 1X out with your lance when you’re fighting battles against seasoned opponents. Try to always have at least one ‘mech in reserve equipped with an Electronic Warfare loadout.
BattleTech Weapons – Do’s and Don’ts
Let’s talk for a bit about the types of weapons you have available in BattleTech, and the trade-offs for each one. There are three main categories of weapons (plus support weapons, which I consider a special class), and each has its own set of pros and cons.
Some are better for specific missions, some require you to carry ammunition, and some of them provide an extra bit of control over the battle space. Each individual weapon type in BattleTech can also be found in varying degrees of rarity, and as the rarity of a weapon increases, so does its value in combat.
Energy weapons
Energy weapons include all lasers and PPCs. They’re deceptively easy to use, and can be devastating at the proper ranges. You don’t have to carry any additional ammo for them, but the big limitation is heat buildup.
Yang likes putting Medium Lasers on just about every ‘Mech chassis, and unless you’re running a specialty build, treating the M Laser as the default is a good idea. I’ve found (and it seems that the community agrees) that the Large Laser is usually not worth it – it’s got a much better optimum range than the Medium, but the heat management issues it brings with it usually make it a poor choice.
PPC’s used to be good, but they’ve been nerfed into oblivion since launch. Use M Lasers instead; or better yet, autocannon 10s.
If you have Heavy Metal, then you now have access to the Snub-nose PPC, which is effectively a PPC shotgun, and the COIL beam, which scales up in damage for each hex a ‘Mech travels per turn. You’ll want to use these on lighter ‘Mechs, but be aware that they take up a relatively high number of hardpoint slots, making them vulnerable to critical hits. Fortunately, the COIL beams aren’t heavy, which means you can add more armour to the area where you have it installed.
Ballistic weapons
Ballistic weapons, as the name suggests, are your conventional, direct-fire guns – autocannons and gauss rifles. They generate relatively little heat compared to energy weapons, but you have to carry ammunition for them – and not only can you run out of ammo, but your ammo pods can be destroyed in combat, causing critical damage to your ‘Mechs. That’s why it’s important to never, ever mount ammo pods on the central hardpoints of your ‘Mechs – that’s where the cockpit is, and an ammo explosion is almost guaranteed to kill your MechWarrior if it’s mounted with the cockpit.
While medium and large lasers get increasingly accurate with each shot, ballistic weapons become less accurate when they’re fired multiple turns in a row: this is to simulate weapon recoil.
With Heavy Metal, the ballistic weapons category has expanded to include the indirect-fire Mech Mortar. As you might expect, these fire a shell on an arcing trajectory, which then explodes on impact, damaging everything in an area of effect. The explosion does damage to each component of ‘Mechs caught in the blast, except for the heads. It’s a great weapon to have with you if you’re going to be up against a lot of lighter ‘Mechs, as it can finish off a whole enemy lance of them if you time it right. On the downside, though, it’s inaccurate and not particularly effective against undamaged enemies – so try to soften them up a bit first.
If that sounds good, you’ll love the new Bull Shark ‘Mech introduced in Heavy Metal, too. It can mount the fearsome Thumper Cannon, which is BattleTech’s first and only field artillery piece.
Missile weapons
Missiles are particularly handy (and, conversely, annoying when they’re being fired at you) because of their ability to fire without line of sight. If you’ve got a spotter with the Tactics skill, you can launch LRMs from behind hills at targets who can’t strike back, which makes long-range missiles essential for the fire support role described below. Missiles do a lot of stability damage (more than anything else in the game) so they’re your go-to if you’re looking for a knockdown.
A crucial thing to remember about missiles is how the percentage chance to hit changes – the probability is calculated for each individual projectile, so you usually have a better chance at some missiles hitting. The easiest way to think about this is that a 35% “chance to hit” with missiles roughly translates to “you’ll probably do about 35% of your maximum damage.”
Space: The best space games on PC
The number after LRM or SRM indicates how many missiles are fired at once from the pod, so for instance an LRM20 fires a volley of twenty missiles at once. Naturally, this also means it’s going to plough through your ammo quickly, so plan accordingly.
