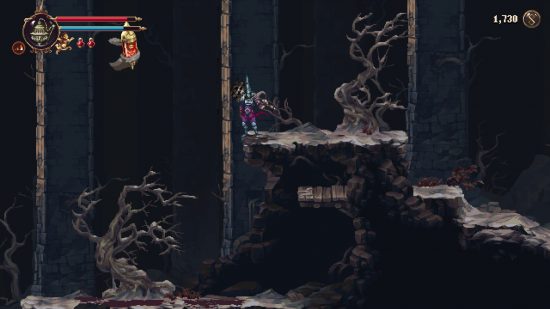
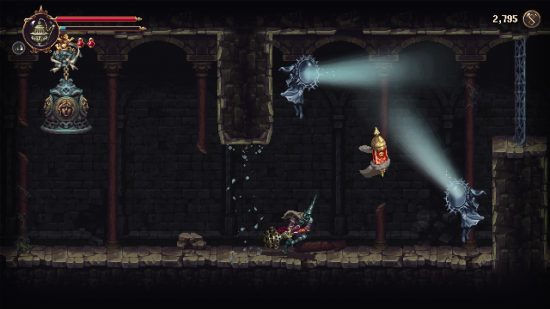
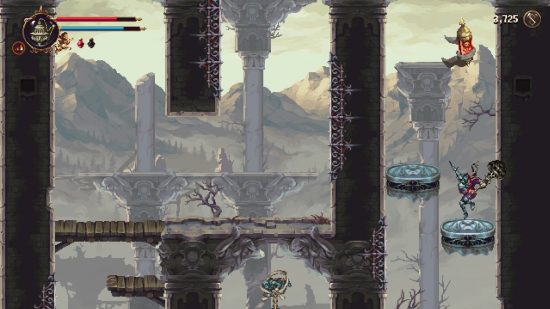
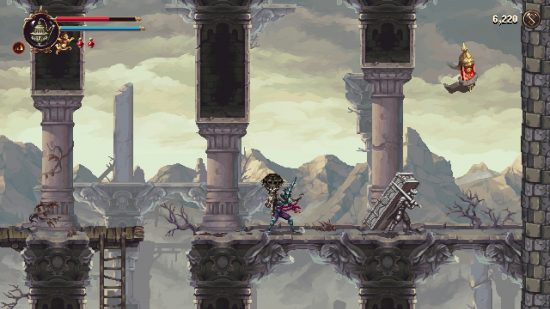
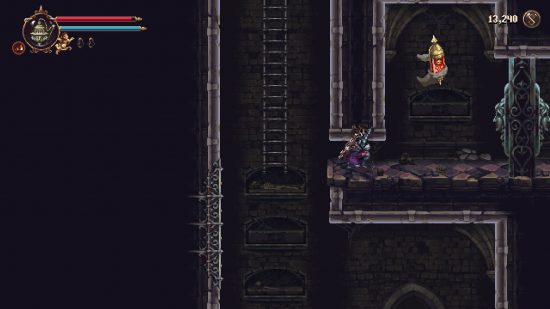
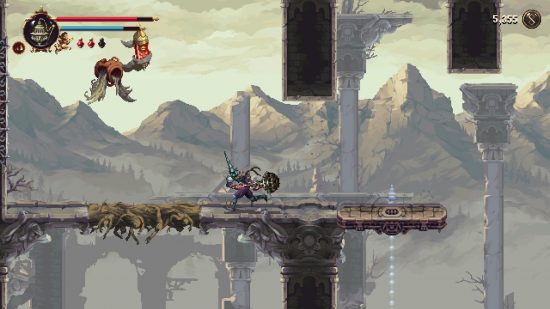
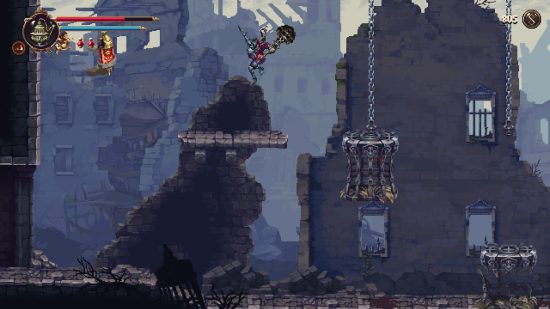
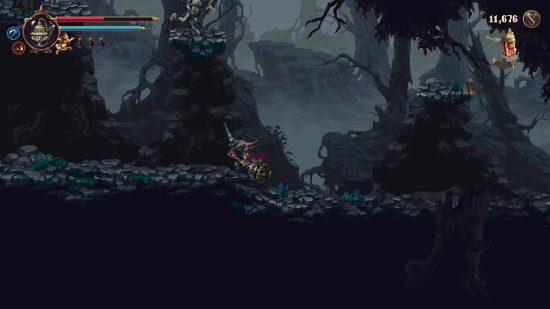
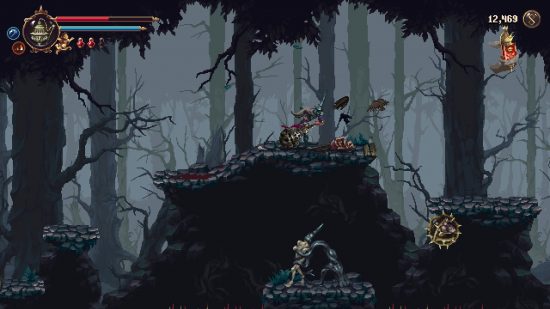
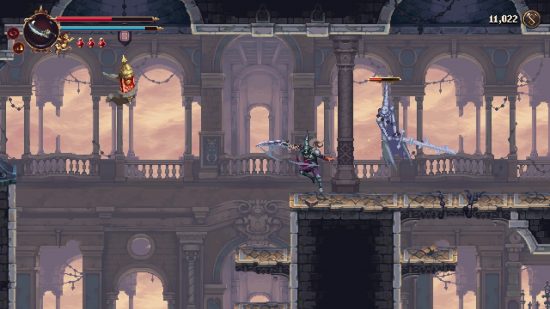
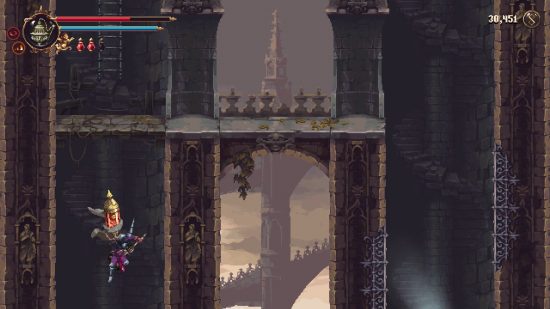
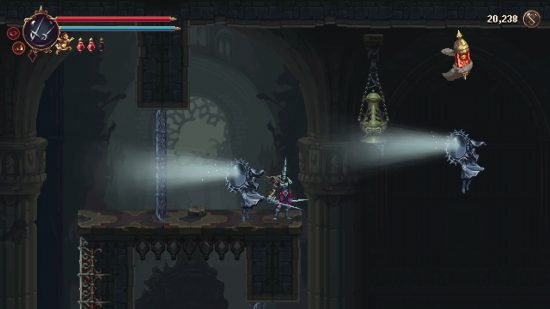
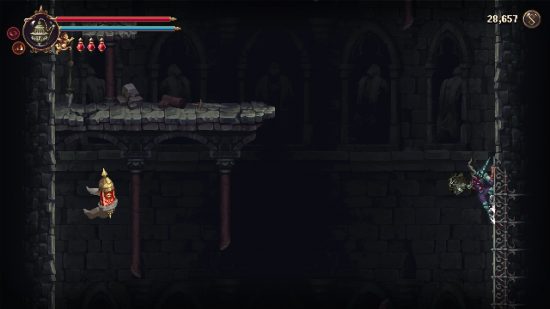
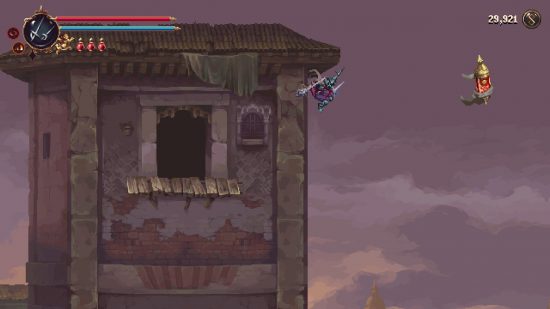
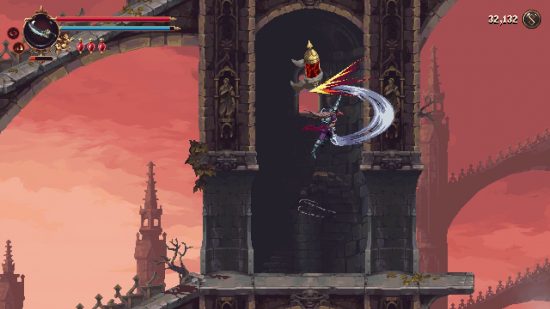
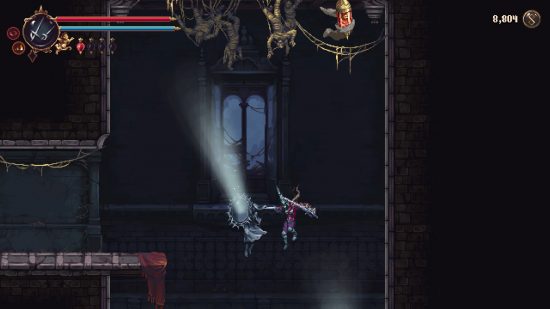
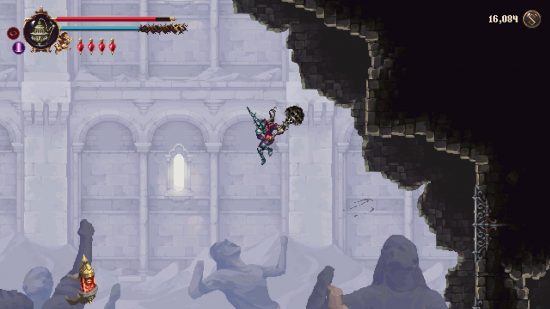
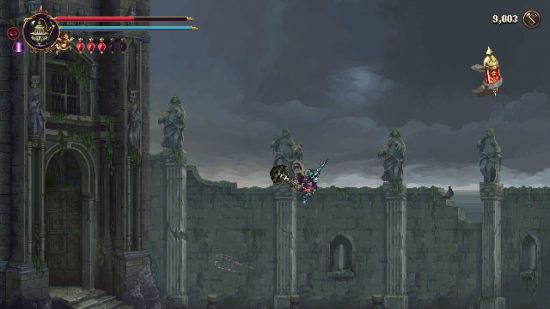
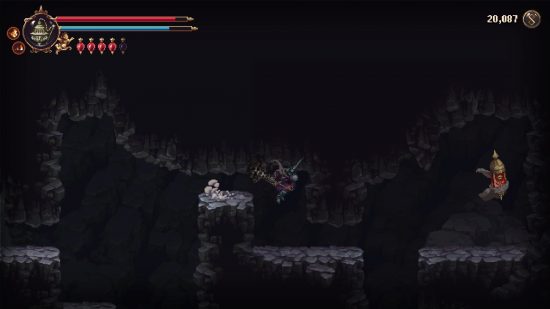
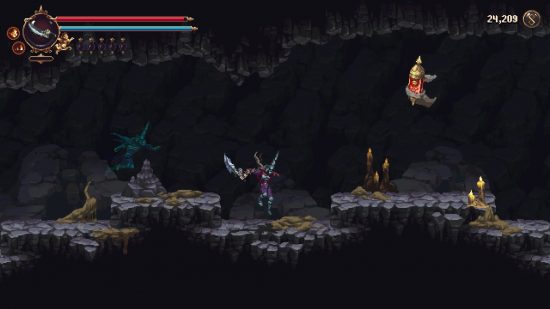
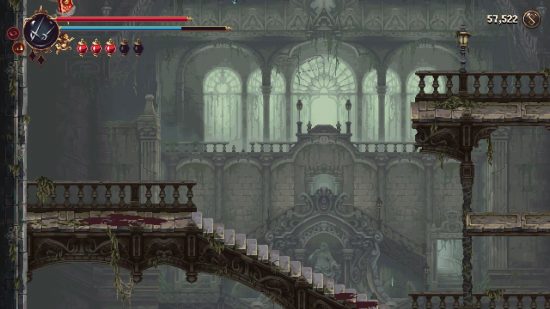
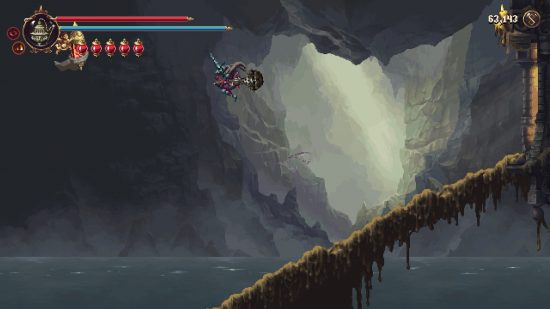
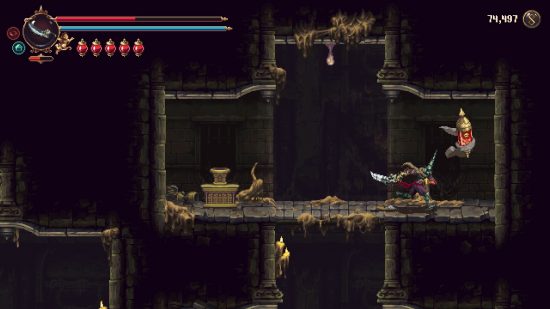
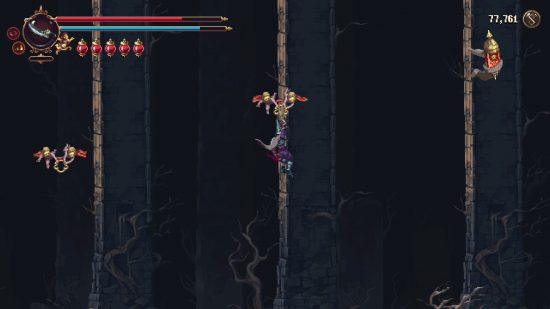
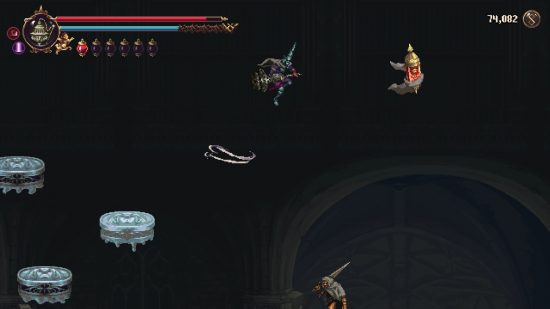
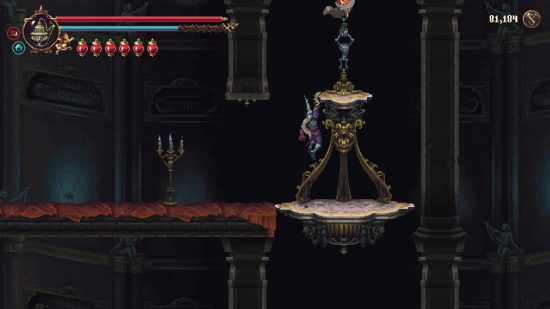
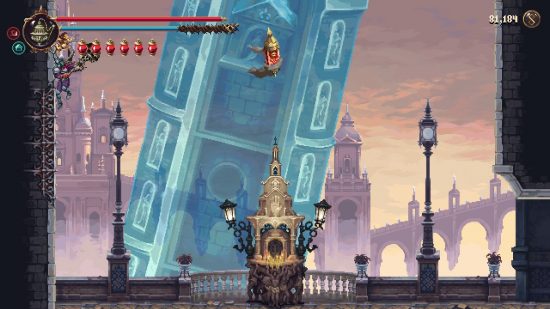
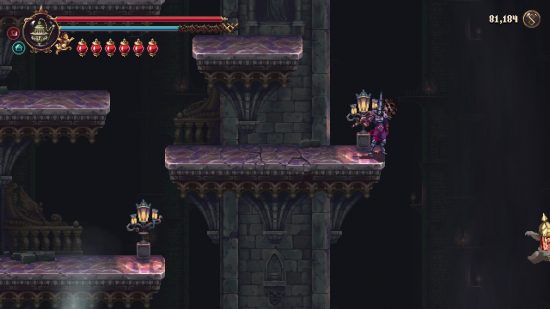
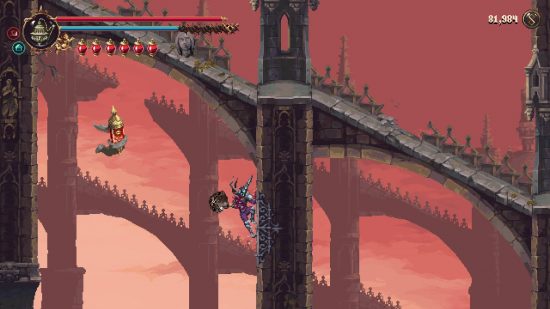
Where are the Blasphemous 2 cherub locations? These chubby-cheeked infants make their return in The Game Kitchen’s highly anticipated sequel, albeit in a slightly different form. However, their function remains the same – as Blasphemous 2’s primary collectible, you need to track down each one in order to polish off a completionist run. We’ve searched high and low to bring you all the locations so you don’t have to.
While you might have already freed a few Blasphemous 2 cherubs during your first few hours in the platform game, your motive for doing so is only revealed once you reach the Garden of the High Choirs. It’s here that the Penitent One meets Próximo, Holy Brother of the Golden Visage: a fallen cherub that beseeches you to free his trapped brothers, sealed in reliquaries and scattered across Cvstodia. To fulfill his request, you need to use the full breadth of your Blasphemous 2 weapons and Blasphemous 2 abilities. Once you’ve got those under your belt, you’re ready to track down all the cherub location in Blasphemous 2. Let’s go.
Blasphemous 2 cherub locations
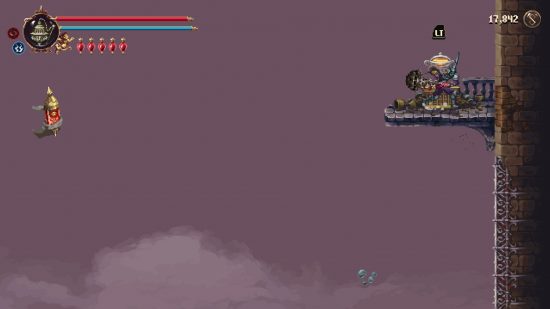
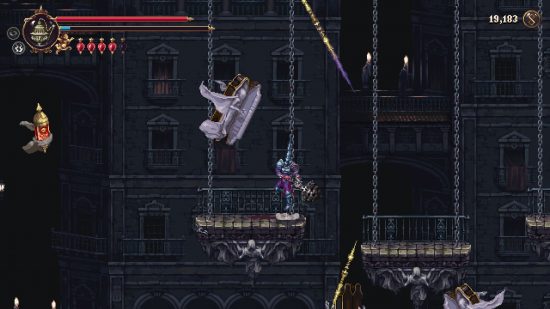
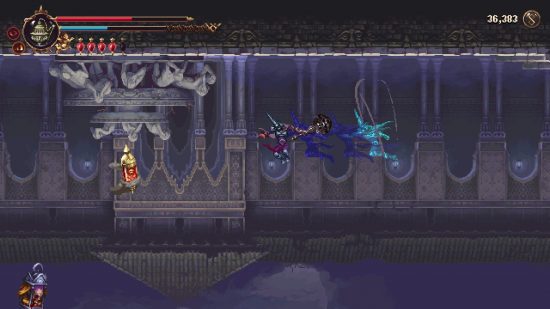
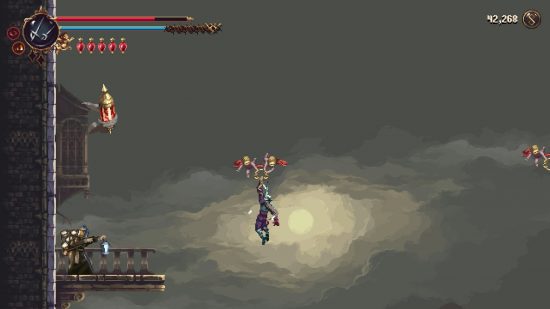
There are 33 Blasphemous 2 cherubs in total. Once freed, each cherub appears in the Garden of the High Choirs as a floating platform that can be traversed up to the top of the tower.
Cherub #1
Location: Ravine of the High Stones. You can easily reach this cherub by jumping from the nearby ledge just to the left of the City of the Blessed Name.
Cherub #2
Location: Profundo Lamento. Hit the bell to the right using Veredicto to reach the cherub between the two mirrors.
Cherub #3
Location: Aqueduct of the Costales. Hit the bell at the lowest point of this area and traverse the platforms and wall climb up to reach this cherub.
Cherub #4
Location: Aqueduct of the Costales. Ascend the ladder from the spike pit and proceed to the right to find this cherub a short jump away.
Cherub #5
Location: City of the Blessed Name. Descend the ladder down to the health upgrade NPC, then jump to the right to reach the secret area containing this cherub.
Cherub #6
Location: Aqueduct of the Costales. Manipulate the platform using the statue switch to traverse the gap to the blue door, then drop down to the lower level to hit the corresponding blue bell. Make your way back up to the door before it closes to find this cherub on the other side.
Cherub #7
Location: Grilles and Ruin. Follow the main route up from the Prie Dieu, then head left and leap across the gibbets suspended above the patrolling enemies to reach this cherub.
Cherub #8
Location: Choir of Thorns. This cherub is cleverly concealed behind the parallax trees in the foreground as you enter this area from the direction of the lift.
Cherub #9
Location: Choir of Thorns. Once again, this cherub is concealed behind the parallax trees. Clear the enemies in the immediate vicinity then leap up to reach it.
Cherub #10
Location: Crown of Towers. This cherub is hiding in plain sight as you ascend the room containing the aerial chains to the left and the timed door to the right.
Cherub #11
Location: Elevated Temples. Travel south from the Prie Dieu nearest the Garden of the High Choirs. Drop down from the platform and immediately swing your weapon to free this cherub mid-fall.
Cherub #12
Location: Mother of Mothers. Use Sarmiento and Centella to traverse the mirrors leading up to the ledge above the statue switch. Use your double jump or Veredicto to reach the cherub suspended over the gap.
Cherub #13
Location: Beneath Her Sacred Grounds. Head to the right and up from the Prie Dieu until you reach an empty room. Wall climb up the right-hand side then use aerial dash or double jump along with a long-range swing from Veredicto to reach the Cherub directly opposite.
Cherub #14
Location: City of the Blessed Name. Climb the ladder to the left of the Prie Dieu, then double-jump off the rooftop to reach the small entrance of the tower. Perform a further double jump or aerial dash to the immediate right to reach this cherub.
Cherub #15
Location: Elevated Temples. As you ascend up the ladder from the southern Prie Dieu, utilize your double jump and the floating mirrors to reach the upper platform on the left to find this cherub.
Cherub #16
Location: Palace of the Embroideries. Proceed to the right from the Prie Dieu on the far right of this area, then use the floating mirror immediately ahead to reach the cherub located at the top-right of this room.
Cherub #17
Location: Sacred Entombments. Head to the right of the northern Prie Dieu and use the crawlspace above the blue door to reach the wall climbing surfaces. Once you’ve climbed as high as you can, double jump and aerial dash across to the cherub floating above the spiral towers.
Cherub #18
Location: Sea of Ink. Proceed to the entrance of the Sunken Cathedral from the direction of the City of the Blessed Name. The cherub is floating high above the ground on the right-hand side of the entrance. While your weapons won’t be able to reach, you can free it using vertical AoE chants.
Cherub #19
Location: Labyrinth of Tides. Reach the empty cave structure in the bottom left of this area and then proceed through the narrow crawlspaces on the upper right. Dash through to reveal a hidden area containing this cherub, not far from the route to the pillar supporting the nearby temple.
Cherub #20
Location: The Severed Tower. Head north from the Prie Dieu at the very bottom of this area, then proceed immediately through to the right. This cherub is located on the route to the clockwork switch that controls the gate leading to the Sunken Cathedral.
Cherub #21
Location: City of the Blessed Name. Ascend the ladder up from the well and hit the blue bell with Veredicto to traverse the platforms. Wall jump up to the small ledge, then perform a double jump and aerial dash to reach this cherub.
Cherub #22
Location: Streets of Wakes. This cherub is directly above the entrance leading from Profundo Lamento. Approach from the Prie Dieu on the right-hand side next to the fast travel point in order to traverse the platforms suspended above the street below.
Cherub #23
Location: Two Moons. Double jump and aerial dash across to the cherub floating high above the pit full of enemies directly below.
Cherub #24
Location: Two Moons. Use the golden ornaments – along with a combination of your aerial dash and double jump – to cross the gap in the large room directly beyond the western Prie Dieu and retrieve the cherub floating above the small ledge.
Cherub #25
Location: Sunken Cathedral. Head to the north-eastern corner of this area, then proceed south until you reach the room containing the clockwork switch that releases a ladder down to the lower area. Instead, navigate the platforms on the left with your double jump and aerial dash to reach the cherub just off-screen.
Cherub #26
Location: Labyrinth of Tides. At the entrance to The Severed Tower, leap from the highest point of the slope and utilize your double jump and aerial dash to reach the cherub floating nearby.
Cherub #27
Location: The Severed Tower. Head north from the Prie Dieu right at the bottom of this area, and use the golden ornaments near the clockwork switch on the right to reach the ledge containing the shrine. Break open the wall to the left to reveal a hidden area containing this cherub.
Cherub #28
Location: Ravine of the High Stones. Head left from the City of the Blessed Name and use the golden ornaments to navigate over to reach this cherub.
Cherub #29
Location: Mother of Mothers. Hit the bell on the lower platform using Veredicto, then dash through the crawlspace and ascend the ladder to cross the blue platforms. The cherub is just a quick double jump to the right.
Cherub #30
Location: Basilica of Absent Faces. Return to the room in which you fought Benedicta of the Endless Orison and retrieve this cherub floating above the elevator.
Cherub #31
Location: Crown of Towers. Wall climb directly to the left of the southern Prie Dieu to reach the cherub floating directly above it.
Cherub #32
Location: Elevated Temples. Watch out for this cherub floating just off-screen on the right as you proceed down the shaft leading to the City of the Blessed Name.
Cherub #33
Location: Elevated Temples. Traverse the area between The Chapel of the Five Doves and Two Moons until you cross a tree-trunk. Wall climb up to the cherub located just off-screen above you.
Blasphemous 2 cherub rewards
Once you’ve collected all 33 Blasphemous 2 cherubs, you can ascend the Garden of the High Choirs and collect your reward: four Marks of Martyrdom as well as the Giant Rattle. However, there’s one more secret within the Garden of the High Choirs. Traverse the wall to the left to reach a platform above and open the treasure chest to receive Gregal, a rare Favour.
Once retrieved, head back down to Próximo and exchange the Giant Rattle for Remembrance of Próximo, a memento that can then be handed to the sculptor for a Próximo, the Favour of the same name as the NPC you’ve so kindly helped.
To make exploration easier, we recommend equipping the best Blasphemous 2 resonances Cvstodia has to offer. You might also wish to keep an eye out for Blasphemous 2 wax seeds while you’re at it. Finally, check out our own Blasphemous 2 review if you’re keen to chart our own adventures on our way to witness the birth of the Miracle Child.

