There’s almost always room to boost fps, even if your gaming PC is kitted out with the beefiest graphics card. And let’s face facts, every single frame you can add to that counter gives you more of an advantage against your opponents – we know our aging bones appreciate any leg up they can get.
It’s usually the last step after you’ve built the best gaming PC and installed your operating system. We know, you’re itching to boot one of your games and get into the thick of it, but it only takes a few steps to optimise your PC and you’ll have a much better experience as a result. These methods aren’t just for new builds, either, as they can help speed up PCs that have slowed to a crawl over the years and give them a new lease of life.
Here’s how to boost fps and optimise your gaming PC:
1. Update your graphics card drivers
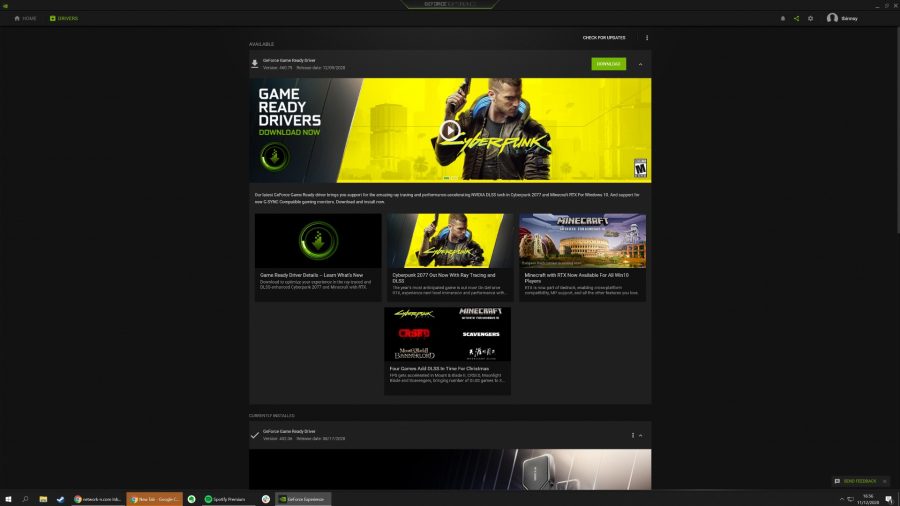
Updating your GPU driver is one of the simplest ways to take full advantage of the best graphics cards, and you might see a bump in your frame rate as a result. Nvidia, AMD, and even Intel nowadays release drivers regularly, bringing new features, performance updates, and optimisations for the latest games.
No matter what brand of graphics card you have, all you’ll need to do is head over to their sites to download Radeon Adrenalin, GeForce Experience, or the latest Intel driver respectively. There’s even a possibility you’ll already have this installed, which you can check in the Windows tray if you’re running Microsoft’s OS. Once installed, you’ll be able to auto-detect when the latest driver for your graphics card is released, replacing the old one.
2. Optimise your settings in-game
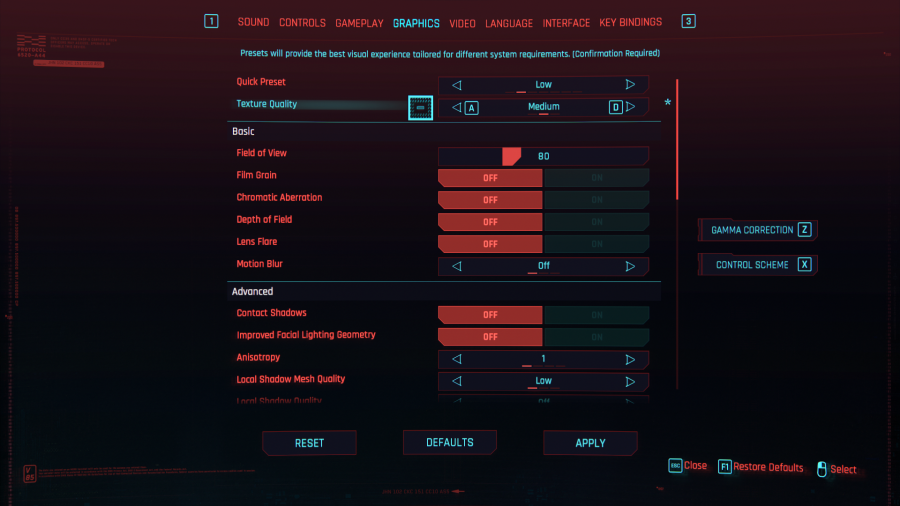
If you’ve tried all possible optimisation and you’re still not getting the frames you want, you’ll want to look at reducing the graphical settings in your games to boost fps. Some particularly demanding general settings in games include Render Distance and Texture Quality. Lowering the screen resolution is an option as well – go for resolution scaling if the game has that as an option, letting you run games at a lower resolution while keeping the HUD and menus at their native resolutions, which can look pretty unsightly if not kept at native resolution.
If your rig is armed with an RTX graphics card, you’ll be able to take advantage of the GPU’s deep learning super sampling (DLSS) abilities. By enabling Nvidia DLSS in compatible games, you should be able to achieve higher frame rates without compromising visual fidelity. This is achieved by dynamically scaling textures, then rebuilding them using AI technology.
Of course, if you’re batting for the red team, you can also use AMD’s FidelityFX Super Resolution (FSR), a similar upscaling solution that should also help you enhance compatible game performance.
If you’ve got an SSD and HDD combo, you’ll always want Windows installed on the SSD, then any other games that benefit from the increased speeds of solid-state if there’s any room – special mention to Cyberpunk 2077, which recommend an SSD for the intended experience.
3. Defragment your hard drive
If you’re running your games on the best SSD for gaming, which is something we highly recommend, then this step doesn’t apply to you. Those still running things from a mechanical hard drive will need to defragment it every so often to clean up those physical pathways and keep things ticking away smoothly.
As data is added and removed on a conventional hard drive, the empty spaces on the disc become separated. If a new file is then added, it’s data may be fragmented over multiple sectors of the drive, increasing movement of the disk head, lowering access speeds which leads to longer loading times in games, or when loading any file in general on your PC.
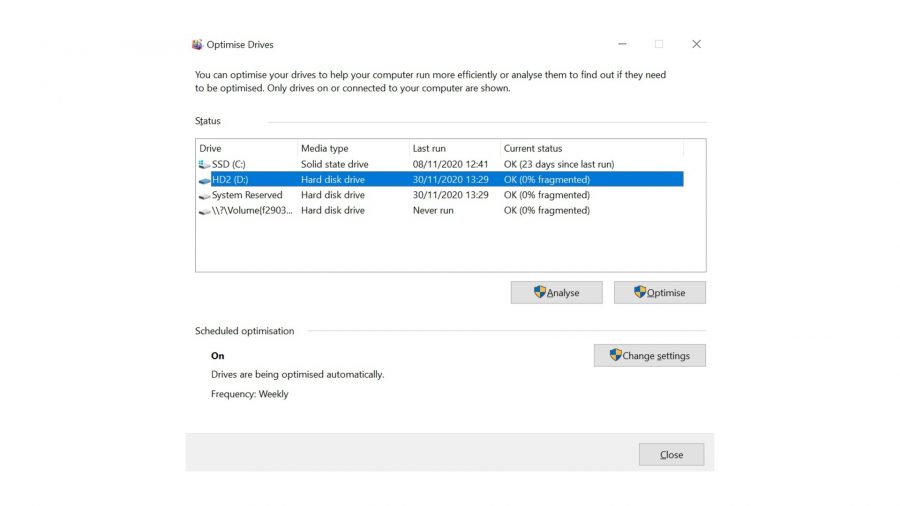
Defragmentation should be done once a month, ideally – it moves all the pieces of your system files into one sector, and groups together all the empty space on the drive. This reduces the distance that the disk head has to travel to open a file as it’s all in one place, speeding up access time. It’s really simple on Windows 10 – simply type ‘defrag’ and press enter on the start menu, select the drive you want to defrag, then click optimize. You can set Windows to automatically carry out defragmentation, too.
4. Check your background apps and processes
You’ll want to shut any unnecessary background applications before running games, especially if you have a limited amount of RAM. Web browsers like Chrome and Firefox use a surprisingly large amount – if you have a dozen tabs open, you could be looking at over 2GB of RAM used. You might want to consider increasing the RAM capacity in your PC if you’re really struggling.
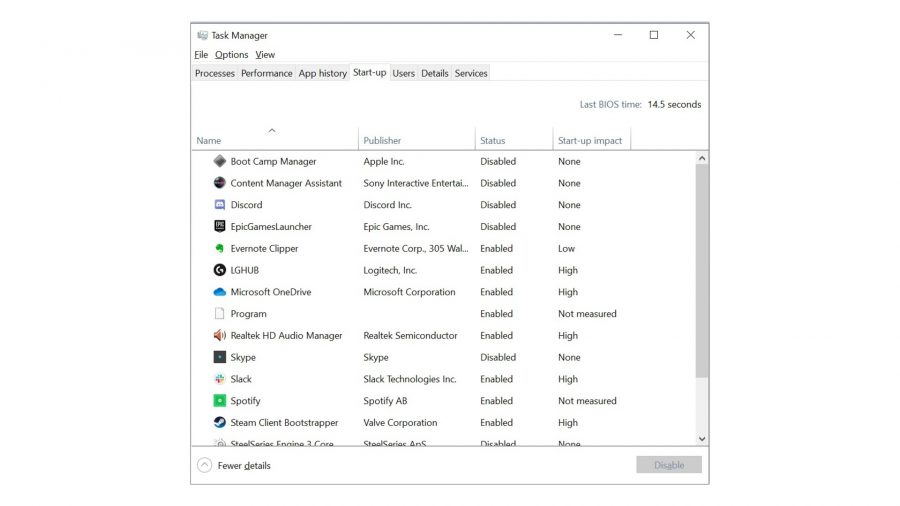
Also have a look at what applications are opening when you startup which can hinder boot times – Press ‘Ctrl+Shift+Esc’ to enter task manager, navigate to the ‘Startup’ tab and disable any programs you don’t want opening when you boot your PC. Task manager will also show you how much of your RAM you’re using at any given time.
5. Overclock your RAM
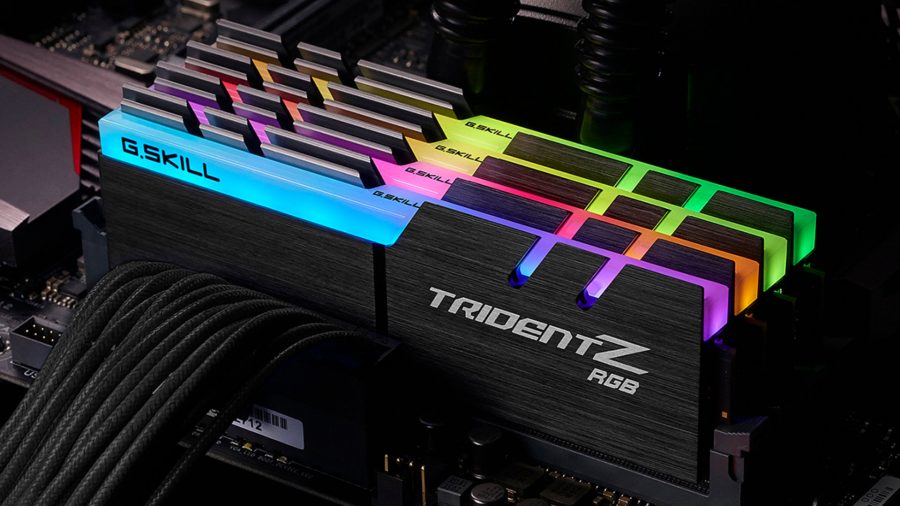
Alongside watching out for how much memory capacity you’re using, you should also check the speed of your RAM. As you might’ve guessed, the bigger the megahertz, the faster your memory will run, but it’s not as simple as buying 3,200MHz DDR4 sticks and just slotting them in. In order to account for different motherboards, RAM often defaults to a lower speed, such as 2,133MHz, requiring you to overclock it to its intended speed.
If your motherboard can support the best gaming RAM with high frequencies, then you can set up your memory profiles in the BIOS, which you can access when booting up your gaming PC by tapping one of the Fn or Delete keys – it should tell you what key to hit for your system. Once exclaiming you’re in, much like a hacker in a 90s movie, navigate to the overclocking tab in your BIOS and enable ‘XMP’ to match the MHz to what your RAM supports.
While you’re in the BIOS, you may as well get your fan speeds set up, too, as keeping things cool does allow your components to work harder and your games to run smoother. Many BIOSes have performance/quiet mode fan curve profiles, with the former keeping temperatures low and preventing throttling at the expense of the louder whirr of each fan. Or, if you’re looking to overclock your CPU, you could go ahead and manually set your CPU fan higher.
6. Perform a BIOS update
Speaking of the BIOS, when should you consider updating it? This is one of those things where ‘if it ain’t broke, don’t fix it’. Updating your BIOS for no reason isn’t going to net you any performance, and if during a BIOS update your power was to go out, there’s always the risk your motherboard could be bricked – so only update if you’re experiencing documented bugs, or to enable support of new hardware – like AMD adding Zen 3 CPU support on 400 series motherboards.
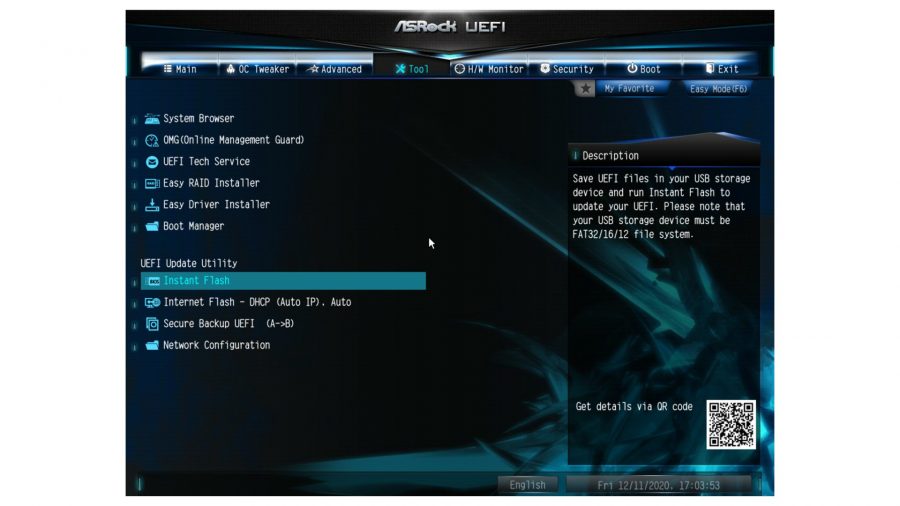
Although interfaces can differ per motherboard, it’s a pretty similar procedure across the board. BIOS USB flash utilities, which allow you to update without even a CPU or keyboard/mouse plugged in, used to be reserved only the highest-end motherboards, but most motherboards in recent years support this now – still, it doesn’t take the risk out of a BIOS update, but it’s perfect if you need to update your BIOS to support newer processors and don’t have a compatible spare lying around.
If you need to, it’s a pretty simple process – go to your motherboard manufacturer’s website, find your motherboard then download the latest update onto an empty USB drive. You’ll then want to start up your PC and go into the BIOS, look for available devices, select the USB drive with the update, then let it do its job.
Sometimes, no amount of optimisation is going to let you run the latest titles well. It’s important to make sure you’re meeting the minimum system requirements and upgrading components if you’re lacking in any department. If you don’t want to sink the money into a CPU upgrade, however, you can just learn how to overclock your CPU and GPU to squeeze some extra performance out of your gaming PC – although this works better when your processor is paired with the best CPU cooler.
But hopefully, once you’ve gone through all the steps above, you should have a well-tuned gaming PC sat in front of you, ready to play the latest titles on Steam, Ubisoft Connect, GOG, Origin, or whichever platform you prefer. Just don’t forget to bag yourself the best gaming monitor with a high refresh rate so you can see the increase in frames and get an fps monitor to keep an eye on the numbers. The only thing that’s left to say is good luck, have fun what ever your PC gaming setup!

