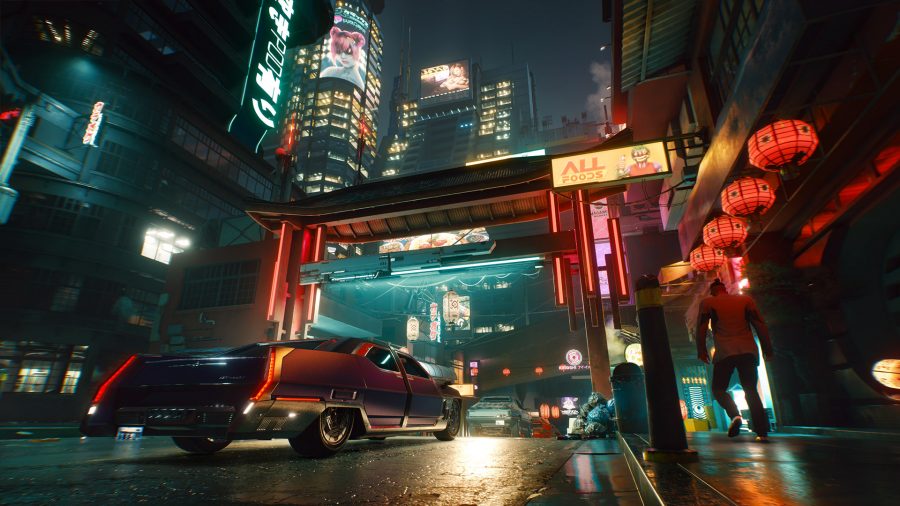
What are the best Cyberpunk 2077 settings? Whether you’re dealing with an aging setup, or you bought a PC specifically for this game, our guide will break down exactly which settings will be the most taxing on your system.
With Cyberpunk 2077 Phantom Liberty just around the corner, we’re all excited to jump back in and explore everything new Night City has to offer. But CD Projekt Red’s sci fi RPG is notoriously hardware-intensive, especially with its all-singing-all-dancing ray tracing settings enabled. Read on for handy tips on settings you can change in an effort to hit that holy grail of 60fps.
What are the best Cyberpunk 2077 Phantom Liberty settings?
Here are the best Cyberpunk 2077 Phantom Liberty settings:
- Volumetric Cloud Quality: Medium
- Max Dynamic Decals: High
- Screen Space Reflections Quality: Low
- Subsurface Scattering Quality: High
- Ambient Occlusion: Low
- Color Precision: Medium
- Mirror Quality: Medium
- Level of Detail (LDD): High
- Ray Tracing: Medium
- DLSS: Quality
We at PCGamesN tested these settings on the following rig: Nvidia GeForce RTX 3080, AMD Ryzen 9 3900X, 32GB of DDR4 RAM, Corsair Force MP510 NVMe SSD, on 1440p at 120Hz.
CD Projekt Red added an in-game benchmark for Cyberpunk 2077 in the 1.5 update, so you can test the best settings on your own rig for best results. We recommend trying out the presets (low, medium, high, and ultra) first to find a solid base fps, then adjusting each individual setting to your preference. Here are some of the settings we found made the biggest difference in terms of performance and visual quality.
Screen Space Reflections Quality
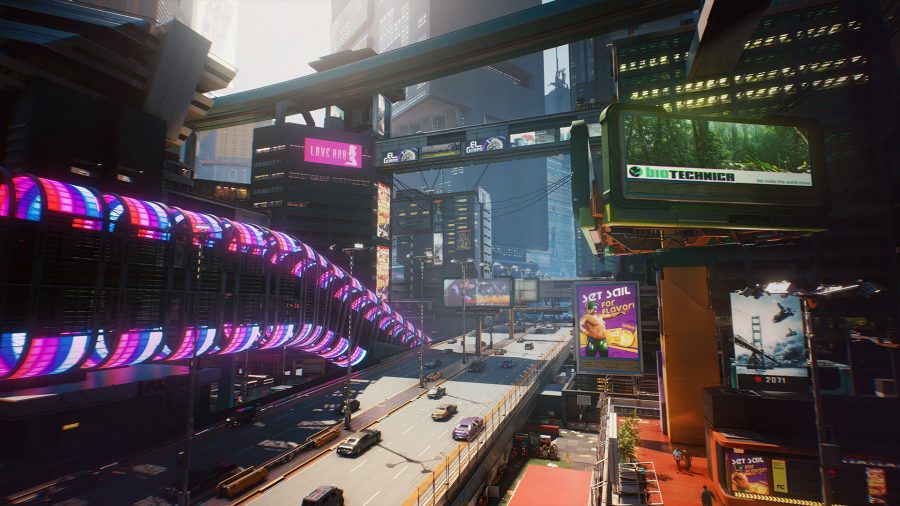
This setting determines the quality of reflections in the game. Cyberpunk 2077’s Night City is filled with neon signs and reflective surfaces, so it’s understandable why this setting would have such a large impact on your performance. You have the choice of five different quality options including the rare and dubiously titled ‘Psycho’ setting, though we’d recommend opting for Low. Our frame rate jumped 11% from Ultra to Low, and while there are a few visual differences, it’s not worth the hit to your performance unless you can absolutely afford it.
Ambient Occlusion
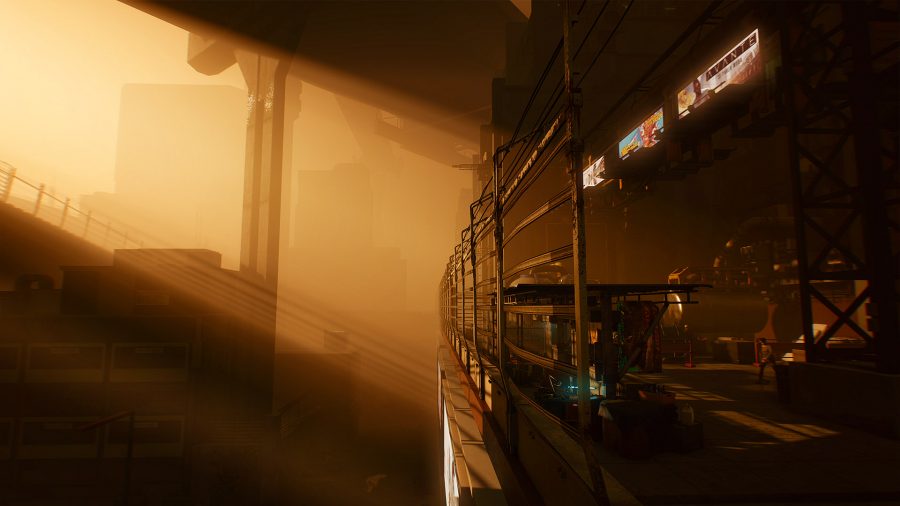
The ambient occlusion setting affects shadows in areas where incoming light is blocked by the environment. Bumping up this setting to Medium will make the world feel more alive by adding more light sources and shadows, but your frame rate will suffer as a result. Turning off Ambient Occlusion saw our frame rate increase from 76 (on High) to 80. We’d recommend setting this to Low at the bare minimum – while it costs a few frames, the extra shadows make the game look much nicer.
Volumetric Clouds
This setting affects how realistically the clouds in the sky are rendered, however, there isn’t much of a difference between medium and ultra. We’d recommend sticking with medium for this setting as it boosted our frame rate by 8% during the day on average – an impressive increase for almost no discernible visual difference.
Cyberpunk 2077 Phantom Liberty best ray tracing settings
As with all games, ray tracing comes at a huge performance cost, however the visual returns are unmatched by any graphics setting in the game. If you own an RTX card, we’d highly recommend turning on DLSS as this feature can increase your frame rate dramatically. There are five DLSS presets (auto, quality, balanced, performance, and ultra performance), each designed to provide the best experience depending on what you’re after.
Using the Quality DLSS setting with Ray Tracing: ultra graphics preset, our average frame rate jumped from 40 to 62, an increase of 55%. The power of DLSS cannot be overstated, and even if you aren’t using any ray tracing features, it’s worth enabling this setting purely for the free frame rate boost.
Unless you’re attempting to play the game at 4K or even 8K, we’d recommend steering clear of the ultra performance setting. While this option technically works on lower resolutions like 1080p and 1440p, you won’t see a real benefit until you reach 4K. You can use the normal performance setting on lower resolutions to gain a higher frame rate, but you may spot odd visual artifacts every so often.

If you own an Nvidia GPU, be sure to update to the latest drivers which are available to download on its website. While you can run the game without using these drivers, you may experience worse performance and graphical glitches. These game ready drivers will ensure you’re getting the best performance from your graphics card.
Although AMD graphics cards couldn’t use Cyberpunk 2077’s ray tracing features at launch, they now can. If you’re using an AMD GPU, or another non-RTX graphics card, we recommend using FSR 2.0 in balanced mode.
With the Cyberpunk 2077 Phantom Liberty release date just around the corner, make sure you’re equipped for your new adventures in Night City. We’ve made a list of the best Cyberpunk 2077 mods to give your exploits a bit of extra flavor, and will be updating it with any new mods inspired by the new Phantom Liberty content. And if you want to take your adventures on the go, discover more about Cyberpunk 2077 Steam Deck compatibility in our helpful guide.
Take the Cyberpunk 2077 requirements test over on PCGameBenchmark to answer the question… Can I run Cyberpunk 2077?
