Looking for the Destiny 2 King’s Fall raid guide? The goal here is to defeat Oryx, The Taken King, and while you may consider yourself an expert if you beat the original, this newest iteration has some revamped mechanics and changes that will throw off even the most experienced of players.
Tackling a raid is usually the most difficult thing you can do in an MMO game – it requires mechanical skill, in-depth knowledge, and good team communication. The free PC game has released many quality raids over the years, and Destiny 2 King’s Fall is no exception. Here’s how to beat it.
Before you start, check out our guides to Arc 3.0, Solar 3.0, and Void 3.0 to help define your character build. Damage resistance is one of the most important aspects of this raid, so Solar builds like the Warlock Dawnblade Well of Radiance, or Titan Sunbreaker builds with the Sol Invictus aspect can be some of your best bets. It’s also worth noting some of the strategies in this Destiny 2 King’s Fall raid guide come from expert players Datto and Fallout Plays.
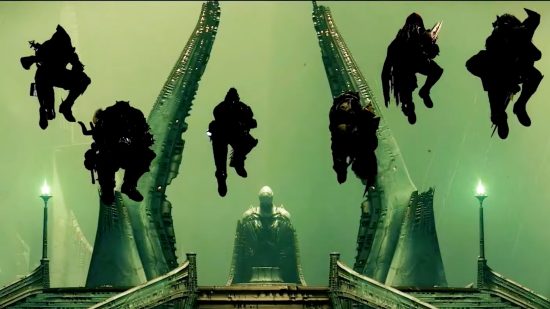
Opening encounter: Hall of Souls
During this encounter, your team must place two orbs in each of the six statues, and both orbs must be placed simultaneously within the time limit displayed on both players’ screens. For this task, divide your team into three sets of two or two sets of three. You’ll find these orbs through an open doorway, but be sure to communicate, so you’re grabbing them in sync with your teammate.
As you progress through the opener, your team will place one on the left and one on the right side of each totem. One player in each set will run the orb for each statute while the others clear ads in their way.
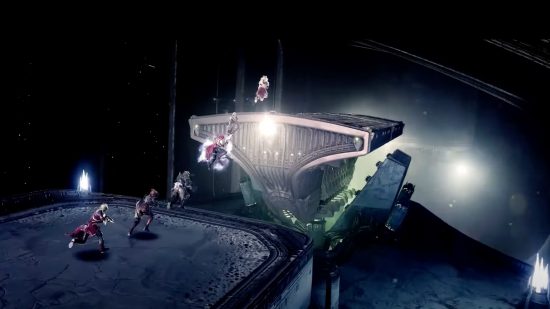
Then, clear the jumping puzzle, which is tricky and requires a fair amount of patience but is quite straightforward on how to do it.
First encounter: Totems
The goal of this encounter is to dunk Deathsinger’s Power into the centre plate. There are three rooms: one to the left, one in the centre, and one to the right. Annihilator Totems are in the left and right rooms, and one player must always stand on each plate under them to prevent them from exploding.
Divide the team into two three-person groups. The idea here is to rotate roles, as one person will be getting Deathsinger’s Power, one will be depositing their power, and one will be working on the Brand Claimer buff. Like a relay race, the players will essentially cycle through each station. Make sure you run the cycle on both sides.
You must get the Brand Claimer buff to transfer powers between players. To do this, the first player must kill the wizard on the balconies of the centre room. Upon killing this wizard, a Blight Guard appears, which drops the buff.
Each room has its own unique buff, called Brand of the Weaver and Brand of the Unraveler. These shield your players from damage while in the rooms, but players need to stand on small plates in these rooms to receive the buffs. Afterward, you can stand on the main plates without taking damage. The person with the Brand Claimer buff can relieve them and reset the timer by picking up their buff while the other person proceeds to dunk the Deathsinger’s Power. This must be done while killing ads and holding Brand of the Weaver or Brand of the Unraveler. That player will then kill the wizard that will spawn the Blight Guard, and the cycle will begin again until the team has dumped enough Deathsinger’s Power.
Second encounter: War Priest
Split your team into three groups of two. After you kill some ads, you’ll see a note that says, “Glyph reading sequence started.” When one player stands on the centre plate, they can see whether either of the totems lights up. If neither does, the centre totem is the one considered lit. The player should call out the lit-up totem, and then another player should step on that plate accordingly (unless it’s the centre totem, which the player can stand on themselves). Then, the player who stepped on the called-out plate calls out which of the two totems lights up next. Another player should step on that plate. A third player can then step on the final totem plate.
Upon slaying Blight Guards for the Brand Claimer buff, the final player will receive a buff called Brand of the Initiate. Brand Claimer buffs allow players to steal the Brand of the Initiate buff, resetting its timer. Cycle this between two players. To deal damage to the War Priest, all players must stay within the radius of the Brand of the Initiate buff. When the damage phase ends, and the War Priest is nearly defeated, players must hide behind one of the three totems to avoid death.
Third encounter: Golgoroth
Divide your team into two players who will capture Golgoroth’s attention and four damage dealers. The players who capture his attention allow the others to damage his critical spot, his stomach. Players must stand in a Pool of Reclaimed Light, which comes from orbs on the ceiling, to effectively damage Golgoroth. One player captures his attention by shooting him, taunting him to ensure they’re the only recipient of “Golgoroth’s Gaze.” The damage dealers can then shoot the critical hit spot. The Pool of Reclaimed Light only lasts for a short time, and players should also look out for the Unstable Light debuff, which causes the player that has it to explode. The player won’t die, but any nearby teammates will, so the player should move away if they notice this debuff.
The two players assigned to capture his gaze should alternate until the team does enough damage to kill him. Also, keep an eye out for the Tablet of Ruin, which collects unused Orbs of Light. When maxed out, it will be a team wipe.
Fourth encounter: Daughters of Oryx
The encounter is split into two-minute segments. After two minutes, the player must have the Brand Aura buff to protect against the daughters’ wipe attacks. To do this, you must steal three pieces of Blight Guard.
The two daughters will be in the centre. Split the room into four quadrants and assign a player to each quadrant and a corresponding plate, with two roamers.
Start the encounter by finding the plate with a Knight and a green flame. The player assigned to that plate should jump on it. A random player will become torn between dimensions and should join the player on that plate. Torn players will see a bright light above another plate, which they should call out so the player assigned to that quadrant can stand on it. By doing so, the torn player will have a path to the orb. Repeat the process twice more by having a player stand on the next glowing green platform.
The third time around, the player should look at the daughters and determine which one is not glowing, then dunk the orb into her platform.
This will mean it’s time to damage them, but the player will also get the Aura of Immortality. The Aura makes the player who has it and those in their vicinity immune to the damage caused by their singing. Therefore, the team can work together now to DPS the daughters. Additionally, it protects against the two-minute wipe. If you don’t one-phase the daughter, you must alternate the daughter from which you pick up the Aura in the next round.
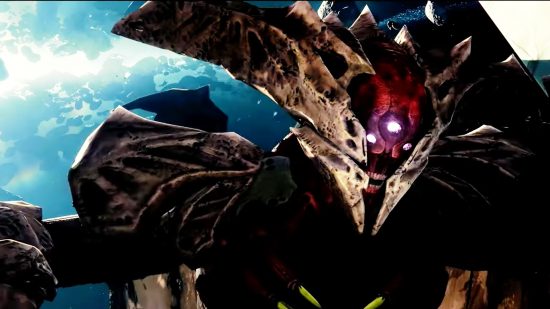
How to beat Oryx, The Taken King
For this encounter, once again, assign the team members to each platform and designate two roamers. Kill ads until Oryx slams his hand on a plate. Similar to the previous encounter, a player becomes torn and meets another player on a glowing plate to locate the next plate, where they can pick up the Blight Guard.
However, one big difference is that once the player has obtained the piece of Blight Guard, plates will catch fire, so any players standing on them need to get the heck out of dodge. Try to kill the ogres first, as they will drop Taken blights. You will need these for the encounter, so kill the Light Eater Knights to stop them from eating the bombs.
Upon collecting the second Blight Guard, the Vessel of Oryx will appear. The person responsible for the third piece of Blight Guard should steal the Vessel’s shield with the Brand Claimer, which you’ll earn with the Blight Guard piece, and which also grants the Aura of Immortality. Since you need the Taken blights to kill Oryx, kill the Vessel as soon as possible after you steal the shield.
When Oryx calls upon the Darkness to kill you, which you’ll see in your feed as “Oryx calls upon the darkness,” players should stand in the blight bombs until they see their names in the lower left corner. These bombs will explode, and each player should return to the Aura of Immortality. To ensure all bombs in the room are covered, assign players to zones (L1, L2, R1, and R2 are effective, though you could go for burger callouts if you’re inclined). Once the bombs explode, you can attack Oryx in the chest, where he will be vulnerable.
After each attack round, Oryx does one of two things. Either he will summon a giant ball in the middle of the room where players have to fight Shades of Oryx, which players should eliminate as quickly as possible, or he will push away from the arena and bombard players with Taken explosions. To dodge these, continuously move around.
Once you do enough damage to Oryx, the final damage phase begins. When Oryx reaches the front of the room, an ogre will spawn at the right front plate and drop a bomb. Soon after, the left front plate ogre will spawn and drop a bomb. After your team kills the second ogre, Oryx will call on the darkness. One player on each side must stun Oryx using the previous process, while all other players shoot at him to kill him. If you fail to kill him before his final attack, you must restart the entire fight.
That’s everything you need to know to complete the revamped King’s Fall. If you’re gearing up for the latest raid, Root of Nightmares, we have the best Lightfall exotics and everything you need to know about the Strand subclass to really put the beating on your enemies.
